

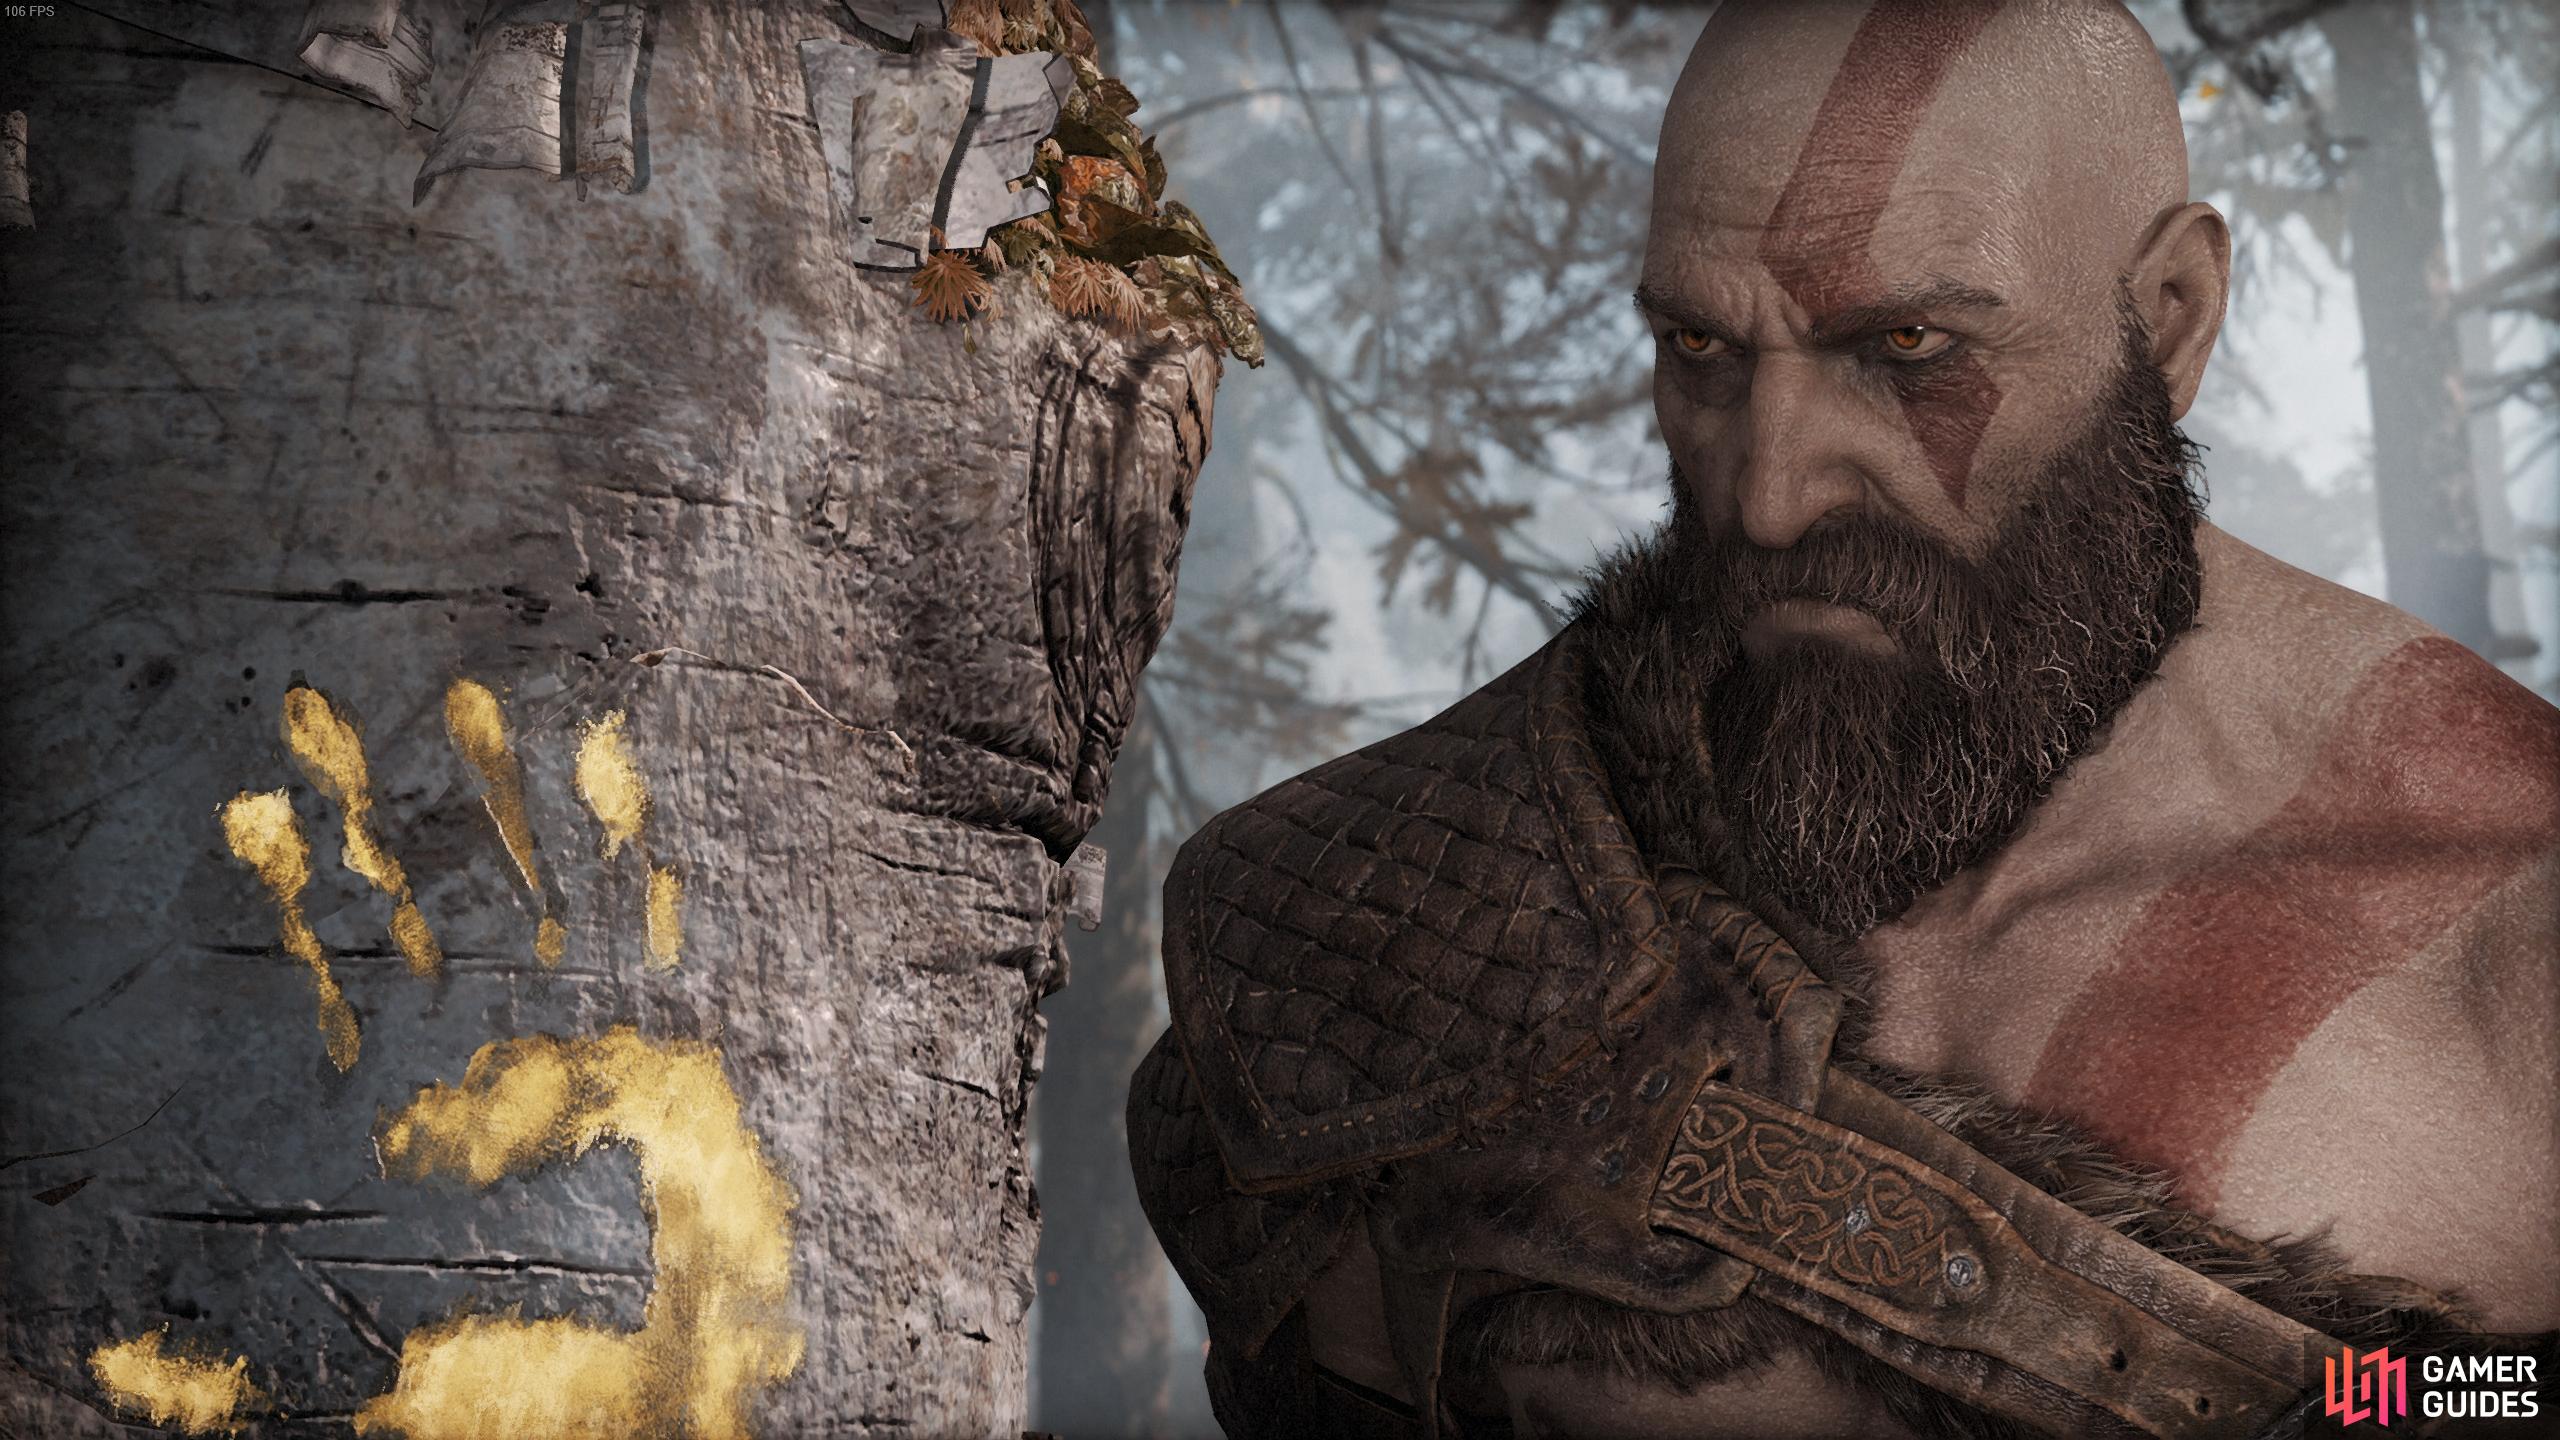
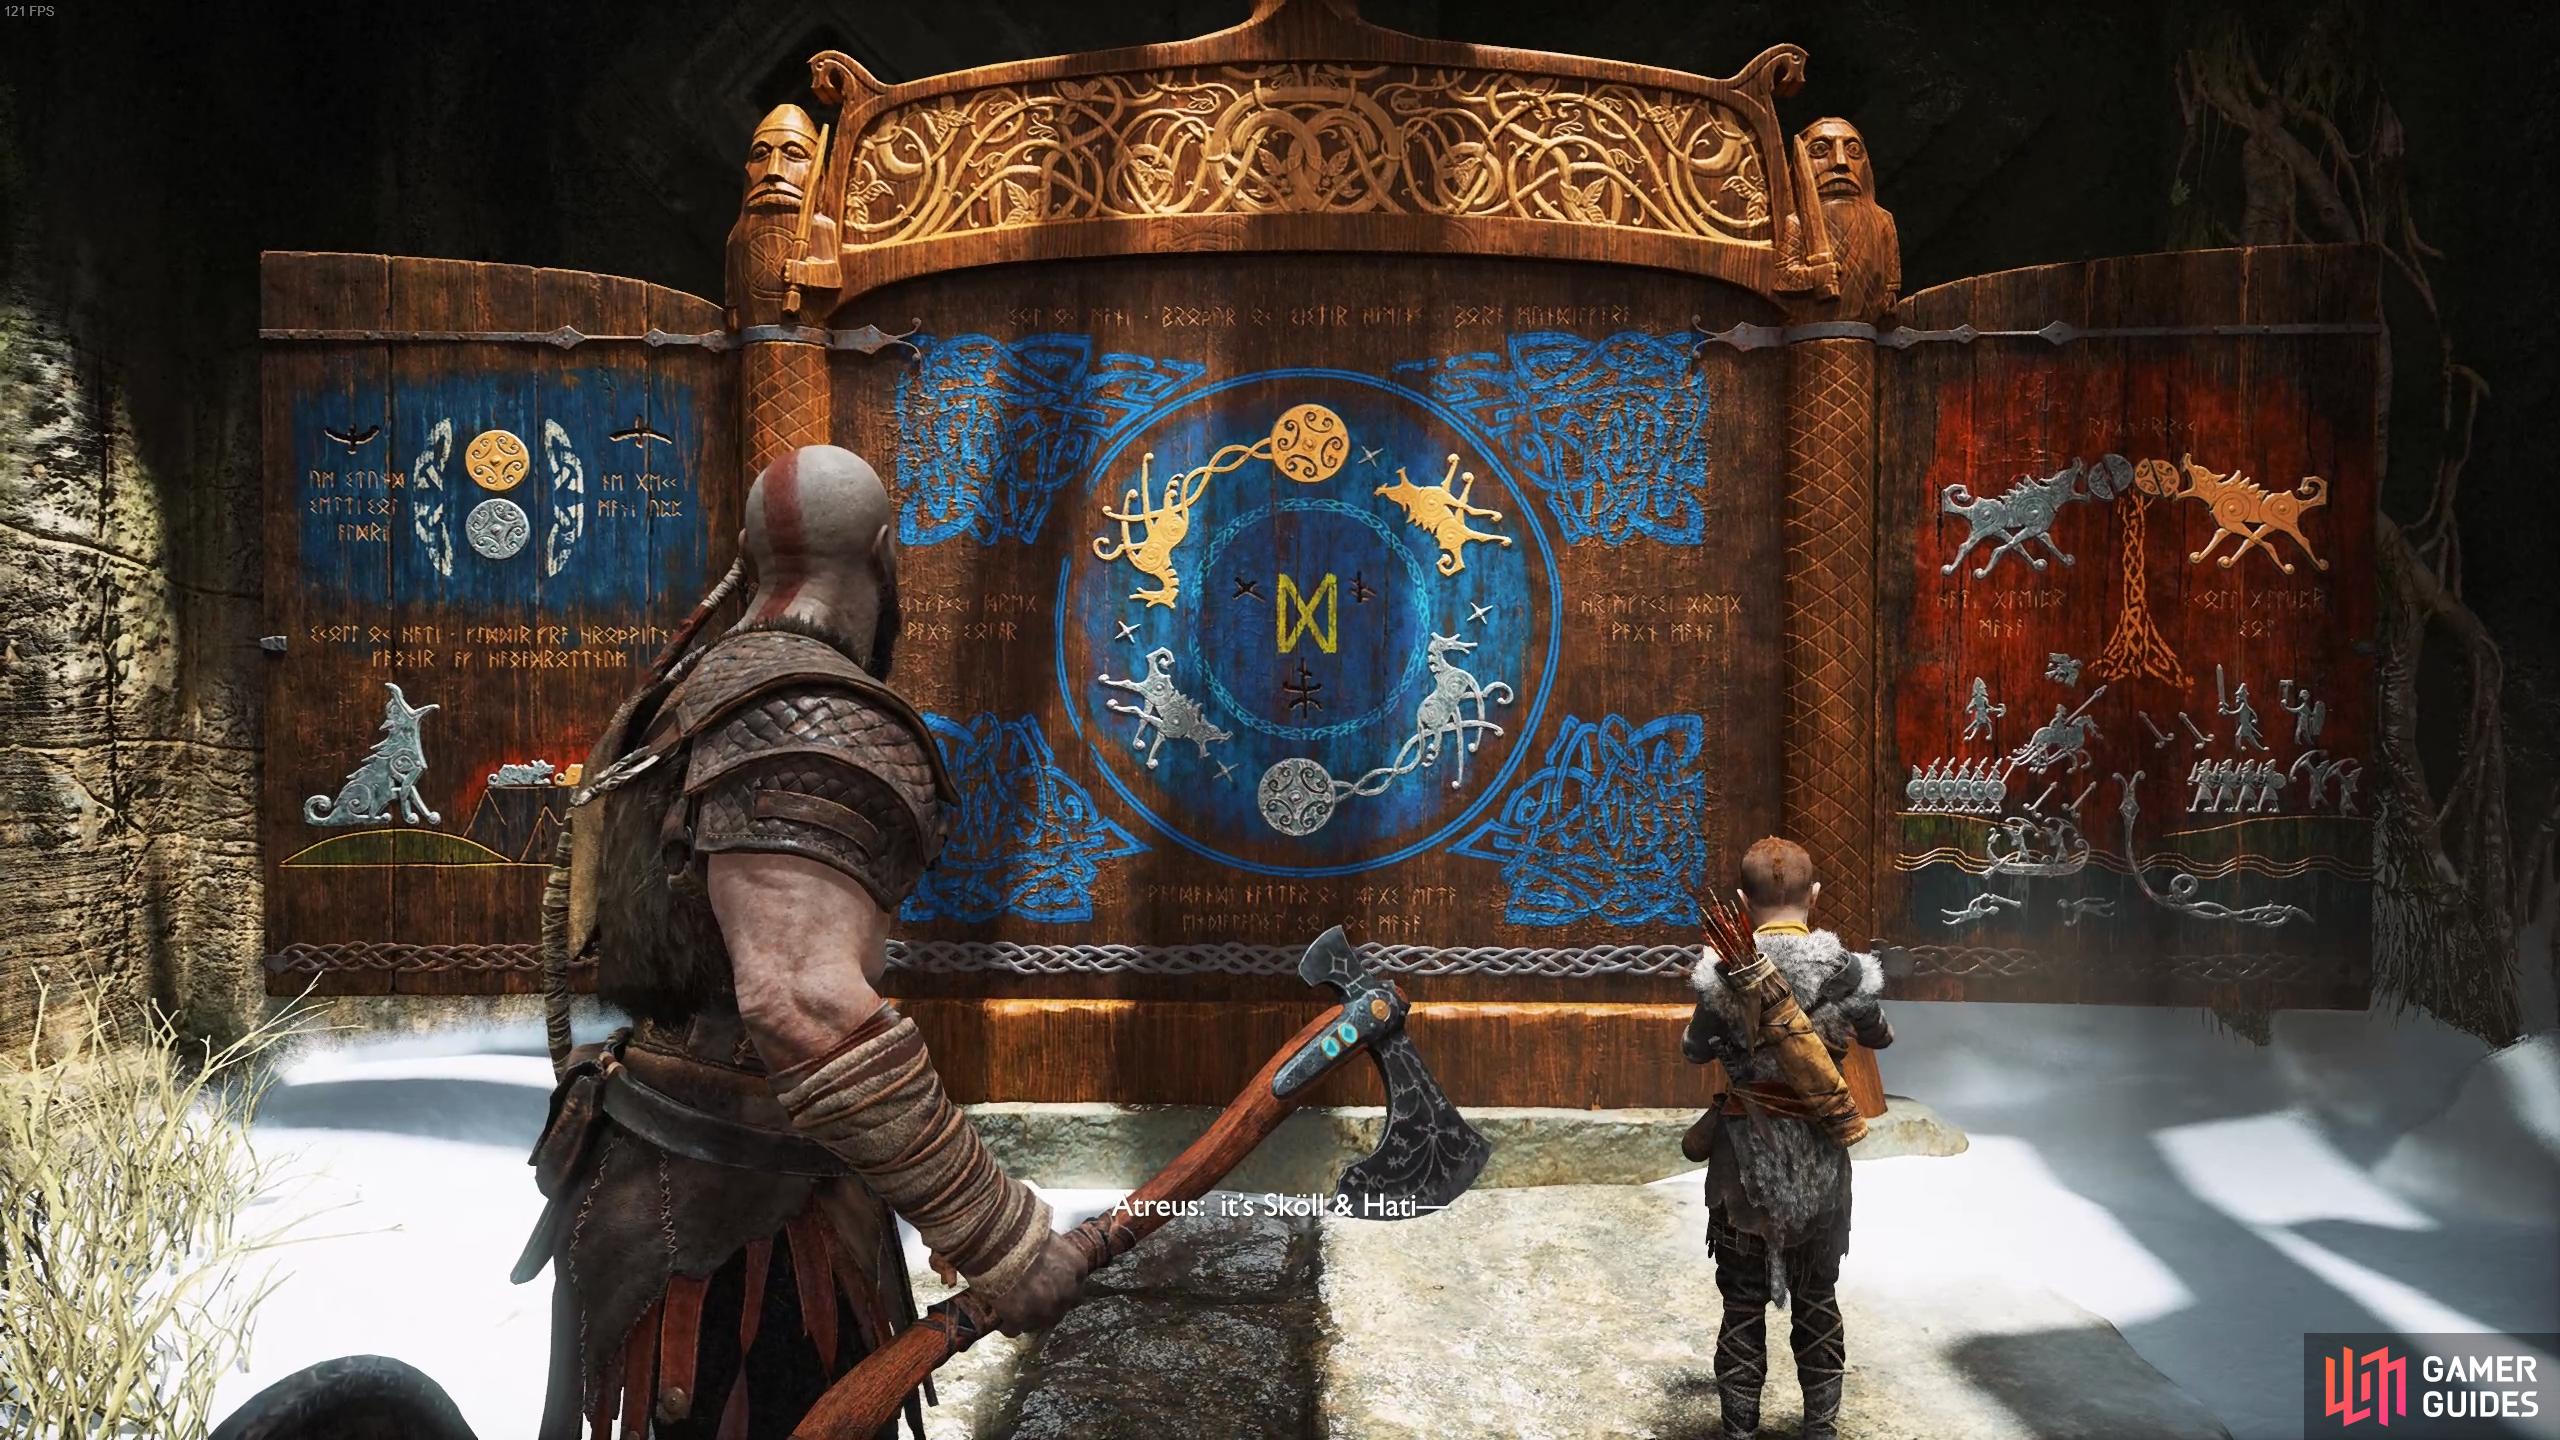
The Marked Trees, God of War.
Sombre Beginnings
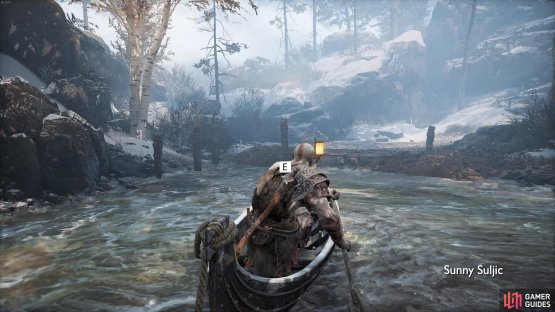
You begin the game in front of a solitary tree, axe in hand. Bring your axe to the tree with the R1 button or Mouse 1 button to fell it, allowing Kratos to pick up the tree and proceed forward to the nearby boat. You can place the tree into the water and tie it onto the boat with  or
or  , the main interaction button/key.
There’s only one path available to you for now, proceed down the stream until you reach a small dock at the other end and leave the boat. The boy will take the lead, so follow with the tree in hand to the family house where they can mourn the recently departed.

(1 of 2) Although a cinematic, you’ll still need to help Kratos fell the tree with the R1 or Mouse 1 buttons.
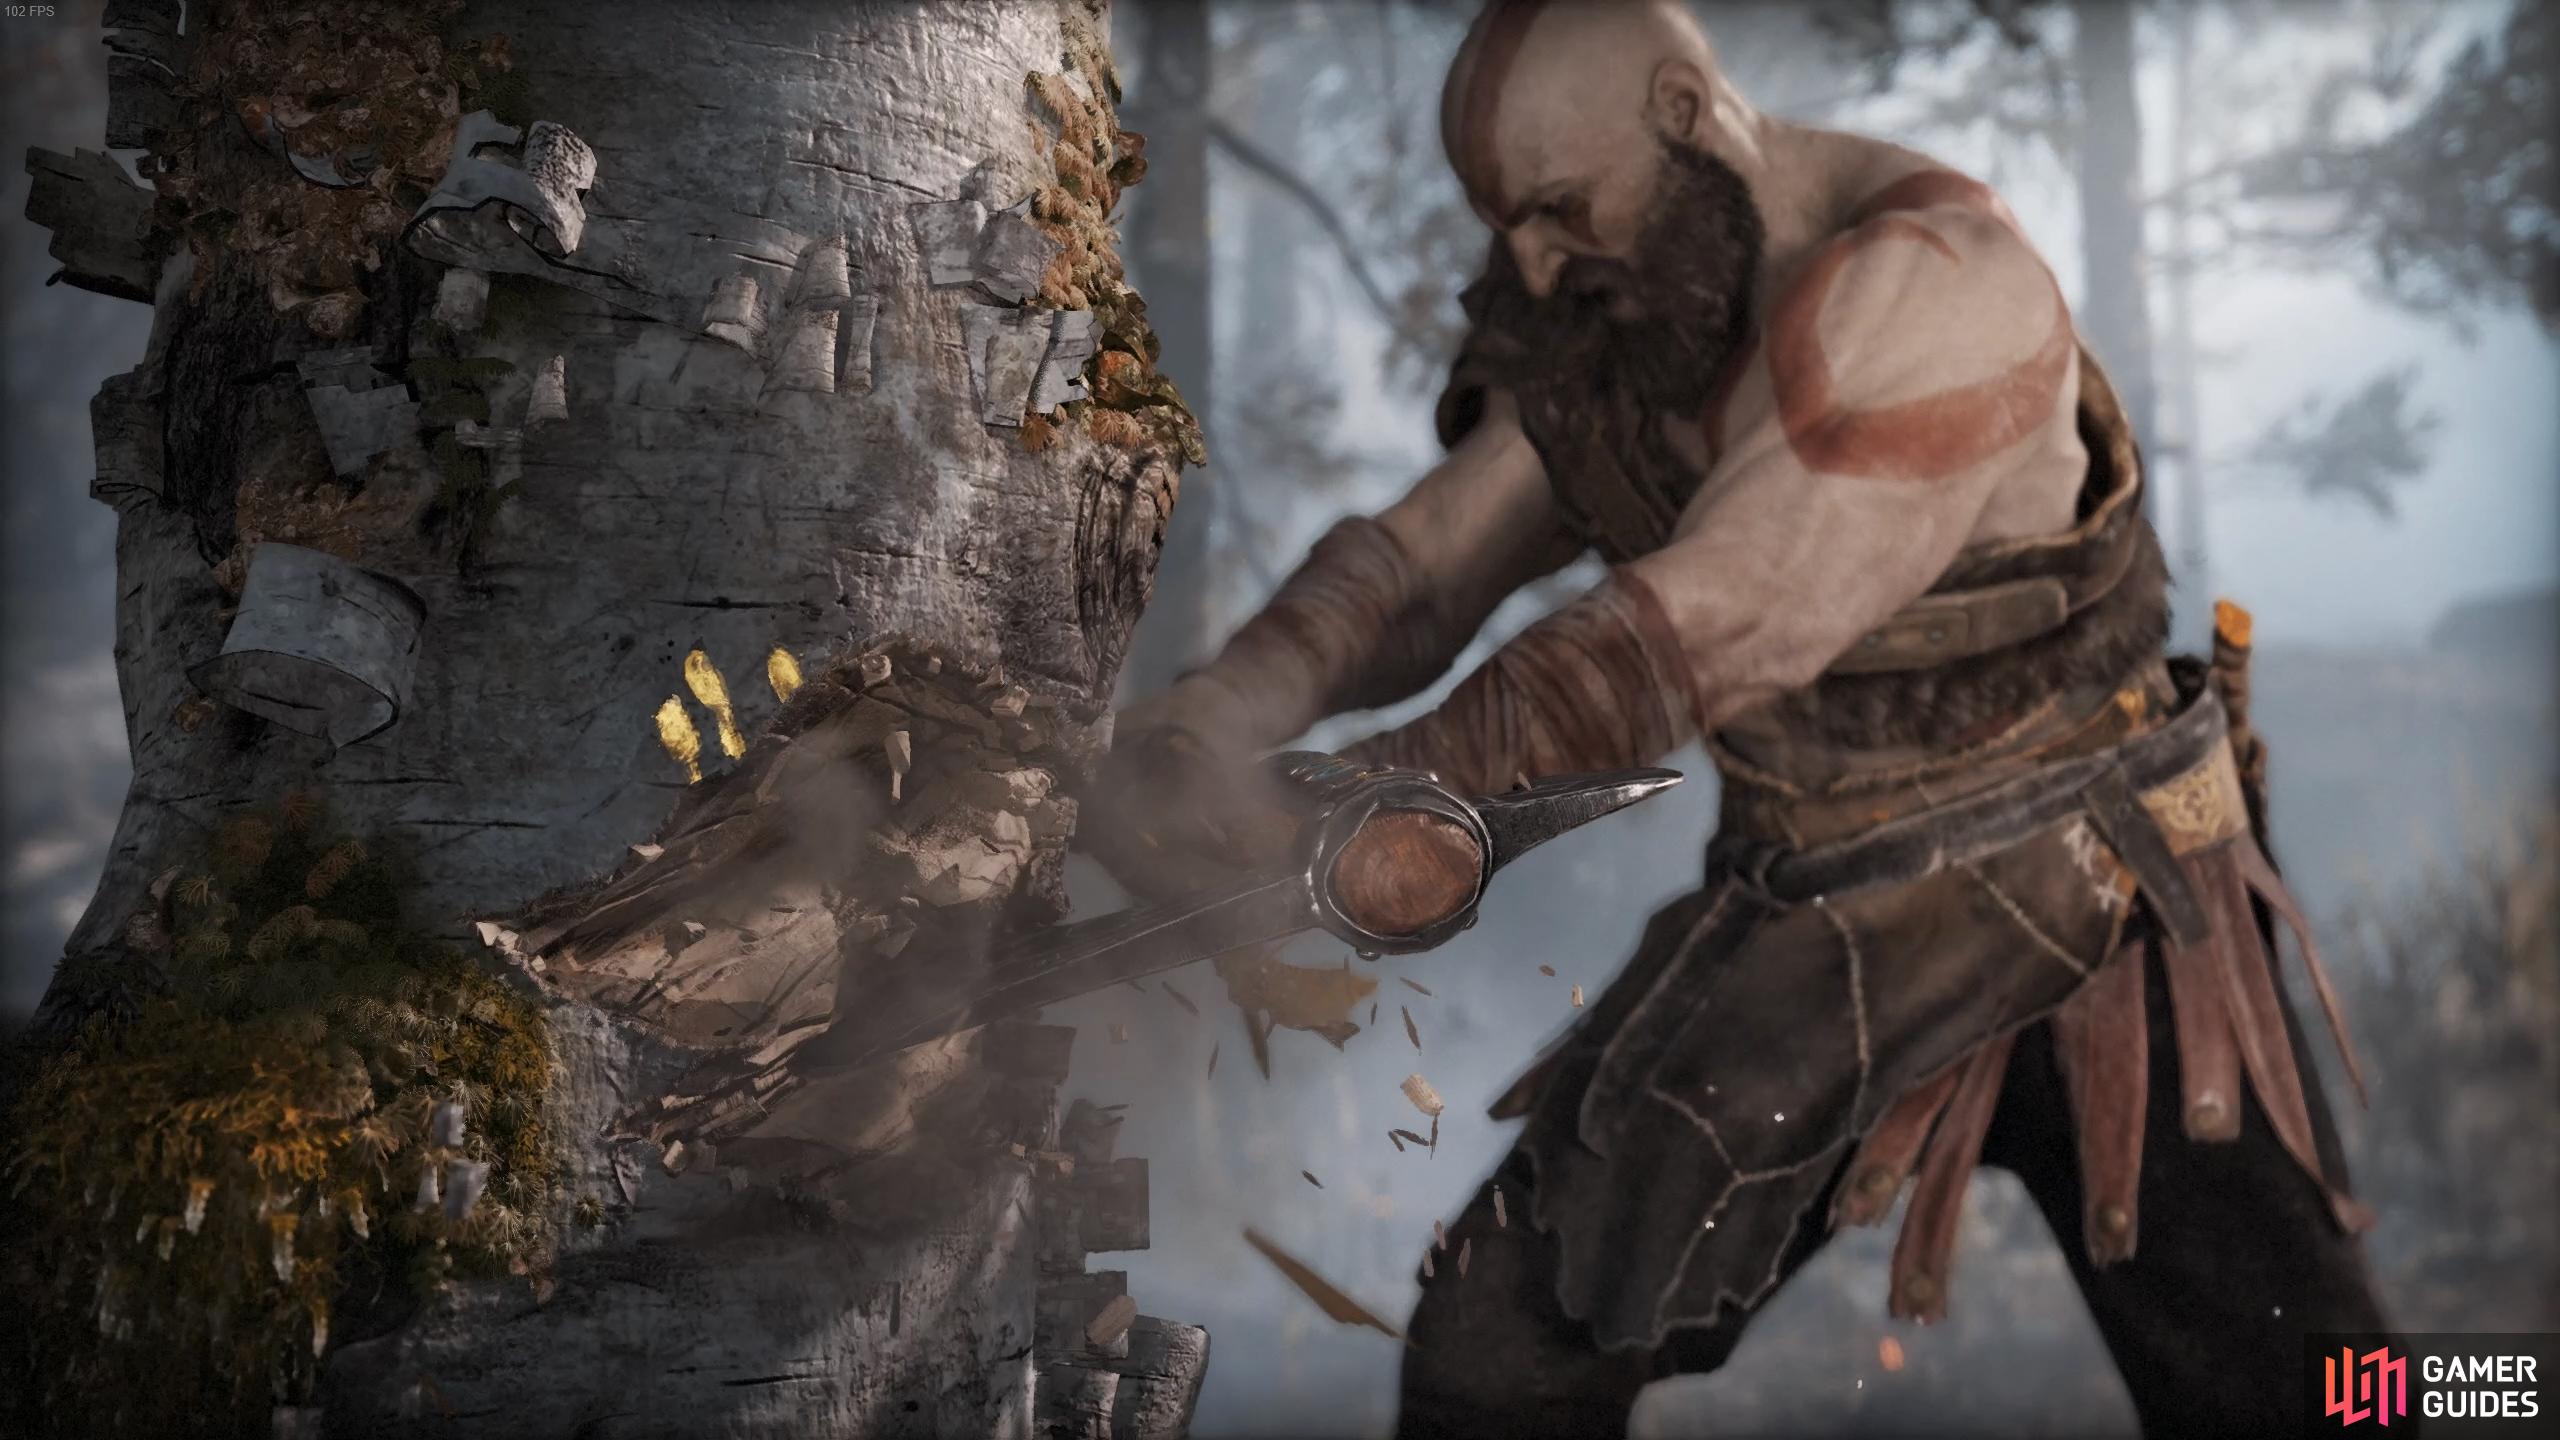

Although a cinematic, you’ll still need to help Kratos fell the tree with the R1 or Mouse 1 buttons. (left), You can leave the boat at any dock with a press of circle button or E key. (right)
Hunt with Atreus
Everything has changed for Kratos and Atreus, this is the beginning of a life without their loved one and the start of a long and arduous journey. Kratos rather abruptly issues a task for young Atreus, to hunt deer in the nearby forest. Don’t follow him right away, instead head to the right of him and behind a large rock to discover a shining item on the floor, your first Artefact. See Lost and Found for the locations of all four artefacts in the Wildwoods region. We’ll also document them on this walkthrough. There are four Artefacts to find in the Wildwoods region as part of the Lost and Found category.

(1 of 2) The red dot on this map signifies the location of Artefacts
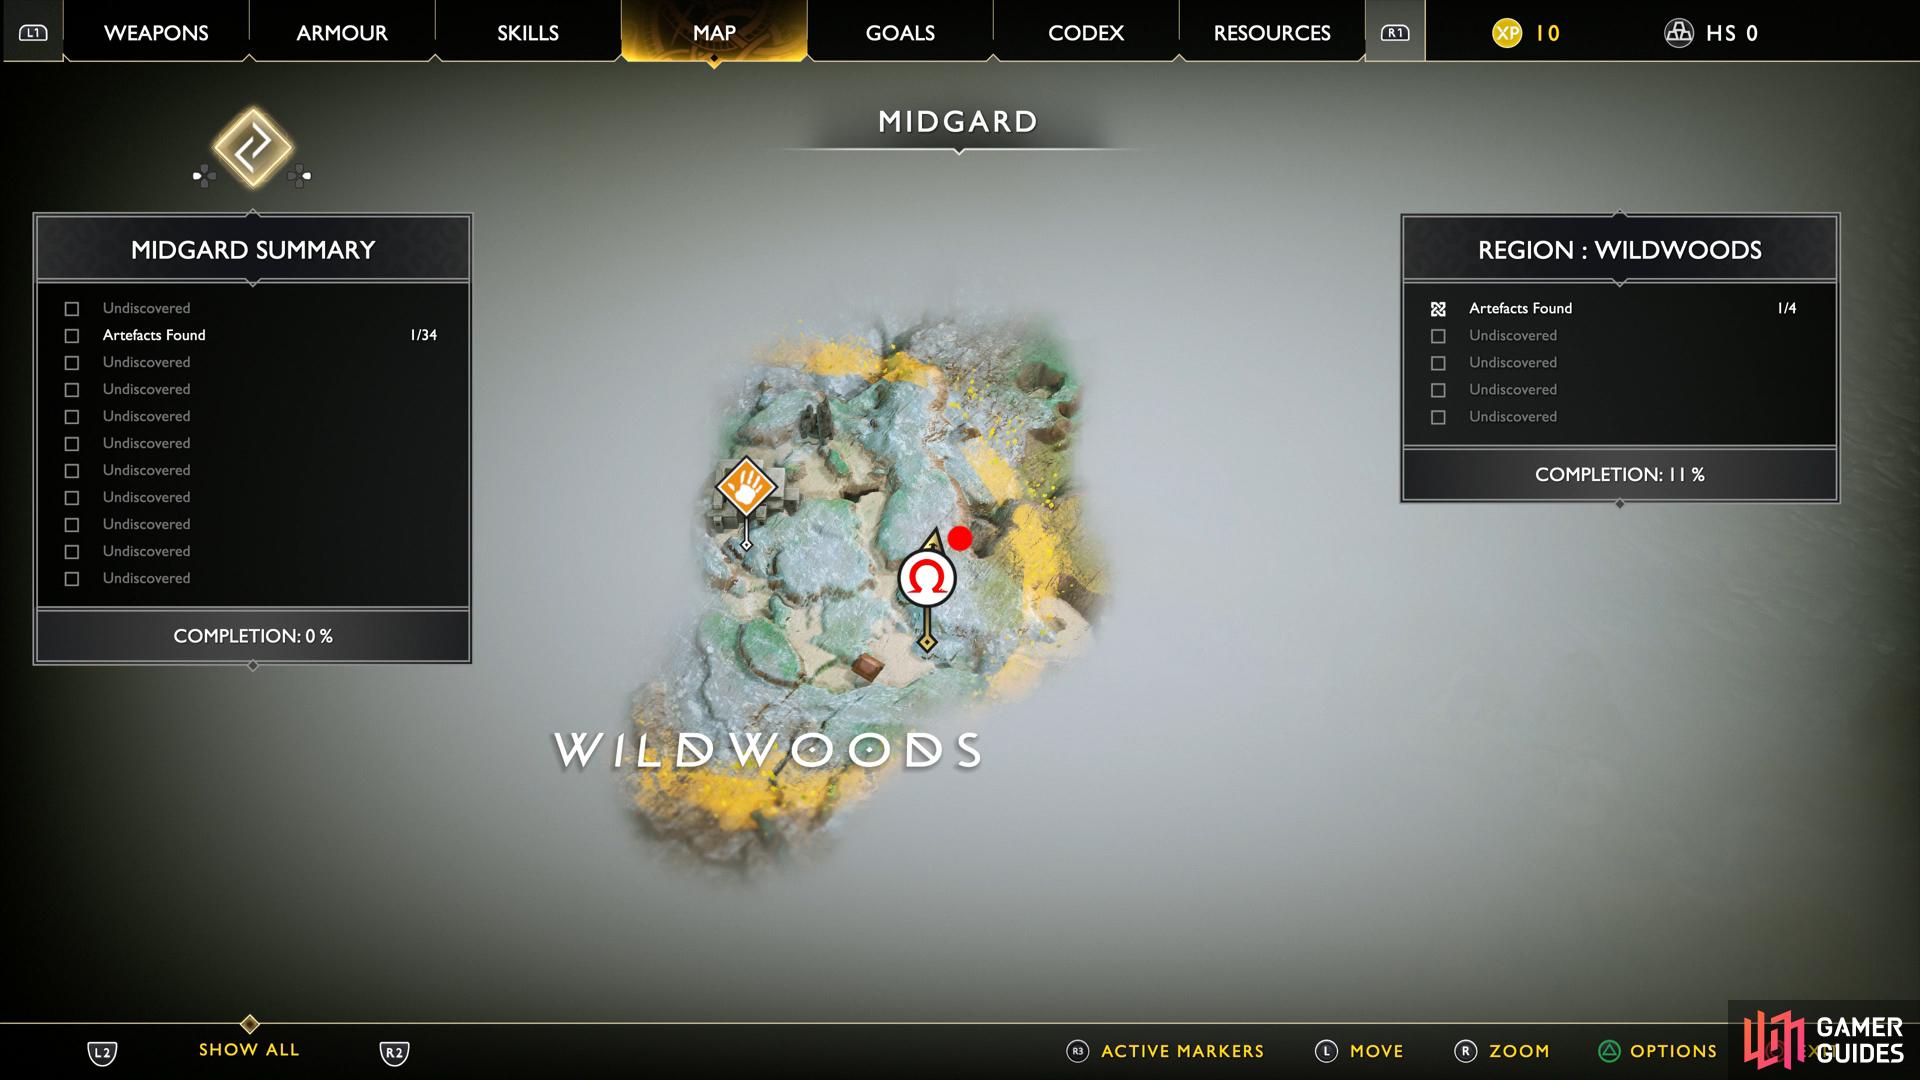
The red dot on this map signifies the location of Artefacts (left), This one is located just to the right of Atreus. (right)
Continue to follow Atreus into a clearing, there’s a sack of Hacksilver (the main currency of God of War) at the fork and some tracks that you can interact with. As you approach the steps, look to the left to find the second Artefact and as you head under the bridge you’ll find your first chest, containing another sack of Hacksilver.

(1 of 2) The second Artefact is just to your left as you approach the steps

The second Artefact is just to your left as you approach the steps (left), it’s almost impossible to miss this one. (right)
You’ve claimed all items in this clearing now so meet back up with Atreus at the top of the steps and proceed to the broken bridge. You can traverse all obstacles with a press of the [Circle] button, do so and continue along the path, leaping over the fallen tree in the process. Follow the appearance of the deer you’ll find another sack of Hacksilver with another brown chest behind it before you find one more sack of Hacksilver to the right of the bridge, near the edge of the cliff.
You’ll be instructed on how to throw the Leviathan Axe once you come to a standstill at the bridge. Follow the instructions and toss the axe at the wooden boards ahead to destroy them and continue on.
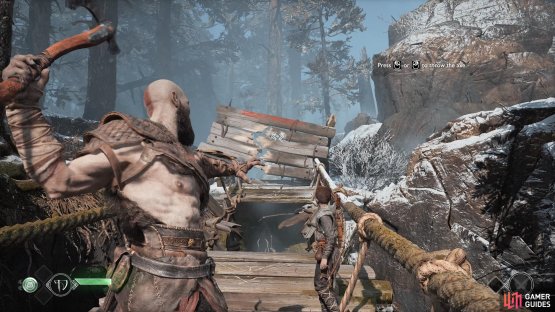
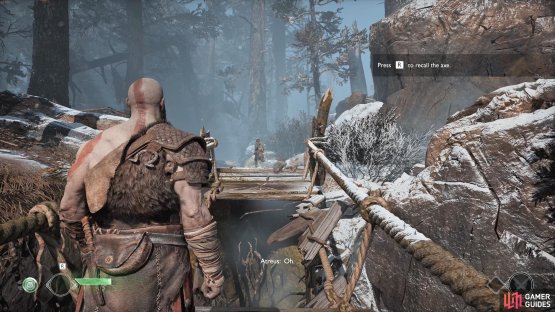
(1 of 2) The reticle will change color to a light blue when you’re aiming at something the axe can be used on.

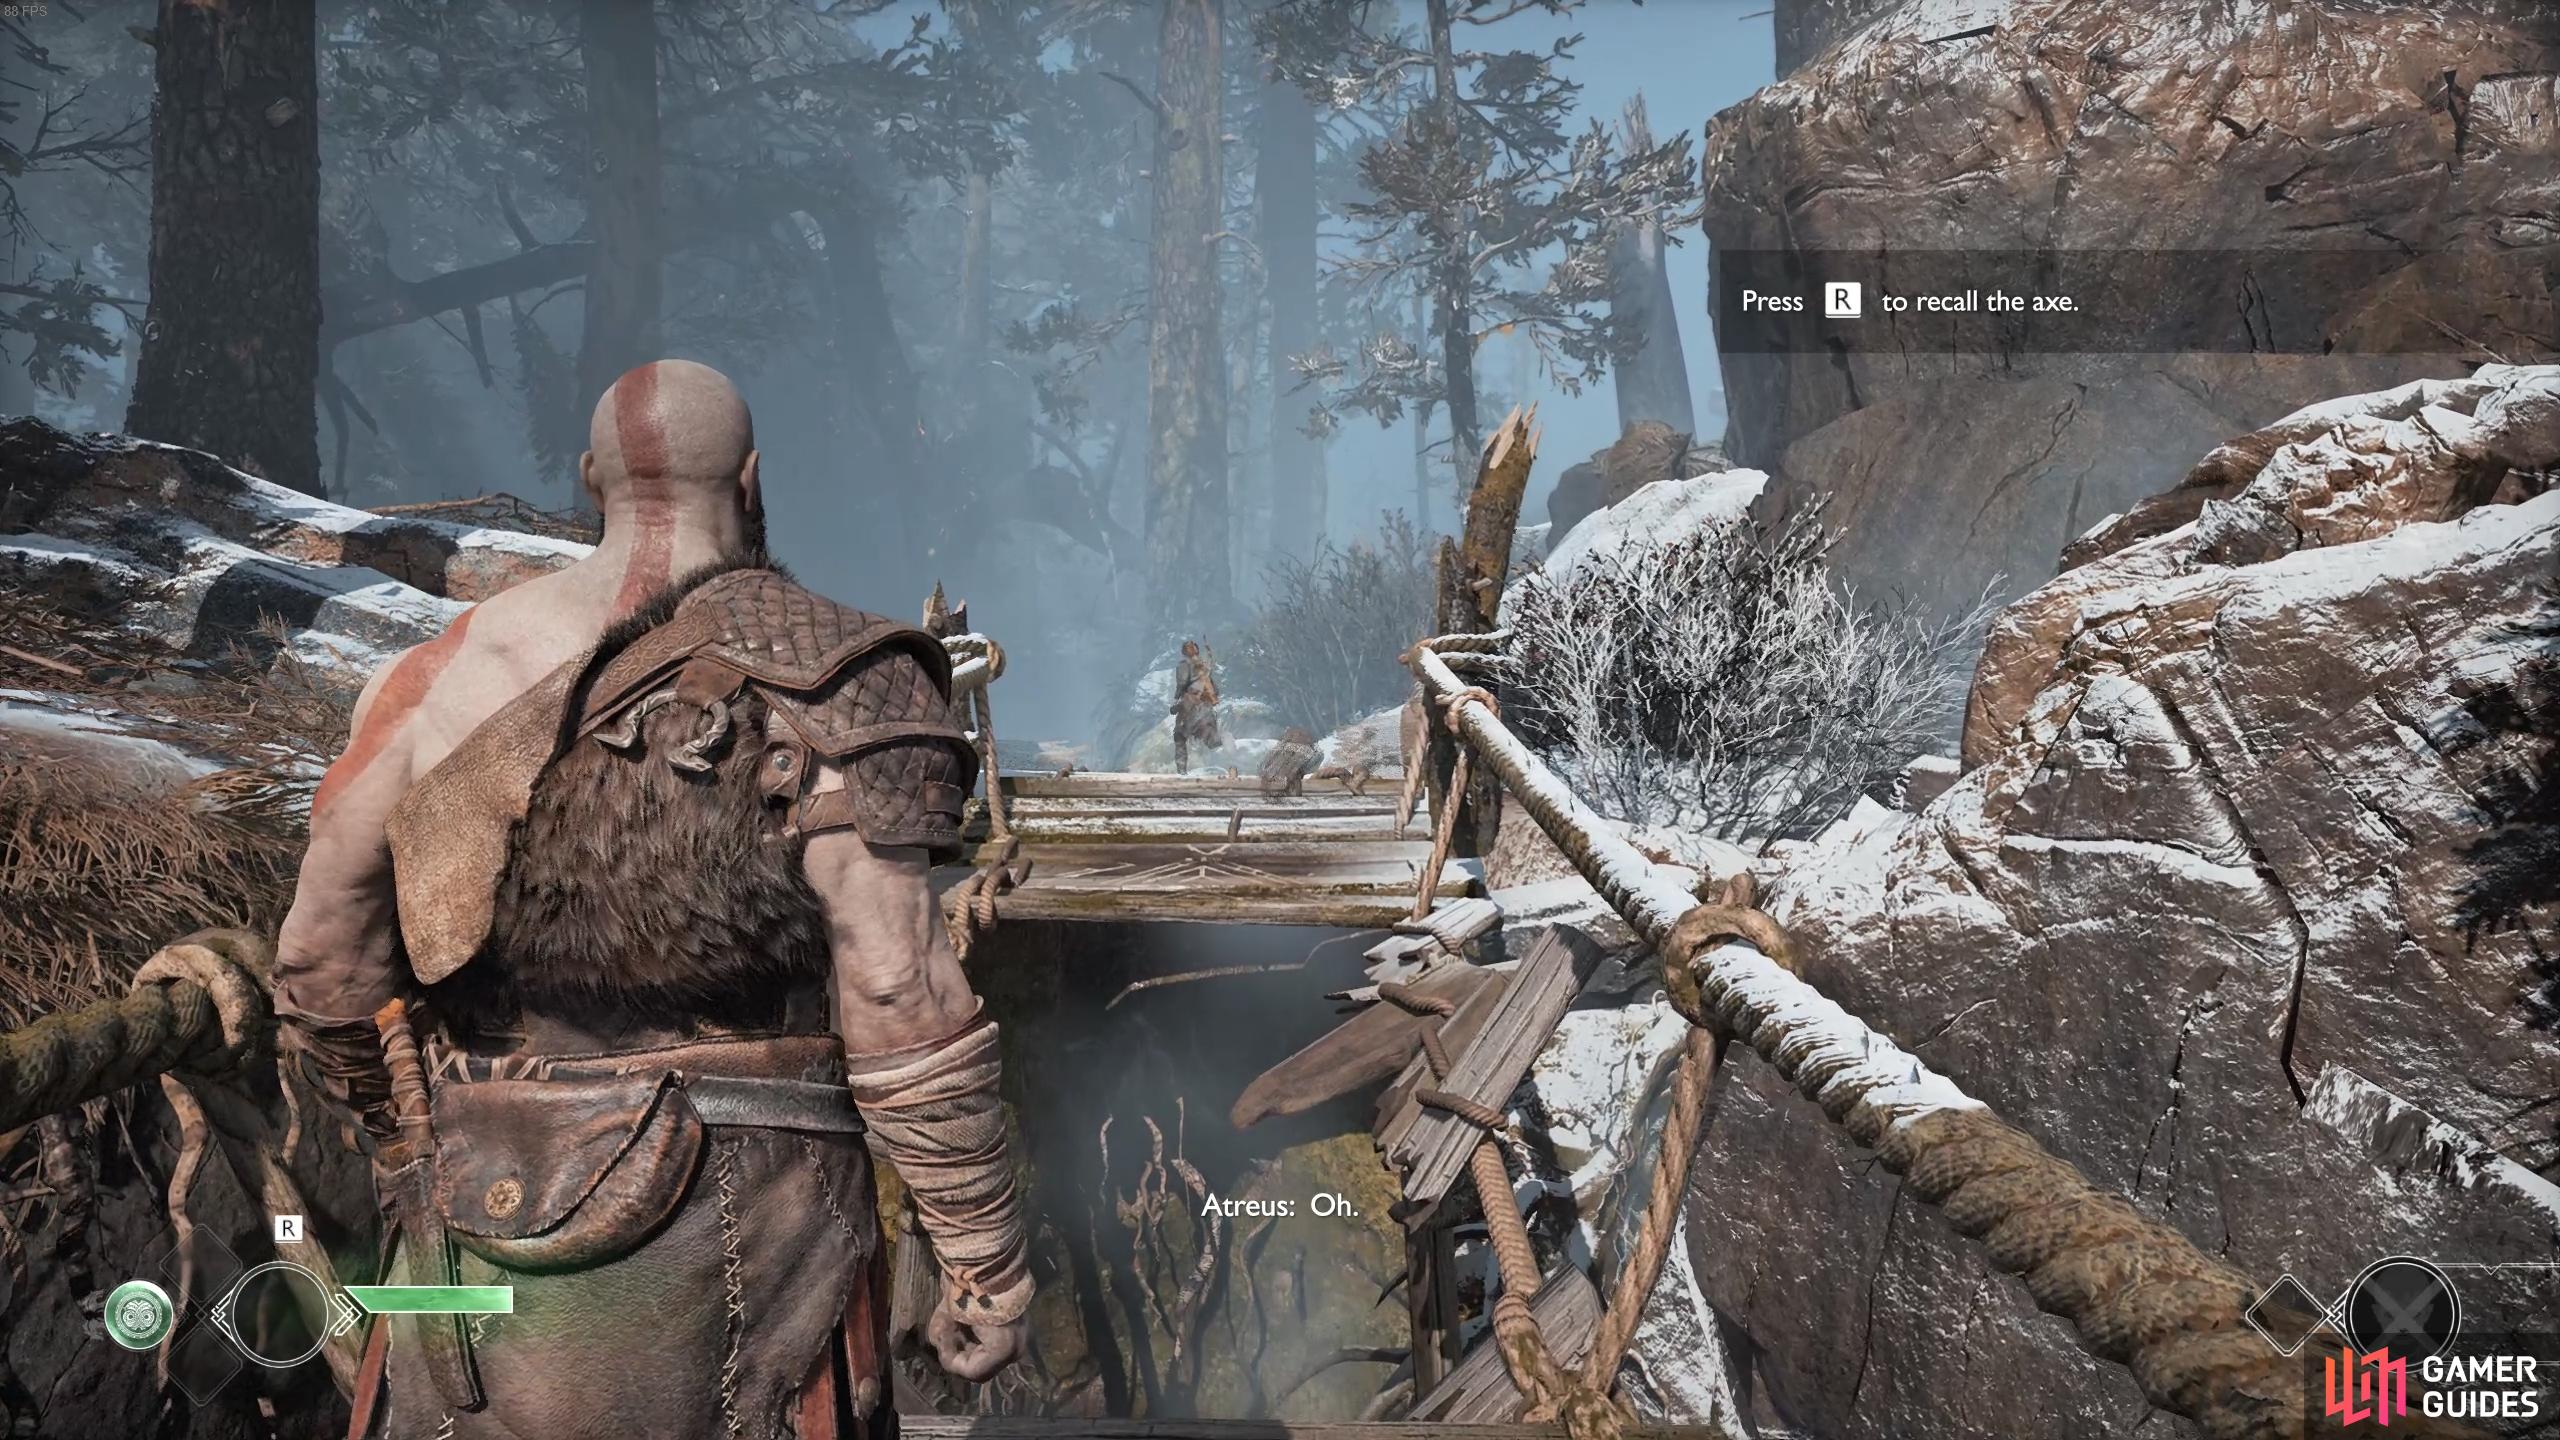
The reticle will change color to a light blue when you’re aiming at something the axe can be used on. (left), You’ll need to recall your axe by pressing the Triangle button or R key each time you throw it. (right)
After Kratos’ lecture to Atreus, proceed into the clearing to be greeted by your first Draugr and your first combat encounter. Using the  button or
  button will allow you to perform a Light Attack and the
  or
or  button will perform a Heavy Attack, a more damaging but slower attack. Pressing these buttons multiple times will result in attack combos. Upon defeat of the first Draugr, you’ll be set upon by more as the game teaches you the mechanics of the combat system. It’s a good idea to try and use a Heavy Attack to launch the enemies before juggling them with Light Attacks.
When there are more than one enemy on the screen, you may notice a small arrow around Kratos’ body, this is indicating where an enemy is attacking from and will allow you to gain a better understanding of the battlefield. If the arrow changes to a red colour then be ready to dodge out of the way with the  button or
  key, as this signifies an attack is incoming.
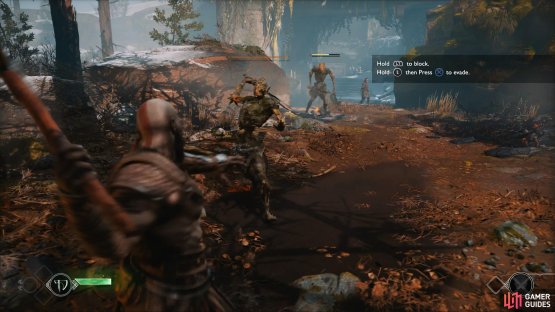
As more Draugr appear, you’ll learn that you can block with the  button or
  key, this is a great way to protect yourself when lots of enemies are in the vicinity. If you time the press of the button just before an attack connects with Kratos, you’ll perform a parry, a skill that momentarily stuns the enemy giving you the opportunity to follow up with a combo. You’ll want to make a habbit of trying to perform this parry, especially on the harder difficulties.
(1 of 2) You can line enemies up like this and throw the axe to trip them

You can line enemies up like this and throw the axe to trip them (left), practice the timing for the parry, it’s an essential skill to learn. (right)
Finally, before the battle is over, try and trip one of the Draugrs, this is an incredibly useful tactic against this type of enemy. To perform this, hold the [L2] button to ready the axe and direct the throw towards the legs of the Draugr, using the [R1] button to toss it. This will leave the enemy defenseless and open for a combo or allow you time to make some space between you and the enemies.
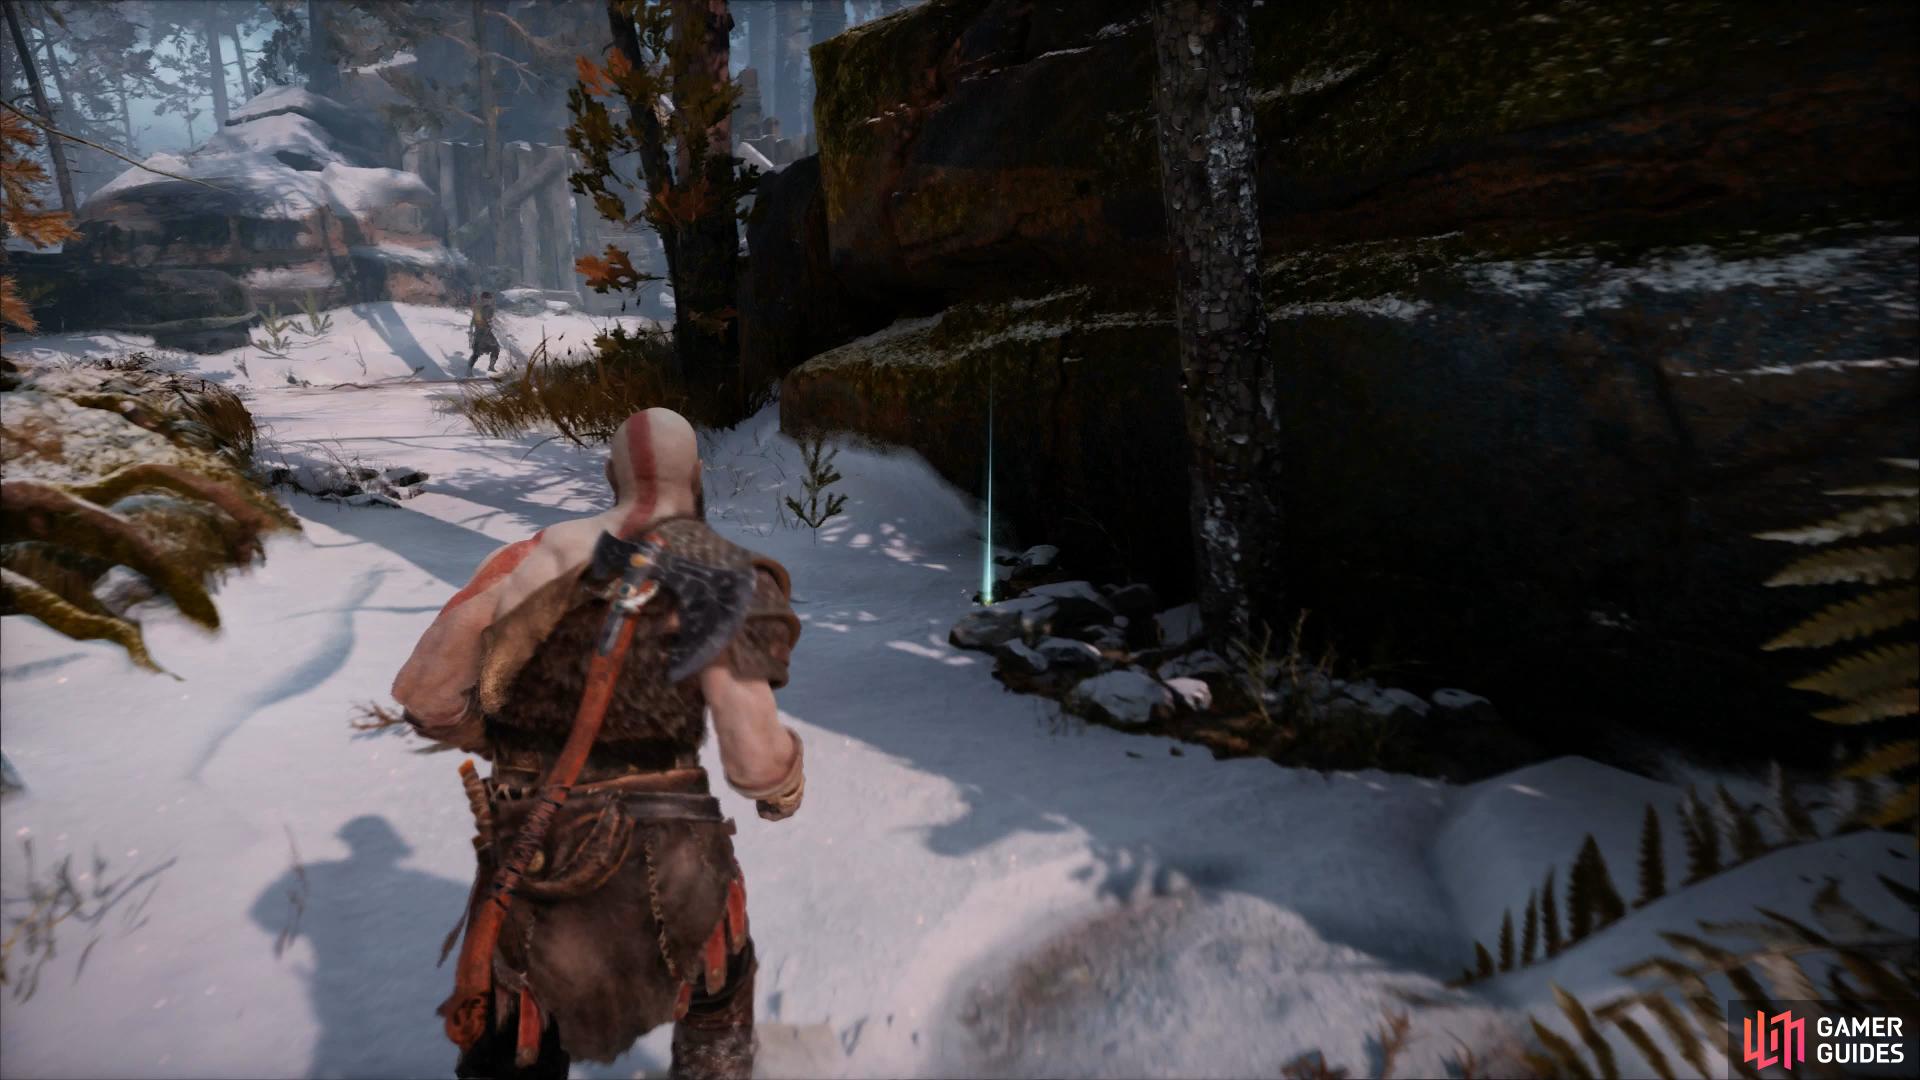
With the battle won, proceed into the nearby ruins with Atreus, spotting a Green Healthstone laying in the center which will refill Kratos’ health. Look up into the air now to spot a small container hanging with a small runic symbol above it. Toss your axe at this to knock it to the ground for some much needed Hacksilver.
Be on the lookout for these containers all over Midgard.
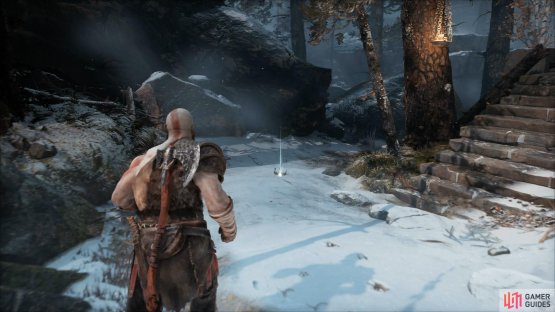
Atreus has run to the left but ignore him for now, instead choosing to take the right path here and continue down the path a little before spotting a brown chest to your left. Follow the path and round the corner to locate a sack of Hacksilver on the nearby corpse. Retrace your steps back towards the waterfall and climb the ledges to the right to find another sack of Hacksilver and eventually you’ll chance upon a chain that you can climb down with the [Circle] button.
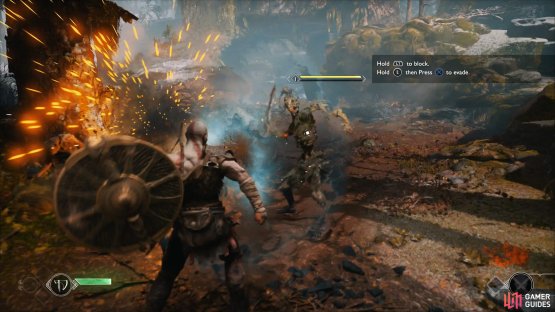
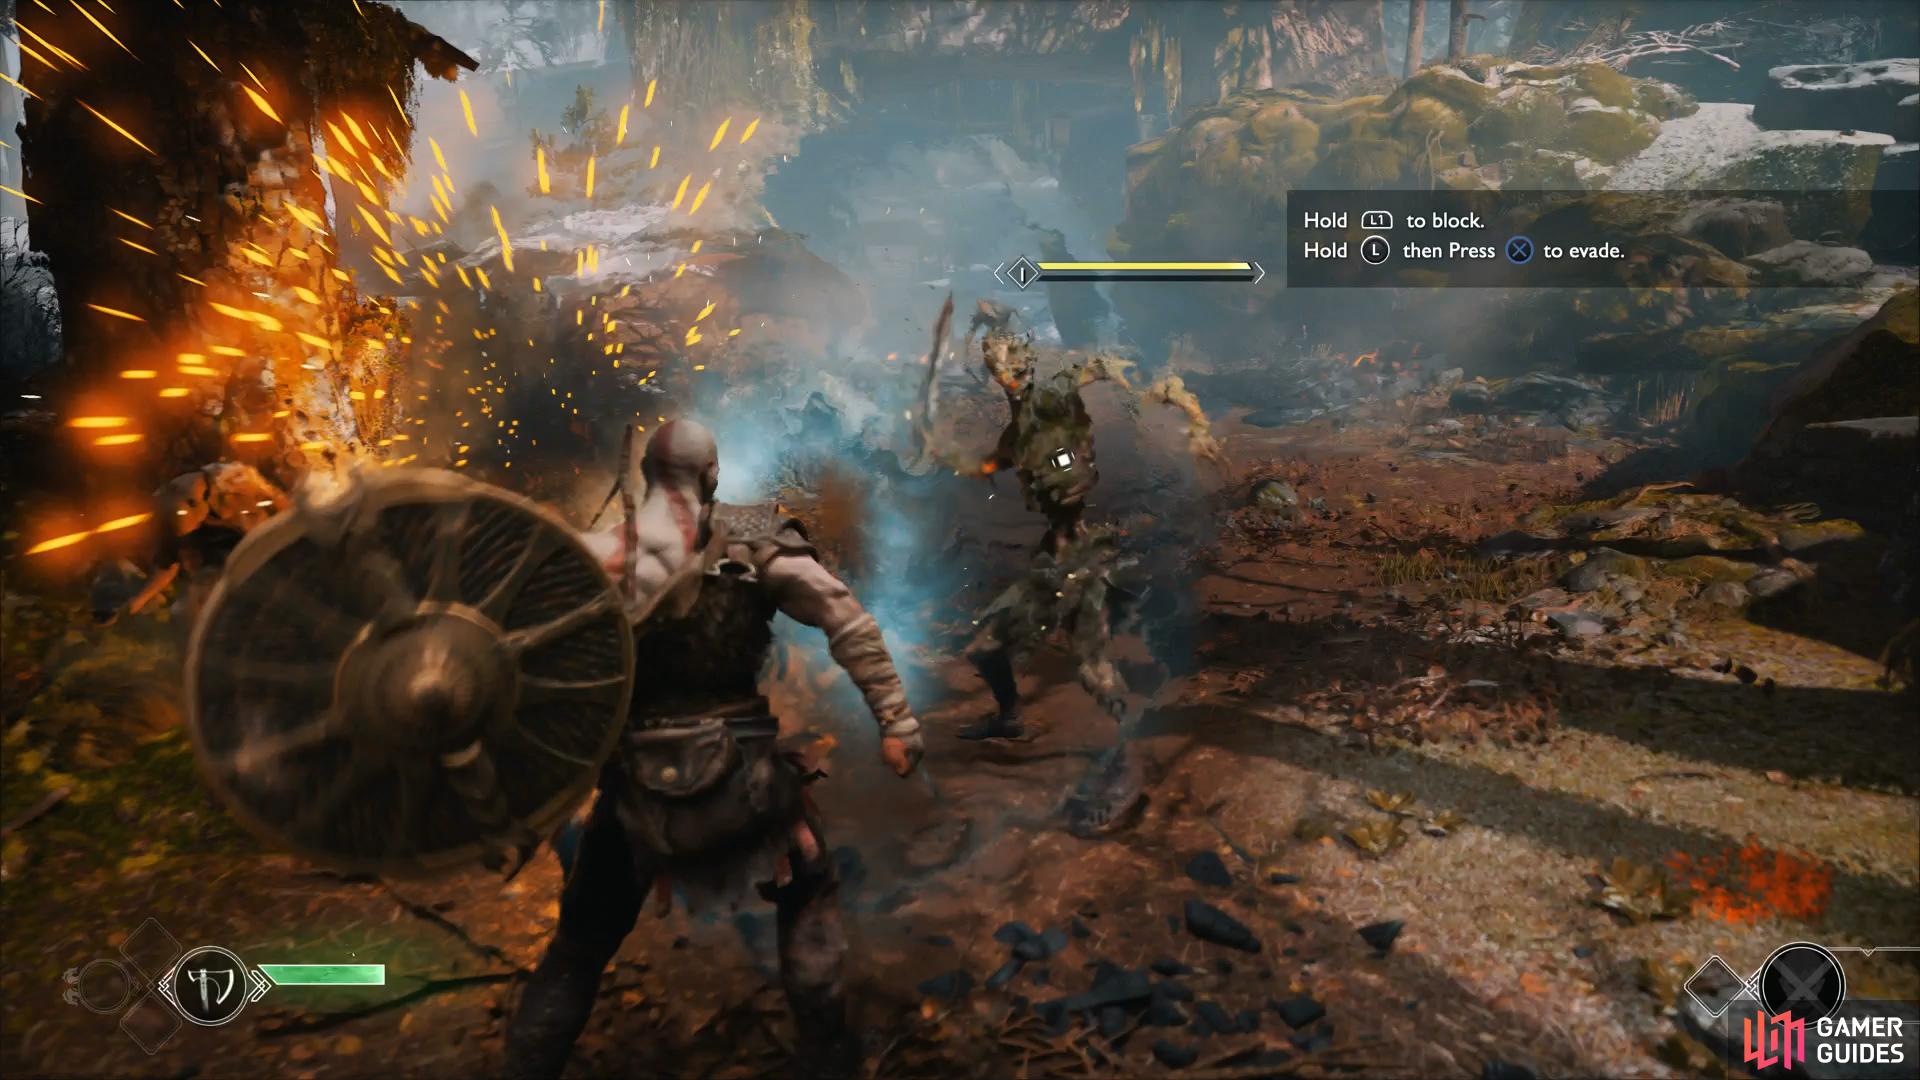
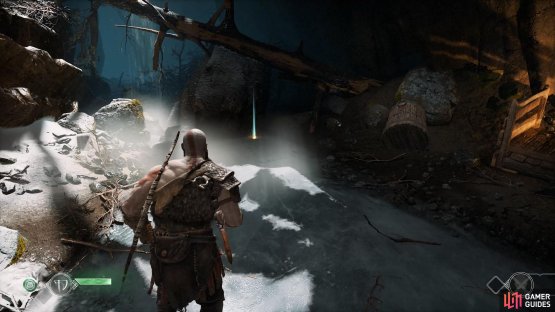
As soon as you enter this small enclosed area you’ll come upon some Wolves ready to tear into you. Take a step back and let them charge towards you before Parrying them, the Wolves telegraph their biting attack giving you ample time to Parry with the shield and follow up with a devastating combo.
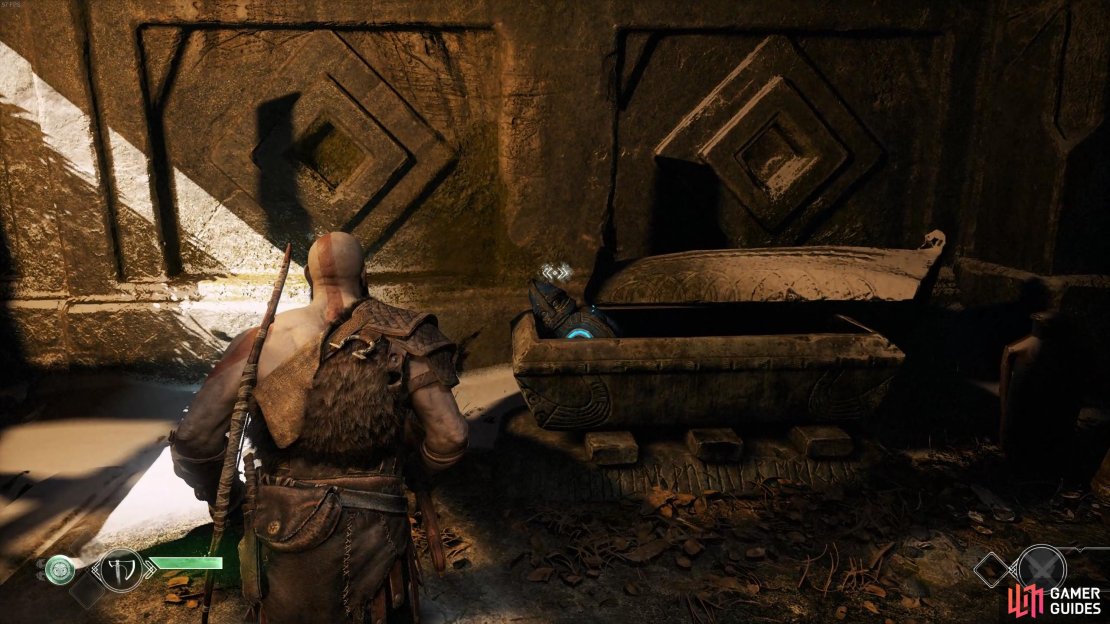
With the area free of any beasts you can now take the time to loot the area. You’ll find your first coffin where you can plunder a large sack of Hacksilver along with your third toy for the Lost and Found Artefact quest at the other side, near the fallen tree.
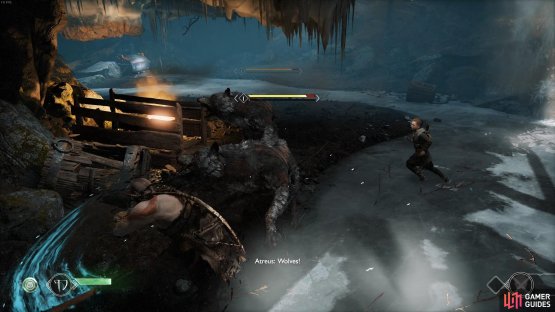
(1 of 2) Light attacks will quickly dispatch the wolves, but they may interrupt heavy attacks.
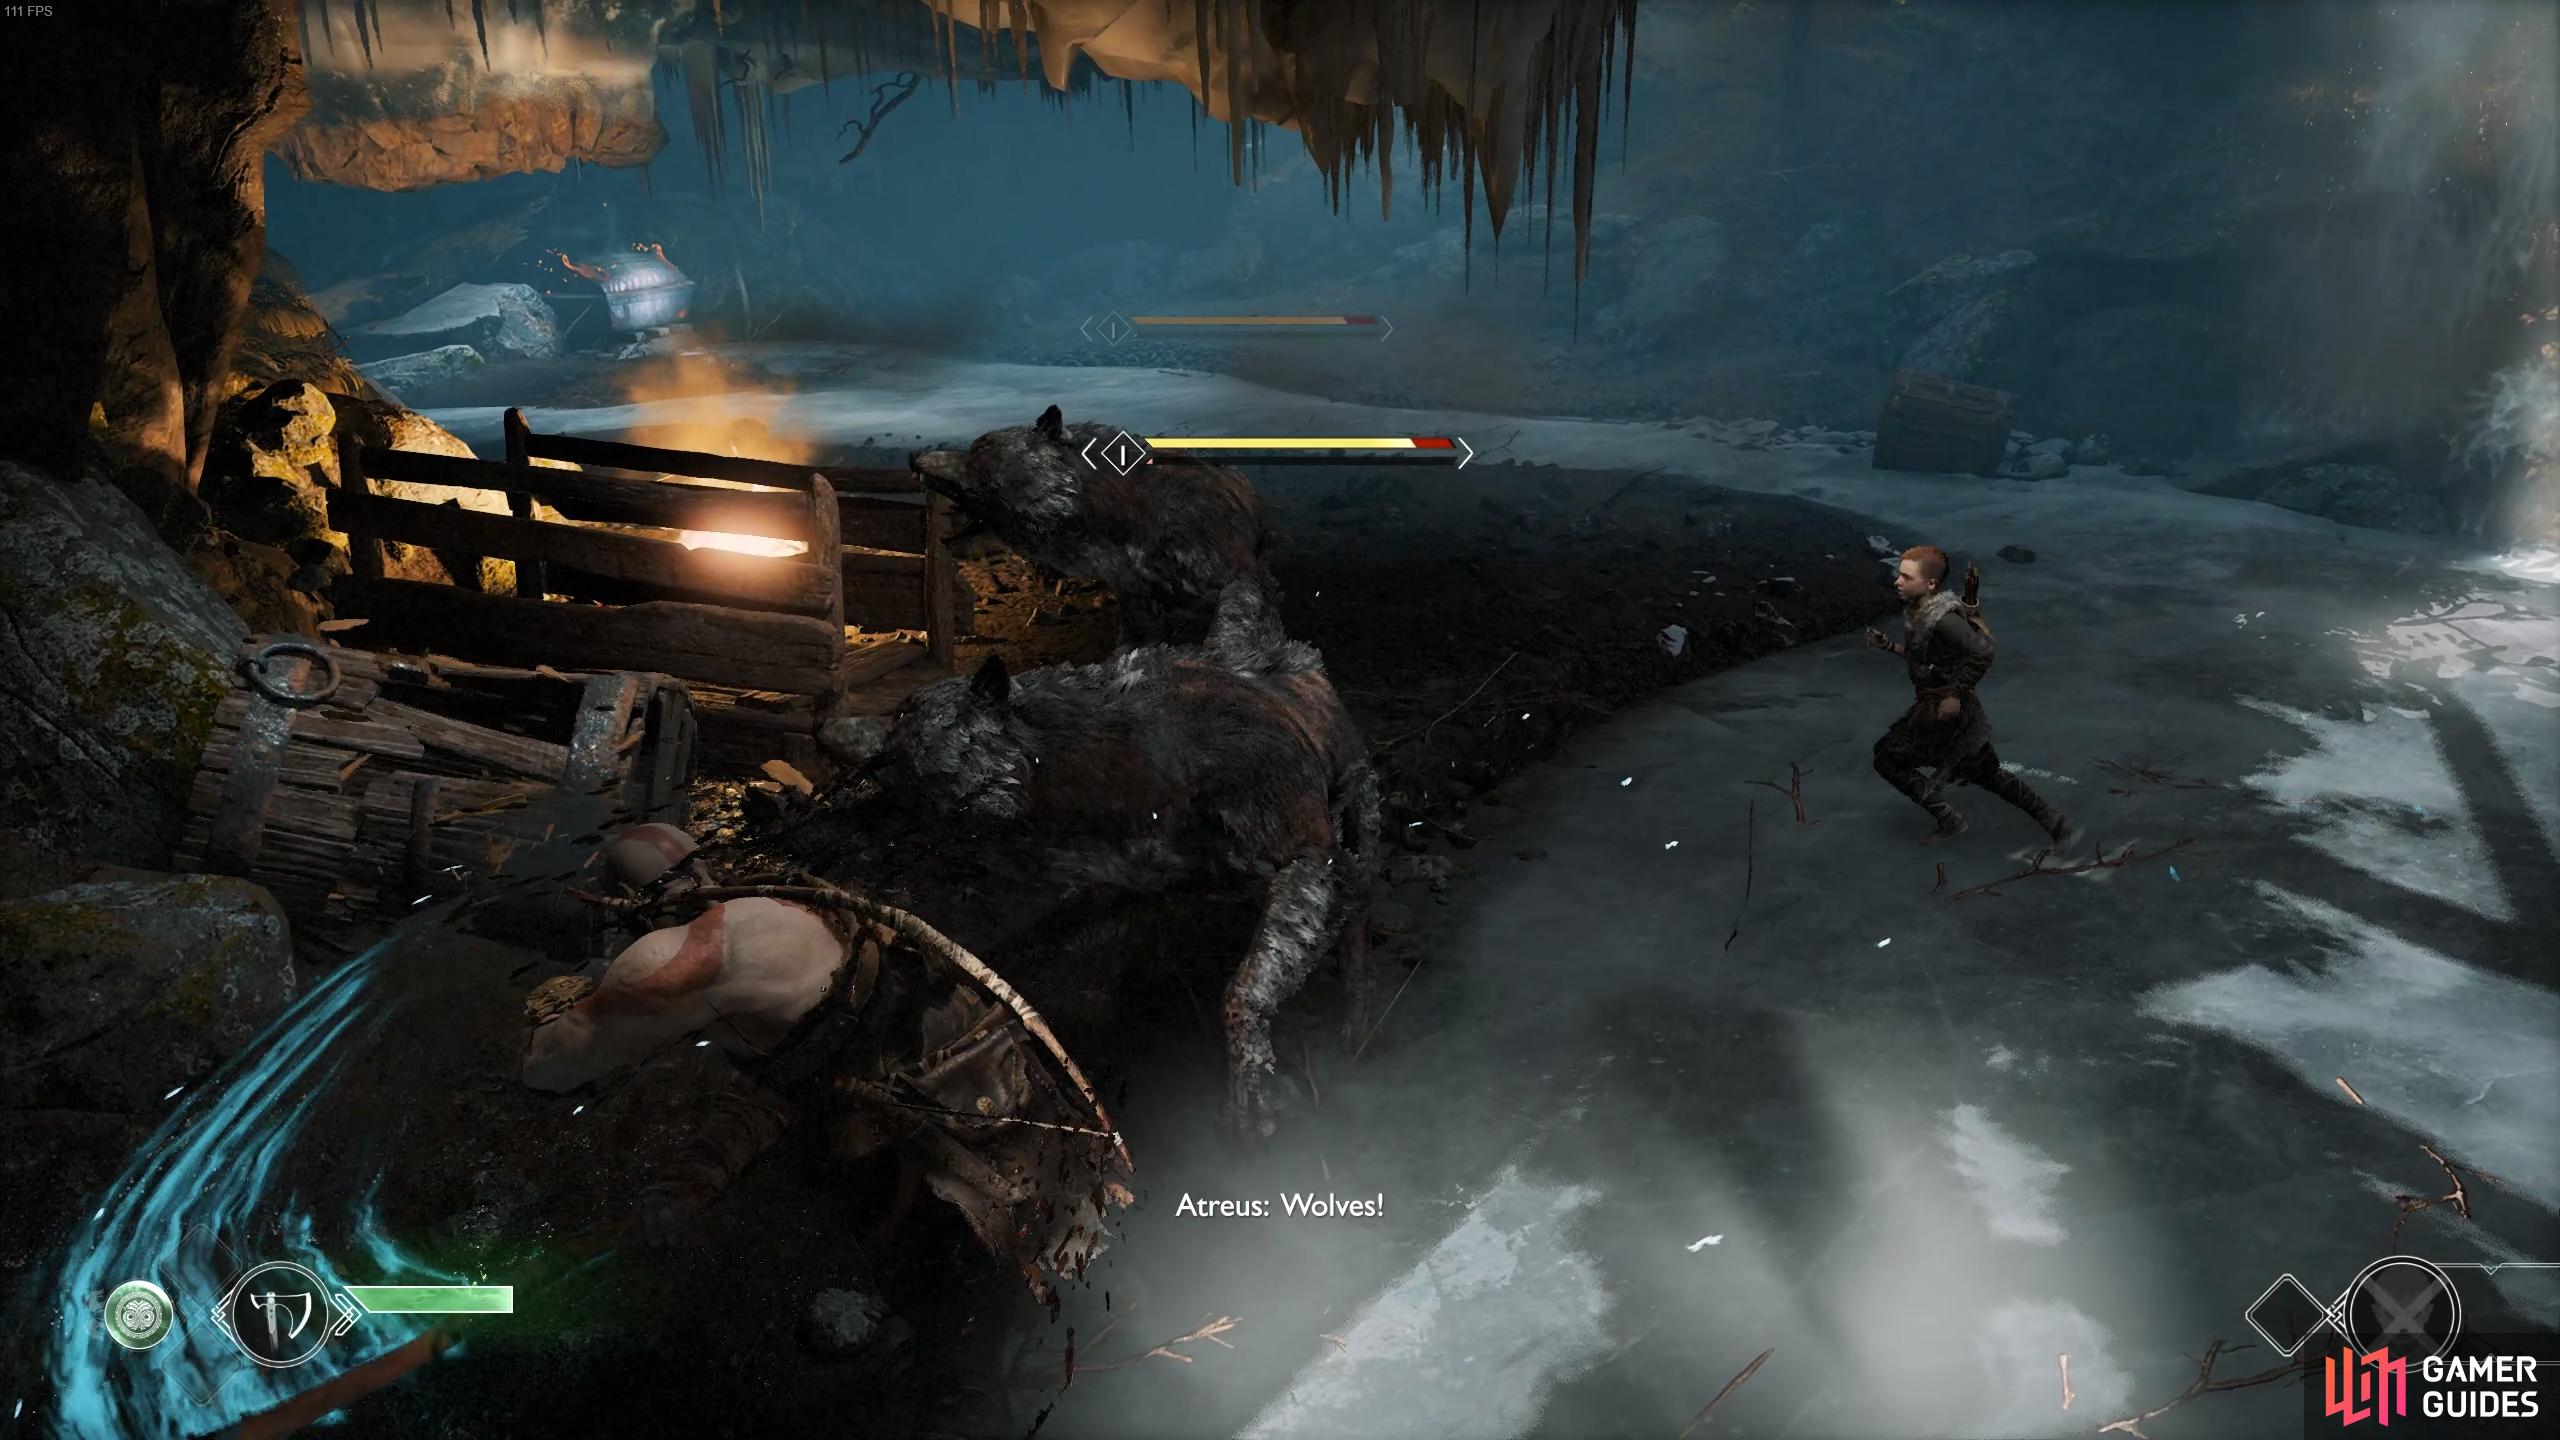

Light attacks will quickly dispatch the wolves, but they may interrupt heavy attacks. (left), You’ll find the third Lost and Found Artefact in the corner. (right)
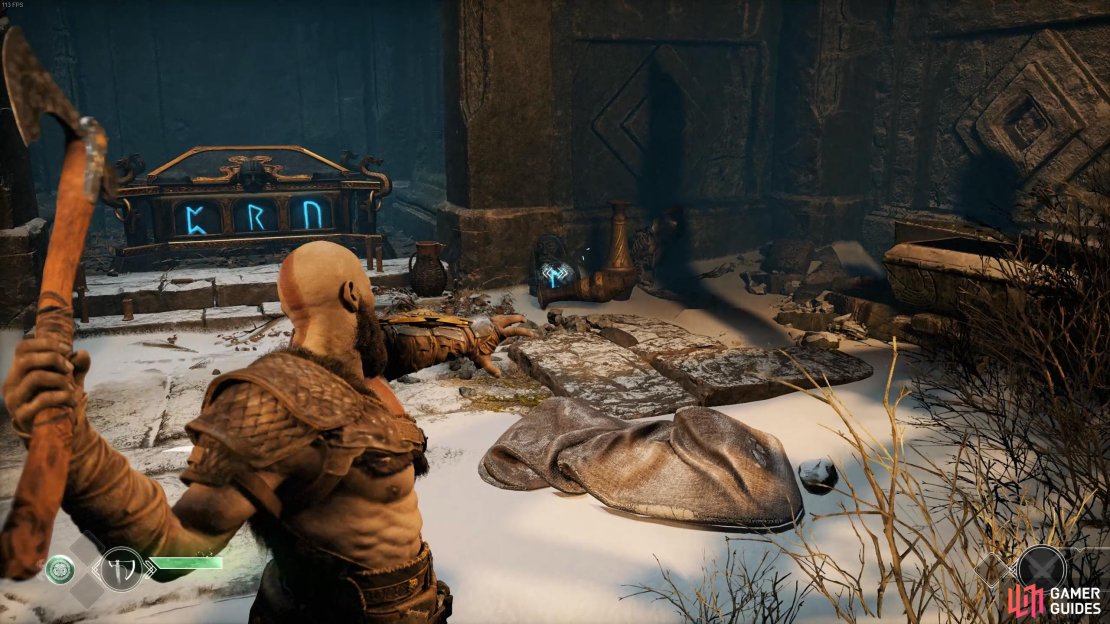
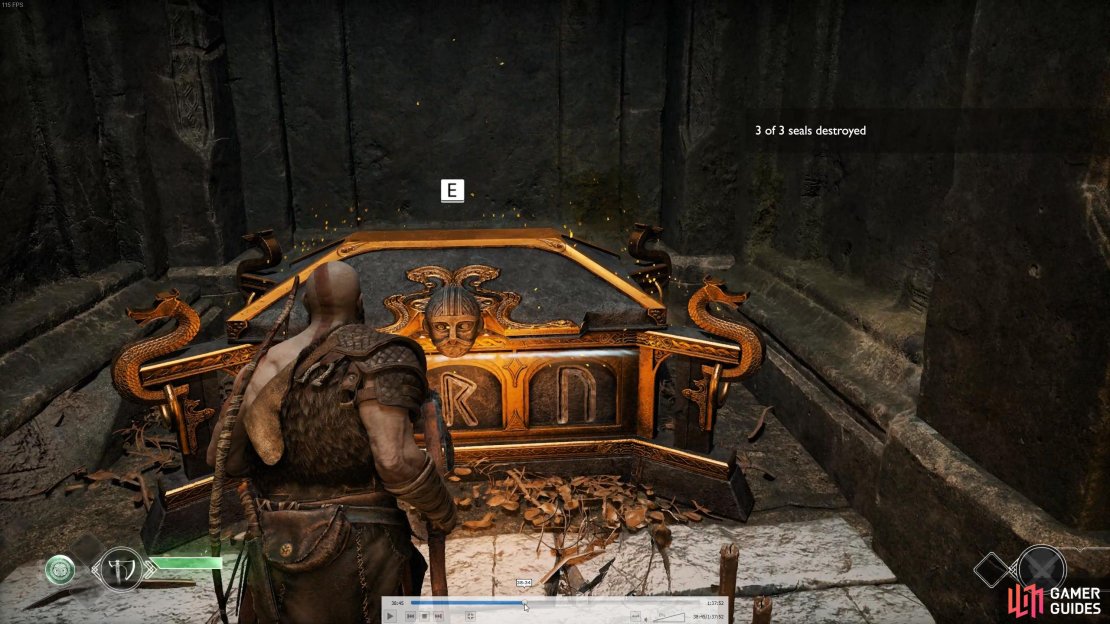
Climb the chain once more and head back to the temple ruins, taking a right as you enter (from the location you’re returning from) and break down the barricade in front of you. Inside you’ll find the first Nornir Chest.
You’ll find the first rune among the pots on the floor to the right of the chest. The next rune can be found behind the sconce, to the left of the entrance in the corner, toss the axe at it to hit it. Finally, the last rune can be found in the open coffin to the left of the chest. With the magical incantation gone from the chest, open it to find your first Iðunn Apple.
(1 of 4) The first rune is just to the right of the chest.
You can now finally follow Atreus and take the left path from the fork (right from exiting this small tomb) and cross the bridge to enter the main temple. Follow Atreus over the small gap, down the stairs and out into the main area of the temple.
You’ll have more Draugr to contend with here, if you’re quiet, you can get the drop on them without them attacking. From a distance, toss the axe at the legs of the nearby Draugr to get a free trip before the battle even begins. You’ll have four Draugr to deal with at first, take care to parry them and pay attention to the arrows around you indicating that you’re being targeted from a specific direction. More Draugrs will jump down from the ledge above as the battle continues, remember that these enemy types are susceptible to being tripped or launched, allowing you breathing space.
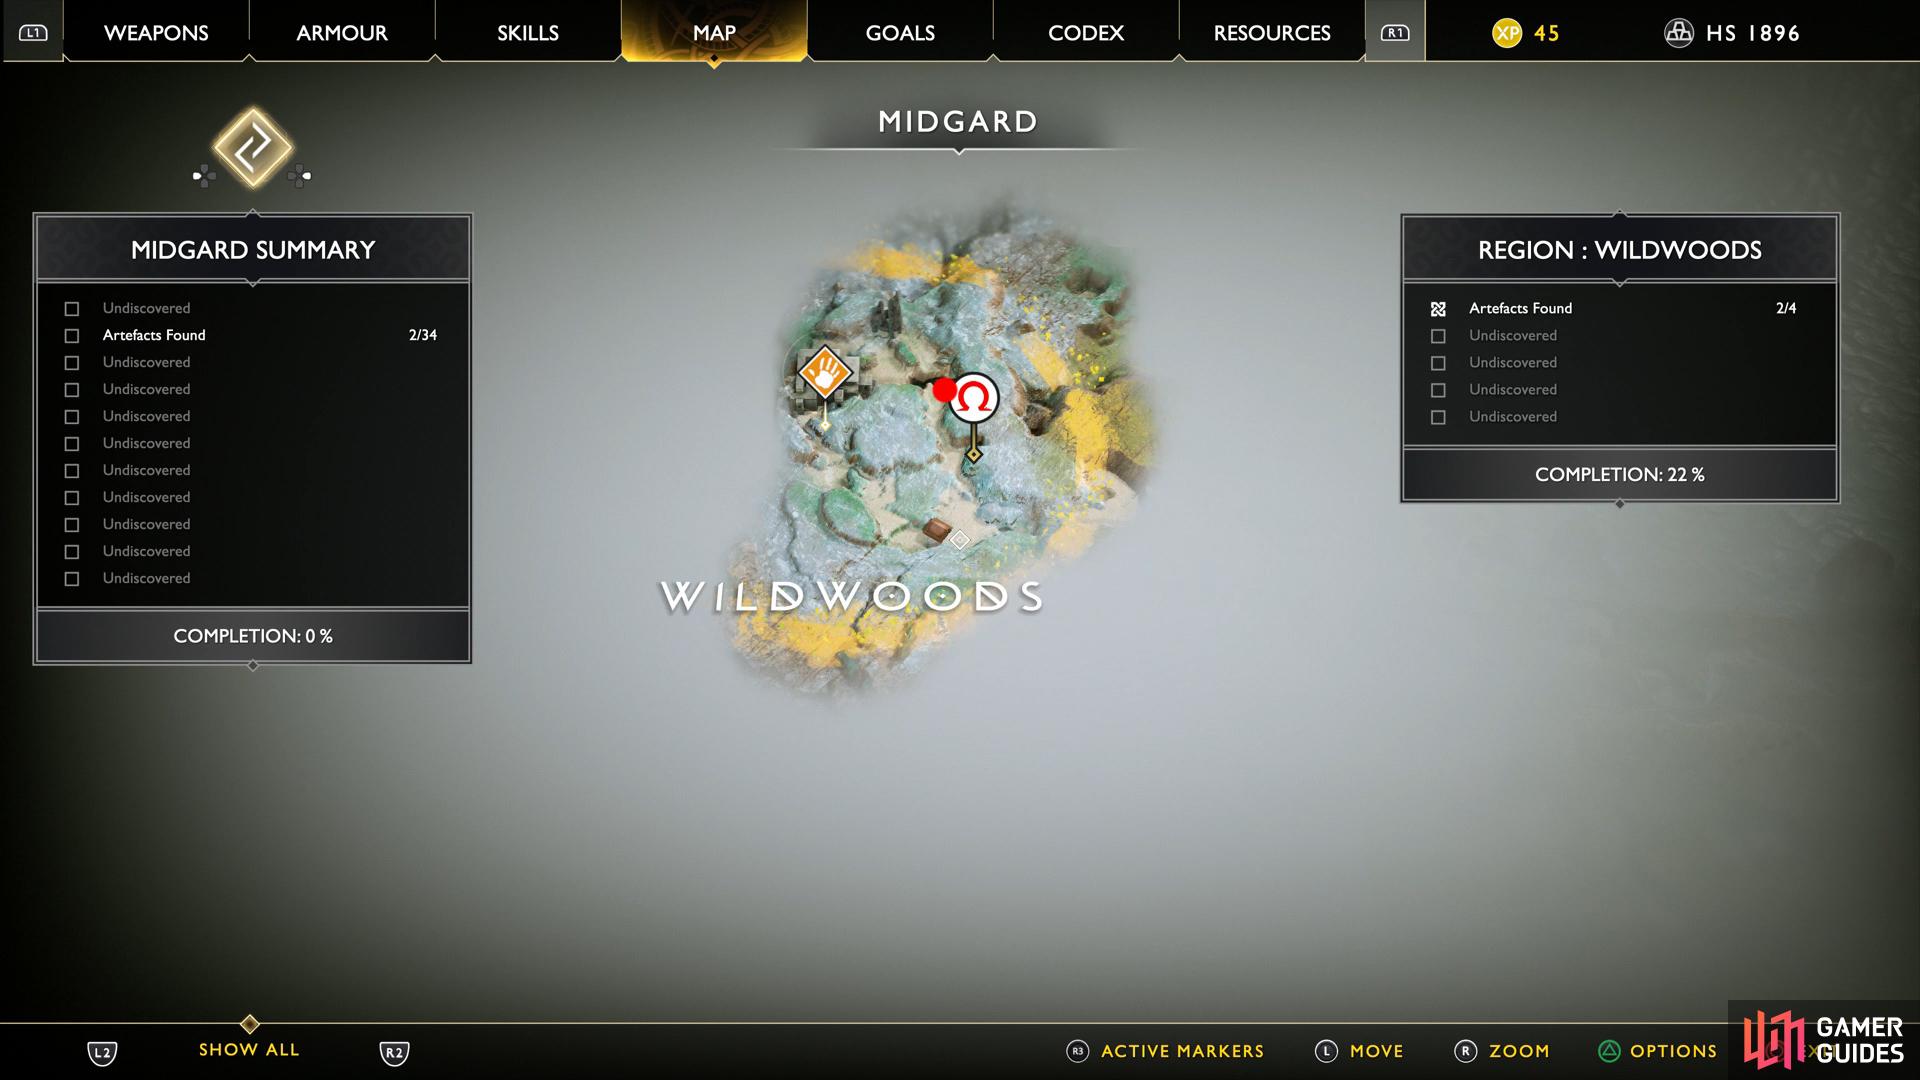
With the battle over, Atreus proceeds to the gate in front of you however ignore him once again for now. Turn directly behind you to find a door you can open that will lead you to the frozen lake below the bridge you passed earlier. Beware, two Wolves pounce on you from the right of the area followed by another wolf and Draugr upon their defeat. Once clear of hostiles you’ll find a sack of Hacksilver along with a healthstone by the nearby corpse, a coffin containing a larger sack of Hacksilver and the final Artefact for the Lost and Found quest.
The final Artefact for Lost and Found is here.
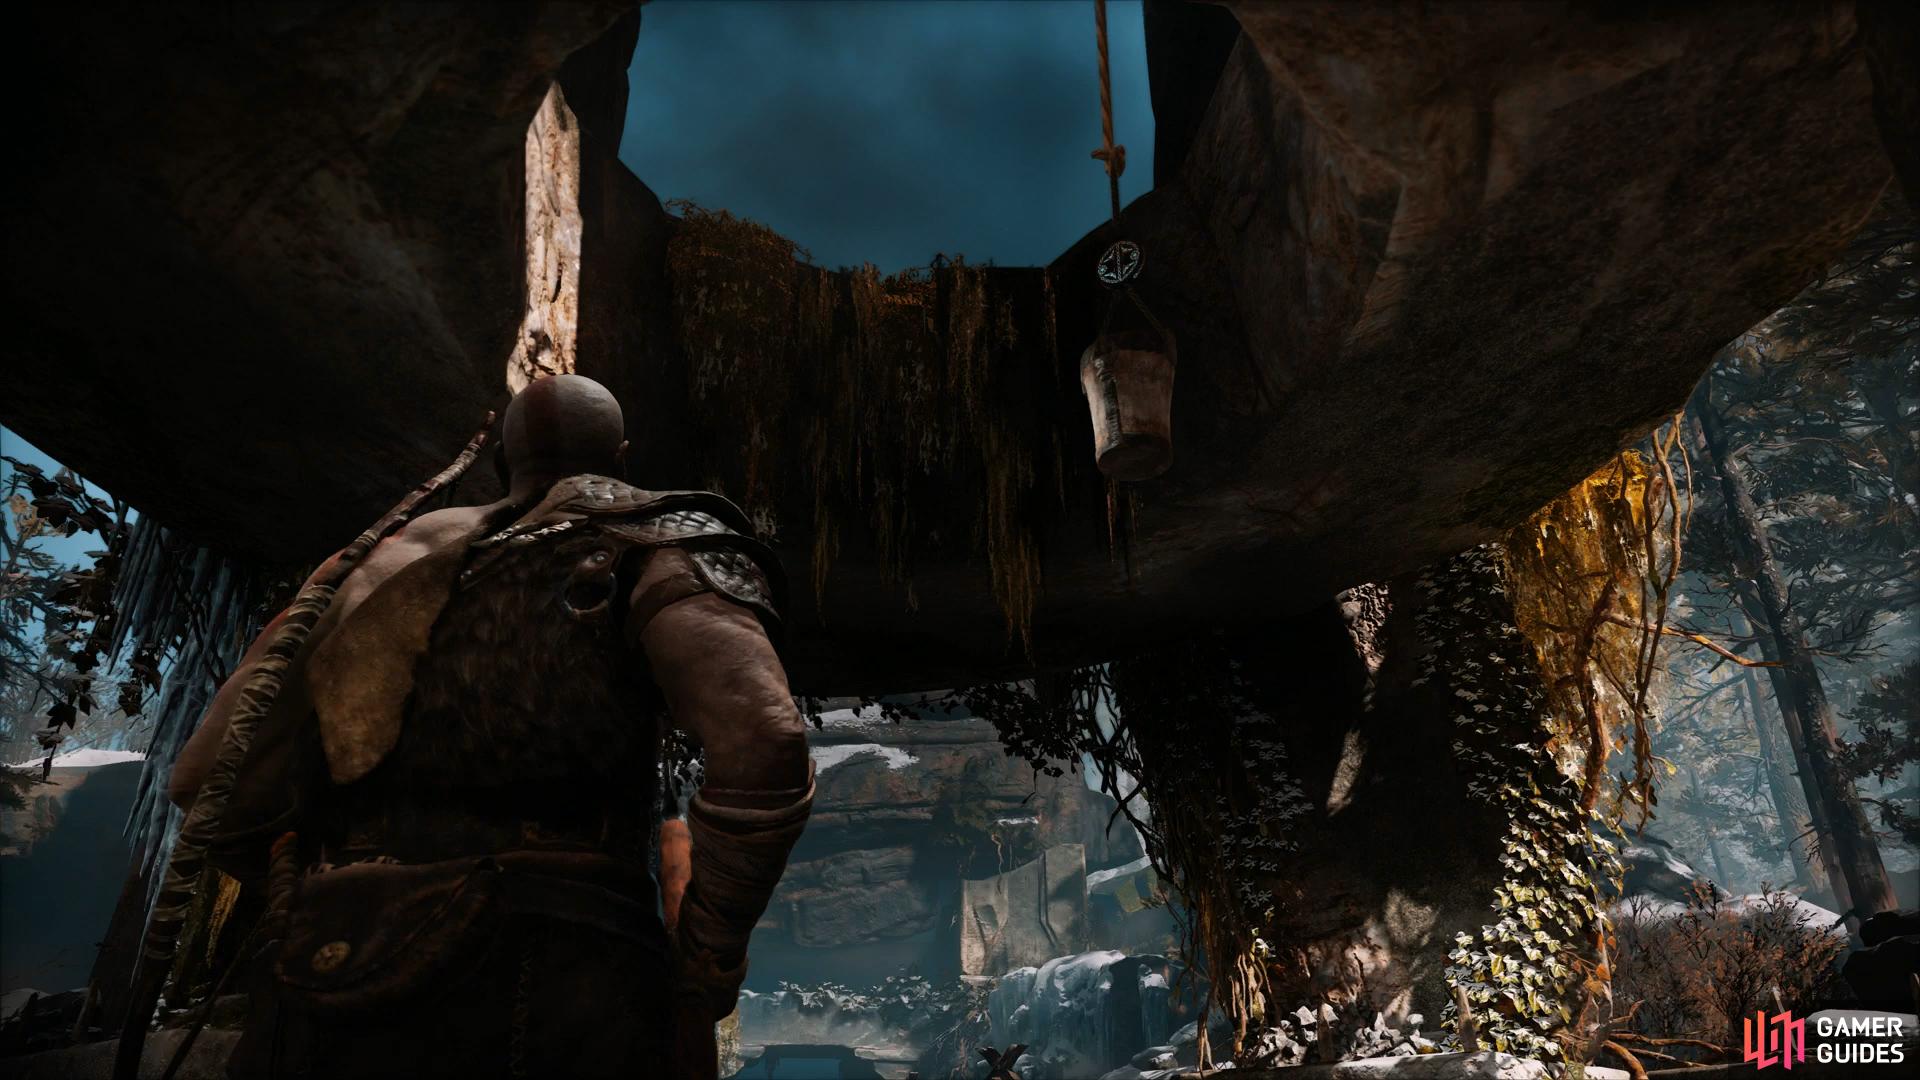
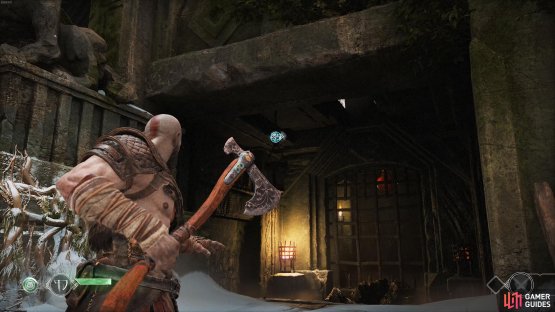
Return to the main temple area and look up to the right of the gate to find another container to knock down before proceeding to the chain itself. Take hold of it with the button or key and pull it as far as it goes and without releasing the chain, take aim with the axe and toss it at the large disc above the gate to freeze the gear in place.
Before you head through the gate however, look to your right to find another gate is now open, head inside and open the coffin within to obtain a large sack of Hacksilver. Head over to Atreus’ location and when presented with another locked gate, recall the axe to open the gate in front. If you’re struggling with the puzzle, see the gif below.
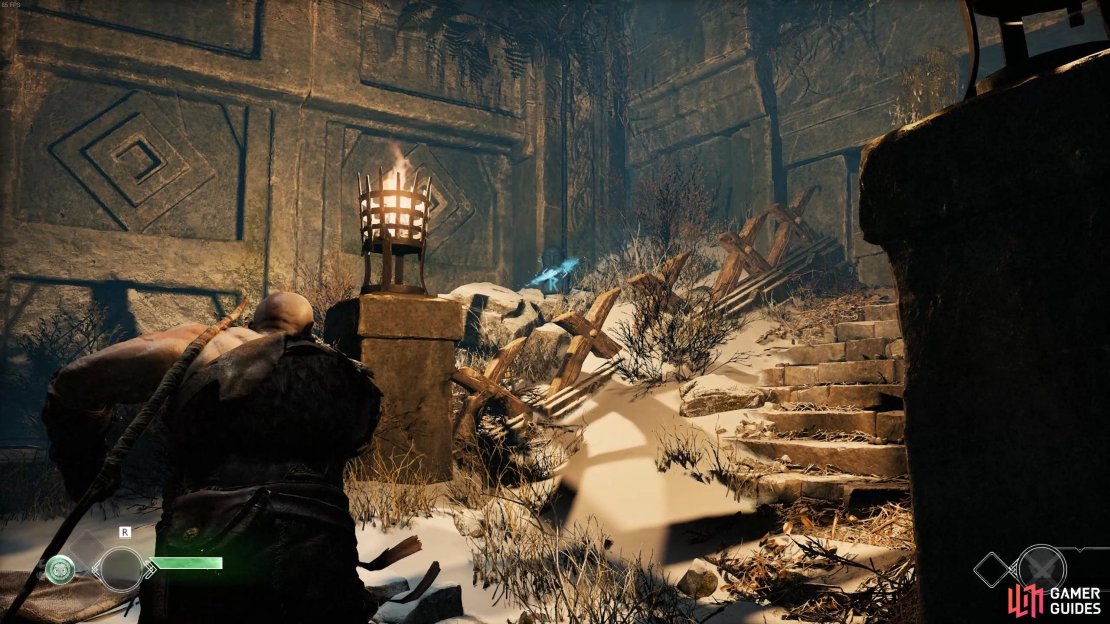
Take a left at this next fork, picking up the sack of Hacksilver on your way to find another coffin in the corner containing yet another large sack of Hacksilver. Continue around this corner to find a chain you can climb to access the upper section of the temple. Look to your right to spot a large bomb sitting near a pile of rubble, tossing the axe at these will detonate them. There’s also another container for you to knock down overhead before looking above from the small steps that you’re on. You’ll spot a runic disc that you can toss the axe at to drop the bomb, exploding the debris and presenting you access to the gate. Inside you’ll find two sacks of Hacksilver and another small chest containing more.
Continue along up here to find more steps leading to your right, at the top look to your right to find another small chest containing Hacksilver and a barricade you can knock down with the axe. At the back is the first Jötnar Shrine, open it with the [Circle] button and Atreus will tell you the story within.

(1 of 2) You can throw your axe at the discs highlighted in blue to unlock unreachable areas.

You can throw your axe at the discs highlighted in blue to unlock unreachable areas. (left), This is the first of 11 Jotnar Shrines, each one representing tales of Norse mythology. (right)
You now have everything the temple has to offer so head back down the chain and follow the other path to the end to find the deer Atreus was tracking. Help him aim by holding the  button or left
  key and then fire with
  or
or  once the reticule is red. With the deer successfully slain and a valuable lesson learnt for Atreus it seems the task at hand is over however a Troll has other ideas.
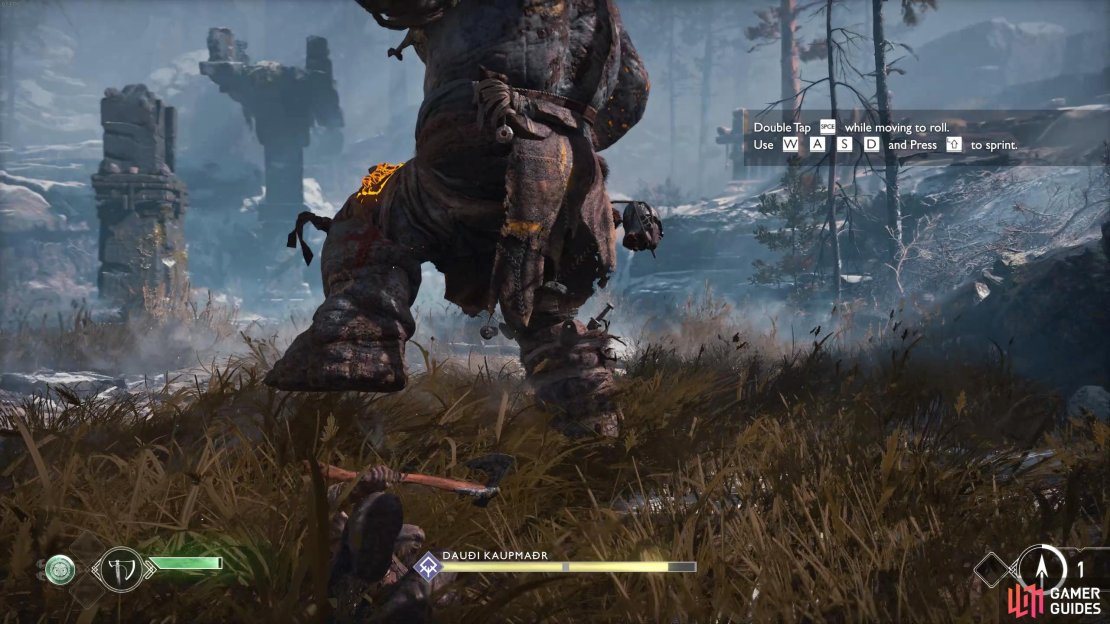
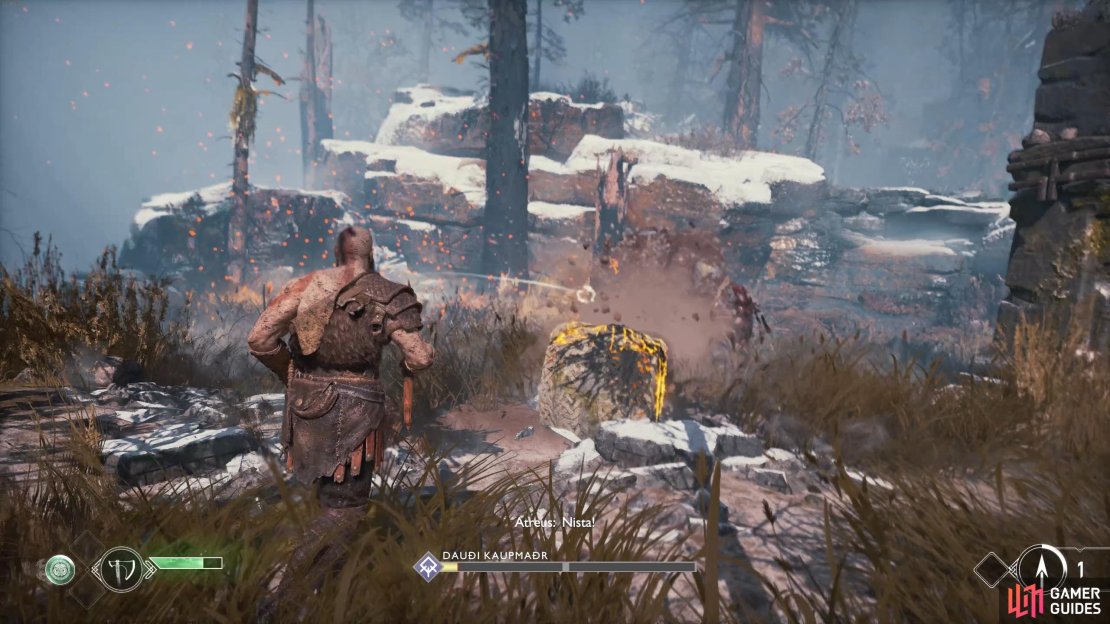
Defeat Dauði Kaupmaðr
This will be your first taste of combat with a larger enemy and you’ll have to be a lot more careful. Although intimidating at first, you’ll soon discover his attacks are easy to avoid. He only has three main attacks available to him at the start with another once his health drops a little.

Dauði Kaupmaðr, God of War.
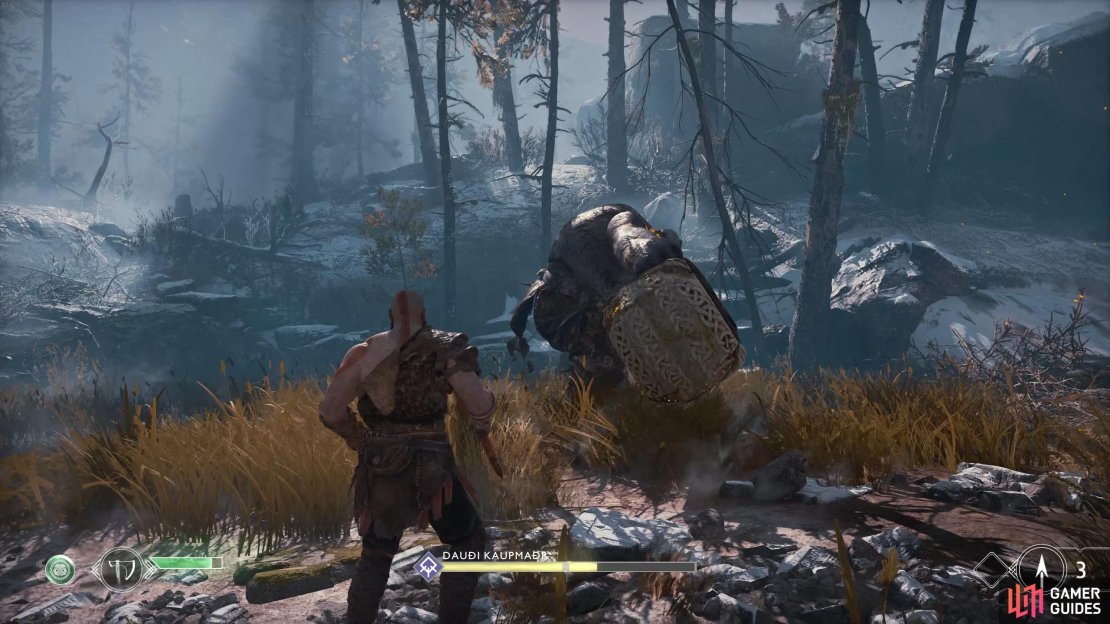
His main attack is a thrust of his pillar towards Kratos when you are at range, this is sometimes followed up with a slam of his pillar down onto the ground. You can easily avoid these by keeping your distance and evade rolling to the side of the attack. His other attack is a Leg Stomp if you’re too close to him, this will cause damage around the center of him so if you’re in close for a combo, you’ll take damage from this.
Finally, if Atreus distracts him enough, the Troll will go into a frenzy, constantly swinging the pillar in Atreus’ location, be careful if you try to hit him from behind during this because you can be hit from the pillar as he pulls it back. Doing this will tire him out however, giving you an opening for some combos while he recovers his stamina.
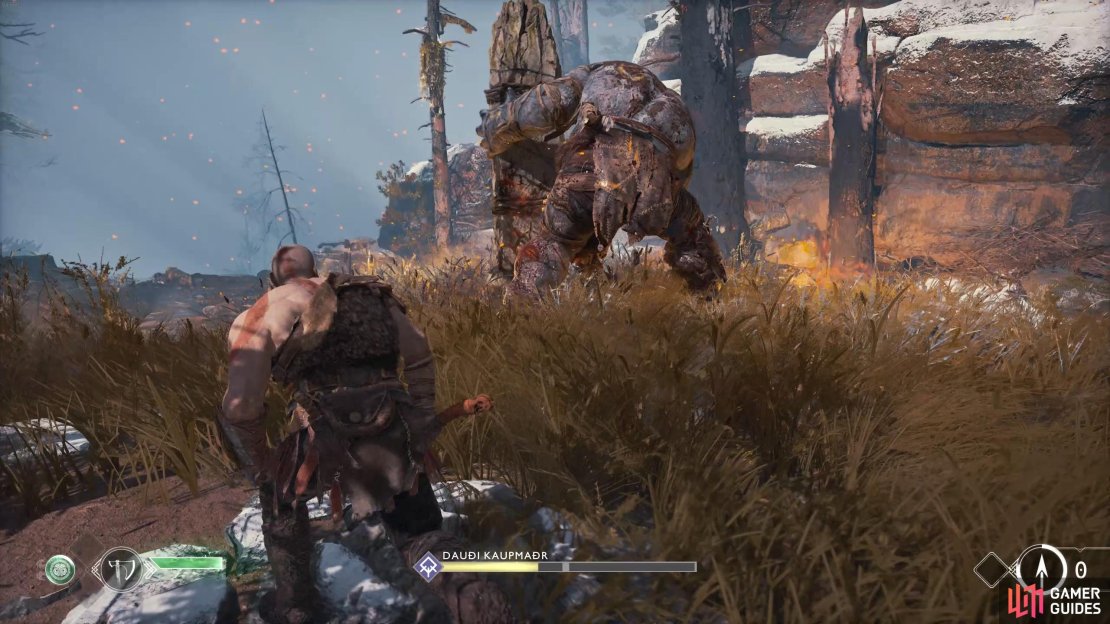
The best way to attack Dauði Kaupmaðr is by far distracting him with Atreus’ arrows which you can ask him to fire with the button or key, Atreus will shoot at the enemy you have the camera centered on. Although he will take little damage from this, it will shift the Troll’s attention to Atreus, giving you time to dash in, get a short combo in and then back out before you take damage from the Leg Stomp. You can also stun the Troll by tossing the axe at his head when he roars in your direction, giving you another opening for a combo. If you’ve unlocked Executioner’s Cleave already (500 XP from the Axe tree) then use that when the Troll is tired to score some big damage.
If you find yourself in danger, look around the arena, there is a healthstone that you can pick up to replenish your health if you need it. Inflict enough damage and when near death, you’ll see a red circle over the Troll’s head, dash in and hit the  button or
  to perform a finisher.

Return to the House
With the Troll vanquished, pick up any of the healthstones should you need it and the large sack of Hacksilver where the Troll fell. You will have received 100 XP for defeating him and you should have at least 500 XP by now to purchase your first skill, Executioner’s Cleave being the standout choice.
Head over to the nearby ledge and boost Atreus up and continue along the path until you’re introduced on how to stun enemies.
All enemies you encounter will have a small red stun bar under their larger health pool. You can fill this bar with arrows from Atreus and bare handed attacks from Kratos, once the bar is full the enemy will be stunned, giving you the opportunity to dash in and use or to perform a finisher. This is an important skill to master as some enemies will not take damage from the axe and instead will require you to stun them.
Have Atreus initiate the battle with the nearby Draugrs with his arrows and follow up yourself with some lethal combos. You’ll want to keep Atreus firing his arrows in combat at all times, you can see his arrow count in the bottom right of the screen, these will replenish on a cooldown. Put your new skills into action and defeat the small group of Draugrs before picking up the small sack of Hacksilver on the left and a healthstone to the right should you need it.
Don’t proceed up the ledge just yet, walk forward to find a mirror on the door up ahead. Approaching this will add it to your map for future reference, you’ll have to return here later to gain access.
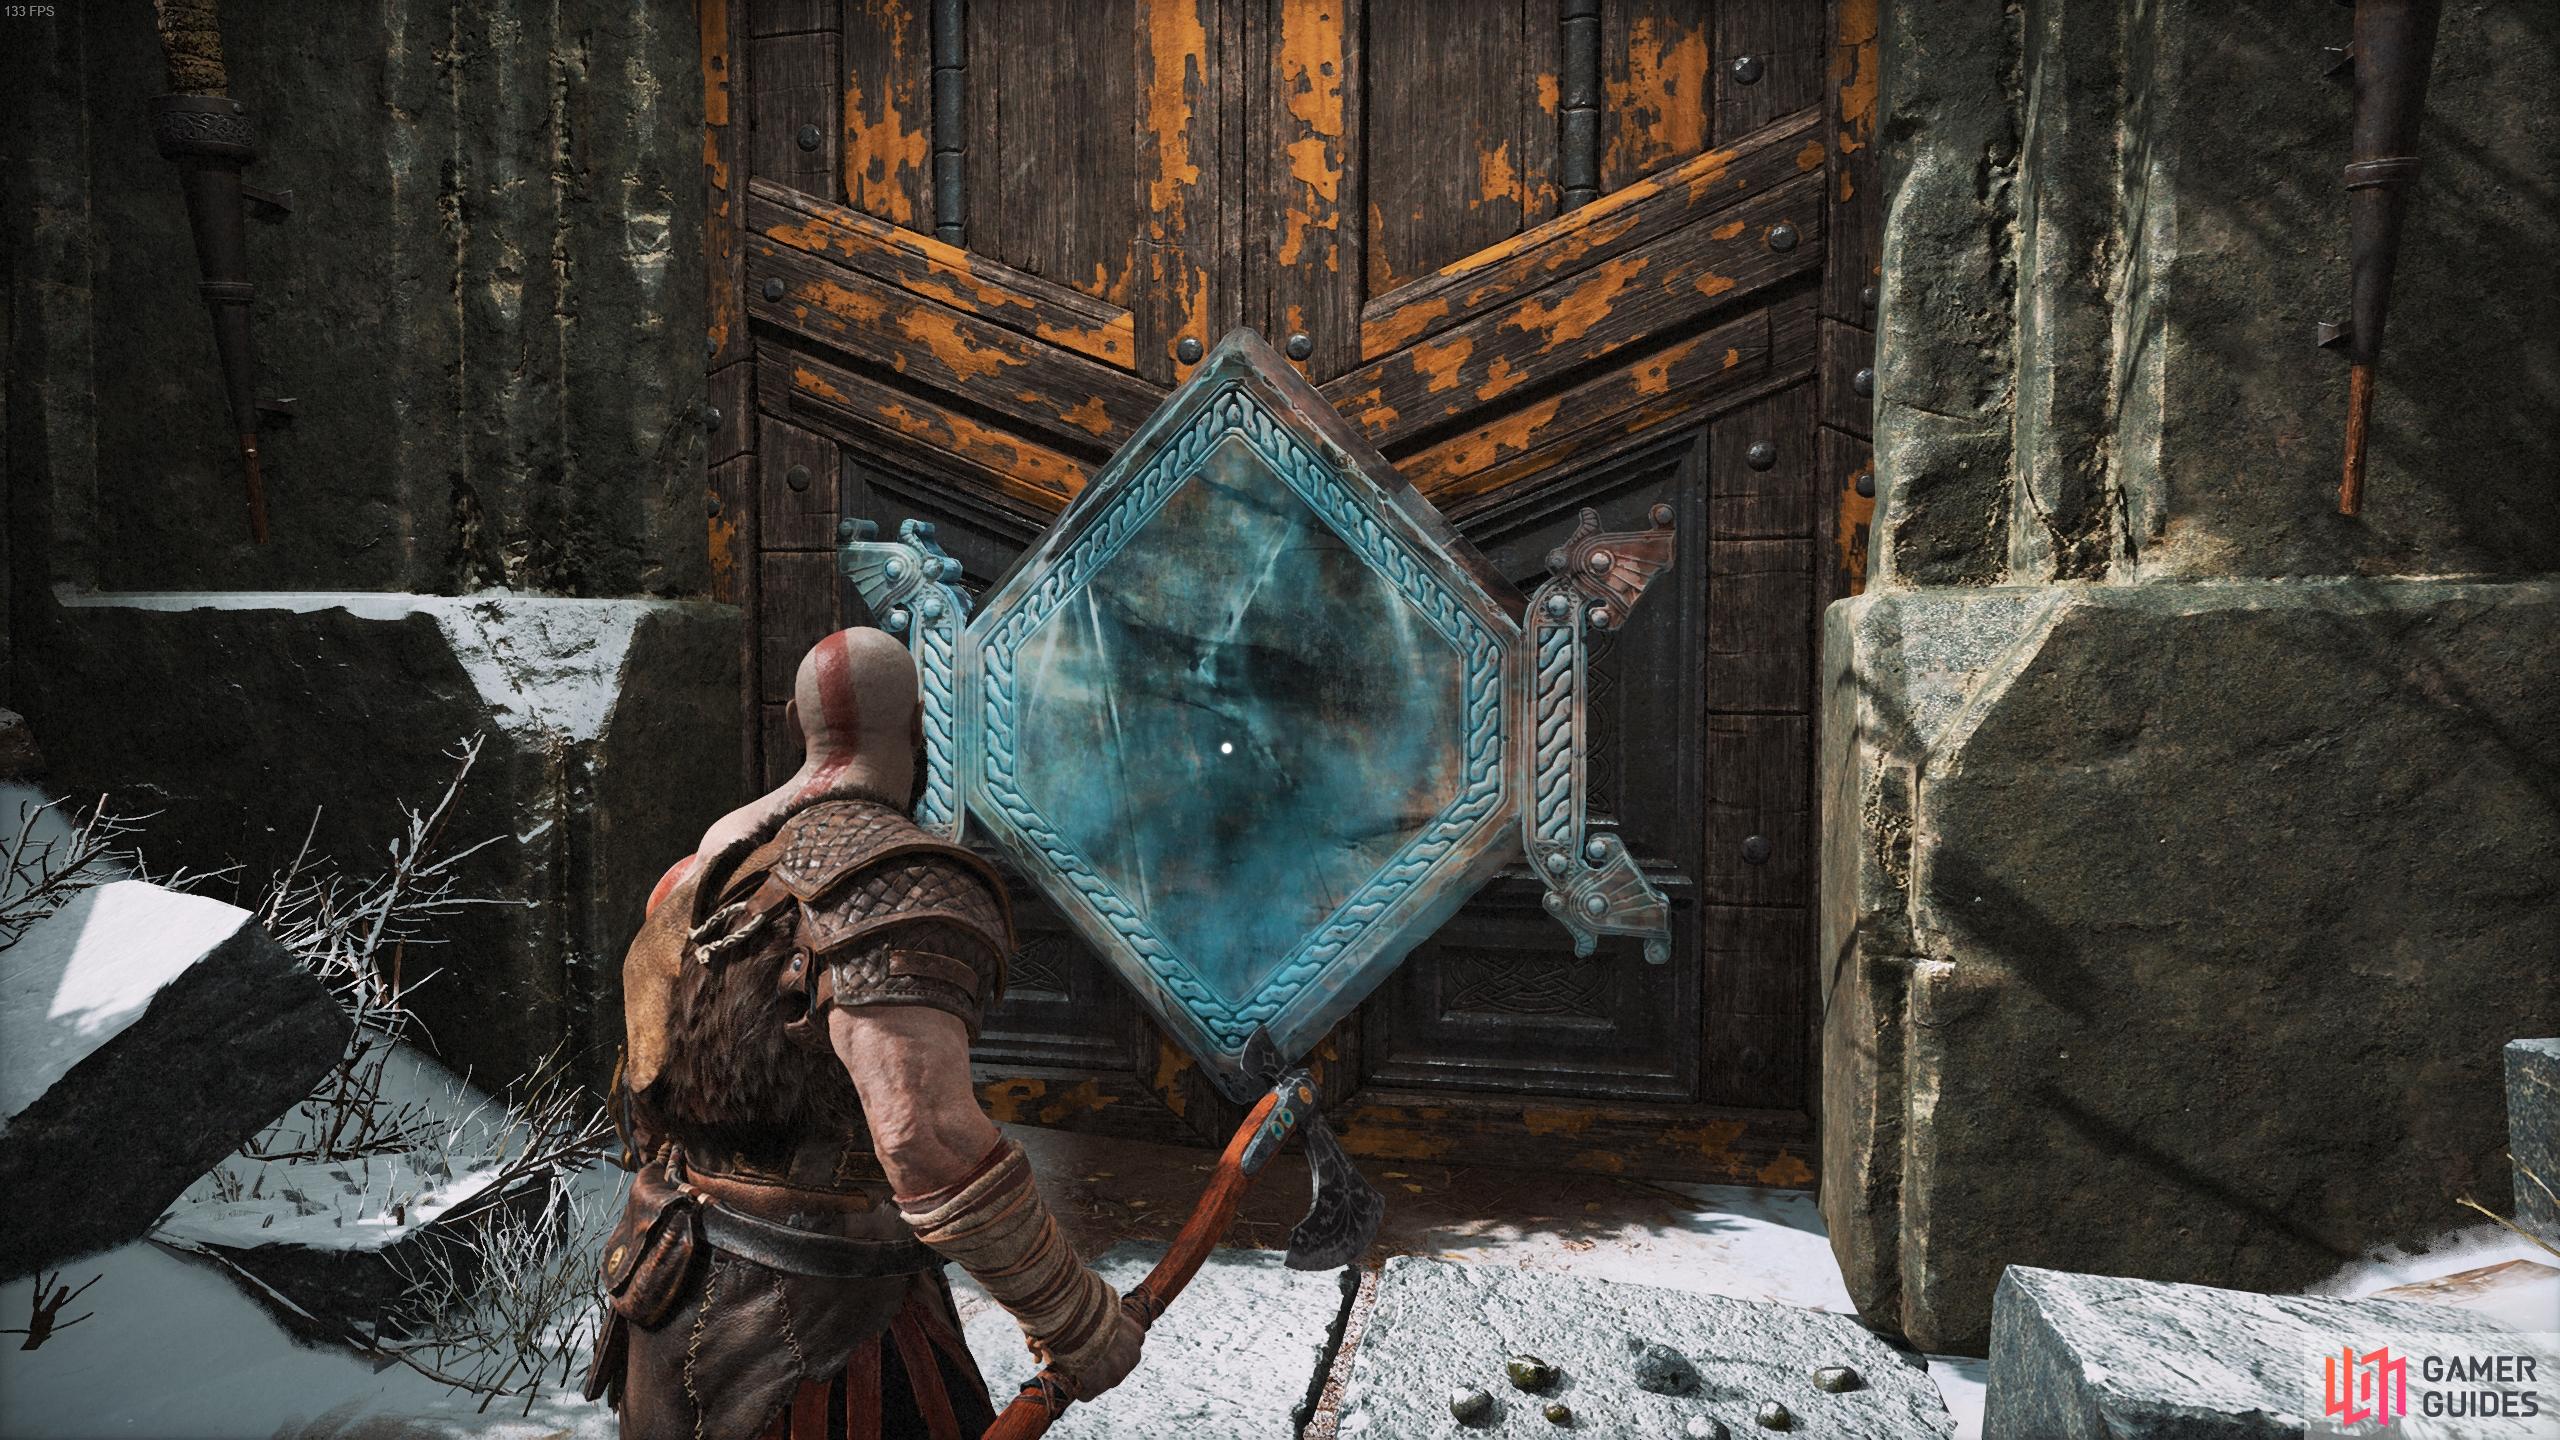
You can return here later to access the hidden chamber.
Climb the ledge now to come face to face with yet another pack of Draugrs, you’ll be taught here about how to lock on to enemies and change your target. As a general rule, when faced with a horde of enemies, refrain from locking on, you need to be able to get across the battlefield with ease. You’ll find the area burning in the corner here, you can knock the enemies into this to set them on fire causing damage over time (and unlocking another Labor).
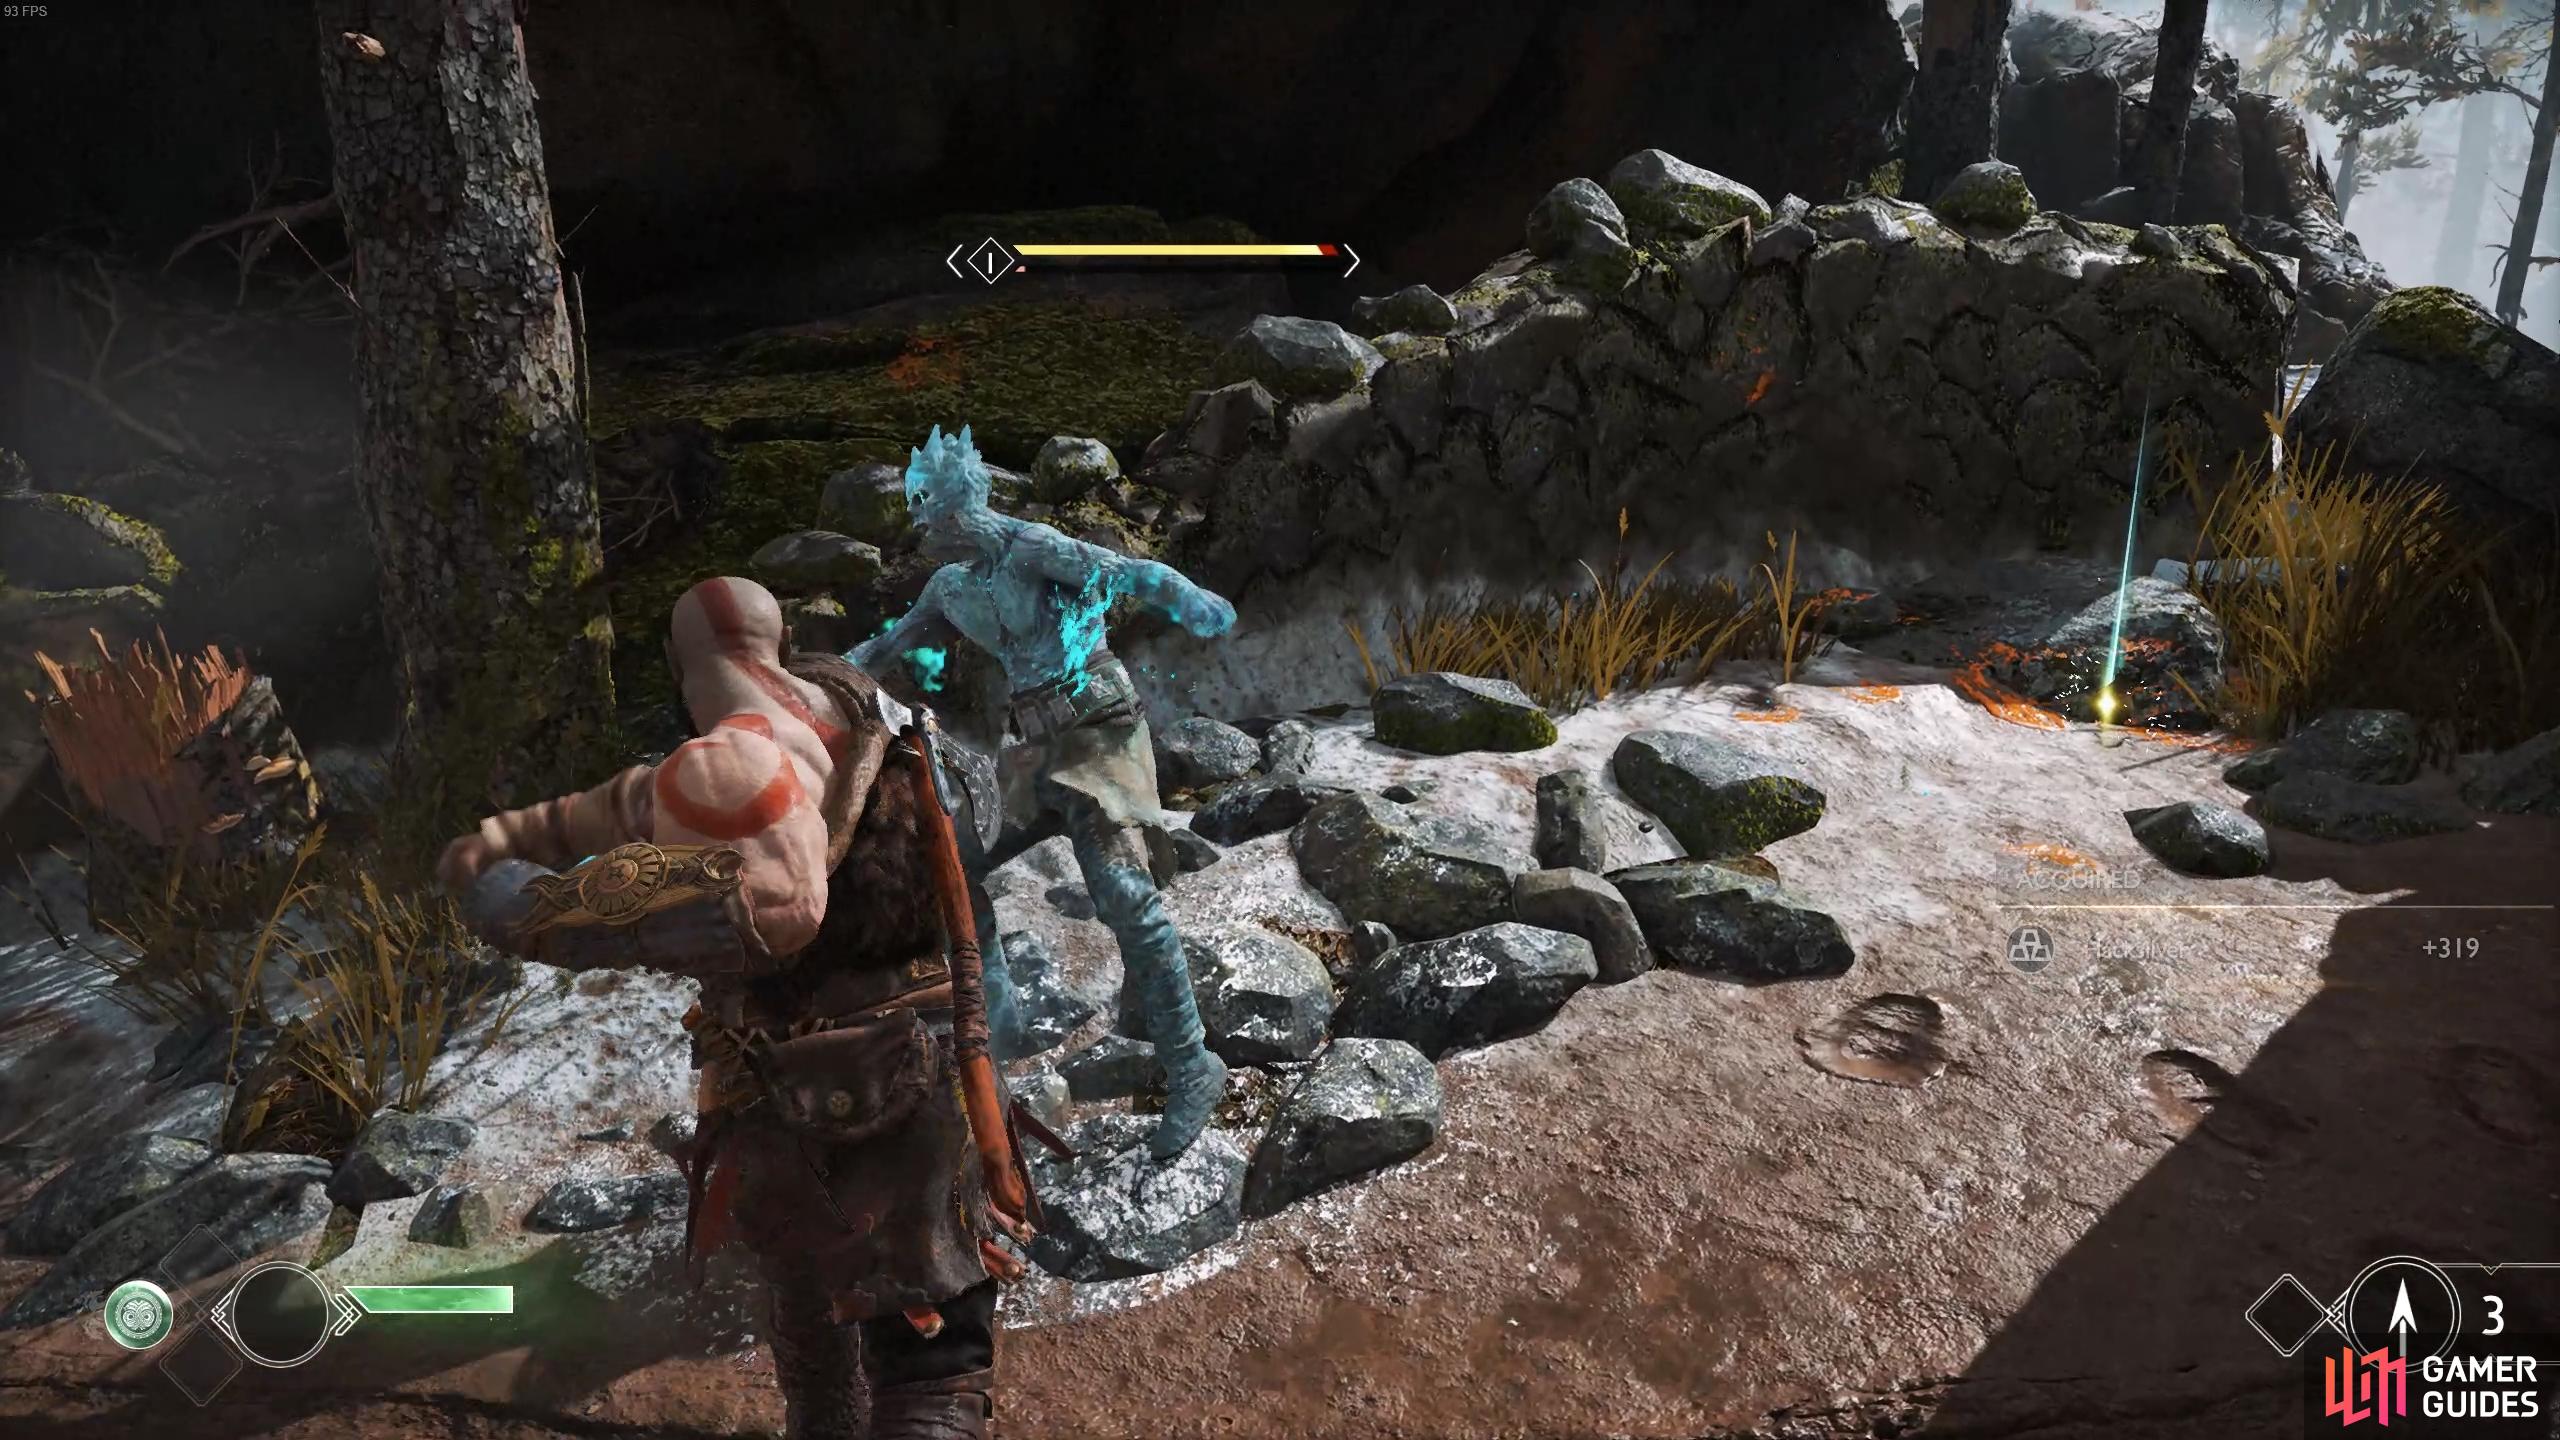
You can’t damage these enemies with your axe, but you can with your fists.
Upon the defeat of the Draugrs, a new enemy type will rise from the ground, a Hel-Reaver Lord. As you may guess from its icy nature, he’s resistant to your Leviathan Axe, switch to your fists and use Atreus’ arrows to stun it giving you the opportunity for a grab. With the area clear of enemies, knock down the pile of logs by tossing the axe at the runic disc above and then jump down the ledge.
You’ll find yourself back in the clearing behind the house, walk forward and to the front of the house, entering it in the process. With the ashes gathered from his beloved, approach Atreus in the house, your conversation will be interrupted by a rather crude intruder, open the door to see to him.
How to Defeat the Stranger
This will be your first major challenge, do not be fooled by his small stature, the Stranger is a fearsome opponent indeed. You’ll have to fight him across several stages and his attacks will vary as the battle rages on.
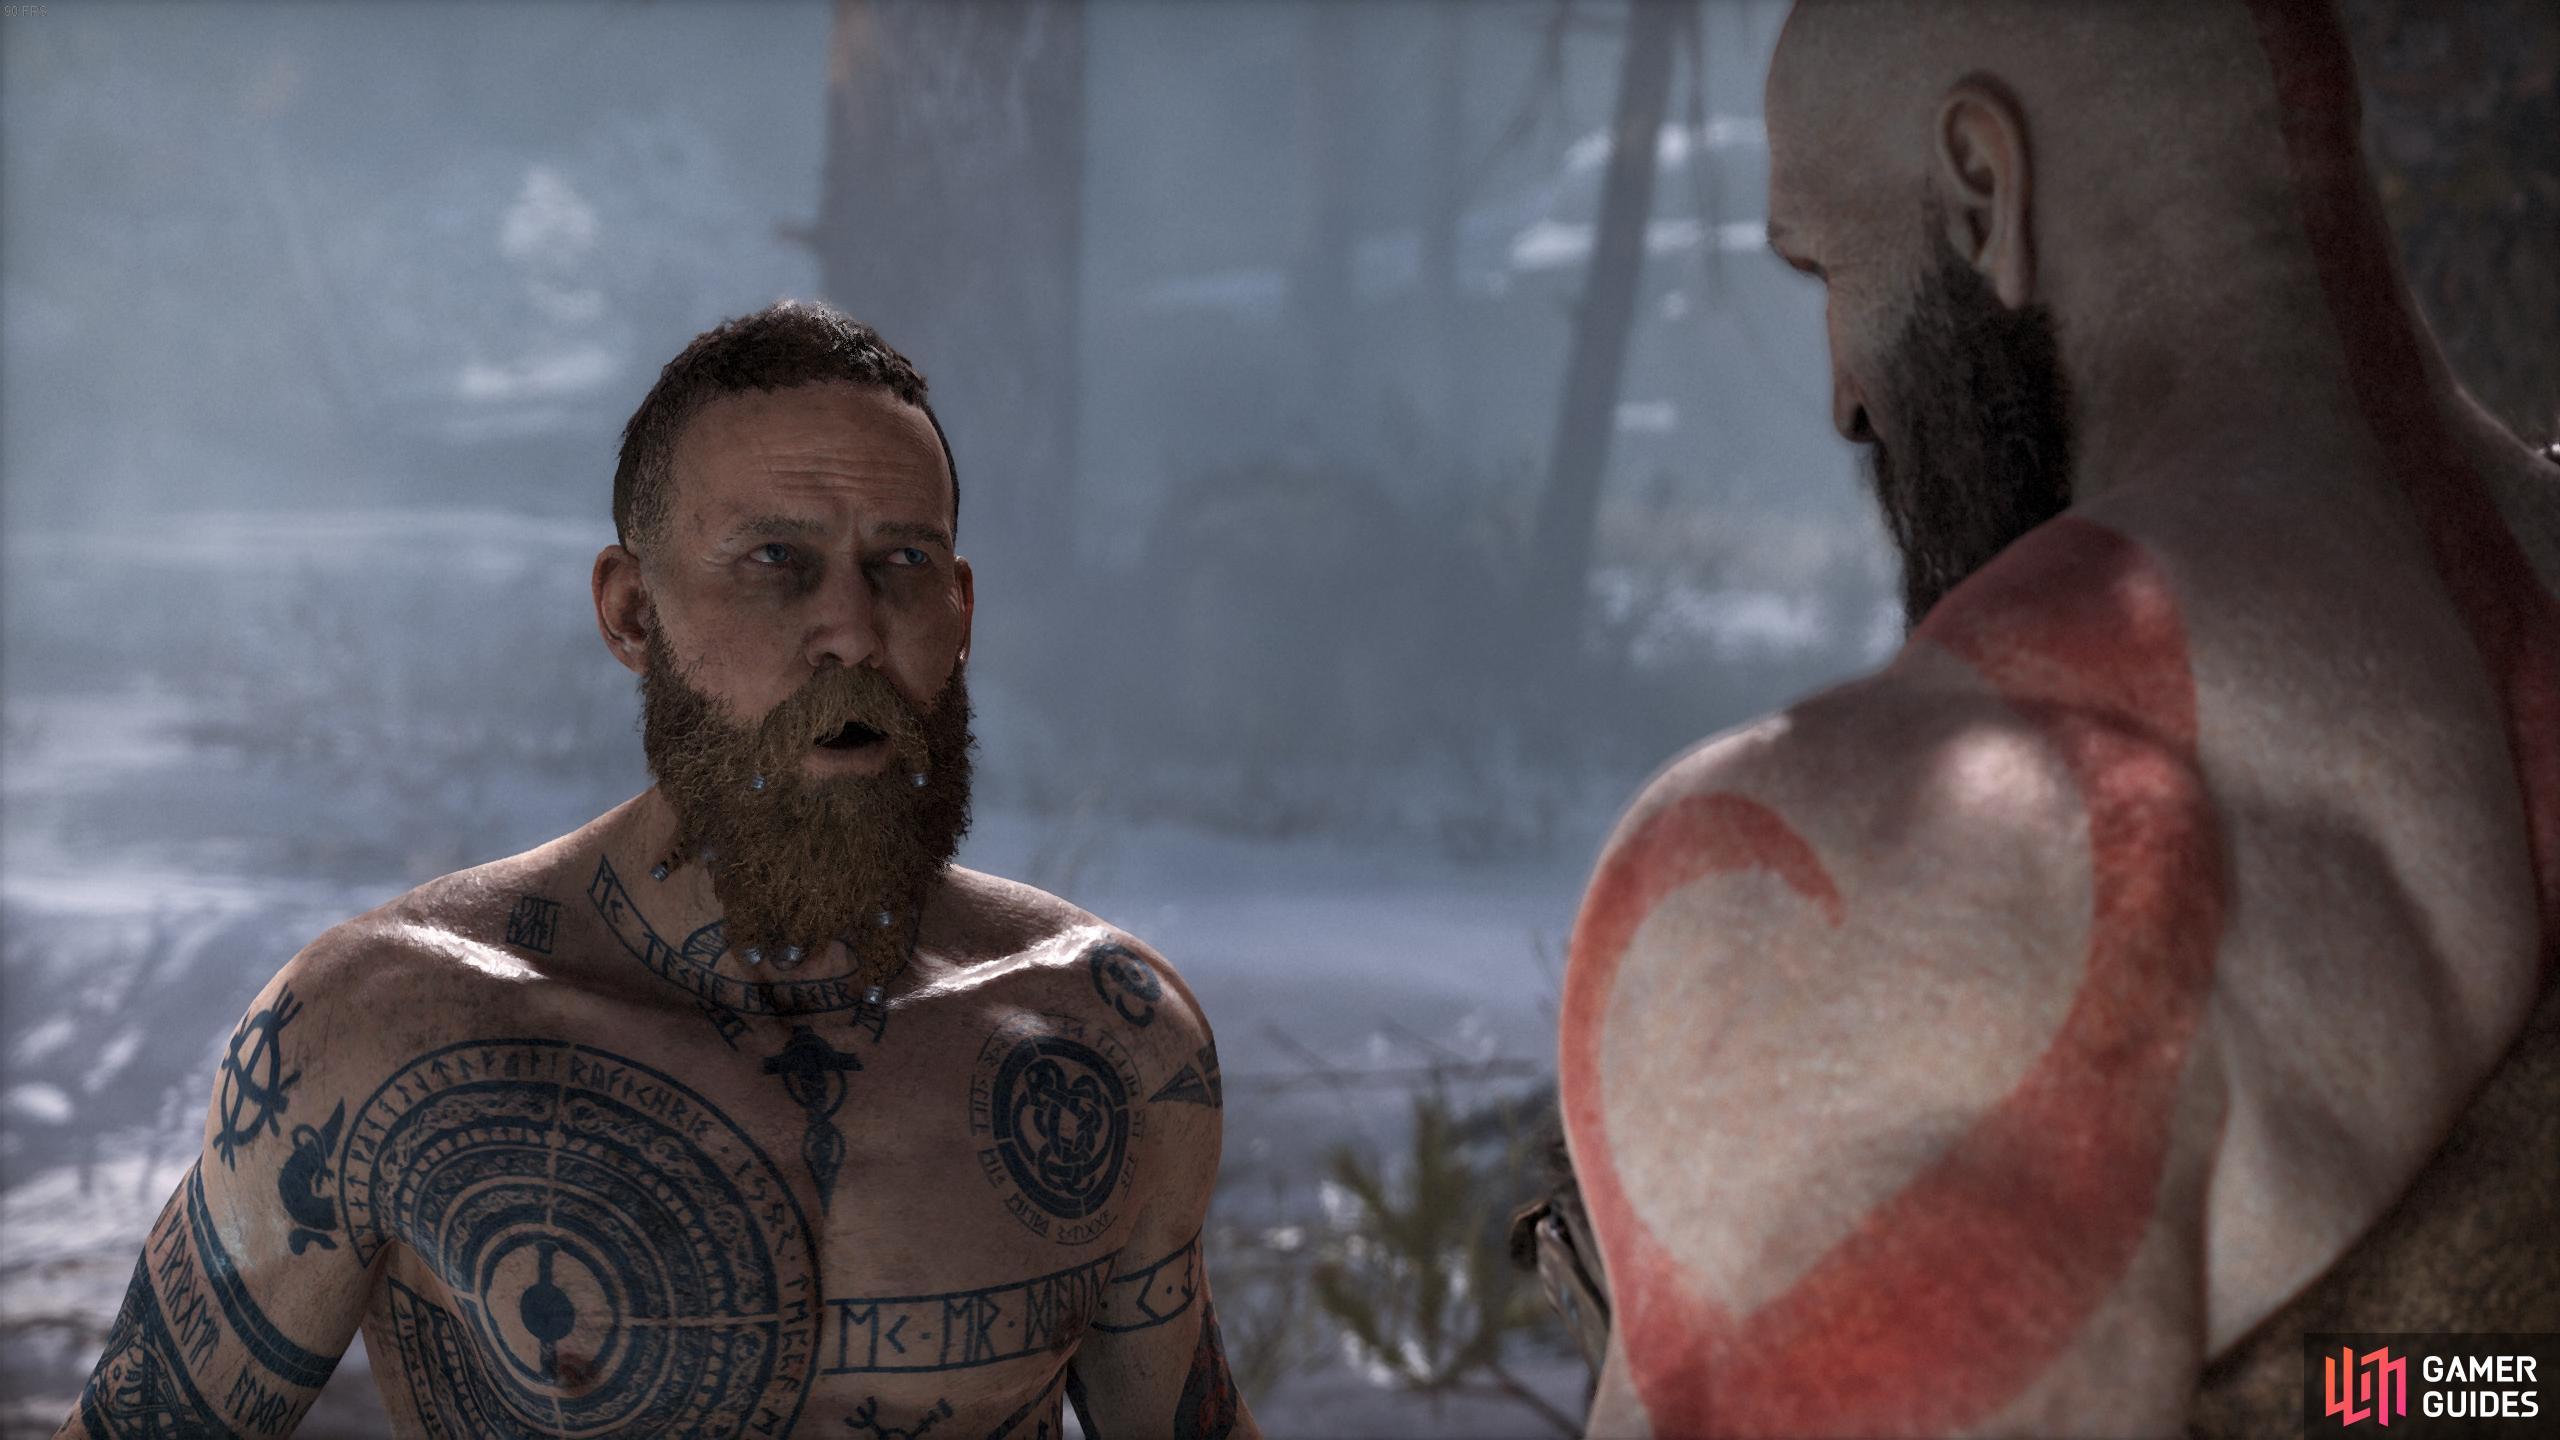
The Stranger, God of War.
During the first stage you’ll easily be able to get several combos on the Stranger, try to perform a launch combo and juggle him in the air during your combos. As for the Stranger, he will dart in towards you at an incredible pace, you can Parry this if you time it right just as he goes to punch you to open up an opportunity for a combo. If you can’t find the timing for the Parry, block the attack instead or dodge to the side. His other attack will be preceded by a red ring around him before he slams his fists into the ground, causing fissures to shoot along the ground toward you, this cannot be blocked so dodge to the side.

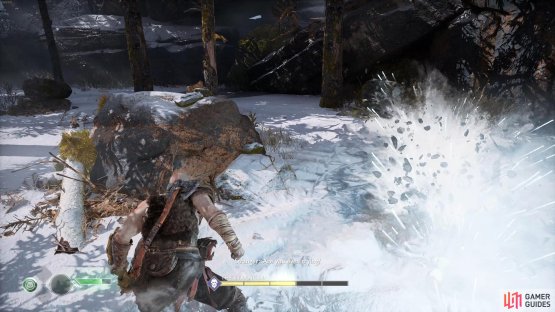
(1 of 2) If you see the Stranger raise his arms, be ready to dodge.

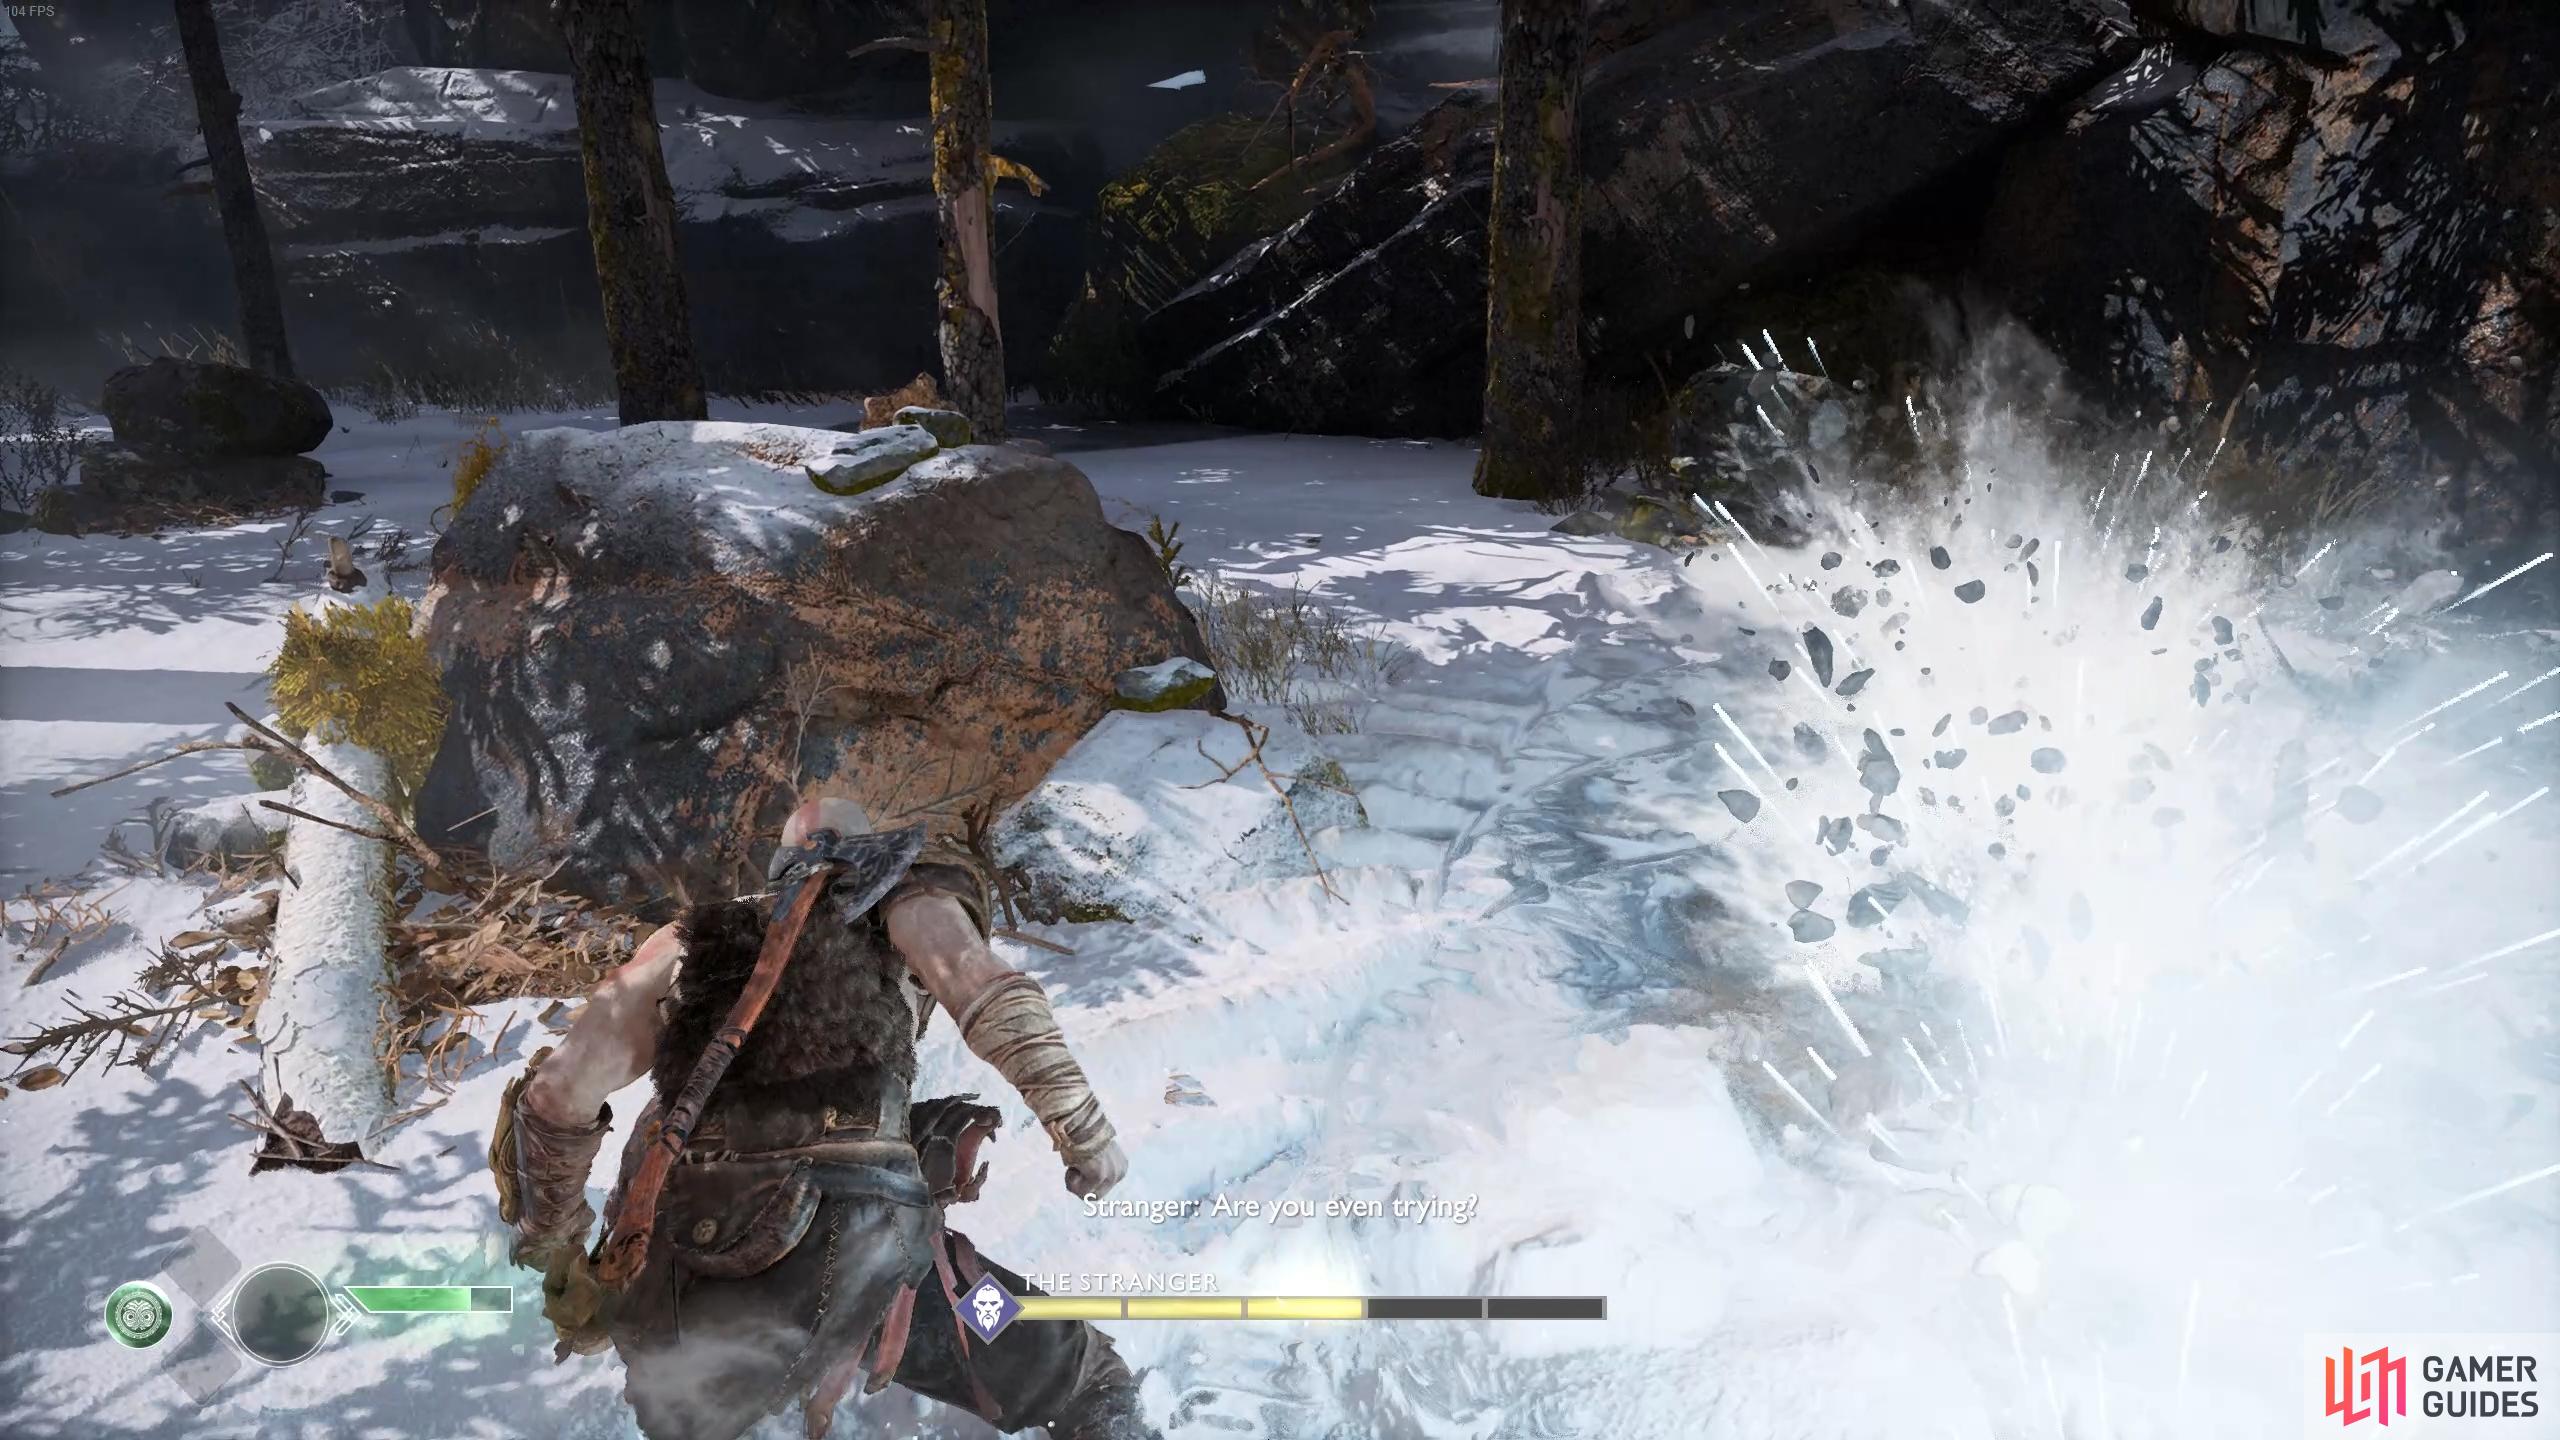
If you see the Stranger raise his arms, be ready to dodge. (left), You’ll be hit by an ice blast if you fail to dodge the attack. (right)
After you take him to just under half health, the Stranger will launch you onto the roof before you turn the tables on him, use the light attacks to inflict more pain on him, if he aims a punch towards you, use block to counter, once you’ve dealt enough damage the battle will continue.
With his health returned to him, the Stranger sends Kratos hurtling into the rocks. You’ll notice the bar beneath Kratos’ health is steadily filling and once full, press the and  buttons or
  and together to trigger Spartan Rage.
You’ll now be in the second stage of the battle, Kratos will be in his Spartan Rage state so make use of this to deliver huge amounts of damage to the Stranger. Pressing the or button consecutively will perform a brutal punching combo and the or button will cause Kratos to rise in the air followed by a slam on the ground. You should be able to take his health down to just under half before your Rage ends after which the battle follows the same strategy as the first stage.
With the Stranger under the large boulder that Kratos toppled on him, walk back toward the house however the Stranger is not done yet. You’ll find yourself at the bottom of a canyon after the Stranger’s latest attack, climb to the top and the final stage of this battle begins.
For the final stage, the Stranger gains one more attack on top of his ones from the other stages. He will now launch himself into the air before landing where Kratos is, keep an eye on the arrows around Kratos to see where he is and dodge roll out of the way. Other than this, repeat your attacks from the previous stage to take the Stranger down for good.
For a demonstration of how to avoid different types of attacks with blocks and dodges towards the end of the fight, see the gif below.
Beaten and bruised, stumble back toward the house and enter to find Atreus. The house is no longer safe, ready or not, the journey now begins in earnest. Defeating the Stranger will unlock the The Journey Begins achievement.
No Comments