


Lake of Nine, God of War.
Exploration: Lake of Nine Guide
You now have access to a large number of side content for the first time. The Lake of Nine is vast with many secrets to discover and now is a great time to begin exploring, much to Kratos’ dismay. You’ll find more Artefact sets, hidden Ravens, new Labors and the addition of Favors.
Tyr’s Temple
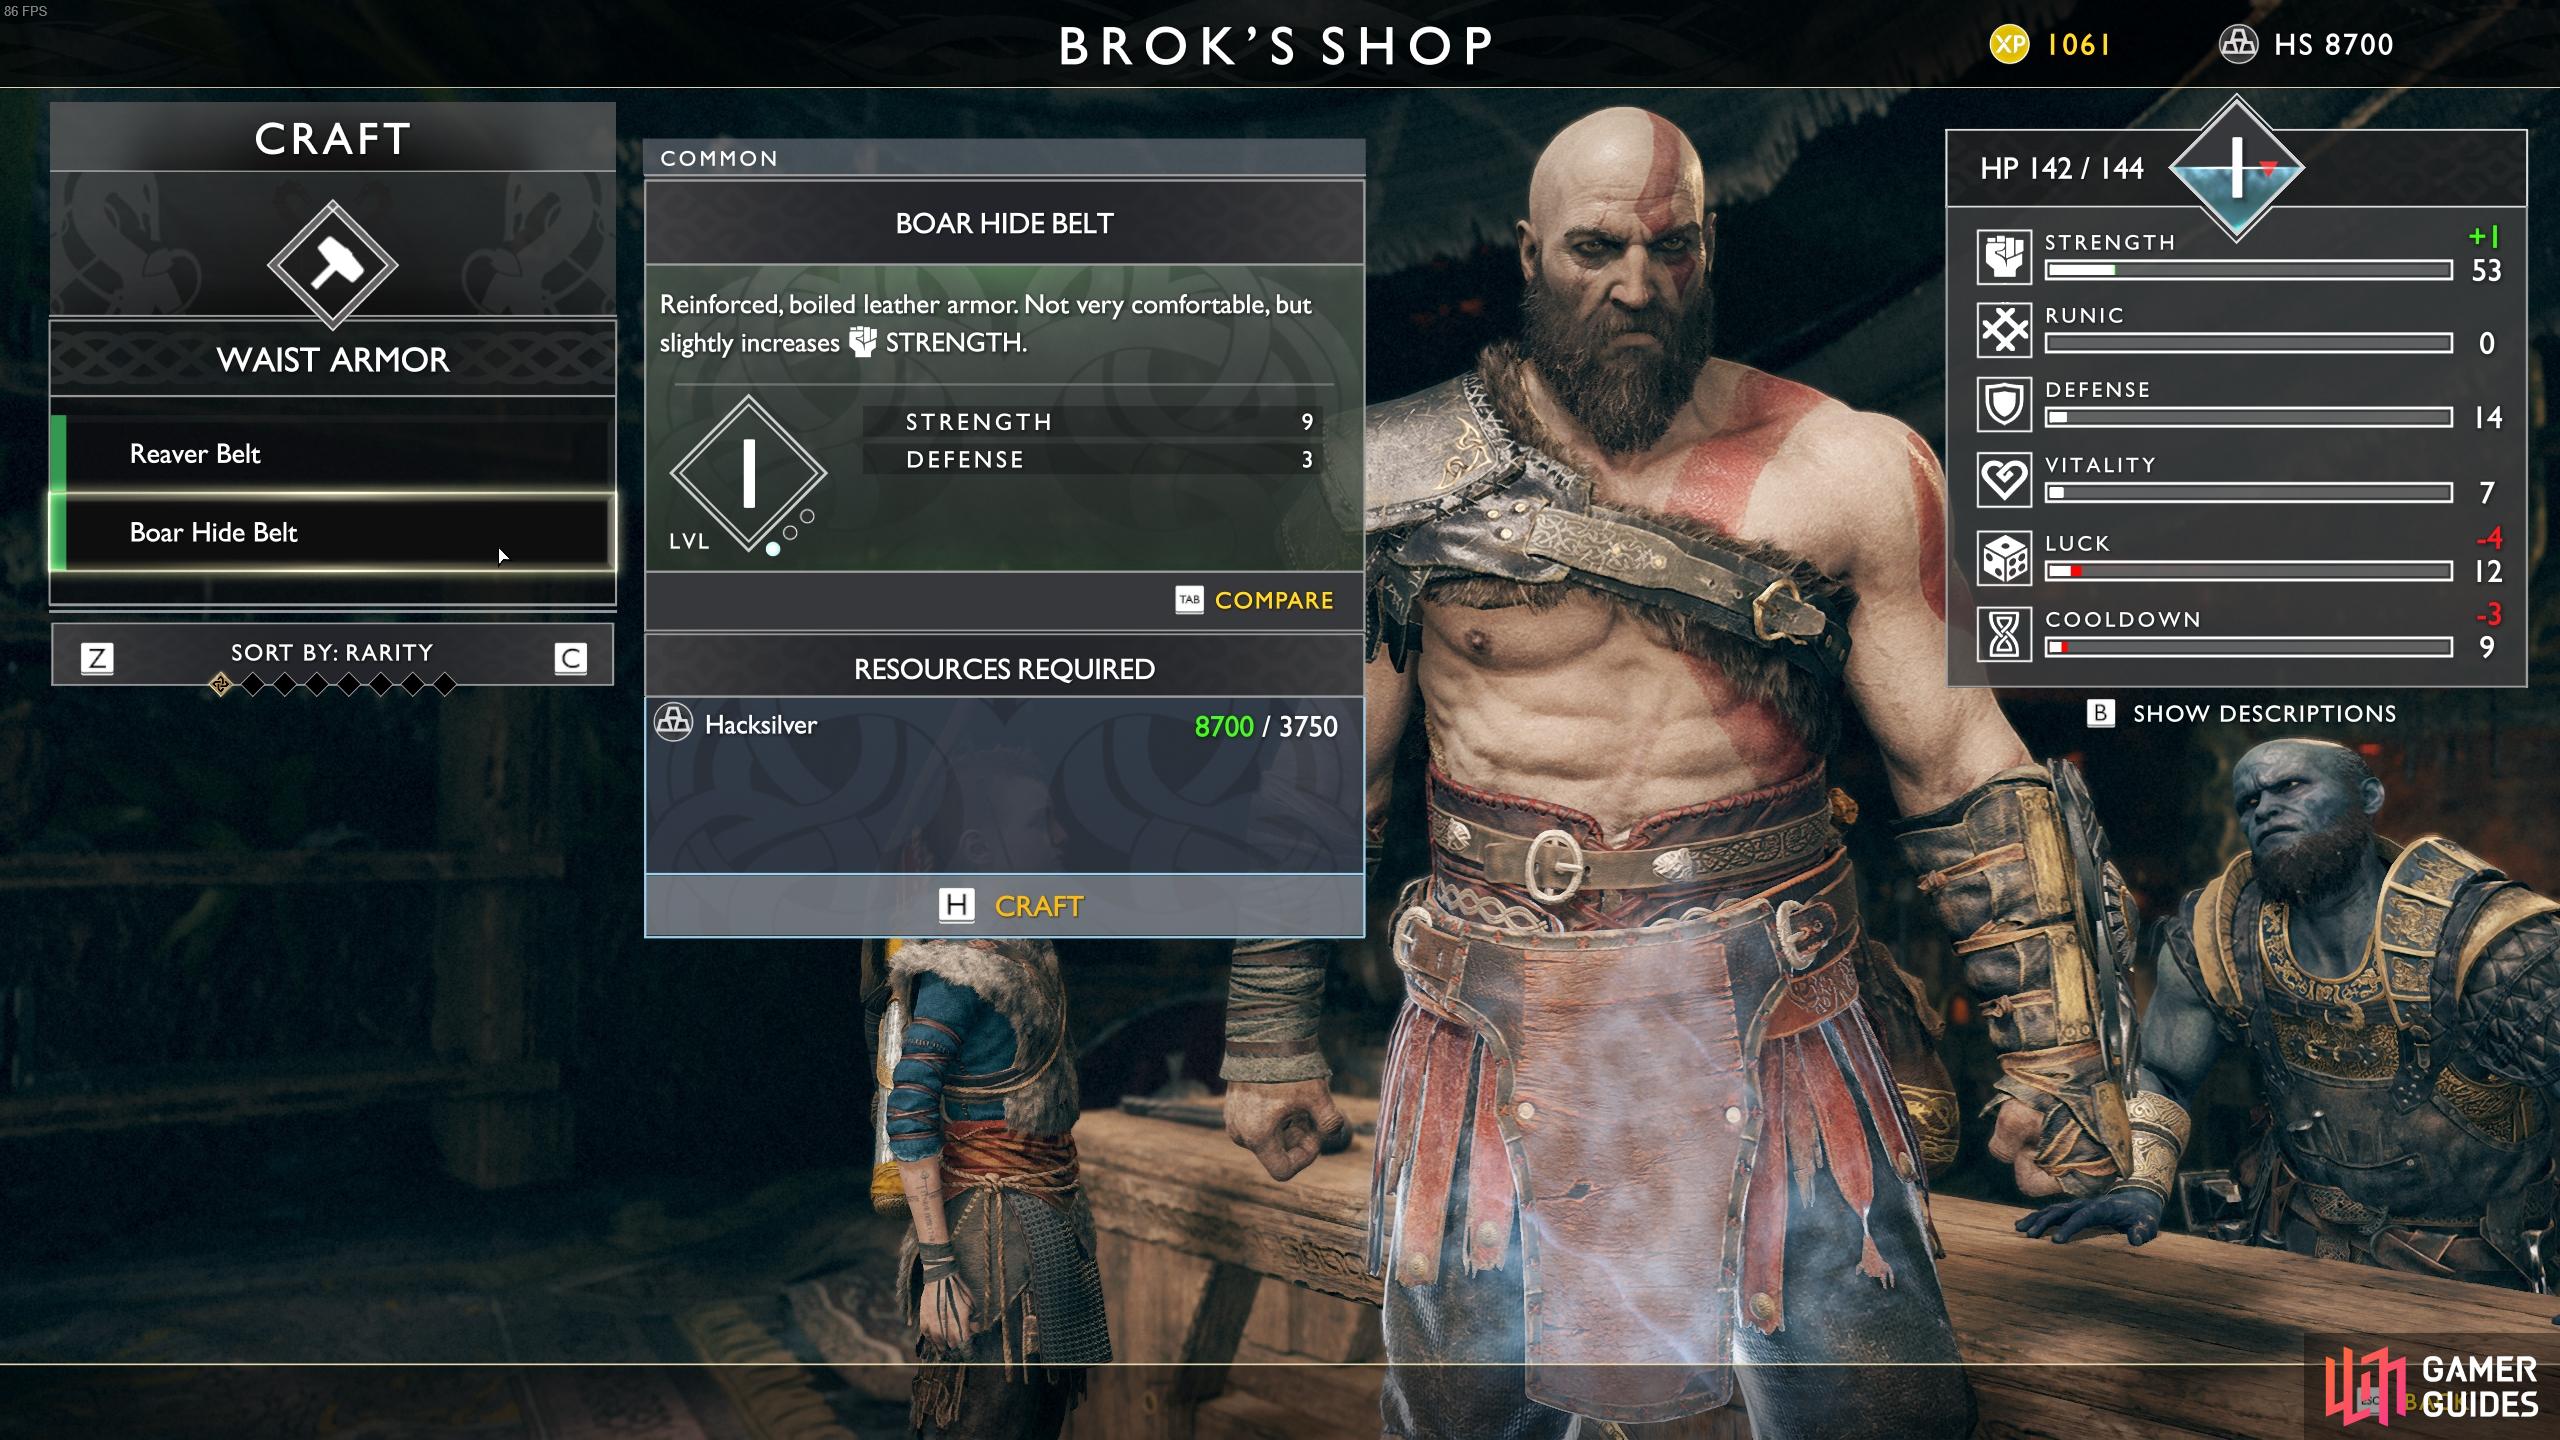
You should find yourself in Brok’s Shop after gaining access to the Mystic Gateway system. Speak to Brok to access his updated shop before we begin exploring the islands, let’s go over what’s new to acquire.
Brok now offers the Waist and Wrist pieces of the equipment set you first purchased in The River Pass, it’s best to craft the piece that matches the body you acquired back then. You can now craft Axe Pommels, these add an increase to your stats along with chances for certain Perk activations, this first set of Pommels only cost Hacksilver so be sure to get one (the Weighted War Handle is great). Finally, you can now craft Talismans, there’s only two for now but they’re both useful. Talisman of Resolute Protection grants you a barrier making Kratos invincible when near death, ideal for if you’re taking a lot of damage. Talisman of Resolute Might works in the same way but provides a strength boost instead, your current health one is probably better for now.
Try to upgrade Kratos’ gear and skills as much as possible before you begin exploring.
You can now upgrade Atreus’ Talon Quiver for 5000 Hacksilver, be sure to purchase these upgrades whenever you can to reduce the cooldown on his arrows. You can also upgrade any of your armor pieces to add an Enhancement Socket for that piece, you can buy four Enhancement symbols for 1000 Hacksilver each right now at this shop.
Aside from the Talon Quiver upgrade, try to get the other pieces of armor and a pommel. If you have any Hacksilver left over, upgrade this armor, thereby unlocking the Dwarven Ingenuity achievement, and get some Enhancements to increase your stats even further, remember you can sell any of your old Artefacts for more Hacksilver. If you do upgrade a piece of equipment, open the Journal and slot an Enchantment into it to unlock the Enchanted achievement.
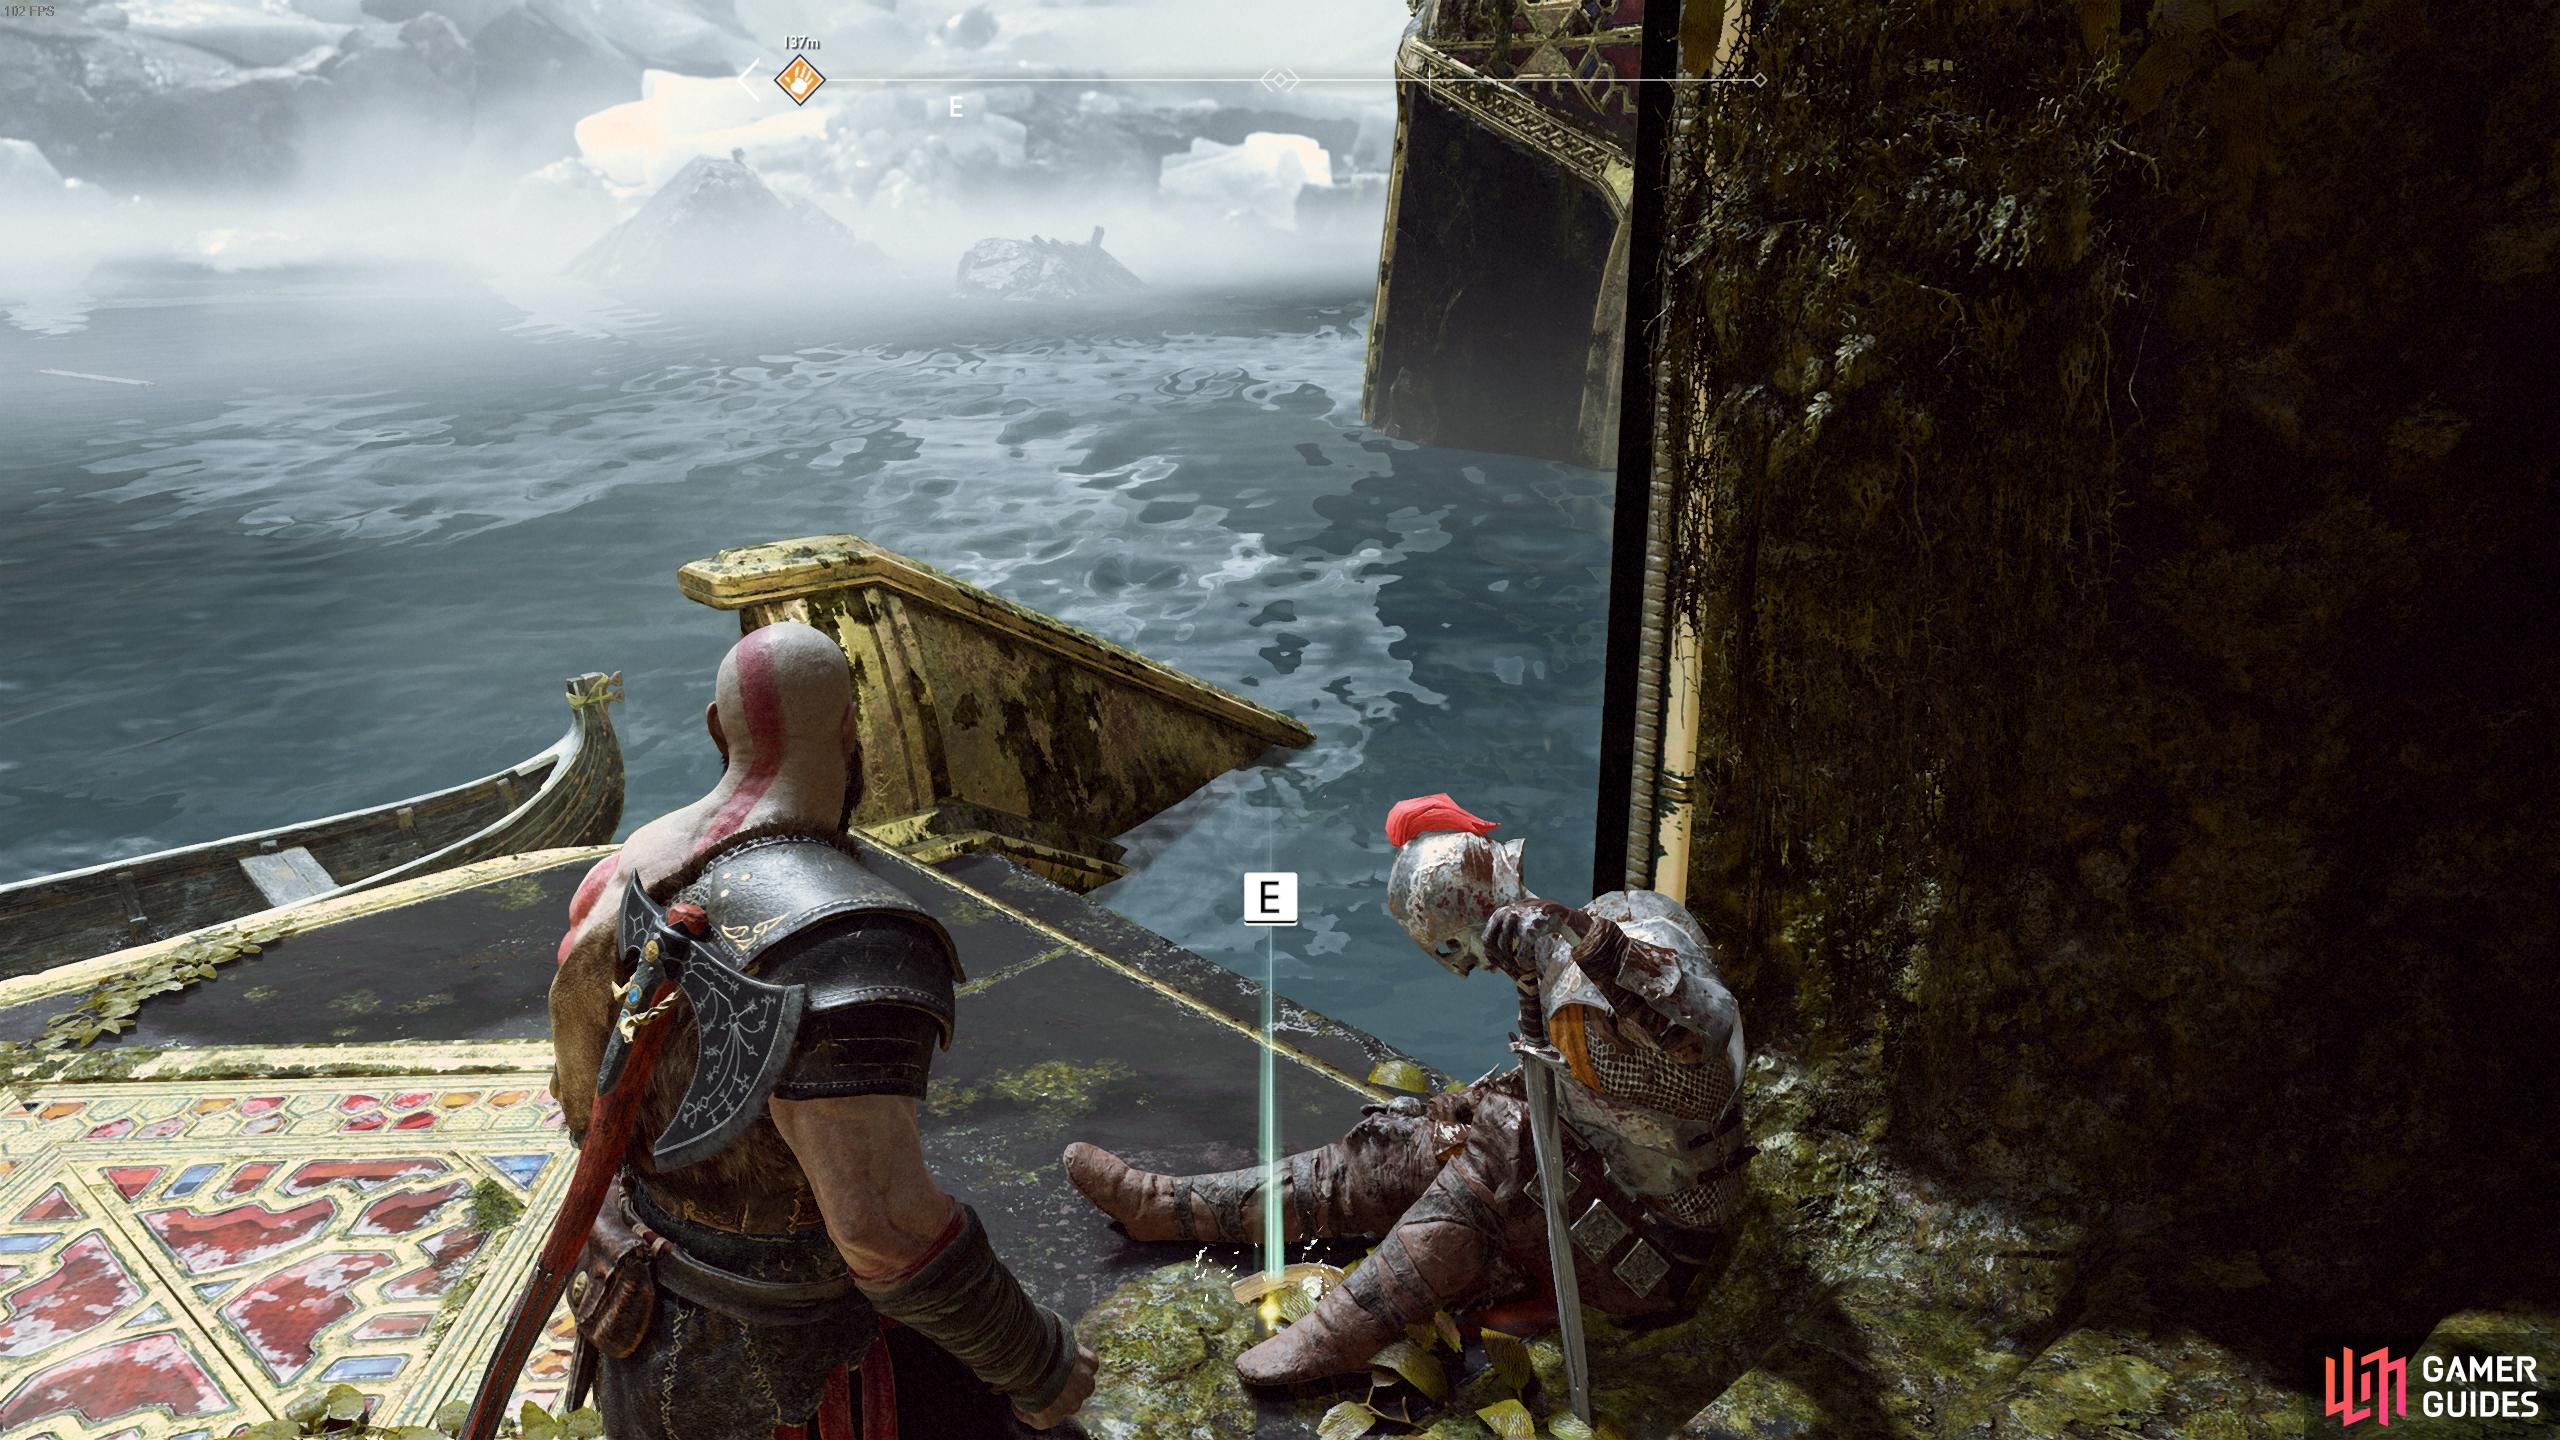
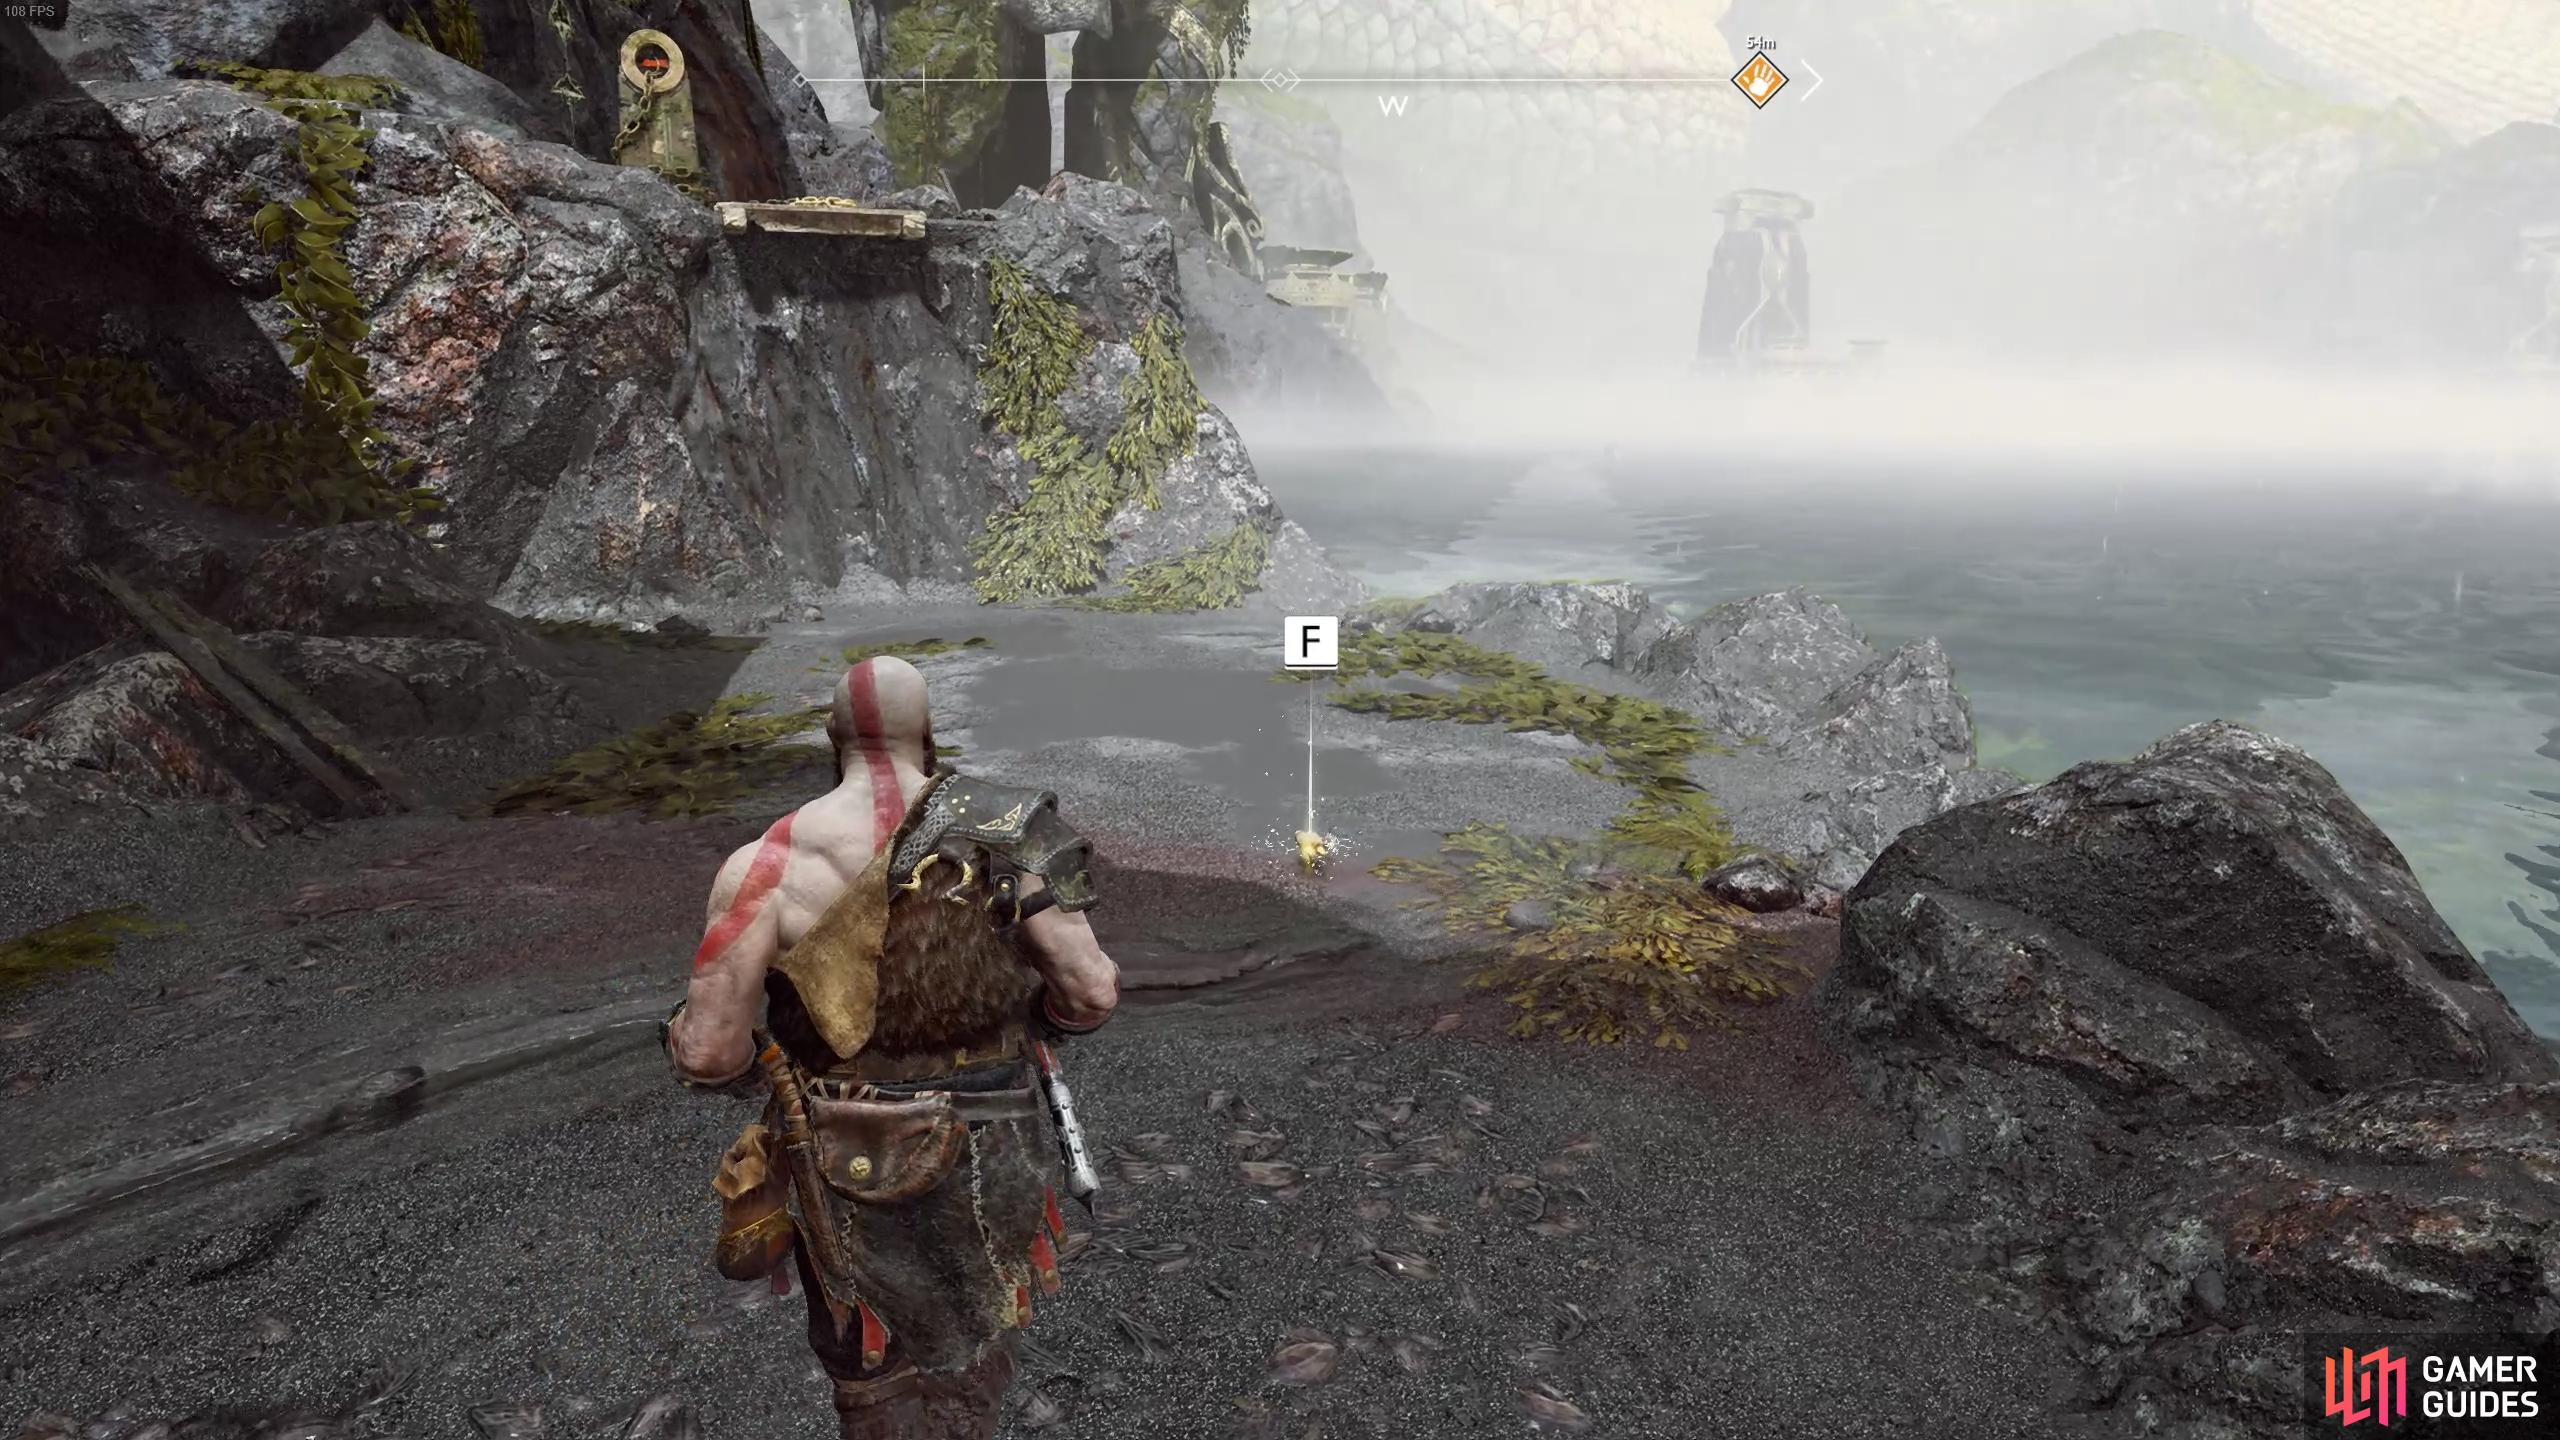
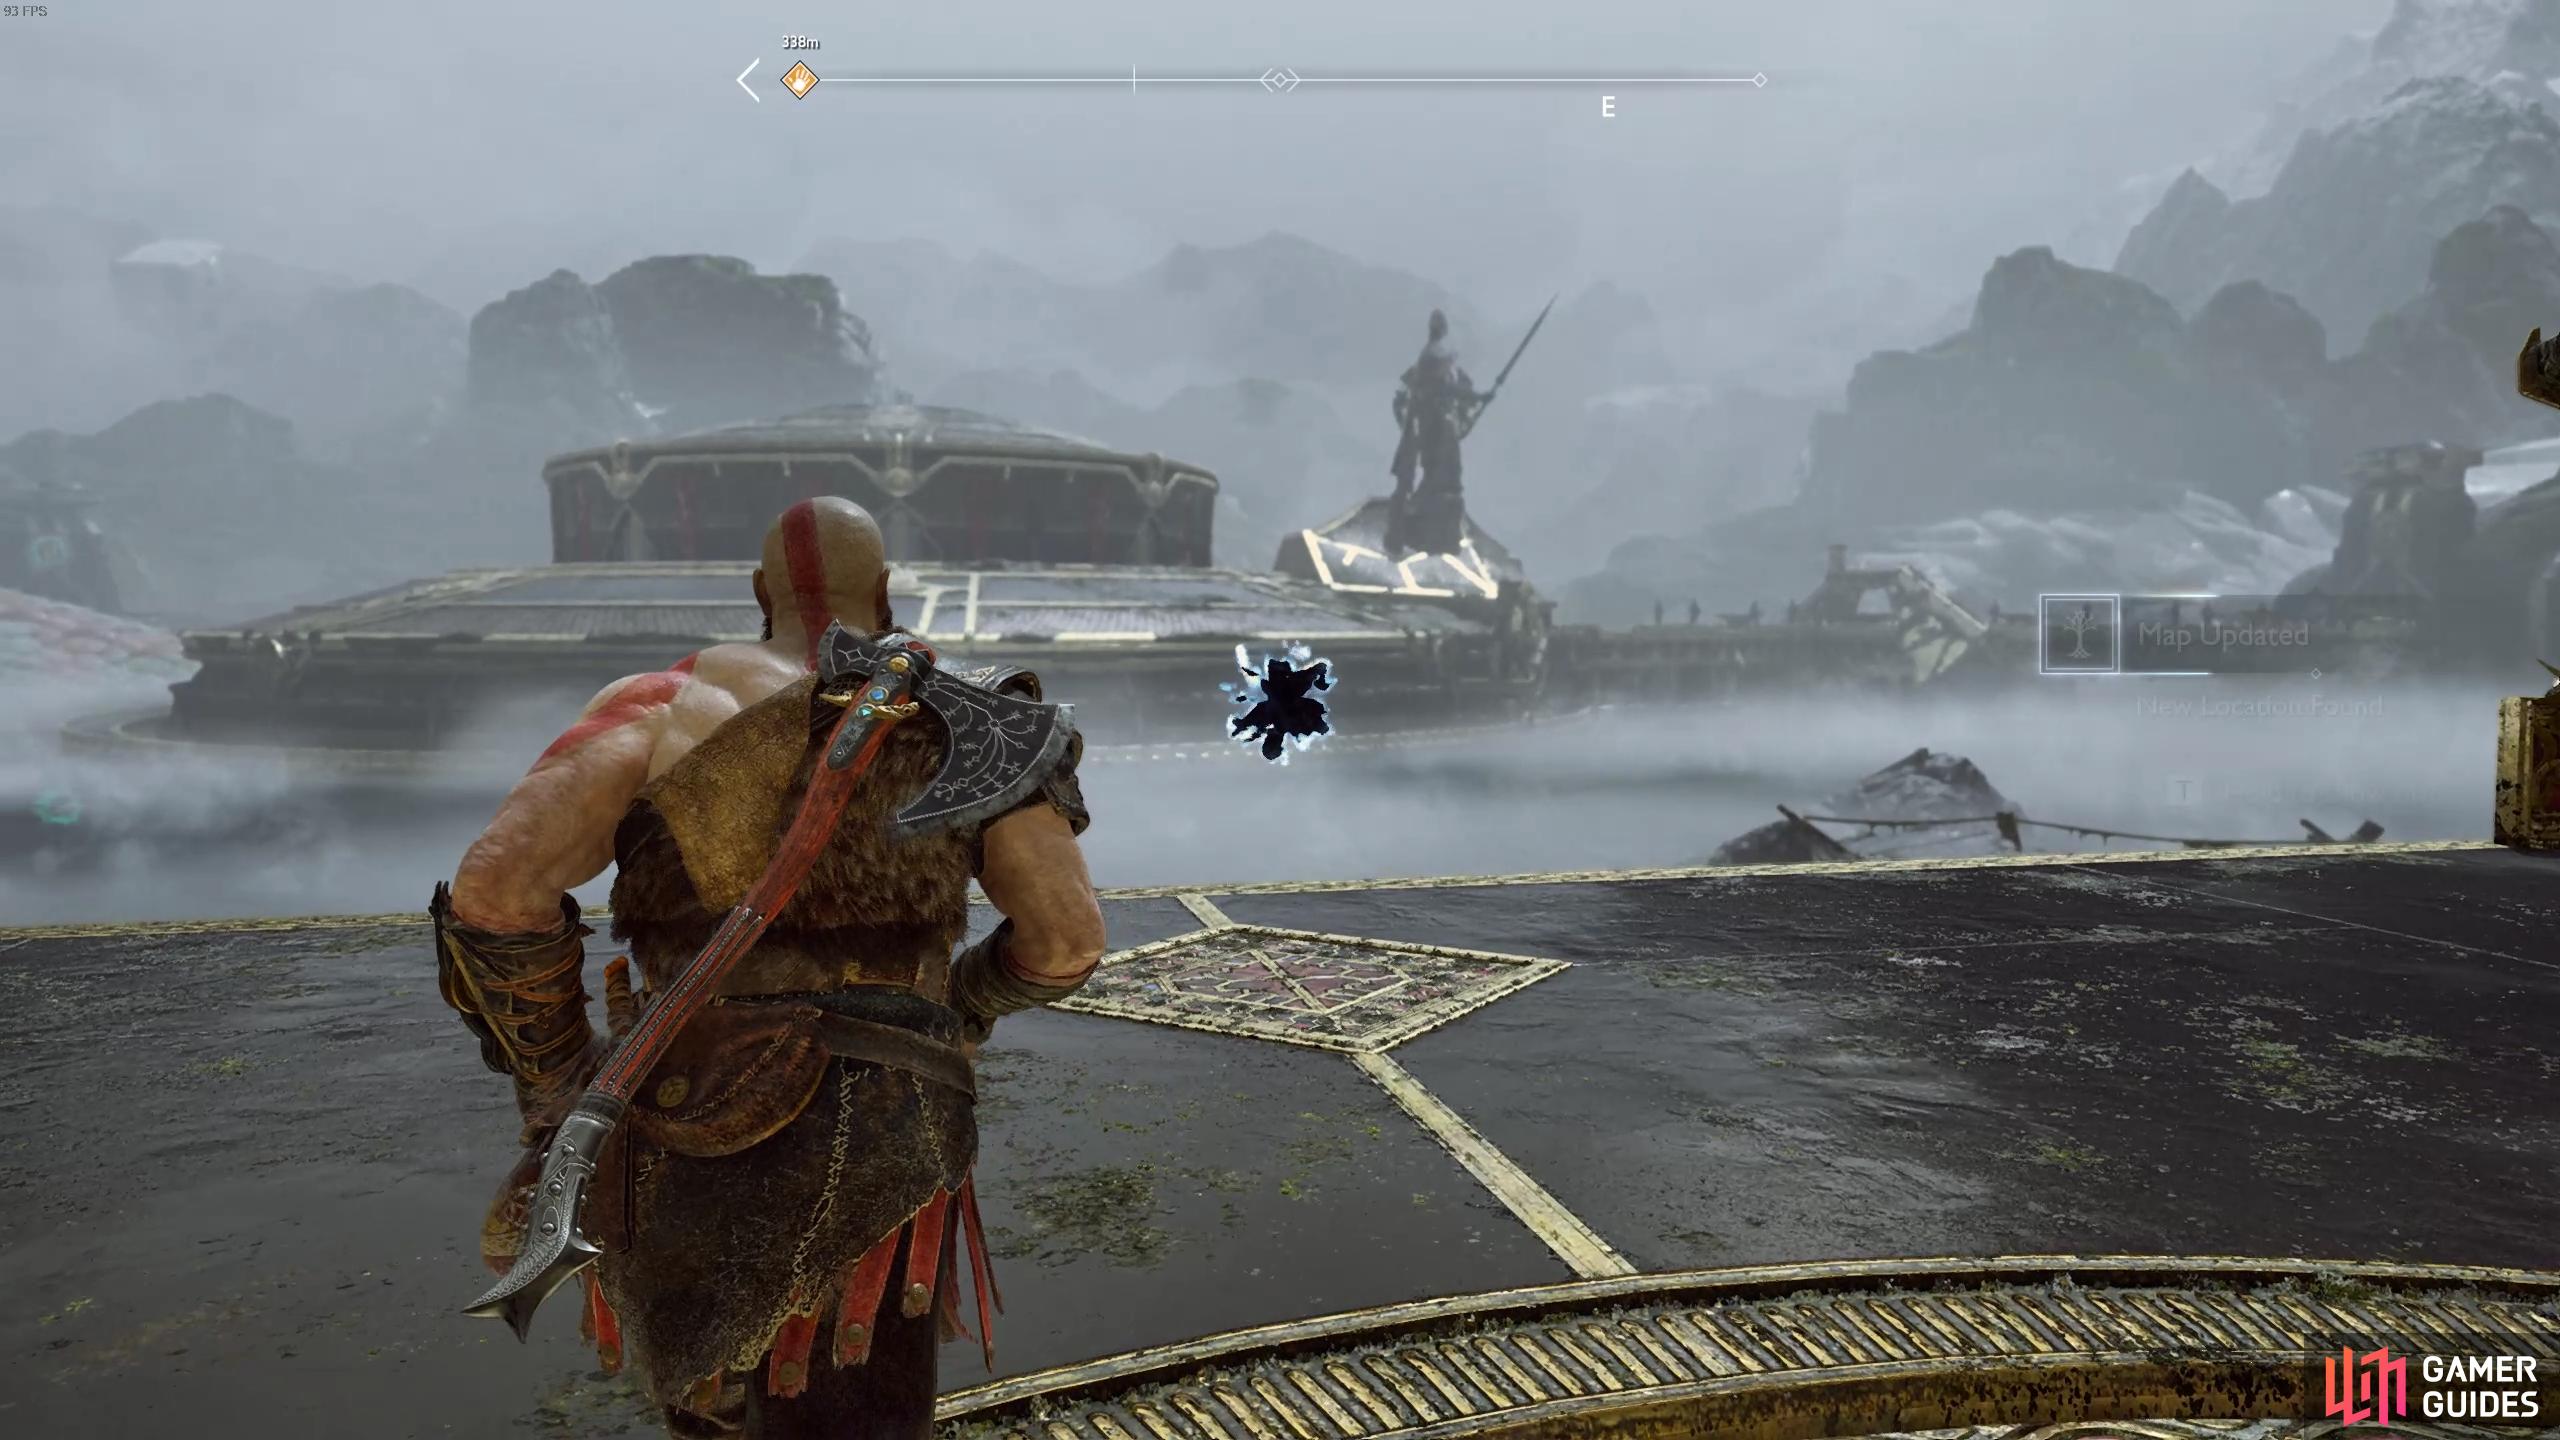
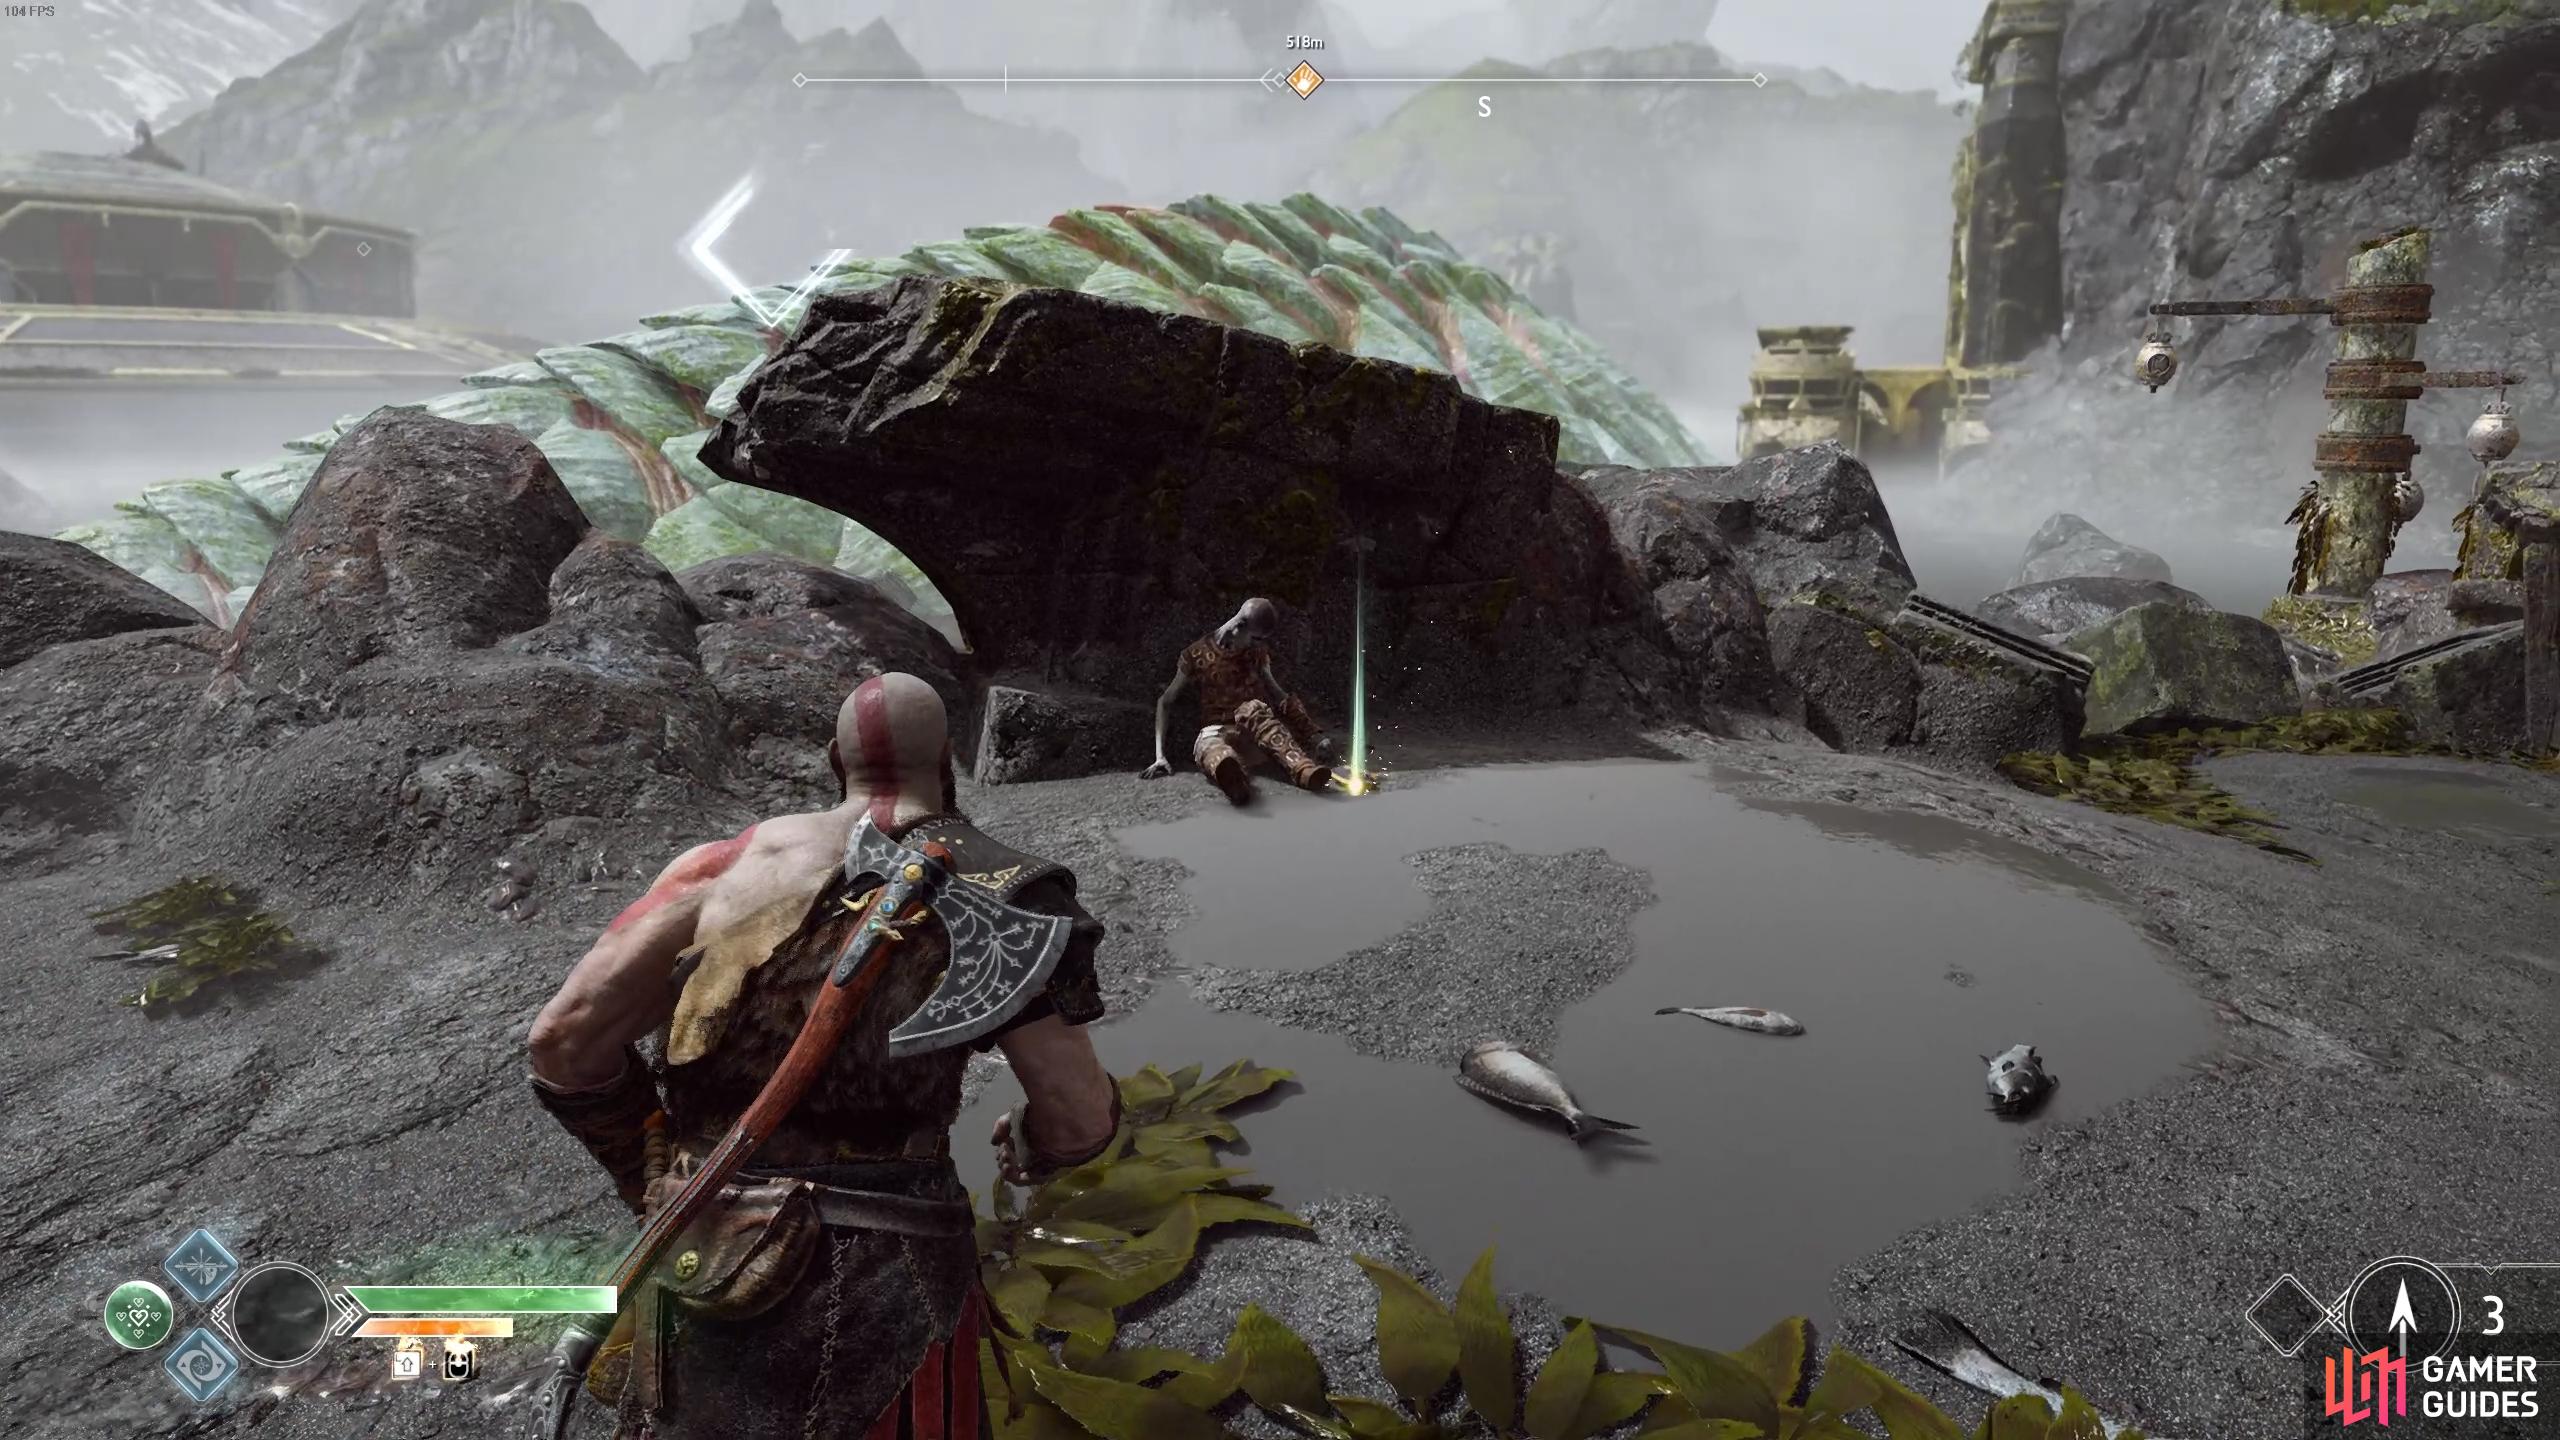
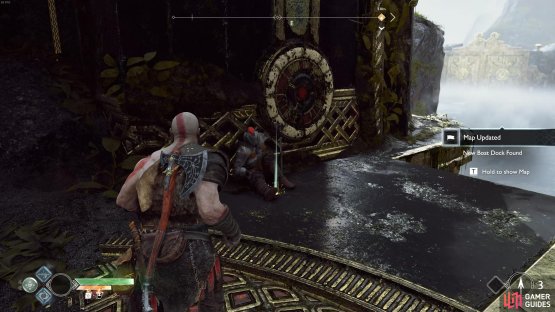
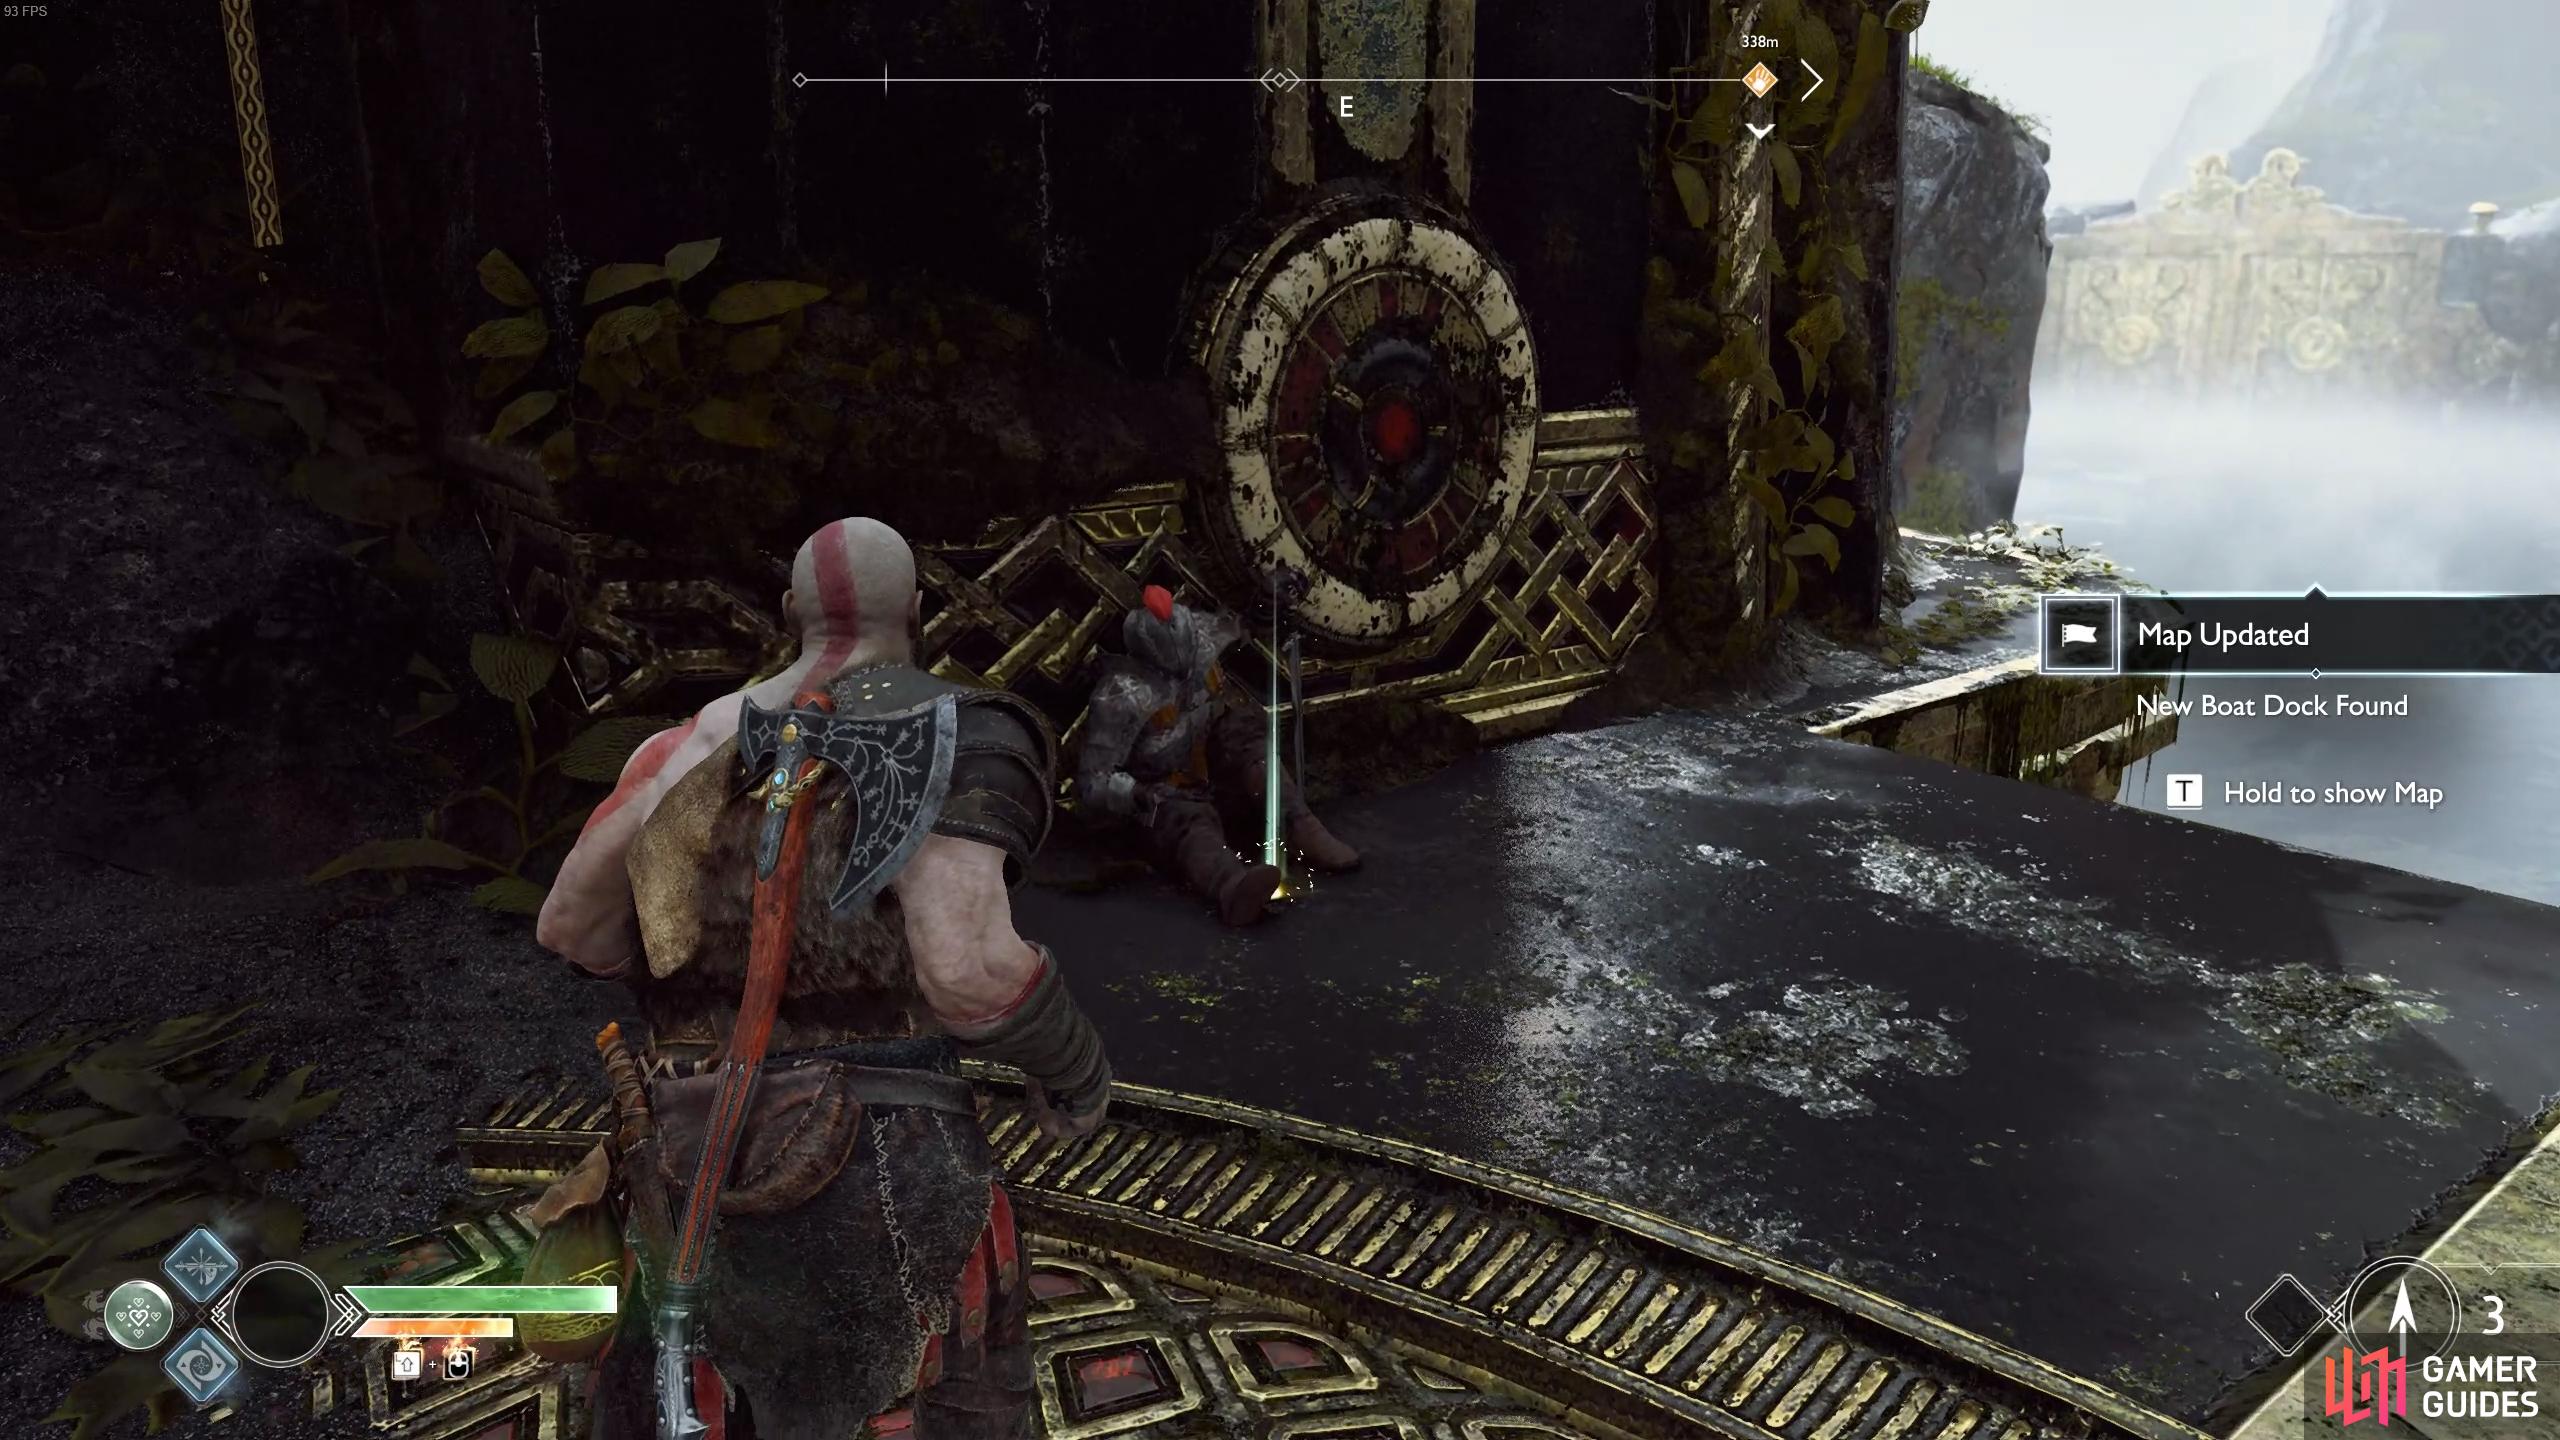
Leave Brok’s Shop and take the left stairs down to a different boat dock where you’ll find a corpse and the first Artefact for the Abandon Ship quest. There’s nothing else to find in this temple for now so board the boat at the original dock.
Head to the dock opposite to the one you arrived on to find this Artefact.
While you’re sailing around this great lake, you may notice certain objects in the water. If you see barrels, be sure to manoeuvre the boat into it to find some Hacksilver. If you see a gold glimmer in the waters, row over it and press  or
or  to collect some Aegir’s Gold. Start by heading south from Týr’s Temple to find a boat dock that you can disembark on.
Lookout Tower
Lookout Tower, God of War.
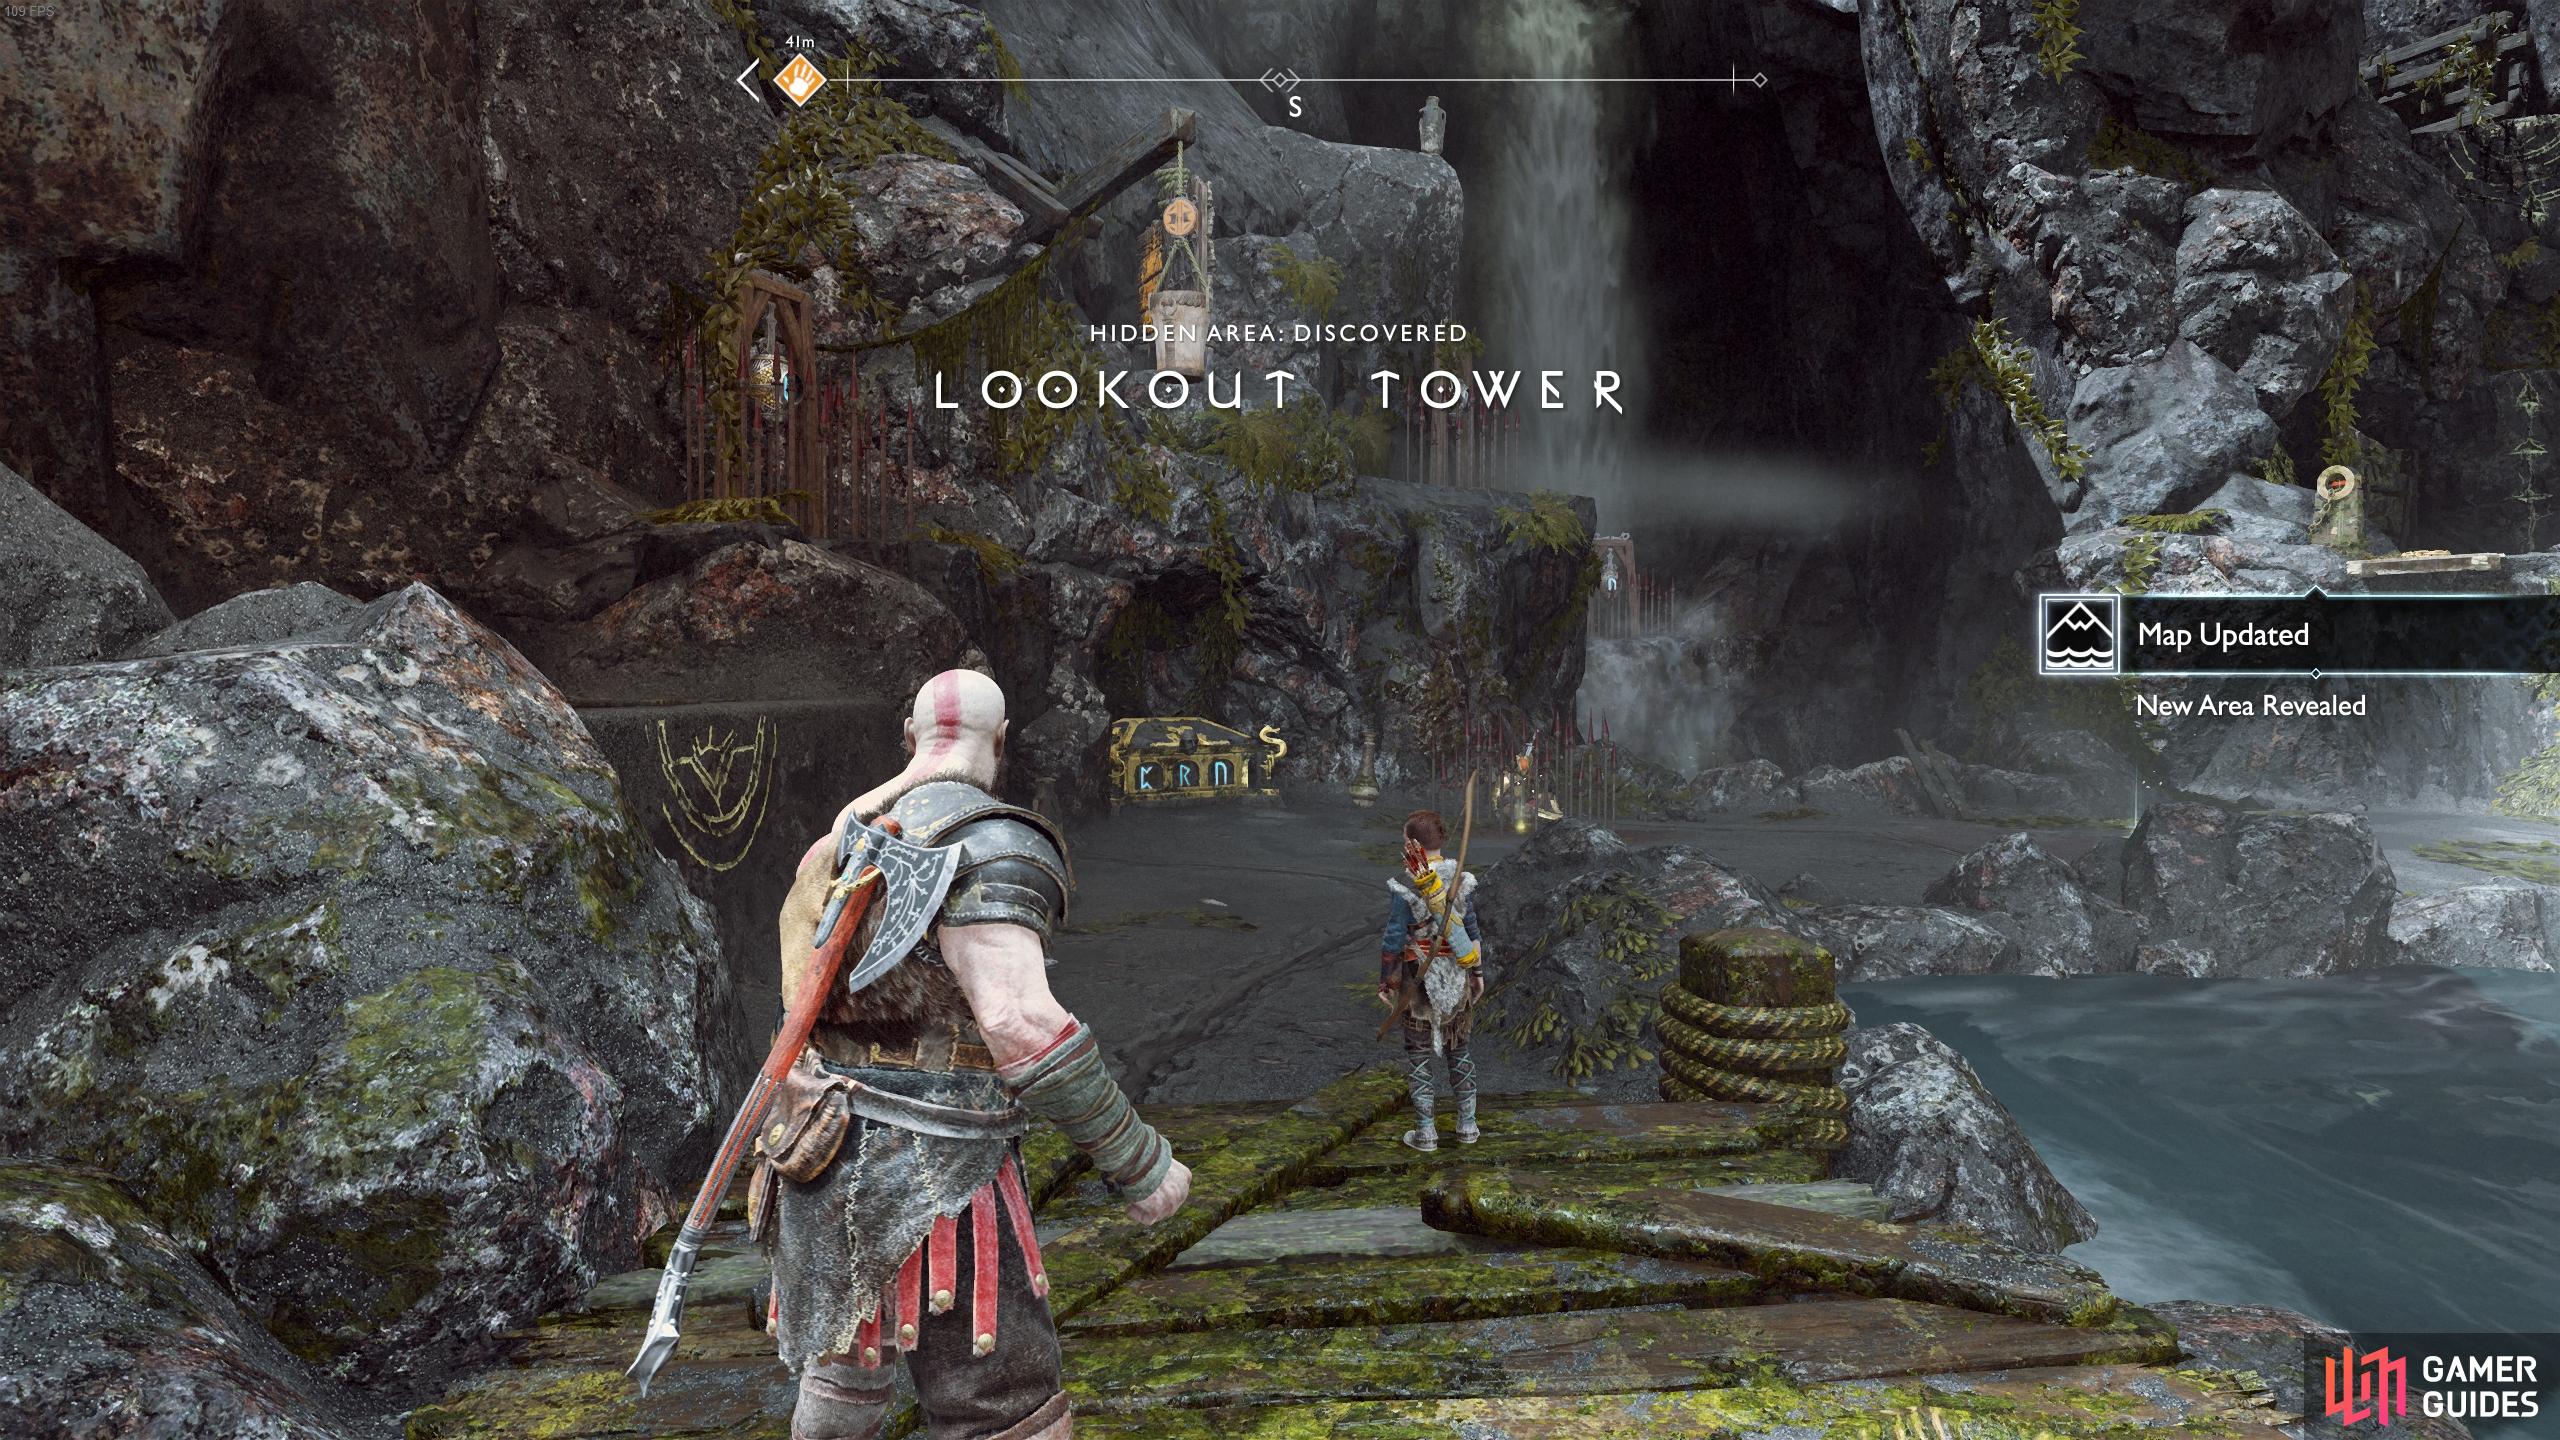
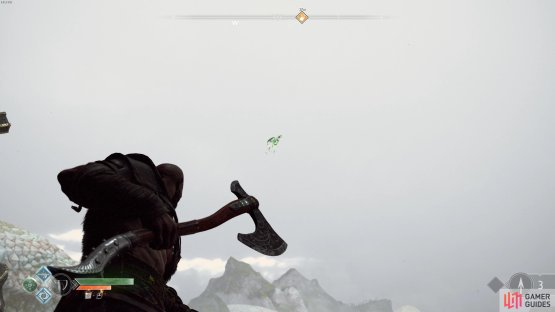
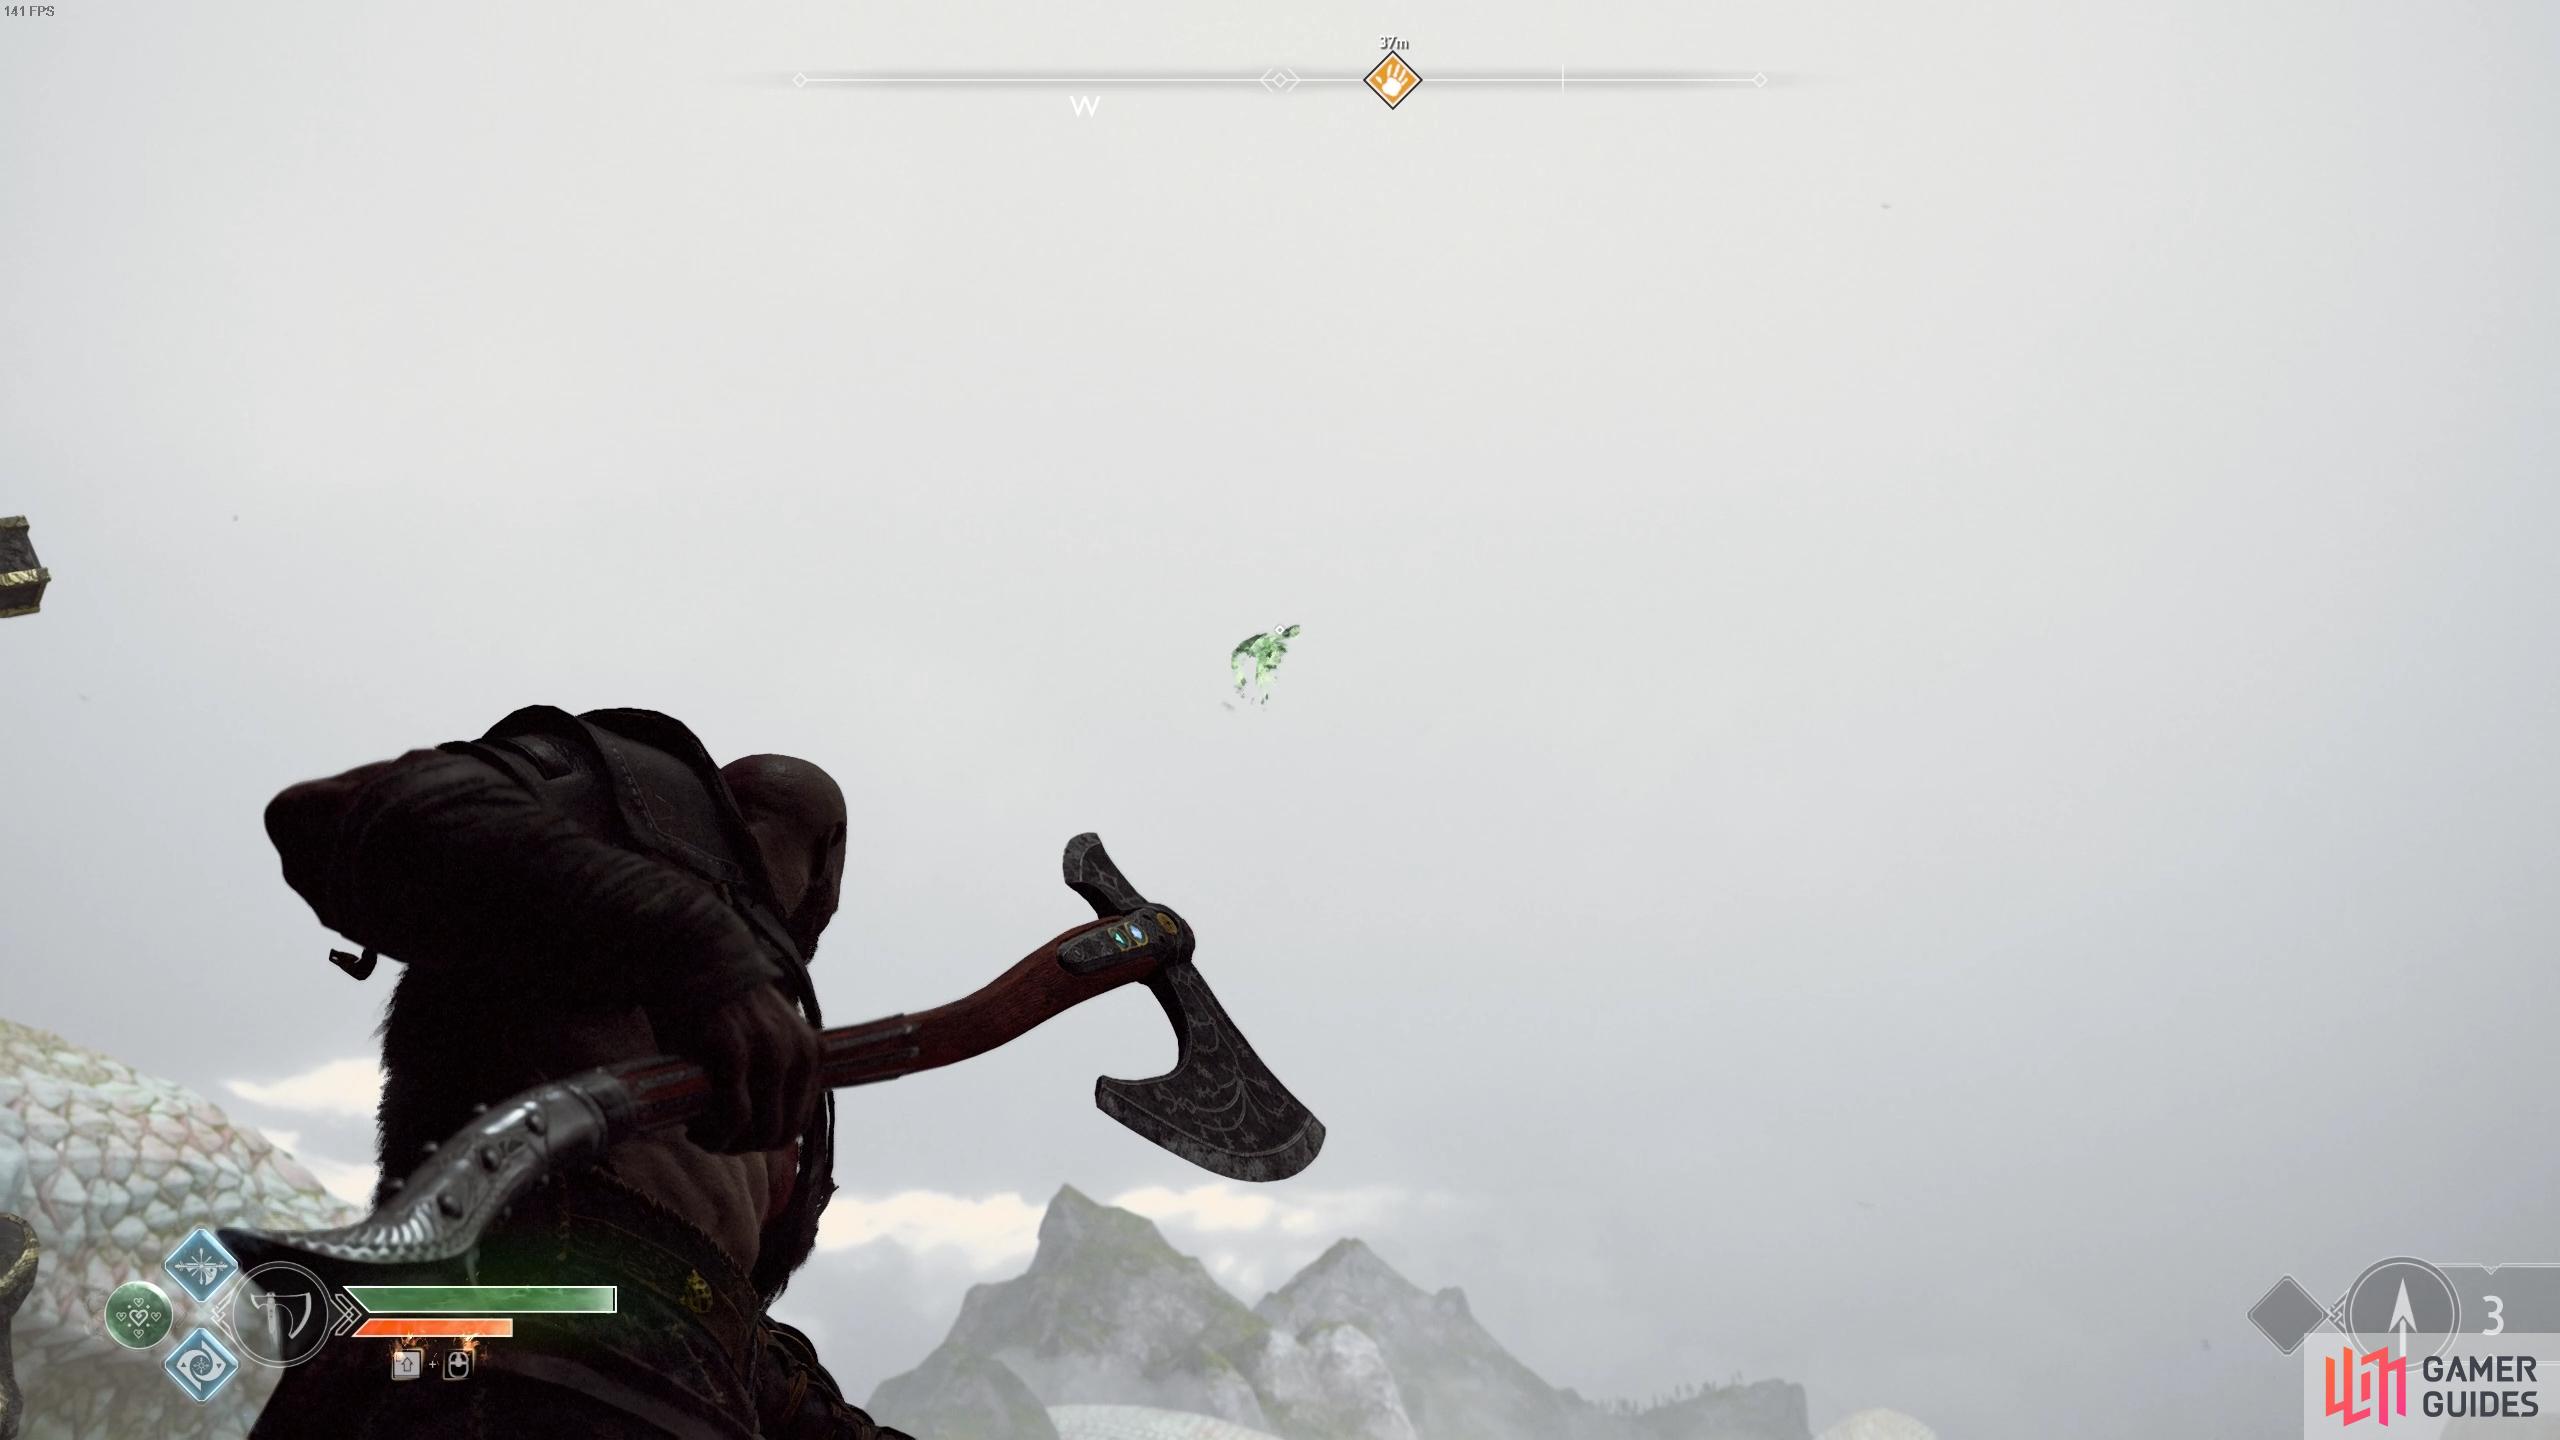
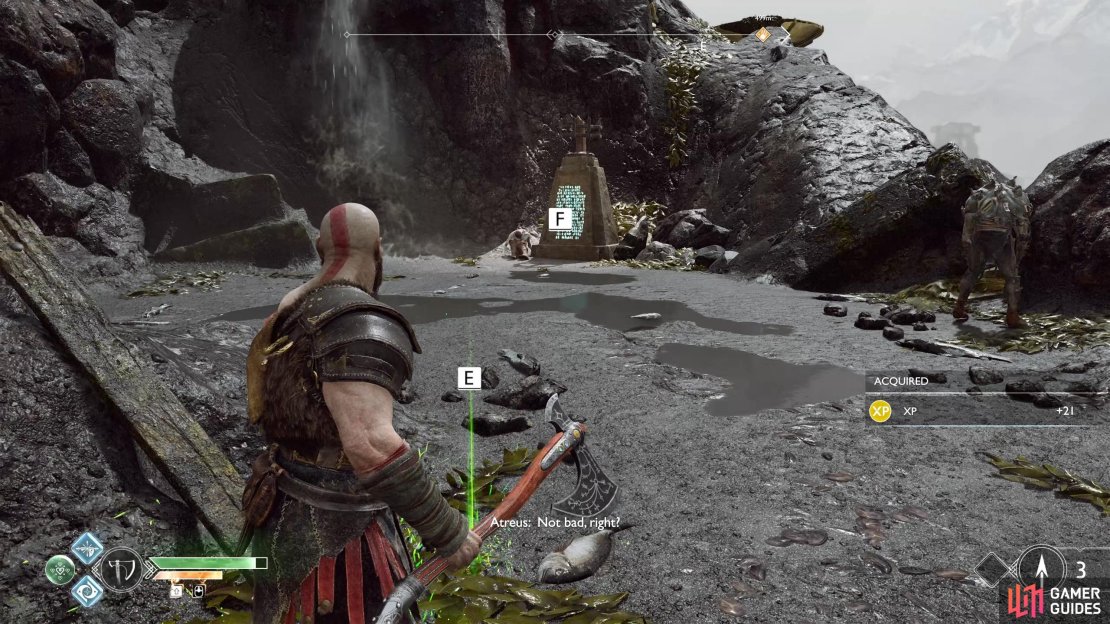
As soon as you get off the boat you’ll spot the Nornir Chest in front of you but before you can begin tackling the puzzle, you’ll be attacked by three Nightmares. Once they’re dead, look to the right and have Atreus look at the object on the floor to find your first Treasure Map. Climb to the ledge to your left and look into the air to spot the next Raven and a container to knock down.
(1 of 2) Your first Treasure Map lies in the middle here.
Your first Treasure Map lies in the middle here. (left), Climb the ledge to get a better target on the Raven. (right)
You can now set about unlock the next Nornir Chest situated here. You’ll notice the three bells with the runes on them all in rather close proximity however there’s a small problem, they’re shielded by spikes. Inbetween the left and middle rune bells is a spinning wooden board, toss the axe at it a few times to lower the spikes to the ground. You’ll now have to be quick and precise as you hit each bell before the spikes have risen again. With the chest unlocked, open it to find the next Iðunn Apple before checking to the right for an Artefact as part of the Abandon Ship quest.
There’s nothing left to do at this area for now, you can access the area beyond the debris by heading across the bridge at Týr’s Temple and hitting a bomb with the axe however all it provides is a shortcut.
Shores of Nine - Niflheim Tower
Return to the boat and continue you journey around the Lake of Nine. to the west of your location is the giant statue of Thor, if you wish to return to the Witch’s Cave, you can do so by passing through the legs of the statue. Ignore this for now and continue around to the west to come upon another dock, for Muspelheim Tower. You can’t access this just yet but you can snag yourself a sack of Hacksilver before returning to the boat.
As you continue to the west, you’ll chance upon a shipwreck at a tower, you can row the boat between the two parts of the ship to find a dock on the north side. This is the Niflheim Tower, an area we’ll visit in more detail later but for now take the elevator up. You’ll find up here a Mystic Gateway and another Artefact.

(1 of 2) Avoid this Realm Tear for now, the Heavy Draugrs are way above your level.
Avoid this Realm Tear for now, the Heavy Draugrs are way above your level. (left), This Artefact sits next to the Mystic Gateway. (right)
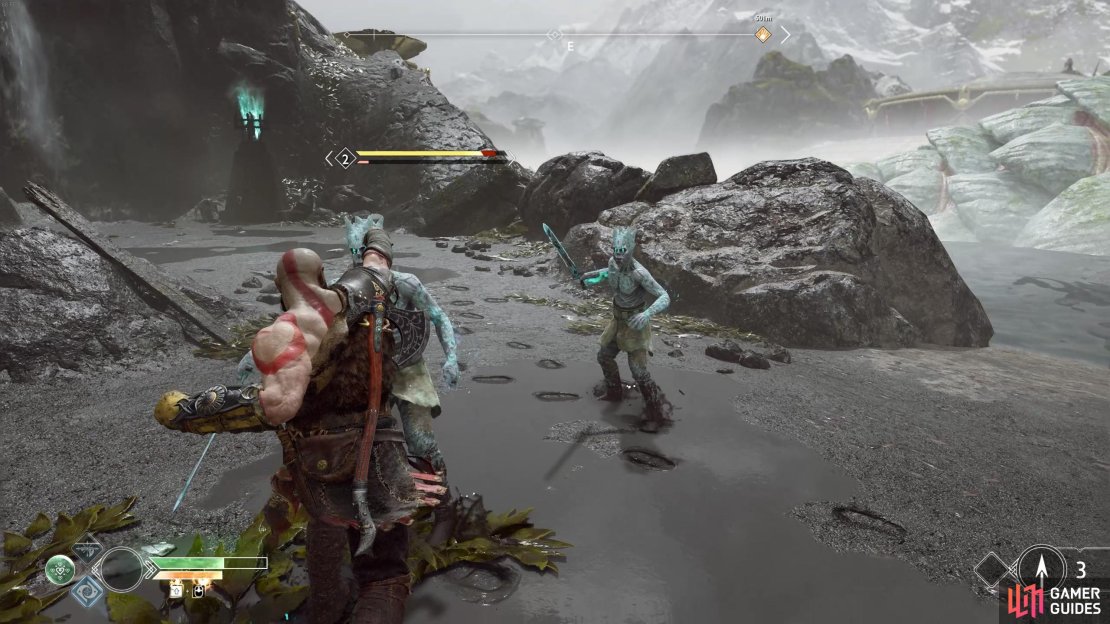
To either side of the tower sits two Braziers however when prompting Atreus to read them you’ll discover he doesn’t know the language and you’ll need to find a cipher. Finally, in the middle of the Brazier is a Realm Tear, interact with these to initiate a battle or receive valuable resources. This particular tear involves a battle with two Level 6 Heavy Draugrs, well above your level for now so avoid the battle.
Return to the boat once more and sail roughly southwest from this tower to find the next dock to disembark.
Iron Cove

Iron Cove, God of War.
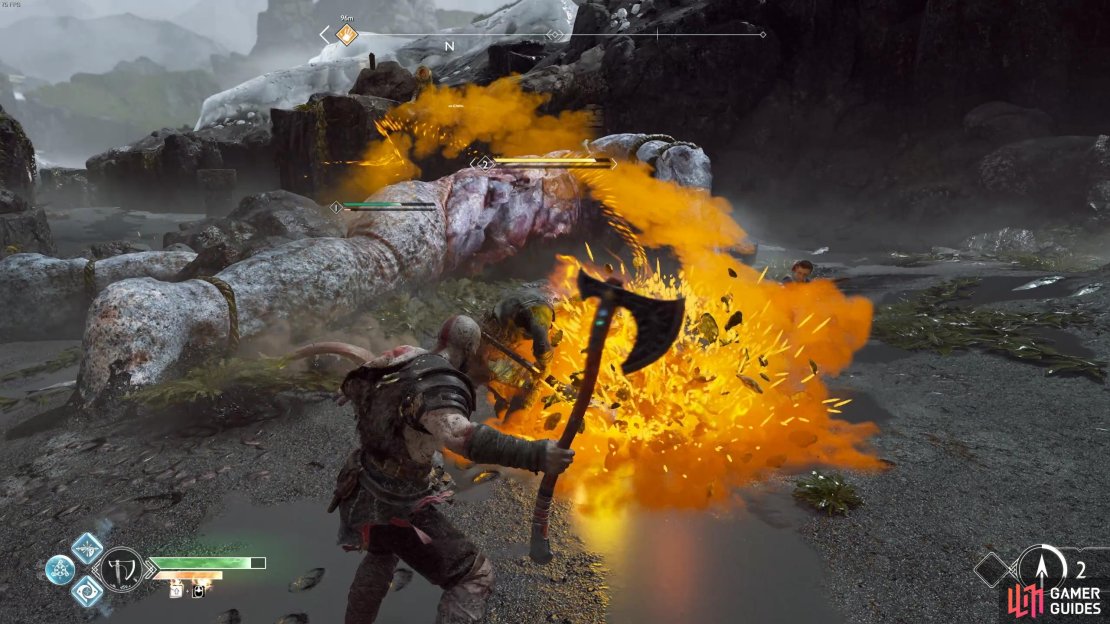
This is another area you will revisit later but there are some tasks for you now. There’s a brazier in the center here, have Atreus read it to light the brazier and cause the appearance of Shadows and Nightmares. Make the Nightmares your primary concern, using Atreus’ arrows to take them down quickly before turning your attention to the Shadows, note the green stones on the floor should you need them.
After the initial wave, two Shadows with shields will spawn proving to be a lot more difficult to hit with your axe. Switch to your fists (or use Runic Attacks) to stun them along with arrows allowing you to dispatch them with Stun Grabs (beware that these enemies will explode upon death). A spirit will rise from the ground at the location of the brazier, head over to him and speak with him to begin your first Favor, [Wayward Spirits] and acquire a Versatile Warrior’s Handle. This is a great pommel and worthy for upgrades over many of the pommels available to you at this time due to it increasing a wide variety of stats.

(1 of 2) Use the your fists to knock back the Shadows with shields.

Use the your fists to knock back the Shadows with shields. (left), Talk to the spirit after the battle to begin Wayward Spirits. (right)
This Favor requires you to explore the Lake of Nine to find more islands with braziers to light, freeing the spirits trapped within. You’ll be guided to each one of these in this section however if you wish to focus on this task alone, head to the Wayward Spirits page to find out more.
Your business is concluded here for now so jump back onto the boat and row to the northwest a little to find a small island with a rope leading off it, you’ll have to row to the west to find the dock.
Isle of Death
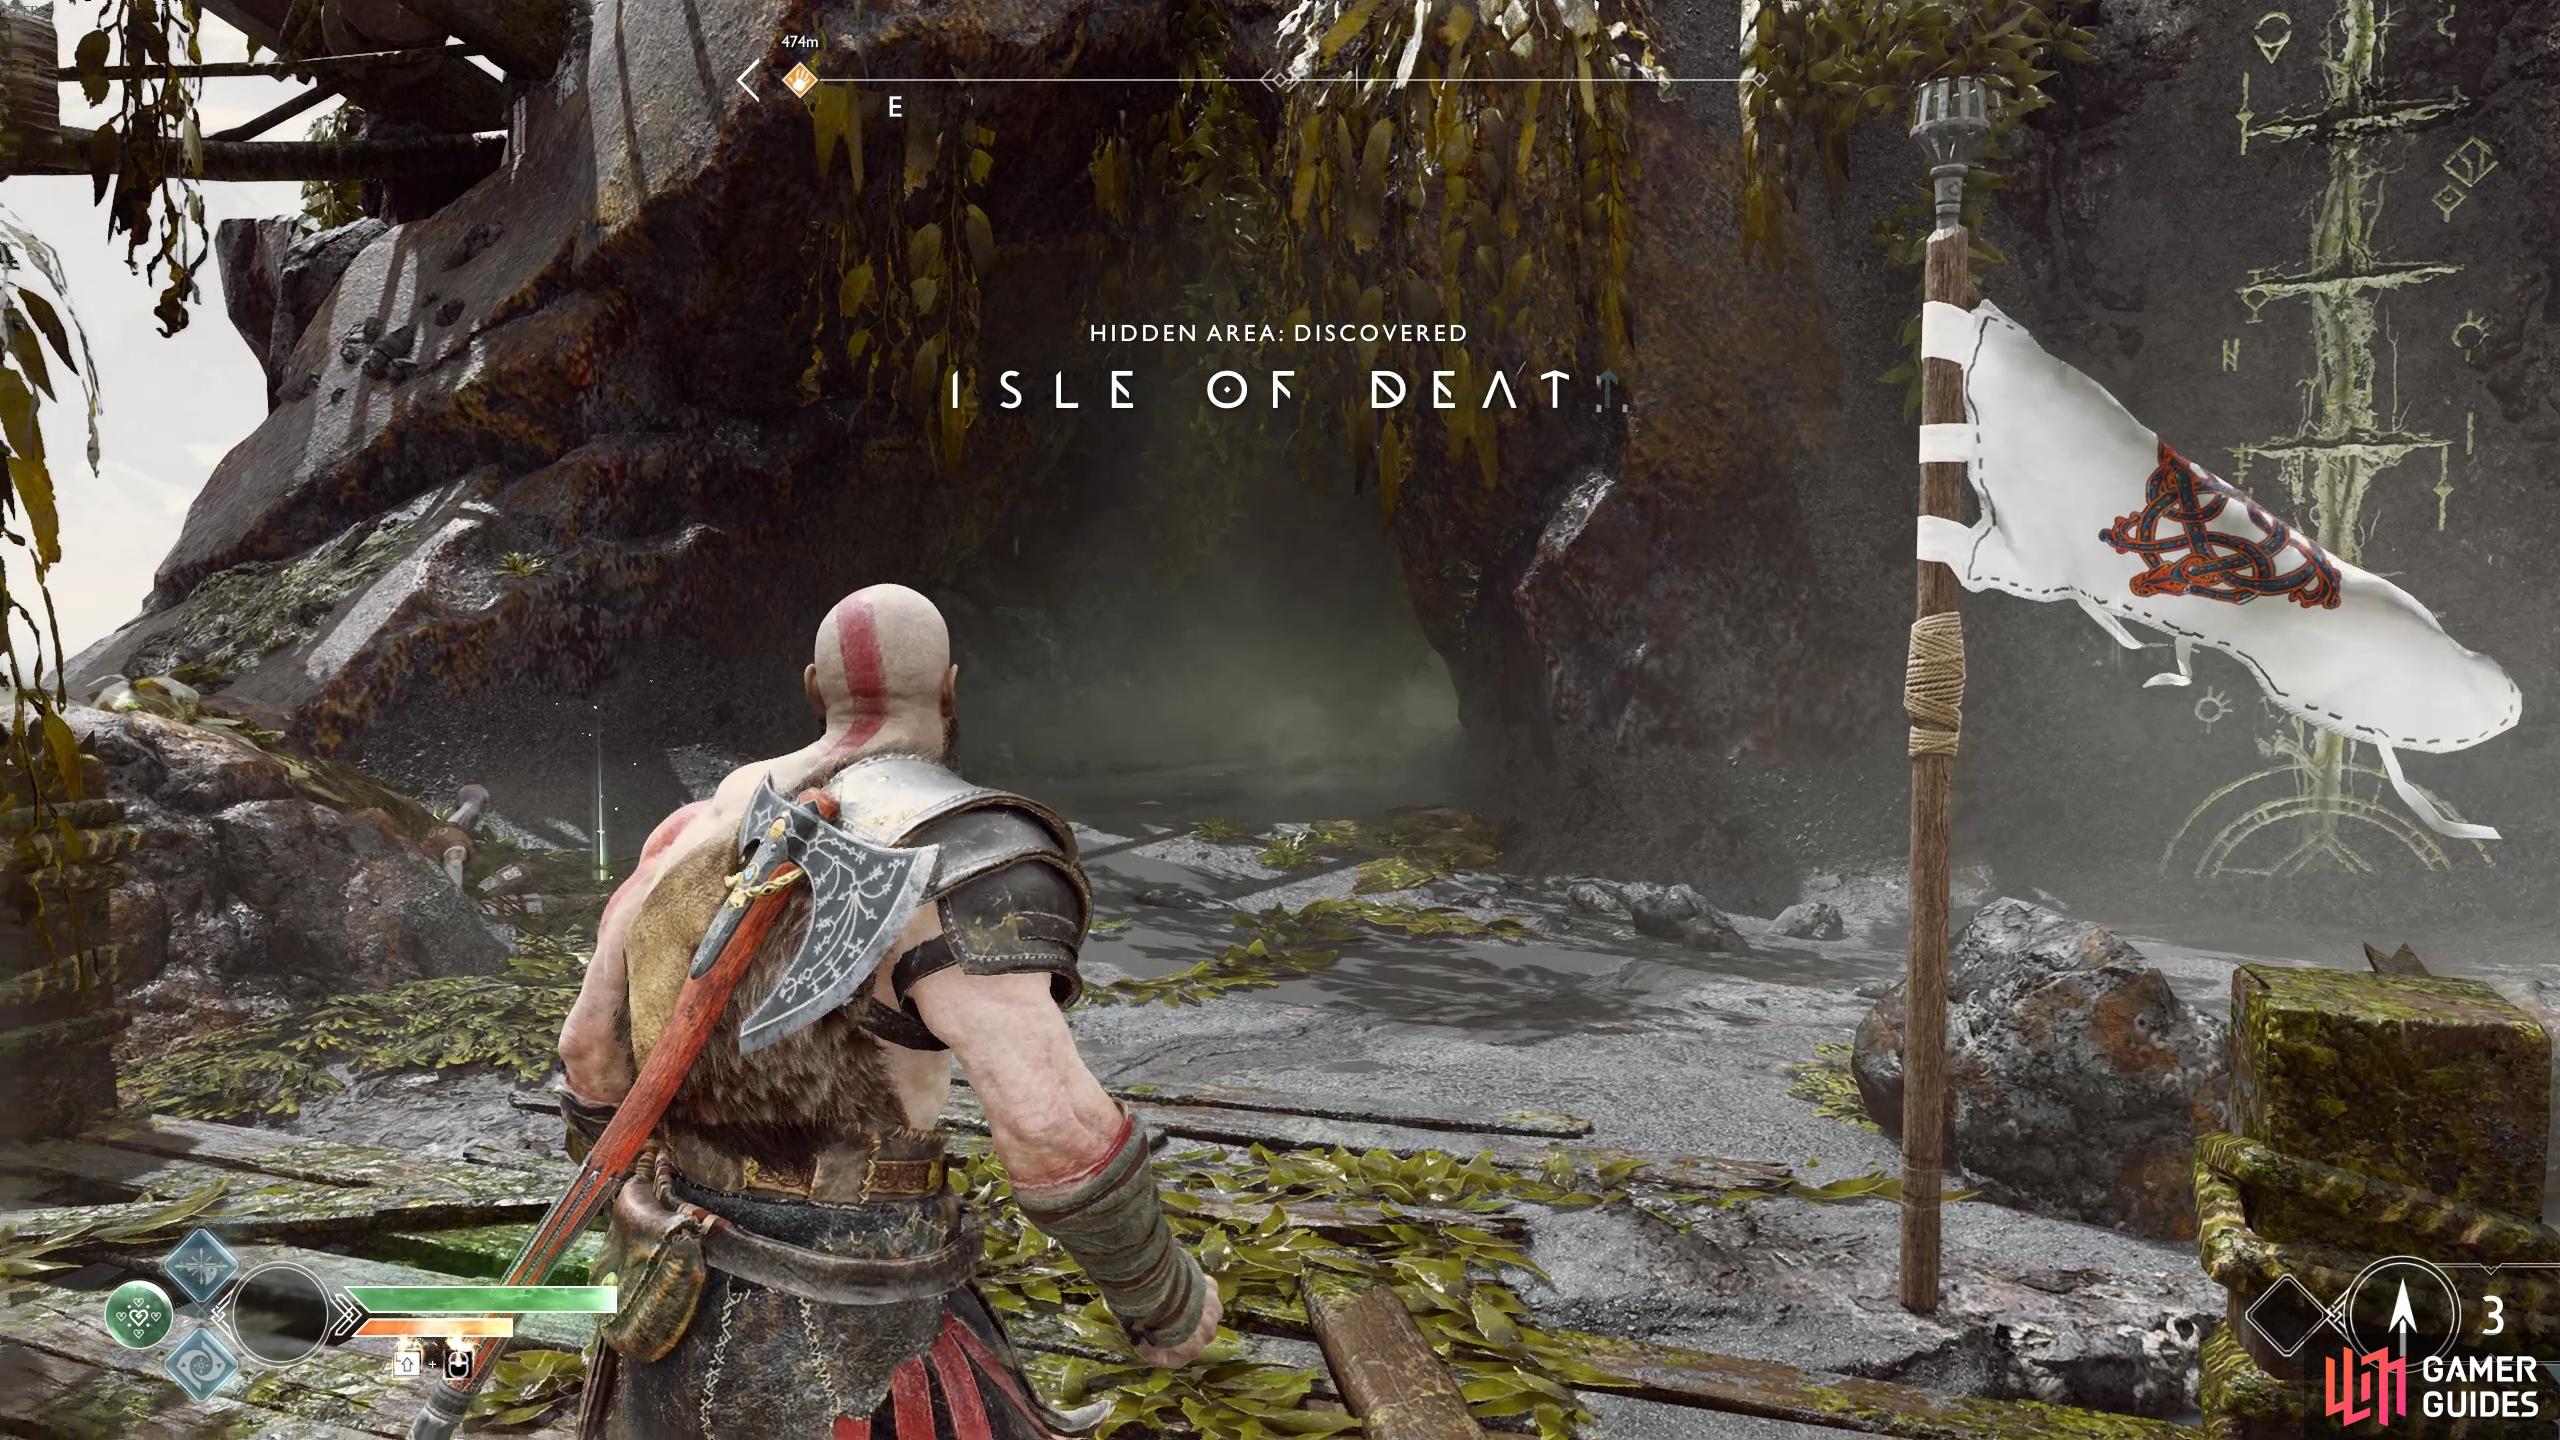
Isle of Death, God of War.
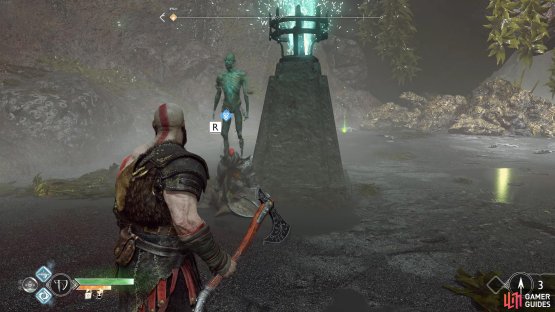
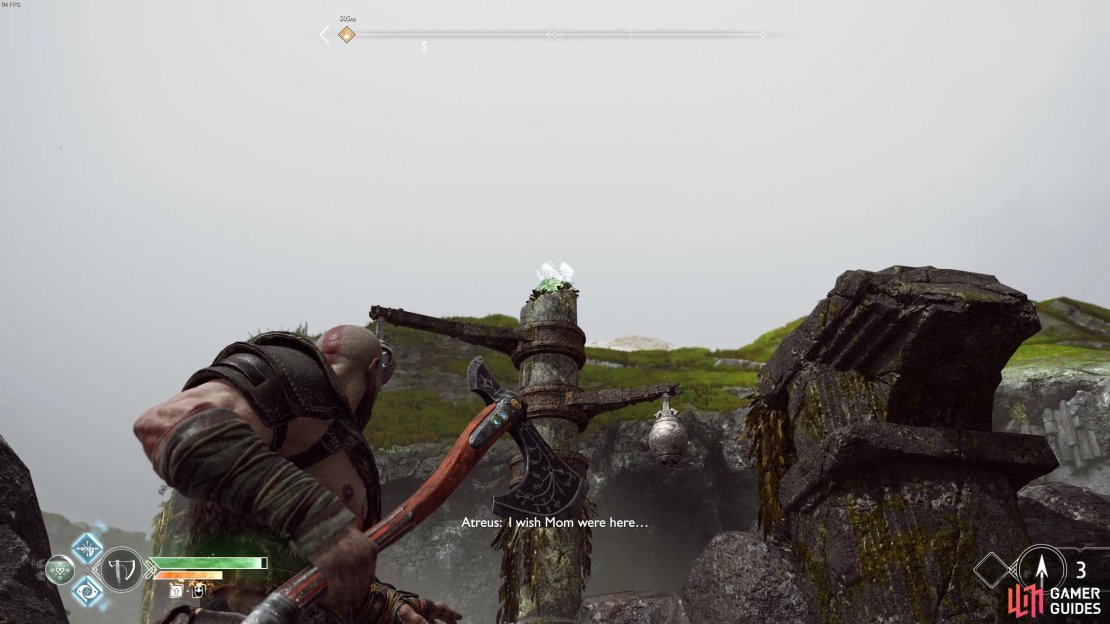
Look to the left as you depart the boat to find a small sack of Hacksilver before scaling the nearby wall. Pick up another sack of Hacksilver to your left before heading over to the nearby brazier and lighting it as part of the Wayward Spirits Favor.
You’ll be set upon by Hel-Shadow Scouts this time, a group of four to begin with followed by two more upon their defeat. There are none with armor within this pack so you’re free to use your axe against them, beware of the Hel-shadow Scouts that hide behind an icy wall, you can use Atreus’ arrows to hit these.
With the area now free of hostiles, talk to the spirit at the brazier. You’ve cleared his task for him by simply talking to him and he promptly rewards you with a Corrupted Remnant, a legendary resource used to upgrade the pommel you received from the first spirit.
It’s a good time to check your XP at this point, if you’ve managed to obtain over 1000 XP and have already purchased the new Talon Bow skills then consider purchasing the Permafrost skill in the Close Combat tree. This skill will allow you to charge up the Frost damage on the Leviathan Axe with every attack you inflict without being hit yourself making it easier to freeze enemies.
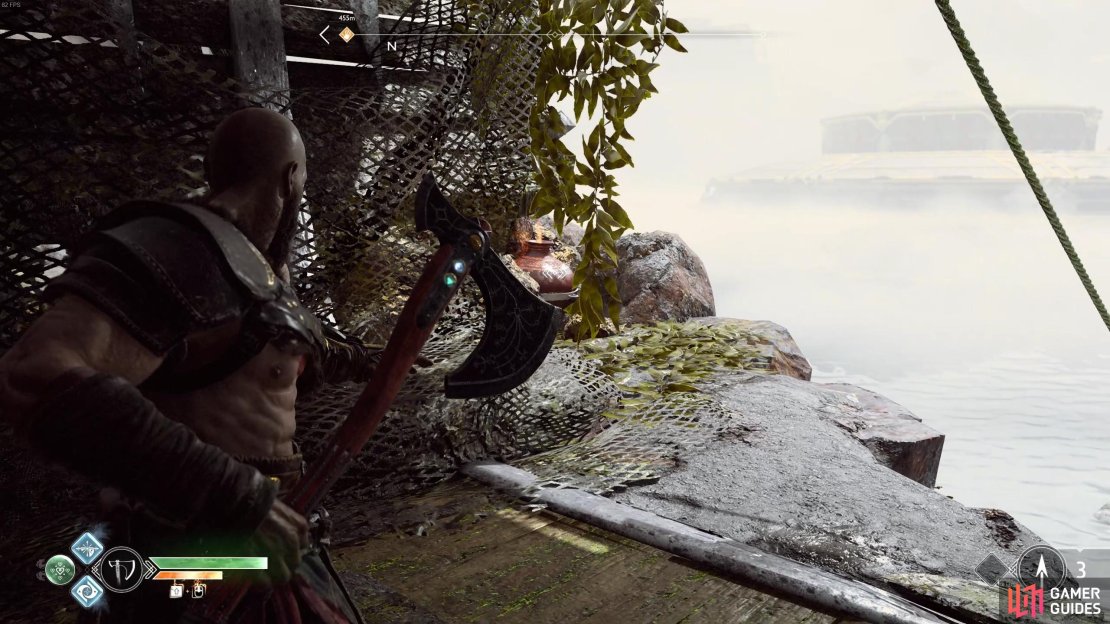
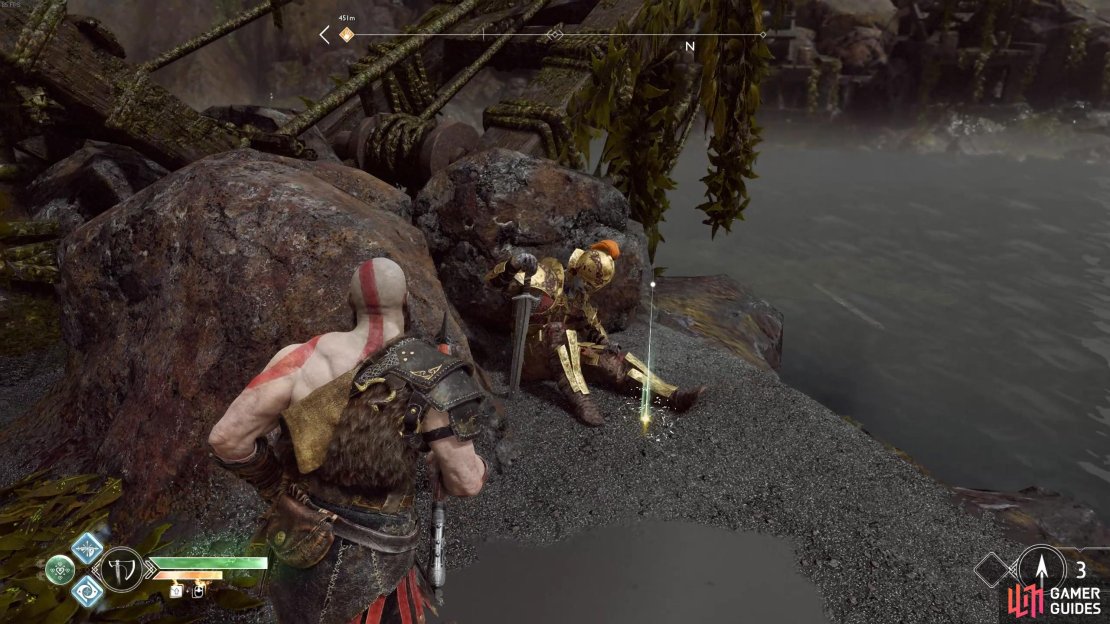
You’re not finished here yet, head through the open hull of the ship up here toward where a rope is leading off to the east and turn to the left when you reach the edge. You’ll see a bomb here that, when hit, destroys the debris around it. Head to where the debris was to climb the ship and find a coffin containing some resources. Finally, head to the northeast of this island to find more debris, stand in the middle to spot another bomb at the back, hit this to destroy the debris and find an Artefact on the corpse behind it.


(1 of 4) Interact with the brazier to summon the spirit.
There’s nothing left to do here for now, many of the secrets of this island will be access later in your adventure. Return to the boat and continue sailing around clockwise until you reach the body of the World Serpent. You’ll need to swim around it and then back to the west as soon as you see the tower to reach the next island hidden here, row the boat to the beach in order to depart.
Forgotten Caverns
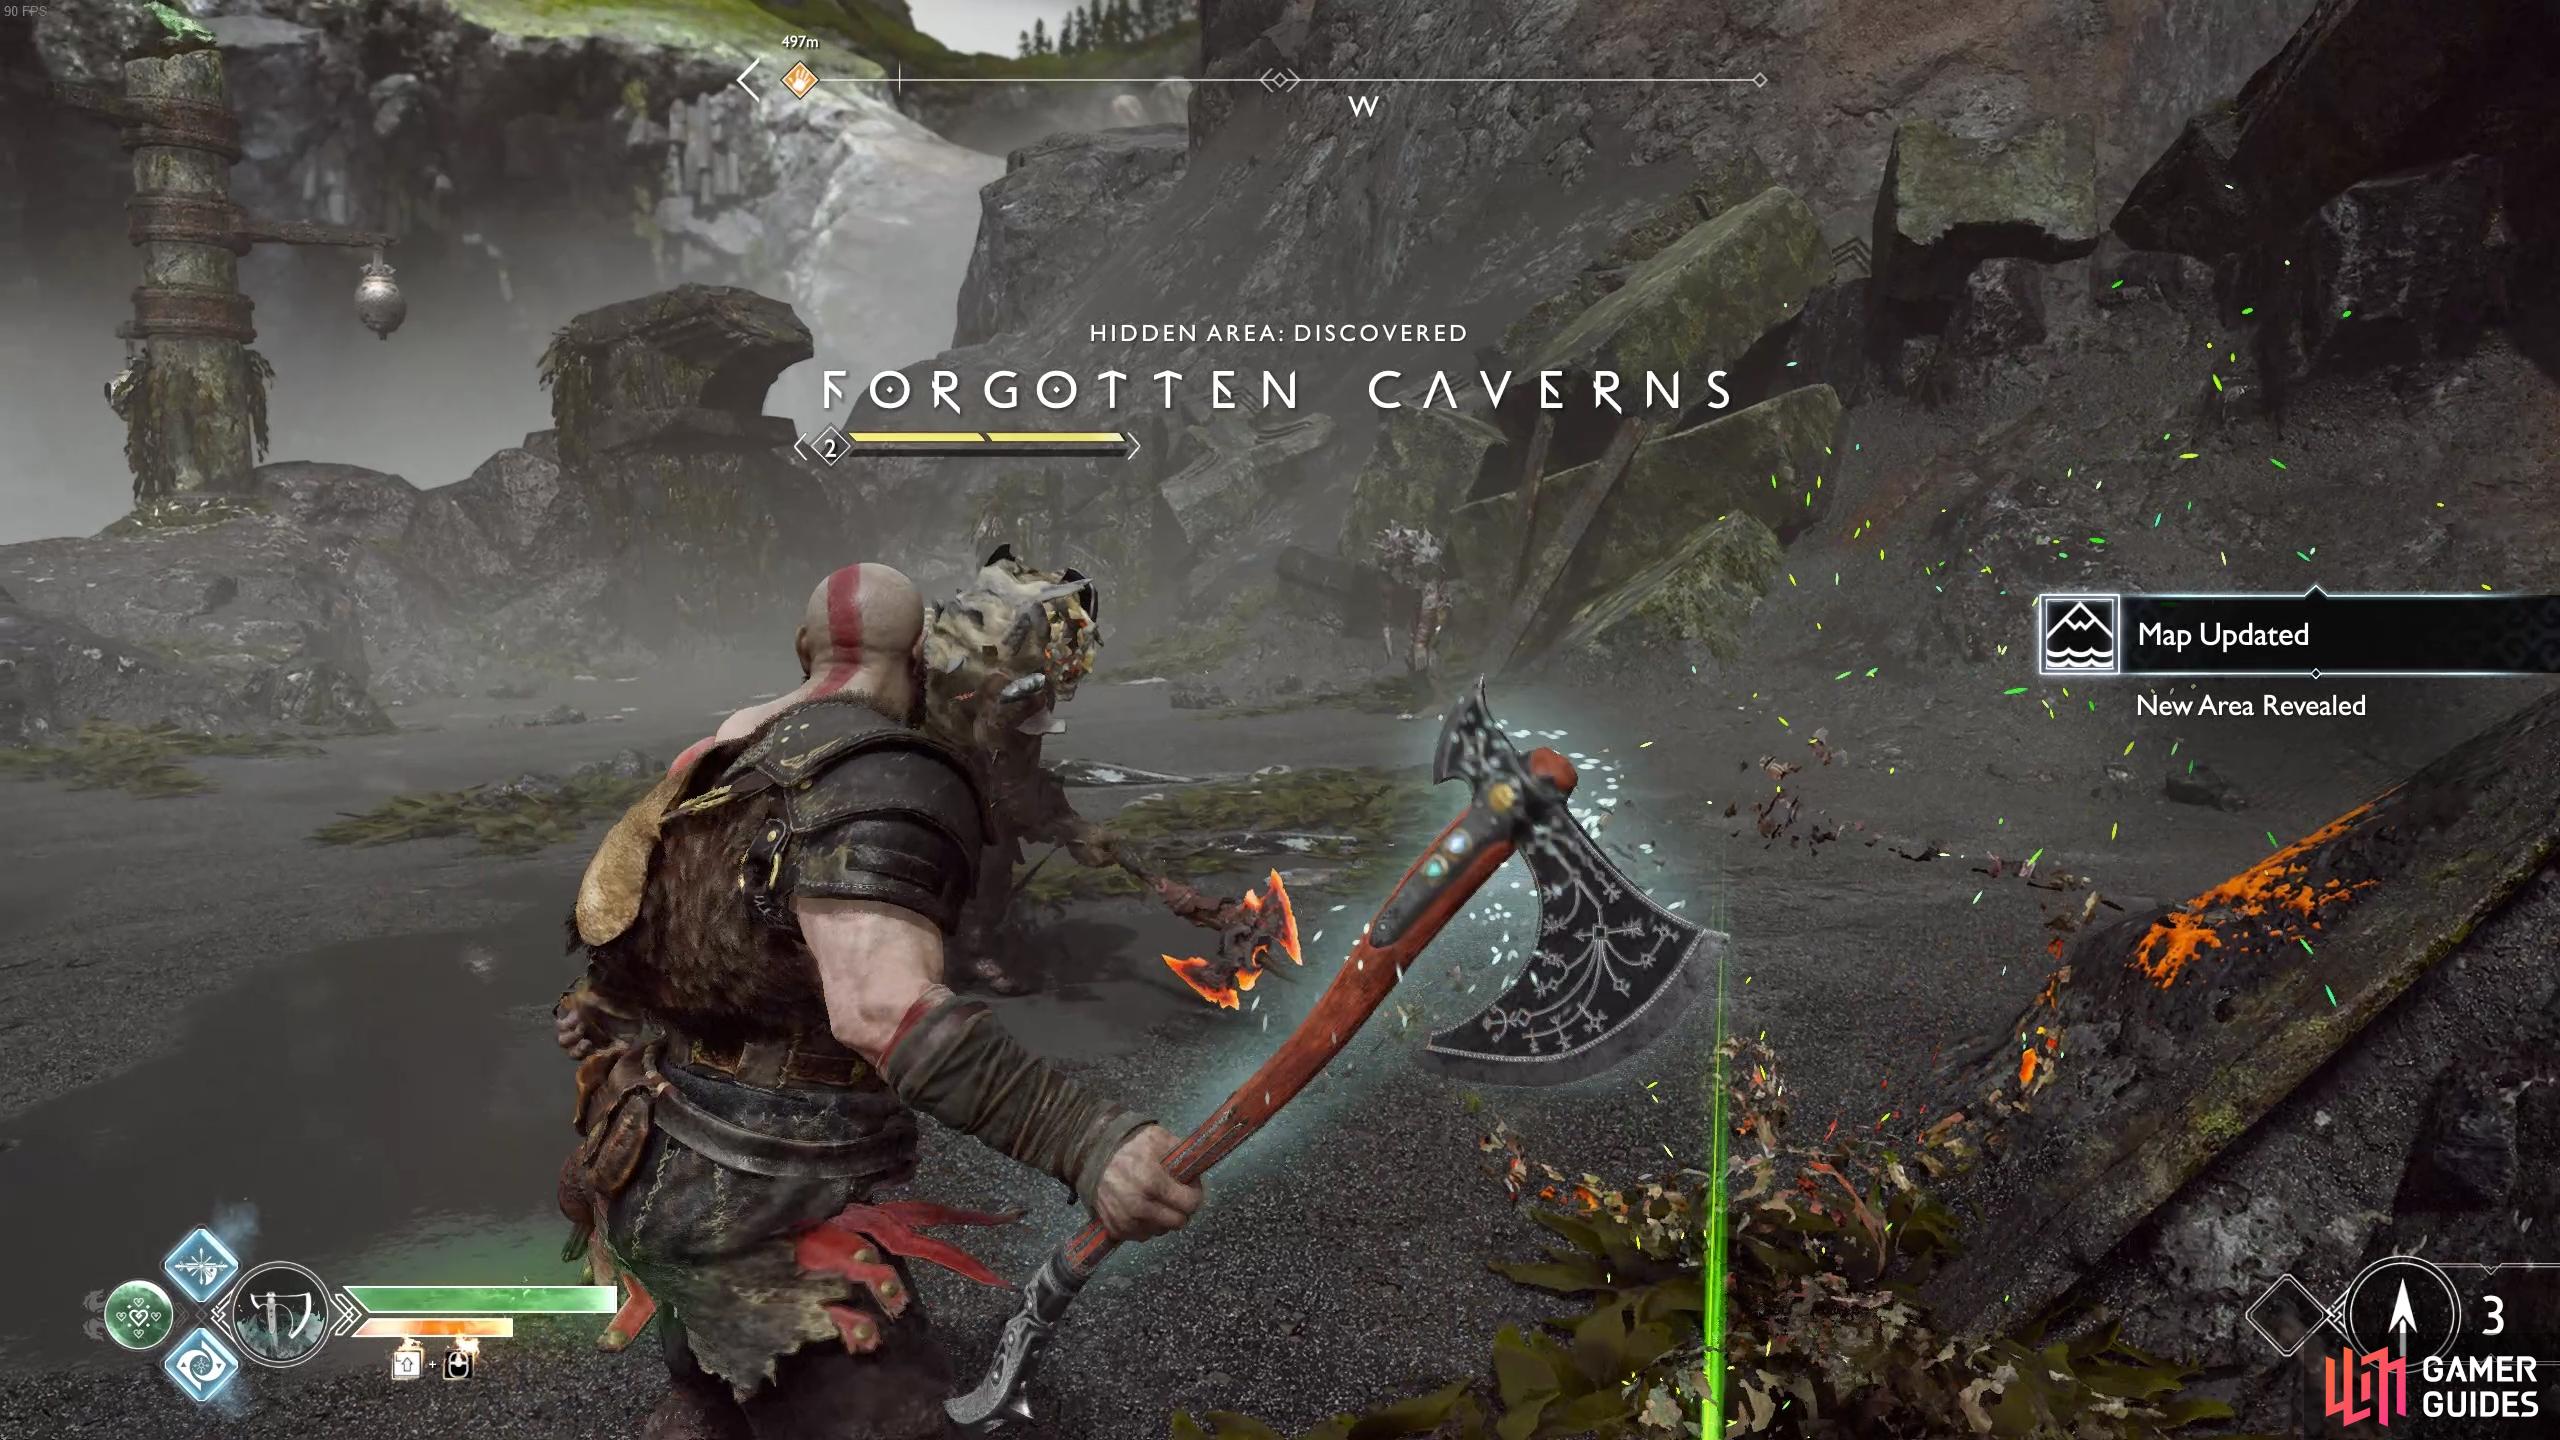
Forgotten Caverns, God of War.
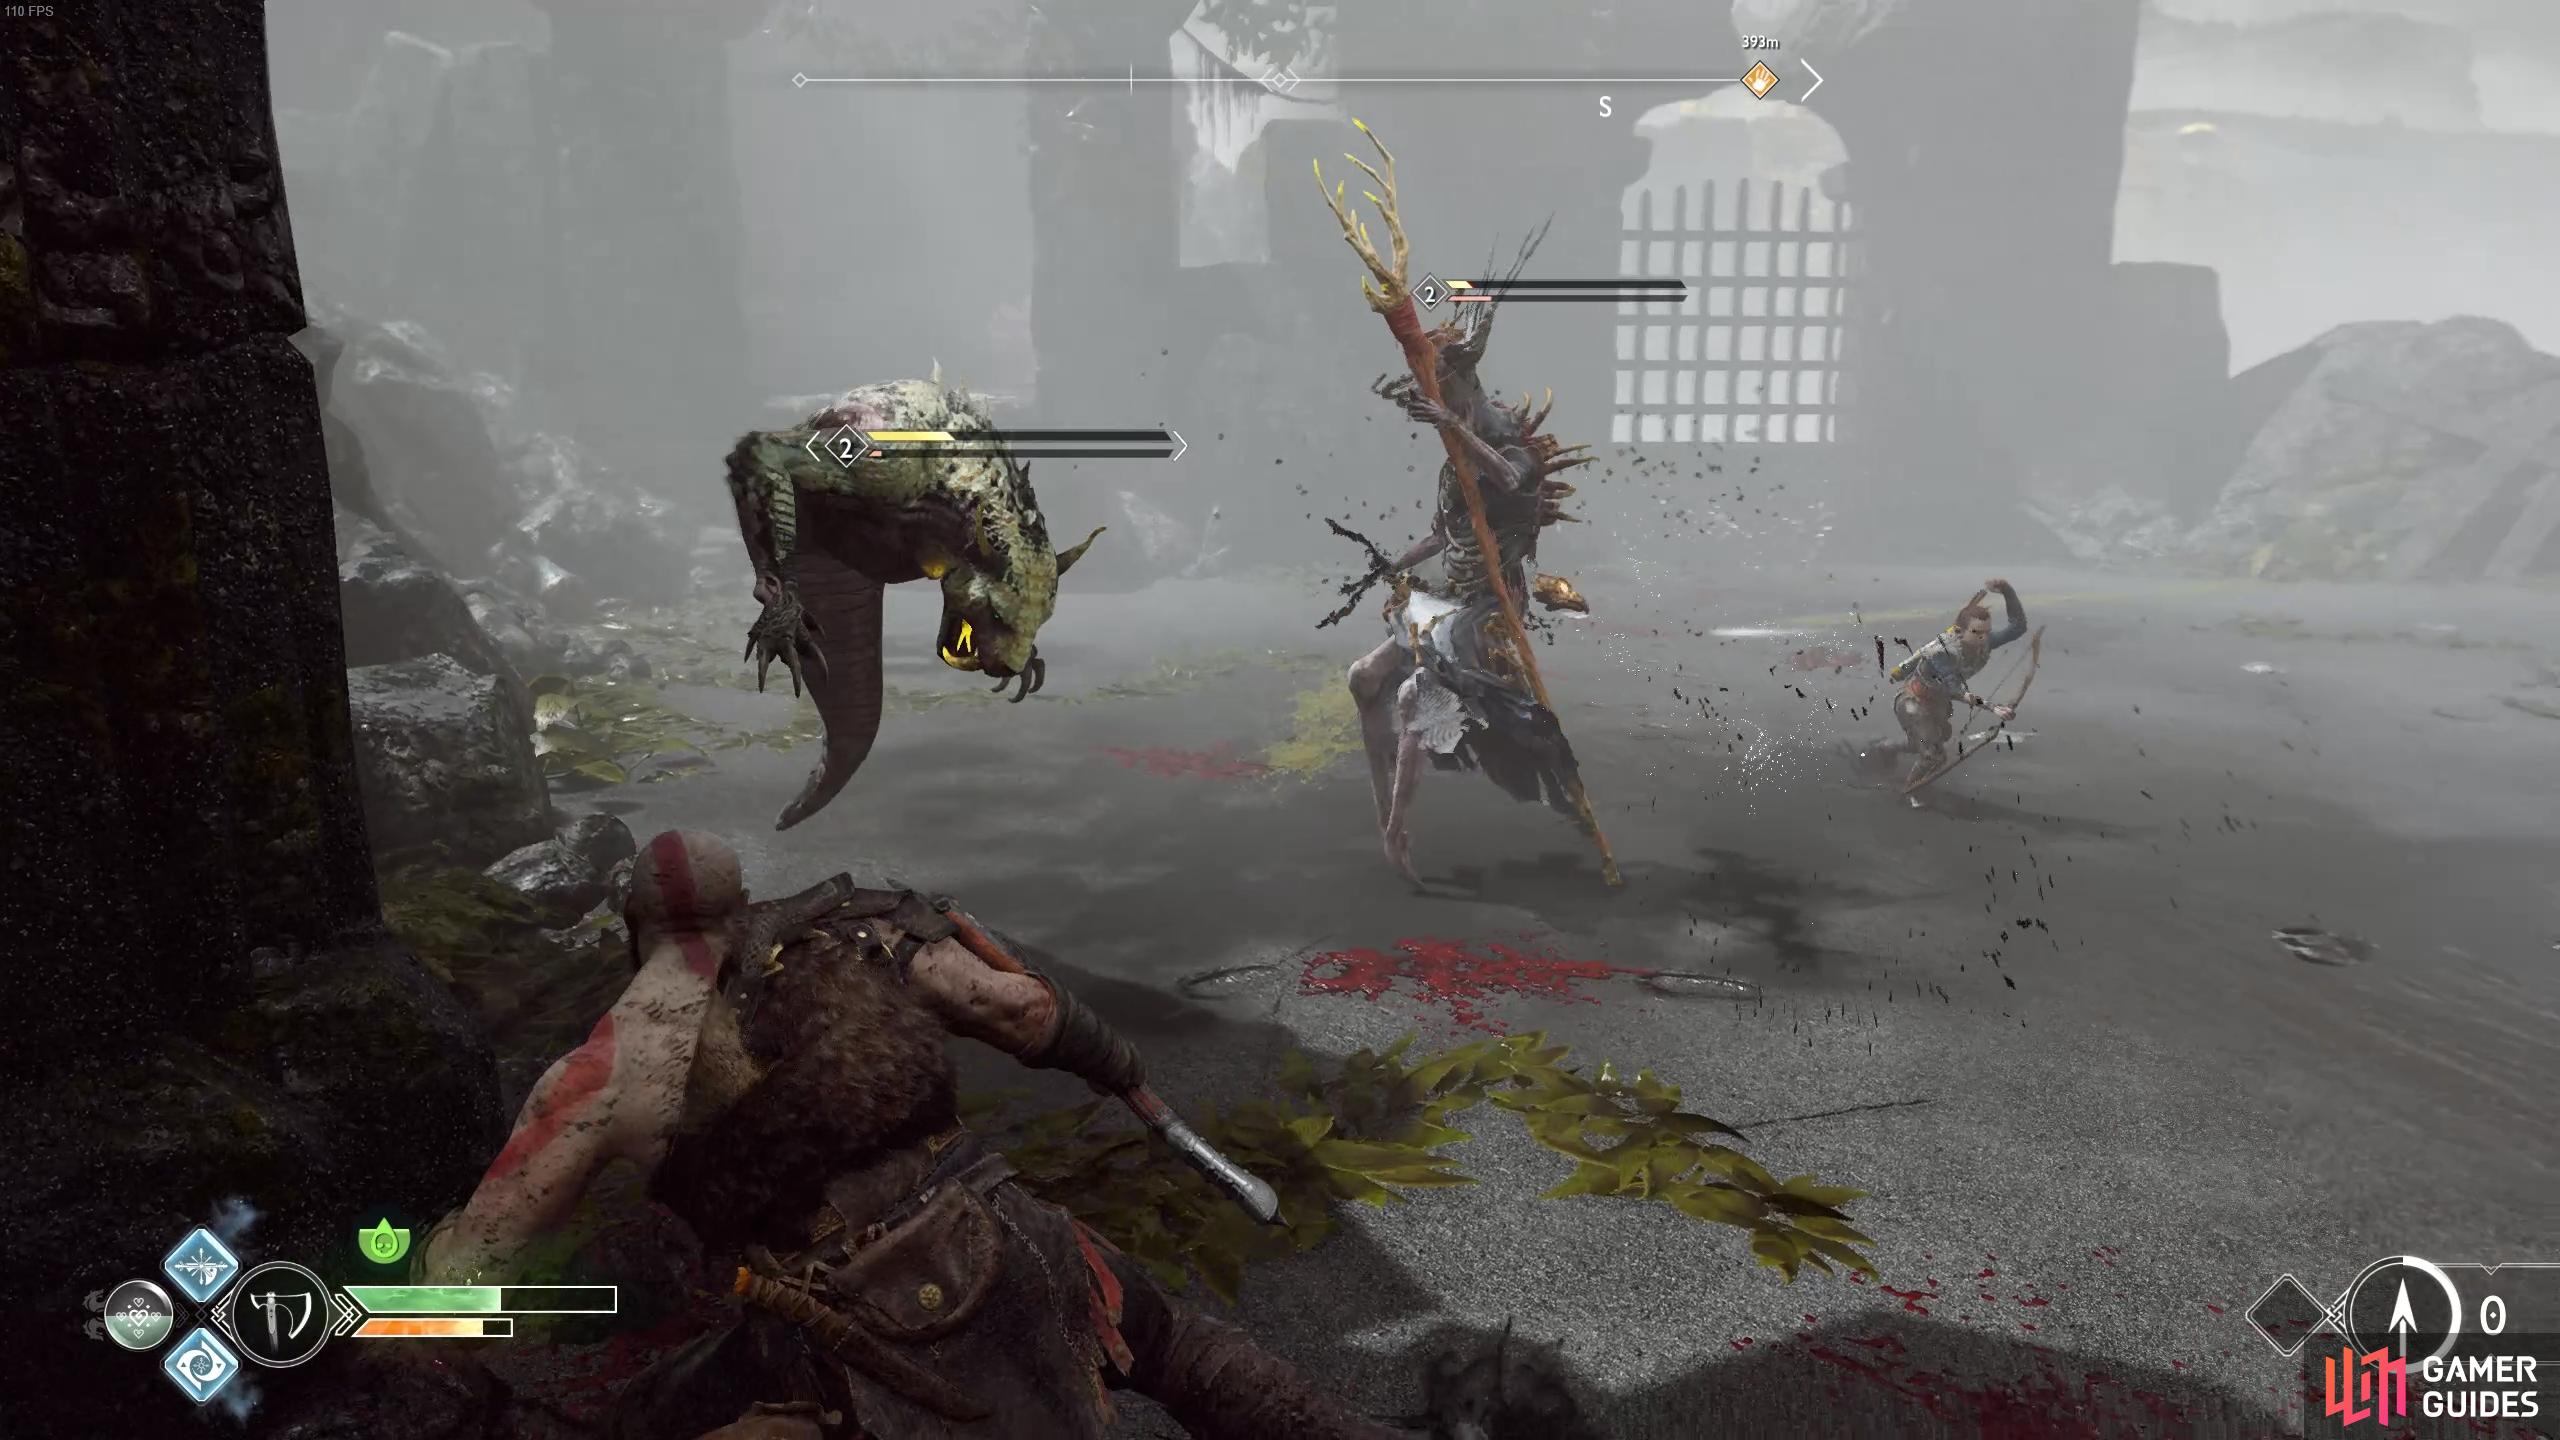
As soon as you depart the boat, a Heavy Draugr rushes over to attack soon followed by a regular Draugr. Make use of your Runic Attacks as you defeat them and clear the beach. To your right is the next brazier for the Wayward Spirits Favor, head over and light it to have a group of Hel-Reaver’s spawn in your area.
You’ll have to kill a group of three regular Hel-Reavers to start with, these shouldn’t pose too much of a problem for you at this point, you can use the axe on these. Once these are defeated however, two Hel-Reaver Lords will spawn, your axe is useless here so switch to your fists and make use of Atreus’ arrows to put them down. With the Hel-Reavers dead, head over to the spirit at the brazier and speak to him to discover that his wish was vengeance on the Reavers that killed him, a task you just completed. Your reward for this is another Corrupted Remnant to upgrade the pommel even further.
(1 of 3) Turn to the right after you dock to find this brazier.
You’re not finished with the Forgotten Caverns yet, there’s still plenty to do. Turn towards the Nornir Chest to the west of the island to see a large column with bells hanging off it, at the top is the next Raven. The Nornir Chest itself is right next to it, in order to unlock this chest you’ll have to hit all three rune bells on the column. To make this trickier, the bells will begin to swing around the column after you hit the first one, you’ll need greater accuracy in order to hit them all in time before the runes light up again. Open the now unlocked chest to receive another Iðunn Apple.
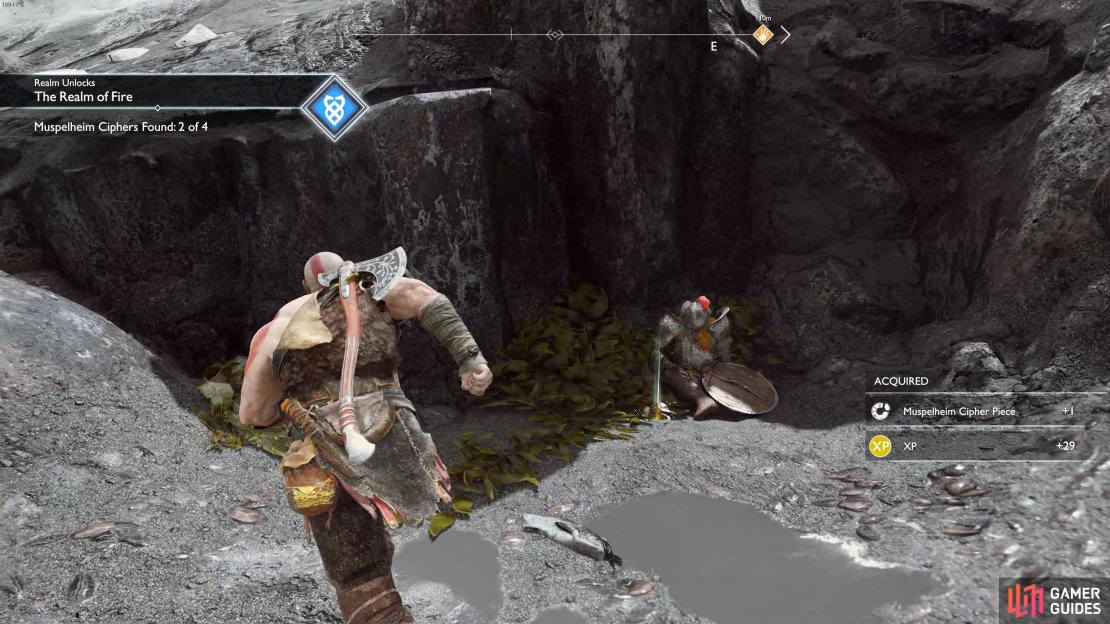
Finally, climb up the chain near the brazier to discover a Legendary Chest containing your first Muspelheim Cipher as part of a new Favor category, Realm Unlocks along with the Favor, The Realm of Fire. Collecting four language ciphers around the realms will allow you to piece them together and have Atreus learn the language, granting you passage to Muspelheim, a tough optional area with great rewards. Before you return to the boat, don’t forget to grab the next Artefact on the corpse up here.

(1 of 2) The first Muspelheim Cipher is found in the chest here.

The first Muspelheim Cipher is found in the chest here. (left), Another Artefact lies at the top. (right)
Shores of the Nine
Return to the boat and continue sailing along the edge to the north and around the World Serpent to reach another realm tower, dock here and take the elevator up. There’s a pack of Hel-Reavers at the top, the Leviathan Axe can damage these ones leading to an easy kill. Once the area is clear, you’ll find the next Artefact on a corpse against the wall. If you’ve obtained at least another 1000 XP at this point, now is a good time to unlock the Freezing Burst skill in the Ranged Combat tree, this skill allows you to charge your axe throw and cause explosive Frost damage upon impact.

The Artefact is on the corpse slumped against the wall..
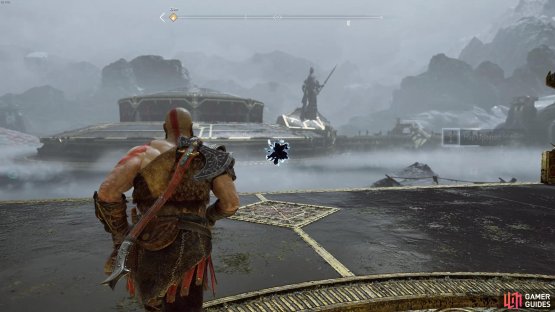
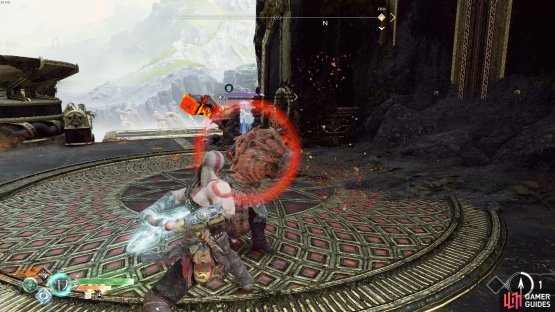
Board the boat again and continue to row to the east to reach the next dock at the next tower. Take the elevator up to the top to find another Mystic Gateway and another Artefact on the nearby corpse. There’s another Realm Tear up here, be prepared for a very difficult battle, you’ll be facing off against three Level 4 Draugrs; a Heavy, a Speed type and a normal type.
The Speed type is a new variant that you’ve yet to encounter, they will dash in towards you so be prepared to block their attacks before you counter. The most deadly foe here is the Heavy Draugr who will most likely kill you with one hit at this point. Use Atreus to gain it’s attention and then hit it with Executioner’s Cleave, this is the safest way to whittle down his health. Once the battle is over, examine the Realm Tear once more to obtain 10 Dust of Realms, a resource used to upgrade Talismans along with 1500 Hacksilver. You’ll also unlock the Close Realm Tears Labor, a task that will take you the entire adventure to complete.
(1 of 2) This Artefact sits close to the elevator leading to the east dock.
This Artefact sits close to the elevator leading to the east dock. (left), The enemies you fight here are tough at level 4. Avoid their special attacks with a dodge. (right)
Take the elevator back down and board the boat, sailing to the northeast and docking at a beach in the corner.
Stone Falls
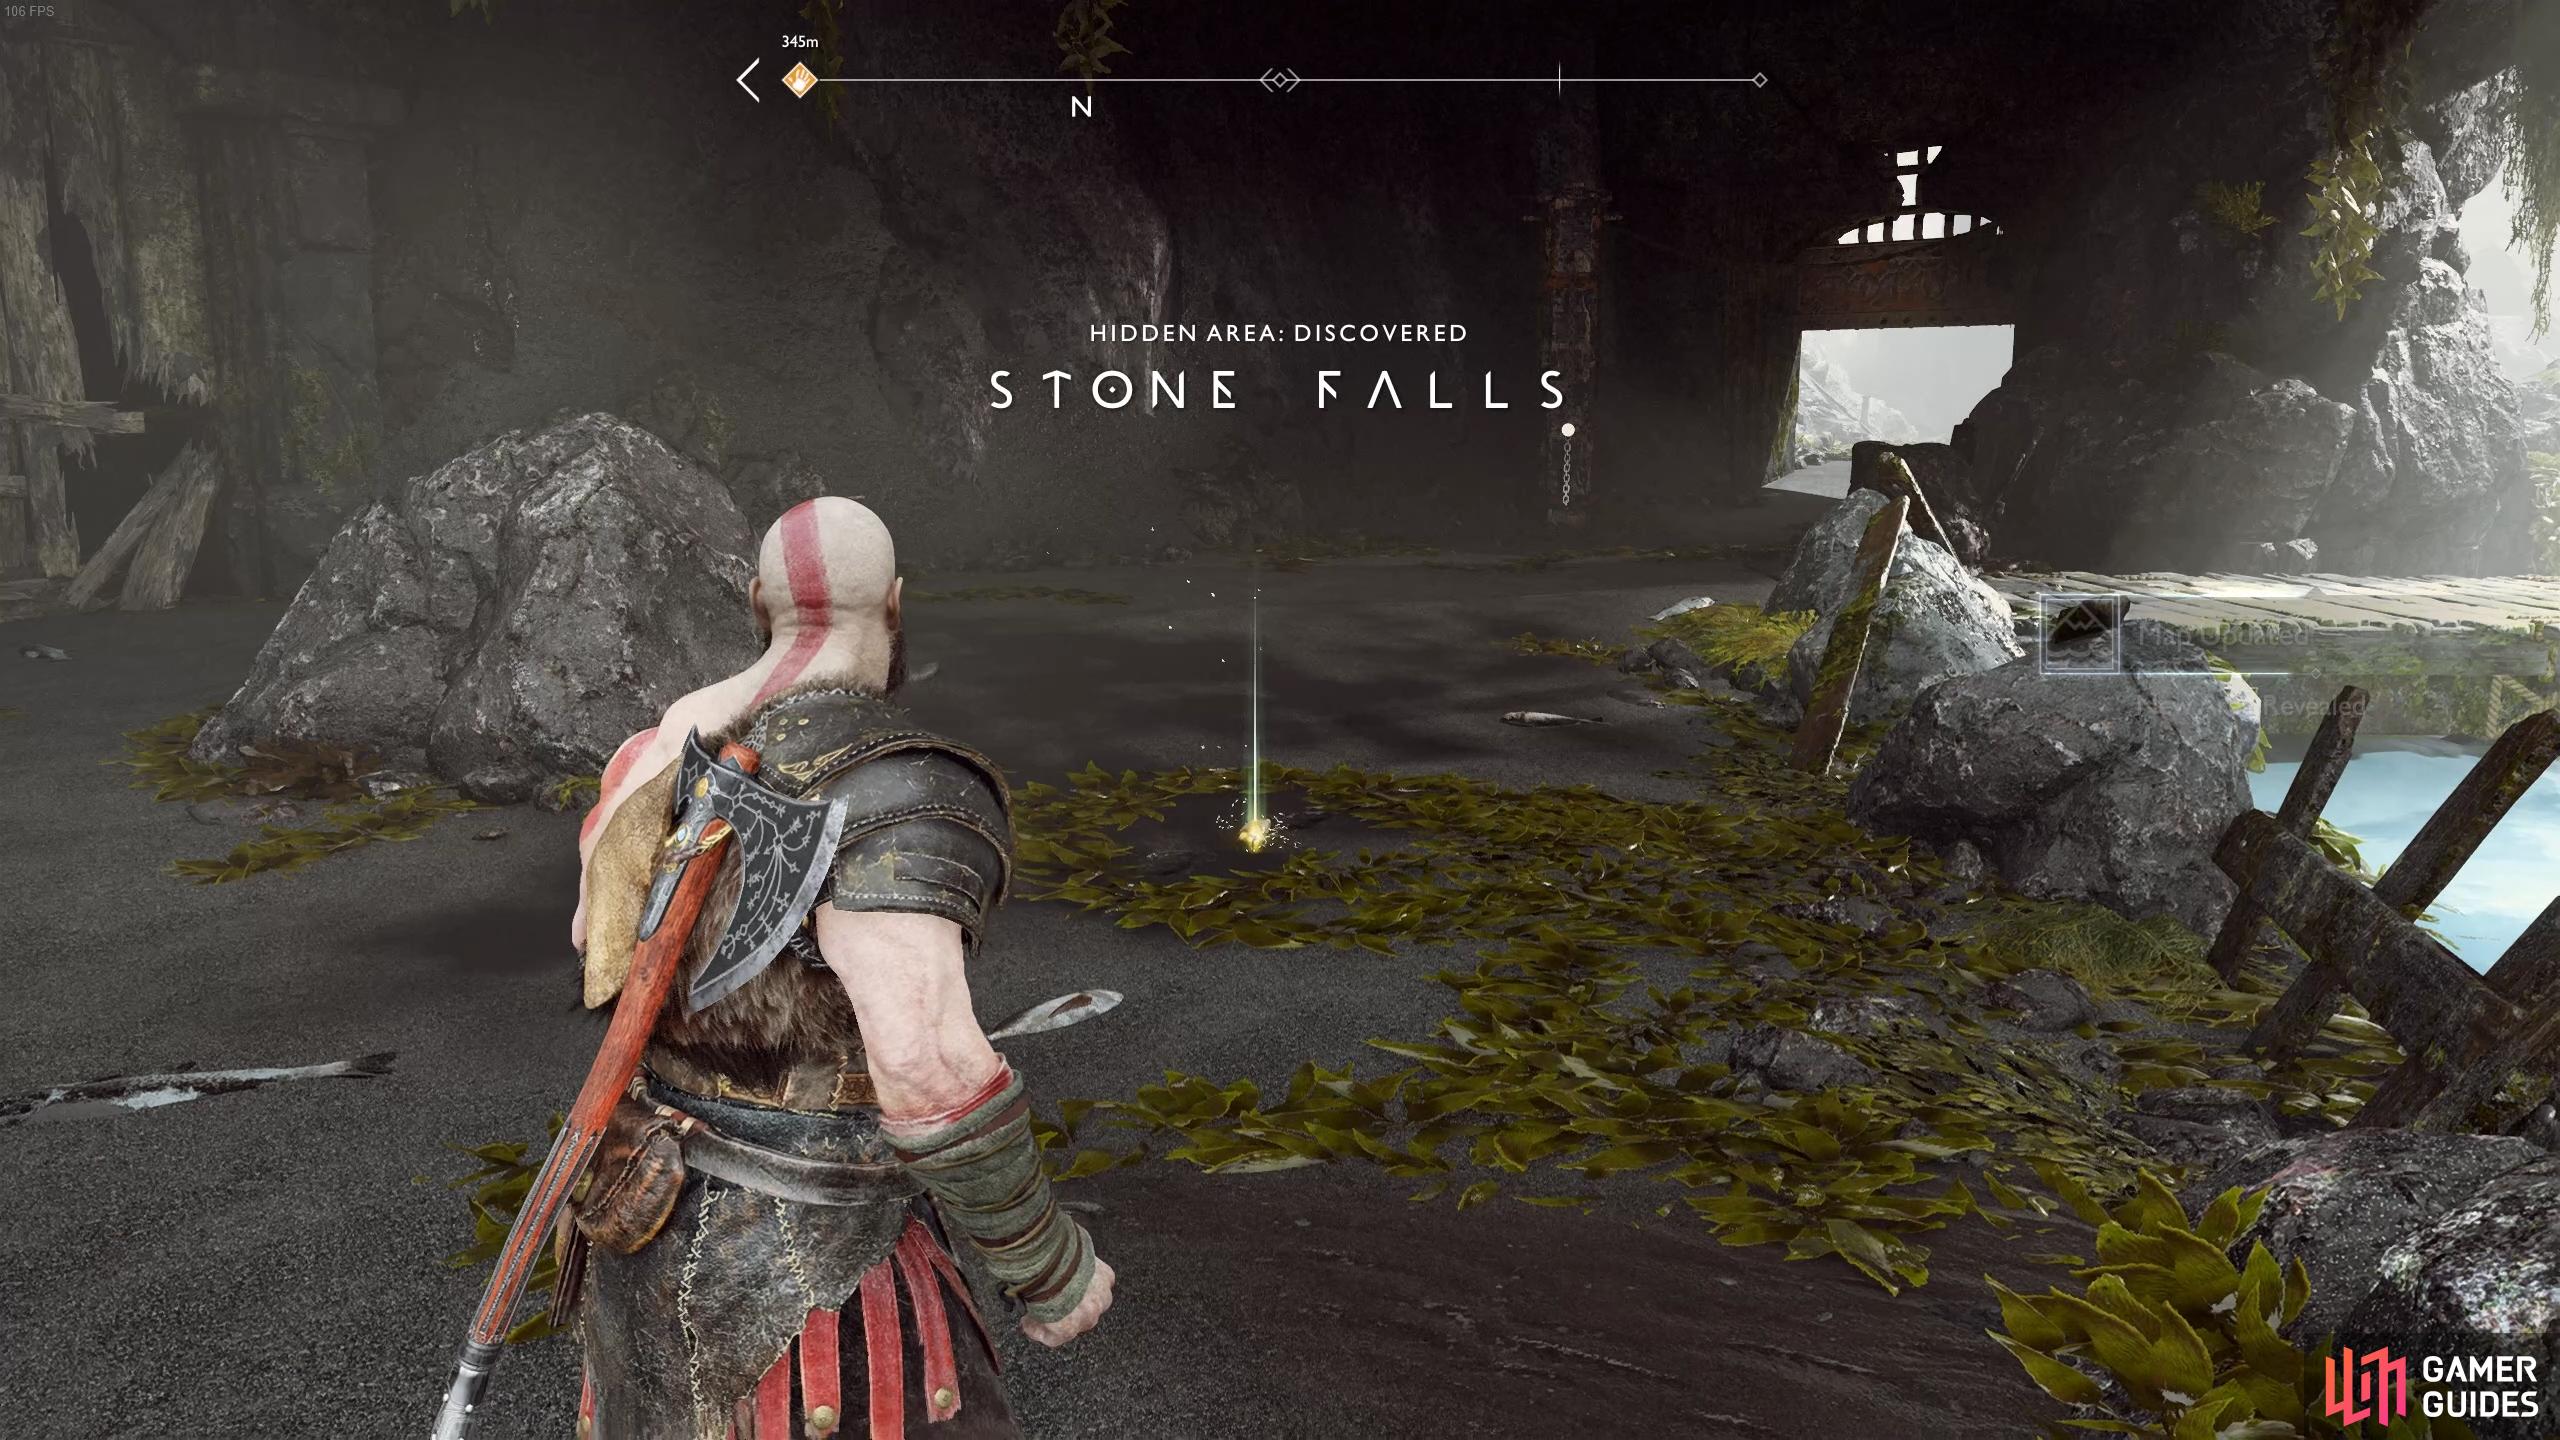
Stone Falls, God of War. Be sure to loot the treasure map here!
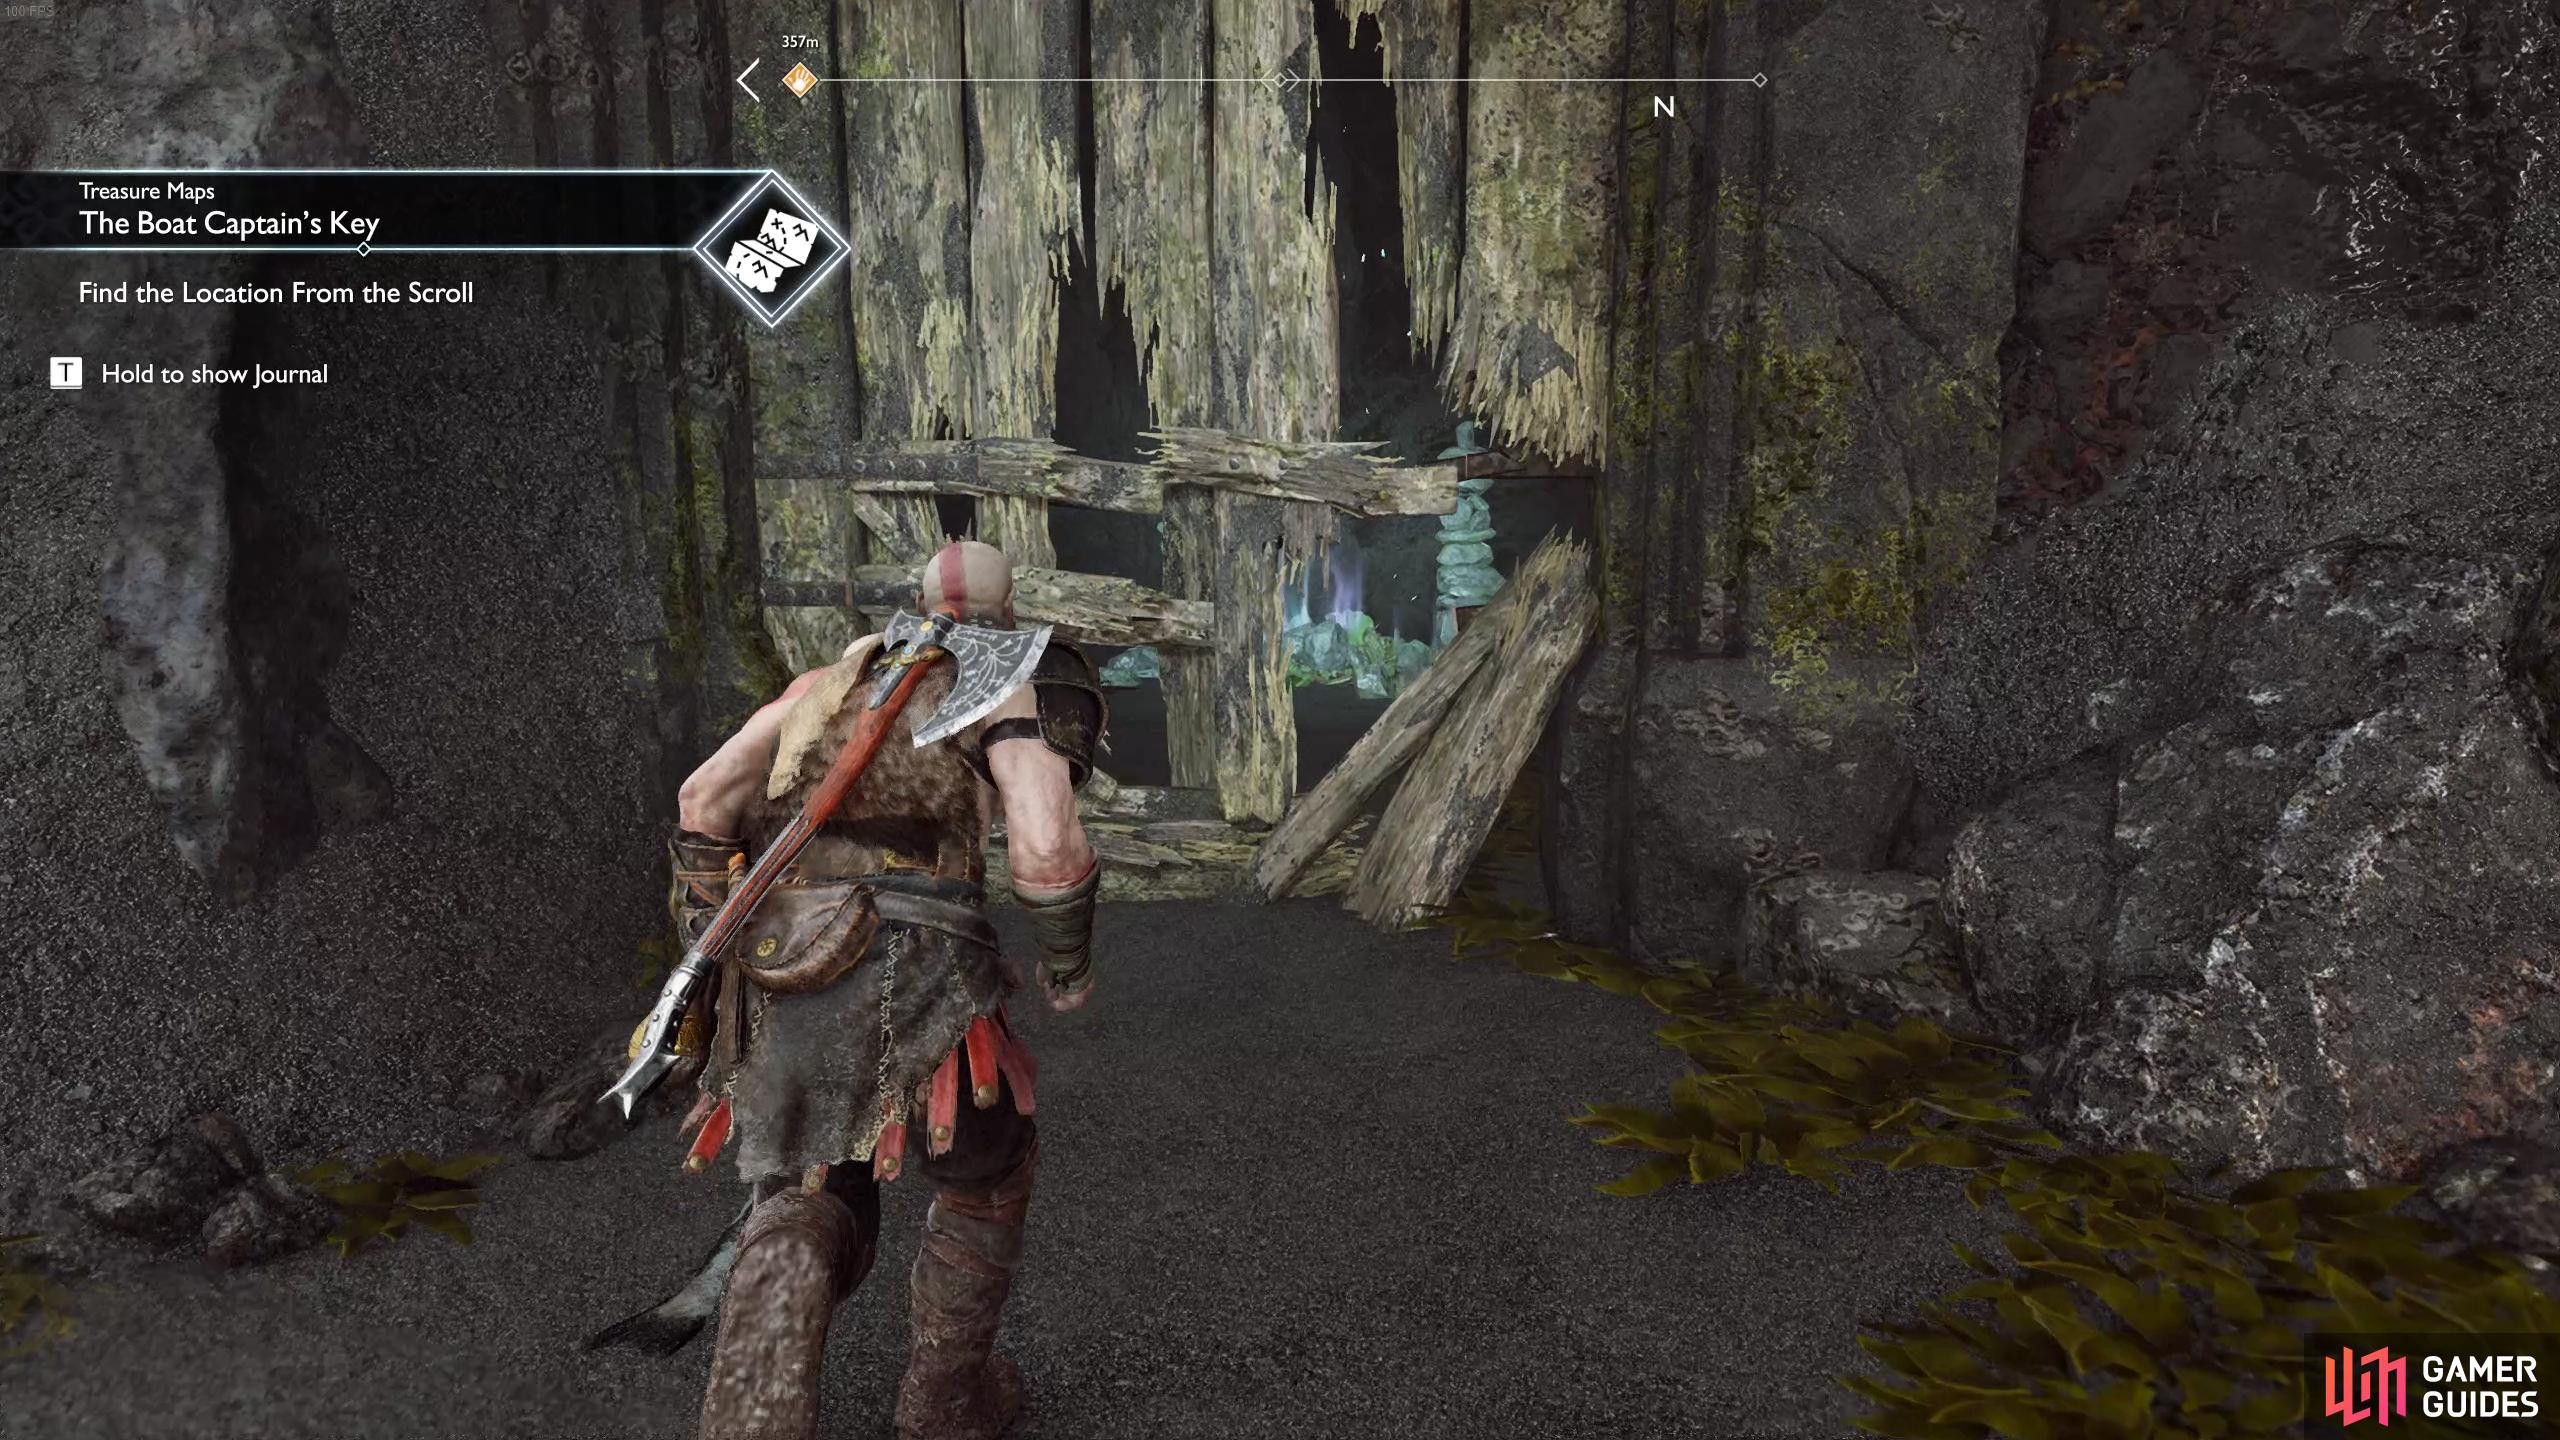
There’s a lot for you to see and do here, start by having Atreus pick up the nearby Treasure Map titled The Boat Captain’s Key and then turn to your left. Break the barricade here to find another Mystic Gateway and then proceed through the open gate to be attacked by a Revenant and a Tatzelwurm, a new enemy type. Take out the Revenant first and then focus on the Tatzelwurm, these creatures burrow under the ground before springing forth to attack you with it’s poisonous breath.


(1 of 2) Be sure to discover the portal here.
Be sure to discover the portal here. (left), Use arrows to prevent the Tatzelwurm from burrowing under. (right)
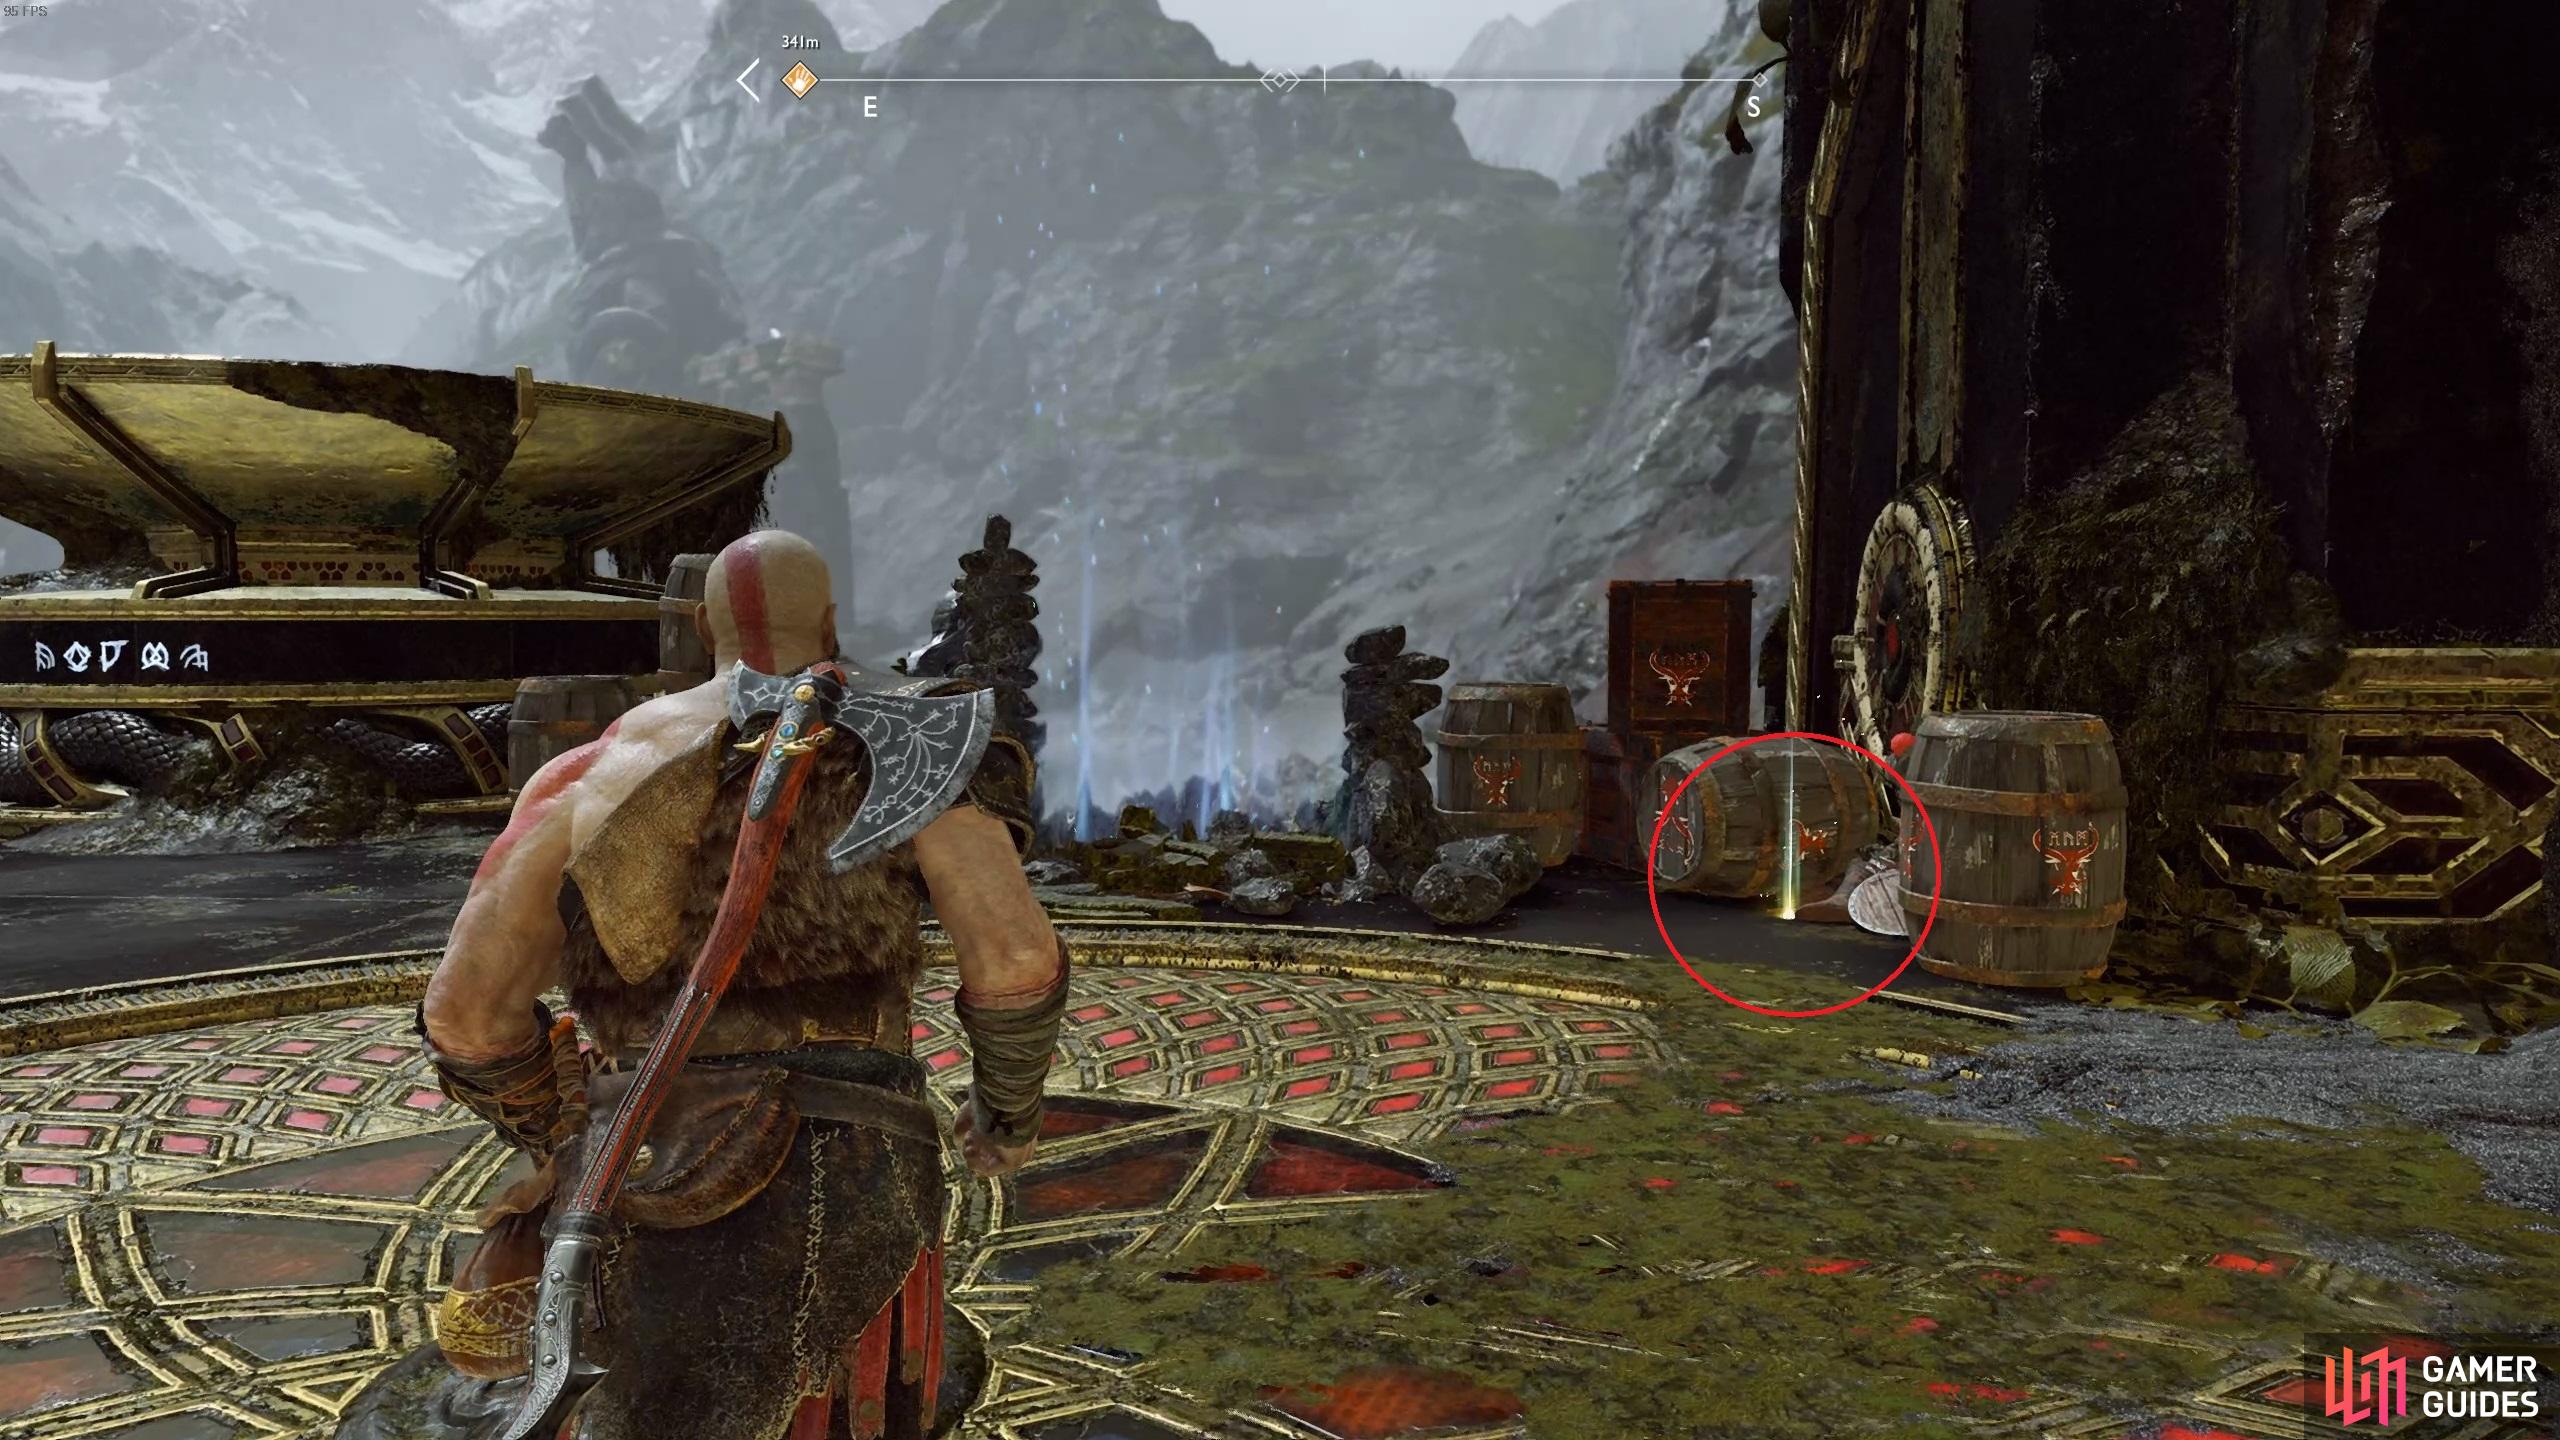
With the area clear, you’ll find an alternating color stone in the center, take health if you need it otherwise go for XP. The two gates in here are closed for now, instead look to the left of the right gate to find a ledge to climb. You’ll find an inaccessible coffin, a sack of Hacksilver and another Artefact. From this location, stand where the coffin is and look toward the bridge. You should be able to toss the axe at the runic disc holding it in place and lower the bridge.
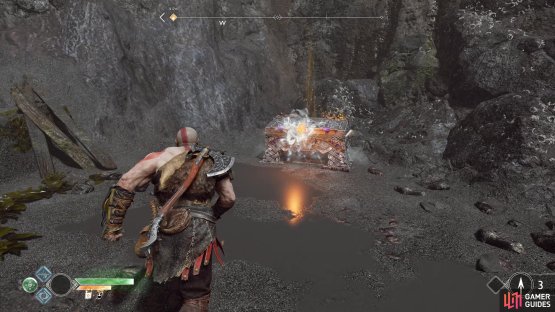
Return to the first area and use the chain on the gate to close the gate in front of you. Cross the bridge to find another spirit, speak to him to learn the tale of his hatred for Thor and tasks you with a new Favor to destroy a statue of Thor. Spin the wheel next to this spirit to unlock the huge hulking doors in front of you. Turn to your left and open the gate to reach the earlier area and proceed through the now open left gate to find a Hacksilver chest and a Legendary Chest containing the Golden Talisman of Protection.
There’s nothing left to do here so return to the beach and board the boat. Avoid heading through the large doors you just opened for now, there’s more to explore before heading there. Continue to row the boat along the edge and then down the icy stream to reach your next destination, docking at the beach.
Völunder Mines
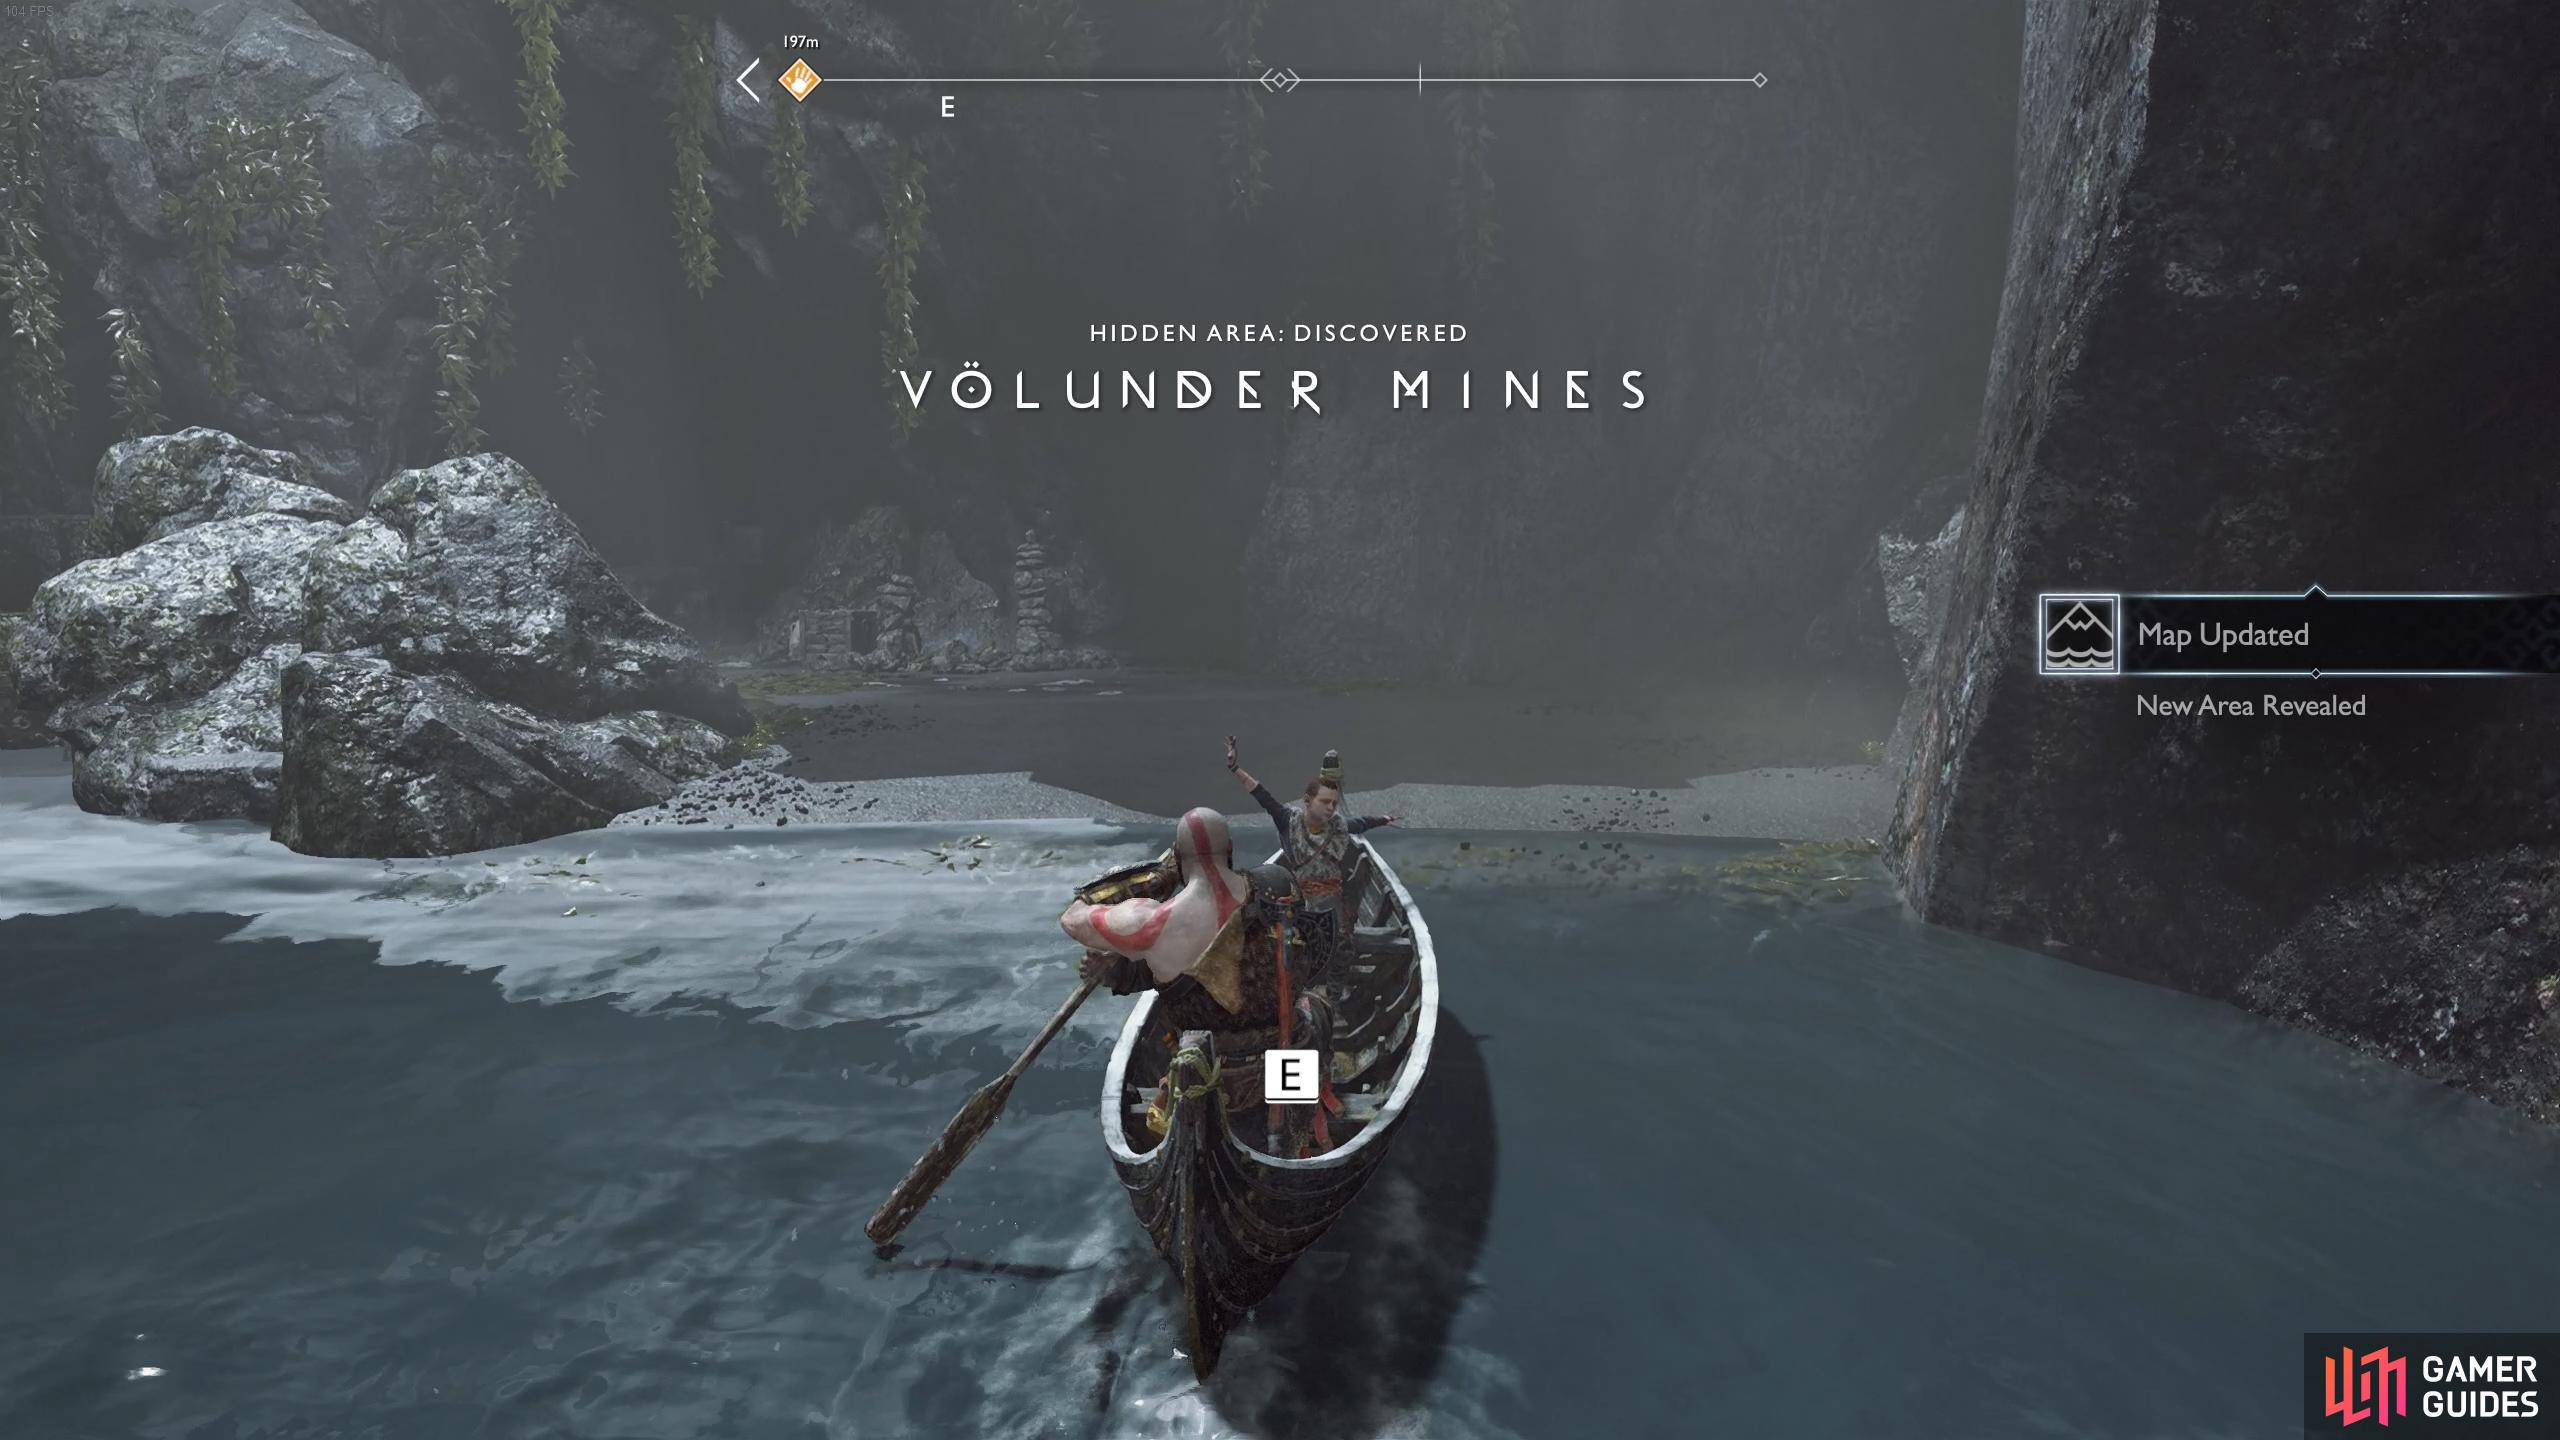
Völunder Mines, God of War.
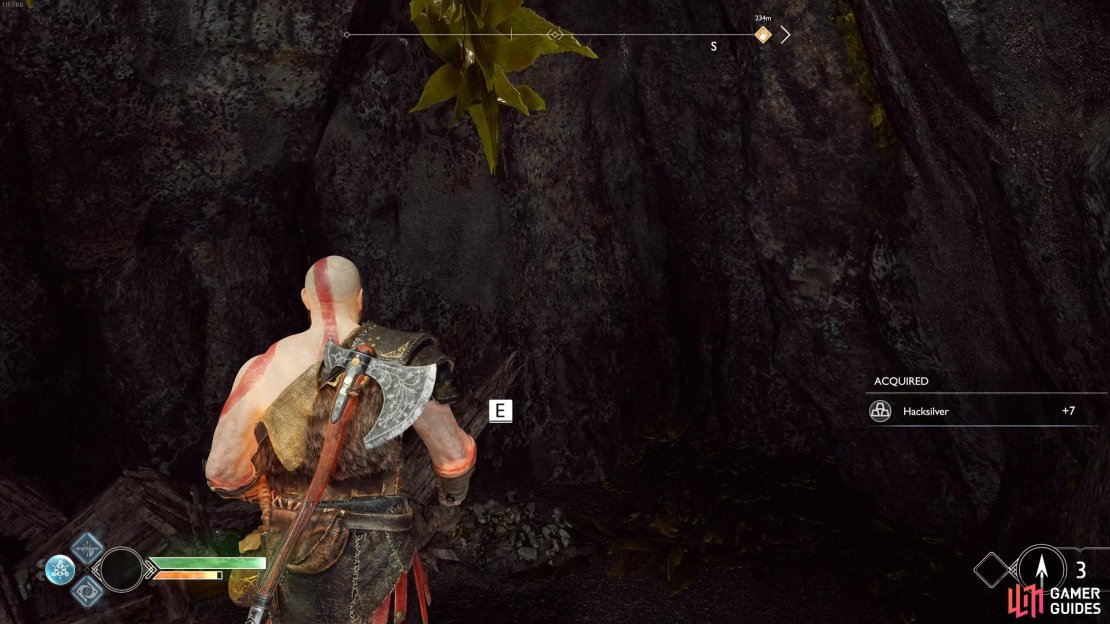
Activate the nearby Mystic Gateway and then turn around and look into the air to see the next Raven circling the sky. Climb the ledge to the left of the Mystic Gateway and head right, checking the ground here to unearth a sack of Hacksilver. Continue deeper into the mines by climbing the nearby ledge and squeezing through the gap and look to your right to find a coffin. There’s a Lore Marker for Atreus to decipher and then follow the path deeper by jumping the gaps and crawling through the tunnel to reach another of Brok’s Shops.
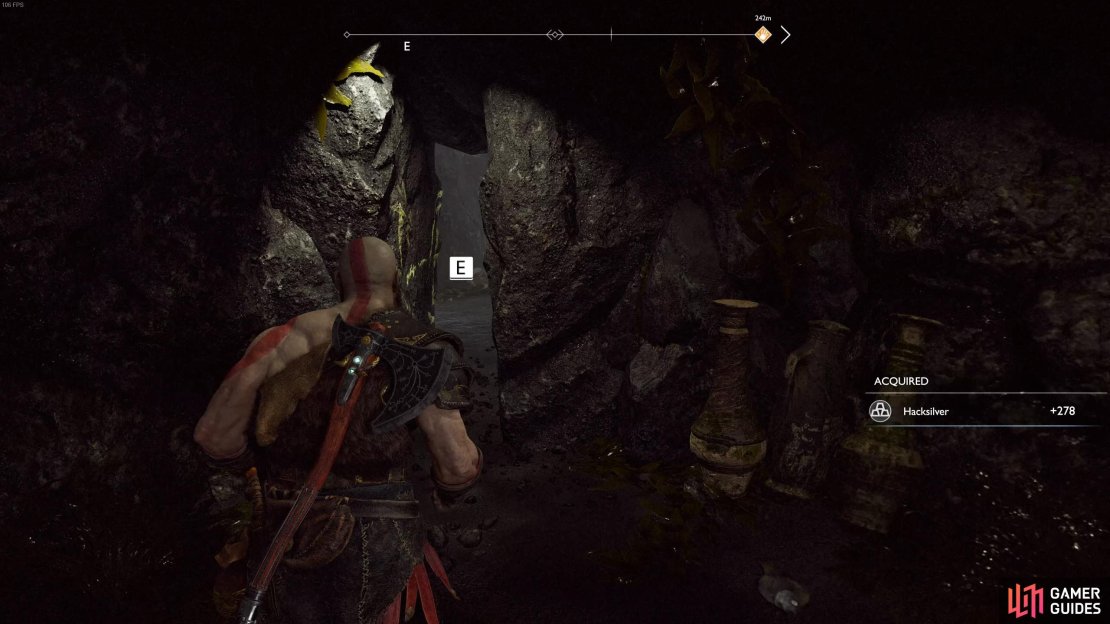
(1 of 3) Go through the crack to reach Brok’s shop.
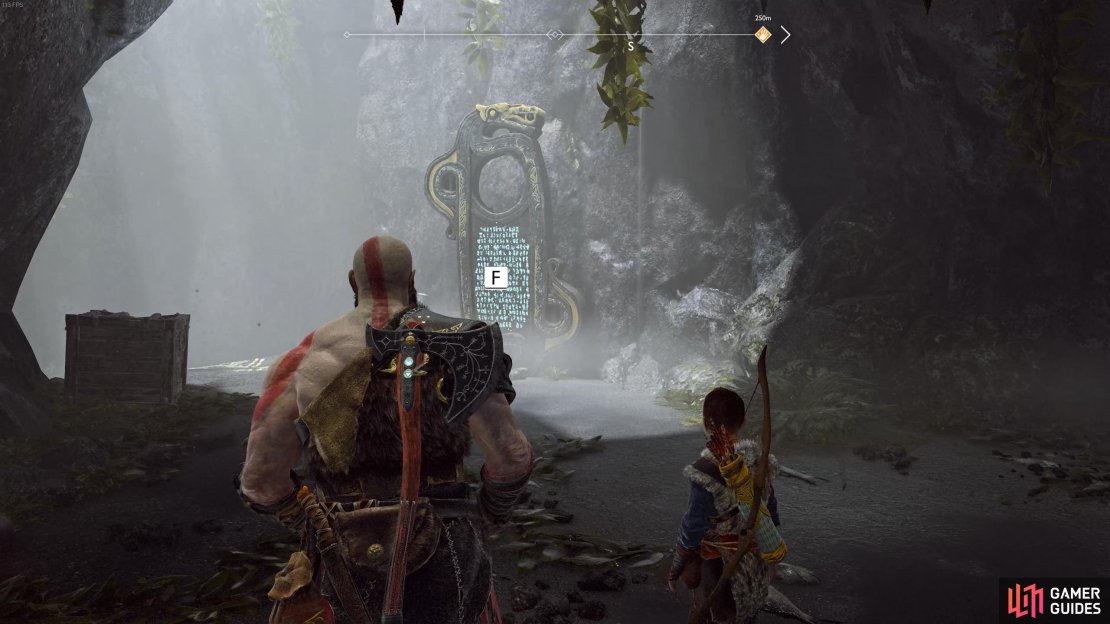
Speak to Brok and listen to his tale about Andvari to accept the first Favor of the [Dwarves] questline, Second Hand Soul. This is a longer side quest and there’s a few more stops on the Lake of Nine first so you’ll want to finish that up first before returning here.
You do, however, want to make use of the Shop here to upgrade the Versatile Warrior’s Handle twice using the Corrupted Remnants you’ve collected so far and sell the Artefacts from Abandon Ship for a much needed boost to your Hacksilver reserves. Exit the mines for now and return to the boat, sailing out of this icy passage and head around the rocks to the west before heading south again to find the next beach to dock on.
Cliffs of the Raven

Cliffs of the Raven, God of War.
Once you depart from the boat, you’ll immediately see the final brazier here, have Atreus decipher the runes to light it. You’ll have to deal with two Cursed Tatzelwurms and a new enemy, the Viken. The Viken is a deadly creature with wielding a mace, you’ll need to be extra careful against these, when you see the red ring around him be prepared to dodge a series of ground pounds, use this to get around the back of it and deal damage.
With the enemies defeated, speak to the spirit near the brazier to learn his plea and receive a Corrupted Remnant along with the XP from completing the Unfinished Business Favor. Head left and around the troll to search the ground and unearth a large sack of Hacksilver and then turn to face the sea, you’ll see a Raven perched here.
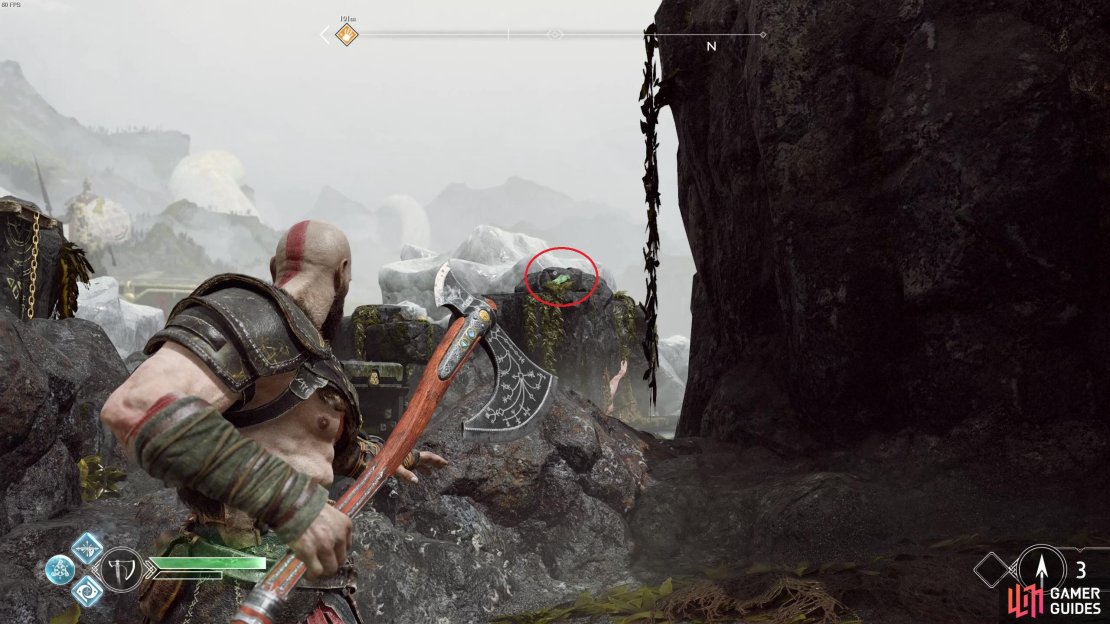
Look right from this position to spot some runes on a wall signifying that it is climbable, toss the axe to break the boards and boost Atreus up. He’ll drop a chain for you to climb allowing you to access a Legendary Chest containing the next Muspelheim Cipher Piece. Before you depart from this location, look into the corner to find a corpse with the final Artefact for the Abandon Ship quest.

(1 of 4) Viken Brawler’s are deadly if you’re caught in their combo.
There’s nothing more to do here for now so return to the boat and continue sailing to the west to reach the final dock for now containing a small sack of Hacksilver. Before you take on the two larger Favors that you unlocked earlier, return to the Isle of Death and climb up to the top. Under the hull of the broken ship you’ll find the treasure hoard for The Boat Captain’s Key Treasure Map containing a Leiptr Alloy, 30 Aegir’s Gold, a random Rare Enchantment and 10,000 Hacksilver.
Look under the broken hull of the ship to find the treasure.
You’ve covered the majority of the islands for the Lake of Nine now however there are two more areas to explore before you continue The Journey.
No Comments