

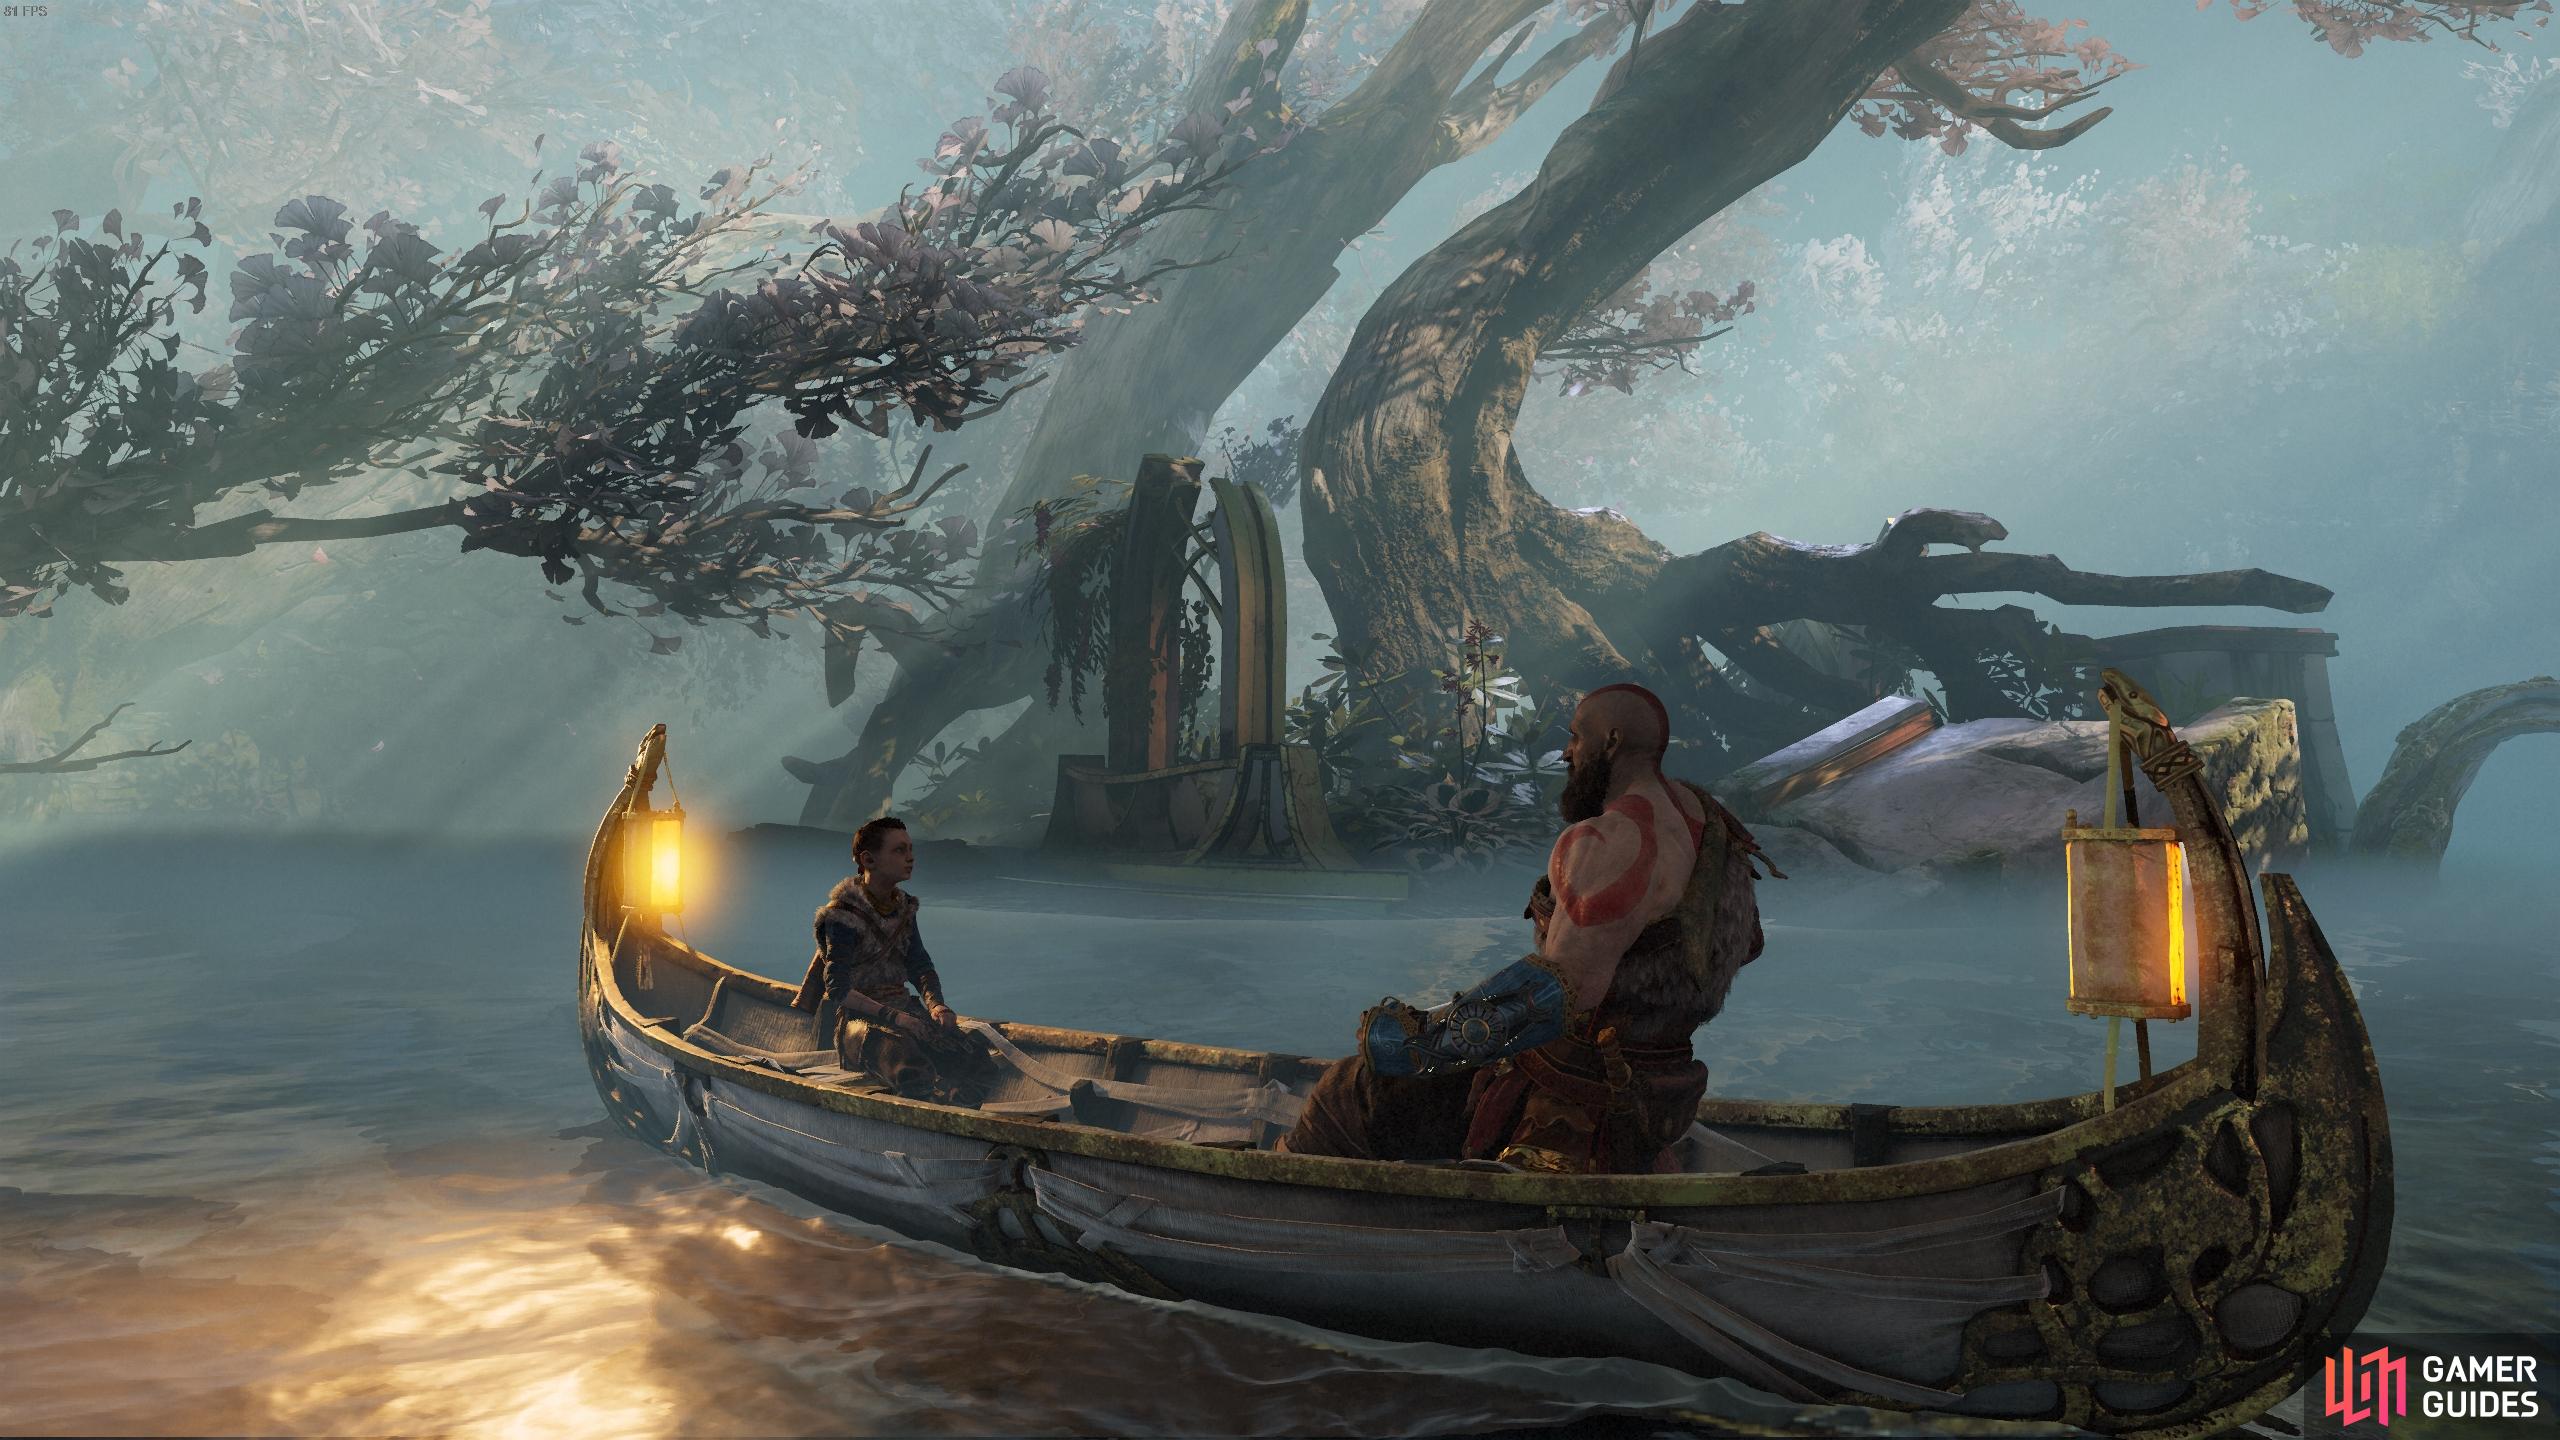
The Light of Alfheim 1, God of War.
Find a way to the Light
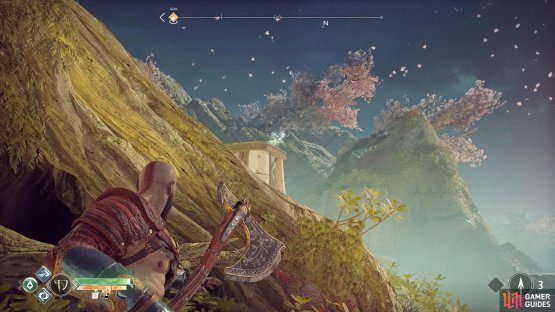
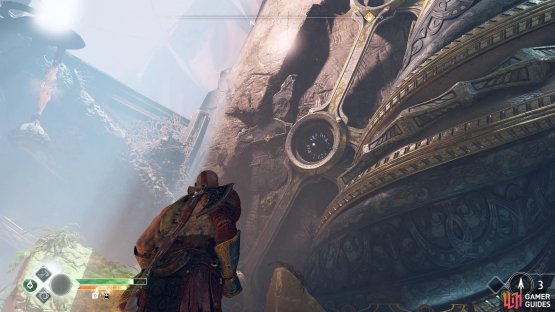
You’ll notice from the outset that Alfheim is devoid of a lot of it’s Light, only the pillar of Light in the distance serves as your guidance.
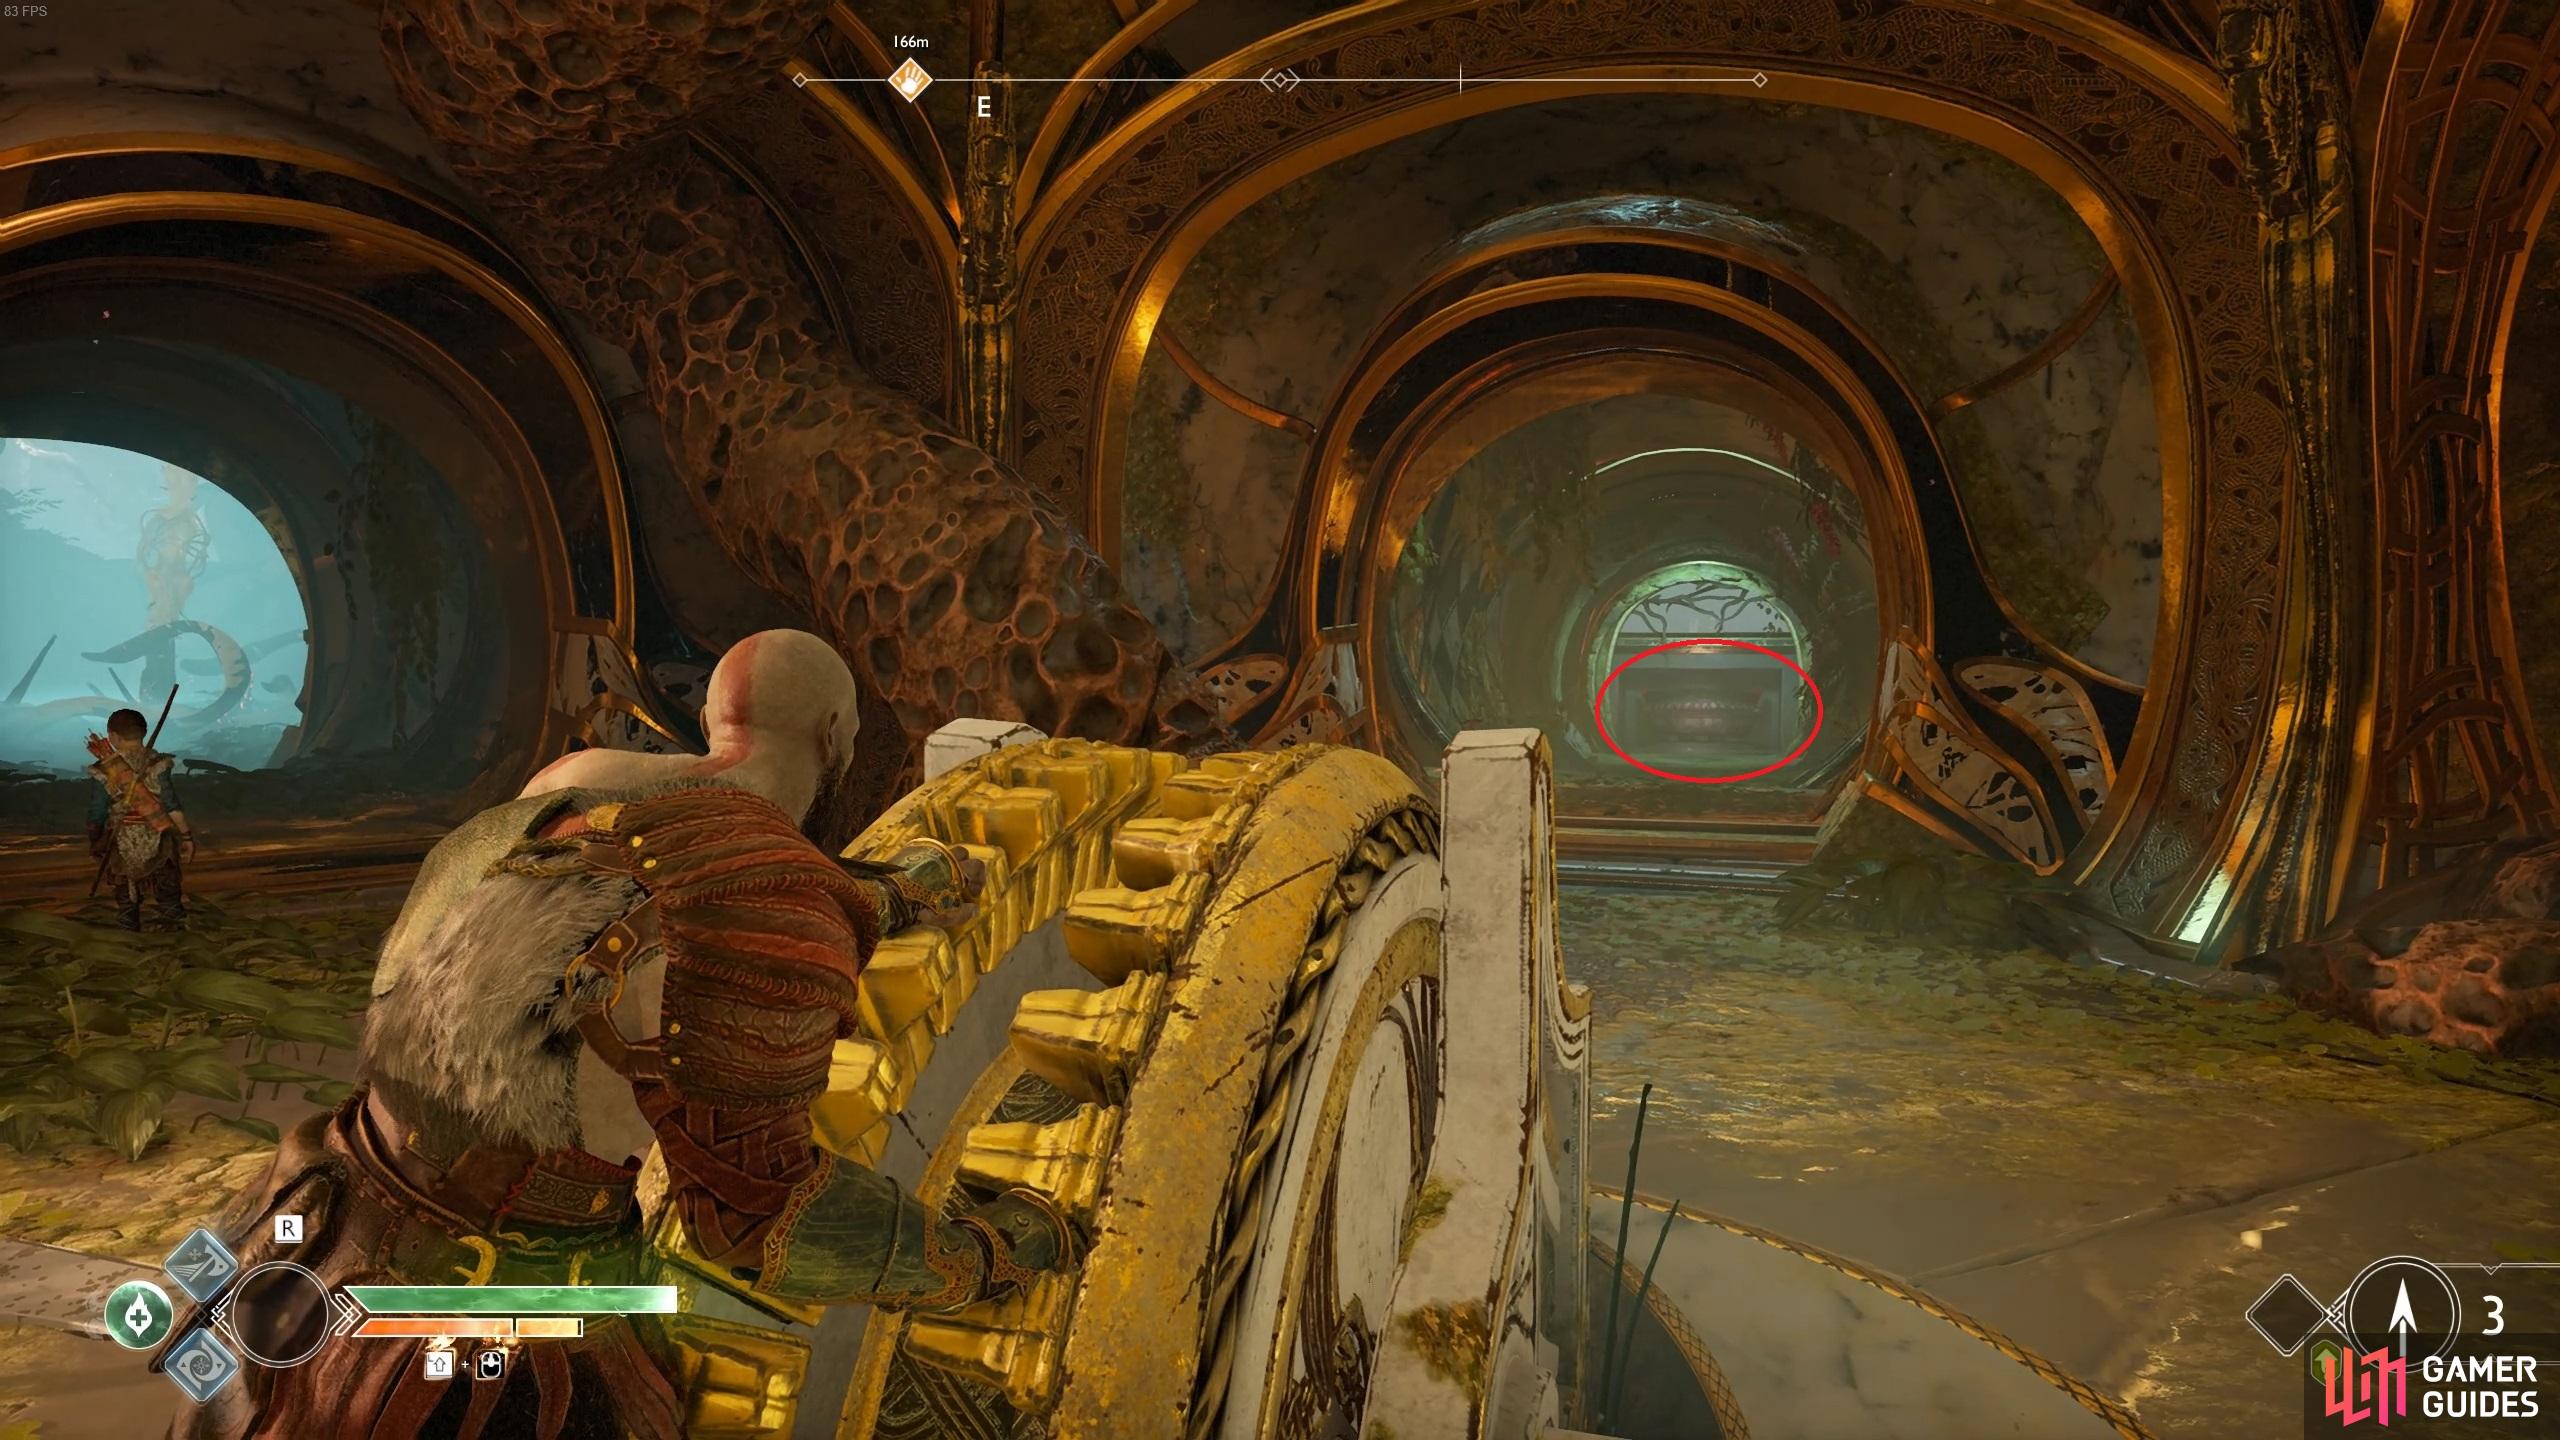
Head forward and you’ll be stopped by a pulsating knot, take aim with the Leviathan Axe and hit the center to destroy it. Continue forward and destroy another knot and witness the struggle between the Light and Dark Elves. There’s a Lore Marker to your right as you continue on and to the right of it, another knot to destroy allowing you access to the nearby Hacksilver chest.
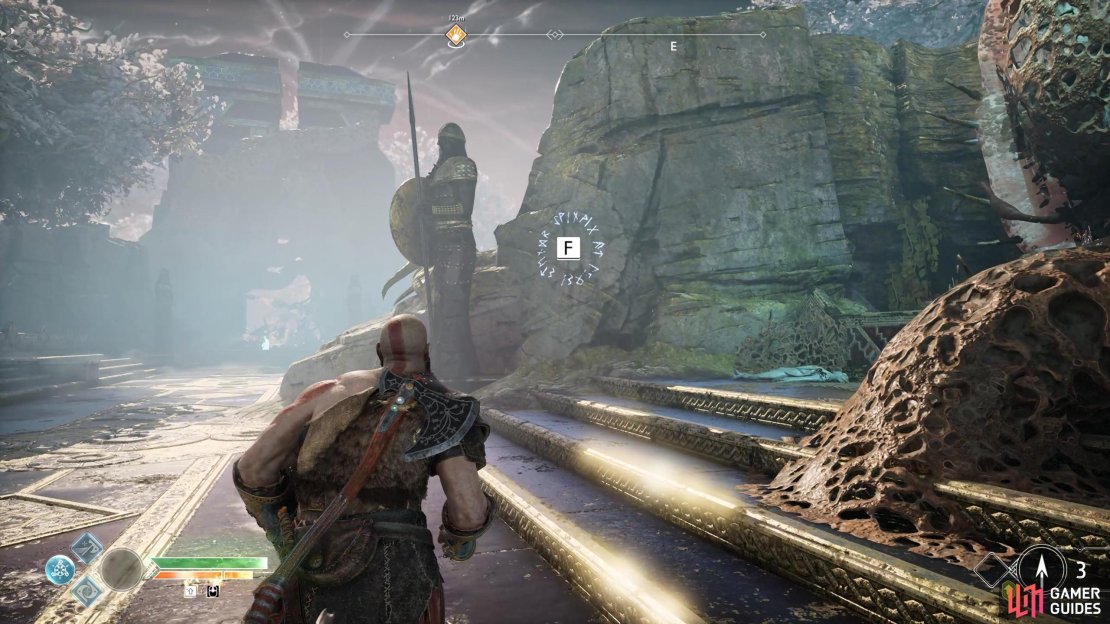
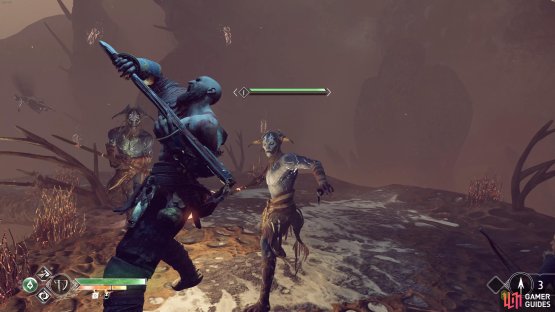
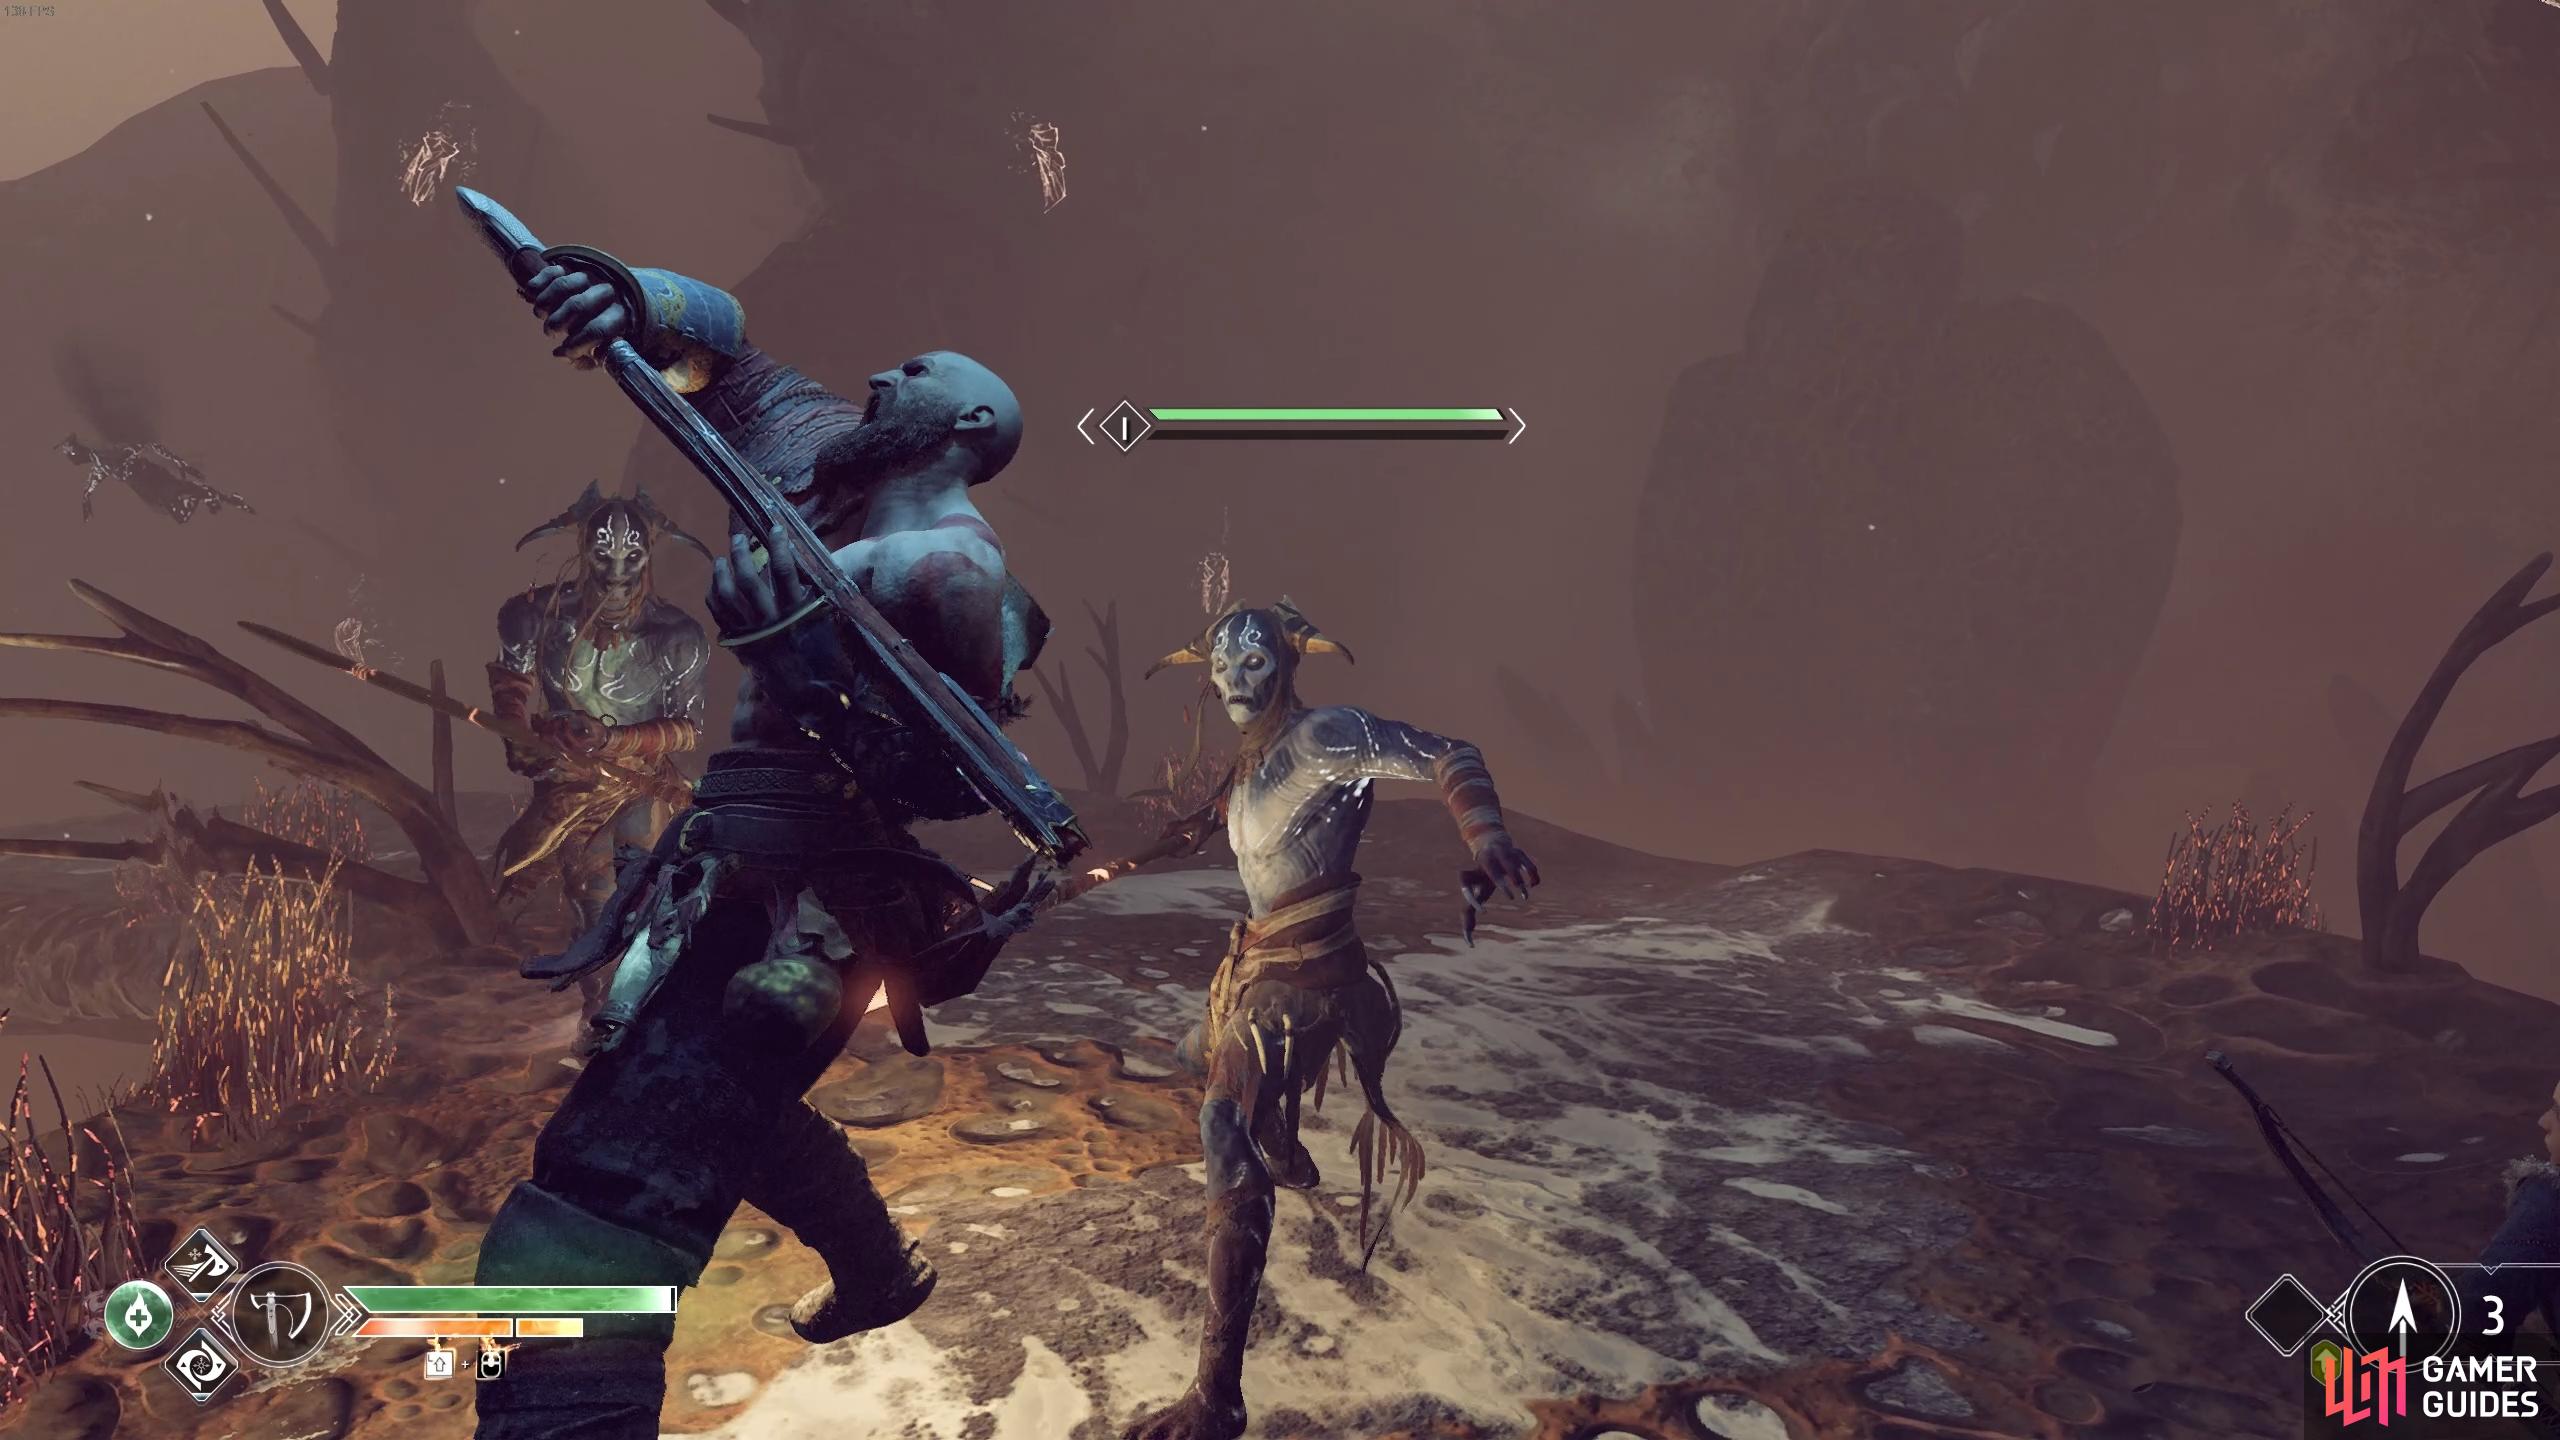
As you approach the end of the bridge it becomes clear that the Dark Elves see you as a threat and begin to attack. Dark Elves are mobile enemies that can be difficult to hit, Atreus’ arrows help to stun them allowing you to close in for the attack. Their attacks consist of swooping lunges with their tridents and projectile bombs that will persist before exploding, avoid these at all costs. You can also attempt to attack with just your fists to build up the stun gauge however they are vulnerable to Frost damage so it’s better to attack with the Leviathan Axe if possible.
(1 of 3) Don’t miss the Lore Marker on your right.
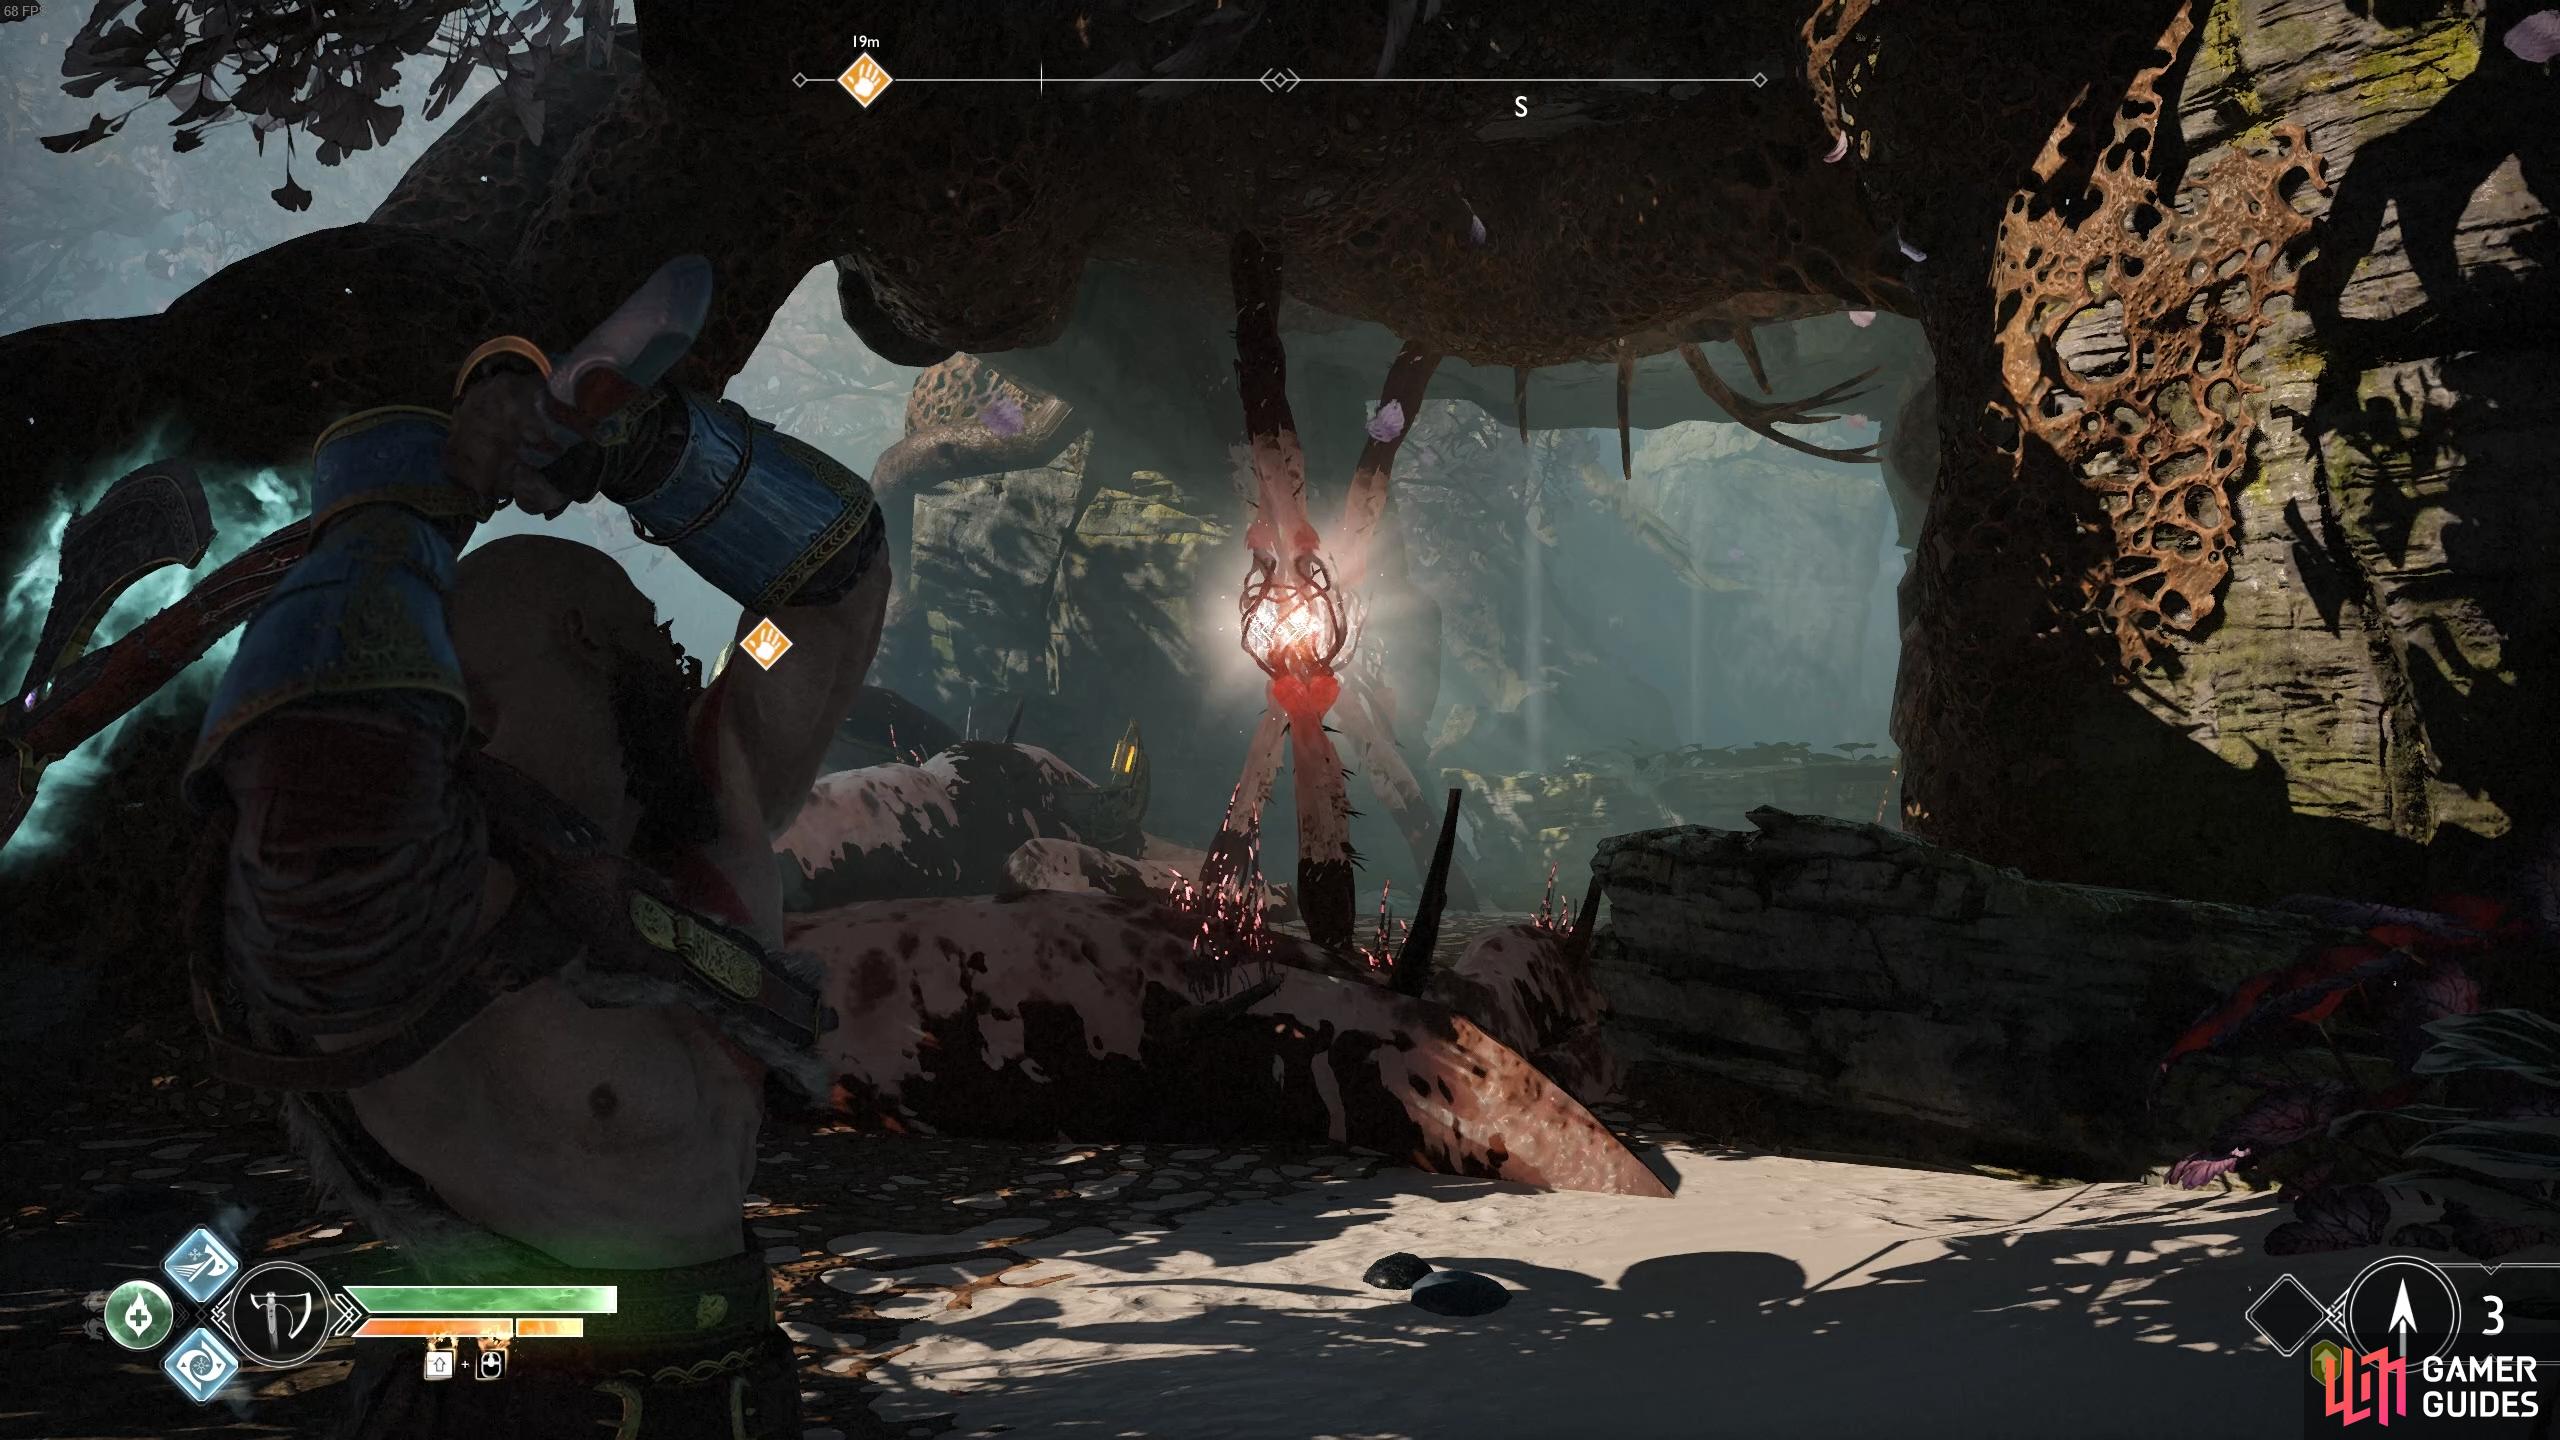
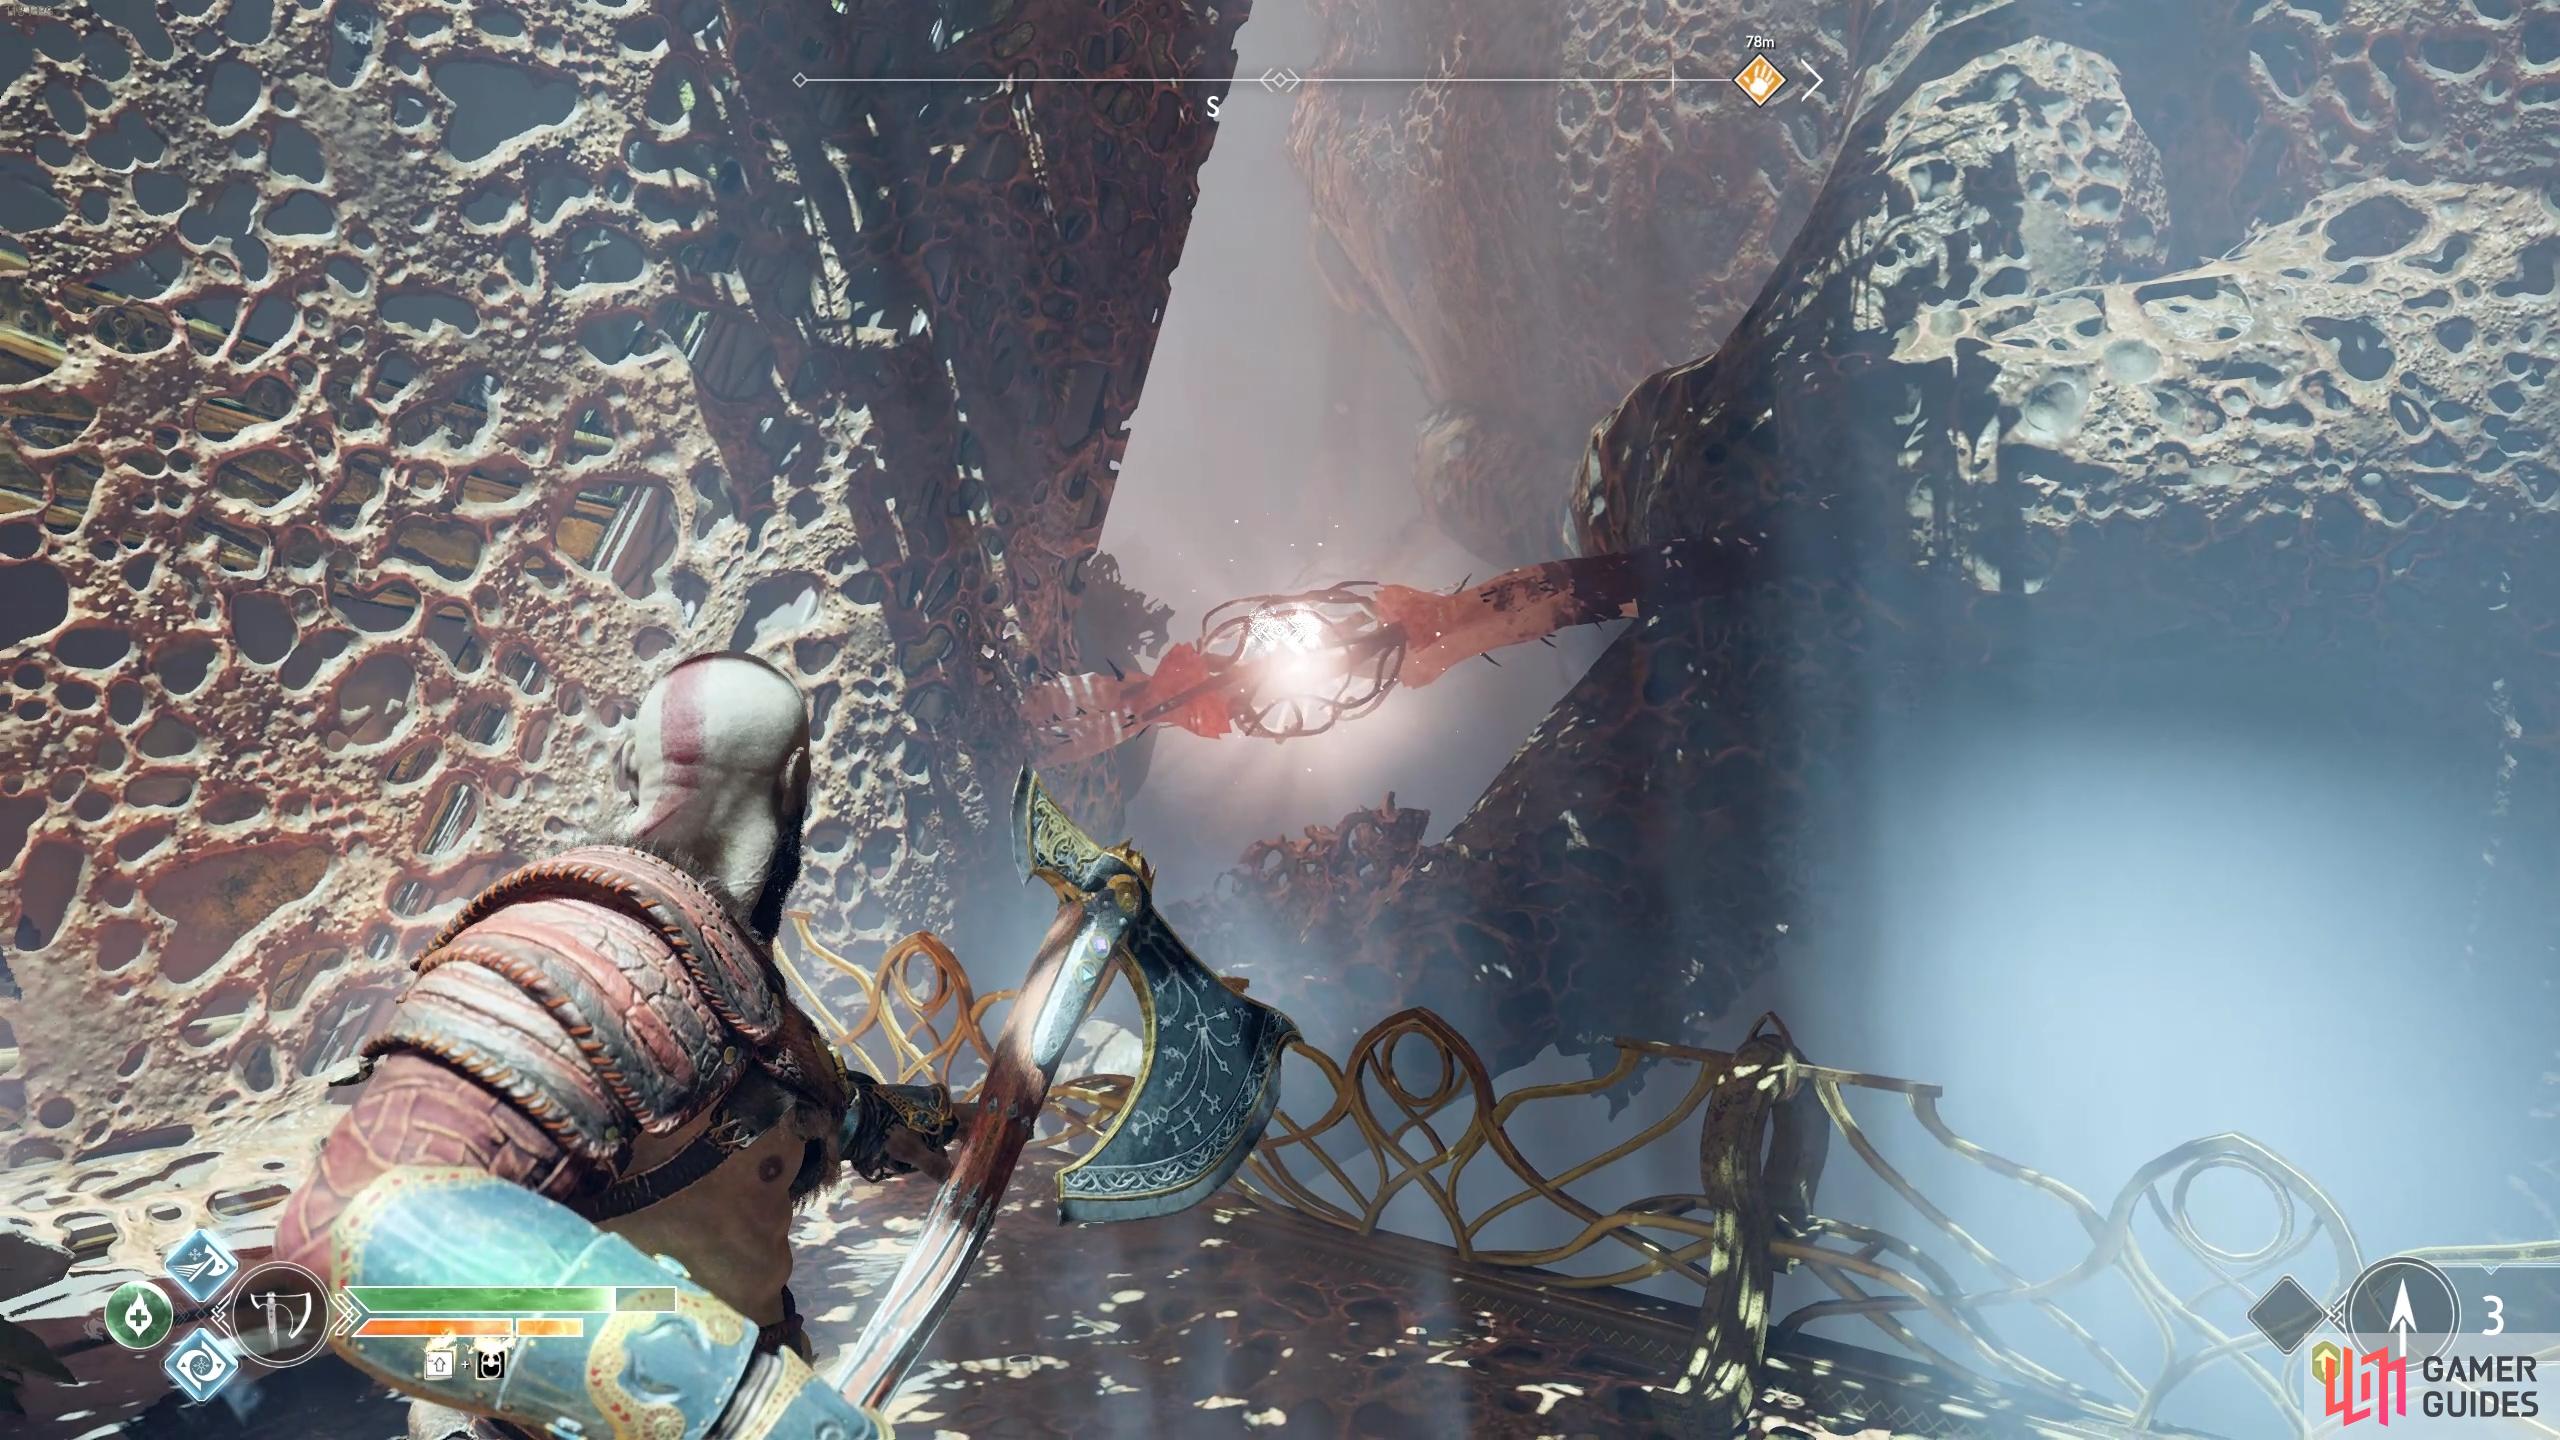
With the enemies dead (and another new Labor unlocked) approach the nearby knot and you’ll discover that destroying the first one is not enough as it will grow back instantly. Instead, if you look closely, you’ll see a second knot behind it, line them up together and toss the axe through both knots to destroy them permanently.
When you pass through the door you’ll find a Legendary Chest to your right, be sure to open it for an Enchantment (if you haven’t yet had three pieces of the Muspelheim Cipher then this will contain one instead). Follow the path around the lake to find Sindri has set up shop here, speak to him to find he has new wares for sale along with new crafting recipes.
There’s two new armor sets for you to craft, the Viken set and the Wolfskin set, both of these are upgrades on the Reaver and Boar Hide sets available previously. If you’ve been following this walkthrough then you’ll be wearing the Boar Hide set so upgrade to the Wolfskin chest and waist pieces only as the bracers are not an upgrade over Týr’s Lost Unity Gauntlets.
There are new Pommels for you to craft, the only real contenders here is the Light Grip of Protection (Protective Barrier when launching enemies) and Light War Handle (Gift of Strength when launching enemies). Both are good however if you have the fully upgraded Versatile Warrior’s Handle then consider passing on these.
There are three new Talismans are available to you, all with useful effects. The Talisman of Rejuvenating Fury will release a stunning shockwave upon use and restores a small amount of health every time you stun grab, good if you find yourself suffering a lot of damage. If you want to dive into Spartan Rage a lot more then consider the Talisman of Eternal Fury which will restore a small amount of Rage on use and increase the rate in which you gain it. Finally, the Talisman of Unbound Potential is an incredibly useful Talisman and arguably one of the most useful ones in the game, especially if you use a lot of Runic Attacks (and you should). When you activate this Talisman, you’ll instantly refresh the Cooldown on your Runics, giving you the opportunity to begin encounters with four Runic Attacks, a potent combo indeed. The overwhelming choice is by far this Talisman, be sure to grab it and equip right away.
Next, let’s look at upgrades and start with using your Frozen Flame from earlier to upgrade the Leviathan Axe to Level III. Next you’ll want to upgrade the chest and waist pieces you just crafted in order to place the Enchantments from the old armor into these new pieces. Once you’ve removed the Enchantments from the old equipment, be sure to sell it back to the shop for some much needed Hacksilver (you can repurchase these should you wish). Finally, upgrade your new Talisman if you have the resources, once you equip your Enchantments on your new armor you should have moved Kratos up to Level 3.
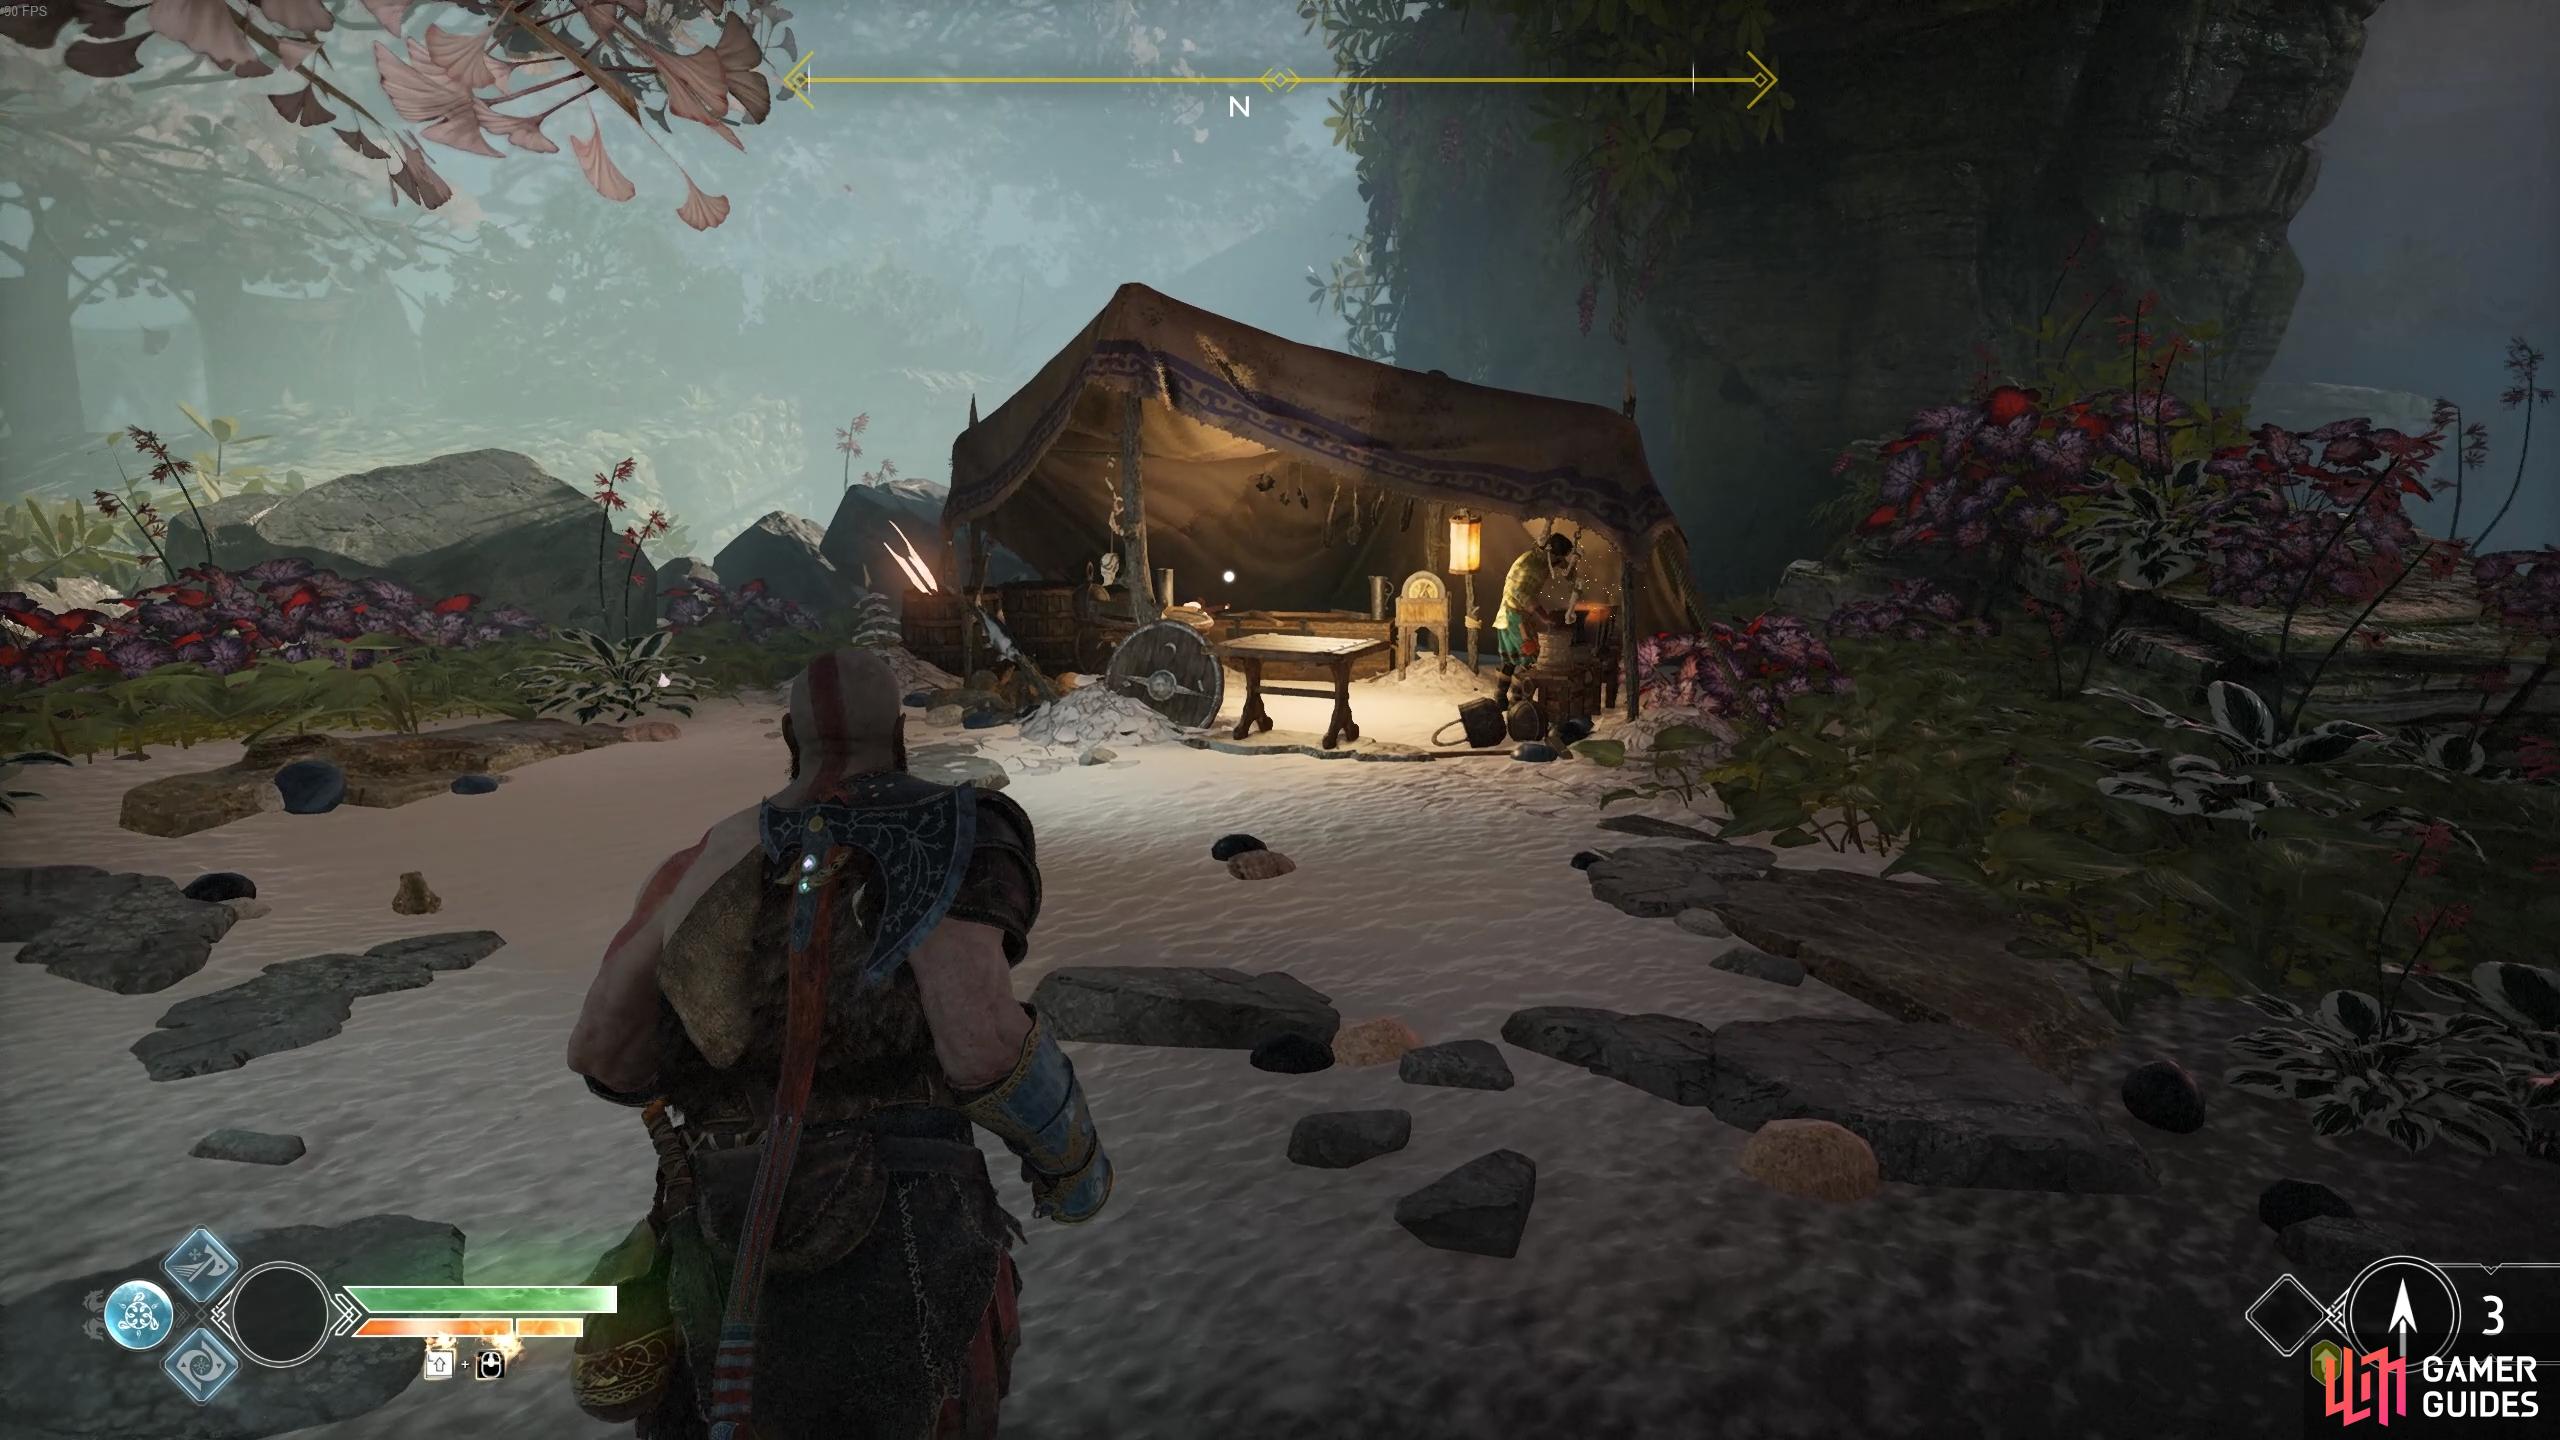
Take some time to upgrade your gear at Sindri’s shop here.
Like always, with a new weapon upgrade comes new skills to unlock and there’s five new skills to purchase for the Leviathan Axe. If you find yourself performing a lot of axe throws then the two new Ranged Combat skills are useful, Hunter Killer I allowing you to tag up to three enemies to hit with one axe throw. Glacial Permafrost should be the first upgrade however, this increases the rate at which your axe gains Permafrost per hit making it easier to freeze foes. Leviathan’s Fury is a fantastic skill that allows you to jump and slam the axe into the ground, doing nice area of effect damage. Finally, Evasive Storm will become more useful as your journey continues, as you evade back you can throw the axe in front of you to attack your enemies.
Free the Boat
With all the upgrades out of the way, head into the path to the west of the shop to line yourself up with the three pulsating knots in front of you. Toss the axe through the center of all three to free the boat from it’s grasp, interact with it to pull it into the water and board it.
Line the knots up like this to destroy them all.
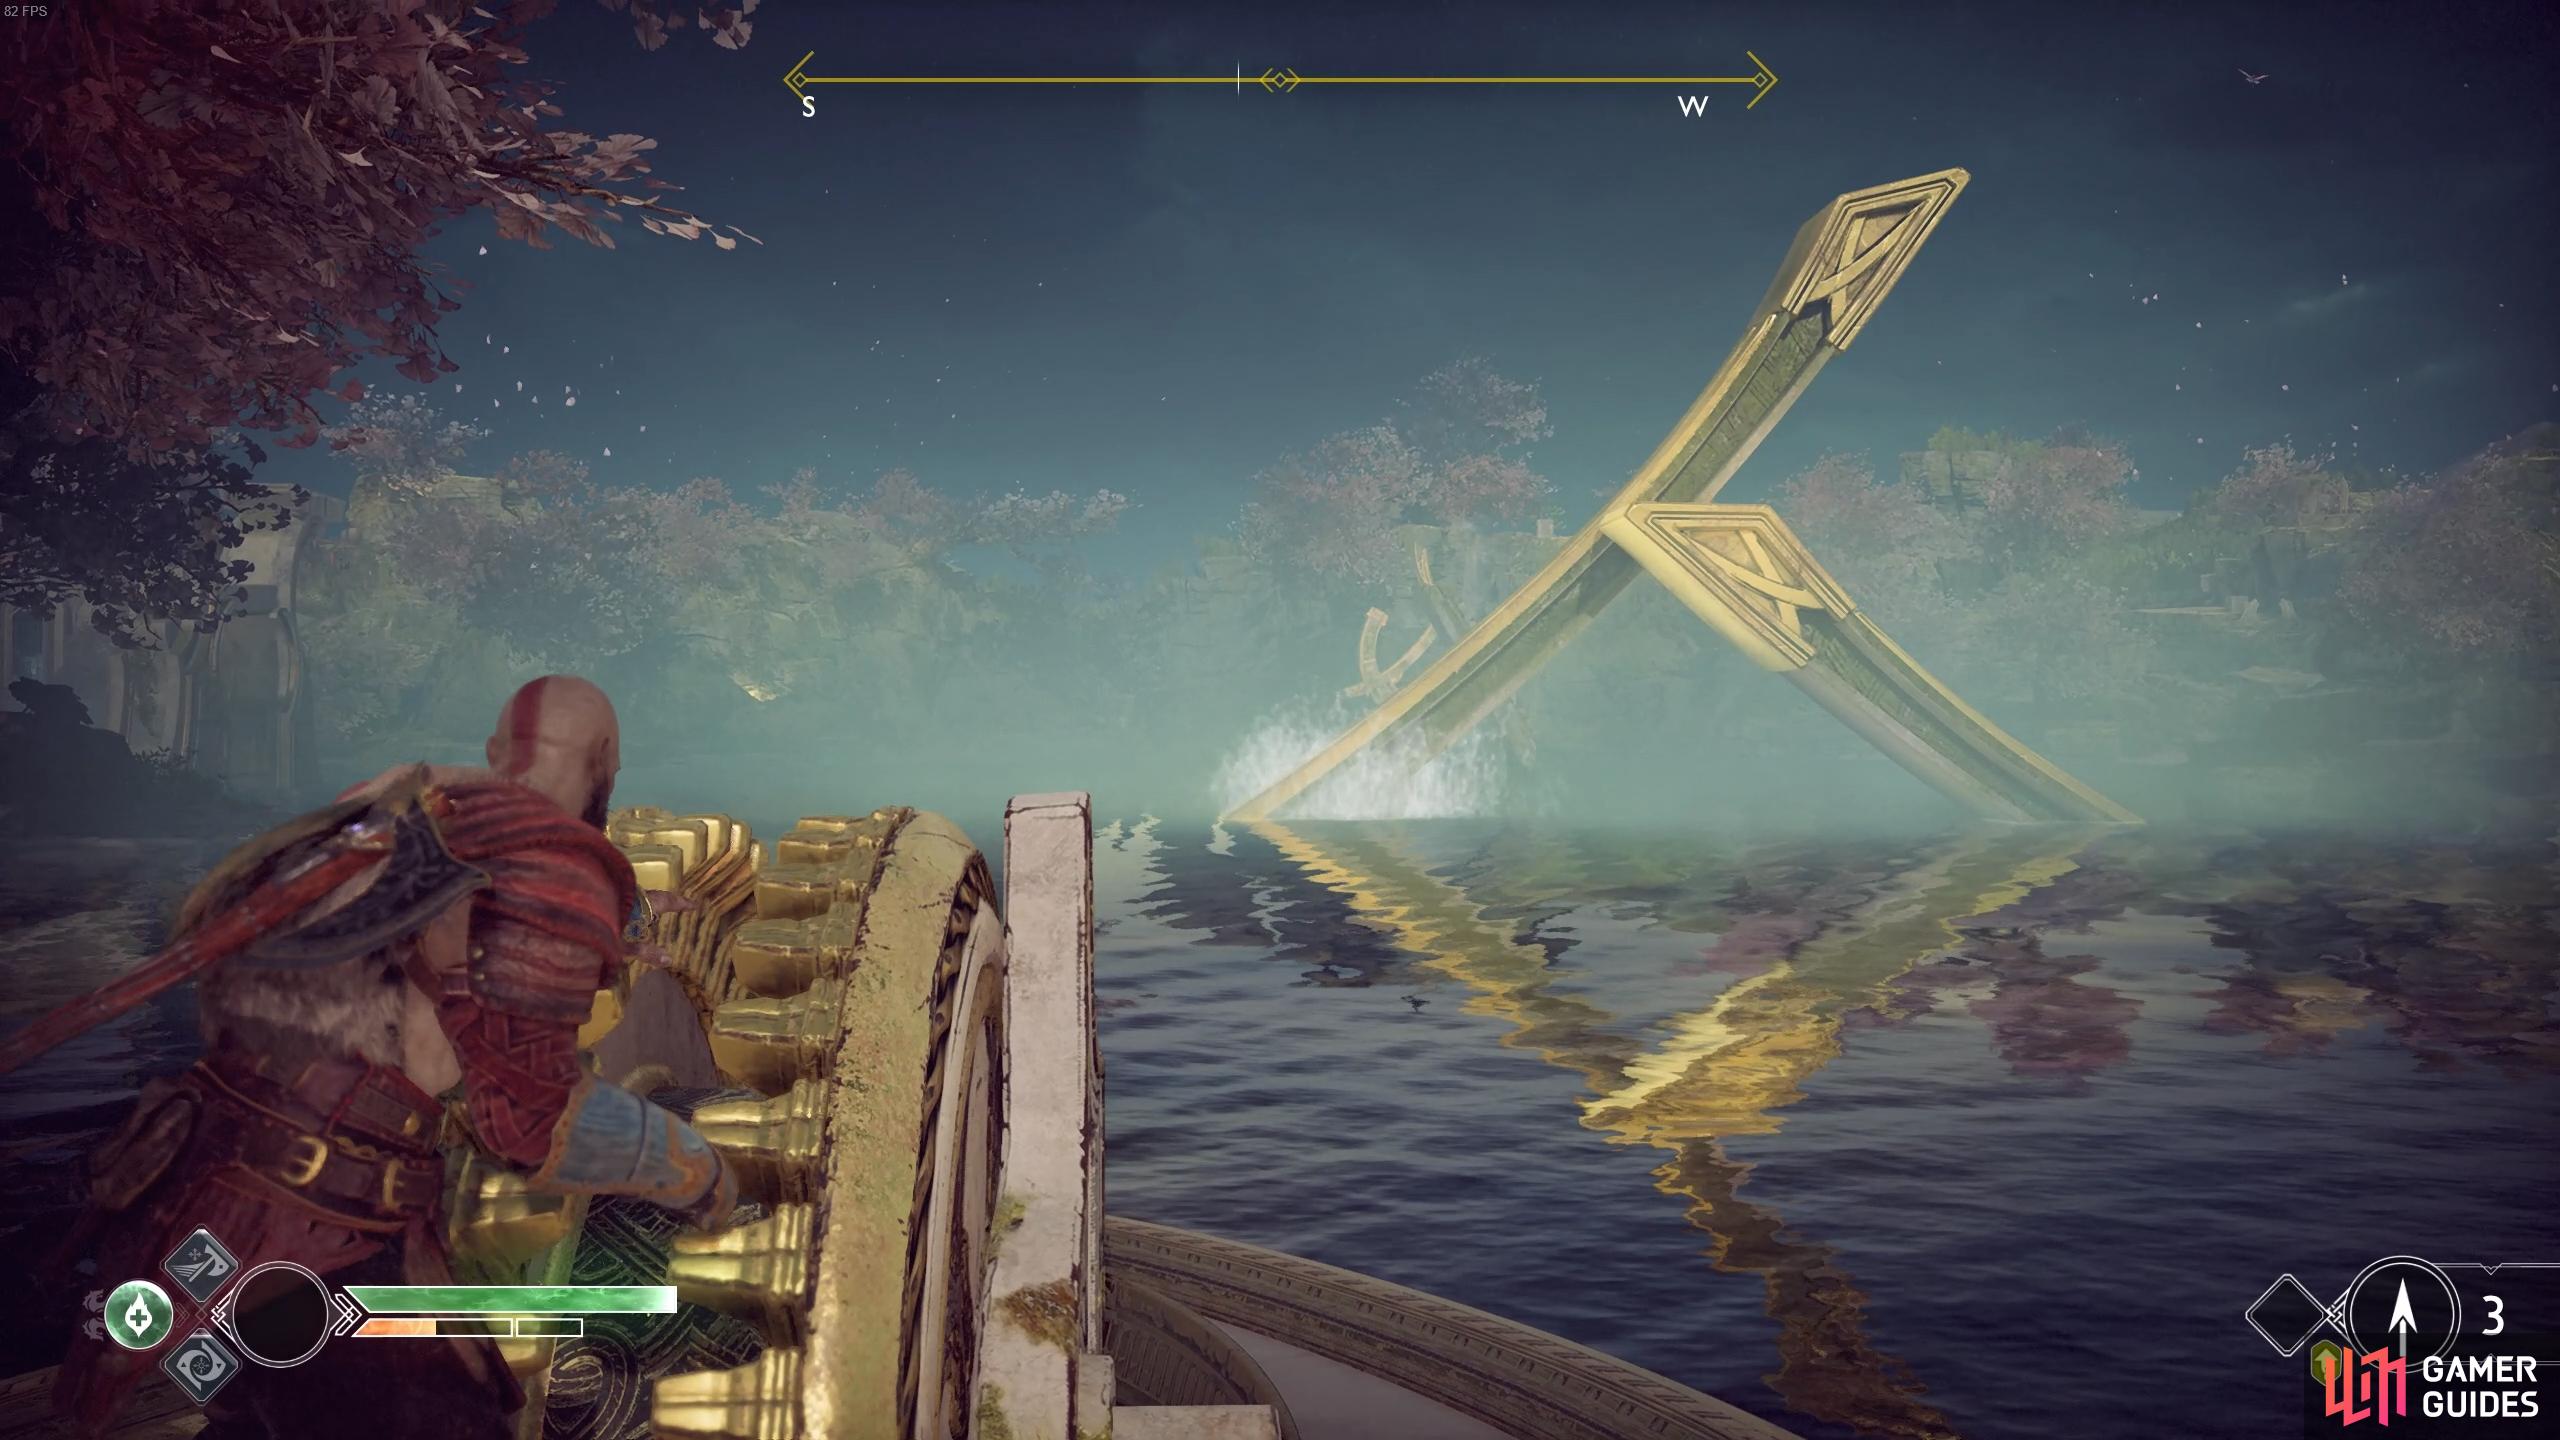
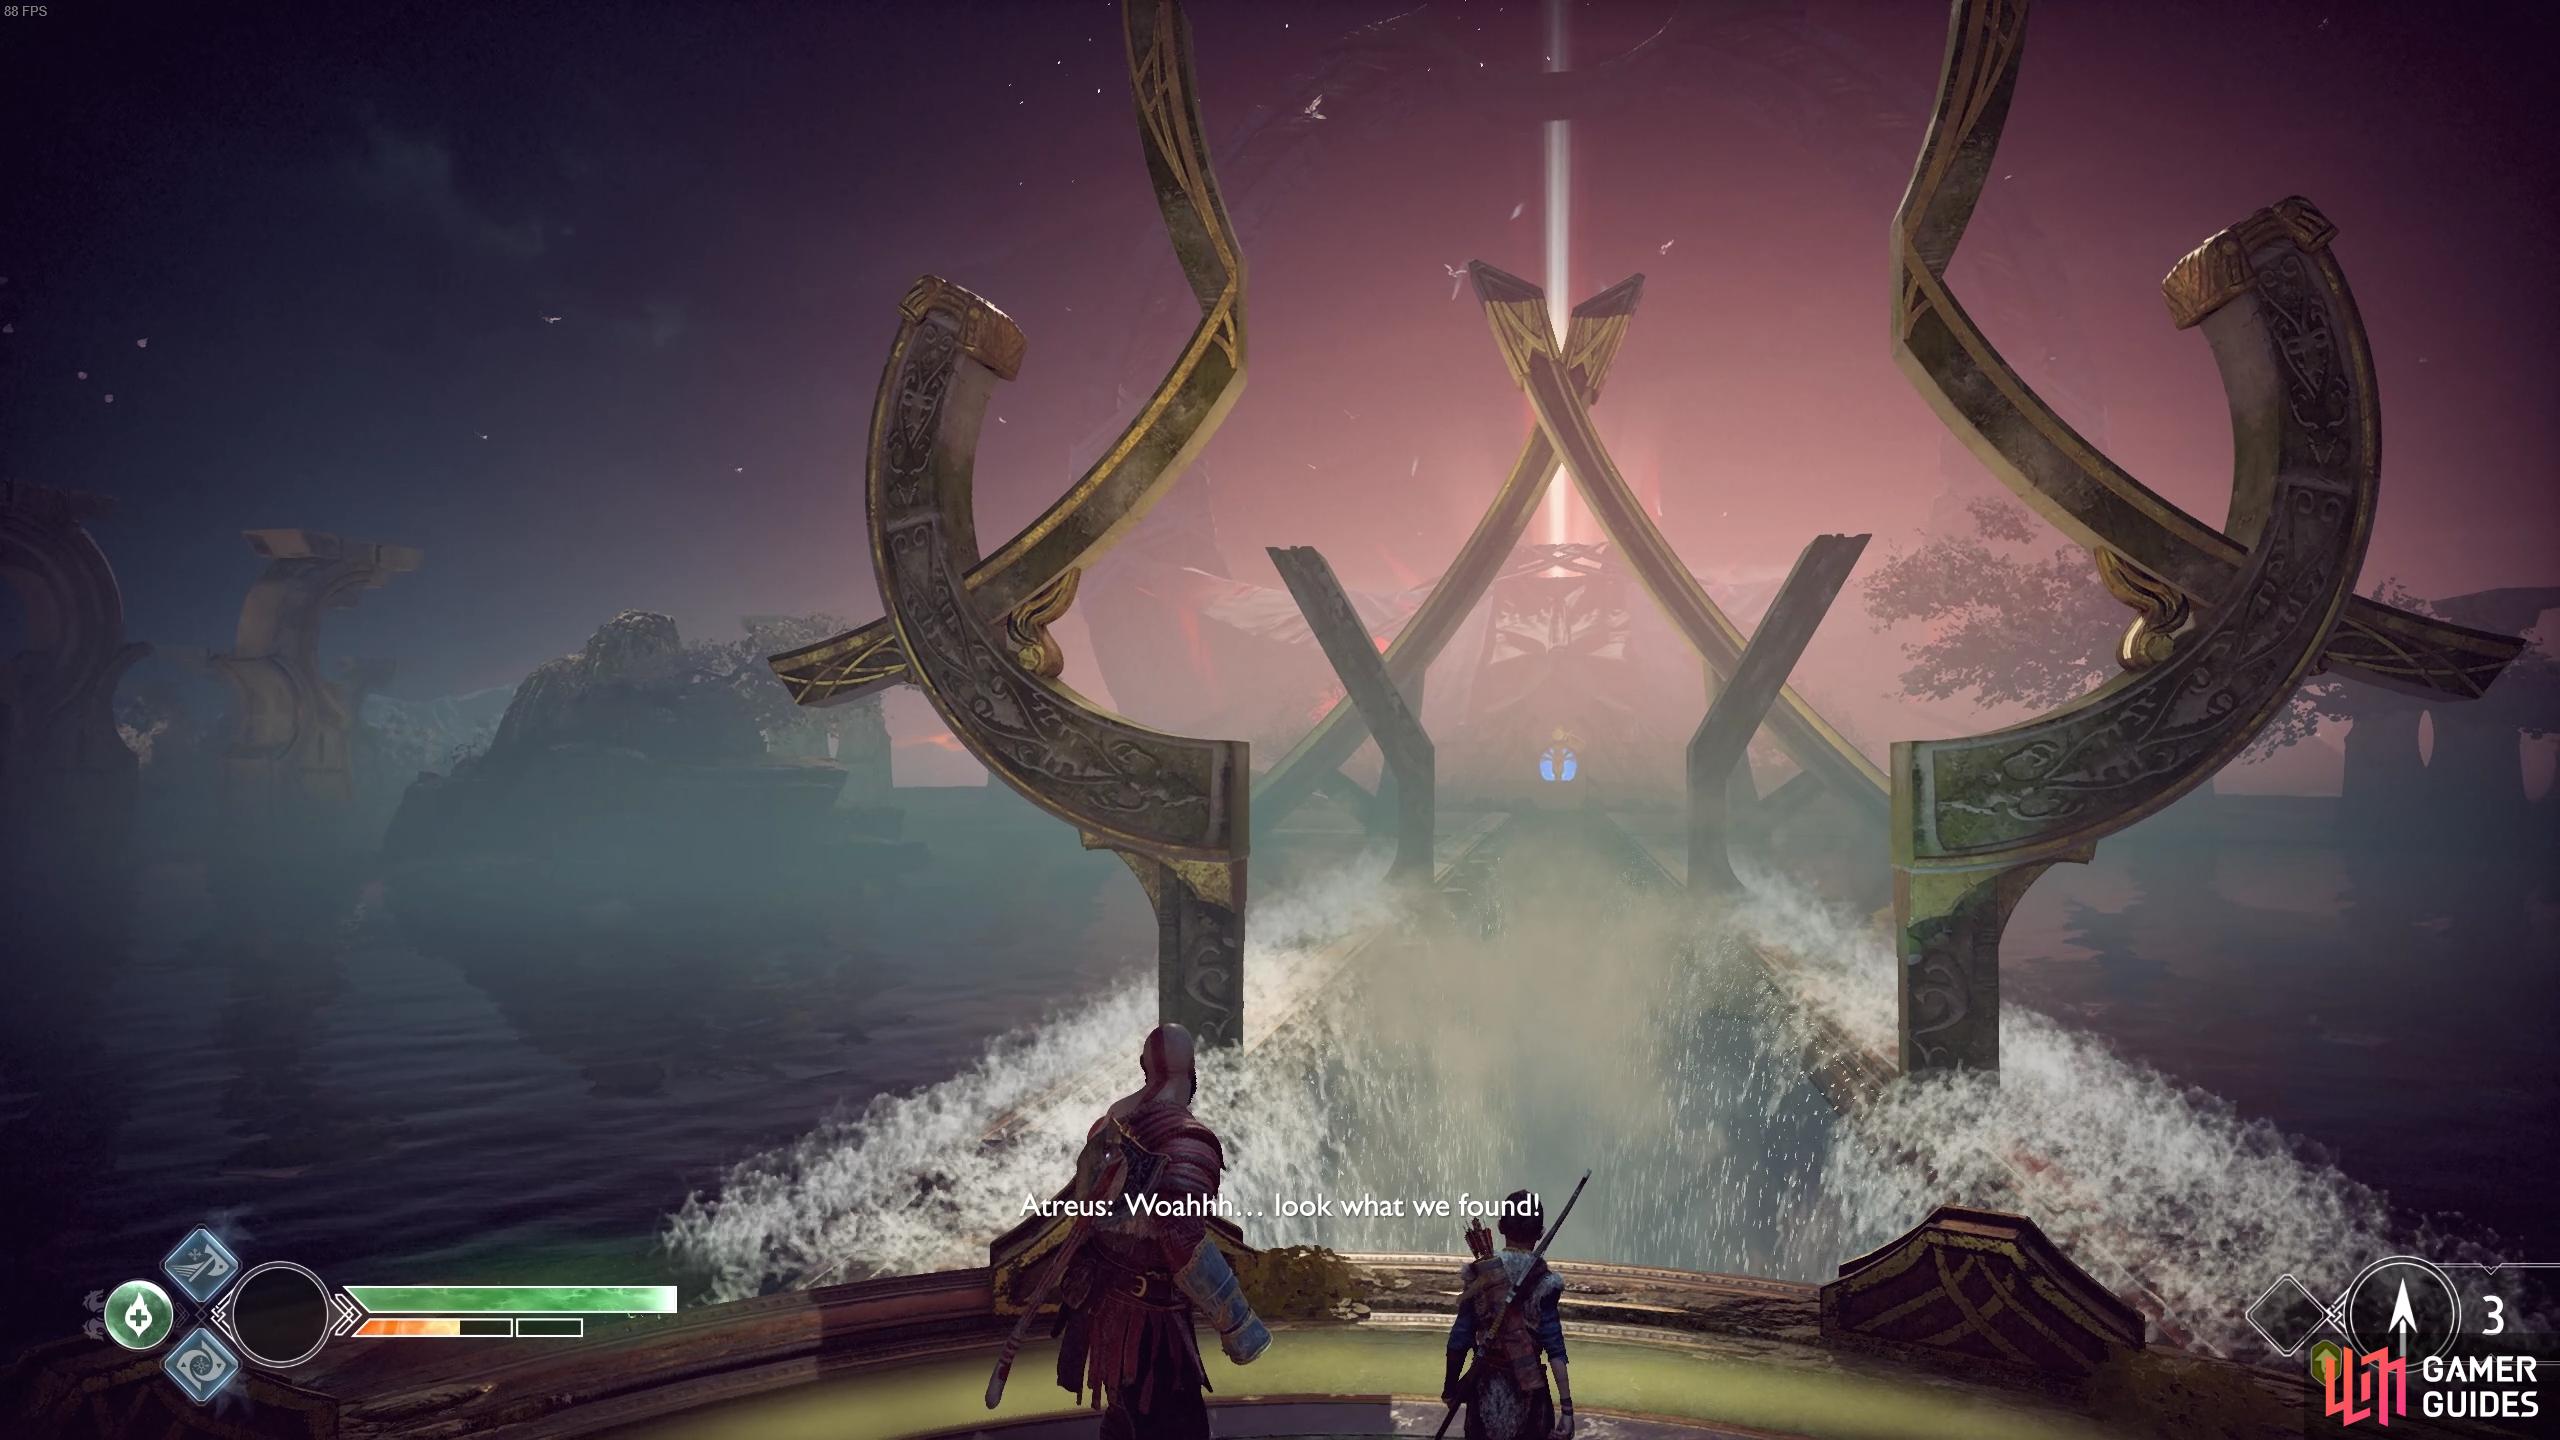
Get to the Ringed Temple
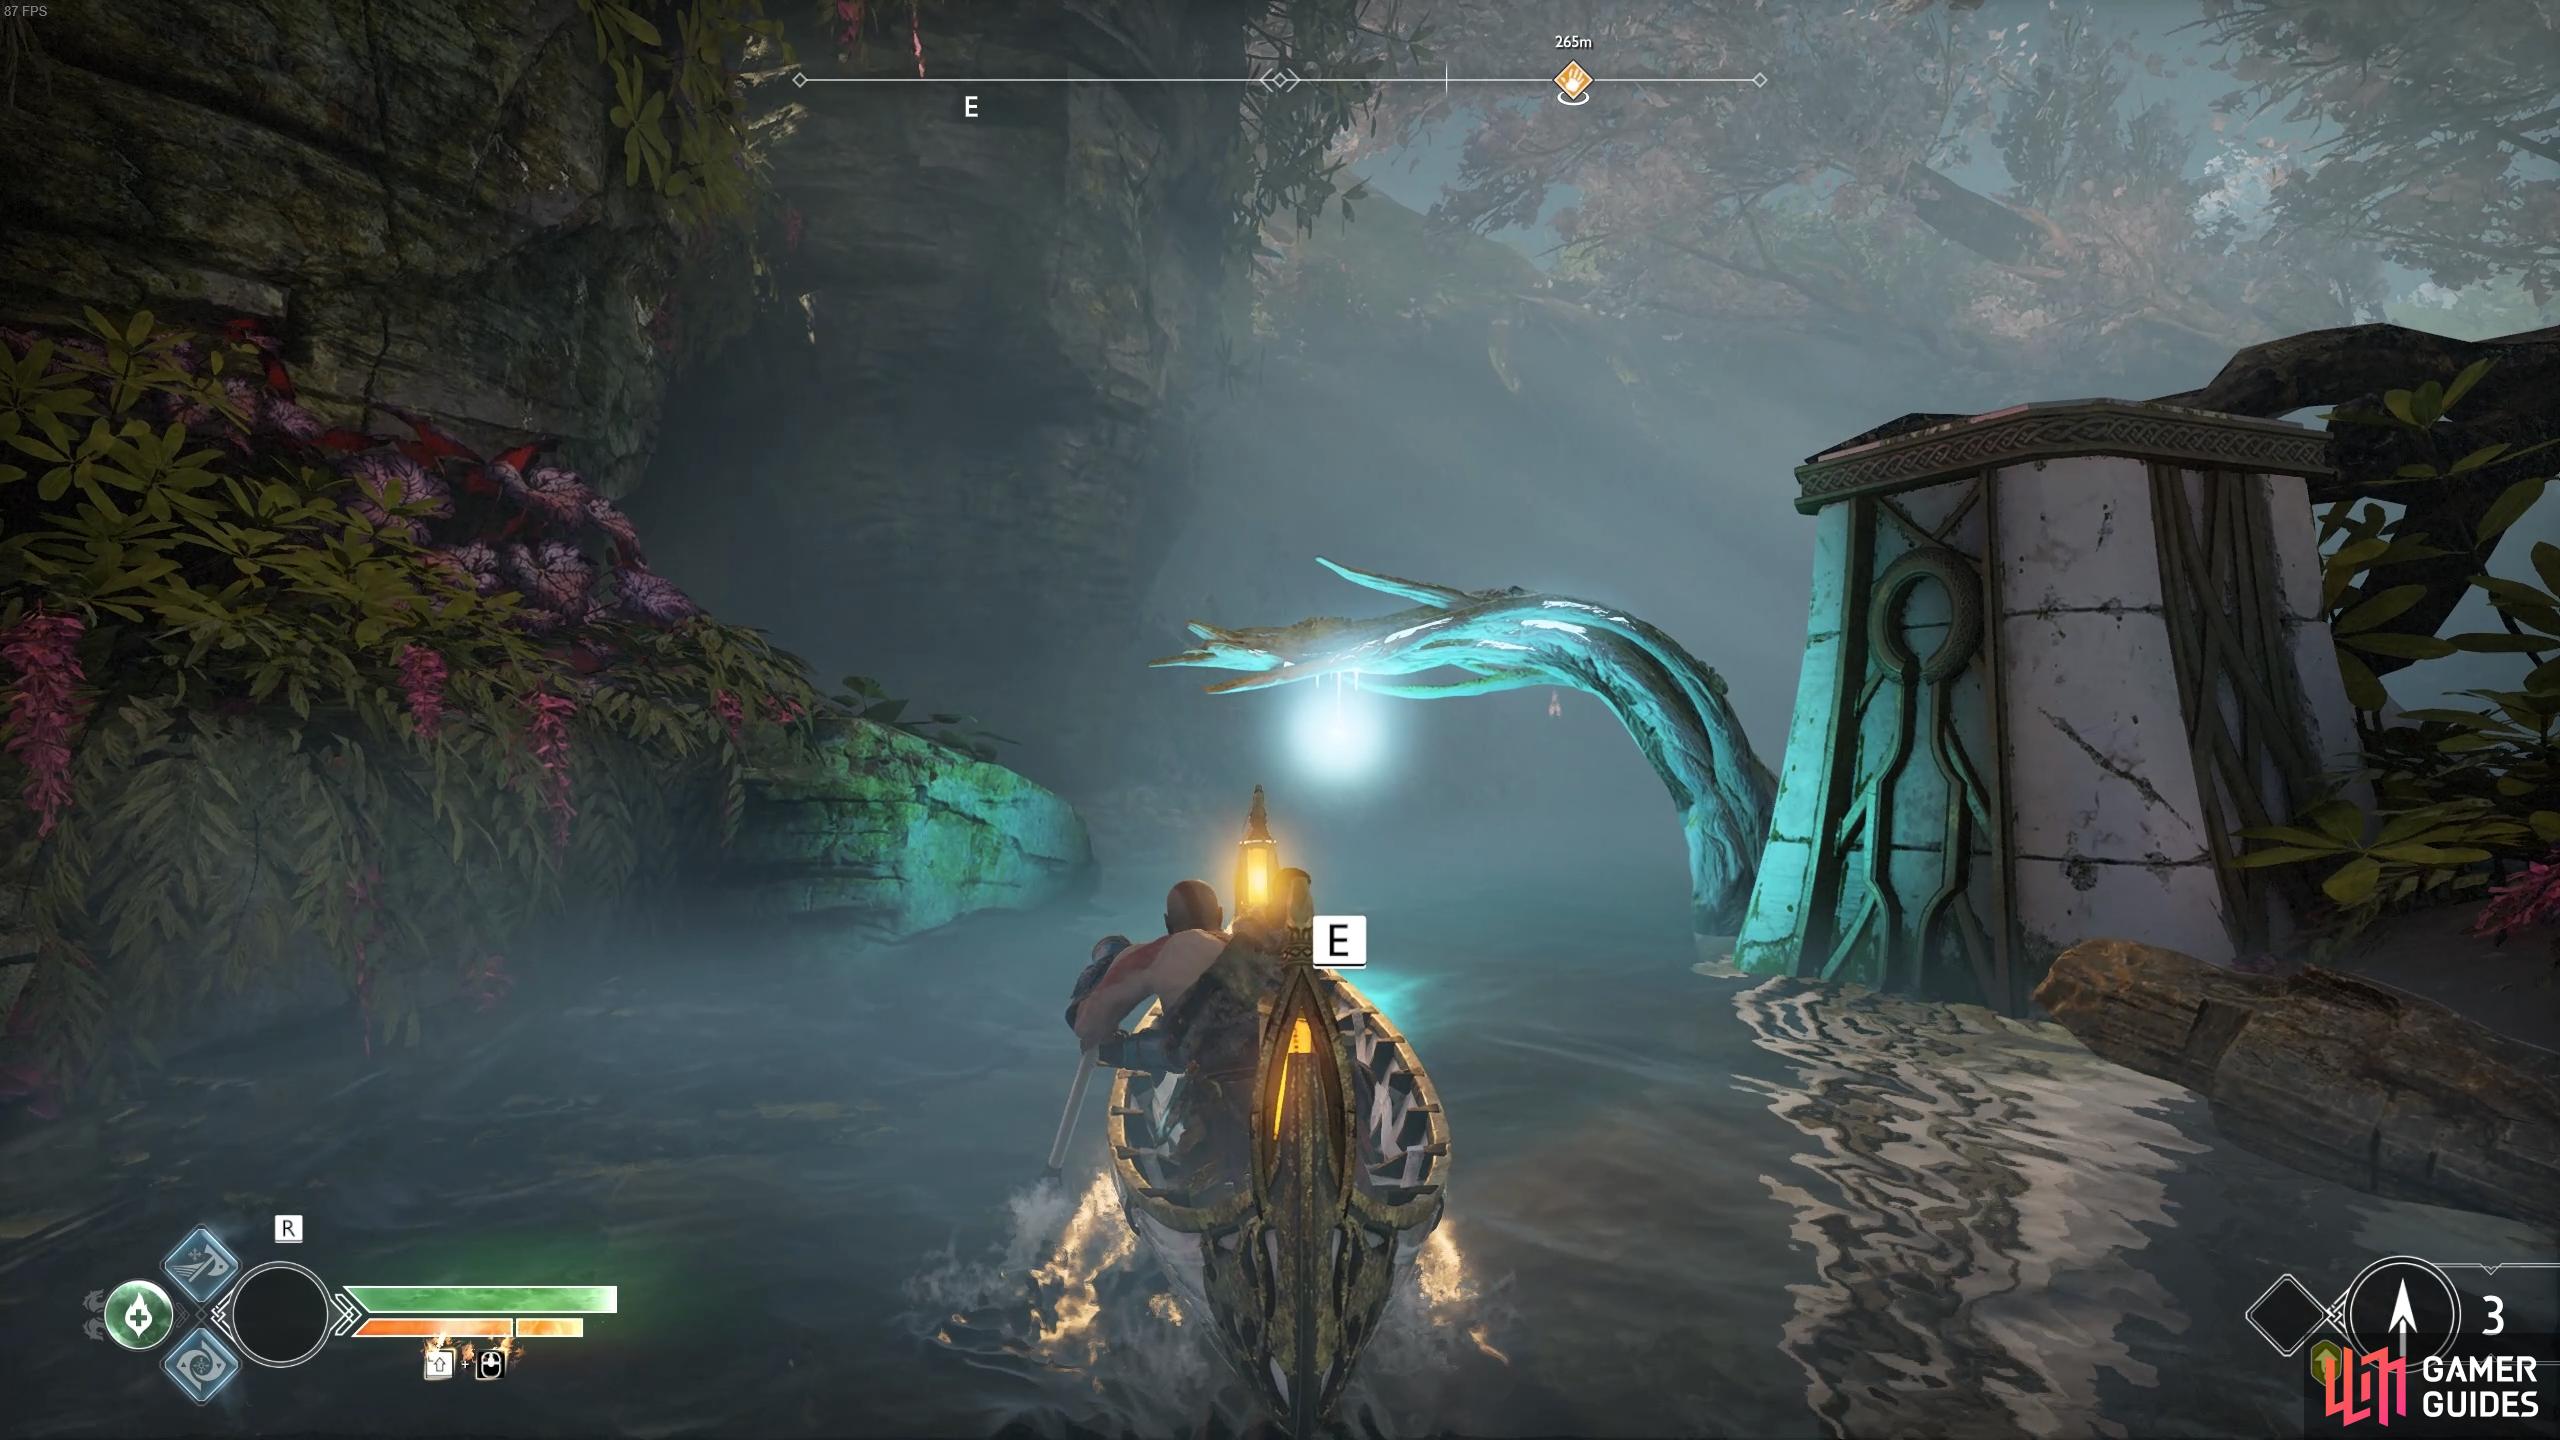
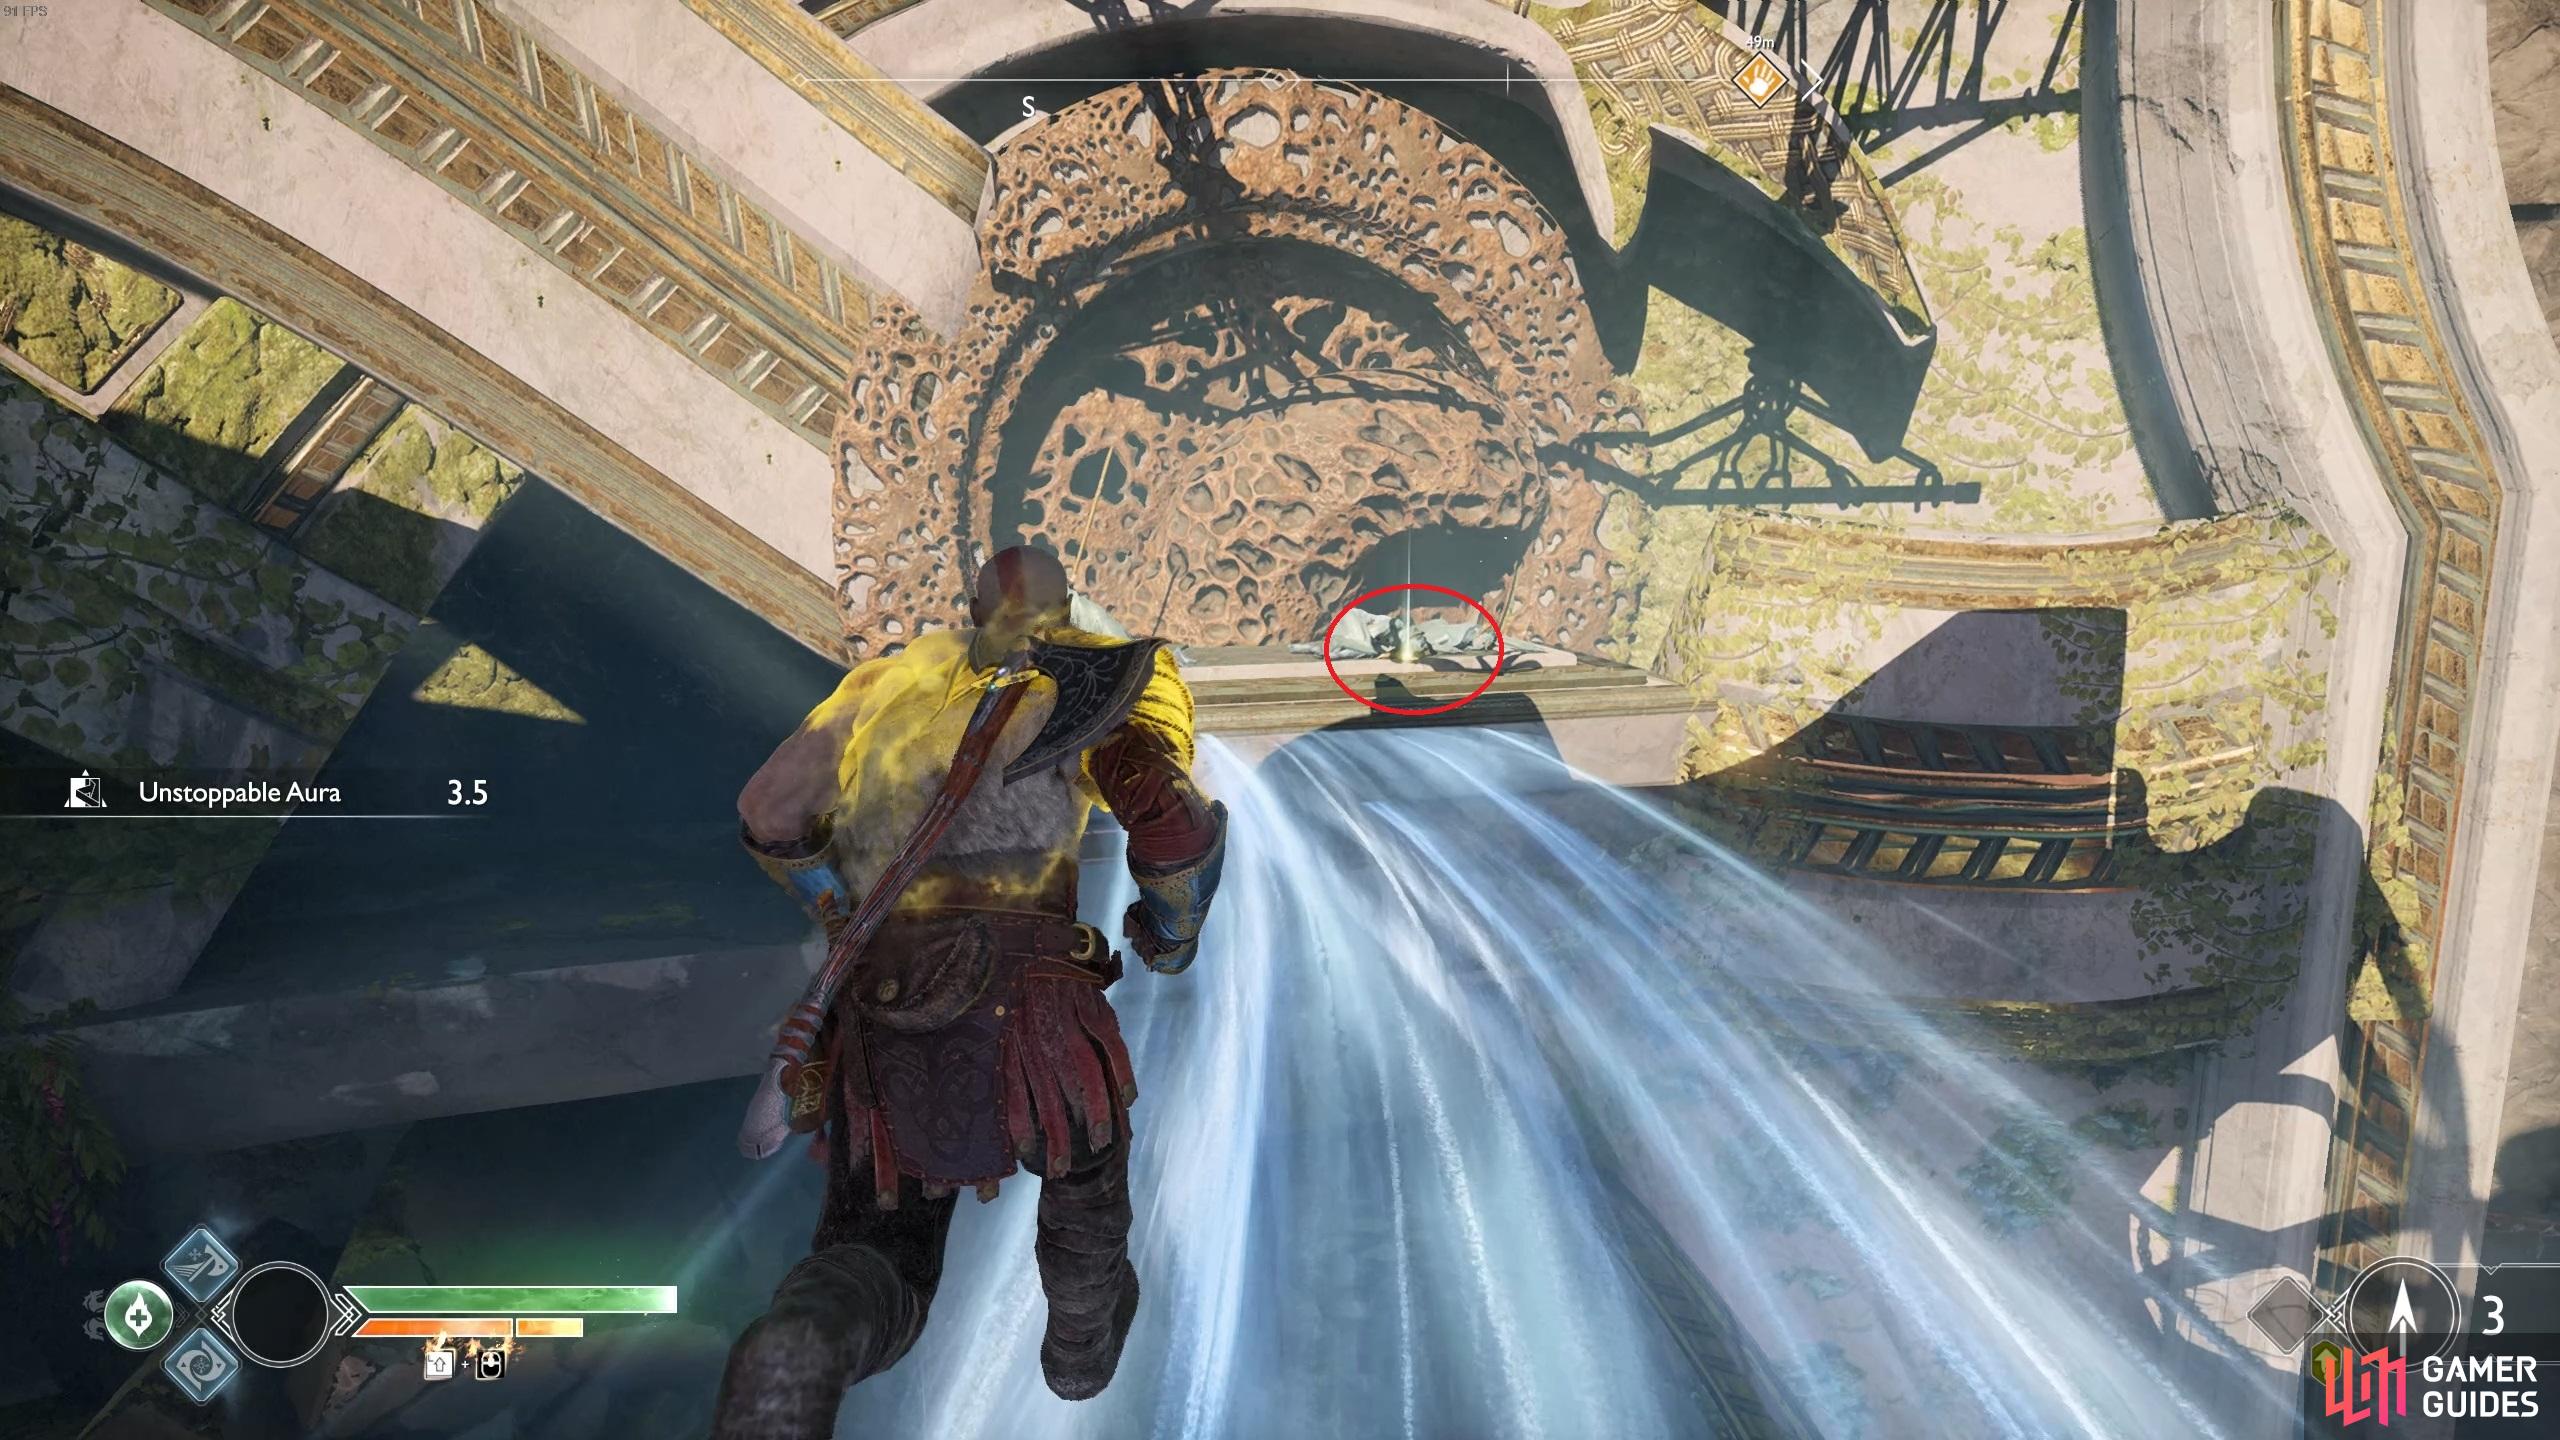
Head east along this lake toward the white droplet ahead, have Atreus pick this up to receive a Yggdrasil’s Dew of Cooldown, an item that will permanently increase your Cooldown stat by 2. Follow the water through the tunnel as Atreus continues to hear voices, something that is of concern to Kratos. Follow the only path open to you and eventually you’ll reach the Lake of Light with the Ringed Temple at the back.
You’ll later find these Yggdrasil Dews in the Lake of Nine.
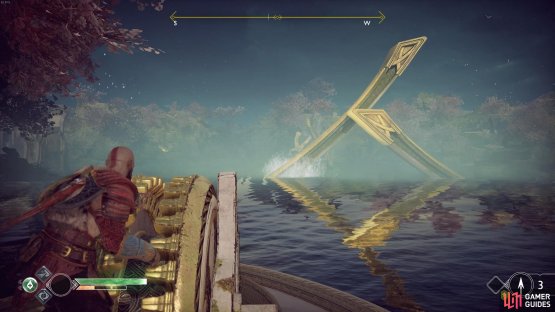
Ignore your destination for now and instead row to the northwest of the lake and dock the boat at the nearby beach.
Light Elf Shore
You’ll be attacked by a Heavy Draugr and a Tatzelwurm as soon as you set foot on the beach, defeat them and proceed to the south to find two Gloom Nightmares. These Nightmares have the ability to blind you, making the screen go dark and hard to see your enemies. Once all the enemies are dead, head to the east end of this cave and look to your left, a Raven hides on the nearby pillar.
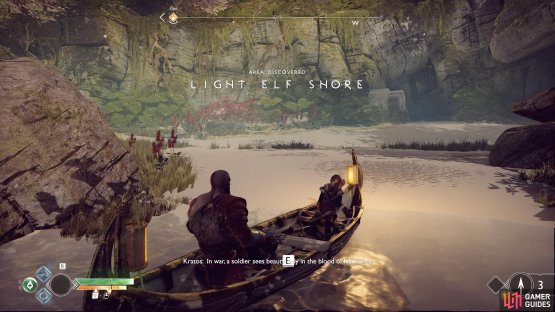
(1 of 2) You’ll find the Light Elf Shore in the northwest of the lake.

You’ll find the Light Elf Shore in the northwest of the lake. (left), You’ll find the Raven when looking out to the lake. (right)
Head now to the left of the boat to find an Artefact for the Spoils of War Artefact quest. Turn around and you’ll see two paths you can take, one directly in front and one to the right, take the one in front first. At the end of this path you’ll find the next Hidden Chamber to mark on your map, return and take the other path.
You’ll see a group of three knots, head to the gap and destroy the knot before quickly leaping over. Turn behind you now and place yourself directly in front of this knot while aiming towards the back one, to be able to reach all three knots. You’ll uncover a Hacksilver chest for your troubles. Finally, proceed over the gap and up the ledge to find a Legendary Chest containing the Frost Giant’s Frenzy Heavy Runic Attack gem.


(1 of 2) You’ll find an Artefact to the left of the beach when facing the boat.
You’ll find an Artefact to the left of the beach when facing the boat. (left), The next Hidden Chamber entrance is left at the fork. (right)
There’s nothing left you can do on this island for now so board the boat again and this time row southeast until you reach the next beach that you can dock at.
Light Elf Sanctuary
Two Tatzelwurms and two Projectile Draugrs attack once you set foot on this beach. Make use of Atreus’ arrows to hit the Draugrs in the distance while you focus on the Tatzelwurms. Once free of enemies, head toward the gap and turn the lever before quickly leaping the gap and through the gate before it closes on you.
Another two Tatzelwurms assault you, you should be used to taking care of these by now (Ivaldi’s Anvil makes quick work of them). Take the path to the south to reach the gazebo from earlier housing a Nornir Chest. You may notice the bells all around you, three of these bells contain the Runes you’re looking for however you won’t be able to see what is on the bell. You should notice that there are 8 bells in total and they circle all around you, start with bell number 1 in front of you while standing in front of the chest. Now you can number these clockwise to assign a number to each bell, with this in mind, throw the axe at bells 3, 5 and 8 to unlock the chest and obtain another Iðunn Apple increasing your max Health once again. If you’re struggling with the order, see the gif below.
Head back to the fork and this time look toward the gate to the north to find another switch along with two knots. You’ll need to hit the knot on the ground to be able to open the gate and hit the knot high in the air so do so and throw the axe while standing next to the bottom knot to destroy them both. You’ll have to be quick, don’t recall the axe after the first throw so that it can hit the bottom one on its way back to you before you strike the top.

(1 of 2) Recall the axe once you’re standing close to the open gate before hitting the other knot.

Recall the axe once you’re standing close to the open gate before hitting the other knot. (left), Make use of the cliff by trying to knock the enemies over the side. (right)
You can now open the gate once more to find a Realm Tear with a very difficult combat encounter. You’ll face off against two Heavy Draugrs, one of which will be Level 4 and very deadly. Begin the battle with four uses of your Runic Attacks (using the Talisman of Unbound Potential to refresh your cooldown after the first two). Take care to only fight one at a time and use Atreus to distract the other, if you have Spartan Rage available, you may want to consider using it to try and knock the Draugrs off the side. With the battle won, close the Realm Tear to obtain Dust of Realms and 1500 Hacksilver.
Head through the southeast cave and destroy the two knots to find yourself above the beach from earlier. Cross the vine bridge to find a corpse with the next Artefact and then throw the axe at the three knots to destroy them, dropping down the ledge and into the now open doorway to your right.
The next Artefact is at the end of the vine bridge before you drop back down.
There’s a Legendary Chest here trapped amongst the tentacles and if you look up, three knots to destroy. You’ll find a wheel at the back of this room and when used, will move the bars that the knots rest on. Use the wheel until they reach their furthest position and then let go, causing the bars to rewind slowly back to their original positions. This is your cue to step to your right, look up at the knot at the far back and throw the axe when they all align. Open the chest now to obtain an Amulet of Kvasir, a rather unique Talisman.
The Amulet of Kvasir adds a rather unique mechanic to the game. When this is equipped, if you perform a last second dodge, time will slow to a crawl giving you time to attack enemies hassle free. This is an incredible ability if you can time your dodges however the Talisman of Unbound Potential is still probably the more useful of the two.
If you’re struggling with the knot puzzle, see the gif below.
A Dual-Wield Draugr will attack you from the tunnel after this, dispatch him and head back to the boat. You can now head toward the ringed temple and dock the boat.
Unfortunately your bridge will be taken out of commission and the group of Dark Elves then turn their attention to you. Take advantage of the area you’re fighting in and try to knock the Dark Elves off the sides to kill them easier. Turn to face the dock and you’ll spot two wheels either side of it, head to the left one and turn it all the way.

(1 of 2) Turn the wheels either side of the dock to raise the pillars.

Turn the wheels either side of the dock to raise the pillars. (left), Use a combination of arrows and melee attacks to stun the elves. (right)
Another group of Dark Elves will attack, employ the same tactics and make good use of your ability to refresh your Runic Attacks with the Talisman. You can now head over to the remaining wheel to raise more objects from the lake before heading back to the boat.
Find a way into the temple
Writing the correct Rune into the sand bowl causes the platform to descend.
Head southwest back across the lake to find another dock with a sand bowl. It seems the pillars you just raised form a Rune and Atreus will write it into the sand bowl, opening a trench with which you descend. Another group of Dark Elves attack at the bottom here, once again make use of the ability to knock them over the side and utilize Runic Attacks to gain the advantage.
Reactivate the Ringed Temple Bridge
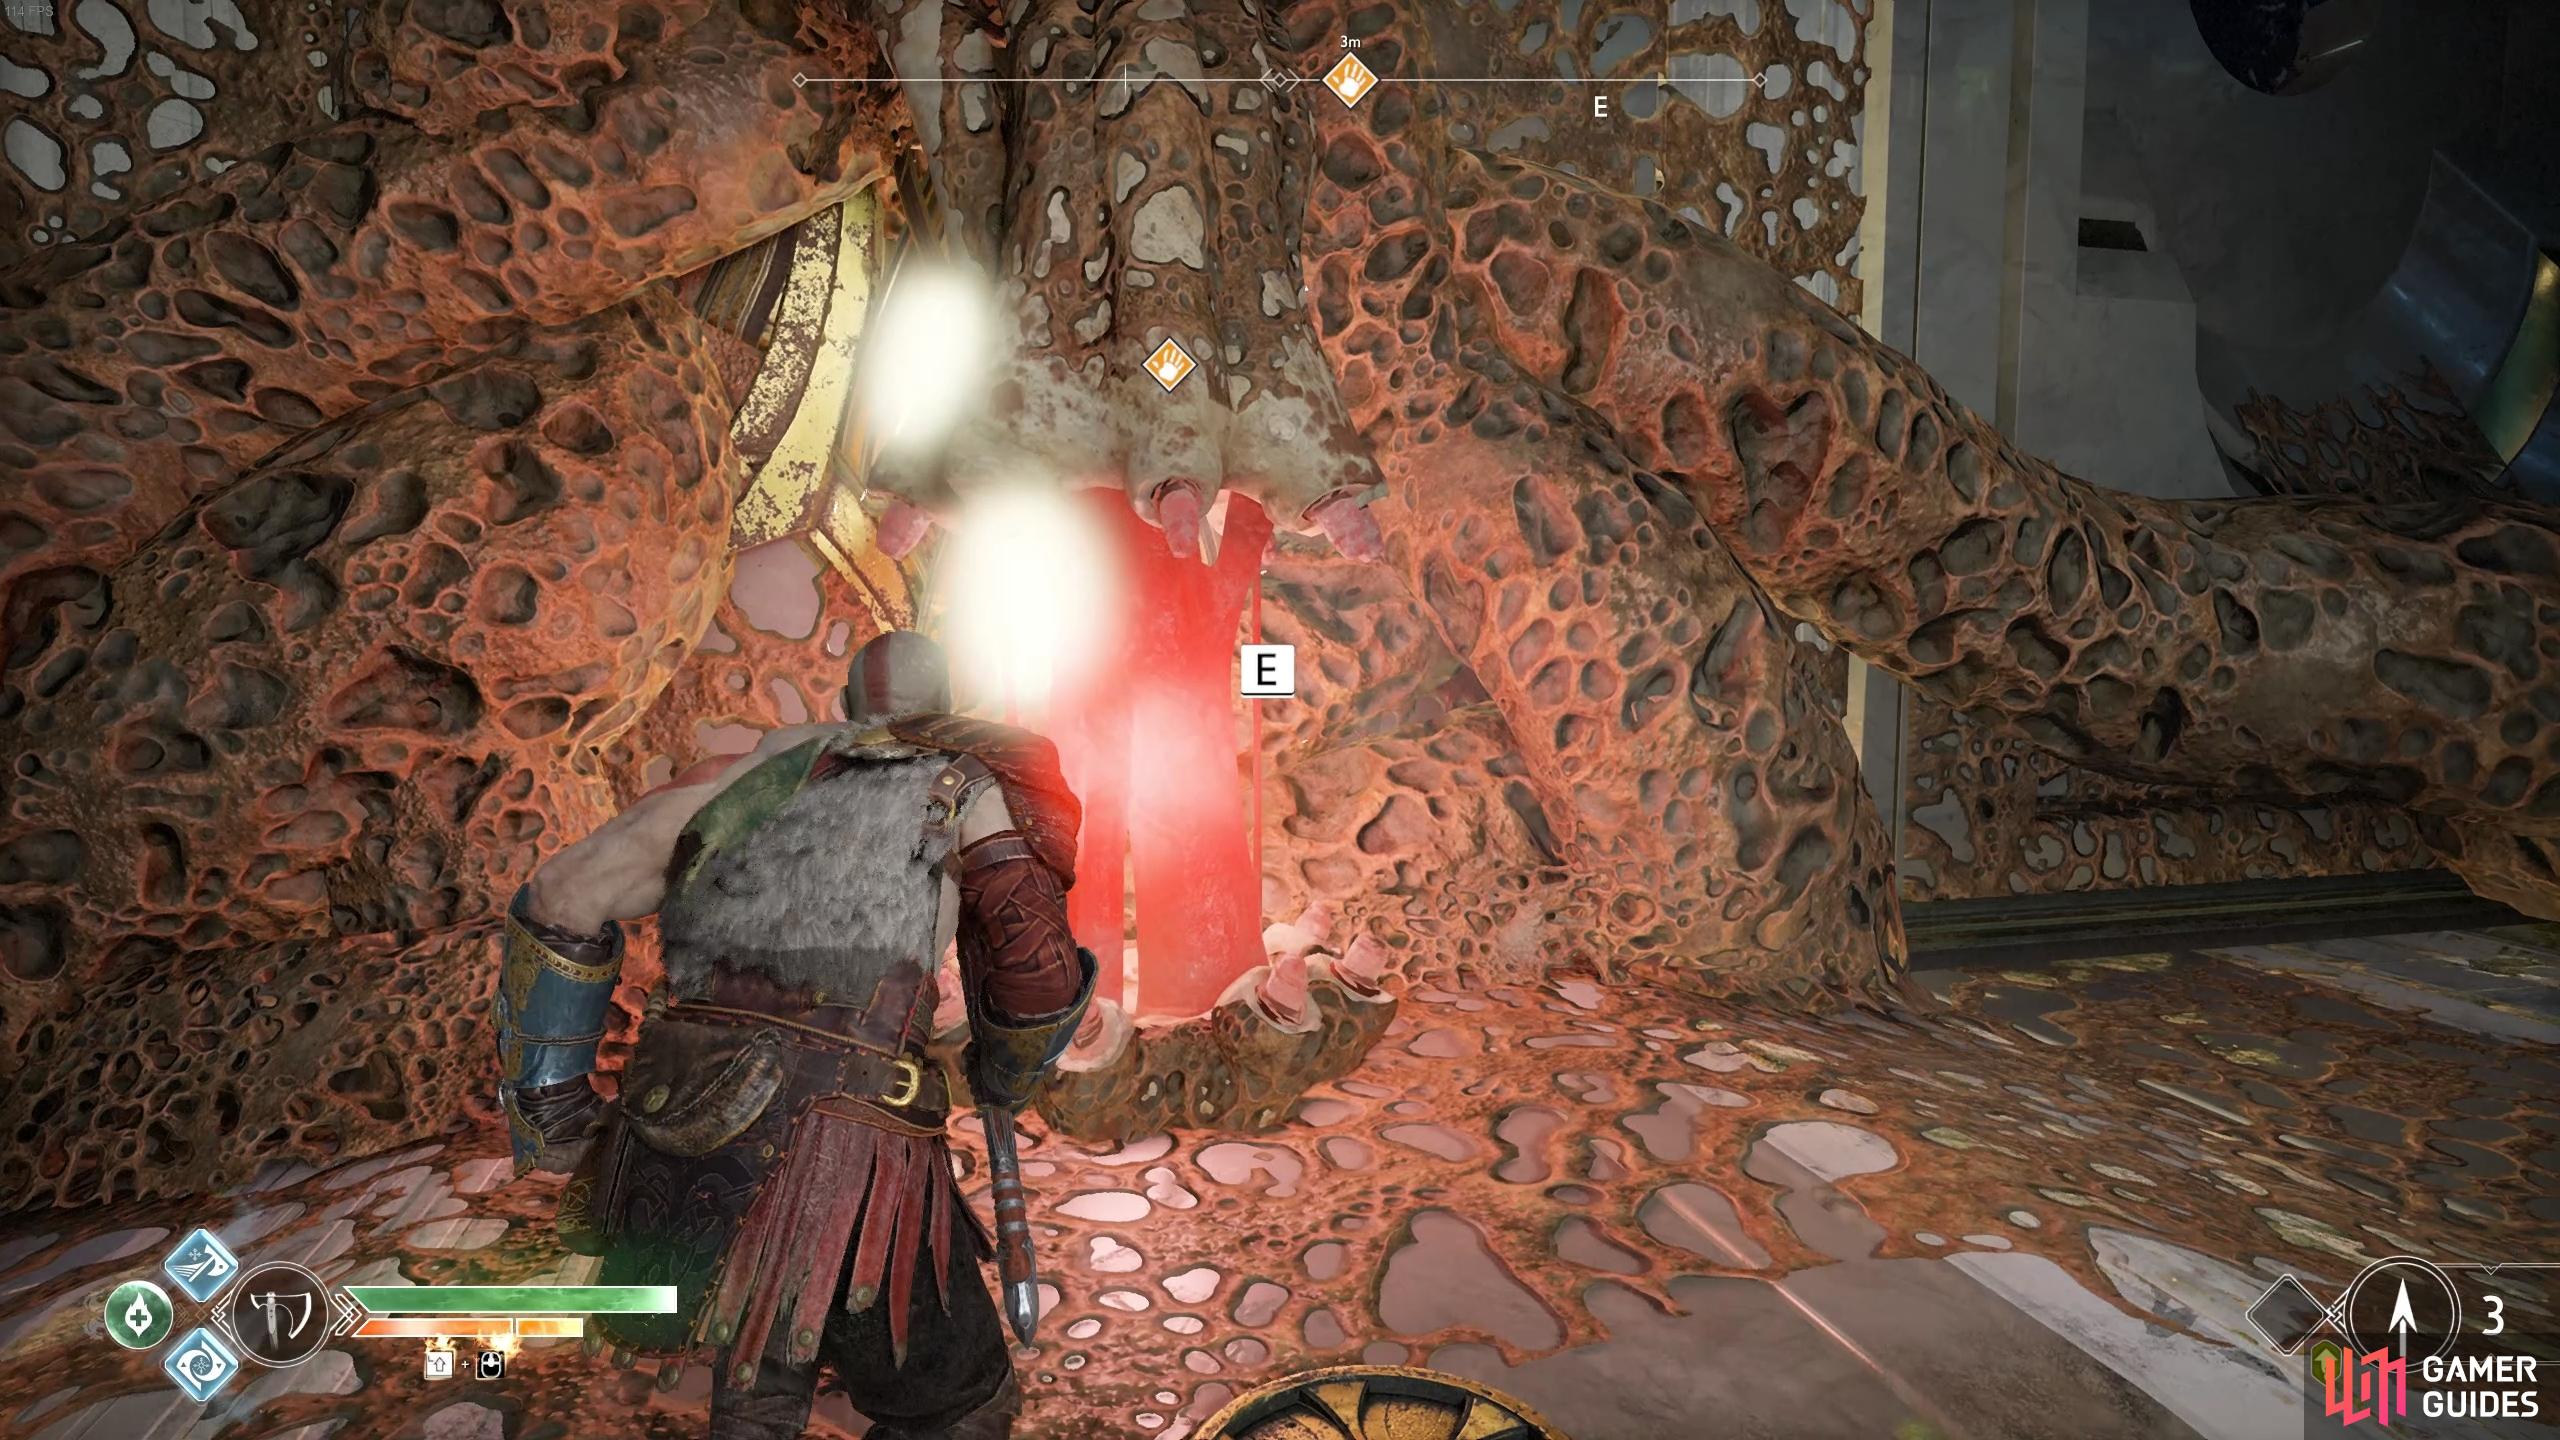
With the Dark Elves defeated, turn behind you to find two entryways, take the left one first to find a lever you can turn, opening the cells. You’ll find a Draugr waiting to pounce on the right, dispatch him and then head into the left cell to find a small sack of Hacksilver. The center cell is inaccessible so head to the right cell to find an opening large enough for the Leviathan Axe. Toss the axe into this knot but do not recall it, instead opting to return to the middle cell’s door. With Kratos pressed against the door, recall the axe to have it shoot through both knots and destroy the appendages. Once the gate is open, head inside and open the Legendary Chest to obtain the Thiazi’s Talon Heavy Runic Attack gem.
(1 of 2) Head to the right cell and throw the axe through the first knot but don’t recall the axe.


Head to the right cell and throw the axe through the first knot but don’t recall the axe. (left), Only once you’re standing in this position at the middle cell is it safe to recall it. (right)
The other entranceway cannot be accessed for now, the switch controlling the gates are broken, be sure to check in the air above both entranceways for containers that can be knocked down. Continue forward and a group of three Dark Elves and a Heavy Draugr will attack. Focus on the Dark Elves first, their projectiles can cause a lot of pain, before finishing off the Heavy.
How to Open the Nornir Chest
You’ll notice a Nornir Chest to your left and you’ll have to look low and high for the Runes to destroy. Start by heading over to the wheel on the other side and pull back on it a little to reveal the first Rune to the left of the runic gear. Keeping the wheel in this position, toss the axe at the runic gear to lock it in position. Drop down to the lowered platform and turn to the side with the wheel to spot the next Rune on the wall. Recall the axe and pull back on the wheel as far as you can this time to lower your platform as far as it will go, throwing the axe at the runic gear to lock it in place once more. Turn around to find a ledge you can climb with the final Rune. Remaining on this ledge, recall the axe and you’ll rise along with the platform to a coffin containing Runic Forearm Bracers. You can now head over to the unlocked Nornir Chest and open it to obtain an Iðunn Apple.
If you’re struggling to find the runes, see the gif below.
Return to the wheel one final time and lower the platform to the ground once more, throwing the axe to lock it in place and heading through the passageway over the other side. Head forward to another wheel, this controls the same platform as before but if you lower it enough, you’ll see a coffin on the other side of it, lock it in place with the runic gear to your right and open the coffin to obtain a Fragmented Heart of Alfheim Enchantment. This useful Enchantment reduces damage from all Dark Elves’ attacks by 12%, be sure to slot it right away.
Lower the wheel to drop a coffin at the other end of the path, using the runic gear to lock it in place.
The cells can’t be opened yet so ignore them and head through the door to the east to find more knots blocking your path, line them up and destroy them with the axe. Climb the ledge and the Horned Dark Elf from earlier will kidnap Atreus while two more restrain Kratos, activate Spartan Rage and begin pummeling all the Dark Elves surrounding you. Your Spartan Rage will not deplete during this section so feel free to kill them in any manner you see fit. Once they’re all dead, face the wall to the side of you and interact with it to pound holes into it, creating an opening for Kratos to push it over and create a bridge.


(1 of 2) Your Rage won’t deplete here so go all out.
Your Rage won’t deplete here so go all out. (left), Beware when Dark Elf Warrior’s tridents light up. (right)
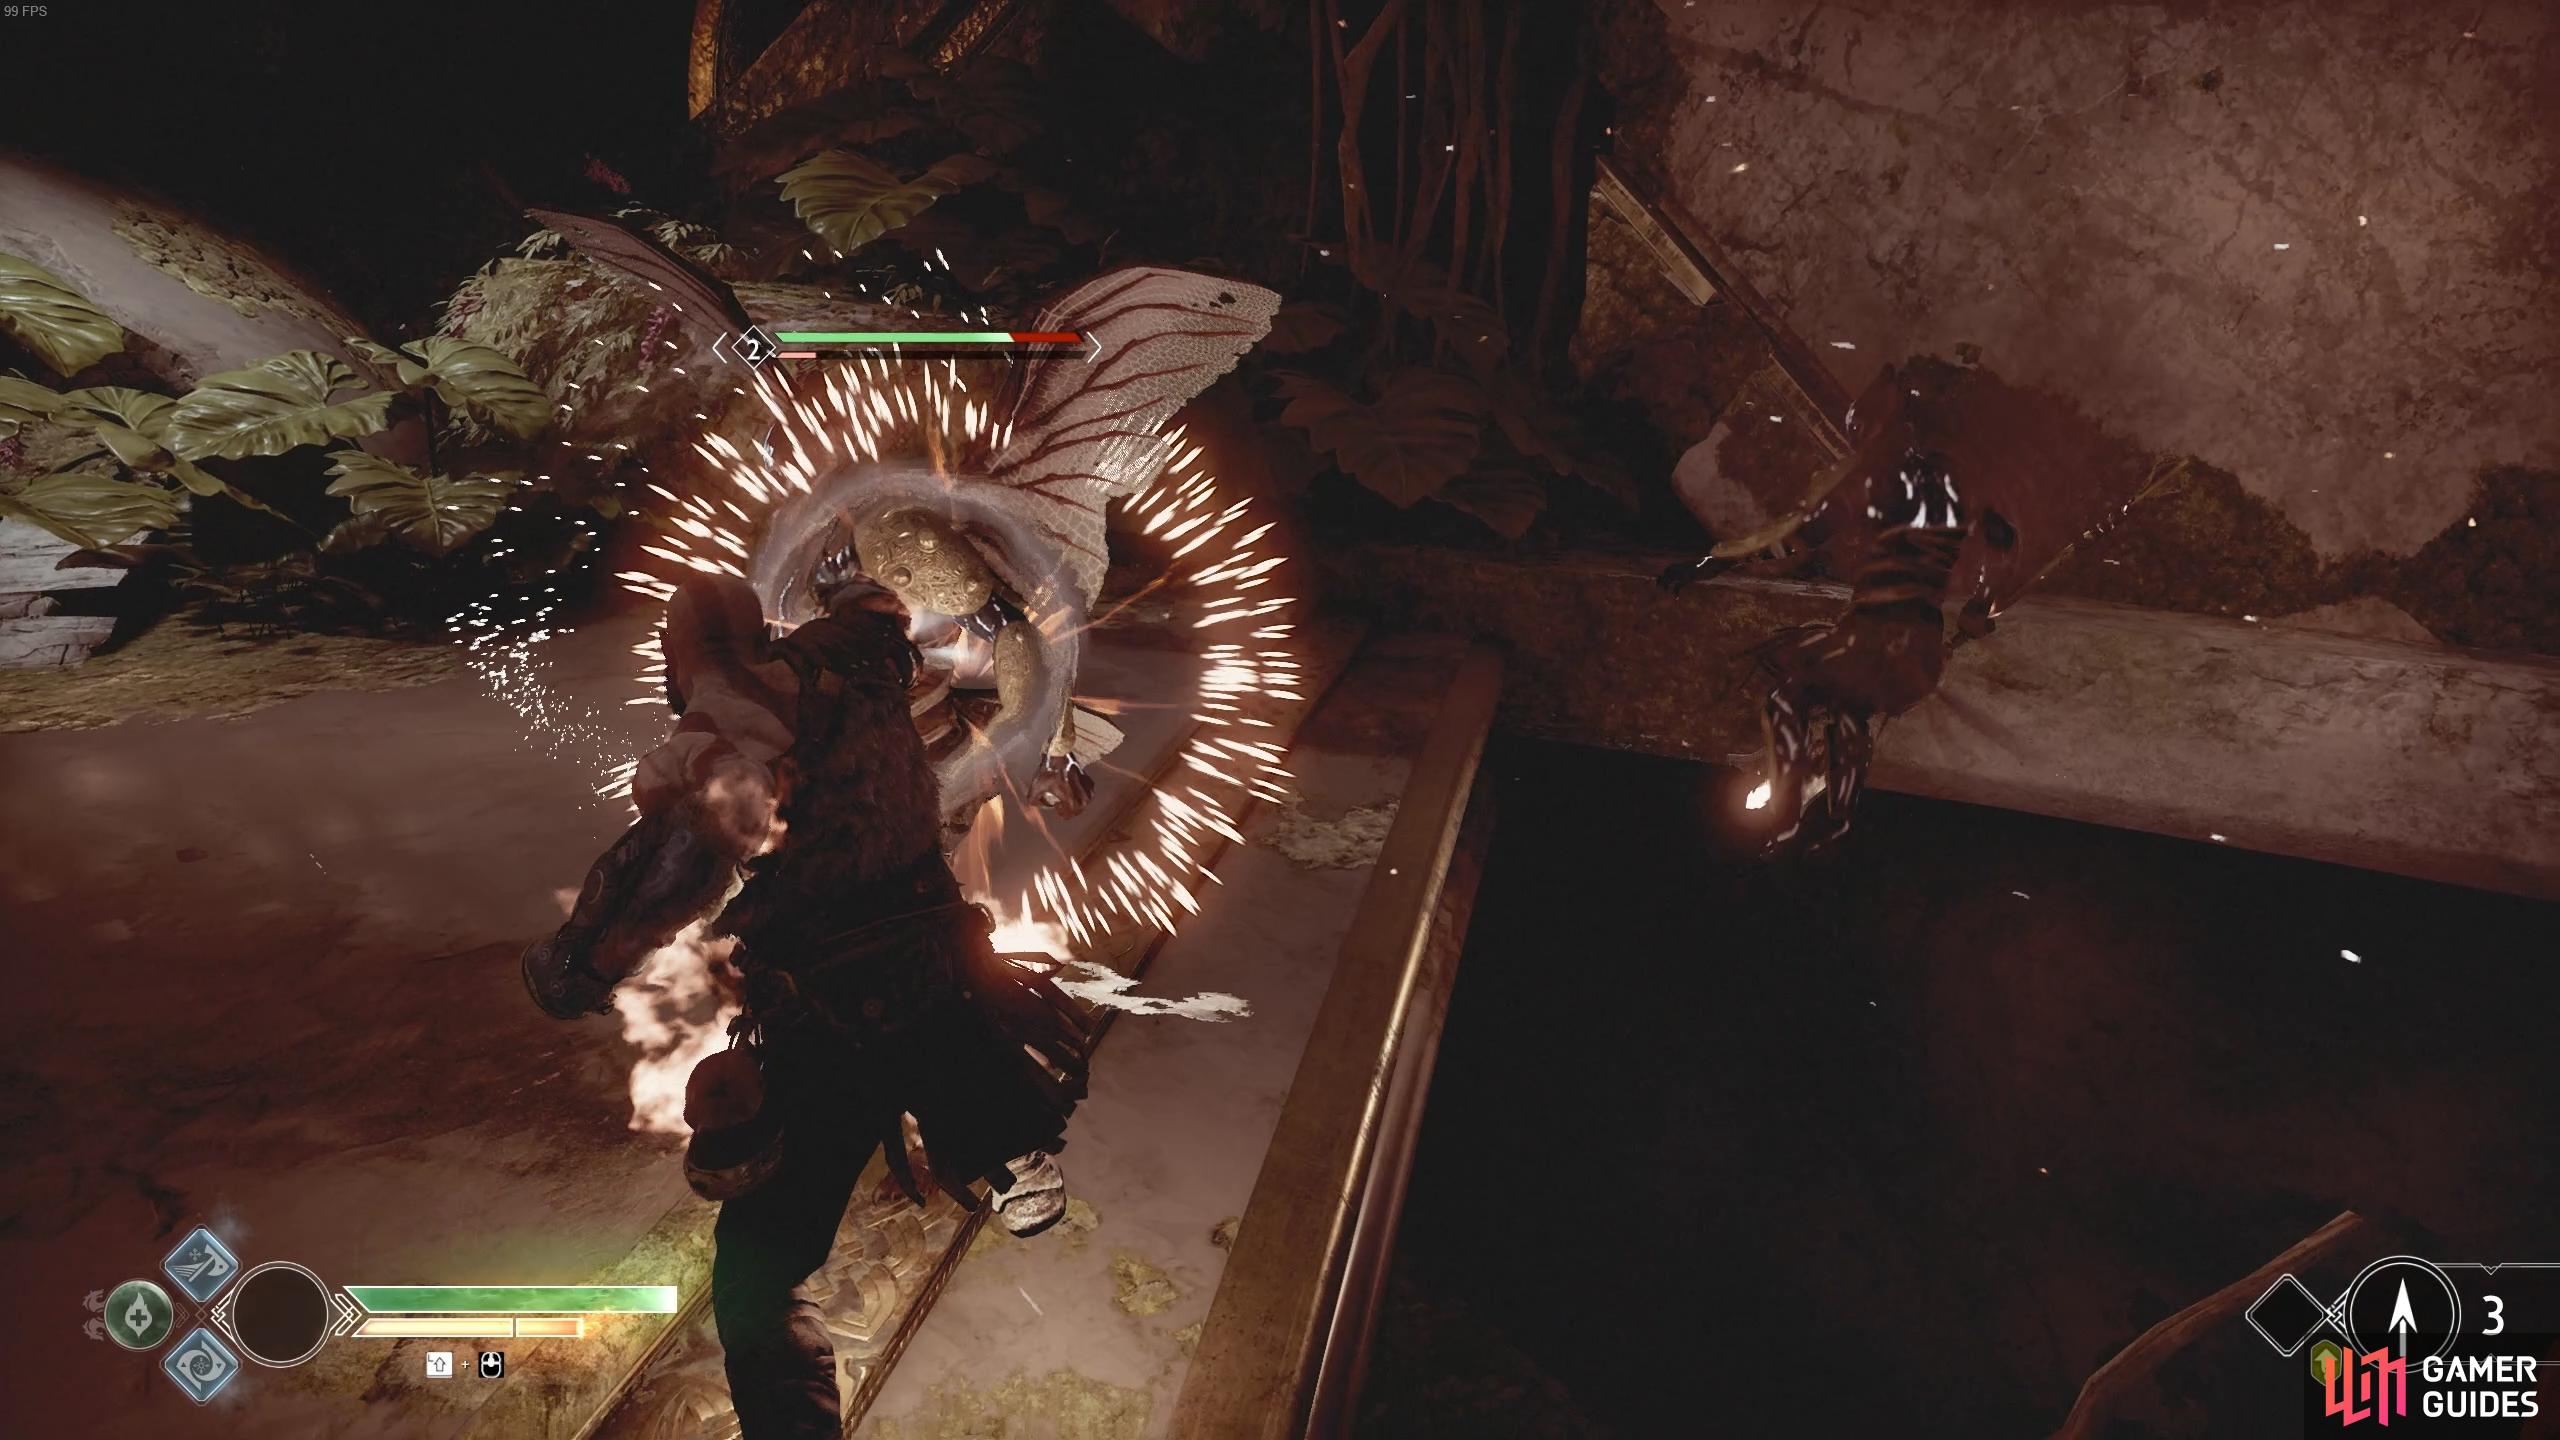
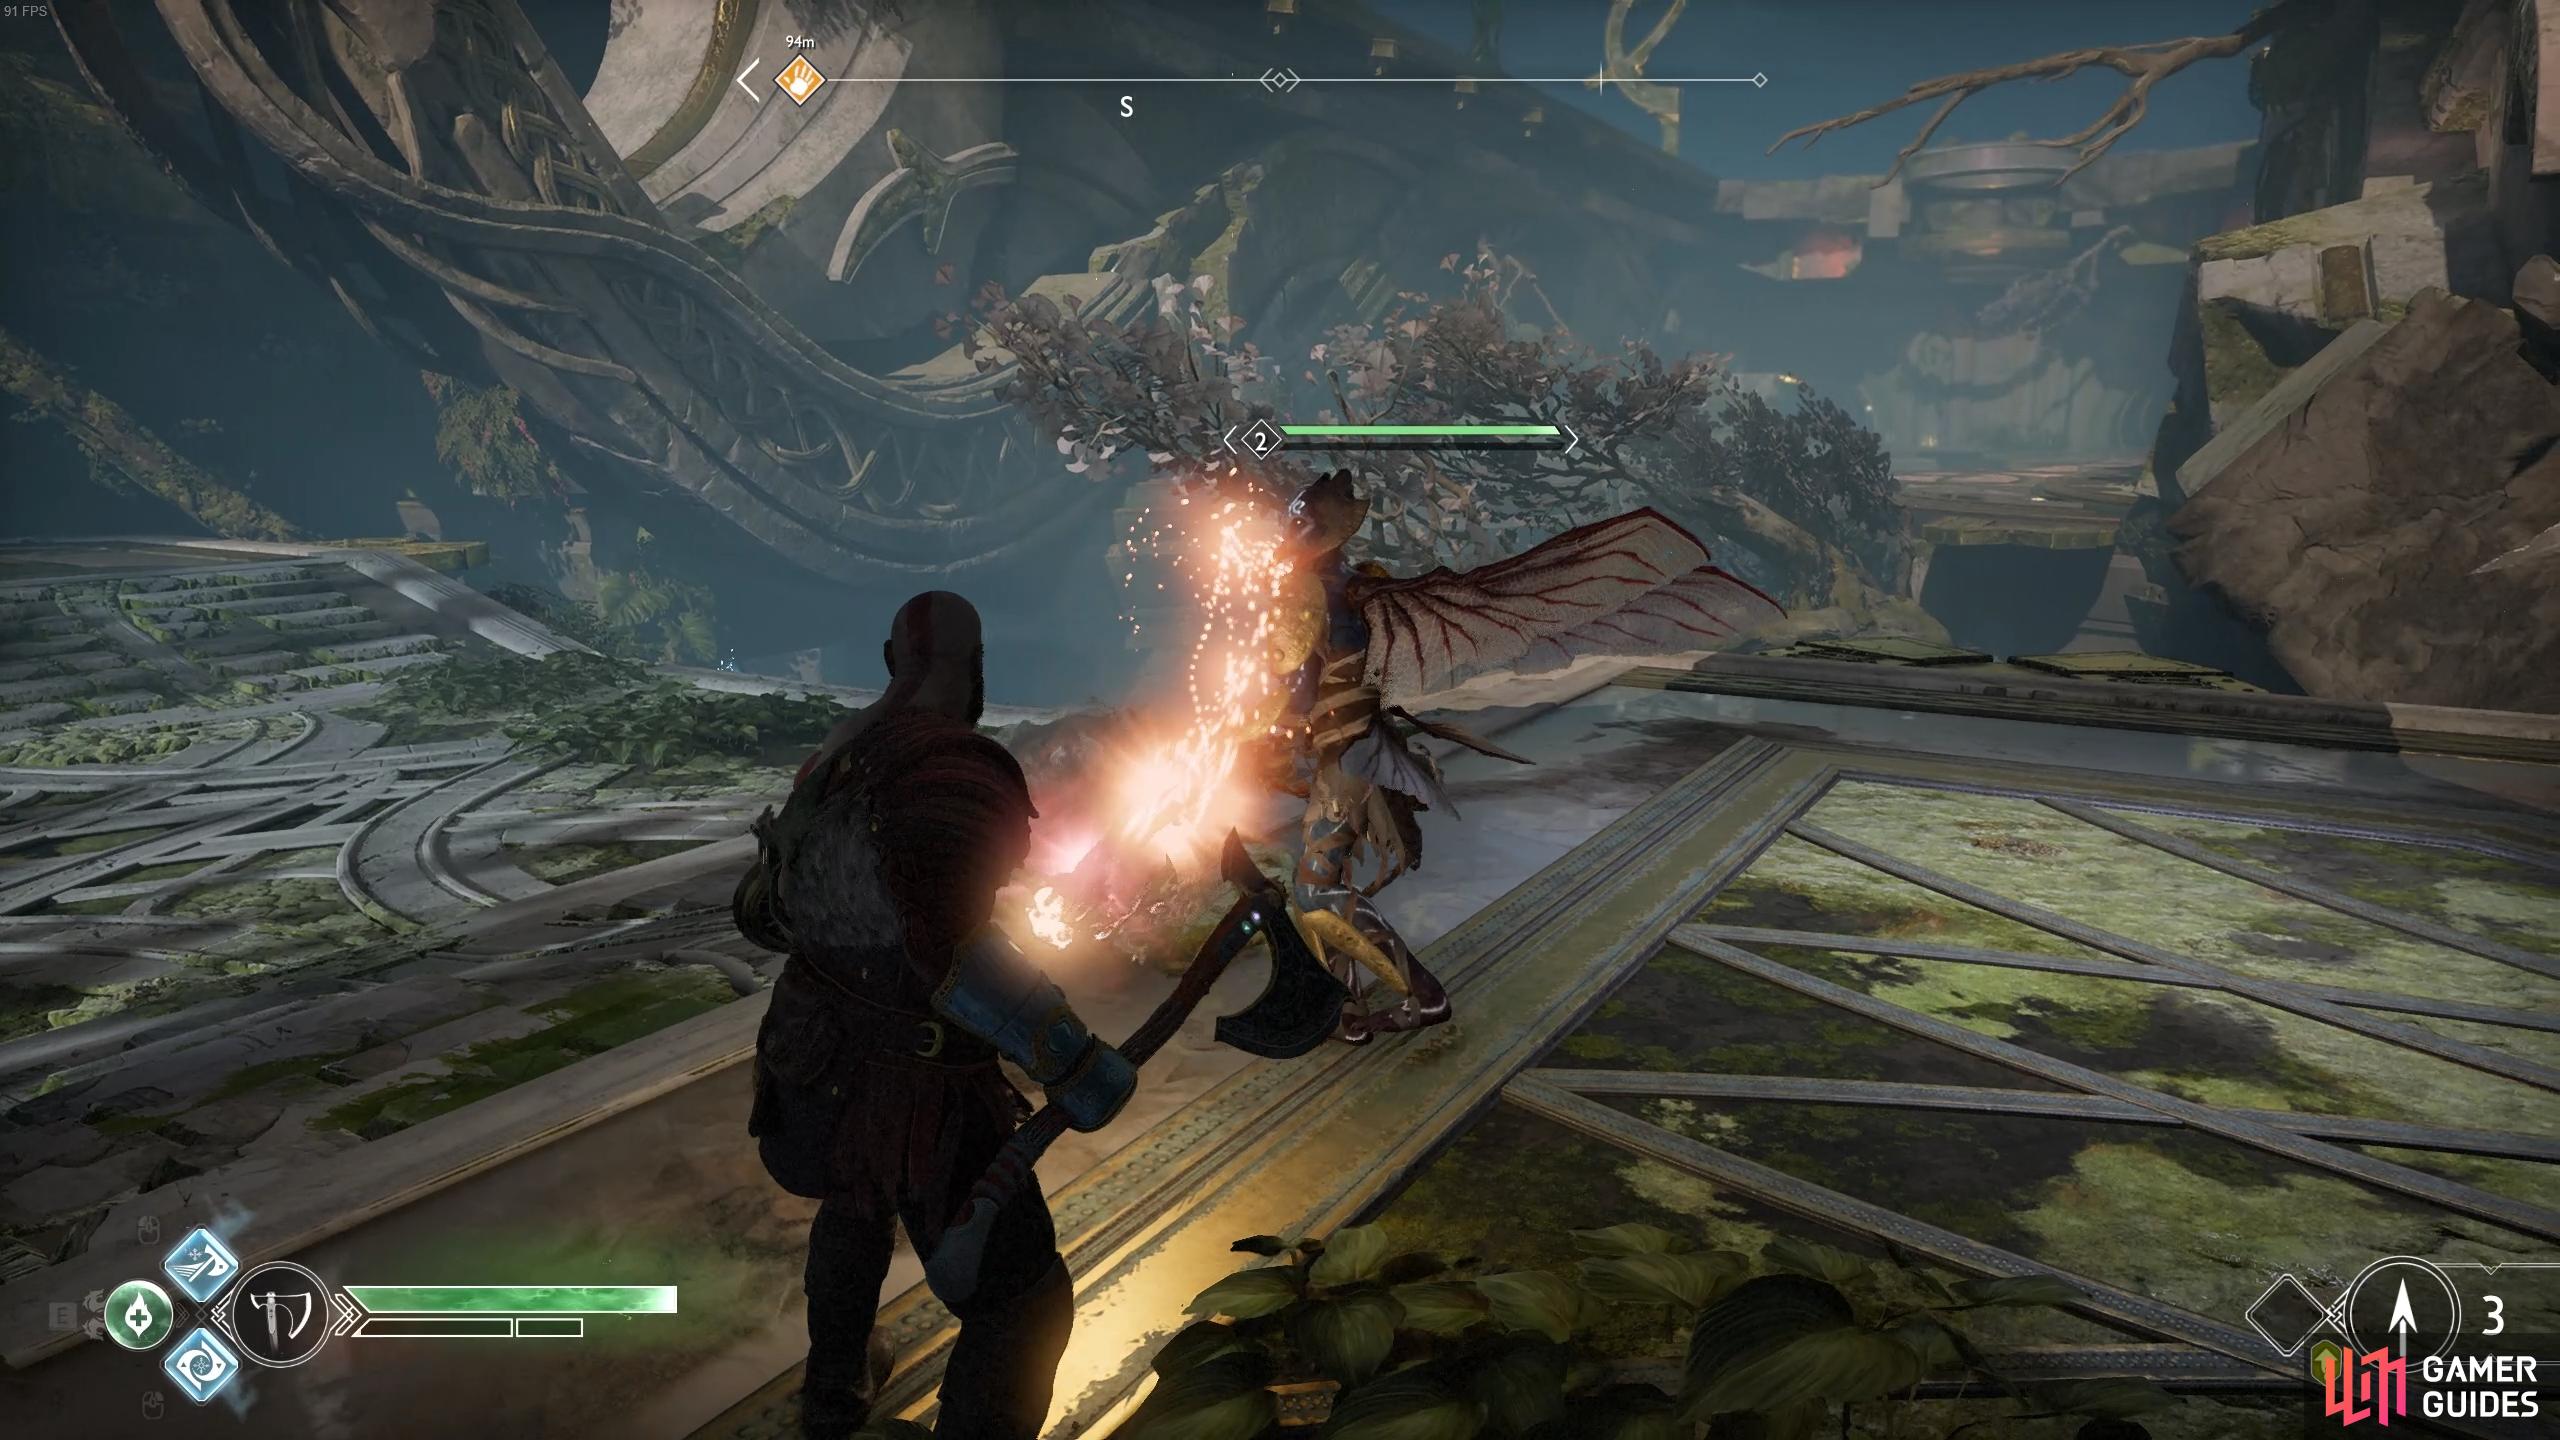
The Horned Dark Elf will reluctantly fly off and you’ll be rejoined by Atreus with two Dark Elf Warriors by you, these are stronger than your average Dark Elf and will cause shockwaves with their weapons when they slam it into the ground. Take them out using your Runic Attacks while Atreus keeps one distracted.
If you’ve got enough XP stored at this point, now is a good time to get the Level 3 upgrade for the Charge of the White Bear Light Runic Attack and consider purchasing Countering Strike and Guardian Sweep. With the enemies defeated, head down the small path to your right to find a small sack of Hacksilver and then turn to face below the bridge. You’ll spot two knots that you can line up, do so and throw the axe to destroy them before going back up and over to the east to open the coffin.
Stand here to line these knots up.
Head through the only other accessible door here to reach some more cells. You cannot unlock these cells for now so continue on through the next door to find yourself closer to the blue door from earlier. Drop down onto the path below and look to the right to see two knots waiting to be lined up and destroyed. This will create a light bridge for you, take this over to the other side and climb the wall.
You’ll be assaulted by two Dark Elf Warriors followed by another attacking from range. Stun the two Warriors on the ground and then have Atreus target the other with his arrows. Once they’re defeated, the rock pile in the center begins to form together and you’re attacked by a Stone Ancient.
This is similar to the Soul Eater battle you fought back in the Völunder Mines without as much cover to aid you. You do however, have a large rock formation in the center, use this as your basis to begin the assault. Dodge the blasts from the Stone Ancient and toss the axe into the exposed core to deal damage, picking up the clusters to throw back at him if the opportunity arises. Take the opportunity to perform a Stun Grab at every possible moment to drain some more of it’s health.

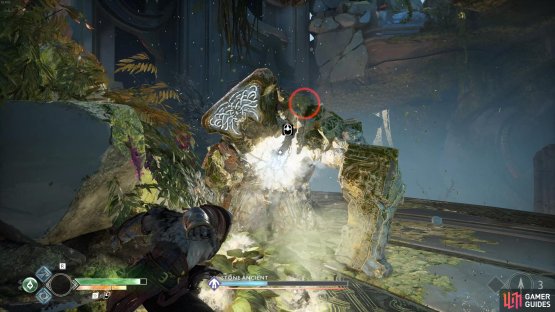
(1 of 2) Throw the axe at the exposed core to deal damage.
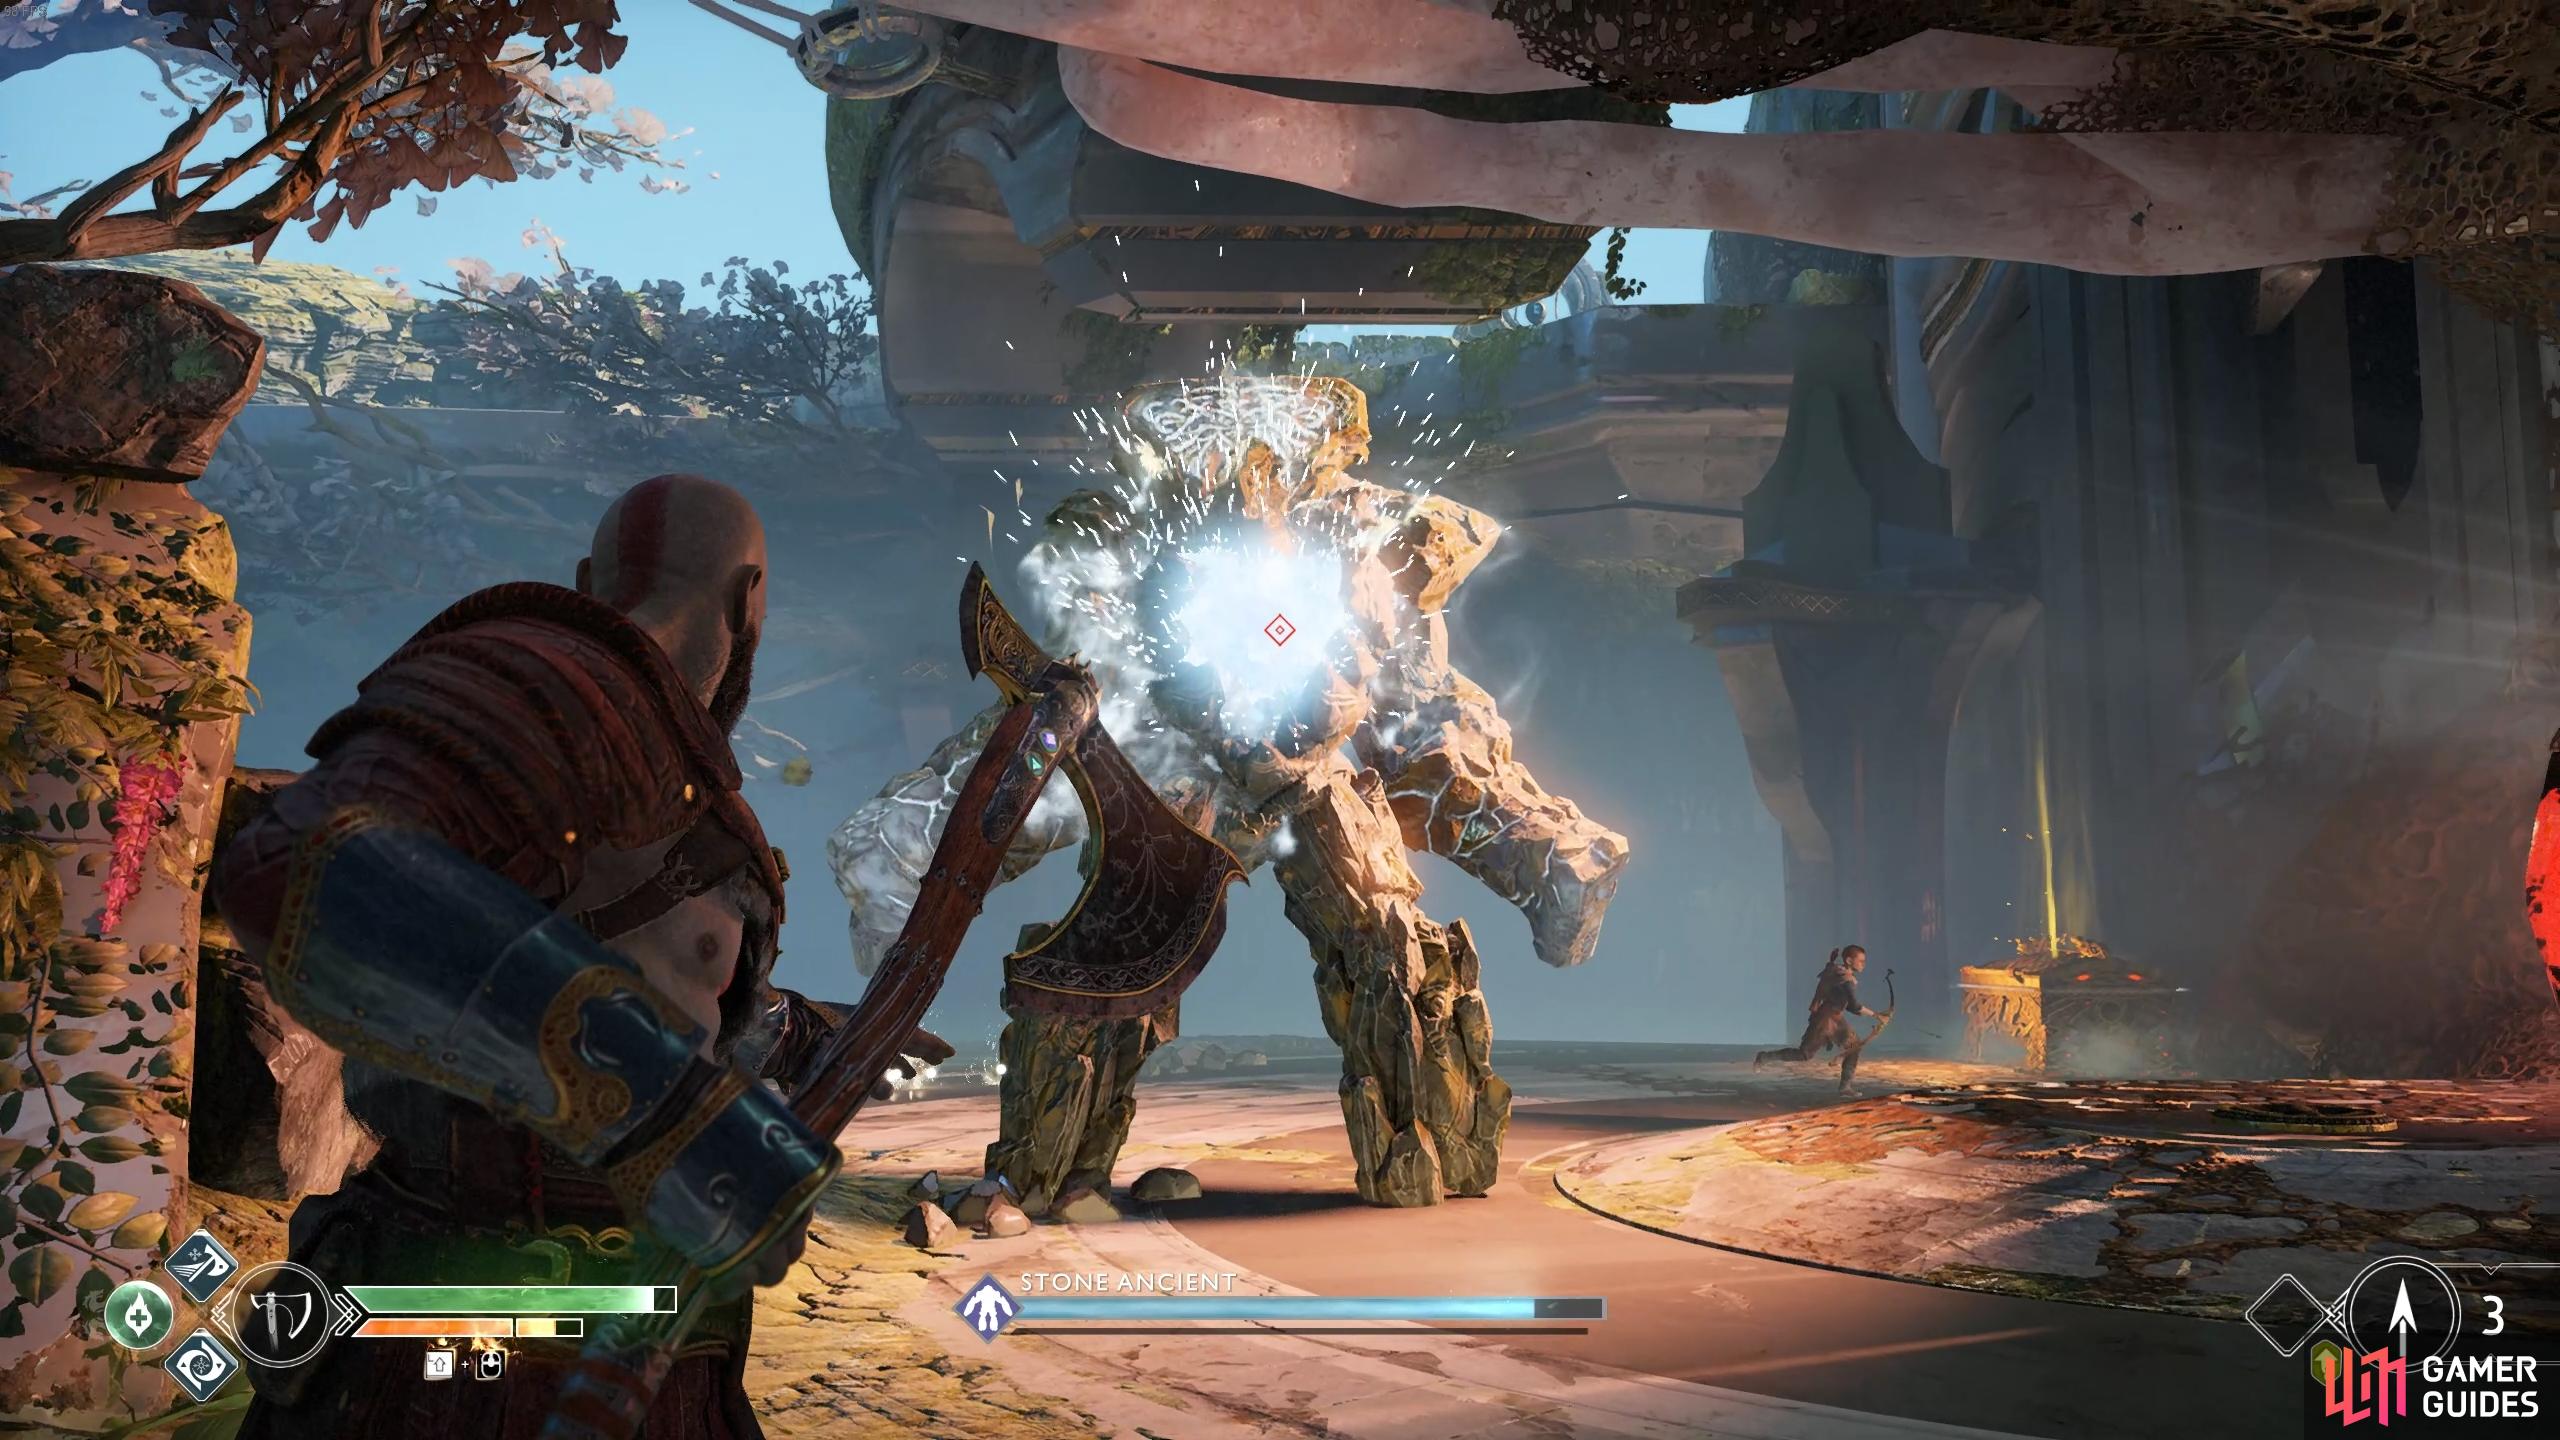
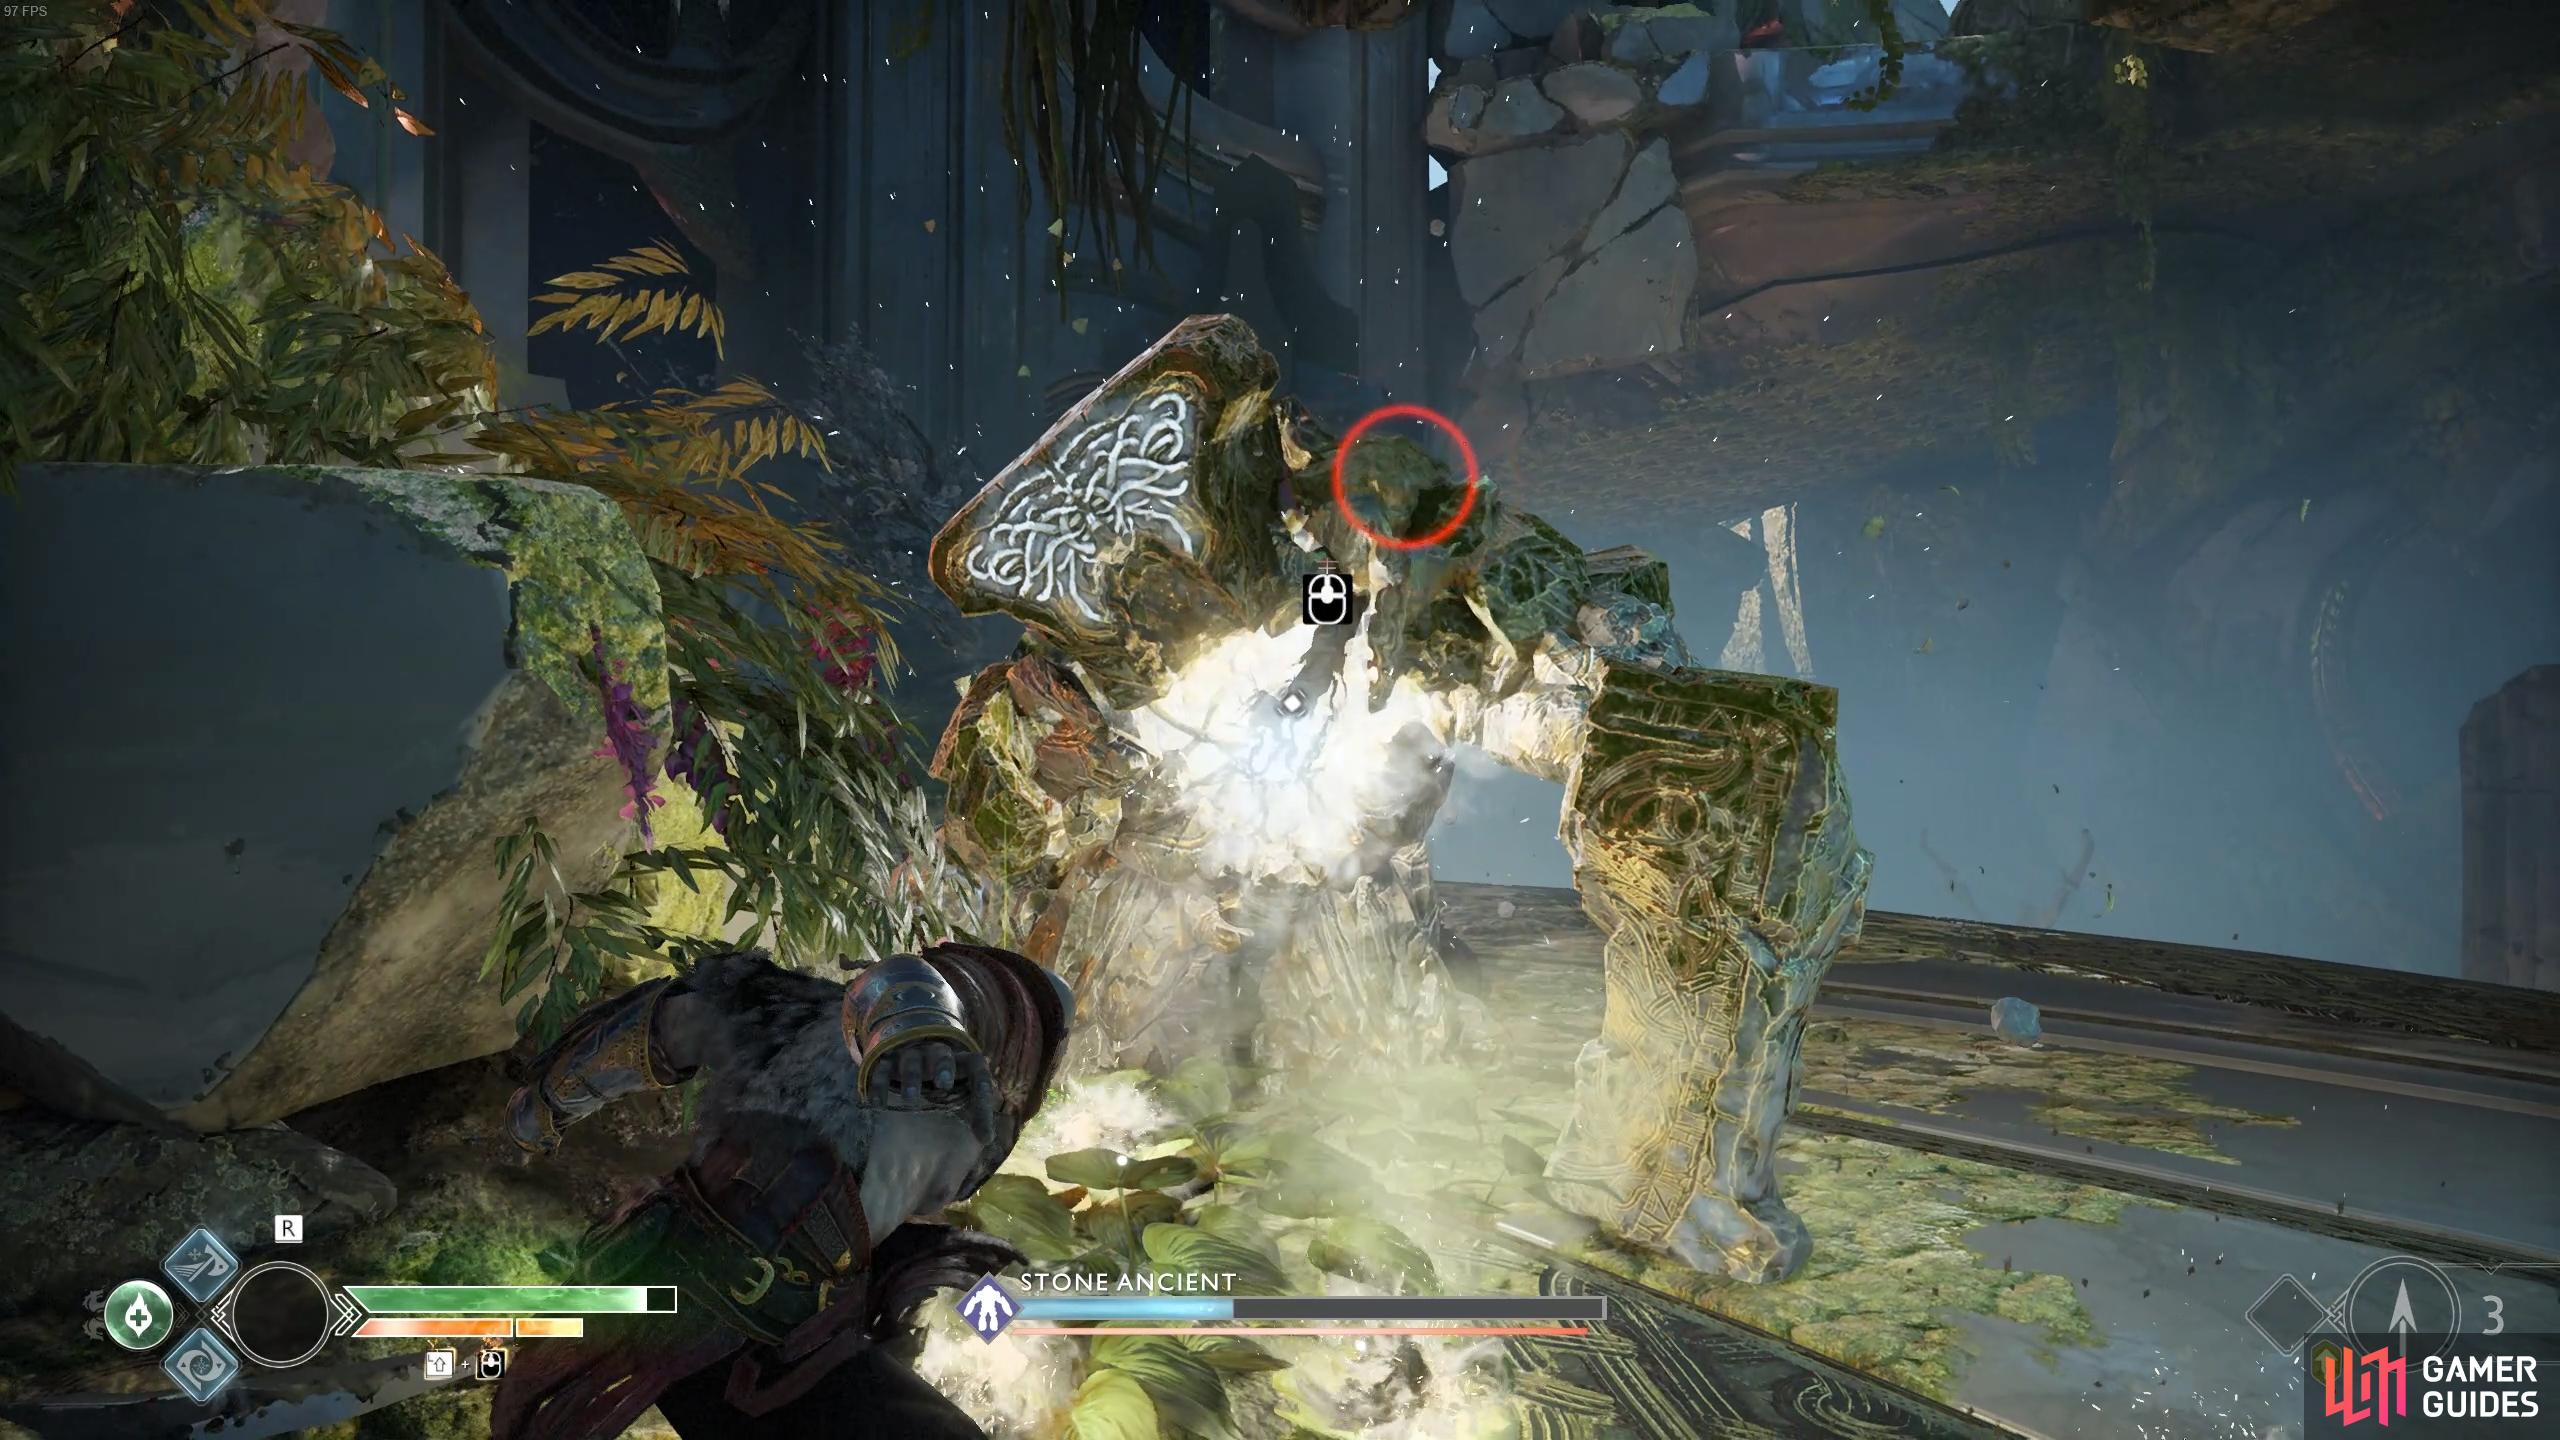
Throw the axe at the exposed core to deal damage. (left), Make use of Stun Grabs once you fill the stun gauge. (right)
Once the Stone Ancient’s health drops to around a quarter, another pack of Dark Elves attack. Turn your attention to these, especially the one launching projectiles to avoid being overwhelmed. Use Runic Attacks if available and don’t be afraid to use Spartan Rage if your health drops low, this will build the Stone Ancient’s stun gauge allowing for another Stun Grab.
With the difficult battle over, pick up the spoils from the Dark Elves and then head to where the Stone Ancient fell to loot 5 Soft Svartalfheim Steel, an Ancient’s Heart, 5 Ancient’s Rubble, a Fragmented Heart of Alfheim Enchantment along with around 3000 Hacksilver. Try to find space for this Enchantment, you should have two now and it all helps to reduce the damage done by the enemies you’re currently fighting. There’s a Legendary Chest in plain view here too, open it for the Njörd’s Tempest Light Runic Attack gem.
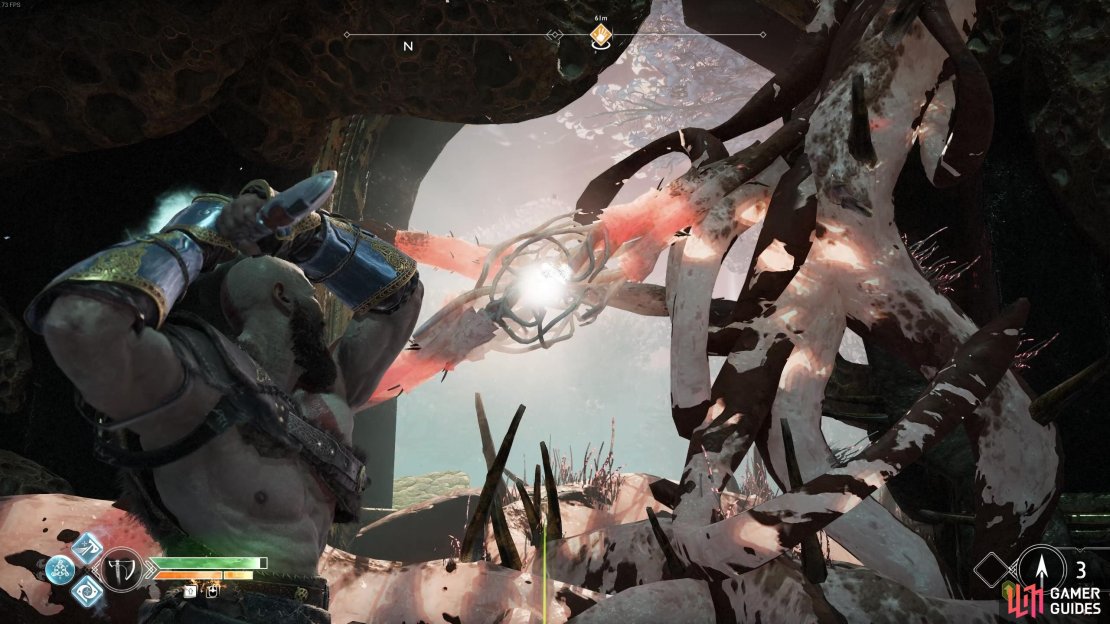
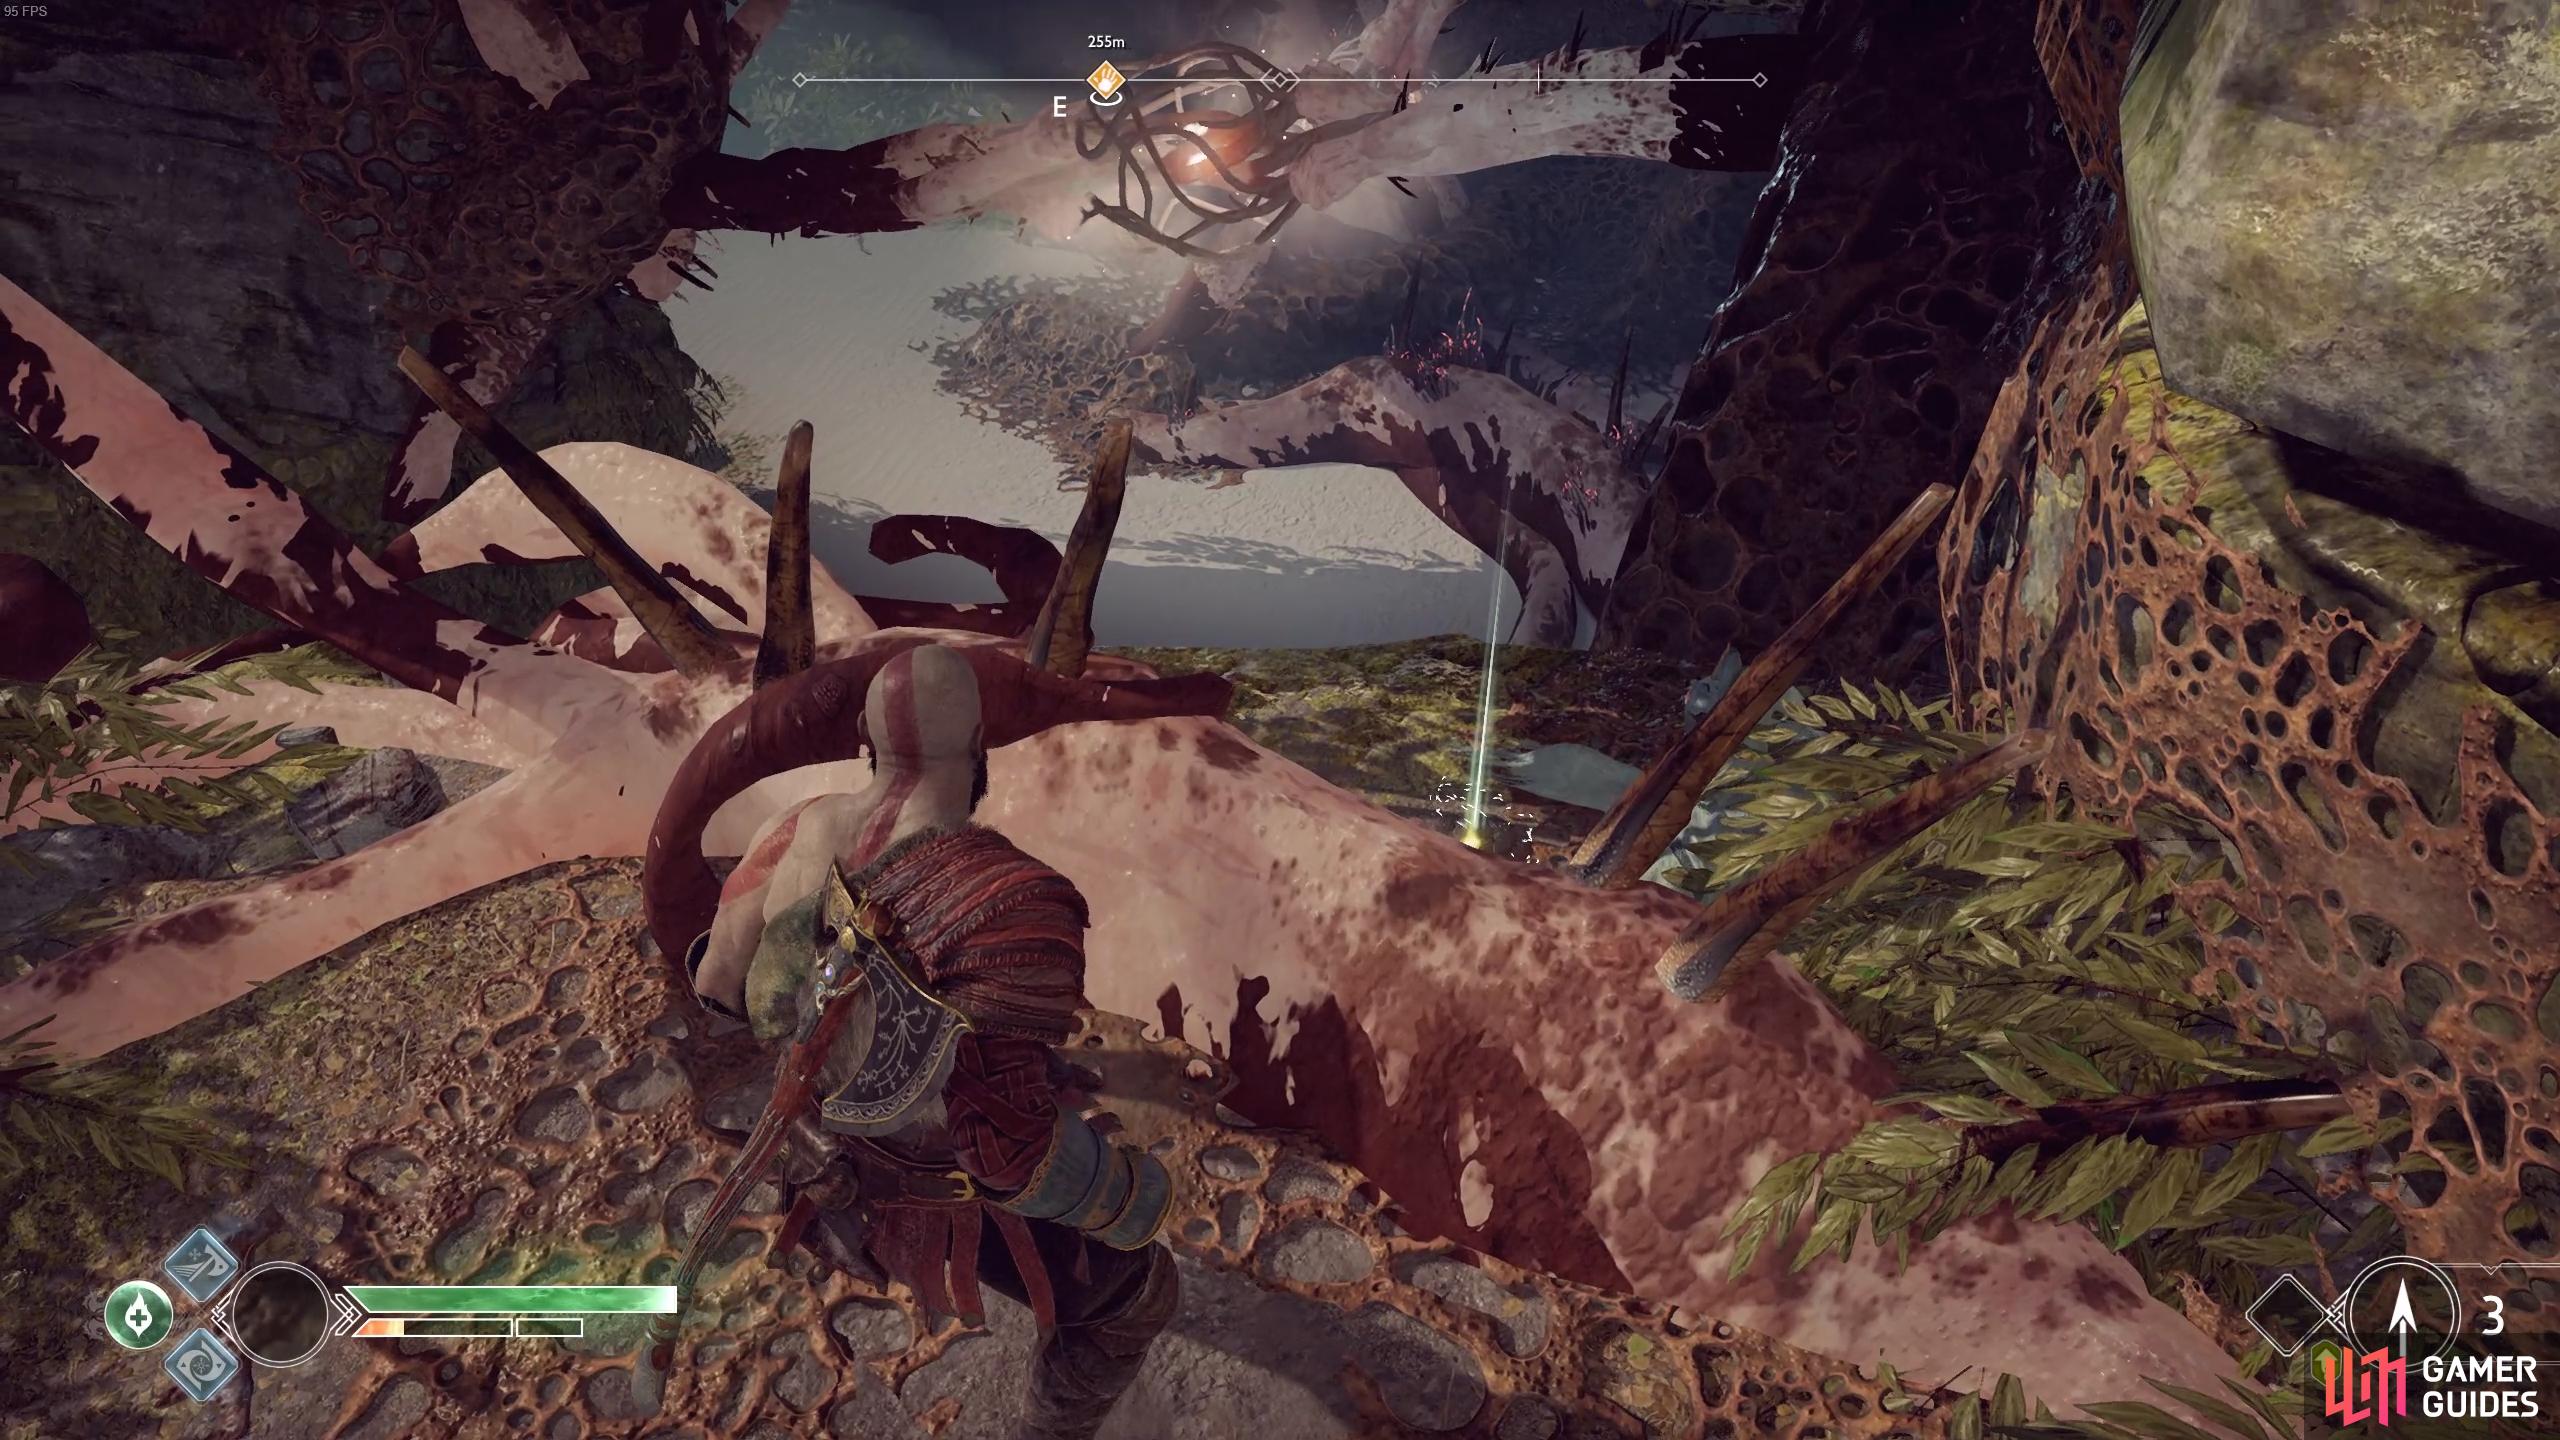
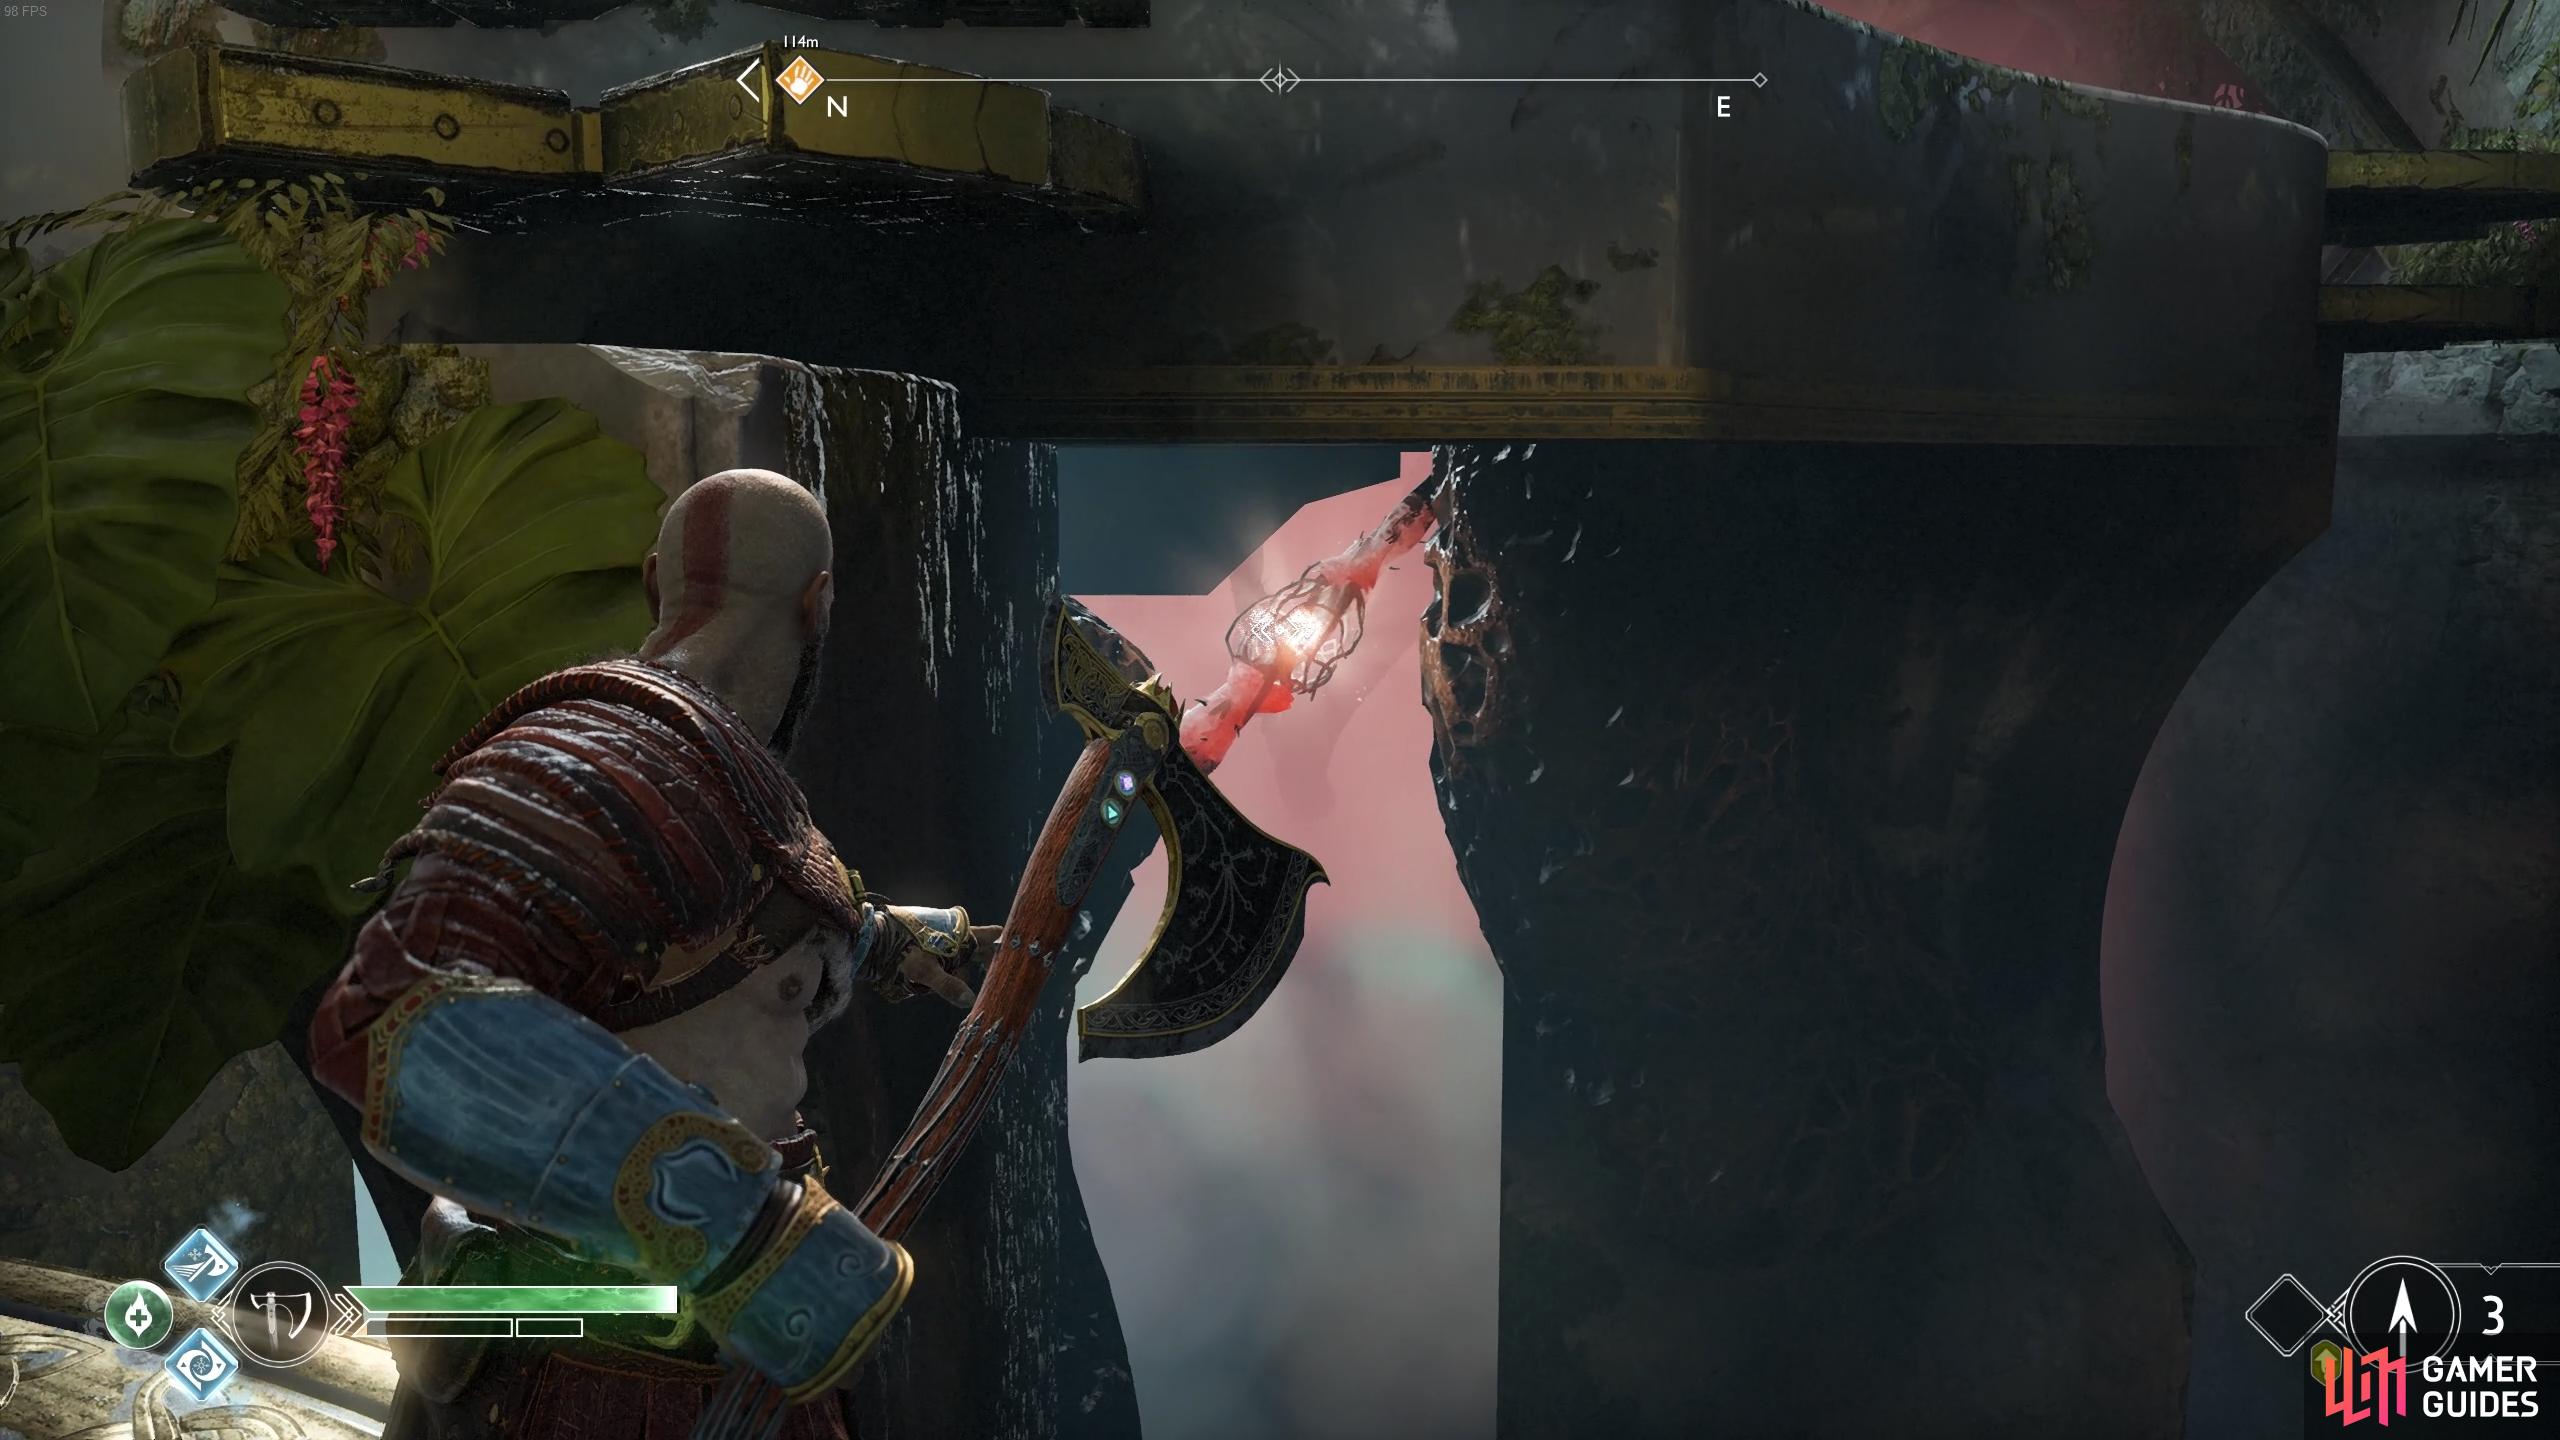
You can now head over to where the appendages are covering the light in the center and strike them with the Leviathan Axe, once the light is exposed, plunge the axe into it to freeze and shatter it causing the light bridge to return. Before you head back, take the left of the two light bridges to find the next Artefact on a corpse here.
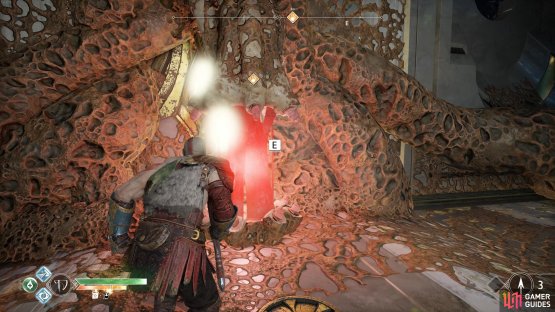

(1 of 2) Destroy the appendages and then strike then freeze the center to destroy this.
Destroy the appendages and then strike then freeze the center to destroy this. (left), Take the left light bridge to find this Artefact. (right)
Take the other light bridge now back to the cells and activate the now operable elevator in the center to ascend to the higher floor. You’ll find yourself back at the entrance to the temple with the light bridge returned, head across the bridge and approach the door.
Find another way into the temple
There’s no way to open the door from this position, instead you’ll need to find an alternative. Take the west path down from this door to find a door to your right blocked by a knot. Throw the axe at the knock to unblock it and reveal a Nornir Chest sitting at the back. This is another timed bell chest, with a bell sitting directly above the chest, leave this one last. Turn behind you and head towards the stairs leading up before turning to your right to find the first bell in the middle of the stone structure. The second bell is in the air to the right of this bell also housed in the middle of a stone structure, the final bell is of course above the Nornir Chest itself. Open this chest to obtain a Horn of Blood Mead to add to your growing collection.
If you’re struggling to open the chest, see the gif below.
Return up the stairs and take the next set of stairs down to the east where Sindri has set up shop and another Jötnar Shrine awaits. Speak to Sindri now with the [Triangle] button to tell Sindri all about the Ancient you just killed and unlock another set of crafting recipes alongside finishing the associated Labor.
The Ancient set is a very good armor set indeed (and also unlocks a Trophy) however you won’t have enough materials to craft any of it for a while. There’s nothing else new for now so buy a Resurrection Stone should you need it and then leave the shop, heading through the tunnel to Sindri’s left.
You can’t miss this Shrine next to Sindri’s Shop.
As you enter the Temple finally, the Horned Dark Elf will once again speak in elven to you before flying off. Drop down the ledge and as expected, you’re assaulted by Dark Elves. You’ll notice a different type you haven’t seen before that will slam his staff into the ground and summon two more Dark Elves. As you may have assumed, this Summoner can conjure up reinforcements so make a dash for him and take him out at all costs to avoid being overwhelmed by the Dark Elves summoned by him.
Dark Elf Summoner’s should always be your main priority.
With the enemies defeated, pass under the knot ahead and then turn around to face the way you dropped in. You’ll see a total of three knots that you can align and throw the axe through to destroy them, giving you access to the nearby coffin against the wall. Follow this path around, knocking the container down from the air and more Dark Elves will attack you, assisted by Exploding Nightmares that will, as expected, explode upon contact, blinding you in the process. Try to not get surrounded and make use of your Runic Attacks, you’ll want to take the Nightmares out first.
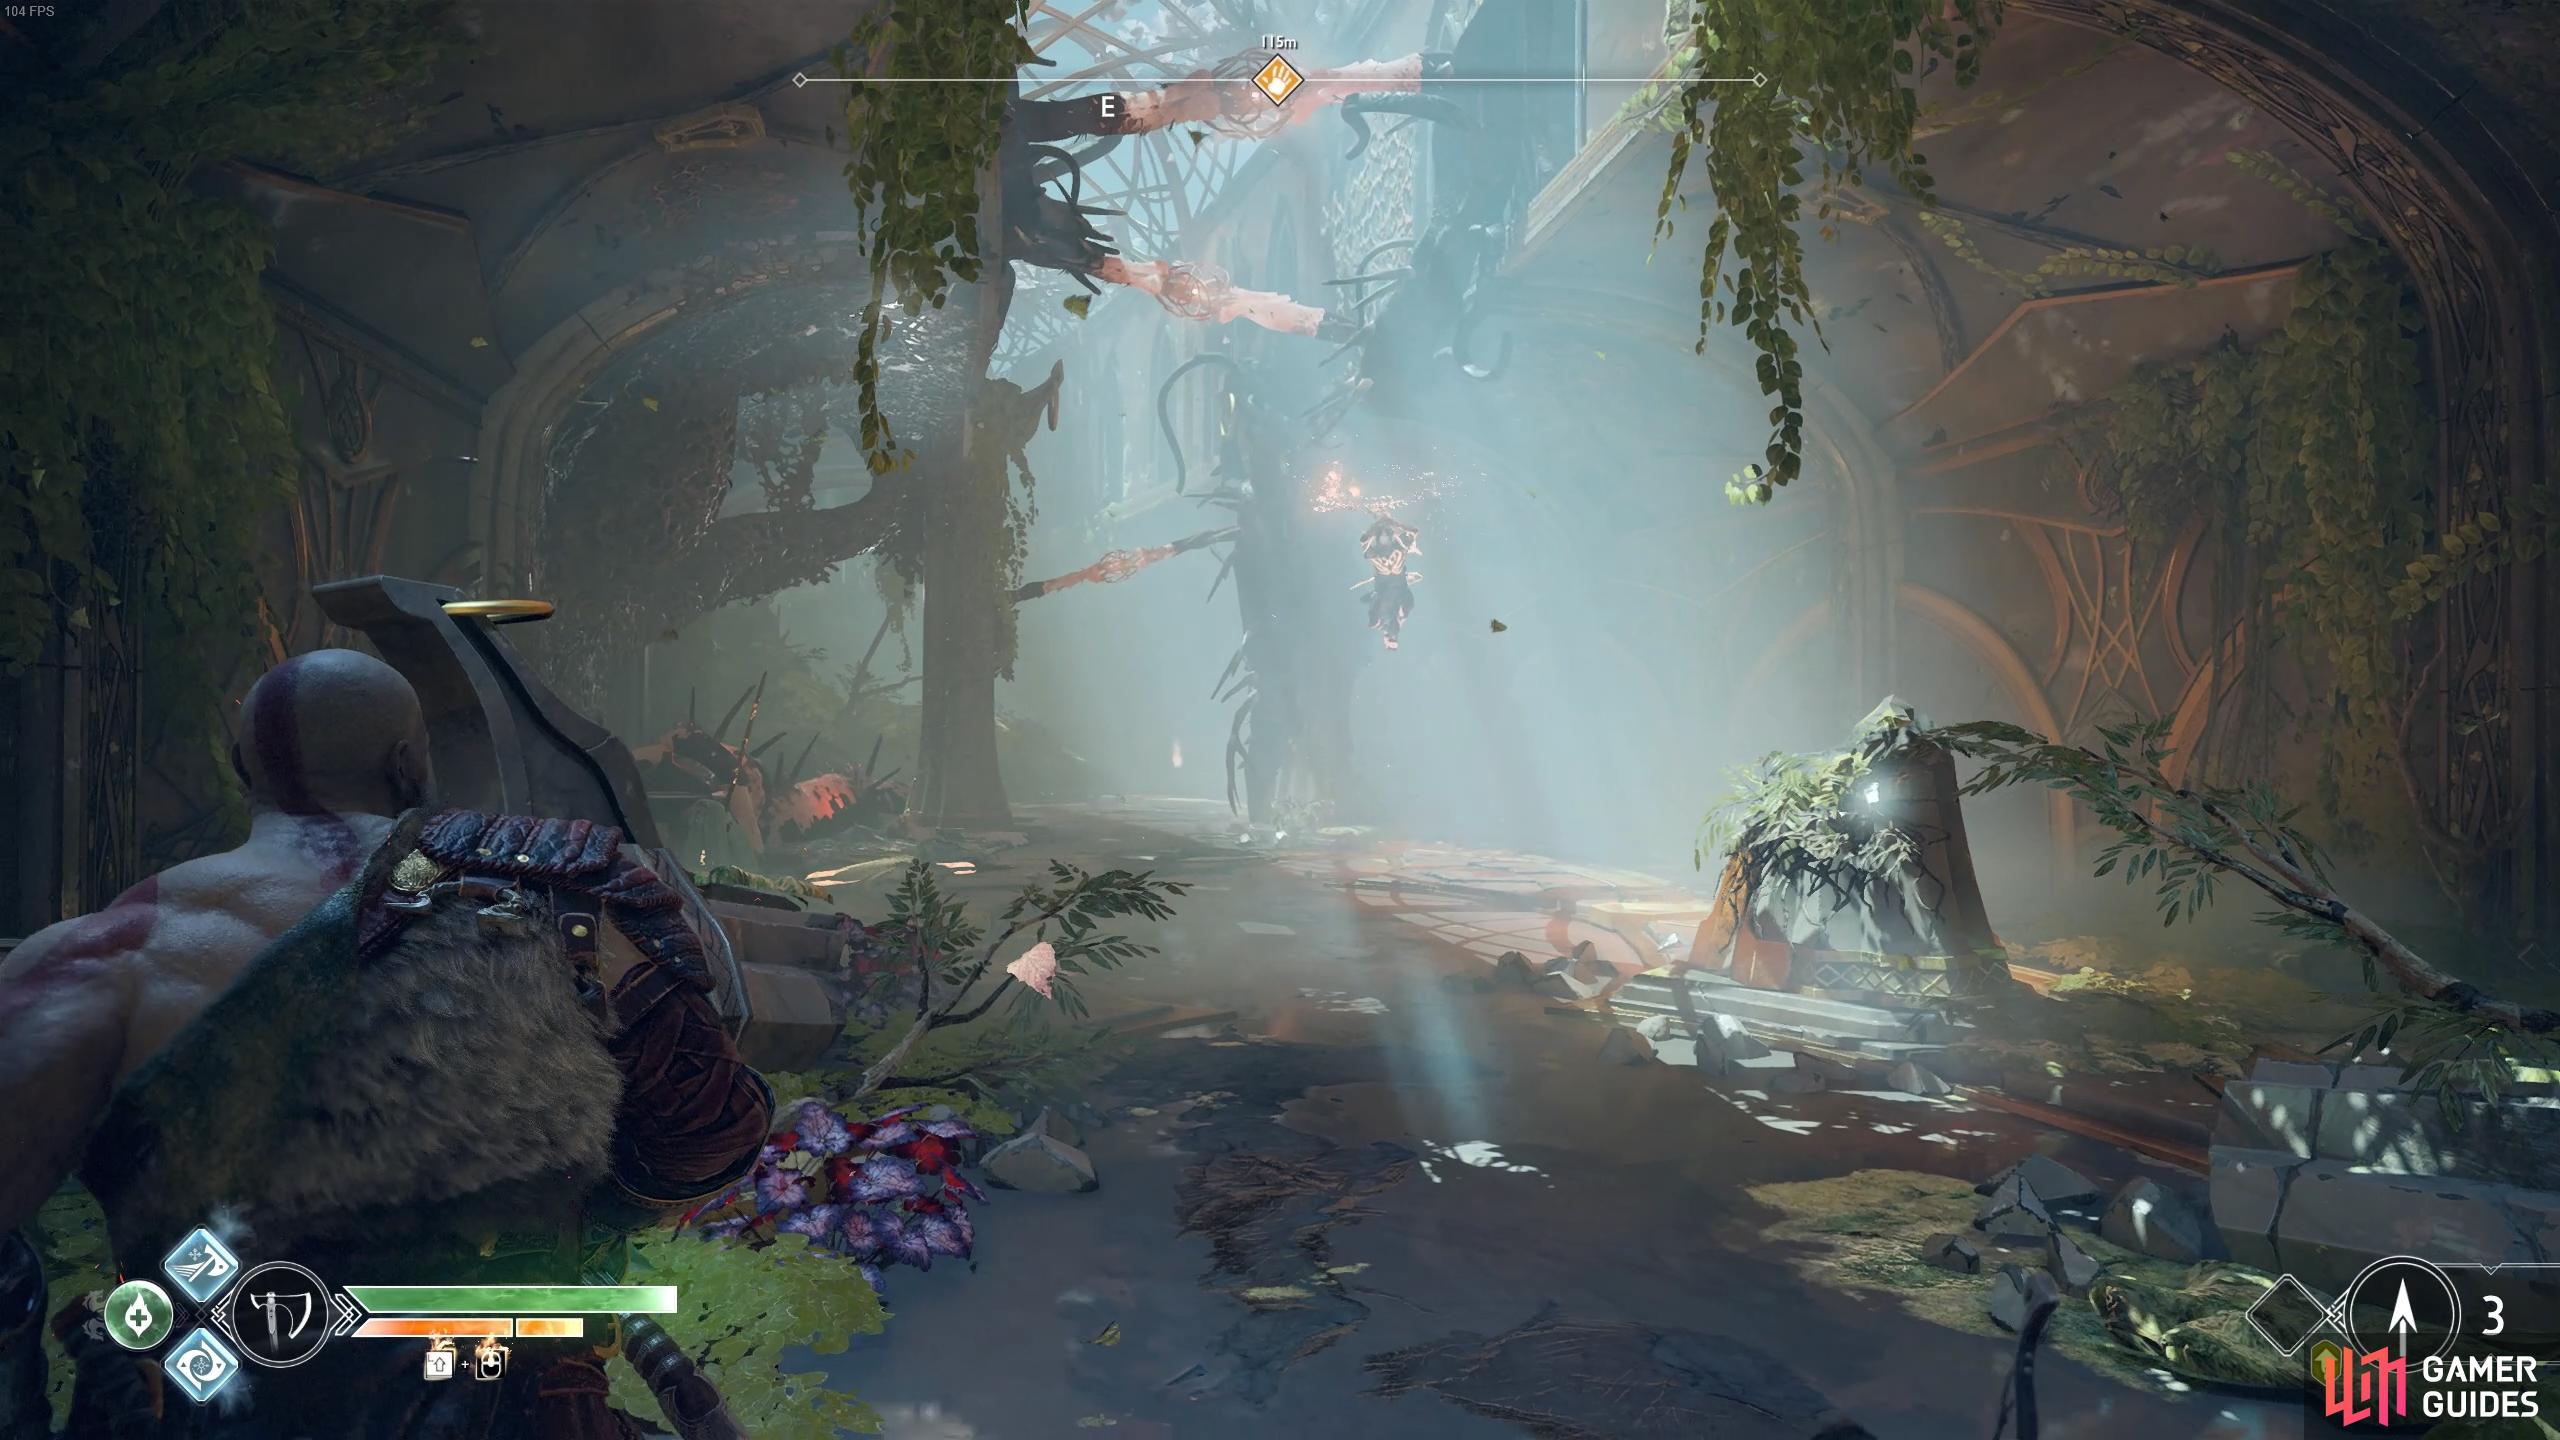
Once you reach the end, knock down the container to your left and then look up high in the air to the left of the gap to find a Lore Marker. Leap over the two gaps in front of you and then head around the rock to your right to find more knots that you can line up, do so and toss the axe to destroy them. Return across the two gaps you just jumped over and head to the left corner to find a coffin is now accessible containing the Runic War Belt.

(1 of 2) This Lore Marker is easy to miss.

This Lore Marker is easy to miss. (left), Head across the gaps and to the corner to line up the knots blocking the coffin. (right)
Jump the gaps one final time and follow the path to the left and jump to the wall to begin climbing it. Shimmy along to the right and through the ring, the Dark Elves seem to be preparing something. Continue your climb, witnessing the end of a brutal war and climb the platform yourself.
Find a way into the hive
The group of Dark Elves that just killed the Light Elf are waiting for you at the top of this platform. Take out the Dark Elf Summoner at the back first to avoid having to deal with more enemies and then make use of your crowd control skills to defeat the rest. You can now break the appendages covering the light before plunging the axe into it to freeze and shatter it.
Take the newly formed light bridge over to the other side and continue along the path, a pack of five Exploding Nightmares will attack, keep back and use Atreus’ arrows along with axe throws to defeat them before crossing back over to the other side. Another group of Dark Elves attempt to stop you, a Summoner being your first adversary. Rush over to the Summoner and take him out as soon as possible before getting some distance and taking out the Exploding Nightmares before you concentrate on the rest of the Dark Elves.
There’s a container to knock down and then break open the appendages once again to shatter the next piece of red light revealing another light bridge. Cross this bridge and take the path up to the top. There’s a large group of knots here and you’ll need to destroy them all to progress further into the hive.
Break into the hive
Head into the far southeast corner on this platform and then turn around to find three of these knots are aligned, throw the axe to destroy this first group. Now head into the northeast corner and turn around again to align the next three knots before throwing the axe through to destroy them. Finally, head over to the southwest corner and align the final three knots to destroy them and break into the hive.
If you’re struggling with the root puzzle, see the gif below.
Investigate the hive
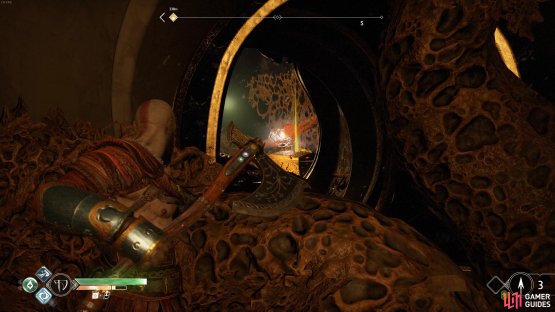
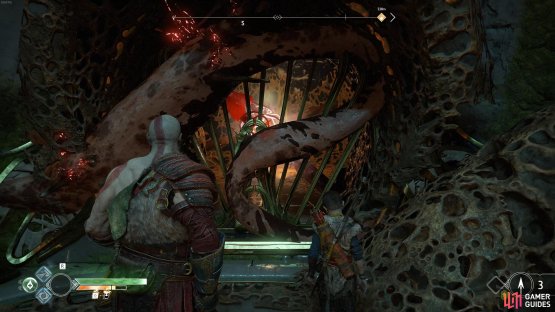
You now have access to the Dark Elf hive, head inside and follow the path, squeezing through the gap. Follow the path inside up to the next wall that you can climb, being attacked from a Dark Elf as you ascend. Once you reach the top, continue to follow the path, ducking under the tunnel before a tumble takes you closer to your goal.
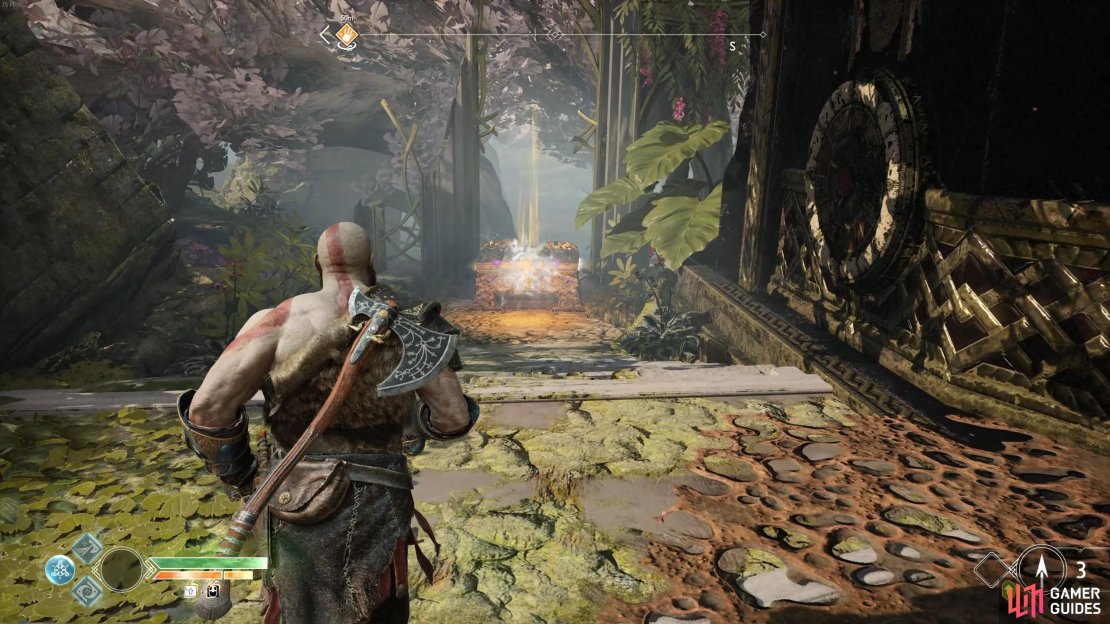
Destroy the hive and claim the light
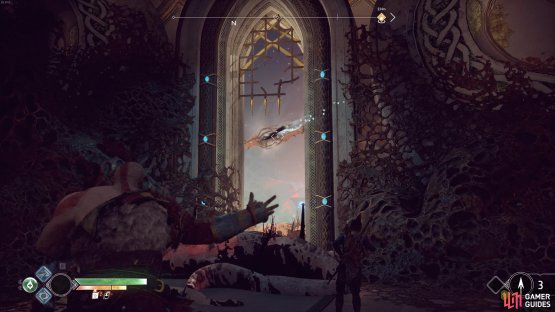
There’s only one path available to you and an army of Dark Elves to stop you. Take the path to the next red light and destroy the appendages before freezing and shattering the light inside. You’ll be attacked by all manner of Dark Elves as you head toward the light, your primary goal. Take out the Dark Elves on the way as you follow the path, only taking out the ones that are directly in front of you. Your health should be fine but should you find it dropping to critical levels, activate Spartan Rage and bulldoze through the enemies. Once you reach the end of the path, take out the final appendages around the red light and destroy the light inside.
(1 of 2) Push through the swarm of Dark Elves using area of effect skills.
Push through the swarm of Dark Elves using area of effect skills. (left), Follow the light once in the shadow realm. (right)
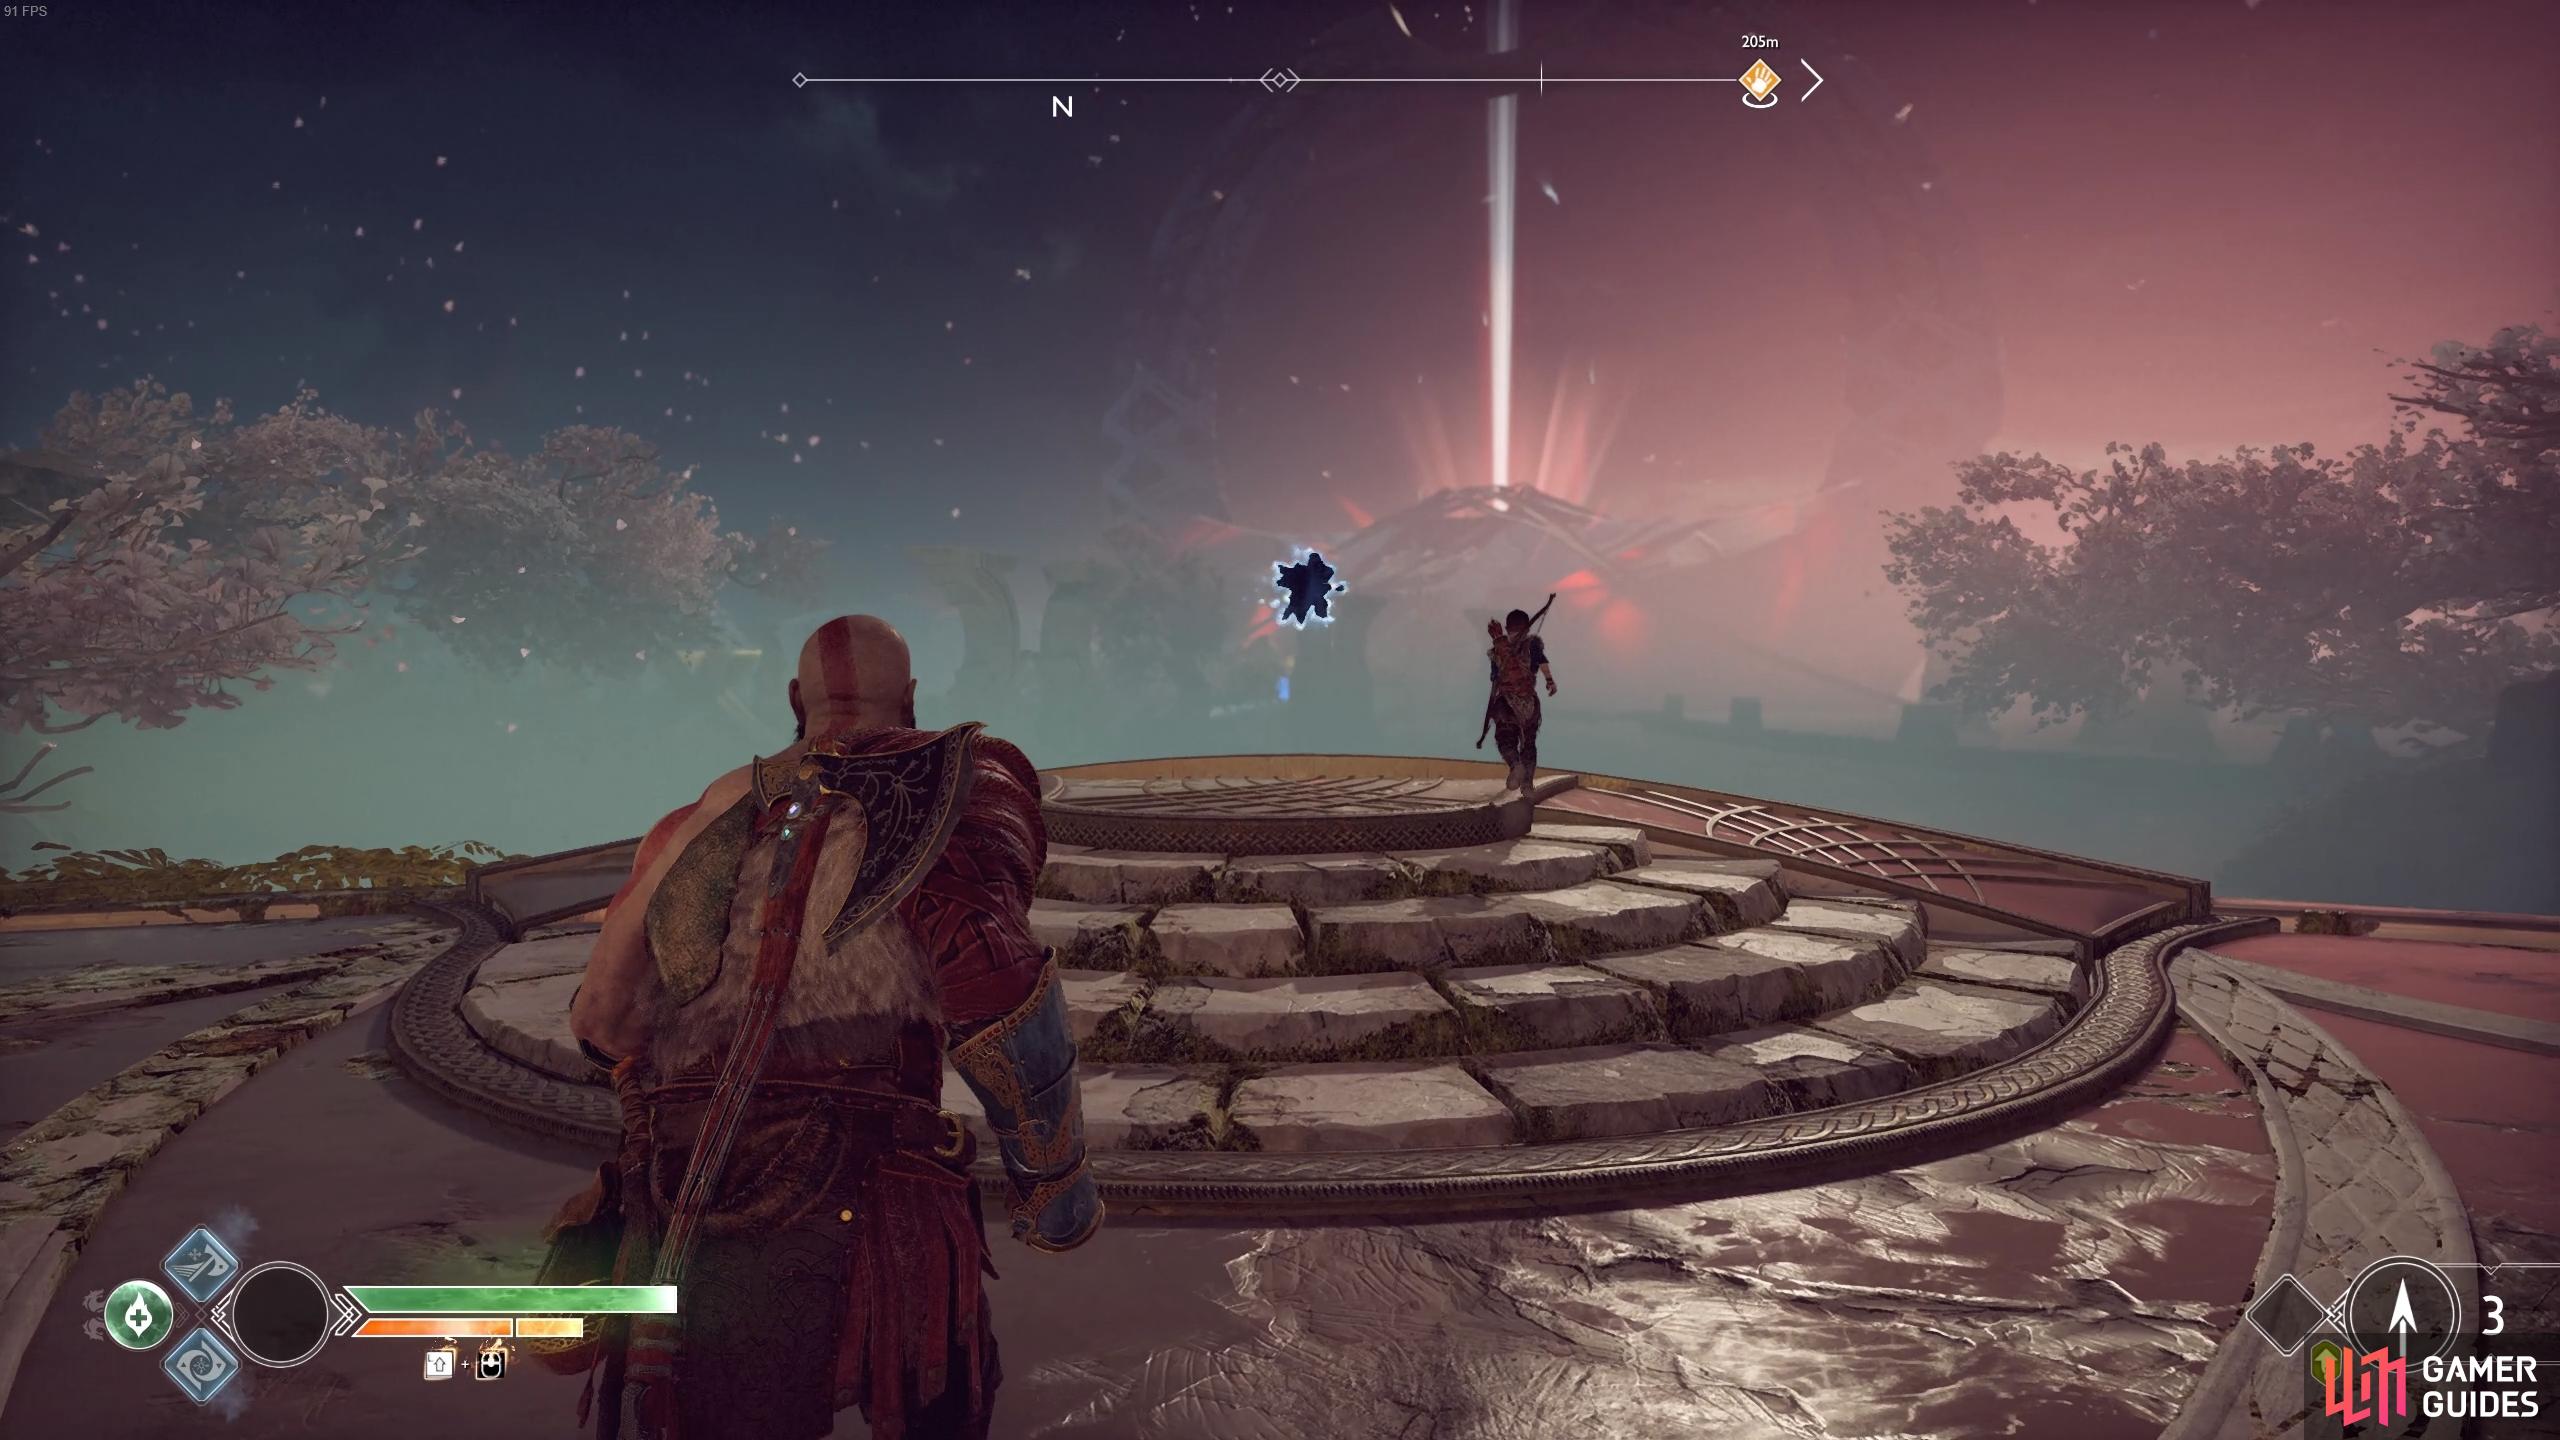
You’ll end up on the platform housing the Light of Alfheim with the Light returned to the entire realm. Push forward into the light ahead to find yourself in a shadowy realm. Continue forward through the realm, listening to Atreus’ concerns regarding Kratos and the light will guide you back to Kratos’ house. You’ll find yourself outside a cave near the statue of Thor, head inside and continue to follow the light, climbing the wall to reach the door suspended in the air. As Kratos finally reunites with his beloved, he’s pulled out of the light by Atreus.
Back in Alfheim, it seems time has passed since your trip through the light, Atreus being left to fend for himself. Head over to him to enchant the bow string with the Light of Alfheim, granting Atreus Light Arrows.
No Comments