

Path to the Mountain, God of War.
Journey to the Mountain
Your journey starts now, the task, to climb the highest mountain in all the realms to scatter the ashes of Kratos’ beloved. You may have noticed the XP you received upon completion of the last Objective, if you haven’t already done so, unlock the Executioner’s Cleave skill in the Close Combat tree, an invaluable skill. After this, it’s a good idea to get the Pride of the Frost skill, also in the same tree which adds a finisher to Kratos’ light attack combos when you use a heavy attack after striking with 3 light attacks. Finally, consider investing in some skills for Atreus, the ones available are only 250 XP and boosting the effectiveness of Atreus is critical for your journey.
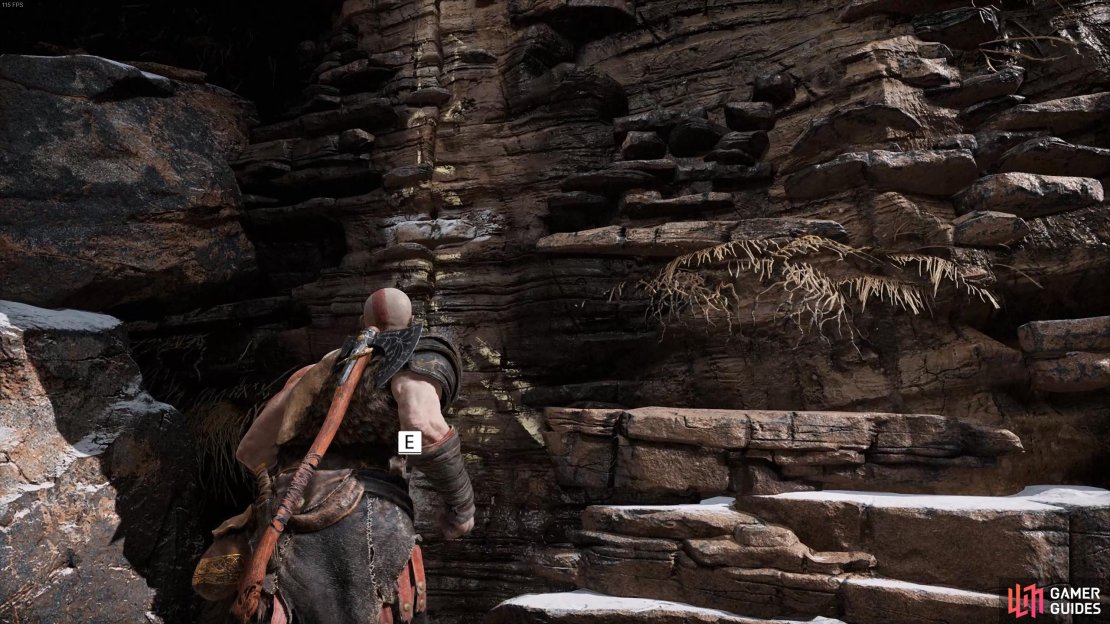
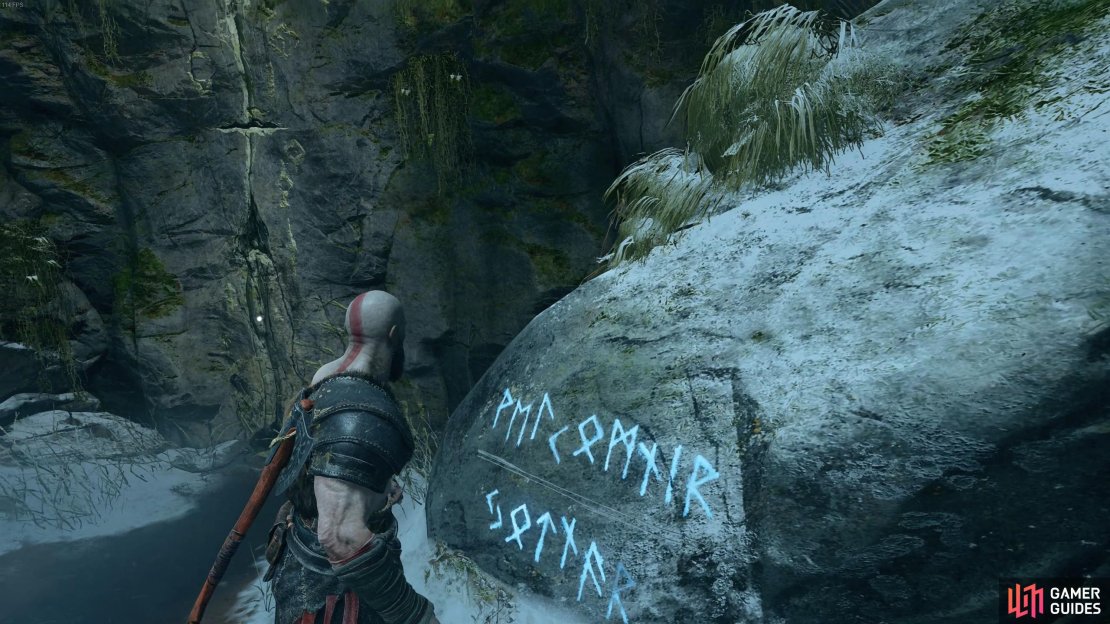
Once you’re ready, head toward the aftermath of your battle with the Stranger, you’ve somehow managed to open a path to the canyon below. Drop down, picking up the healthstone should you need it, and proceed along the ledge and over the gap. Continue on toward the rune marked wall and begin to climb up, at the top look to the right to jump to the next part of the wall before climbing up toward the cave entrance.
You can easily see which walls can and can’t be climbed by the rune markings on the wall. If you spot this, then that means the wall or ledge is scalable. Additionally, while climbing, you may have to move the camera around to see other areas you can jump to, you won’t be able to make the jump until you see the  button or
  key prompt.
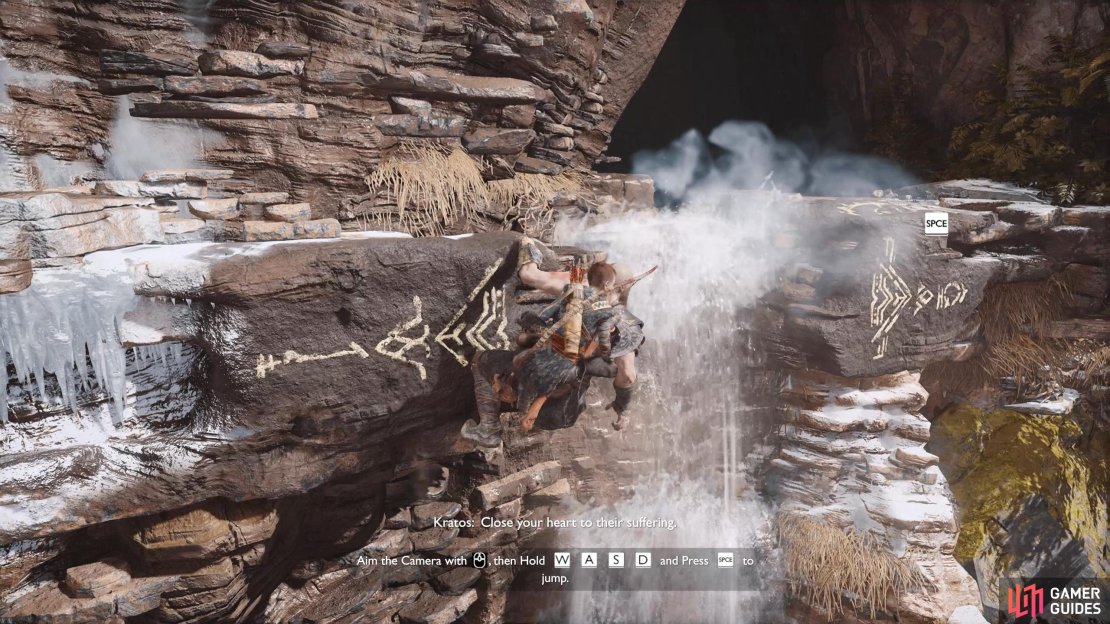
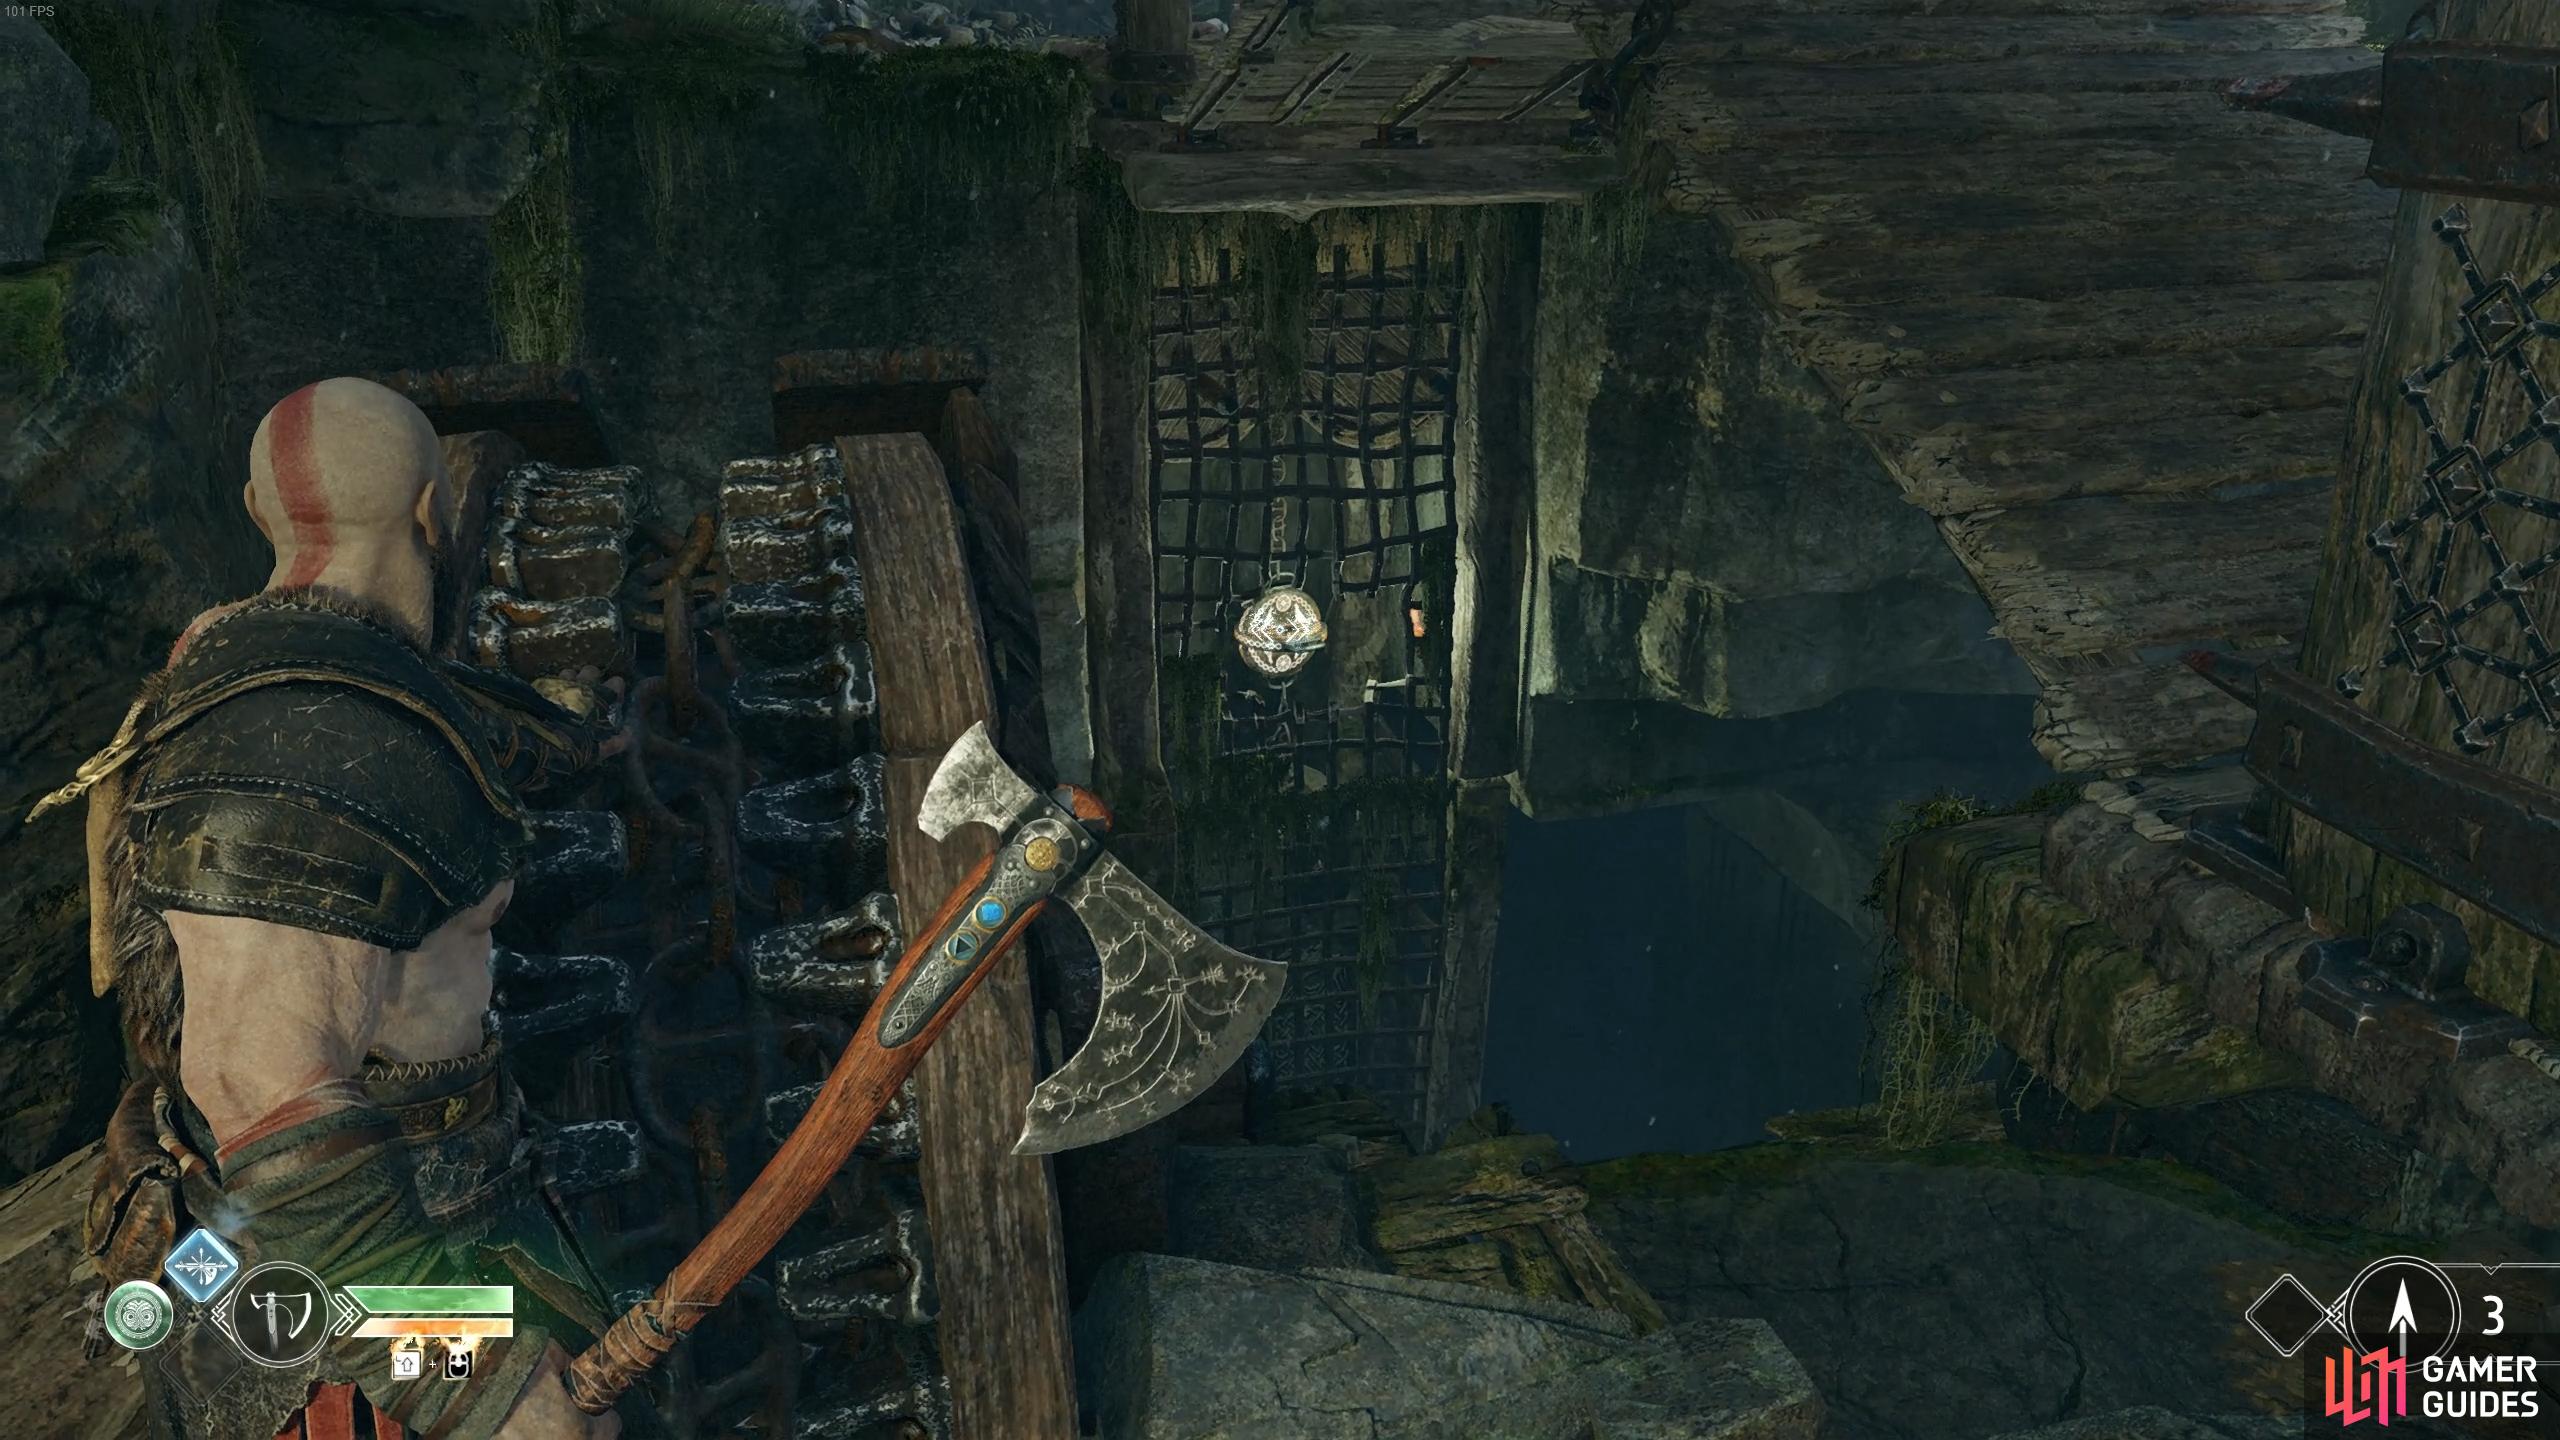
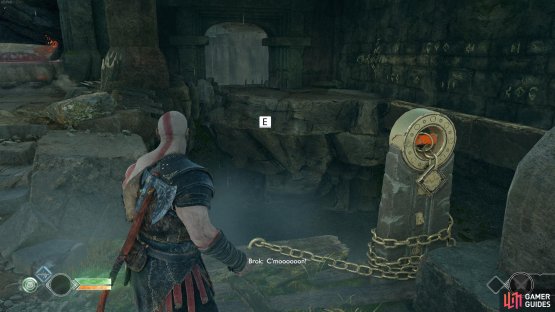
Enter the cave and climb the ledge to arrive at a room containing several platforms. Look up to spot a container you can bring down with the axe along with another two sacks of Hacksilver where the container lands and on a corpse in the corner. Head over to where Atreus is and boost him up onto the platform ahead allowing him access above. Head over to the wheel to the right of where you boosted Atreus and pull it back as far as it will go. When Atreus crosses the bridge, press the  button or
  key to have him drop the chain below. Finally, before you release the wheel, throw the axe at the runic disc in front of you to keep the bridge lowered.
Climb the chain and take a left here, jumping the gap and opening the Hacksilver chest at the far end. Retrace your steps and cross the lowered bridge, there’s another healthstone should you need it and a wall that you can climb. Ascend the wall and then climb to the left before looking below and dropping on the platform. Before you climb the next wall, head to the chain and kick it down for a shortcut later.
After setting eyes on the Wildwoods below you, climb the platform and squeeze through the gap to the other side to reach the Wildwoods Edge. You’ll spot two Draugrs in the clearing ahead, begin the battle making use of Atreus’ arrows and dash in. After the first three Draugr fall, you’ll be introduced to a different type.
The Projectile Draugr have the ability to hurl fireballs at you from a distance, left alone, these can cause great damage while you concentrate on other enemies. Always make these a priority when you see them, you can stun them before they toss a fireball by hitting them with the axe as they charge up. Finally, keep an eye on the Threat Indicators around Kratos at all times, you’ll know by now that the gold indicators are where an enemy is and a flashing red one is an attacking enemy but you’ll be introduced to a third type here, a flashing purple indicator signifying an incoming projectile attack.
After defeat of the first Projectile Draugr, more will spawn from the ground and you’ll be instructed on how to perform a Quick Turn by pressing the  button or
  key, a useful tactic allowing you to take flight if you’re surrounded. As the Draugrs continue to attack, more Projectile types will appear above you, you’ll have to target these with either Atreus and his arrows or by throwing your axe. These should be your main priority here as you whittle down the rest of the Draugr upon their defeat.
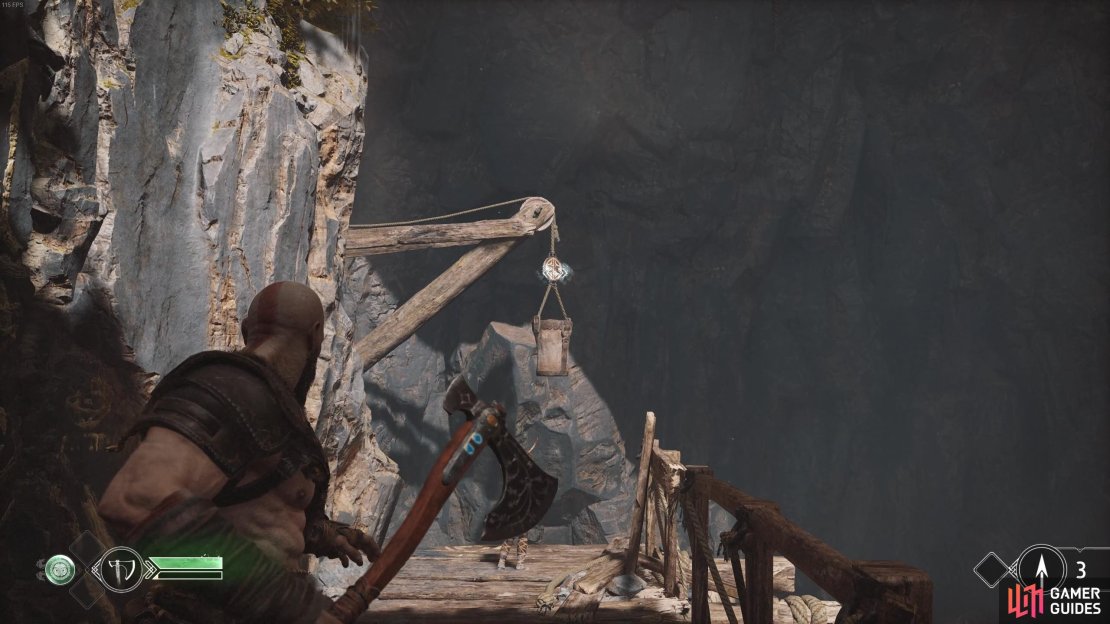
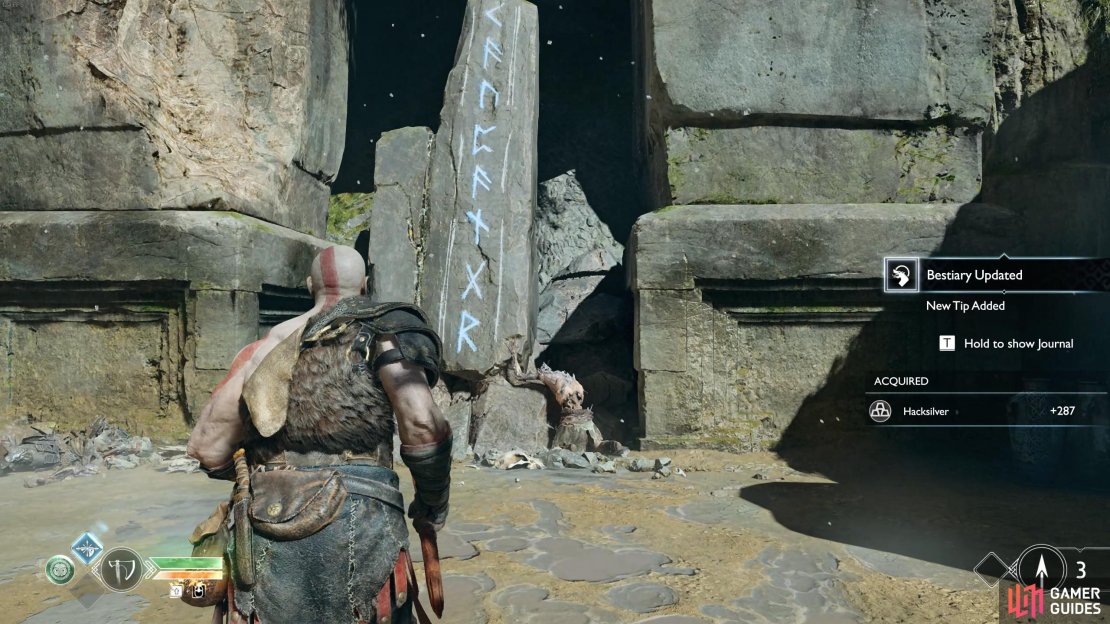
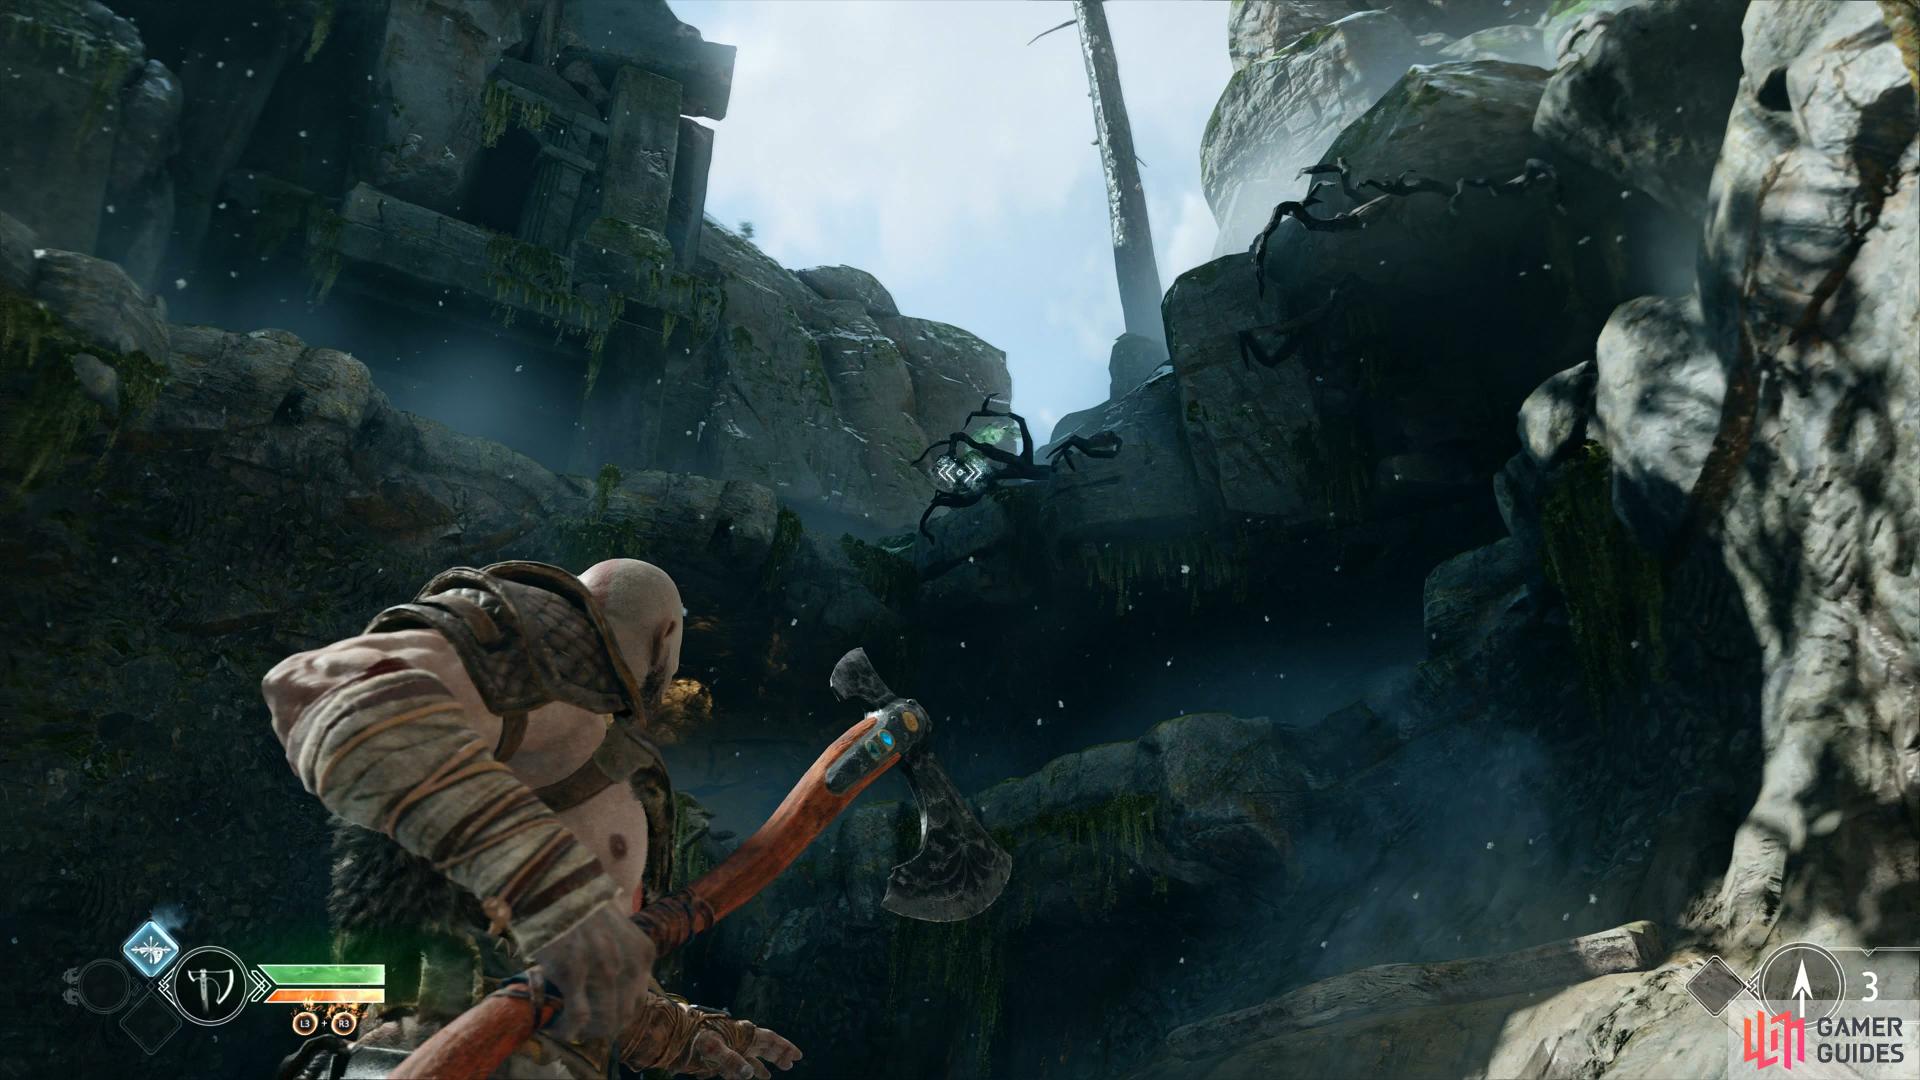
With the battle over, pick up any spoils left behind and then look toward the direction of the frozen waterfall to find a container hanging. If you continue in this direction and pass under the log you’ll find a healthstone to replenish any lost health. Head toward the runes on the wall here, you’ll find a sack of Hacksilver to the left and then you can have Atreus read the runes by interacting with them.
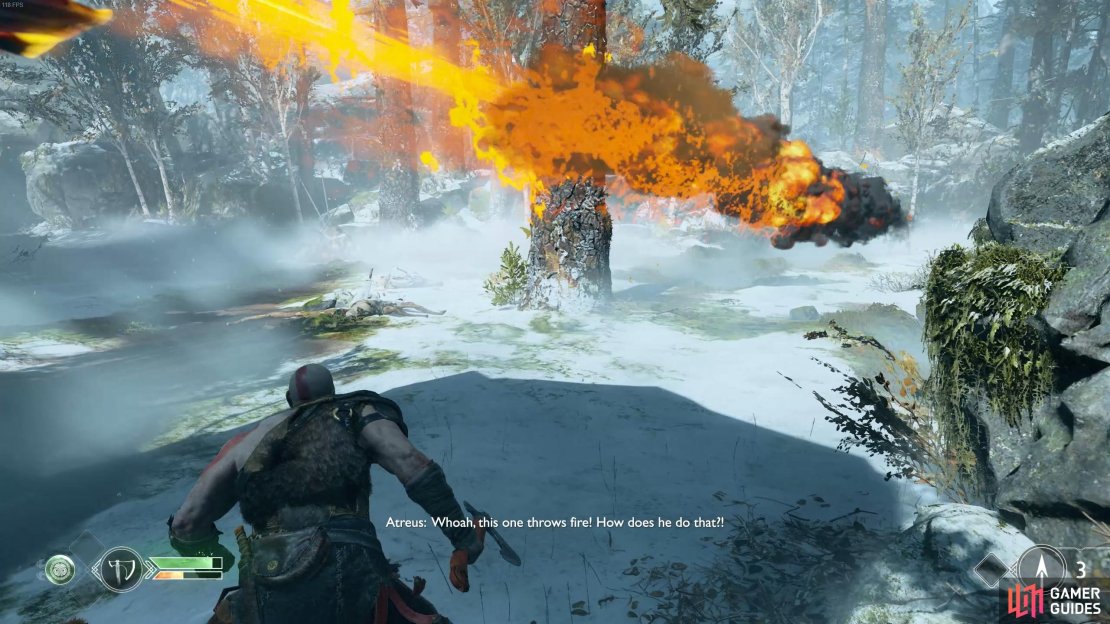
(1 of 3) Getting hit by the projectiles will inflict the Burn status on you.
Continue towards the mountain
Climb the ledge and head forward, a Hel-Reaver will ambush you from the right, kill him and search where he approached from for a sack of Hacksilver (don’t worry, you’ll be making use of all this Hacksilver soon enough) and proceed on picking up the healthstone should you need it.
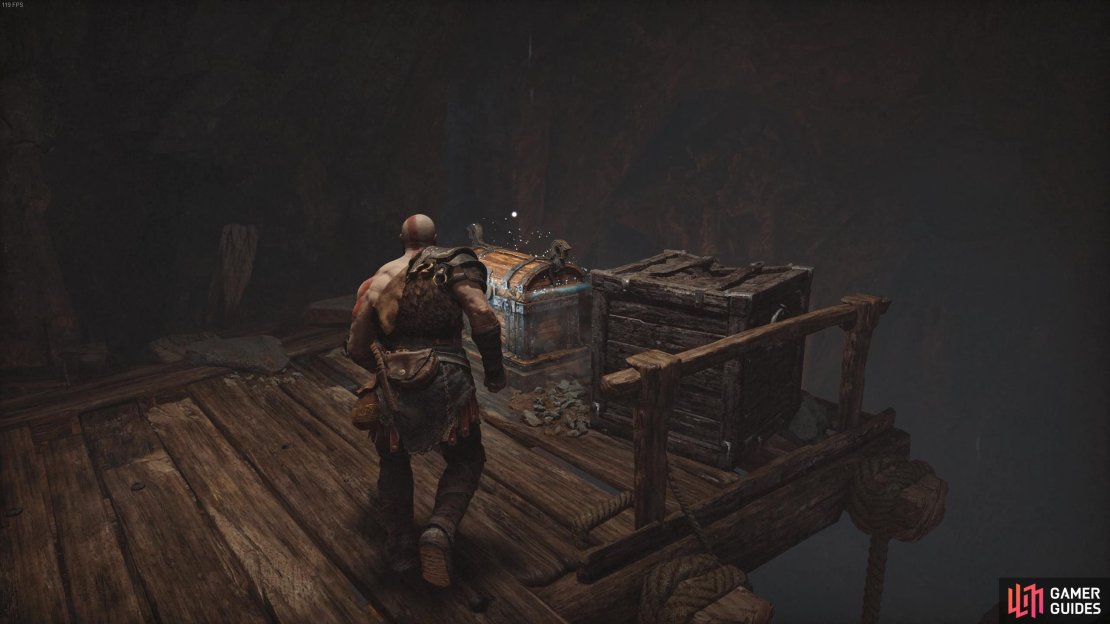
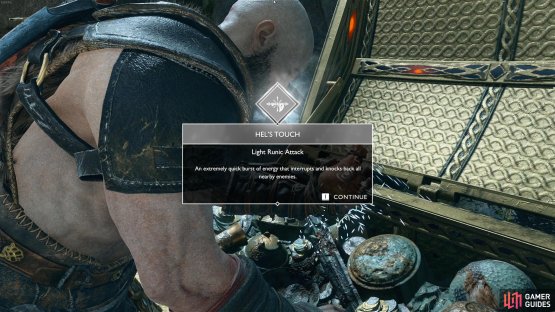
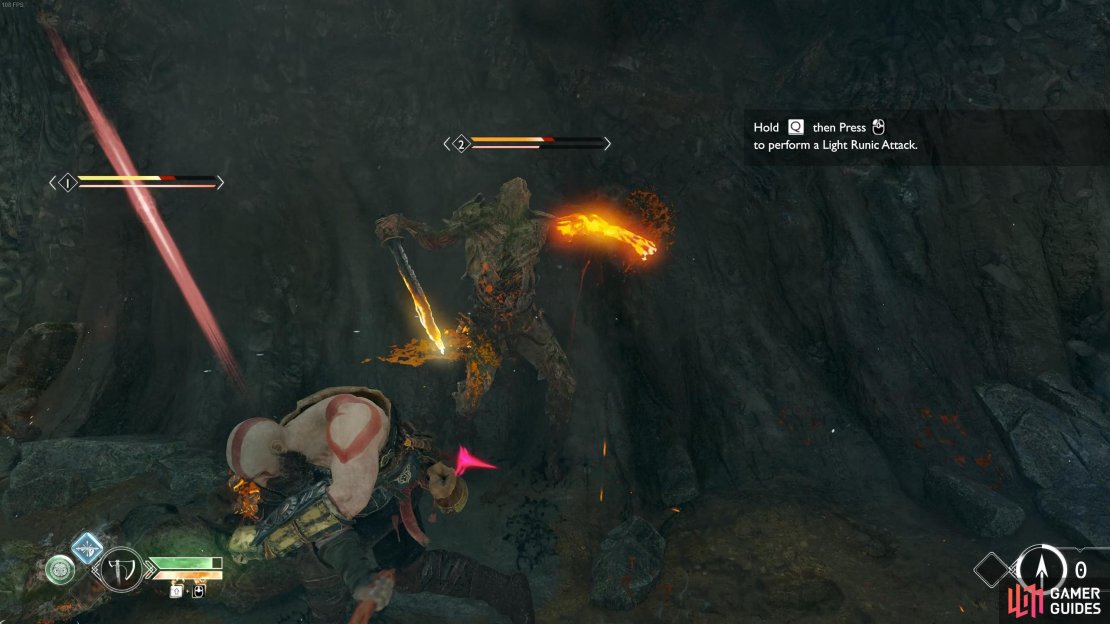
Take heed of Atreus’ words, there’s a chest just to your right, these contain more valuable loot than your standard coffins and this particular one contains your first Light Runic Attack gem, Hel’s Touch. This is a fantastic Runic Attack, it creates a stunning shockwave around your center, pushing back any enemies and causing stun damage in the process. If you find yourself surrounded, use this attack to give yourself a bit of breathing room. Once you equip the Runic Attack Gem, you’ll unlock the Nice Moves achievement.
Follow the onscreen instructions to equip your shiny new gem, you can perform the skill in question by holding the [L1] button and pressing the [R1] button, beware these attacks have Cooldowns which you can see in the diamond in the bottom left.
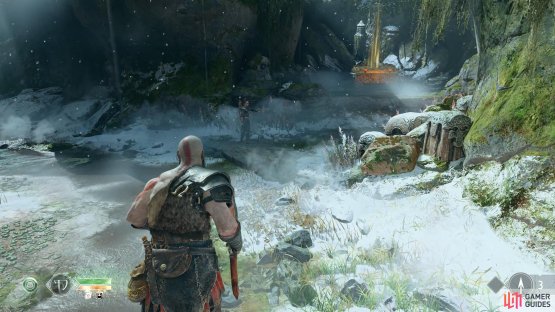
(1 of 2) Follow Atreus to the nearby chest, which contains a Runic Attack Gem.

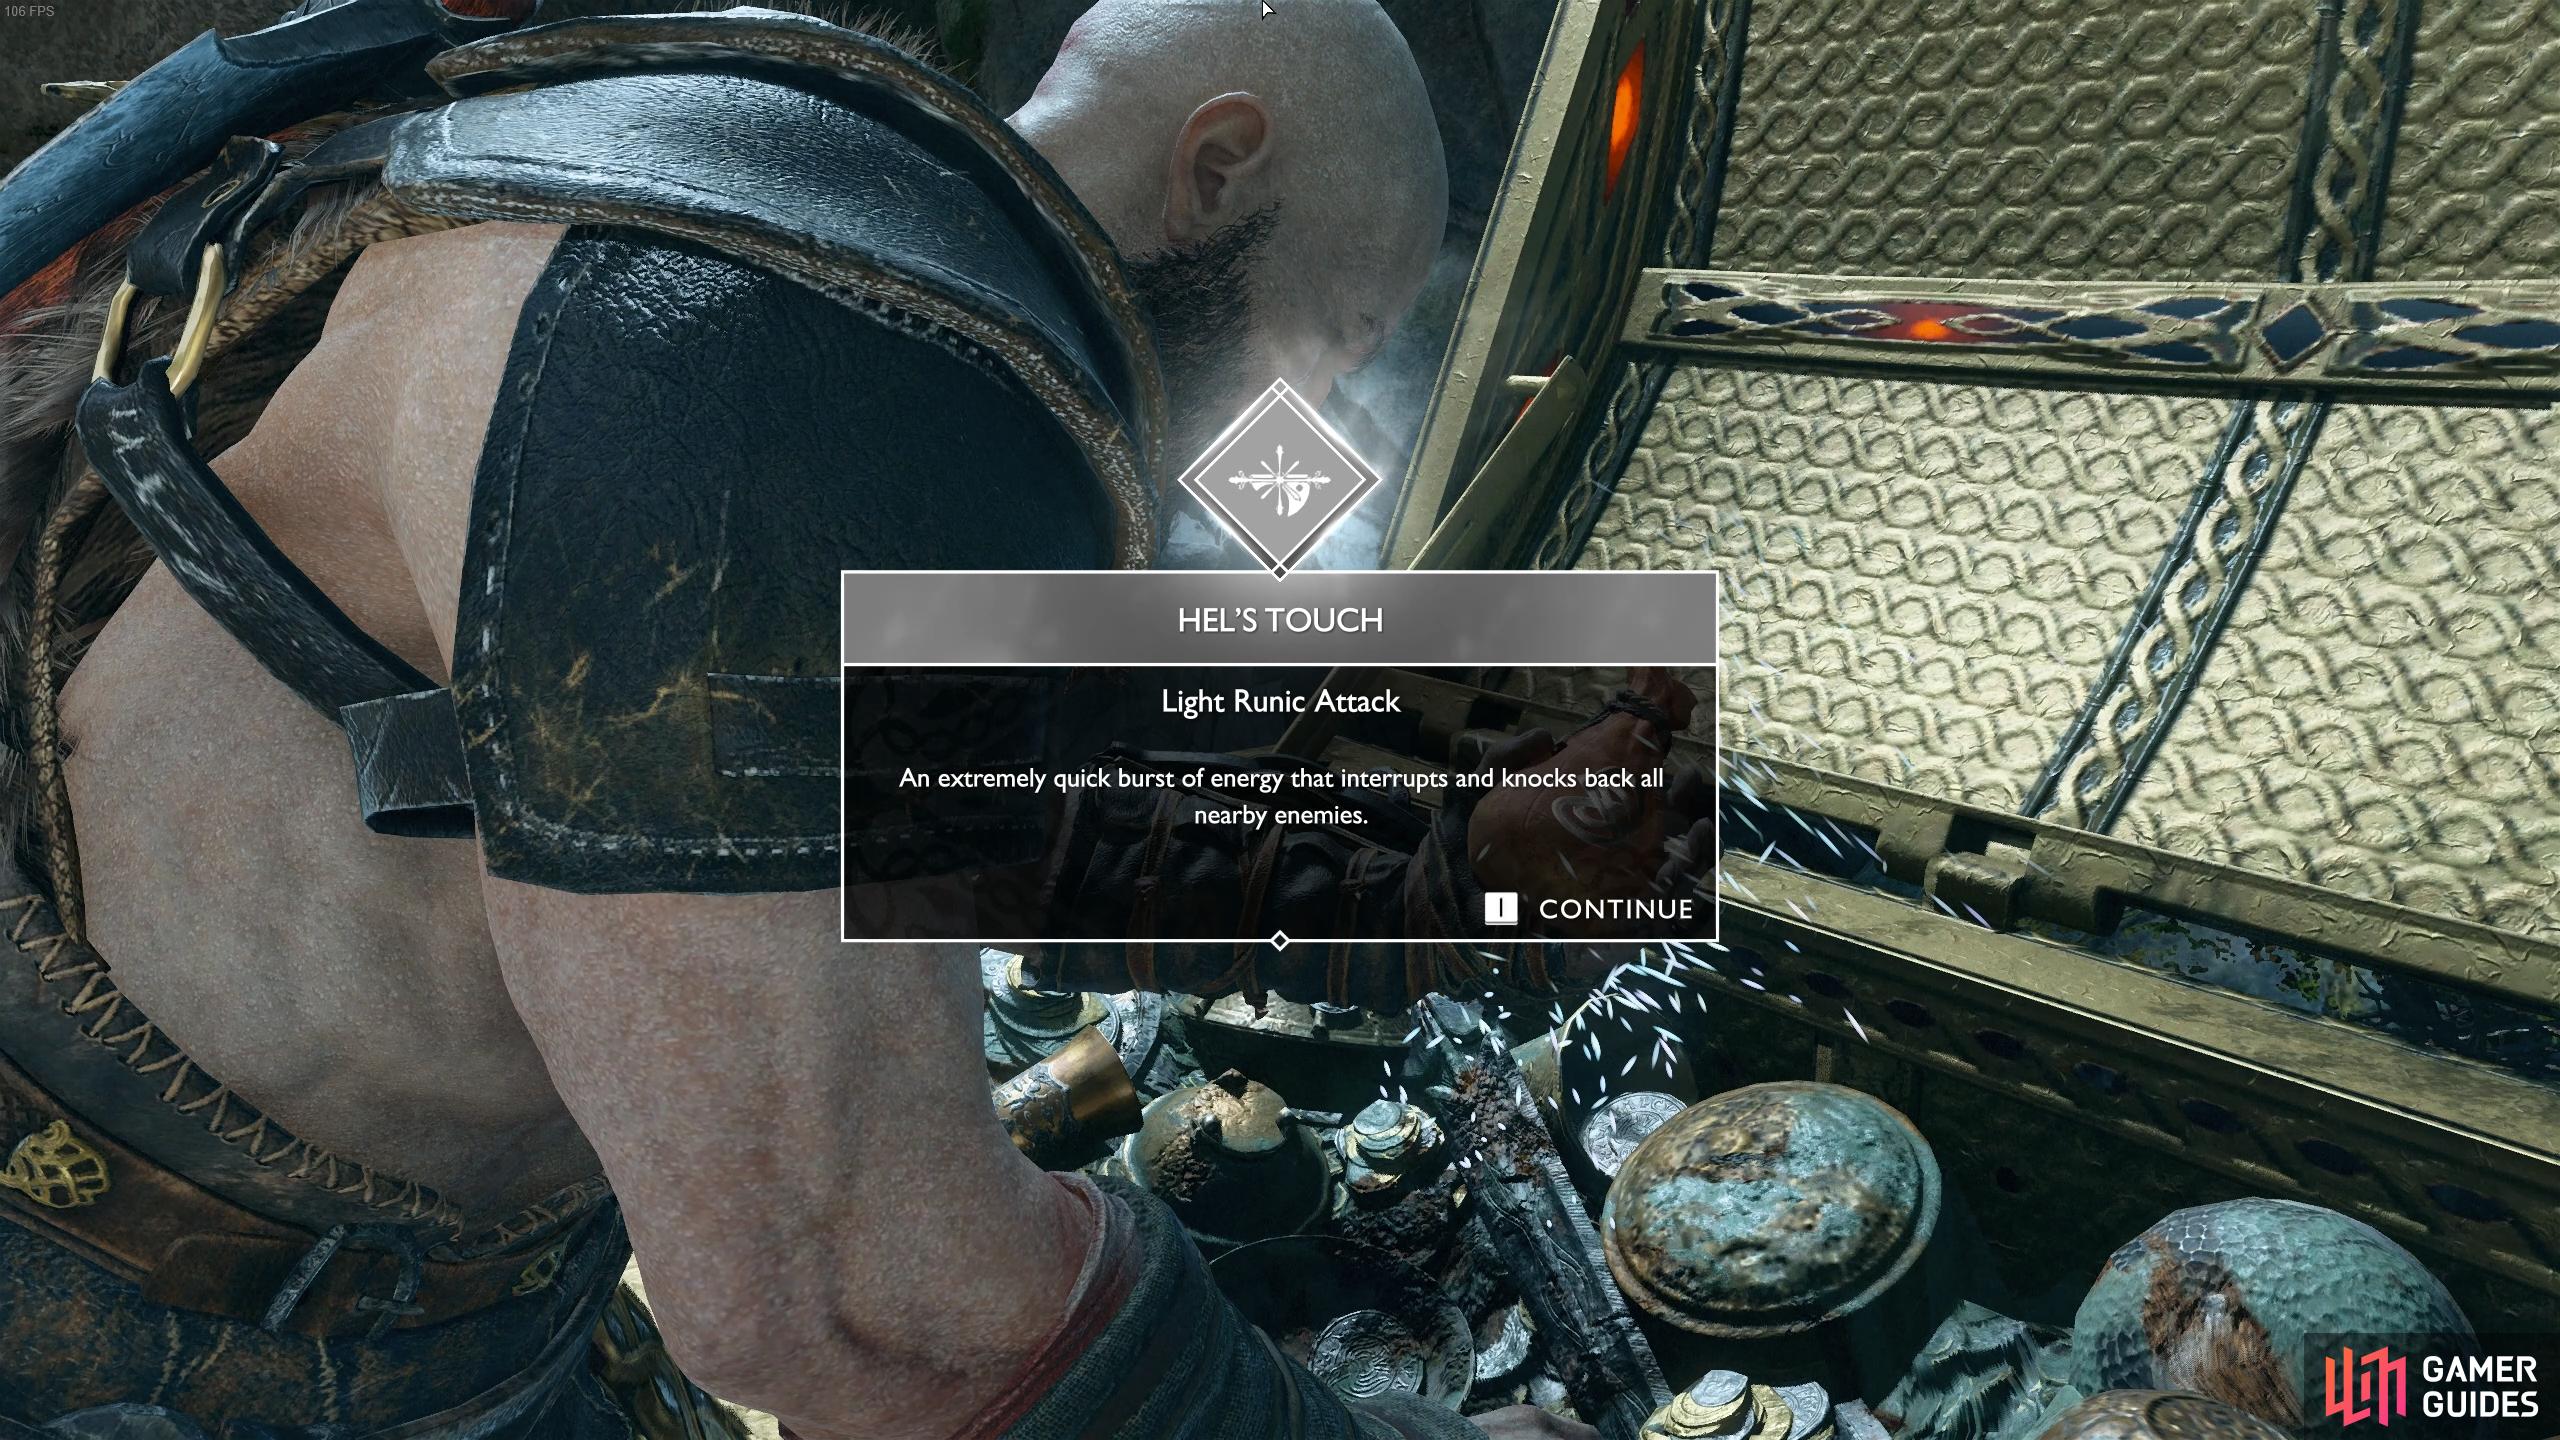
Follow Atreus to the nearby chest, which contains a Runic Attack Gem. (left), The Hel’s Touch Runic Attack Gem is useful for pushing back and stunning multiple enemies. (right)
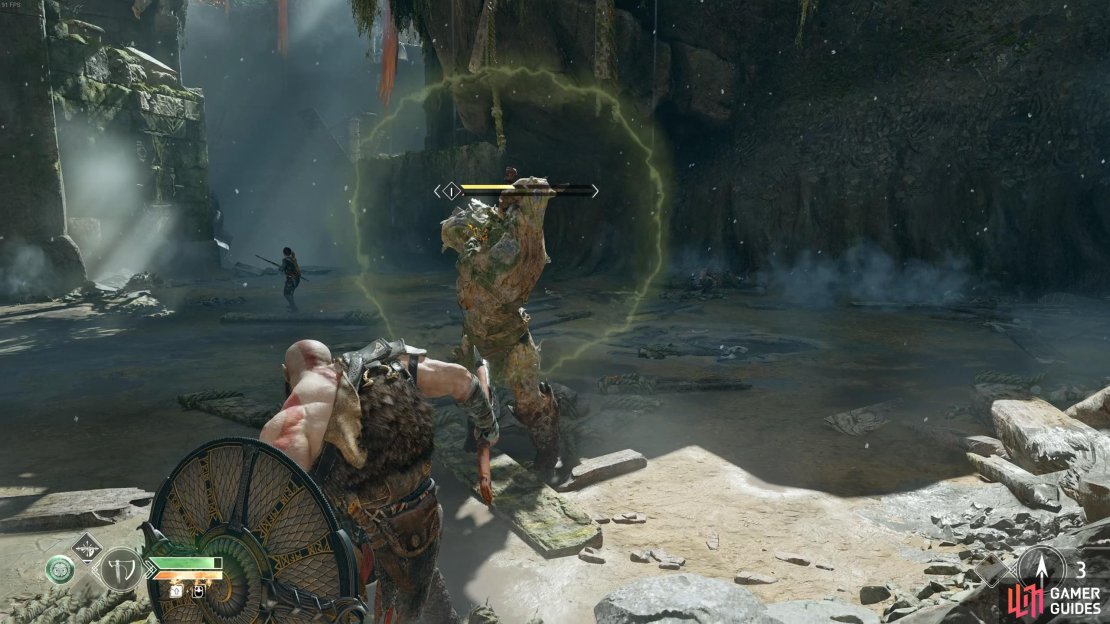
Continue along the only other path available and lift the rock, Atreus attempts to cross the bridge but it proves to be unstable, sending Kratos and Atreus to the ruins below. This will most likely be the most difficult battle you’ve faced yet, not only are there a large number of Draugrs but some are also of a higher level than yourself.
The level can be seen to the left of all enemies health gauge, this indicates their general strength. On top of this, the health gauge itself may change color based on Kratos’ level. If an enemy is under your level then the gauge will be green, higher and the gauge will be purple. Finally, if you see a skull icon instead of a level, this indicates that the enemy is far too difficult for you and it’s best to avoid until later. Kratos’ level is determined by the overall total of his current stats, increased through Weapons, Armor and Enchantments.
At first there won’t be too many Draugr to deal with, use your usual tactics as you keep aware of your surroundings but as the battle rages on, more and more join the fray. If you find yourself surrounded with nowhere to go, use the newly acquired Hel’s Touch skill to create a bit of breathing space.
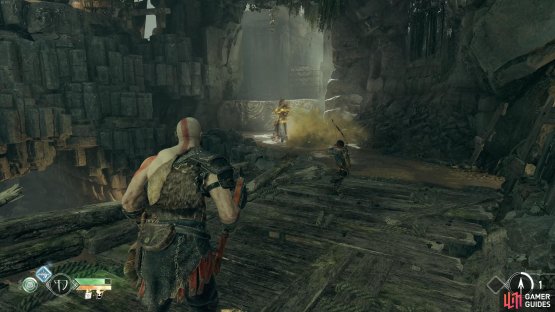
You may also notice that there is a chasm below in front of you, if you can launch an enemy and knock them over, you’ll kill them outright. After you’ve cleared the first group of enemies, Projectile Draugrs will join the battle on a platform overlooking the arena, take these out at all costs as their fireballs will hit you while you deal with the others.
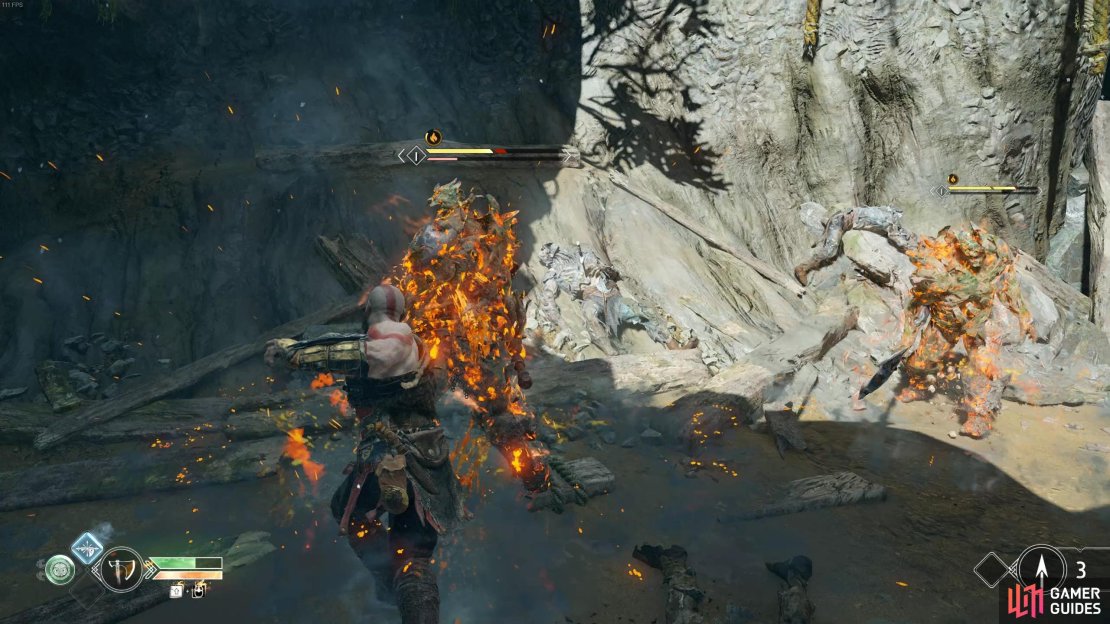
(1 of 4) Focus on killing the ranged projectile Draugr first.
Escape the ruins
Take note of the spoils that remain on the ground from the defeated enemies, only pick up what healthstones you may need to fill your health leaving the others on the floor as you’ll soon need them. You’ll also find a few pots you can smash containing more healthstones to the side.
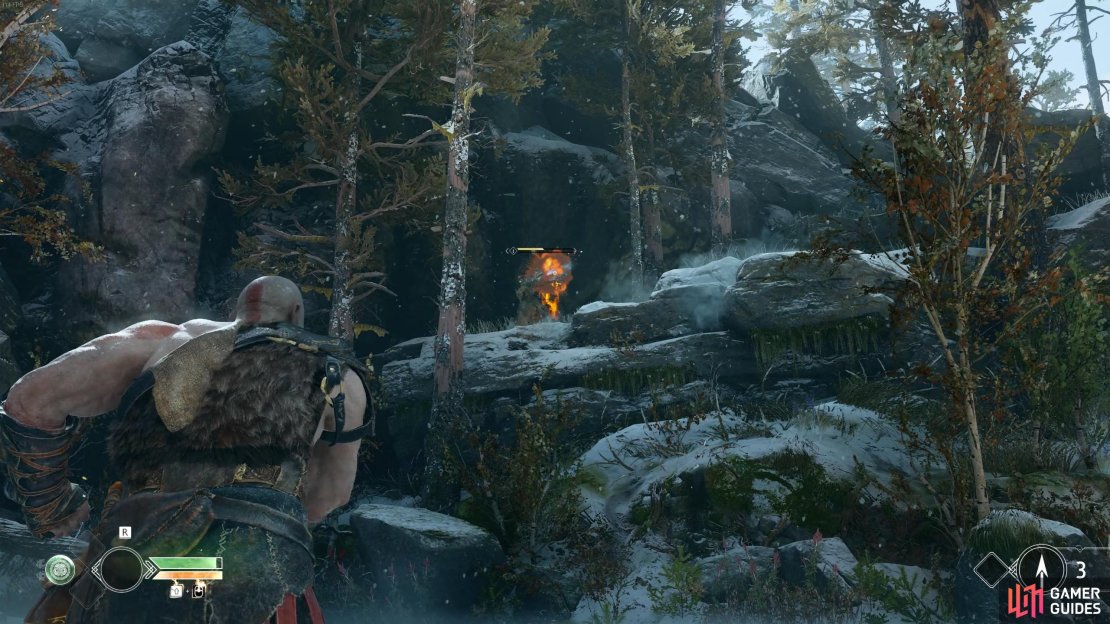
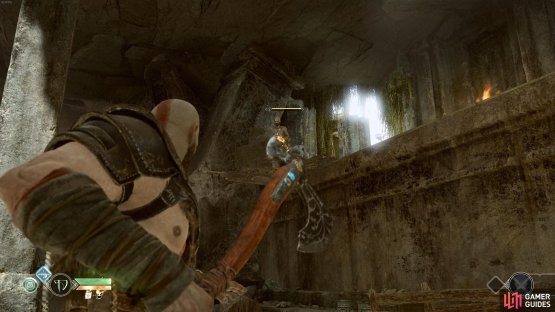
Before instructing Atreus to read the runes, turn behind you and look up at the trees where the Projectile Draugrs were to find a green, spectral raven. Toss your axe up at this to kill it and unlock a new Labor, The Eyes of Odin.
Your first raven awaits above where you killed the Projectile Draugrs.
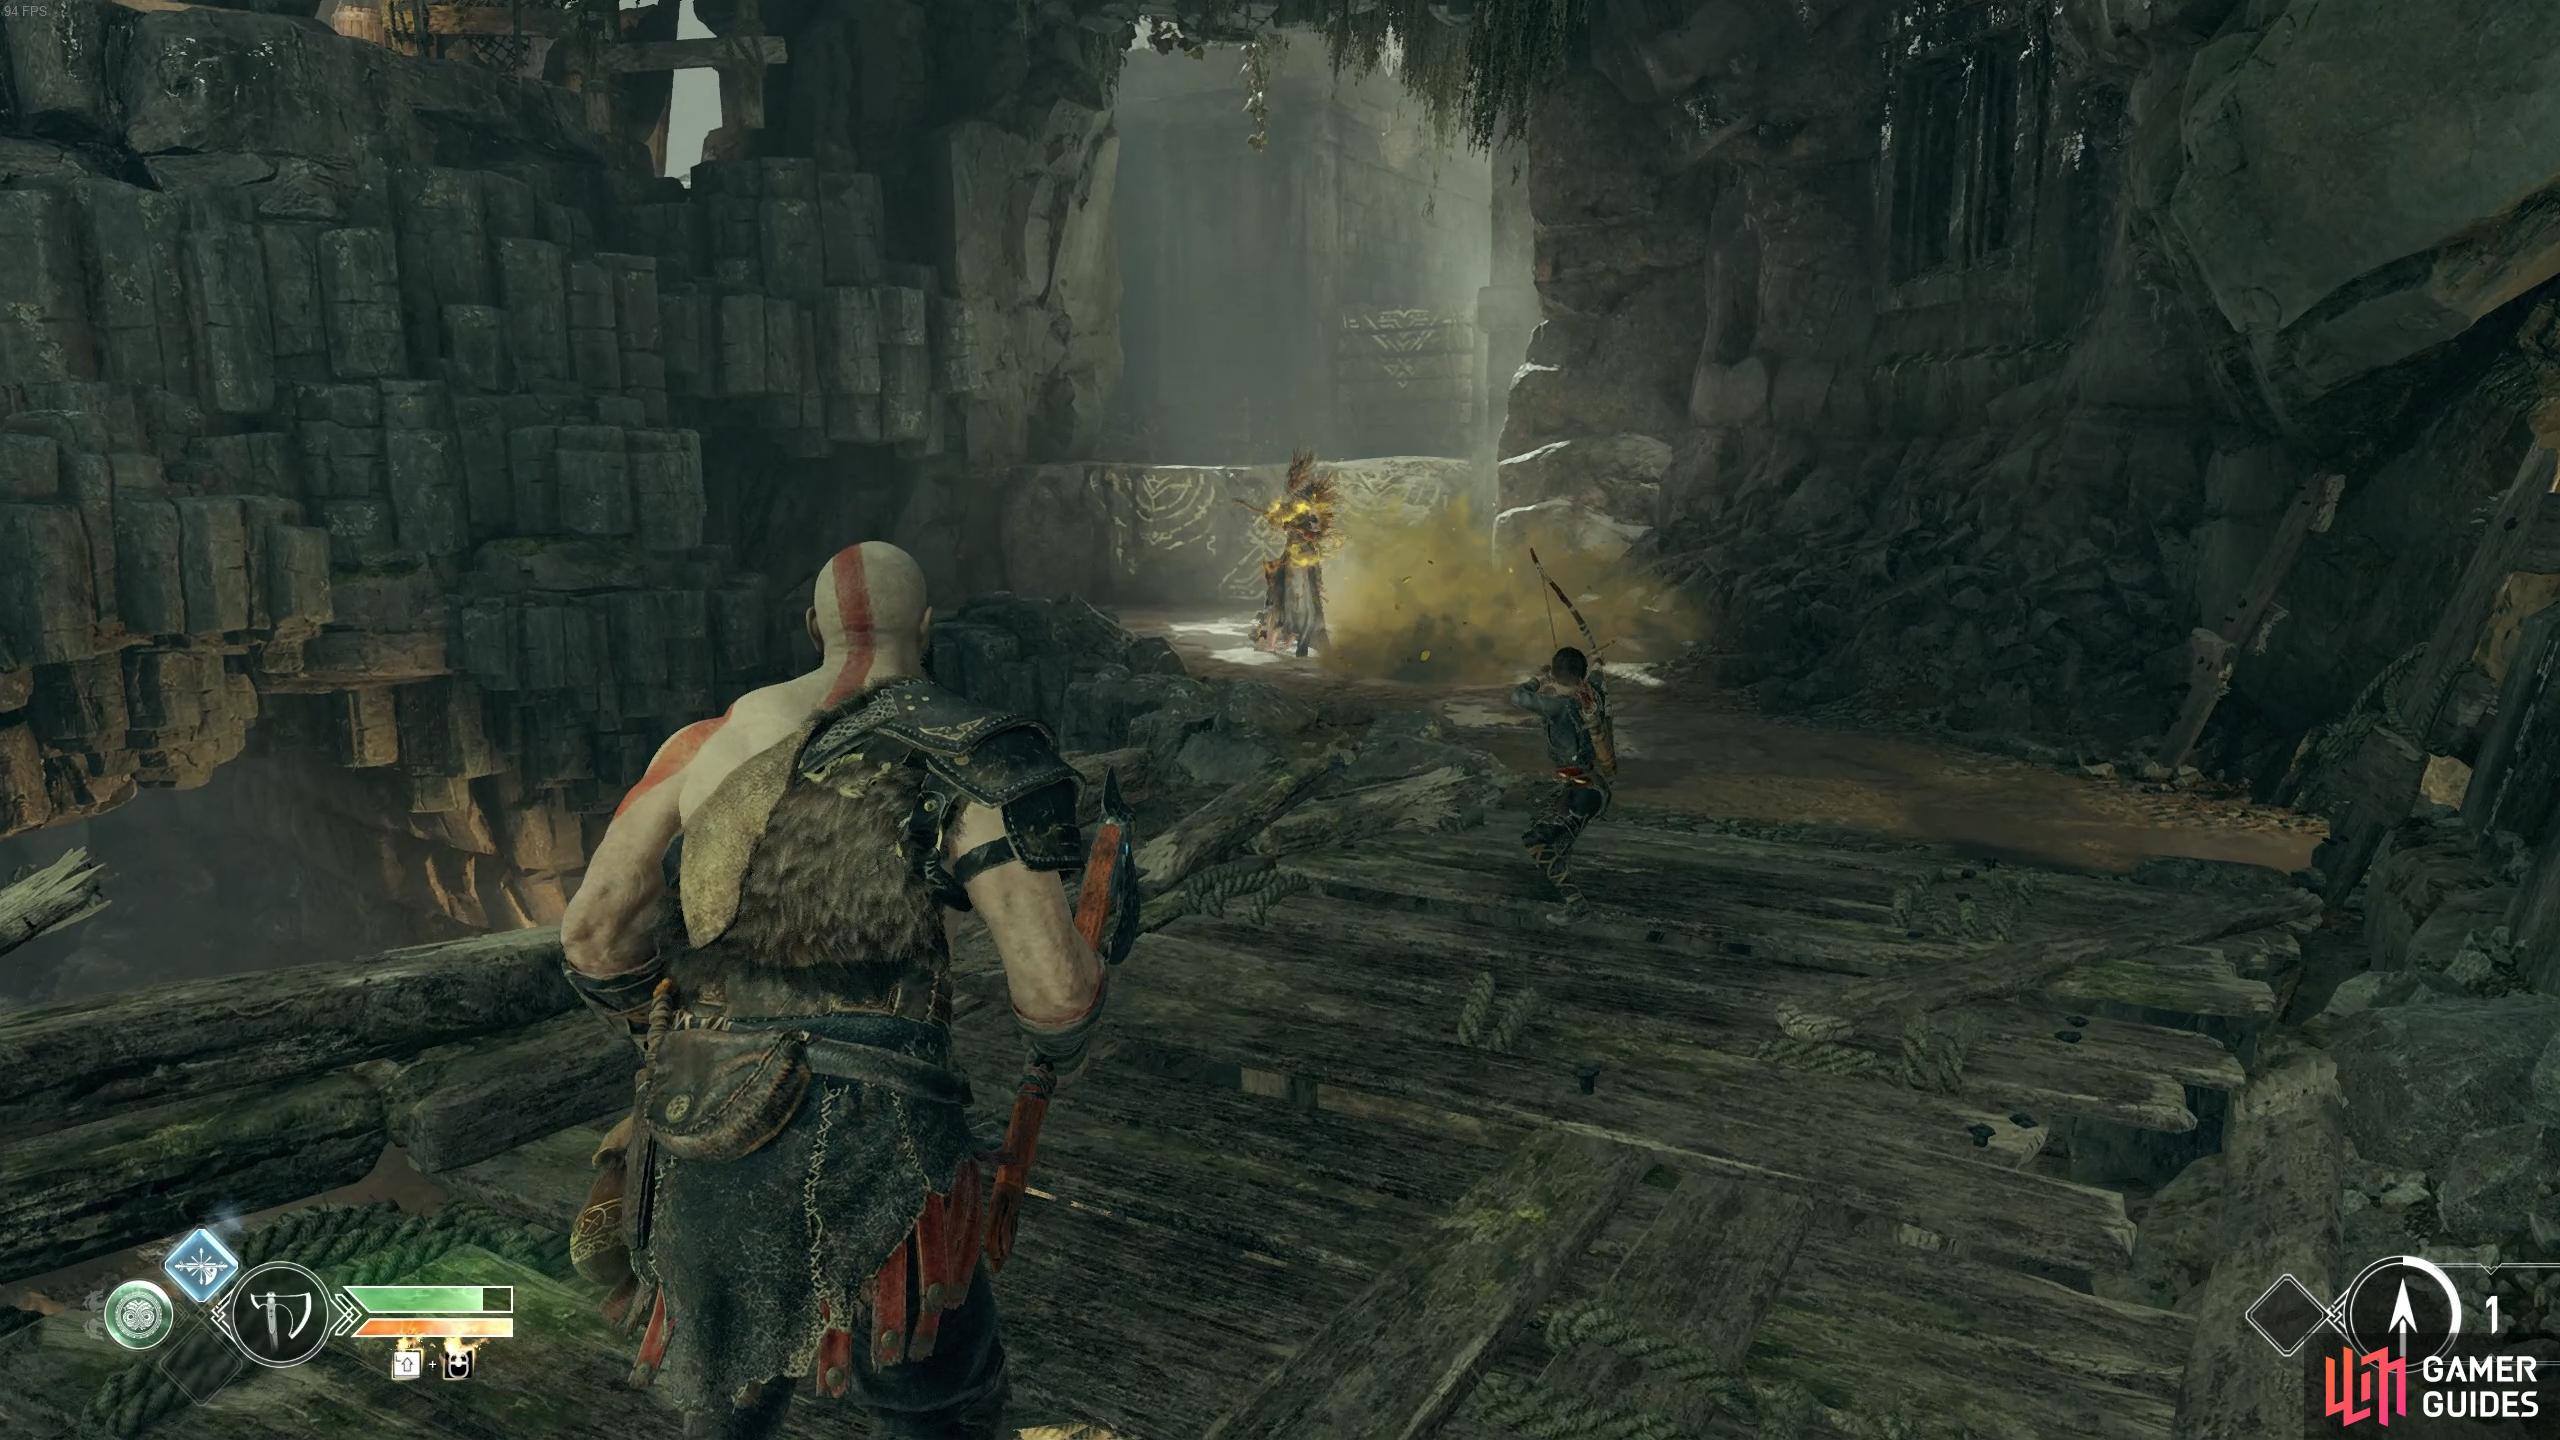
When you’re ready, have Atreus read the nearby Lore Marker to learn about the Jötnar Marketplace. You’ll hear a loud noise and Atreus will notice that something is breaking through the wall, be prepared and make sure you’re at full health.
This will be your first battle with the Heavy Draugrs, more resilient Draugrs wielding an axe. These Draugrs deal a lot more damage so you’ll have to be more tactical to take these foes down. You can parry their first two attacks of their combo when you see the white ring around them but be prepared for a thrust straight after that you’ll need to evade. When attacking them, only get a few attacks before you get out of their vicinity.
Another Heavy Draugr will enter the fray while you’re dealing with this one, try to have Atreus distract one while you take the other on, fighting two at a time can often lead to death. Don’t be afraid to make liberal use of the Hel’s Touch Runic Attack when it’s available and remember to pick up the healthstones you left on the ground if you need them.
More Draugr will jump down, including both Heavies and normal types, try to create some distance from the Heavies and take these out as soon as possible. Finally, if your health is low and there’s no healthstones in sight, make use of Spartan Rage to recover some health and deal some much needed damage.
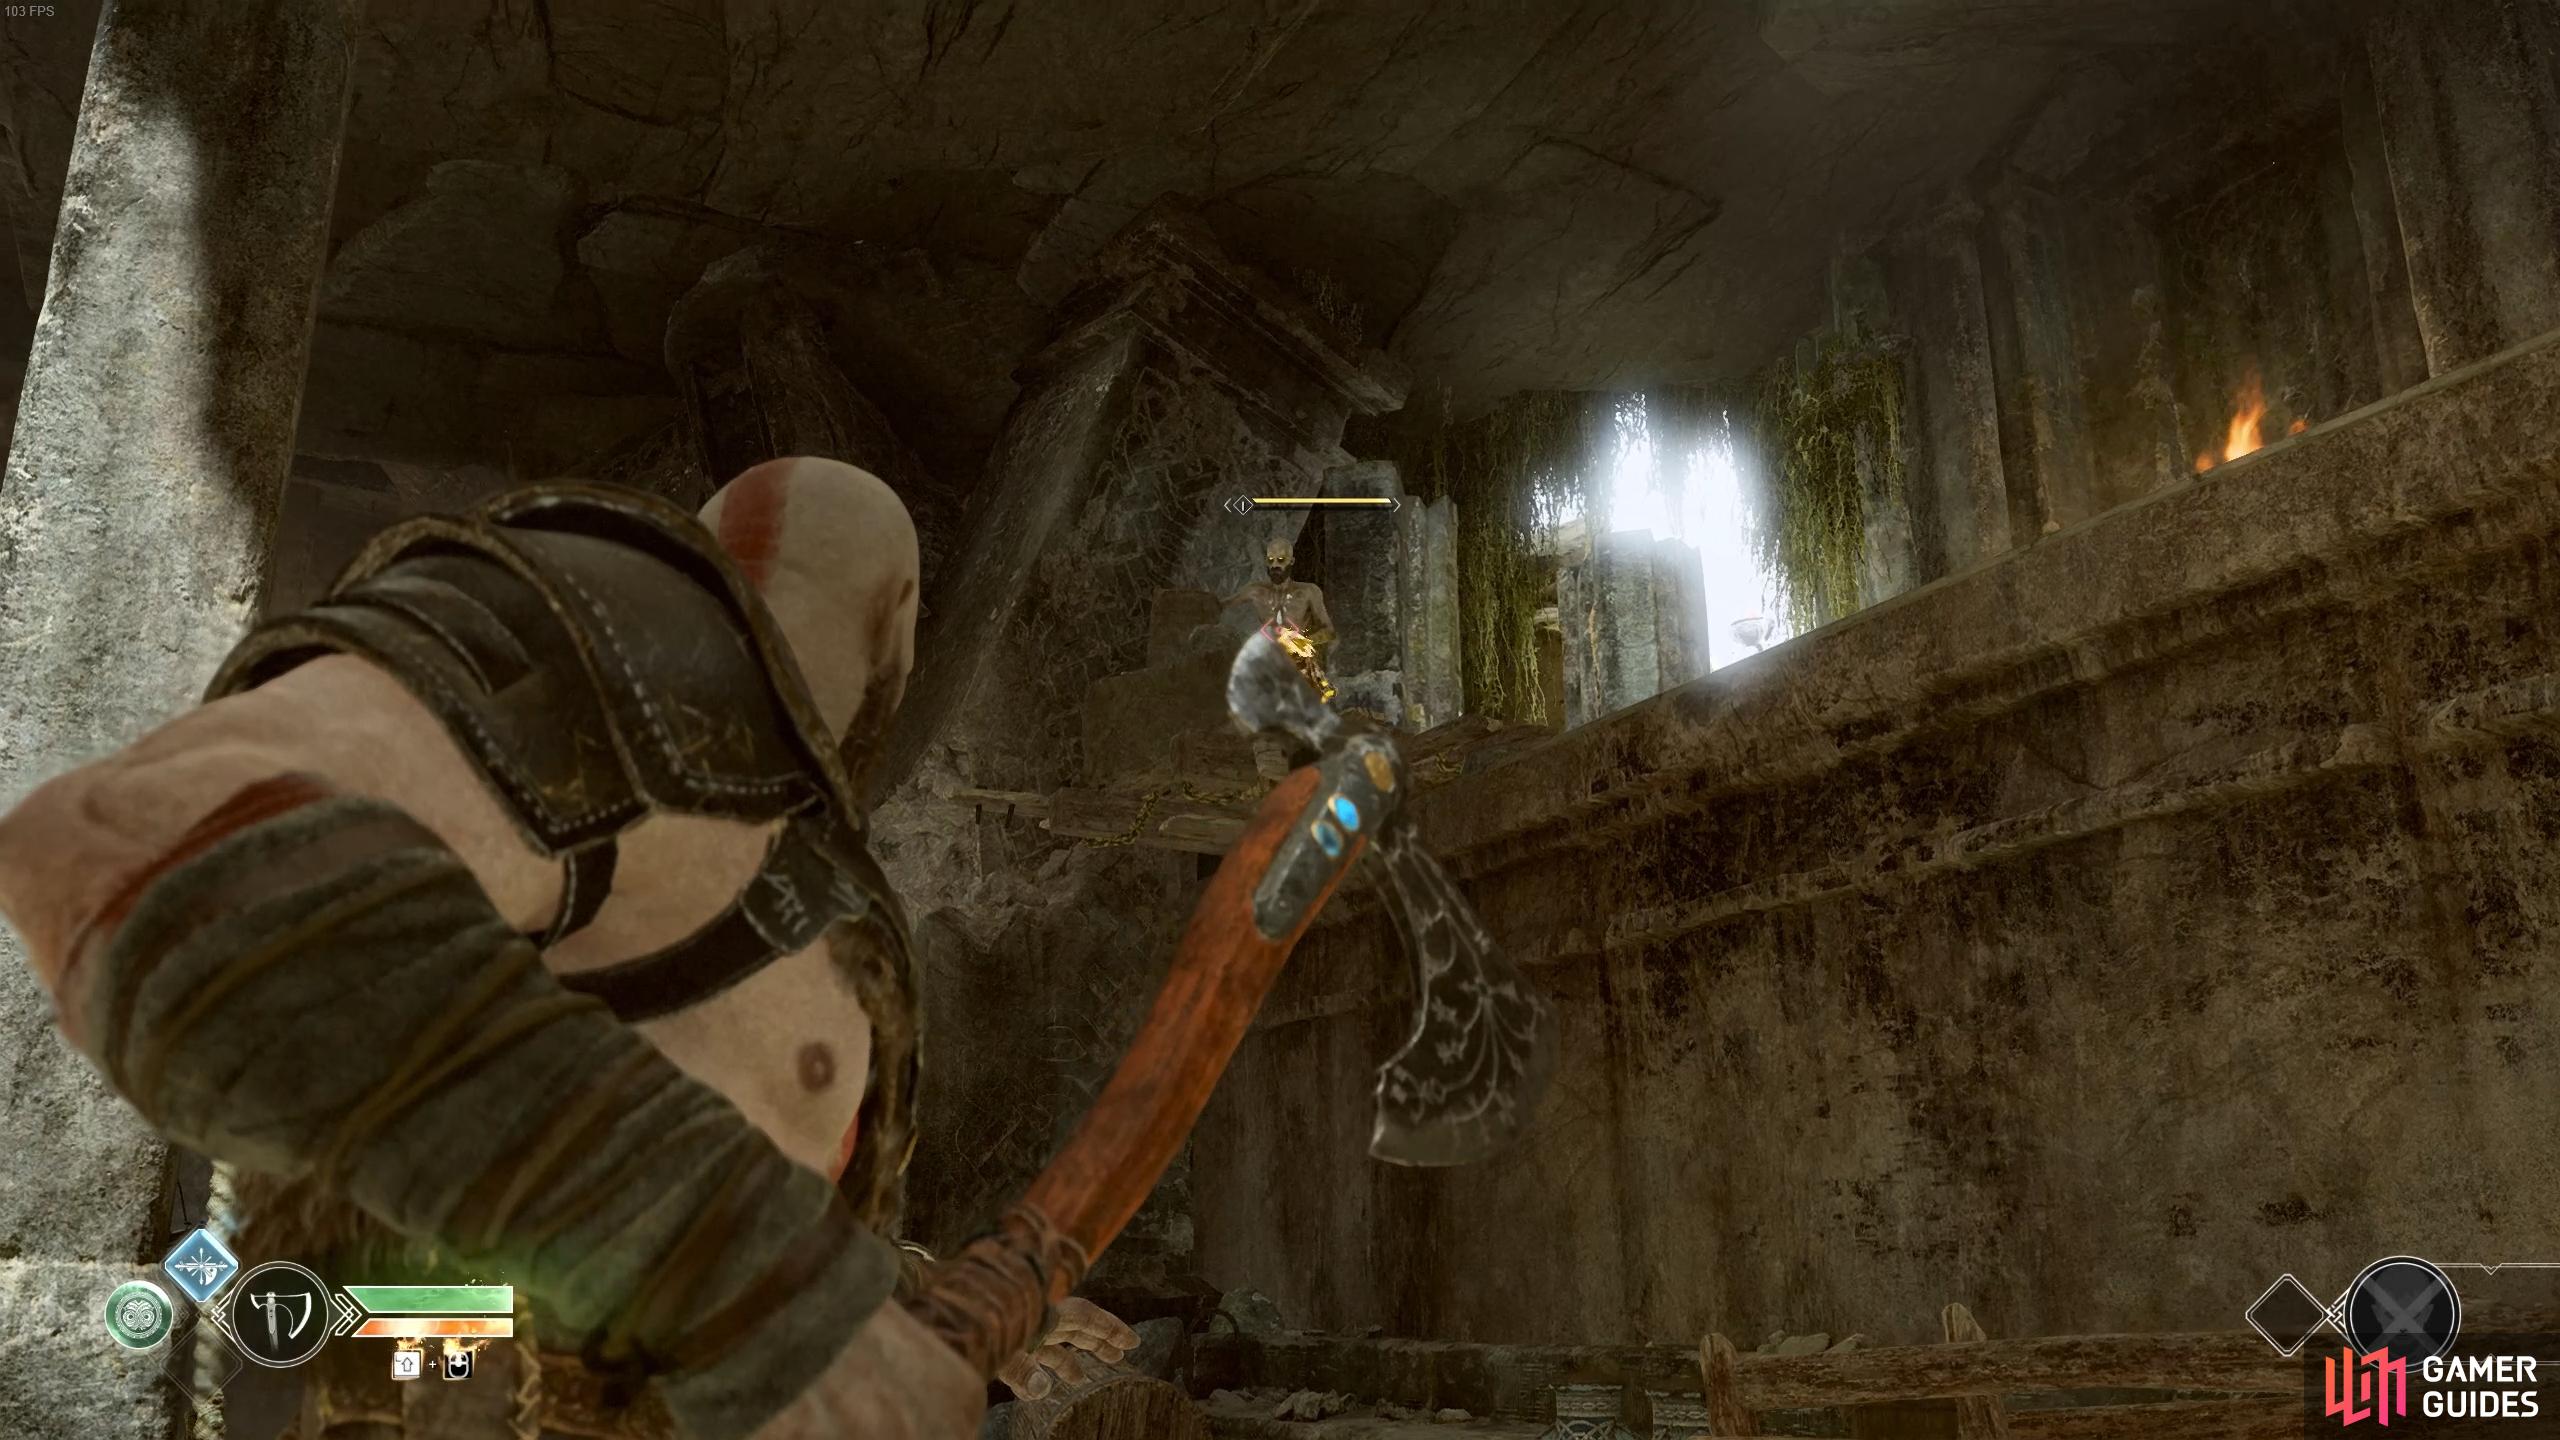
Once again, pick up any loot that may be left on the ground and the healthstones should you need it. You’ll find an opening where the Heavy Draugr came crashing in, climb this ledge to reach the top. You’ll hear some unsettling chanting as you enter the nearby cave, drop down and look up to spot a container you can hit in the air.
Drop down another ledge and break the wooden boards to your right, revealing a sack of Hacksilver. Continue along the path and break another set of wooden boards to find another sack of Hacksilver before crossing the bridge.
A Revenant reveals itself to be the source of the chanting, a deadly practitioner of the ancient arts. These deadly creatures can disappear at will, usually when you try to attack up close with the axe and reappear elsewhere before unleashing an elemental fissure blast at you. This particular Revenant is a Poison based one, using an attack that will deal damage over time to you should it hit you. Due to the nature of these creatures, use Atreus to fire at the Revenant to stun it in place momentarily, giving you the opportunity to dash in and attack. Alternatively, assist Atreus and toss your axe from distance to prevent it from disappearing (using the Heavy variant of the toss with the  button) or
  , this is a much safer, but slower way of defeating Revenants.
With the Poison Revenant defeated, break the nearby pots for a healthstone if you need it and continue on. Look in the air here to spot another container to knock down before jumping to the wall. Begin by heading down first by altering the camera to see the prompts.
Look on the ceiling of this area to find another container to knock down and then beware as you walk forward, a Level 3 Heavy Draugr will spawn at the back. This Draugr will most likely kill you in one hit so you’ll have to be careful and keep your distance. Use Atreus to fire arrows at it while you keep your distance with Heavy Axe throws, if you run out of space, dodge roll past him and run to the other end to repeat the tactic. Once the Heavy Draugr falls, open the nearby coffin to get an assortment of currency (this may be your first time obtaining Aegir’s Gold and Soft Svartalfheim Steel) before heading back to the wall and climbing it to the top.

(1 of 2) When fighting Revenants, be ready to dodge away from the poison clouds which they summon.
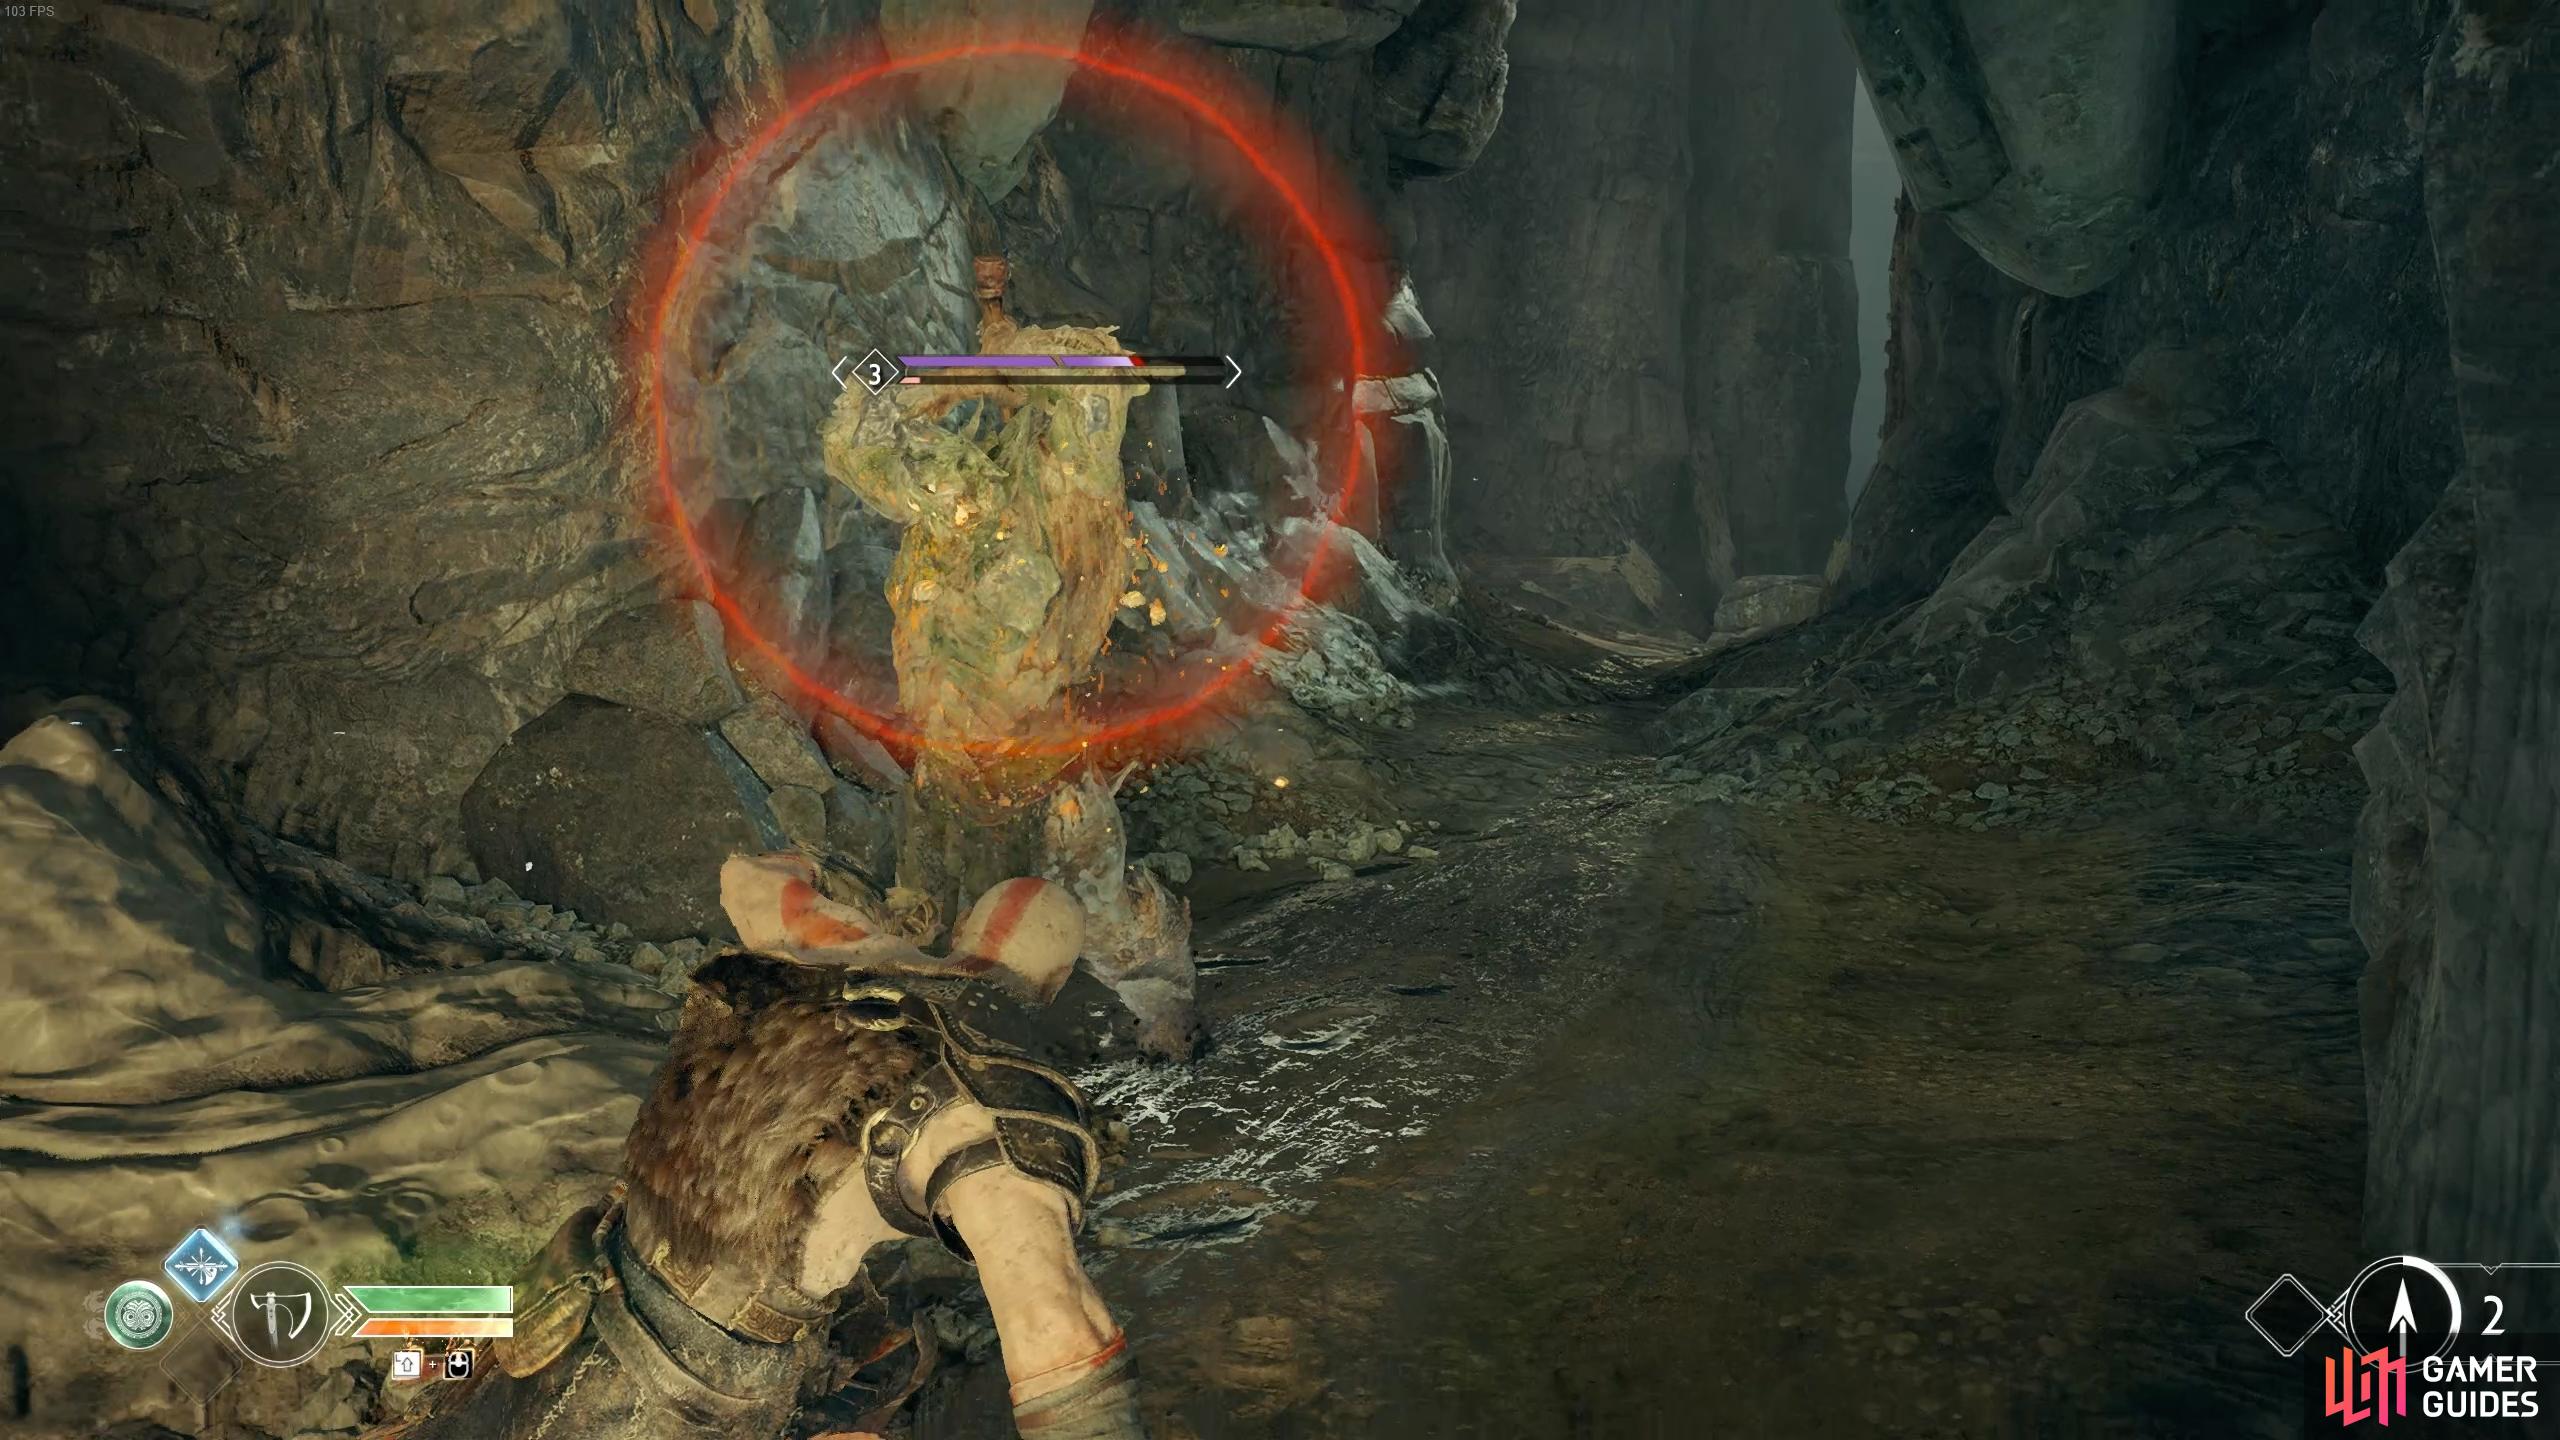
When fighting Revenants, be ready to dodge away from the poison clouds which they summon. (left), You’ll need to dodge heavy attacks by looking out for the red circle, which appears when a Draugr is higher level. (right)
Press the button or key to listen to Atreus comment on your next destination, you need to find a way back to where you were before the bridge fell. Turn to the right of this window to find another coffin for you to plunder and then jump the gap to continue along the path.
A Draugr is hiding to the right here, waiting to ambush you, kill it and then take a left at the fork to enter a large room with more Draugr, kill the Projectile Draugrs first and the rest shouldn’t give you too much trouble. With the area clear of hostiles, look to the right as you entered this room to find a shining object that Atreus can interact with, this is a Lore Scroll.
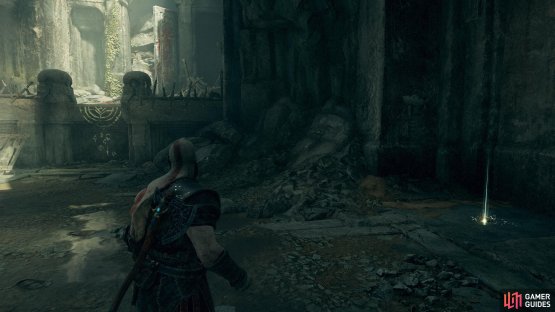

(1 of 2) This Lore Scroll is tucked away in the corner to the right as you enter.
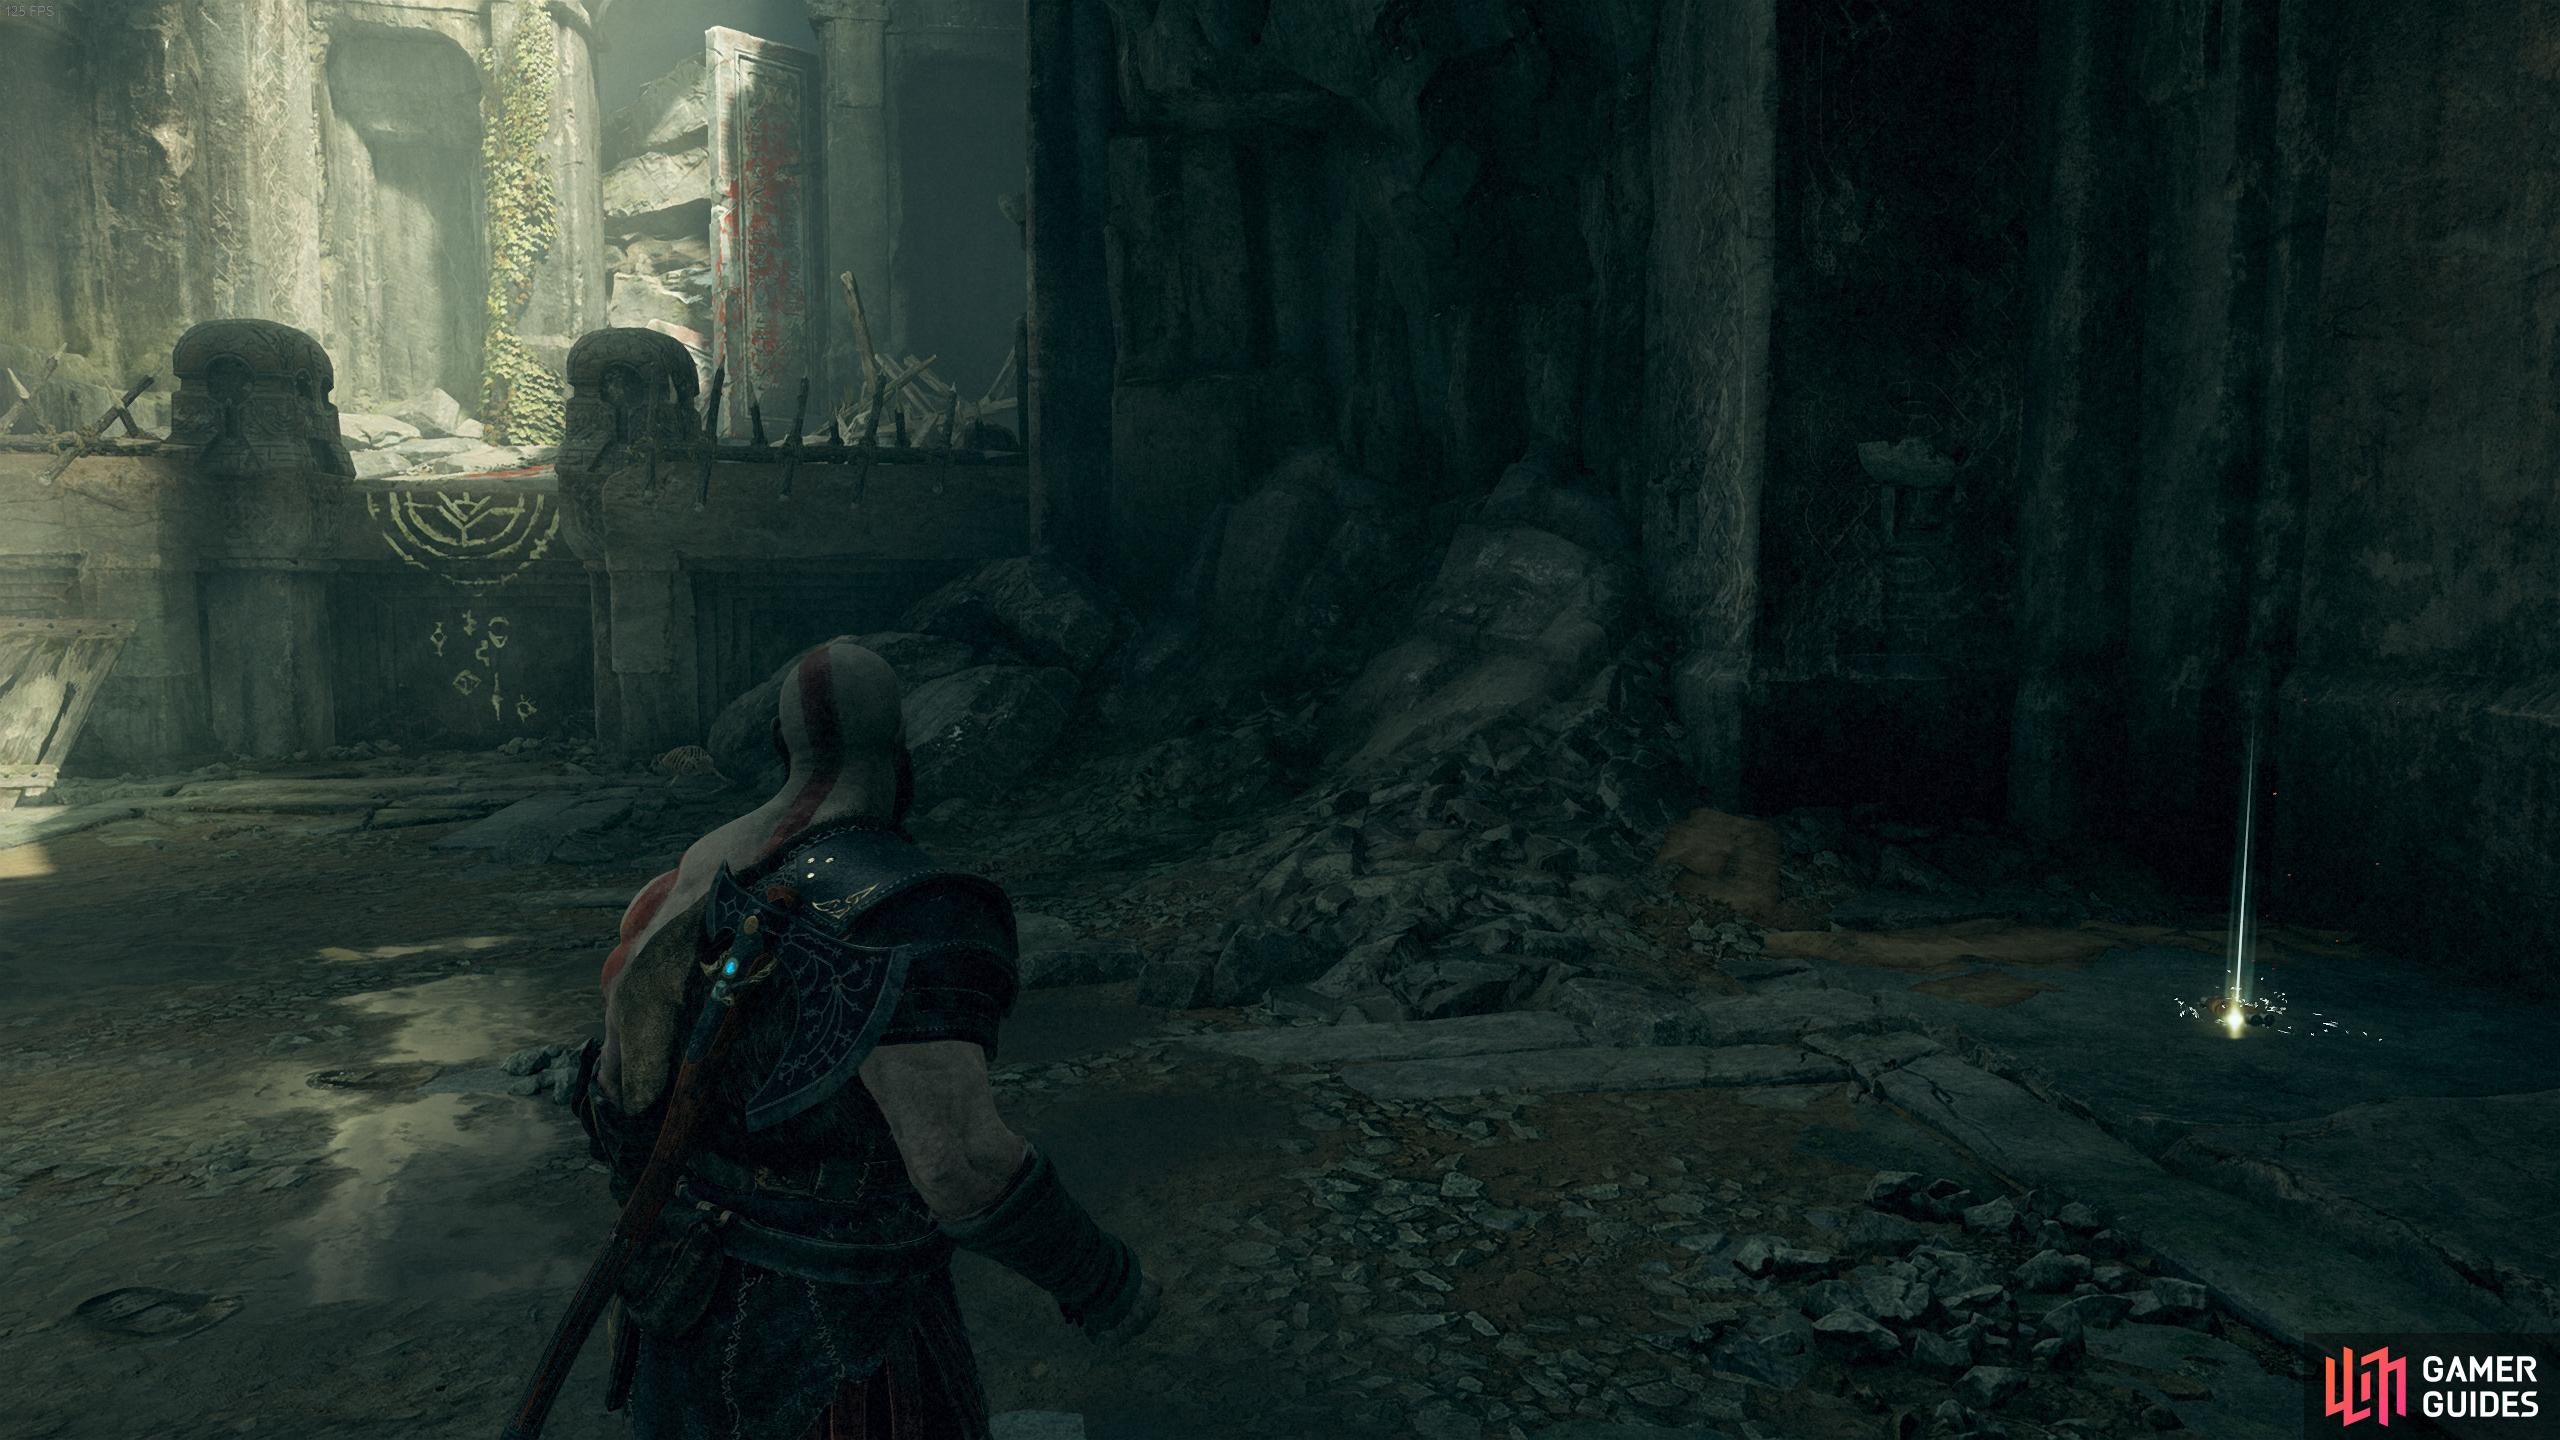
This Lore Scroll is tucked away in the corner to the right as you enter. (left), The Hrungnir Shrine is found at the back of the room. (right)
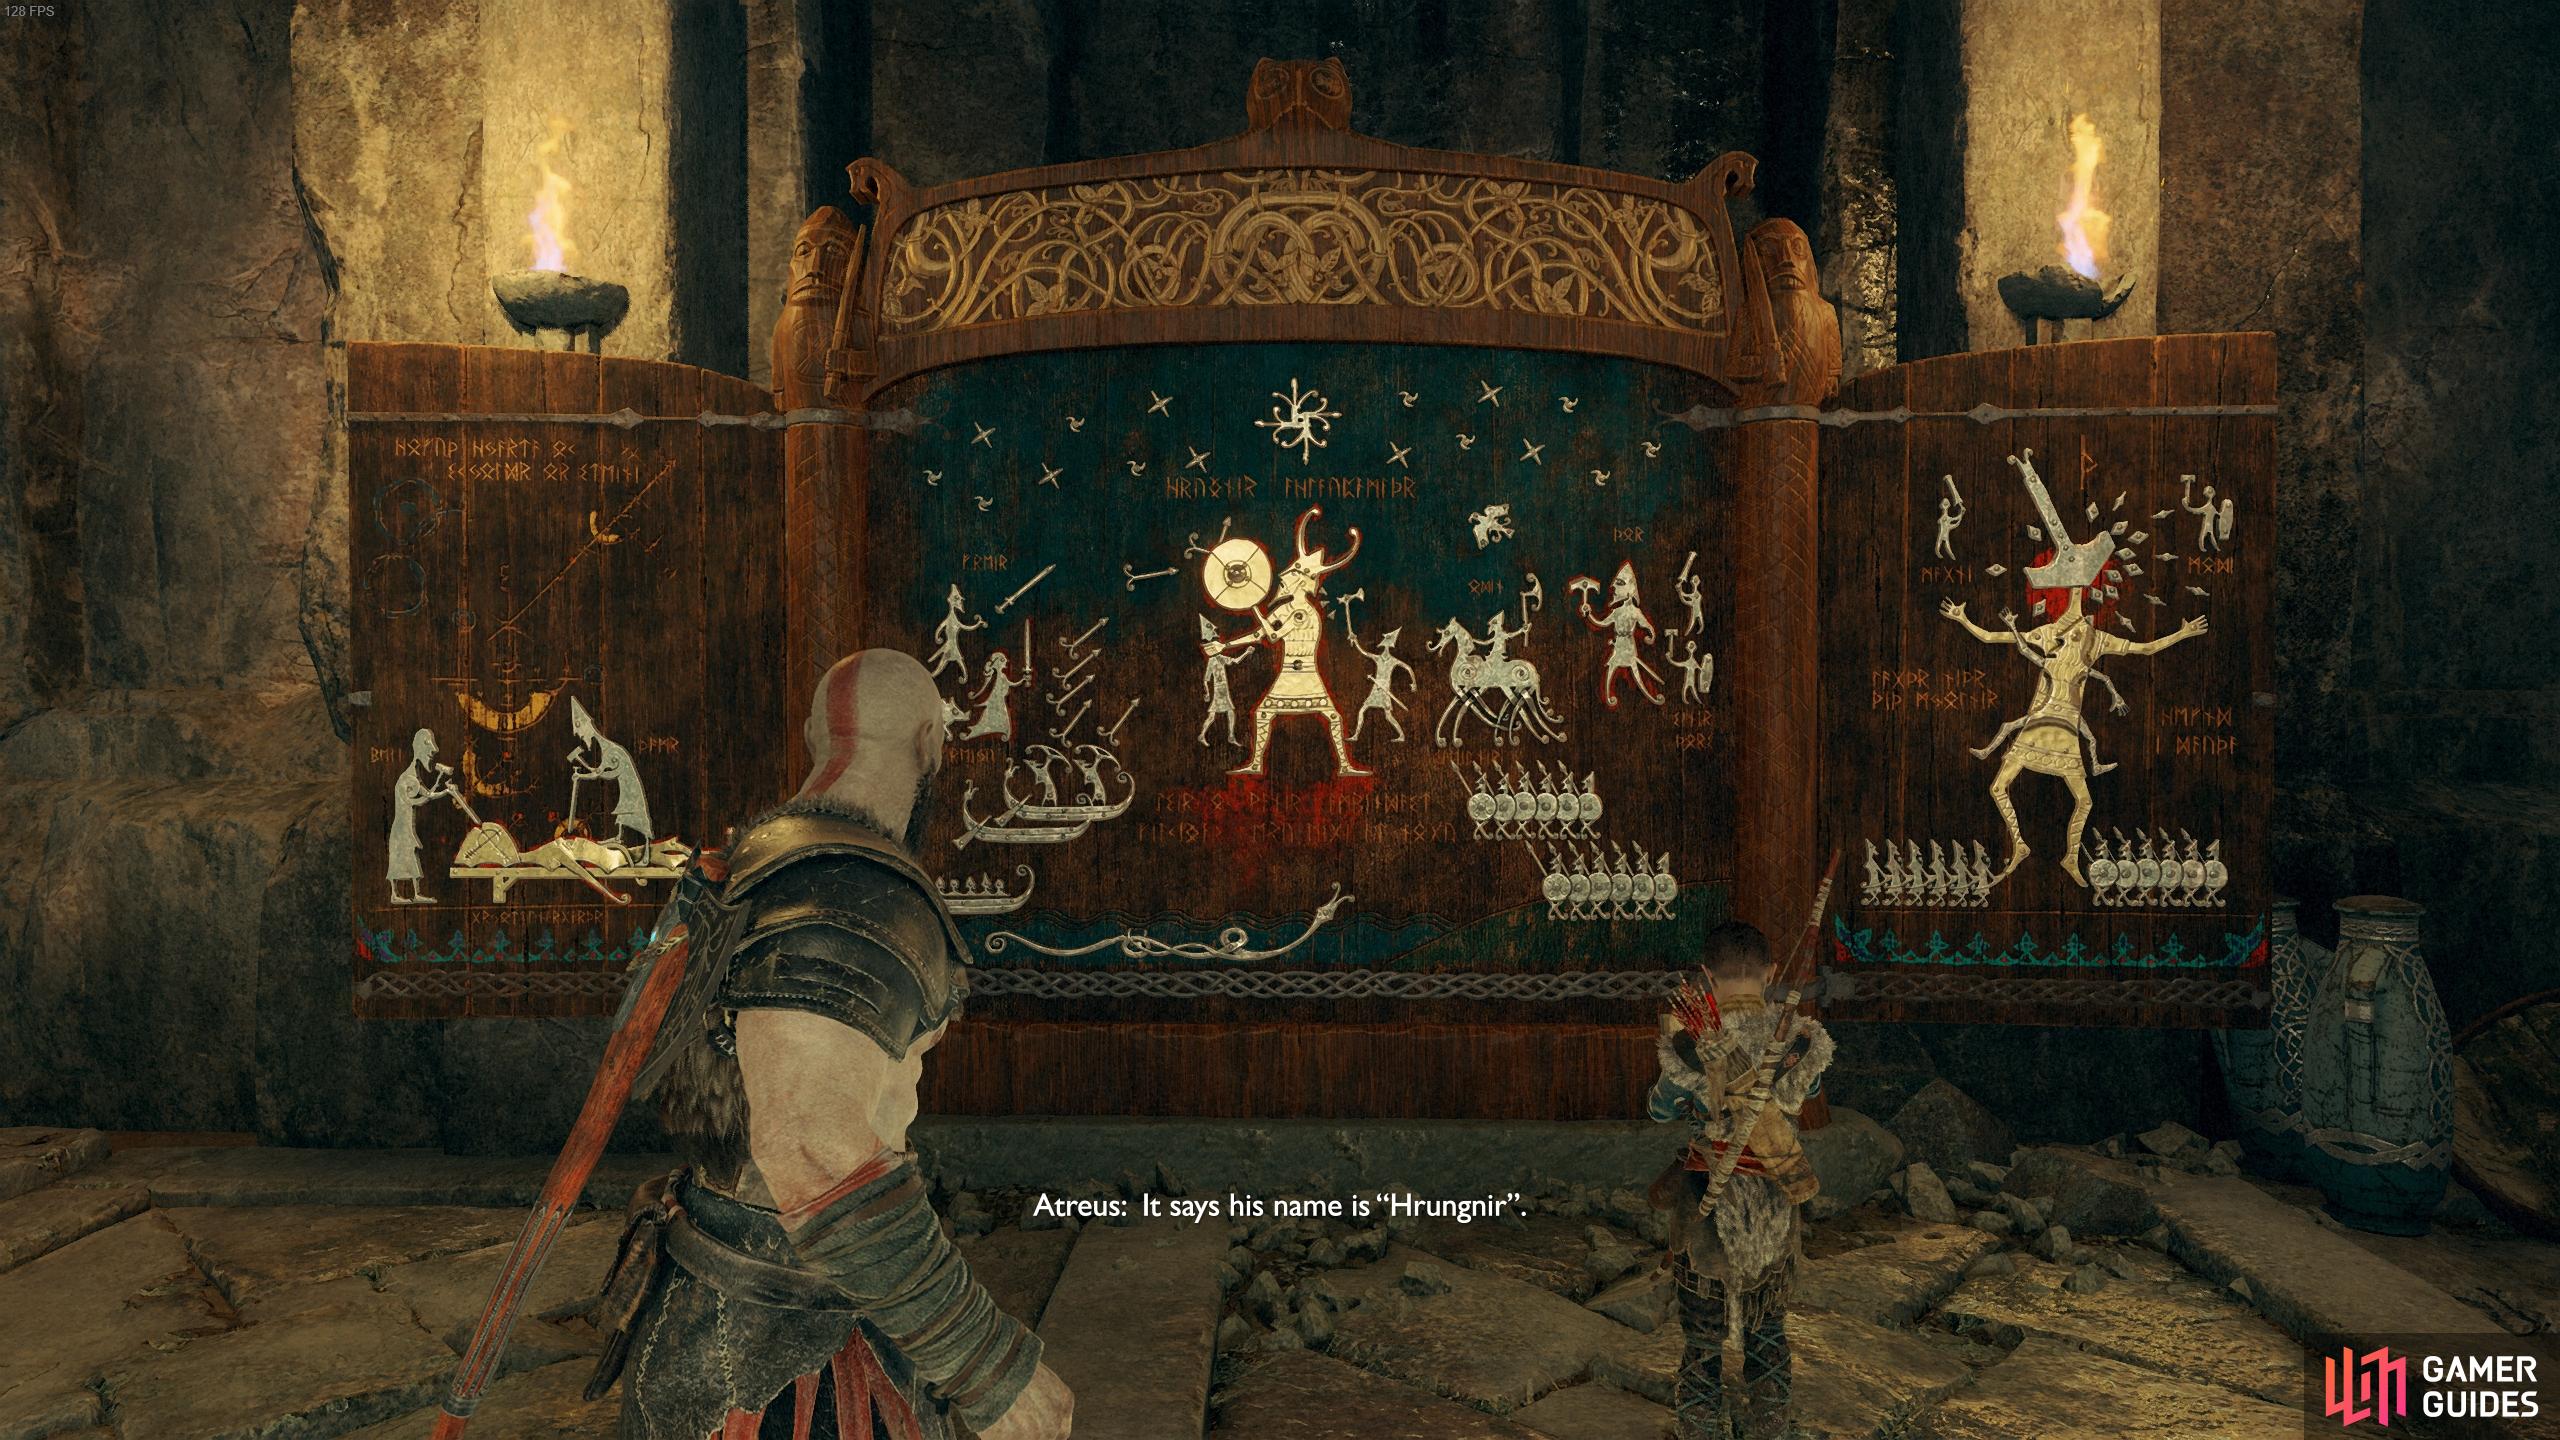
Head to the other end of the room to find the second Jötnar Shrine, Hrungnir. Turn around and climb the ledge to the left to find a Hacksilver chest and a stone that alternates in color between red, green and white. Pick up the stone based on what you’re looking for, red for Spartan Rage, green for Health and white for XP.
Return to the fork now and take the other path, dropping down to an area with a Nornir Chest. You’ll find the first rune just above and to the right of the chest. The second awaits amongst the rocks to the left of the chain hanging to your right. The third rune requires you to climb the ledge you just dropped down and look to your left where some pots are, the rune is at the far back here so you’ll have to throw the axe above it a little. Return to the now unlocked Nornir Chest and open it to find your second Iðunn Apple. If you’re having trouble locating the runes, see the gif below.
Turn to face the bridge, a runic disc holds this side of the bridge in place, toss the axe and destroy it to knock it down. Climb the ledge where you hit the third Nornic rune and smash the disc on the other side of the bridge to lower it completely before looking up to spot one more runic disc to smash in the distance.
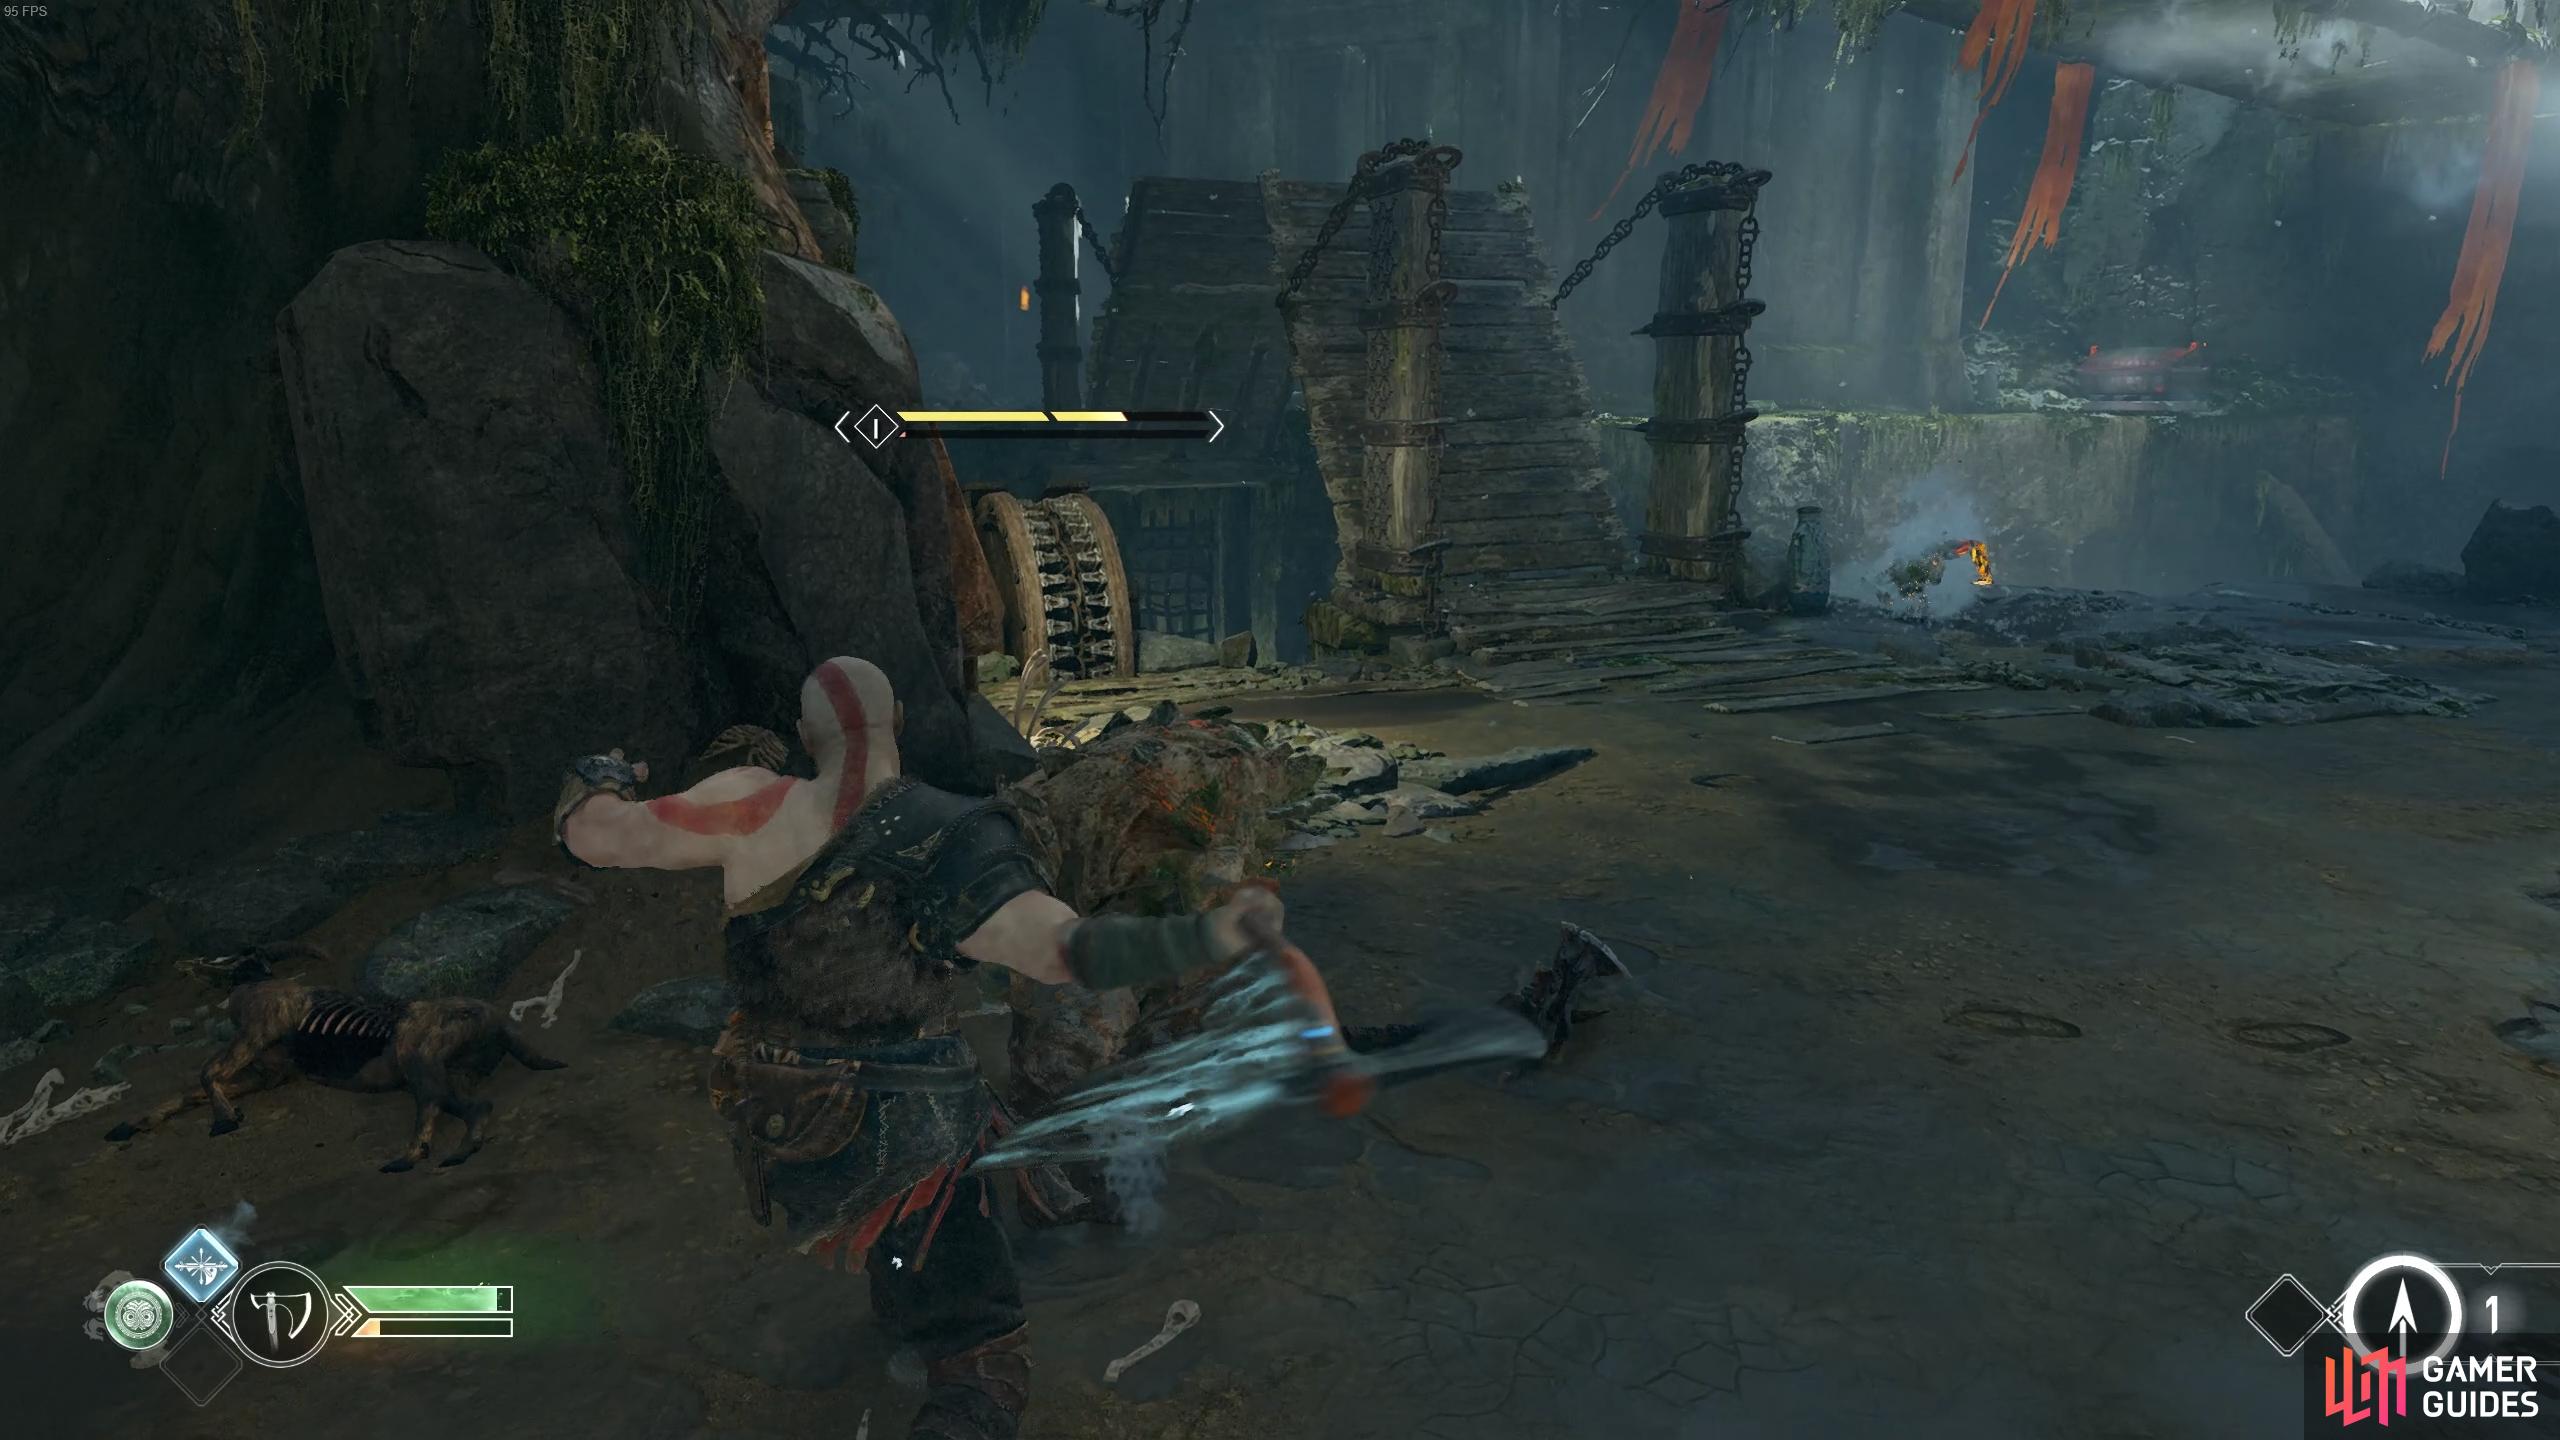
Cross the lowered bridge and look to your right to spot another Hacksilver chest and continue on where a Hel-Reaver awaits. Defeat him using your fists and Atreus’ arrows and a Poison Revenant will join the fray. Remember to use the arrows to stun her in place while you keep attacking her, you’ll want to take her out as soon as possible as Heavy Draugrs and then Projectile Dragurs join the battle. If you find yourself struggling and your health is low, activate Spartan Rage and then try and use the Raging Smash attack to try and topple the enemies over the ledge. Finally, if you need a breather, don’t be afraid to retreat back across the bridge, you can whittle down the enemies one at a time this way.
With the battle over, loot the spoils on the ground and then interact with wheel near the drawbridge. Pull the wheel back until the disc is visible ahead and then launch the axe at it to cause the bridge to stay lowered permanently. Cross the bridge and head right to find a Coffin before taking the other path to a gate, open it to greeted by a hungry pack of Reavers.


(1 of 2) You’ll need to defeat a Revenant and some Draugr before you can lower the bridge in peace.
You’ll need to defeat a Revenant and some Draugr before you can lower the bridge in peace. (left), Throw the axe at the symbol when it’s revealed through the gap to lower the bridge. (right)
Fight off the Reavers
You’ll be surrounded by the Reavers and Atreus will not be present for this battle so you’ll have to make do without his arrows. You’ll be vastly outnumbered here, make use of Hel’s Touch whenever you find yourself amongst the pack of Reavers. Once the first group fall, you’ll be attacked by three Shadows, a Reaver who has learnt magic. Take aim with the Leviathan Axe and toss it at these from a distance to take them out, one toss of the axe should be enough to put all them down.
Once the battle is over, dash over to where Atreus lies and pull the Reaver off him, you’ll soon discover that the Reavers you just killed have risen as Hel-Reavers. You’ll be able to use the Leviathan Axe on all but the Hel-Reaver Lord (wearing armor) where you’ll have to resort to your fists as Atreus is still unavailable.

(1 of 2) You can easily defeat the Reavers with AoE attacks.
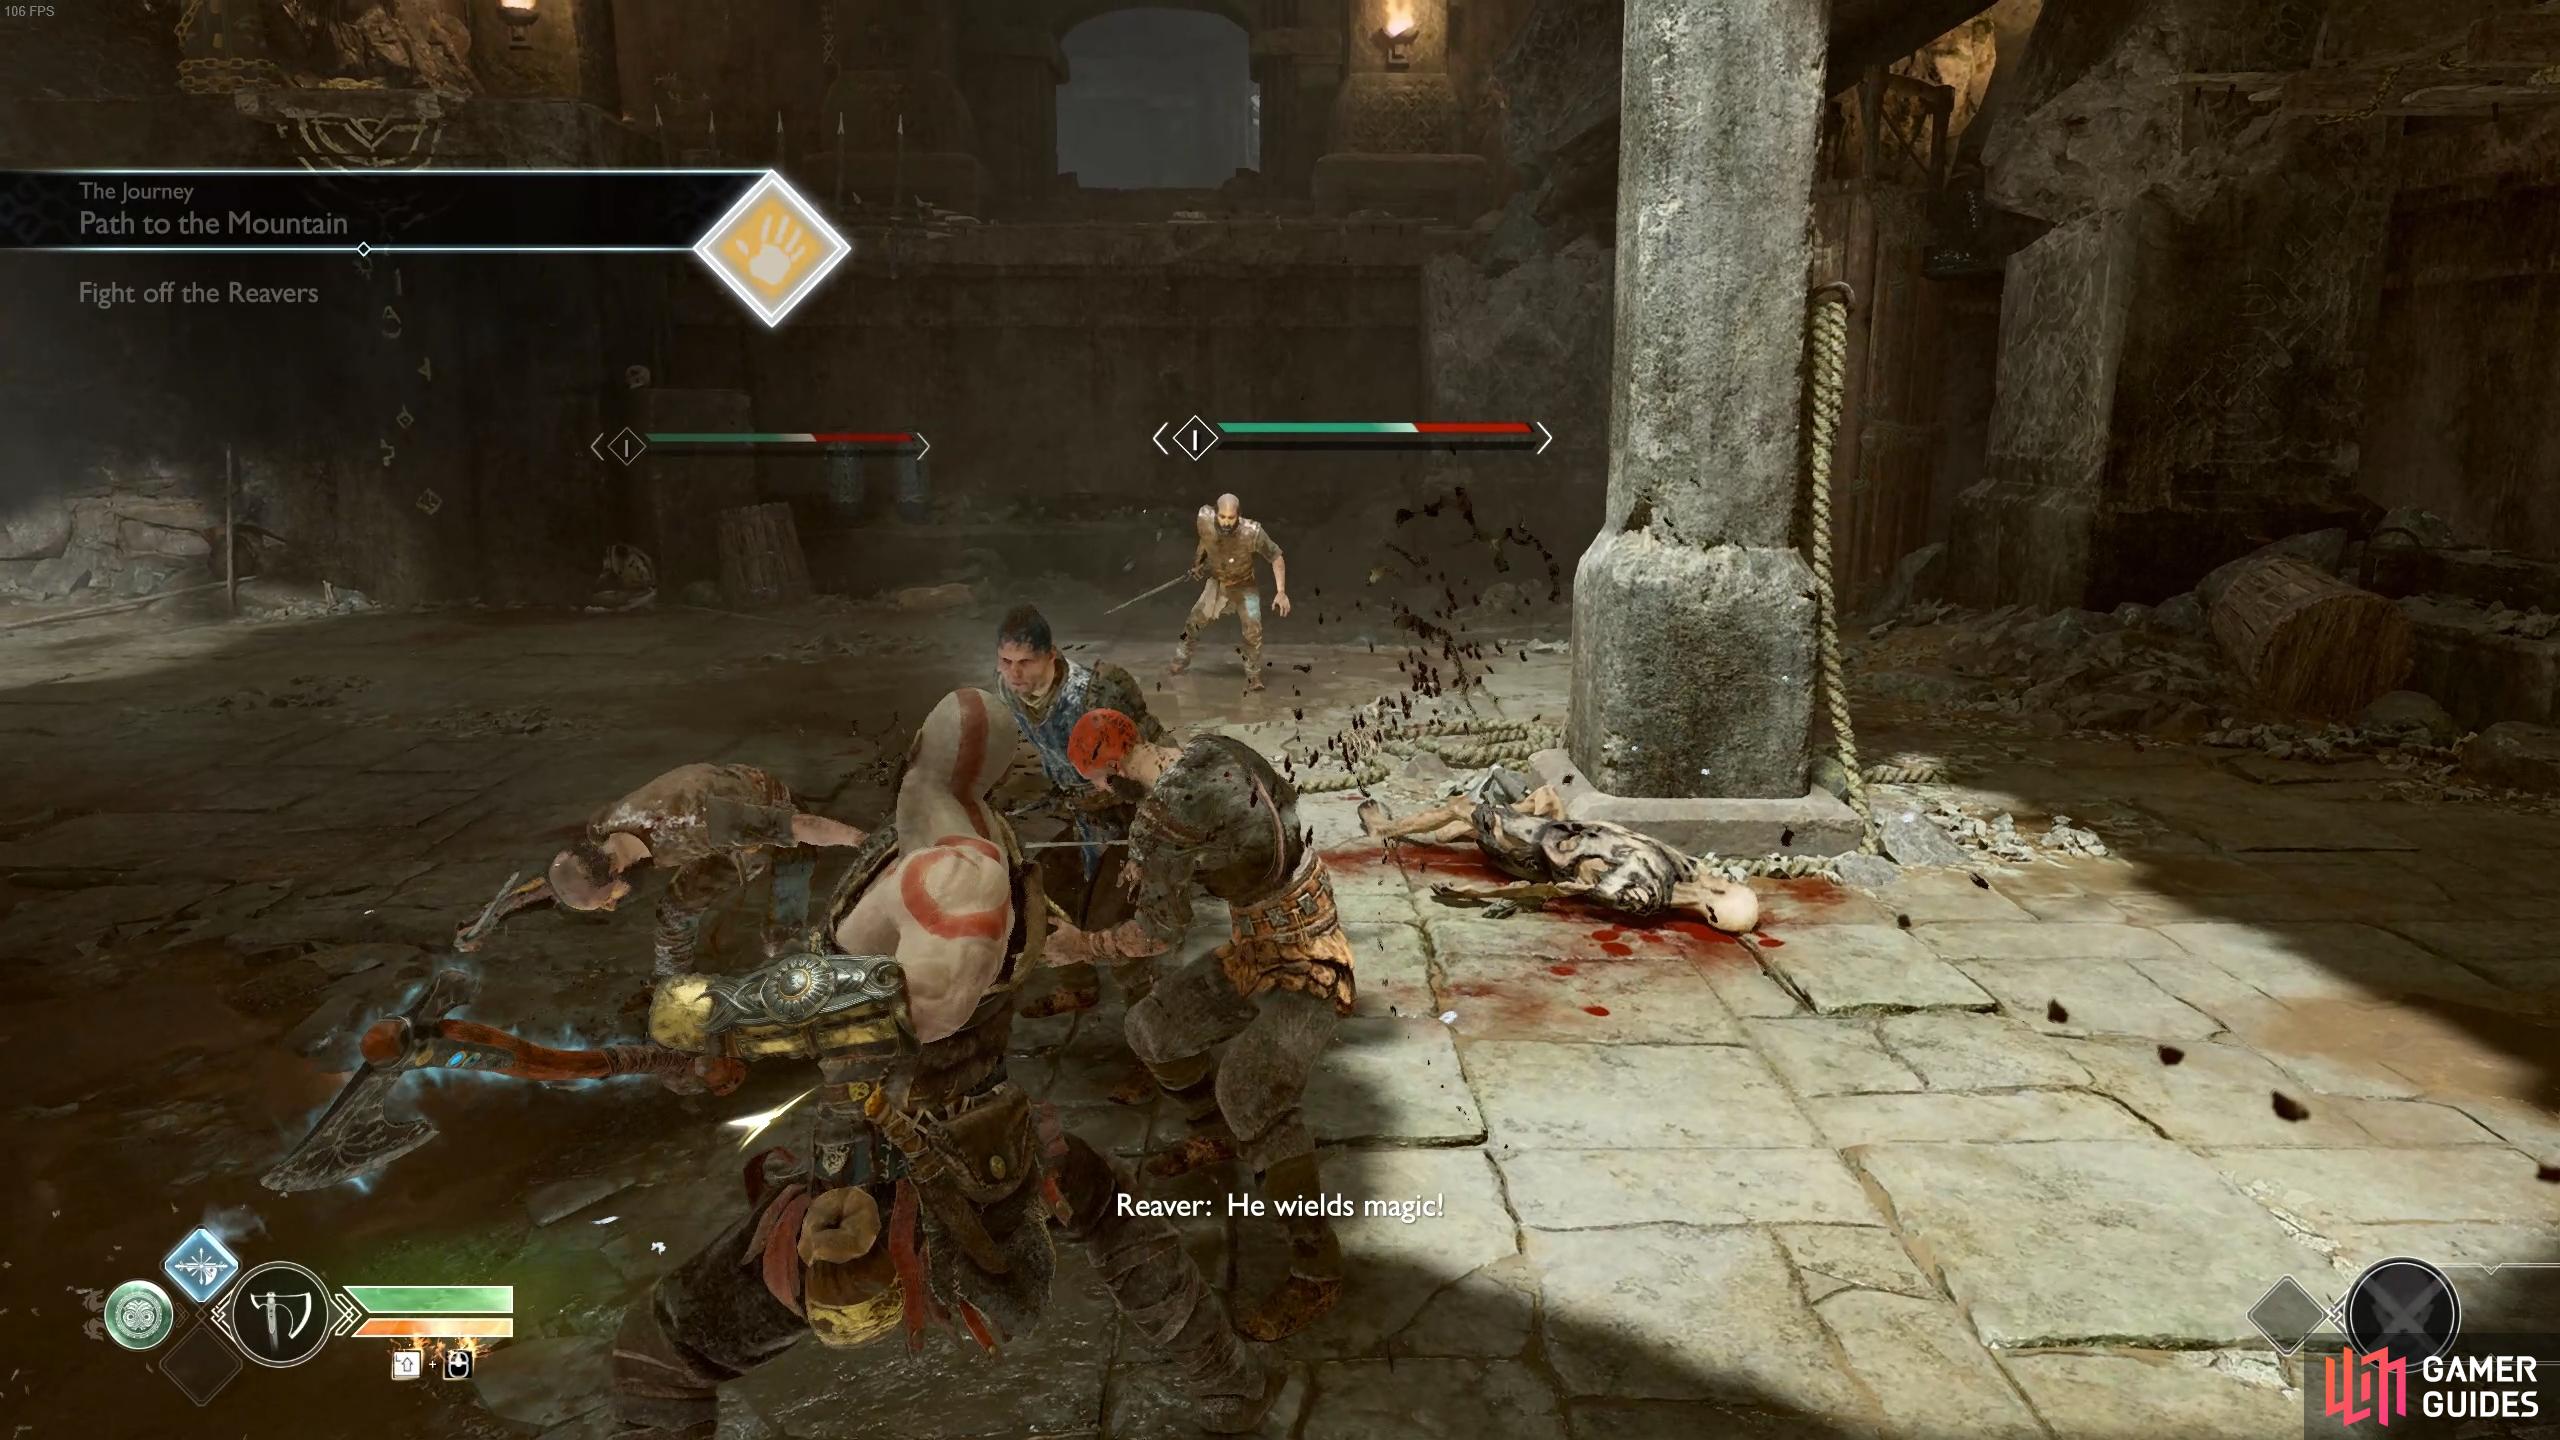
You can easily defeat the Reavers with AoE attacks. (left), Use axe throw to kill the Shadows above. (right)
Escape the ruins
With the Reavers defeated, look toward the corner of the room to find a platform that you can boost Atreus to. Keep watch over Atreus while he makes his way to the chain and give him support when he comes to a standstill by pressing or . Climb the chain once it’s dropped and then shimmy along the ledge to reach the other side.
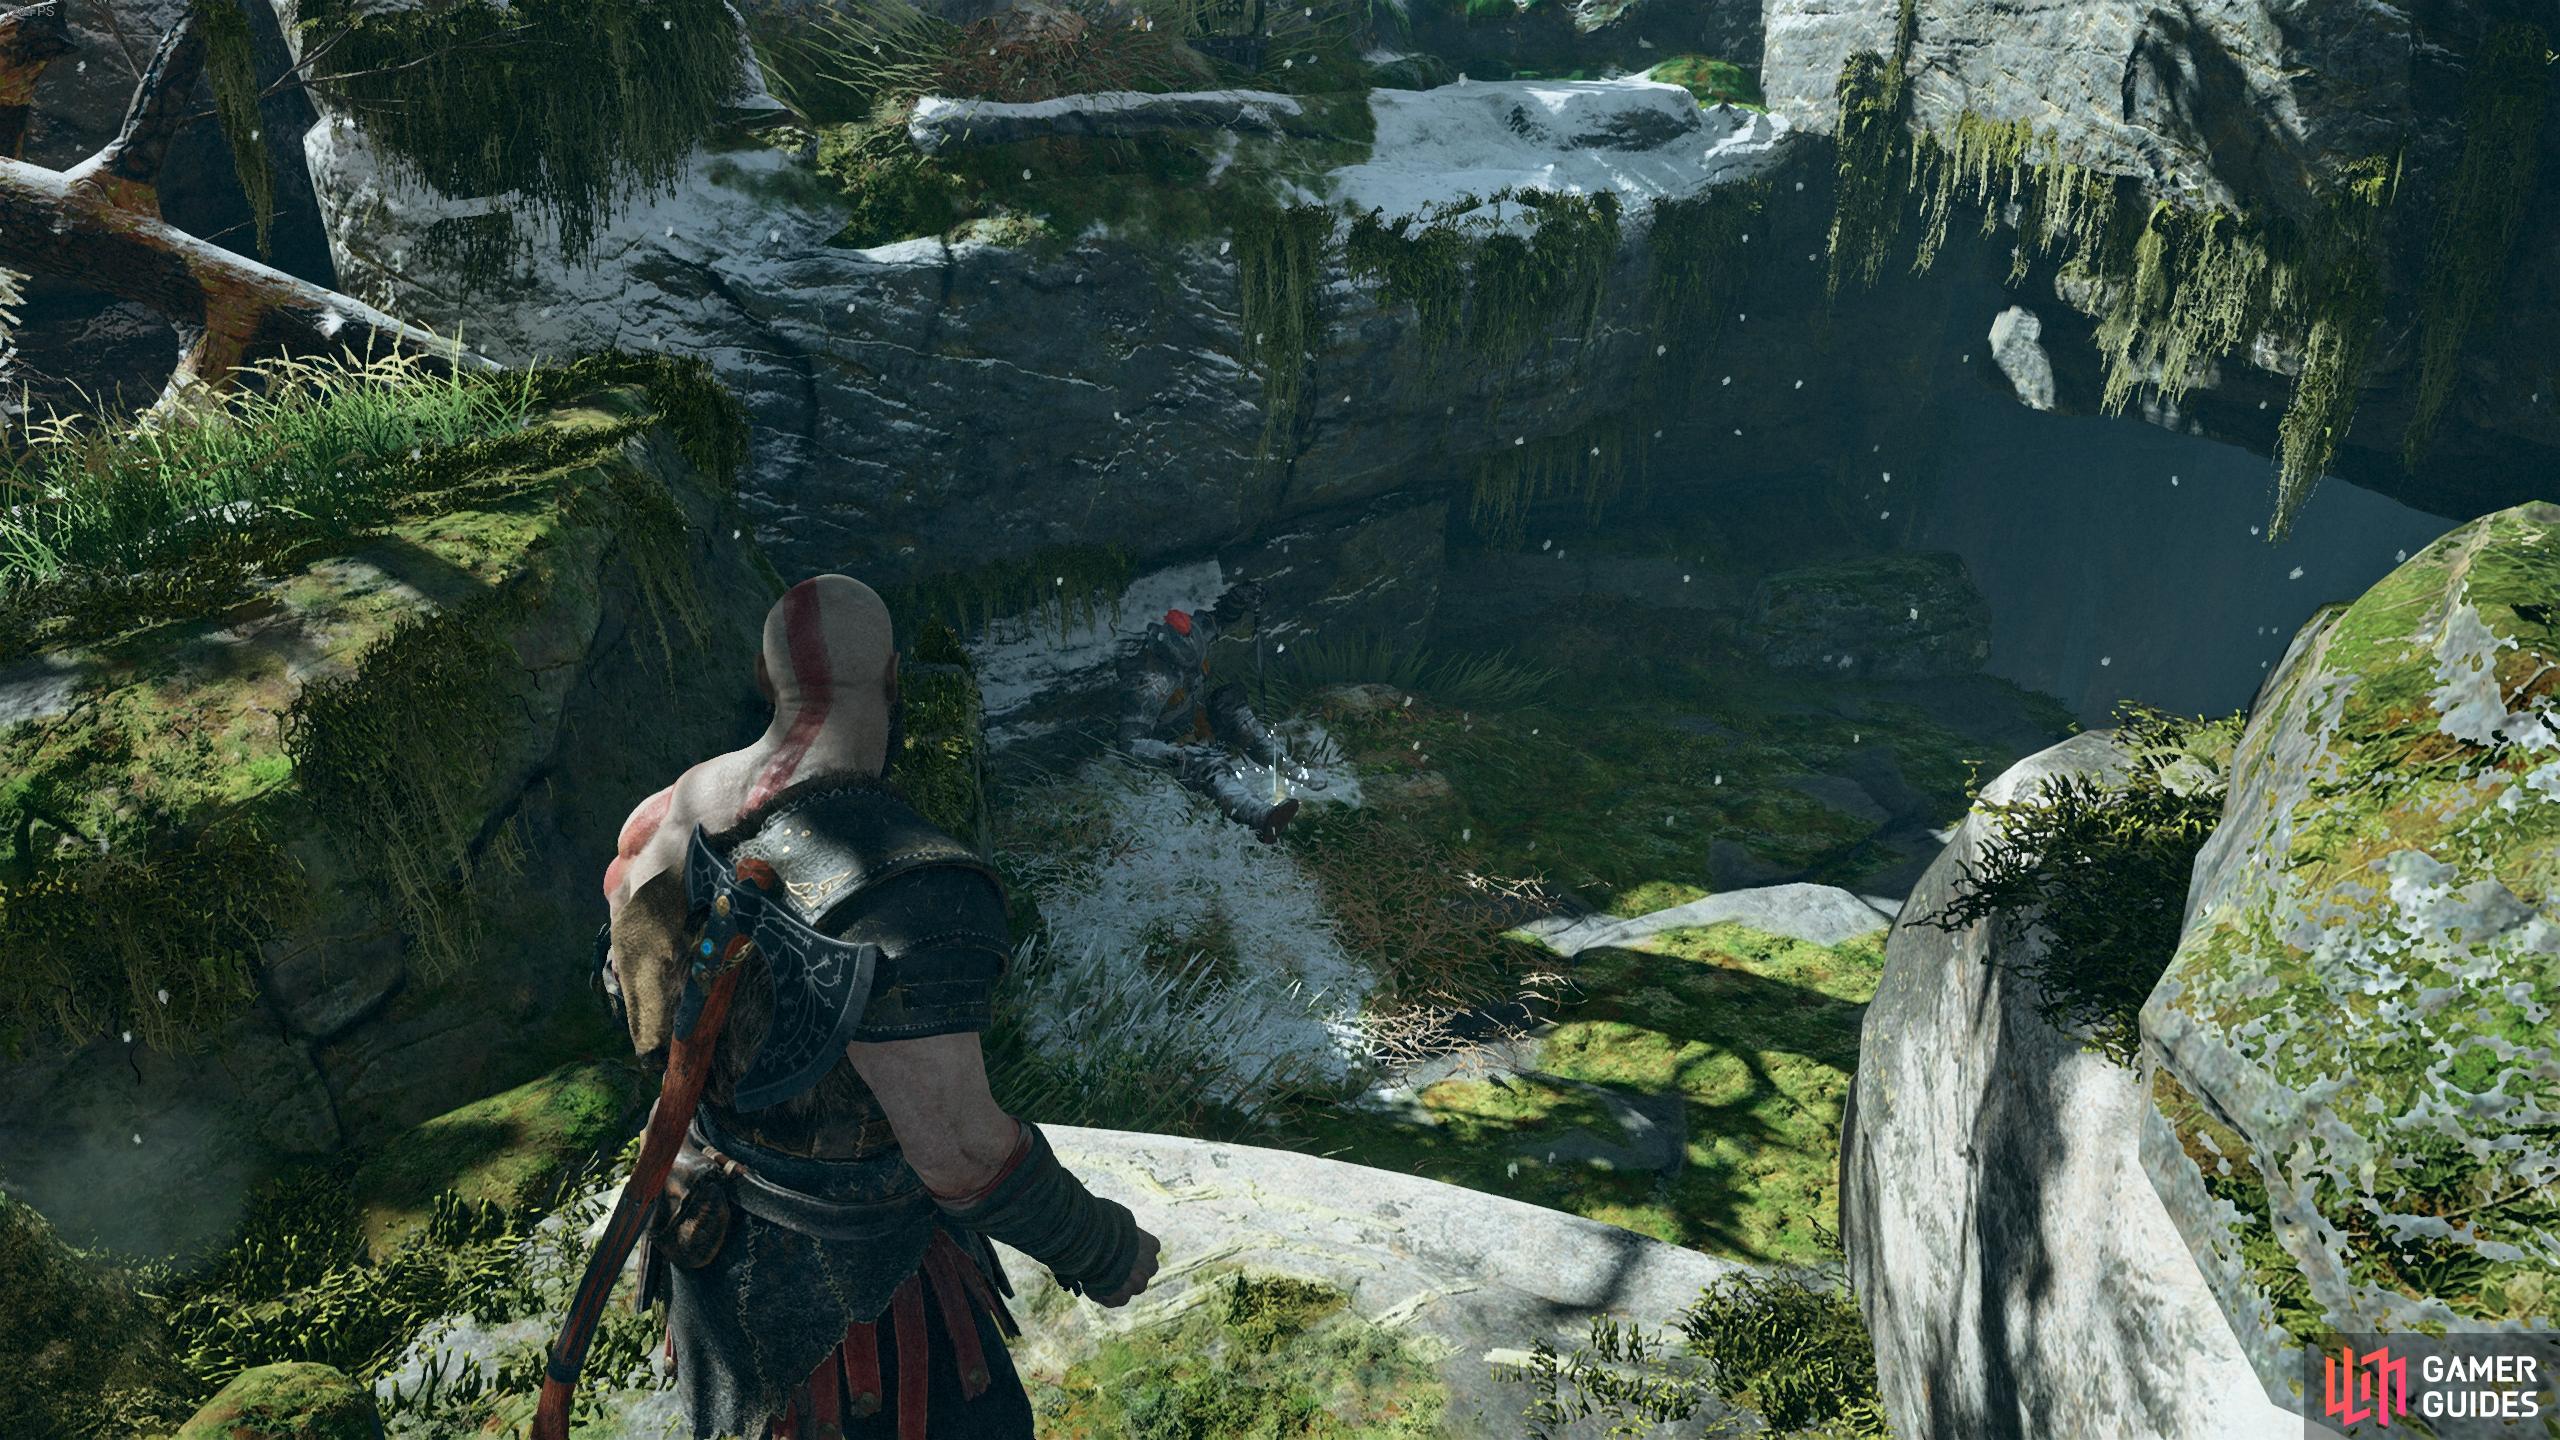
Walk forward and take a right first to open a coffin before dropping another chain down and following it to the bottom. Follow this short path to find yourself in the area overlooking the Marketplace from before. At the end of this path is a corpse and the first Artefact for [The Faces of Magic] quest.
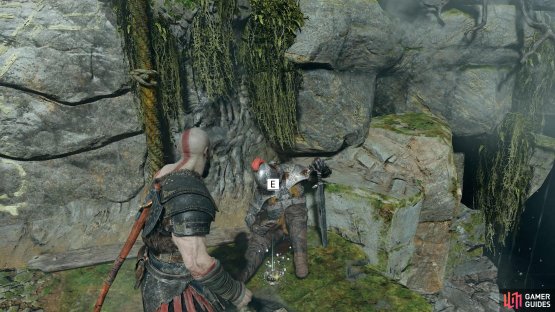
(1 of 2) Drop the chain next to this coffer to access a hidden area.

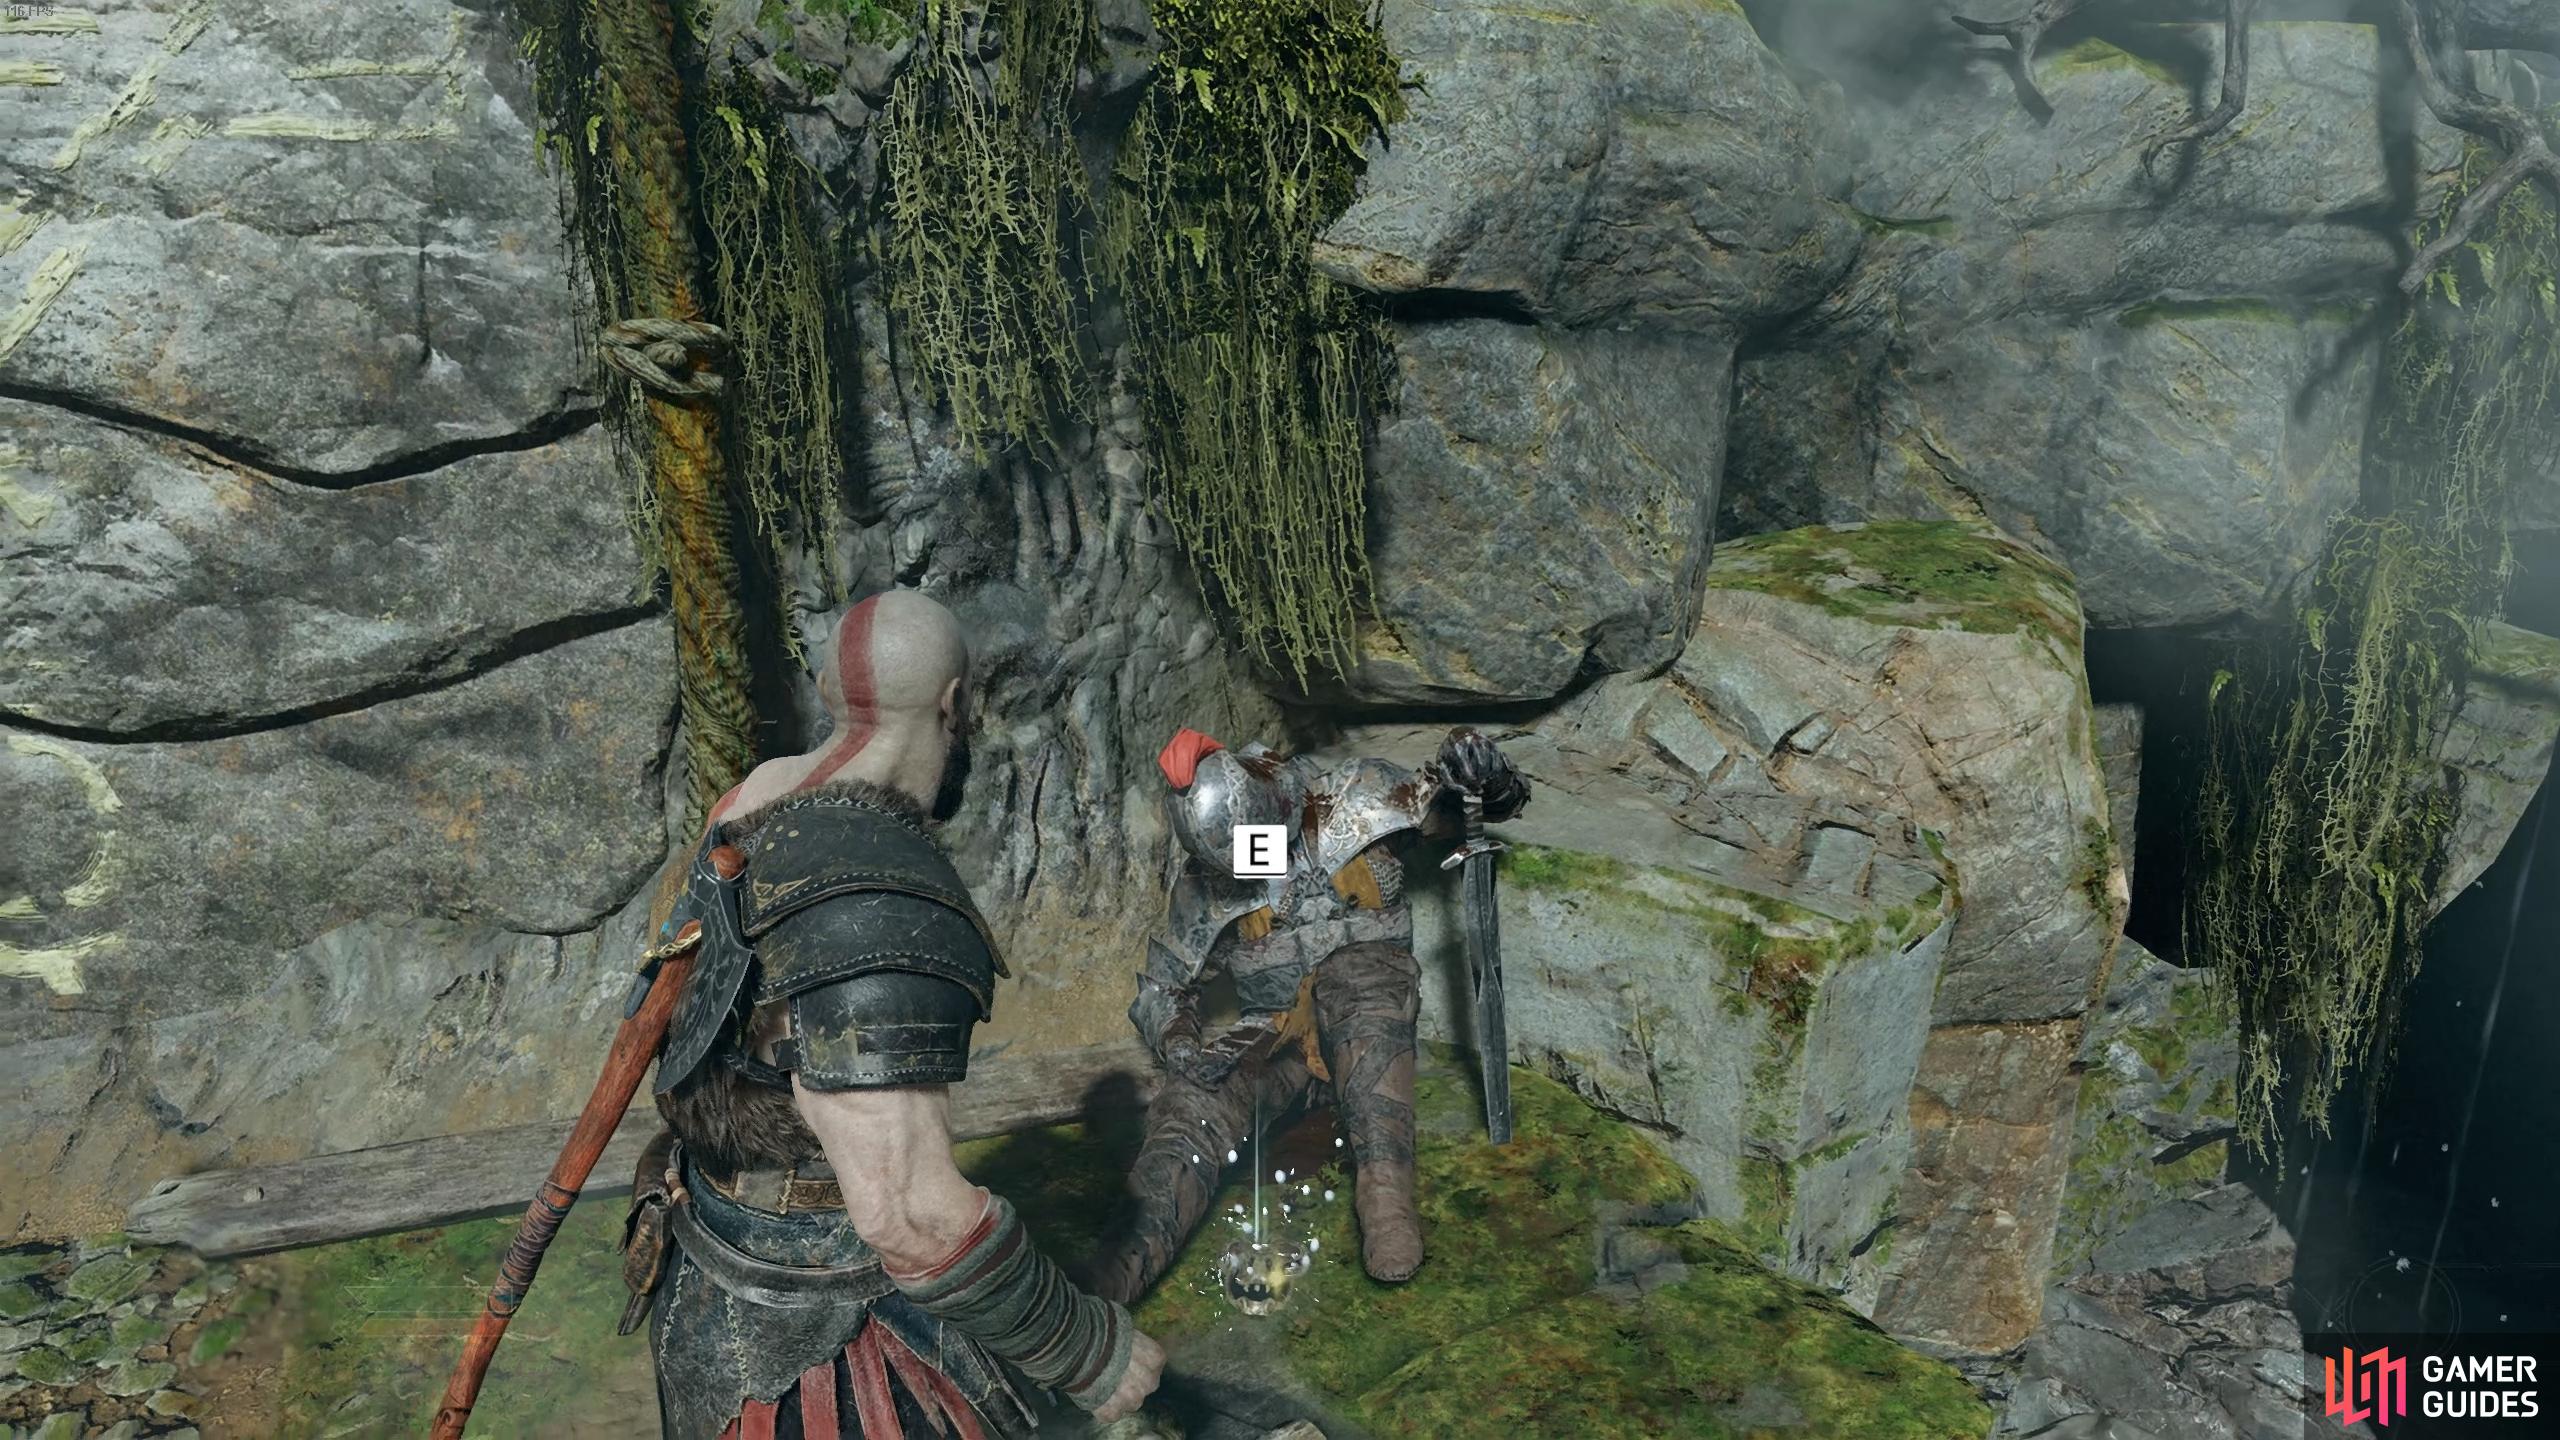
Drop the chain next to this coffer to access a hidden area. (left), The first Artefact for the Faces of Magic quest is at the end of this path. (right)
You cannot proceed further up the path so head back the way you came and climb the ladder back to the top. Cross the bridge to meet a rather strange blue dwarf, take Atreus’ advice and launch the axe into the white trees at the back. The dwarf introduces himself as Brok, the blacksmith who crafted the Leviathan Axe along with his brother.
You’ll be given your first Frozen Flame by Brok, use these to upgrade the Leviathan Axe and unlock more skills to purchase. You’ll also get a brief overview on how the stats work, you can press the  button or
  key to get more details on each one, you should take these into account as you plan how you want to build Kratos. Brok also offers a crafting service along with a shop, take the time to look over the stats of each one and decide what one you like.
The Reaver tunic will give you +10 Defense, this will allow you to take more of a beating from the enemies. Likewise, the Boar Hide Shoulder Guard will give +12 Strength and +4 Defense allowing you deal a lot more damage, this is the suggested armor for now. You can increase the stats on these by upgrading them further with resources.
For Atreus, there is three pieces of armor to choose from. The Basic Sharpshooter Garb increases the damage of Atreus’ shots while enemies are in the air, the Basic Fighter Tunic is a more melee based armor and the Basic Runic Vestment offers the Healthstone Assist ability, allowing Atreus to give Kratos a healthstone at times when his health is low, this is the suggested one for now.
You’ll unlock the Best Dressed achievement when you upgrade a piece of armor.
Finally, you can also upgrade Atreus’ Talon Bow, this unlocks new skills for him to purchase and increases the damage, you should be able to upgrade it once for now. If you find yourself low on funds, sell any Artefacts you’ve picked up (you don’t need to keep these on you, they’re registered once they’re picked up).
When you exit the shop screen, you’ll be set upon by some Draugr, use these to test out the effectiveness of your new Leviathan Axe and the armor, they should pose little trouble to you so long as you kill the Projectile types first (there’s a healthstone in the area should you need it).
Take the time to check out the new skills available to unlock for the Leviathan Axe and Talon Bow. All of the new axe skills are very useful with Permafrost probably being the most useful of the bunch. The new Talon Bow skills offer increased damage for Atreus with the Atreus Power I skill and quicker fire rate with the Dexterous Shot I skill, the Atreus Power I skill is probably the best choice for an unlock right now.
Head to the right from Brok’s shop to where you threw the axe earlier, there’s a small ledge you can drop down to find your second Artefact for this area. Return to where Brok’s Shop is and walk to the ledge at the far end, dropping down and opening the Hacksilver chest in the corner. Take the chain down and open the coffin in the cave before opening the gate for a shortcut later on.
The second Artefact for this area is on the corpse just to the right of Brok’s Shop.
Retrace your steps back up the chain and finally head over to the gate next to Brok’s Shop, pull the chain and toss the axe at the gear to keep it open and grant you access to the trap filled cavern beyond.
No Comments