
There are two optional dungeons in the main game of Like a Dragon: Infinite Wealth… not counting any postgame/DLC content. The Hawaiian Haunt unlocks near the end of Chapter 5 while the second of these two dungeons, the ![]() Yokohama Underground, doesn’t become available until the beginning of Chapter 10. This page will provide a walkthrough for the Yokohama Underground, comparing it to the
Yokohama Underground, doesn’t become available until the beginning of Chapter 10. This page will provide a walkthrough for the Yokohama Underground, comparing it to the ![]() Hawaiian Haunt and covering the enemies - especially the bosses you’ll fight every five floors - layout and treasures you can find within its depths.
Hawaiian Haunt and covering the enemies - especially the bosses you’ll fight every five floors - layout and treasures you can find within its depths.

Near the start of Chapter 10 you’ll be required to visit Yokohama Underground, and while your mandatory visit in this largely optional dungeon is brief, the treasures within encourage exploration.
Yokohama Underground Layout and Encounters
As mentioned earlier, the Hawaiian Haunt optional dungeon unlock near the end of Chapter 5, and while you’re forced to clear a few floors as part of Substory ![]() 34 - Legend of the Labyrinth, this is mostly just a tutorial allowing you to dip your toes into this content. Once done, you can safely ignore these optional dungeons until Chapter 10, where you’re forced to descend into the Yokohama Underground… ostensibly to get a bit of training in before advancing the main questline. You can get away with spending even less time in the Yokohama Underground than the Hawaiian Haunt, if you wish - you can exit after the first floor and never have to return again.
34 - Legend of the Labyrinth, this is mostly just a tutorial allowing you to dip your toes into this content. Once done, you can safely ignore these optional dungeons until Chapter 10, where you’re forced to descend into the Yokohama Underground… ostensibly to get a bit of training in before advancing the main questline. You can get away with spending even less time in the Yokohama Underground than the Hawaiian Haunt, if you wish - you can exit after the first floor and never have to return again.
Both optional dungeons have a lot going for them that should entice most players to delve their depths, however. Enemies within these dungeons are generally higher level and more lucrative (in large part thanks to the ability to continuously fight special enemies, who randomly spawn throughout each floor), there are materials scattered throughout the dungeon that will help you craft superior weapons, there’s a special form of currency in each dungeon that can be traded for rare or unique goods, and in the deeper levels you can find job-specific seven star armors that are some of the best gear in the game. Experience, money, crafting materials and gear… what more could you ask for?
All that said, both the Hawaiian Haunt and Yokohama Underground are very similar in terms of layout and structure. Both consist of forty floors of randomly generated square rooms connected by hallways. These rooms can be empty, contain minor treasure (materials, dungeon currency, or suitcases), major treasure (chests/safes) or enemies (normal or special) or a person you need to rescue. These forty floors are divided into four sectors, ten floors per sector. In each sector there is a midboss halfway through (floors 5, 15, 25 and 35) and an endboss on the final floor (floors 10, 20, 30 and 40). Defeating a midboss or endboss will earn you a checkpoint you can continue from, and you don’t need to fully explore any level; if you can find the stairs you can leave, either to the next floor, or by exiting the dungeon entirely. The deeper you go, the more powerful enemies become and the more valuable the treasure. Check out the Dungeon Layout and Encounters section of the Hawaiian Haunt page for more details, the two dungeons function very similarly.
| Floor | Characteristics |
|---|---|
| 1st | Entry floor, checkpoint, low treasure |
| 2nd | Standard floor, low treasure |
| 3rd | Standard floor, moderate treasure |
| 4th | Standard floor, high treasure (one guaranteed chest at the floor exit |
| 5th | Boss floor, healing minifridge, save point |
As for the few differences between the Hawaiian Haunt and the Yokohama Underground, see below:
- Since Yokohama Underground appears later in the game, there’s no low level introductory Sector to break you in. Sector 1 houses Lv39 enemies and the difficulty gradually increases until you’re fighting the Lv55 endboss at the end of Sector 4.
| Sector | Enemy Level |
|---|---|
| Sector 1 | 32~ |
| Sector 2 | 37~ |
| Sector 3 | 44~ |
| Sector 4 | 52~ |
- Higher level enemies drop better materials - you’ll get Geodes in Sectors 1 and 2, and Crystals in Sector 3 and 4.
| Sector | Materials |
|---|---|
| Sector 1 | Geodes |
| Sector 2 | Geodes |
| Sector 3 | Crystals |
| Sector 4 | Crystals |

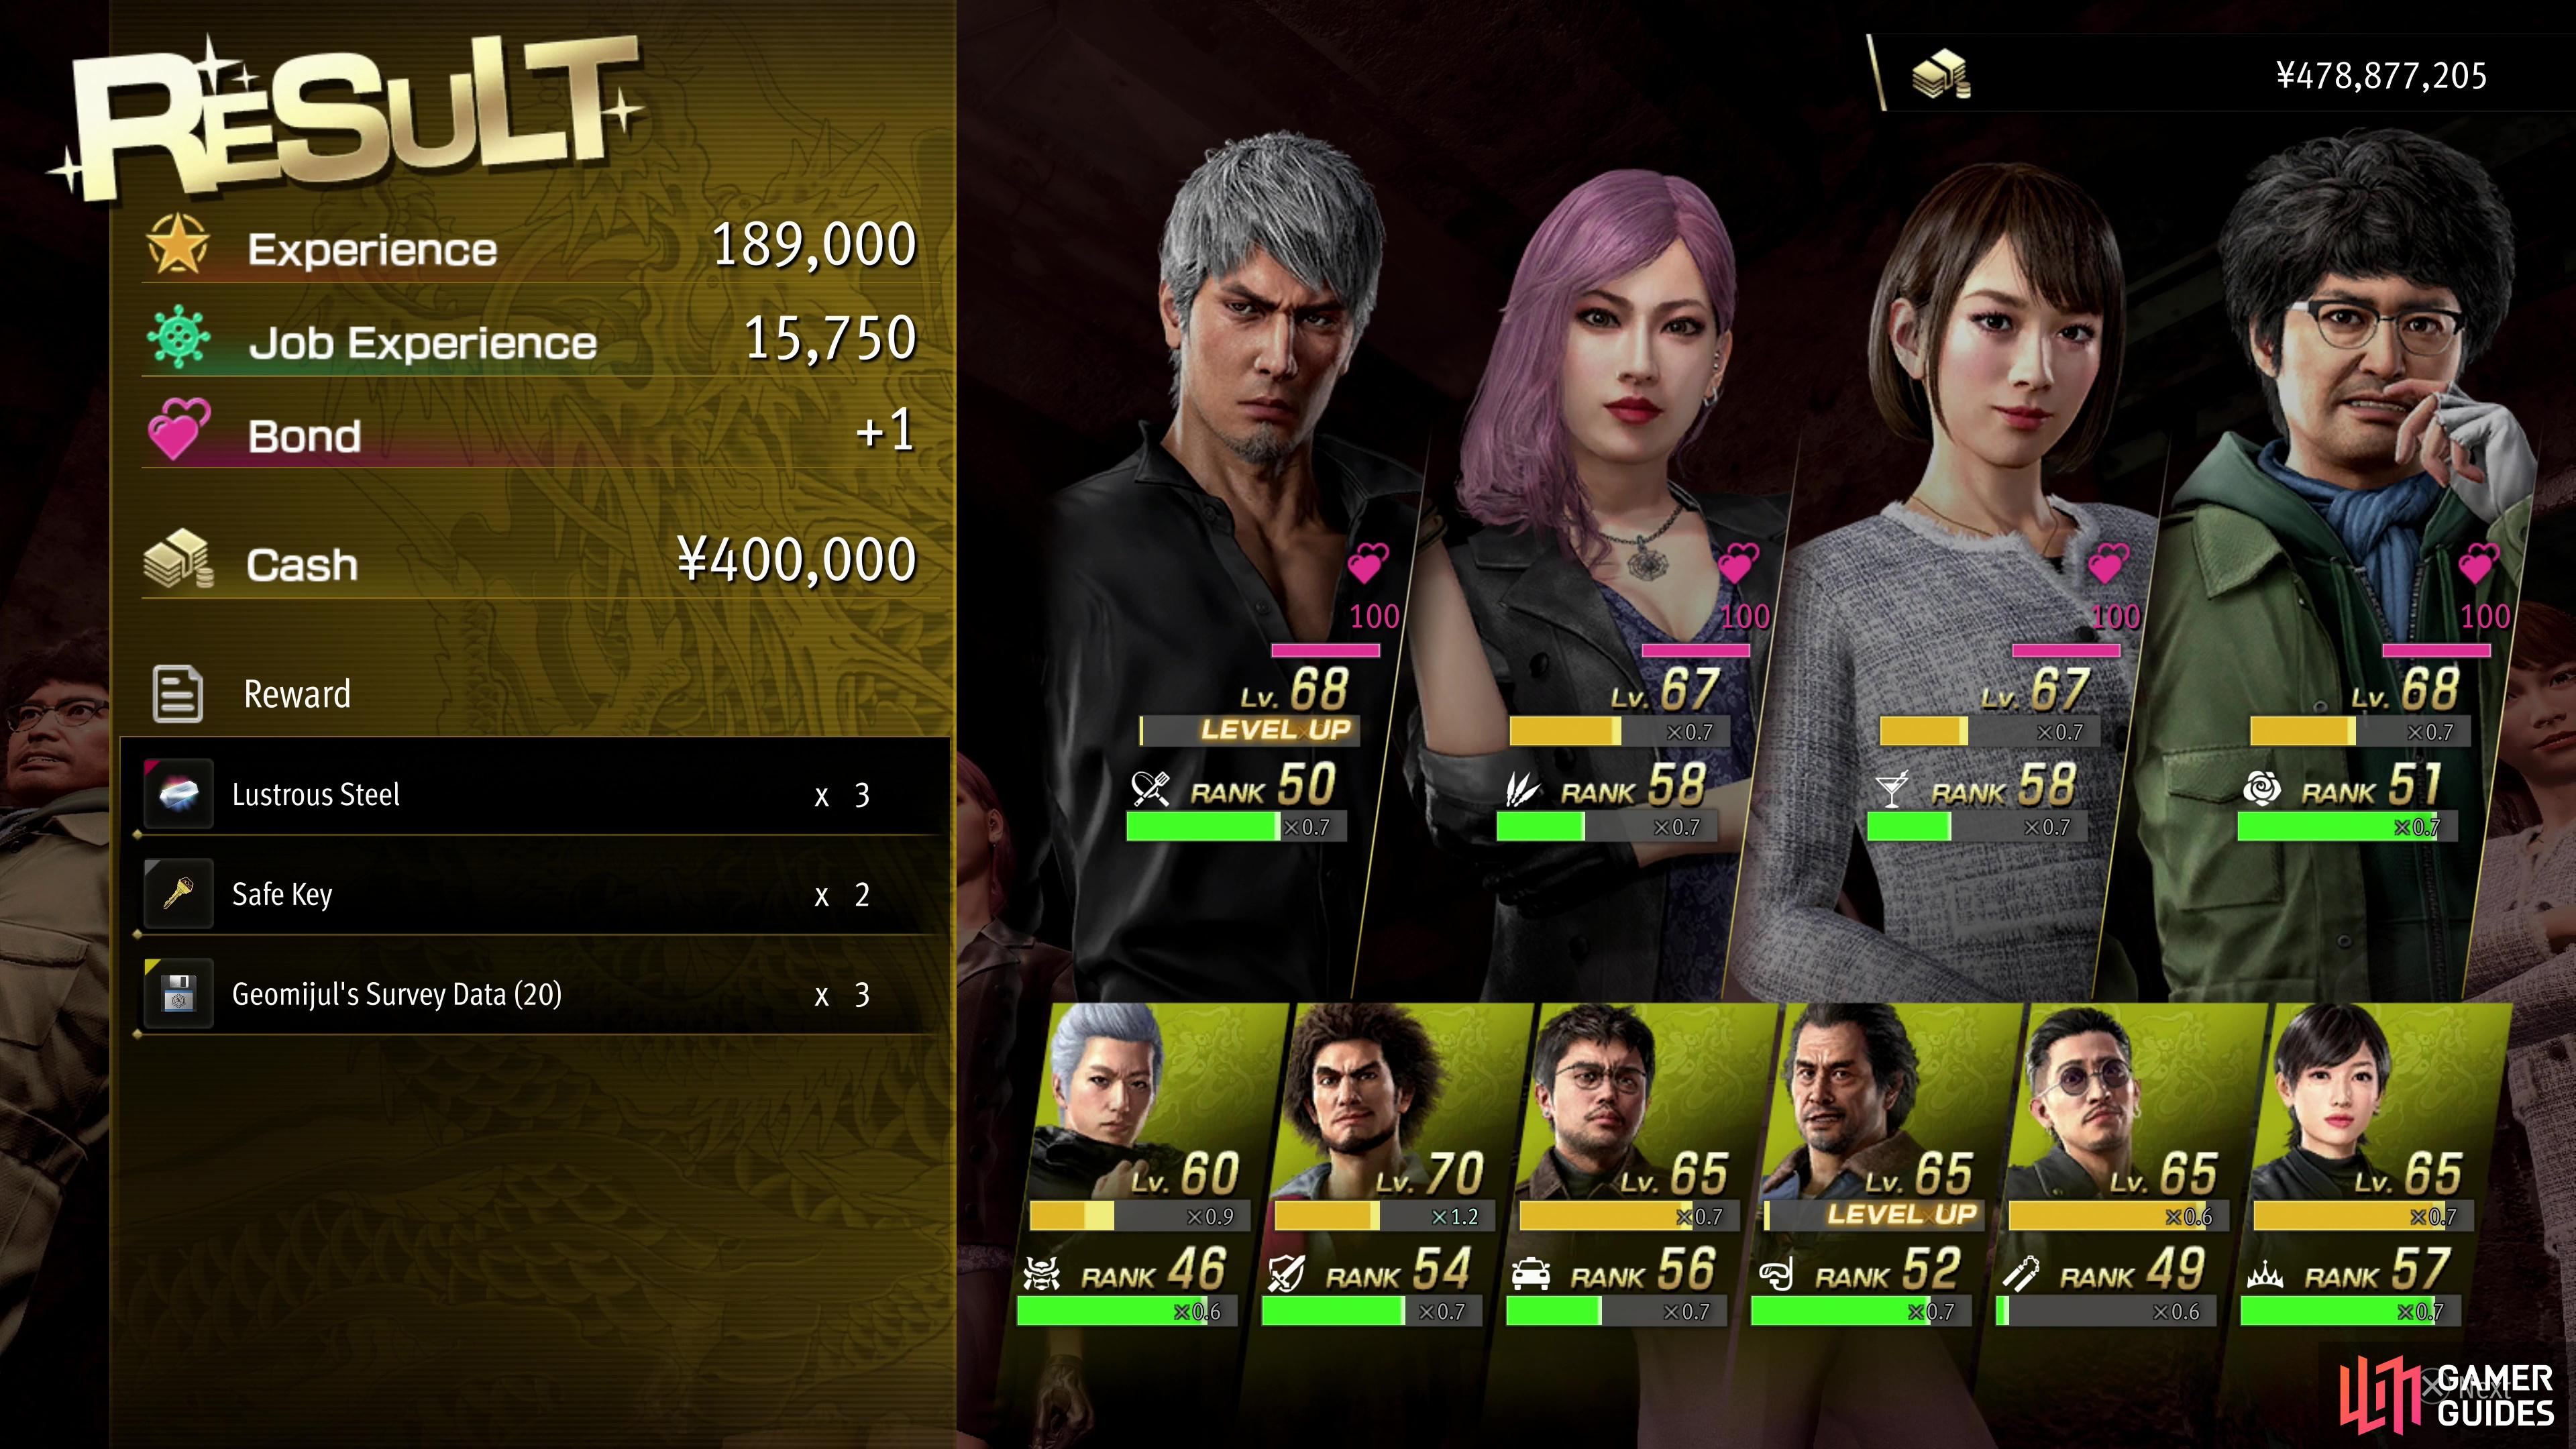
(1 of 2) Instead of Metalworms, you can encounter Invested Vagabonds in the Yokohama Underground,
Instead of Metalworms, you can encounter Invested Vagabonds in the Yokohama Underground, (left), which will yield an outrageous amount of EXP when defeated. (right)
-
You won’t find Metalworms in the Yokohama Underground. Instead you’ll encounter Transcendent Transients, who yield a massive amount of EXP instead of JEXP, making Yokohama Underground better at leveling your character, but worse at leveling Jobs.
-
You will find Geomijul’s Survey Data instead of Data Disks, which can be traded to
 Utamaru for a different list of rewards. Otherwise you can expect Geomijul’s Survey Data to work just like Data Disks - they can be found on the ground as shinies, gained by defeating enemies, or by completing floors. The deeper you go, the more you get from all sources.
 -
The chest layout is a bit different in Yokohama Underground - they still spawn more often on floors 3 and 4 (out of every five floors), but this is less strict, and you can sometimes find two chests in a single room!
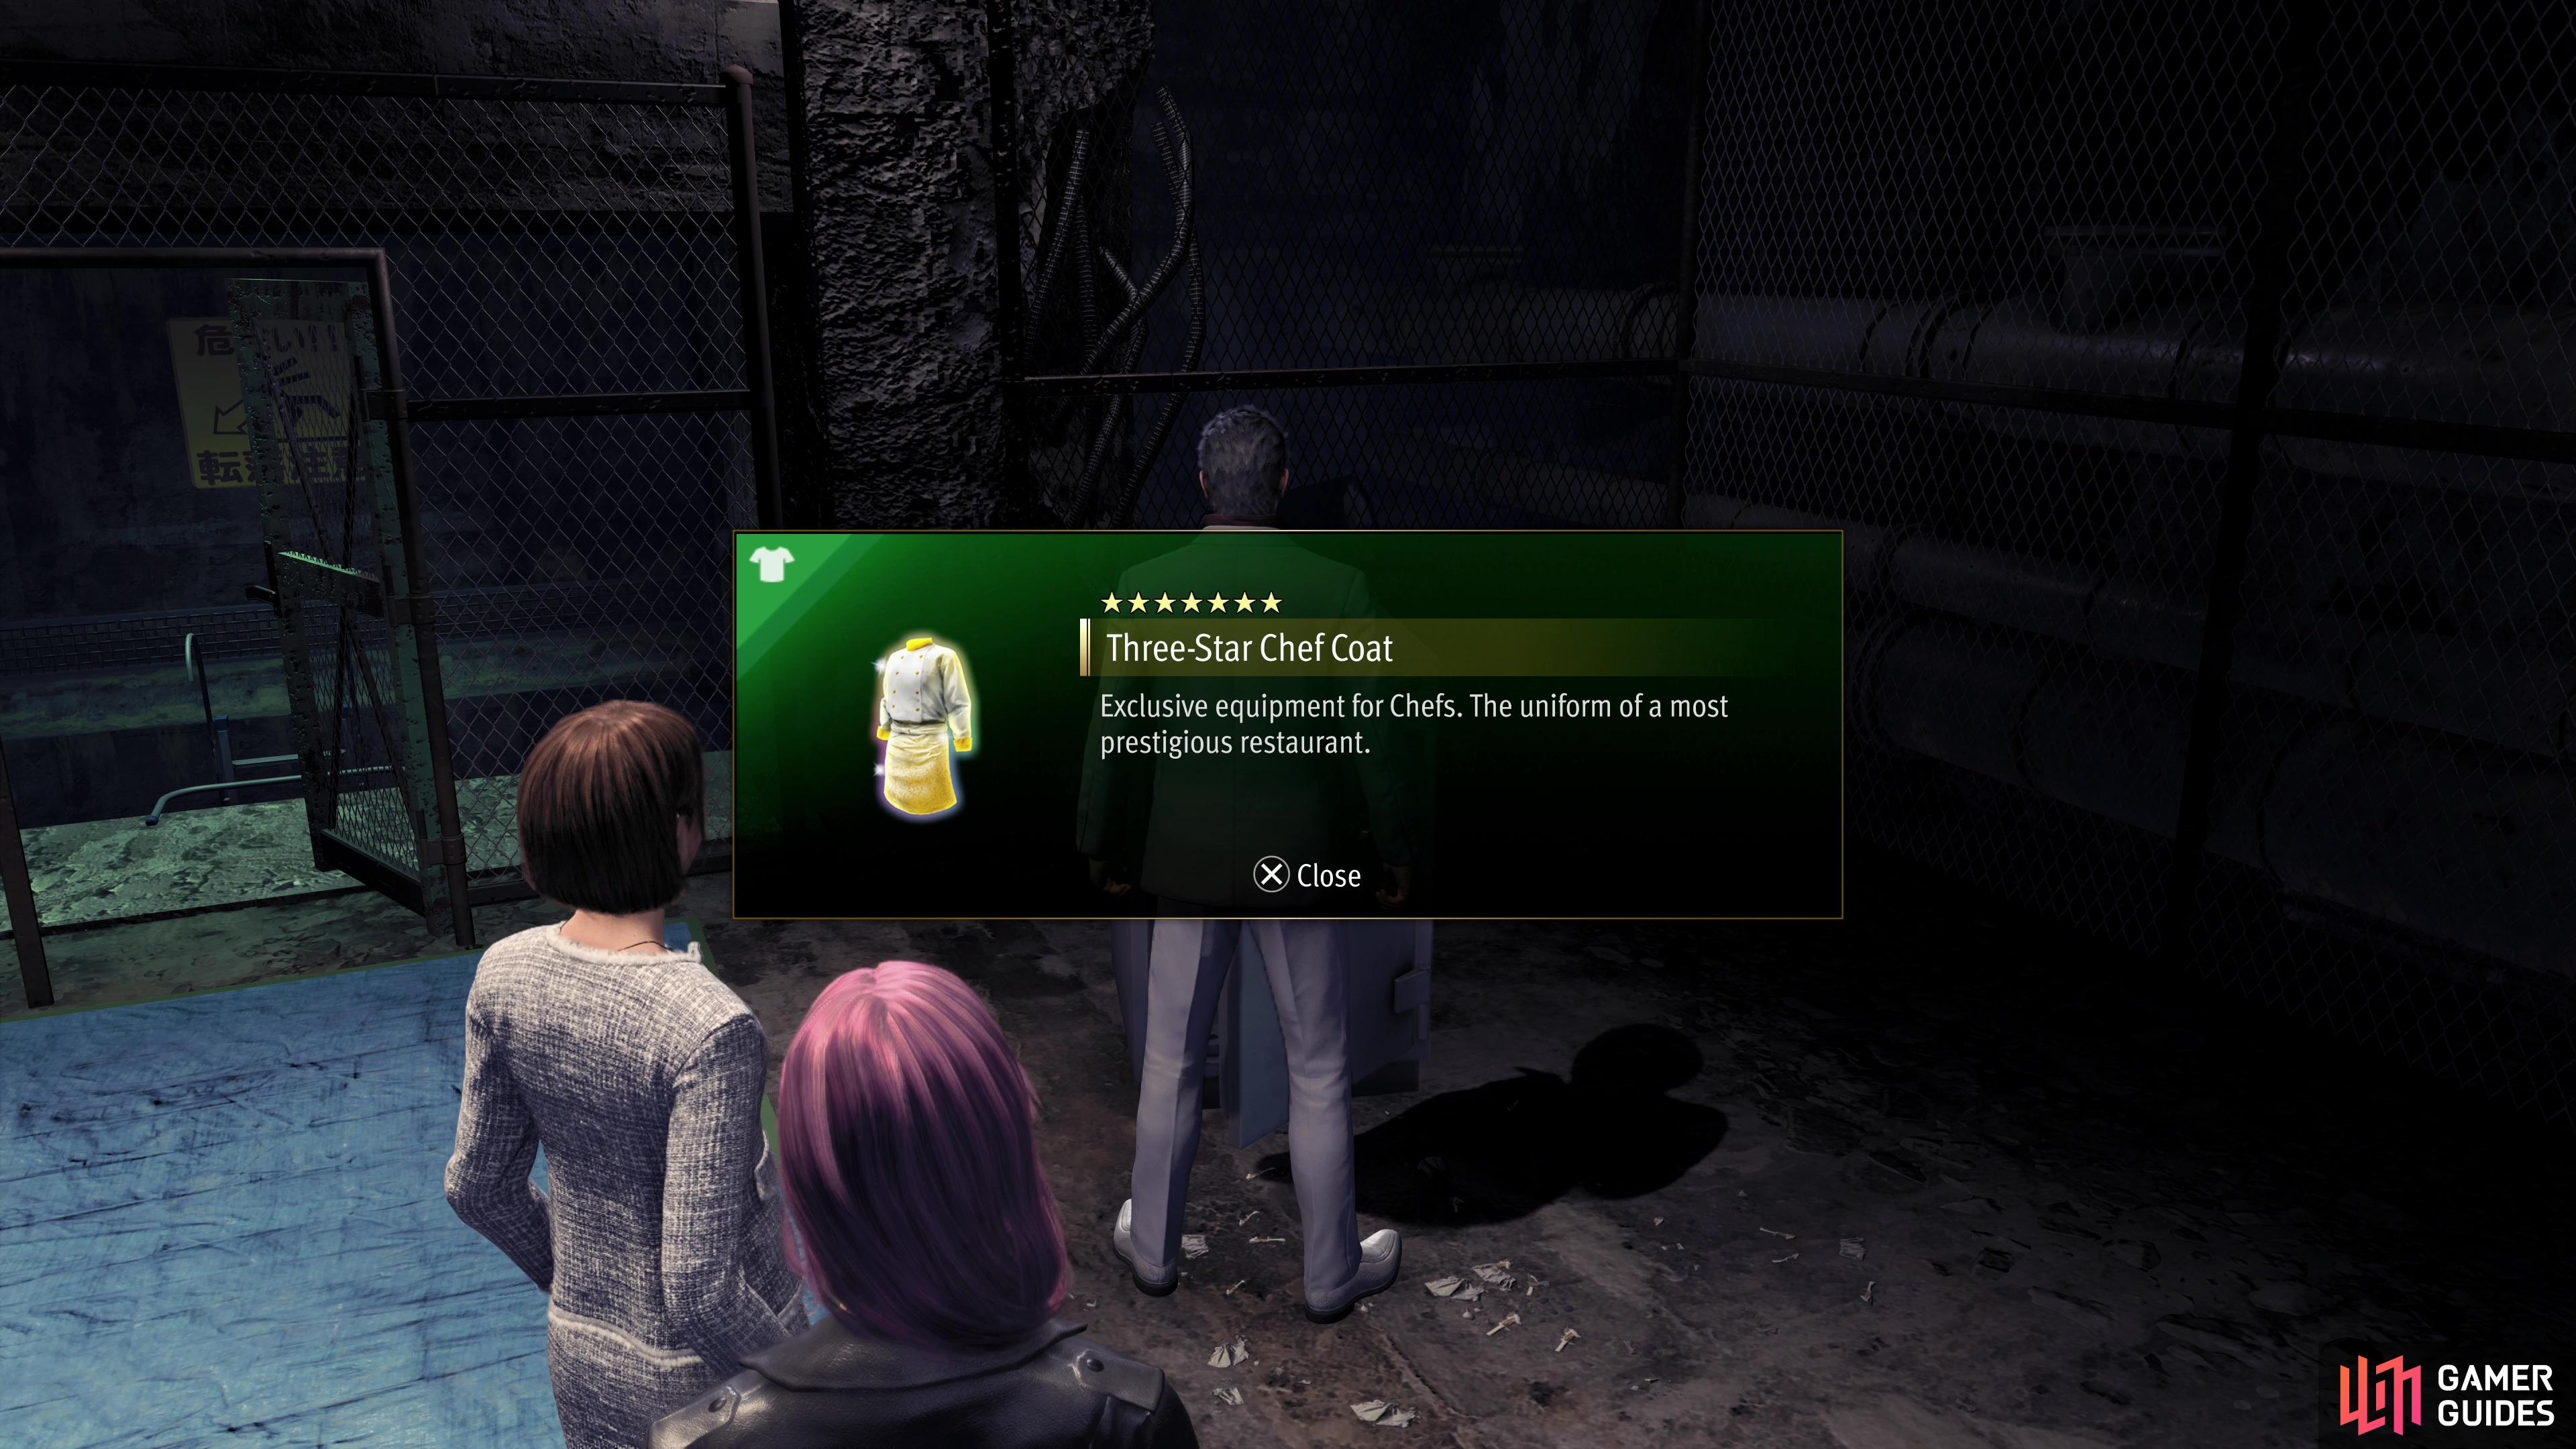
Be sure to keep an eye out for chests in Sector 3 and Sector 4, as they can yield seven star, class-exclusive armor.
| Sector 1 | Sector 2 | Sector 3 | Sector 4 |
|---|---|---|---|
| Armor of a Unified Nation | Home Mistress Dress | ||
| Combat Sword | Jonin Vest of the Iga-Ryu | No. 1 Jacket | |
| Super Lady Bondage | Representin’ Homies Top | ||
| Three-Star |
Shiny Dream Dress |
Yokohama Underground Rescue Rewards
Just like in the Hawaiian Haunt, you can find characters to rescue as you delve the depths of the Yokohama Underground, and aside from mostly cosmetic differences, this mechanic functions identically. There are twenty people to rescue, five in each Sector, and every time you rescue five people from the Yokohama Underground you can talk to Utamaru to earn a reward. Rescuing characters basically entails finding a mob of enemies surrounding a Geomijul agent, talking to the enemies and picking a fight, then defeating the special enemy and its minions. The rescued Geomijul agent will give you some Geomijul’s Survey Data before leaving. The rewards you’ll get for rescuing people from the Yokohama Underground are as follows:
| No. Rescued | Reward |
|---|---|
| 5 | |
| 10 | |
| 15 | |
| 20 | Shark Fin, Ultra Booster |

(1 of 2) Fighting, looting and advancing through the Yokohama Underground will net you Geomijul’s Survey Data,
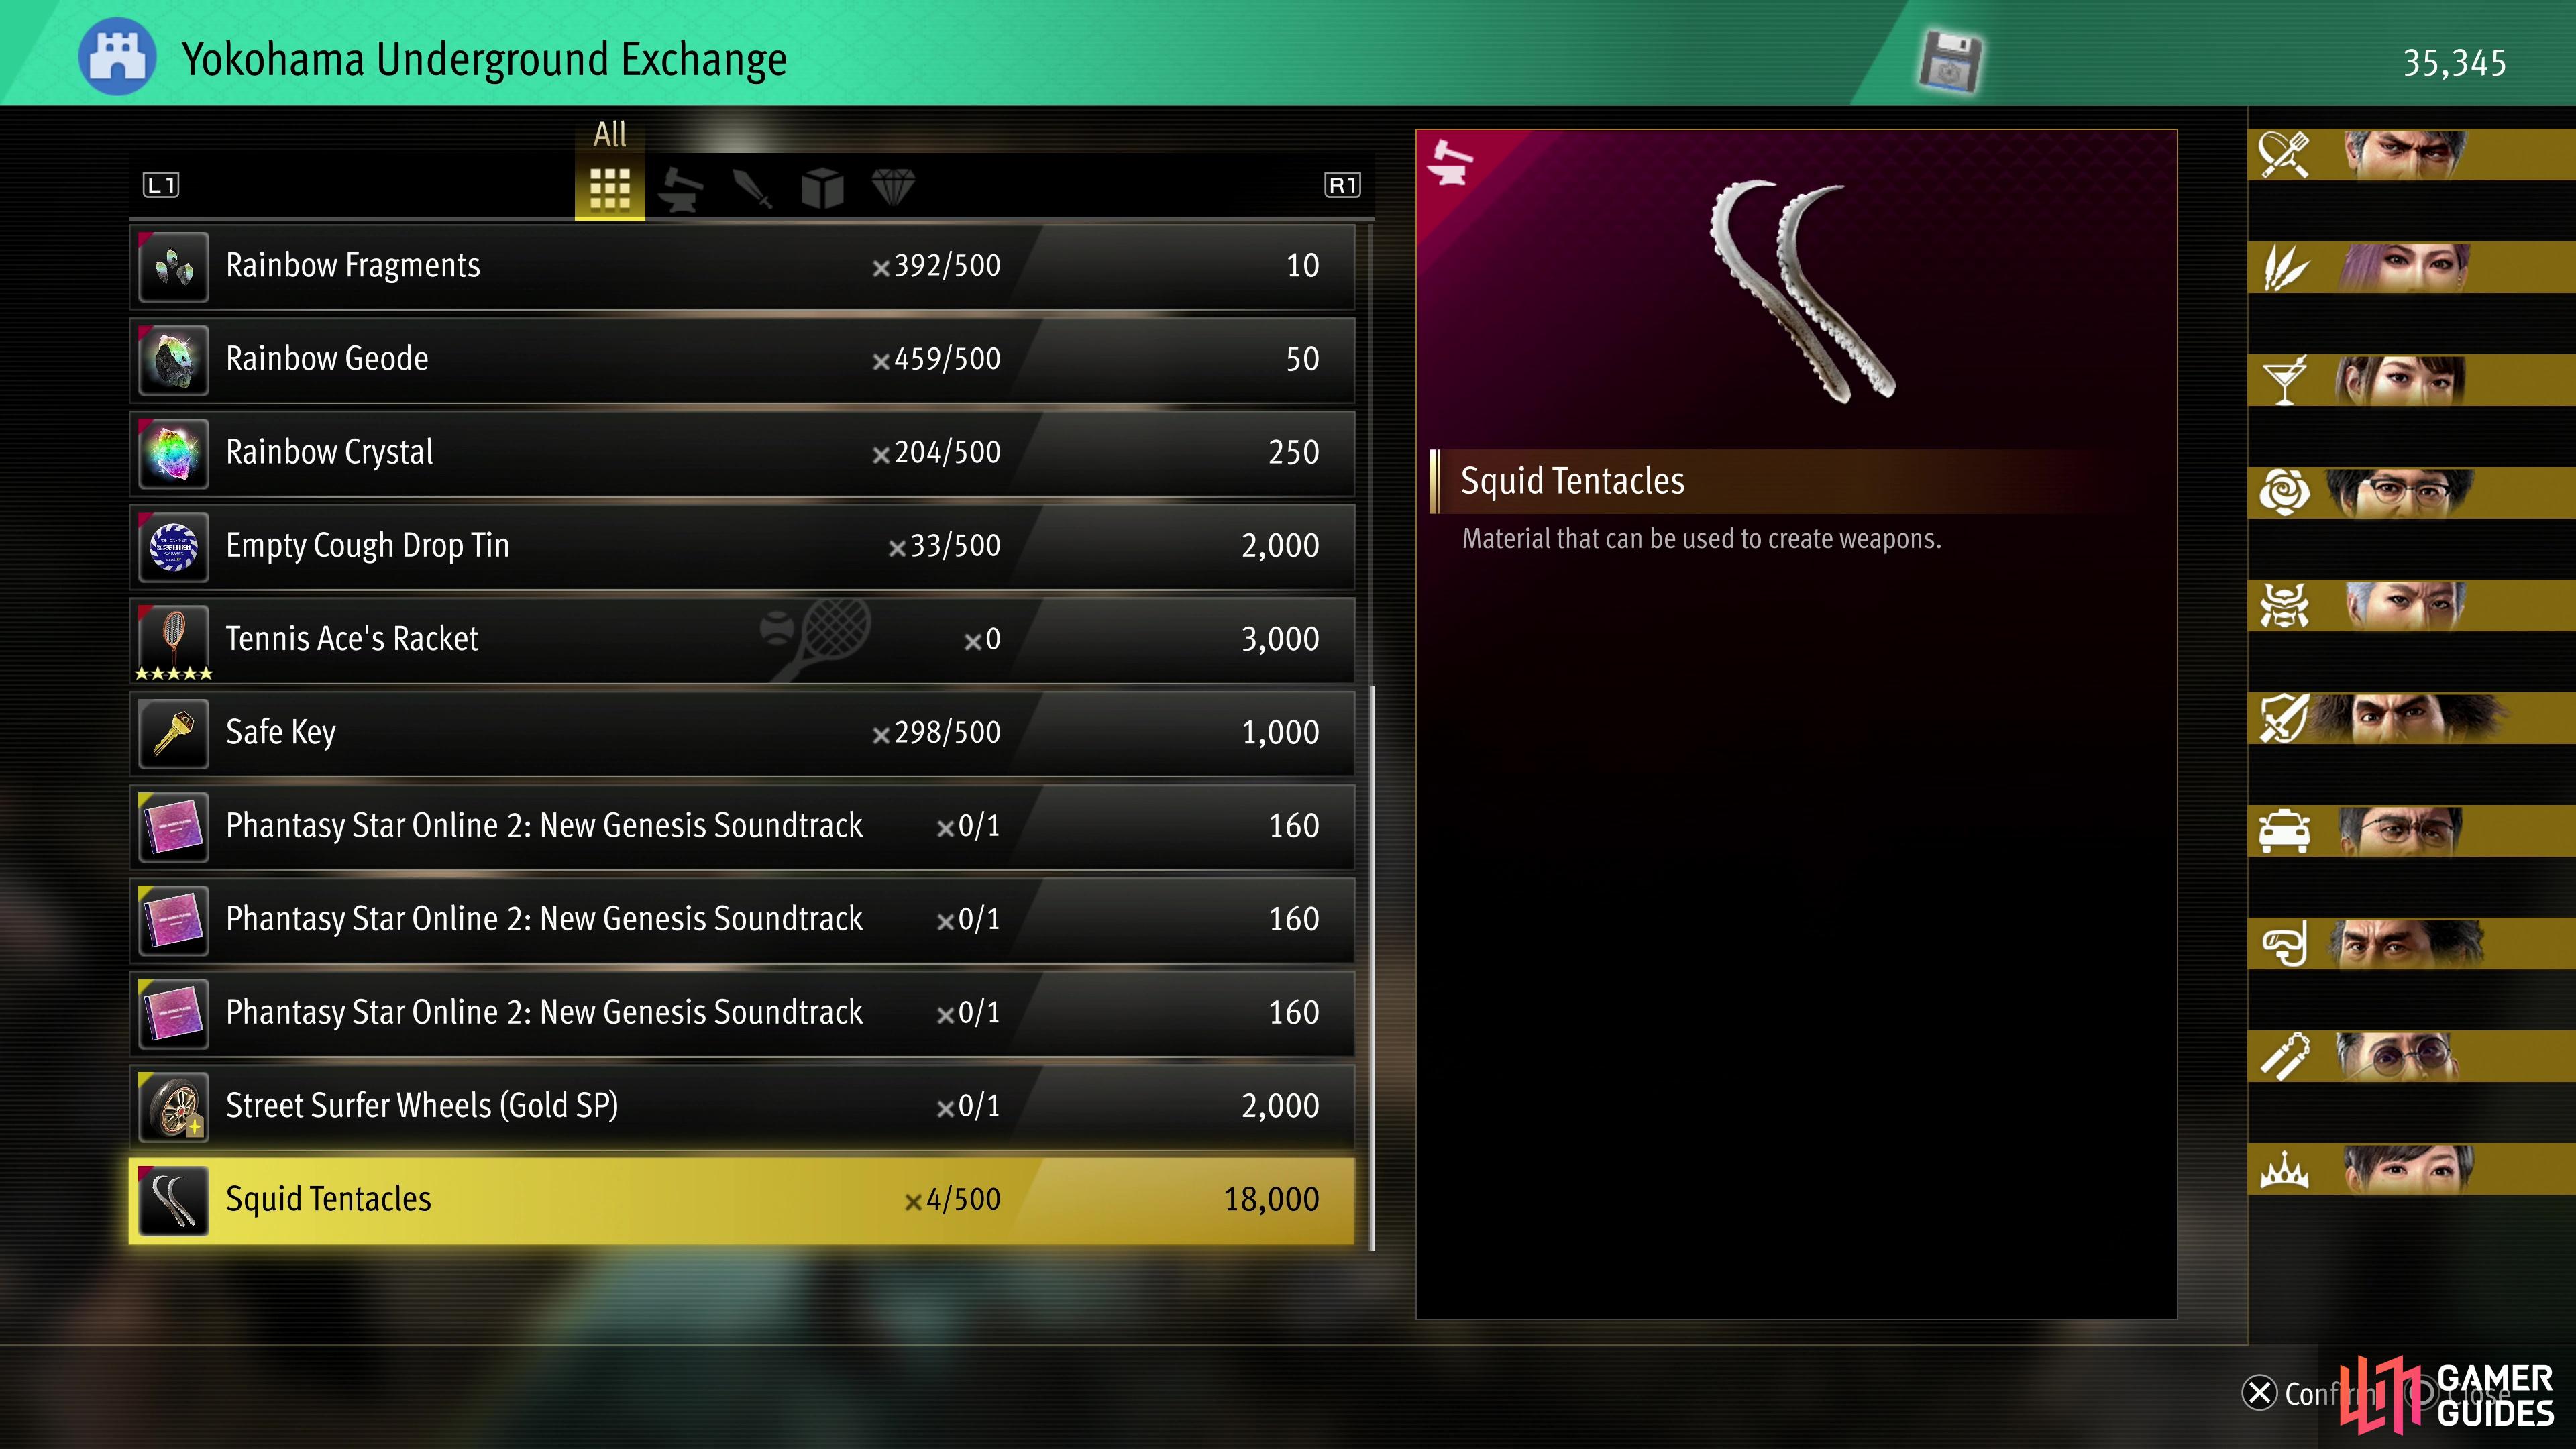
Fighting, looting and advancing through the Yokohama Underground will net you Geomijul’s Survey Data, (left), which can be traded for various rewards, including Squid Tentacles. (right)
Yokohama Underground Geomijul’s Survey Data Rewards
As mentioned above, as you explore the Yokohama Underground you’ll find Geomijul’s Survey Data, which serve the same role as Robo Disks in the Hawaiian Haunt. Essentially, this is their currency that you can exchange for prizes, just talk to Utamaru between runs. You’ll get Geomijul’s Survey Data by defeating enemies, picking up shinies on the ground, rescuing Geomijul agents and clearing floors - the deeper you are, the more Geomijul’s Survey Data you’ll get from all sources. The rewards you can get are as follows:
| Rewards | Geomijul’s Survey Data Cost |
|---|---|
| Lava Fragments | 10 |
| Lava Geode | 50 |
| Lava Crystal | 250 |
| Ice Fragments | 10 |
| Ice Geode | 50 |
| Ice Crystal | 250 |
| Electric Fragments | 10 |
| Electric Geode | 50 |
| Electric Crystal | 250 |
| Rainbow Fragments | 10 |
| Rainbow Geode | 50 |
| Rainbow Crystal | 250 |
| Empty Cough Drop Tin | 2000 |
| Tennis Ace’s Racket | 3,000 |
| Safe Key | 1,000 |
| Phantasy Star Online 2: New Genesis Soundtrack CD 1 | 160 |
| Phantasy Star Online 2: New Genesis Soundtrack CD 2 | 160 |
| Phantasy Star Online 2: New Genesis Soundtrack CD 3 | 160 |
| Street Surfer Wheels (Gold SP) | 2,000 |
| 18,000 |
While it’s a bit of a grind, the Yokohama Underground is one of the best places to farm Squid Tentacles, as not only can you (very rarely) pull them from suitcases, but getting enough Geomijul’s Survey Data will allow you to buy them outright. It’s a bit of a grind, so be sure you really want a weapon before wasting ![]() Squid Tentacles. You can also get Empty Cough Drop Tins here, too, which are used to upgrade ultimate weapons, but you’re better off just farming them from normal enemies that spawn at Shipper’s Wharf in Honolulu (Chapter 9 or later).
Squid Tentacles. You can also get Empty Cough Drop Tins here, too, which are used to upgrade ultimate weapons, but you’re better off just farming them from normal enemies that spawn at Shipper’s Wharf in Honolulu (Chapter 9 or later).
Yokohama Underground Sector 1
| Sector 1 Details | |
|---|---|
| Enemy Level Range | 32-35 |
| Crafting Components | Geodes |
| Chest Items | |
| Rescue Reward | |
| Midboss | Hollow Follower x5 (Lv32) |
| Midboss Reward | |
| Endboss | Nicotine Lich (Lv35), Massacre Mascot x3 (Lv35) |
| Endboss Reward | Bewitching Snake Blade (first time only), |
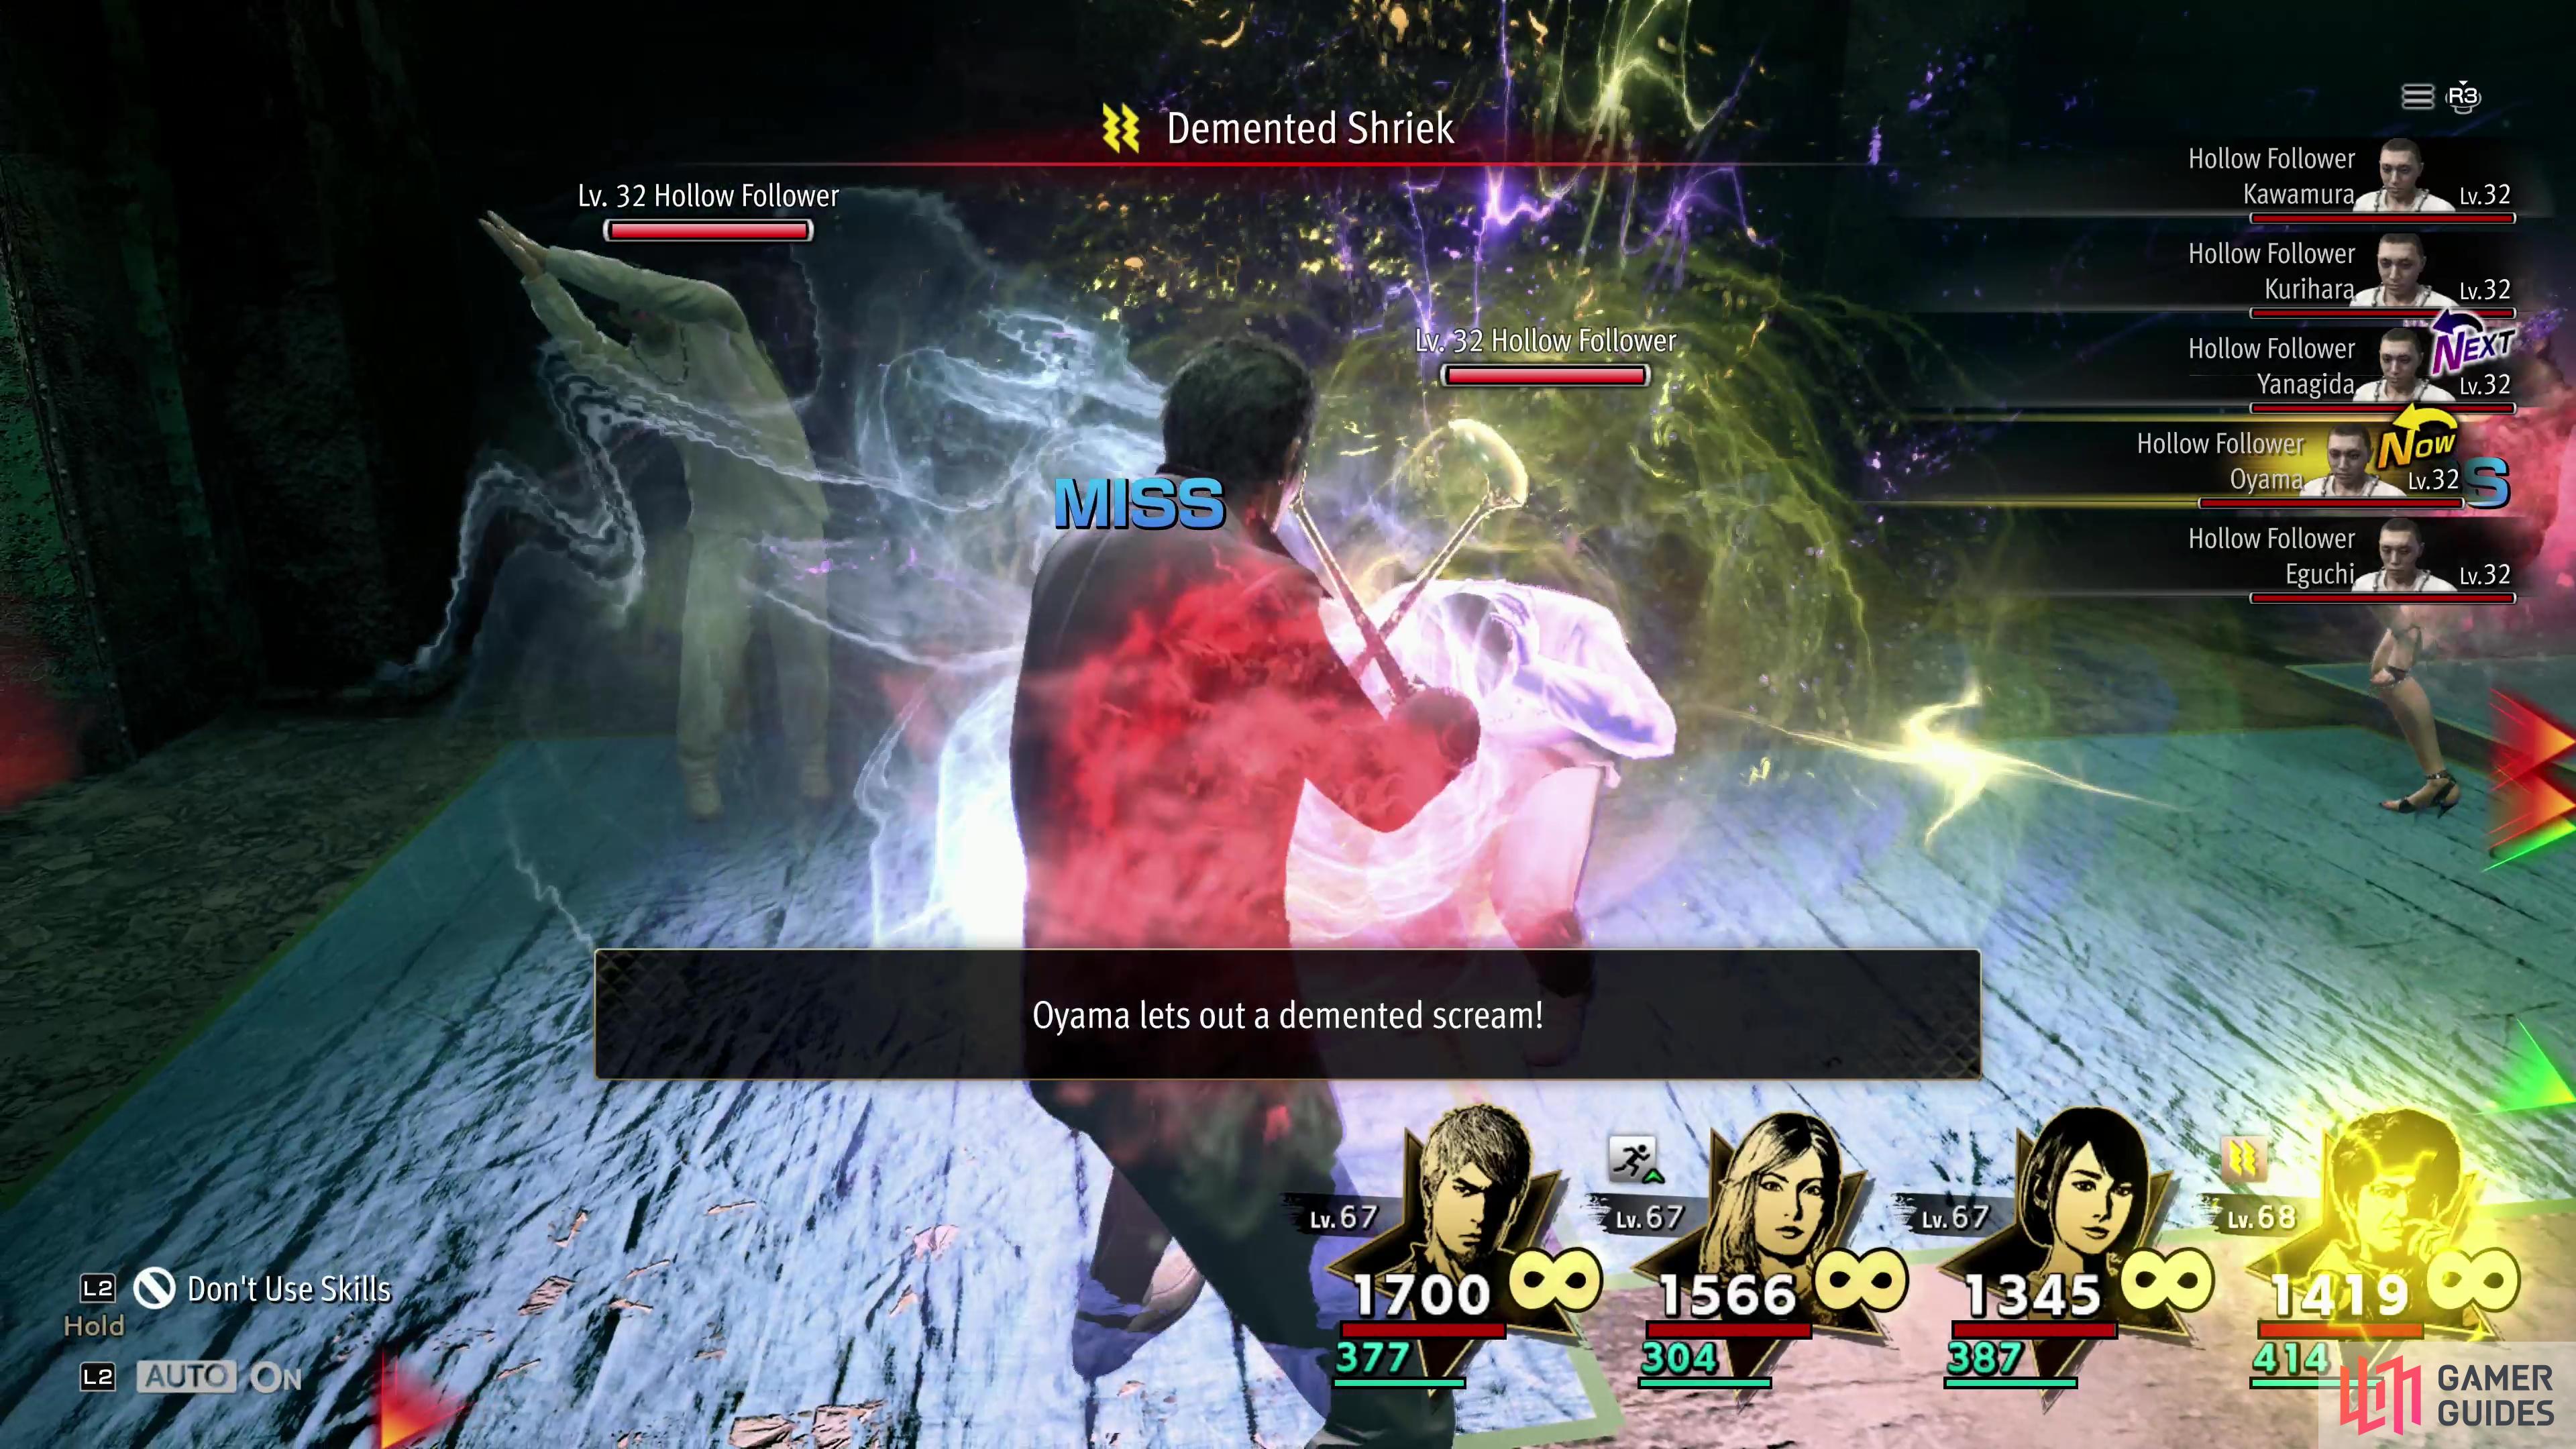
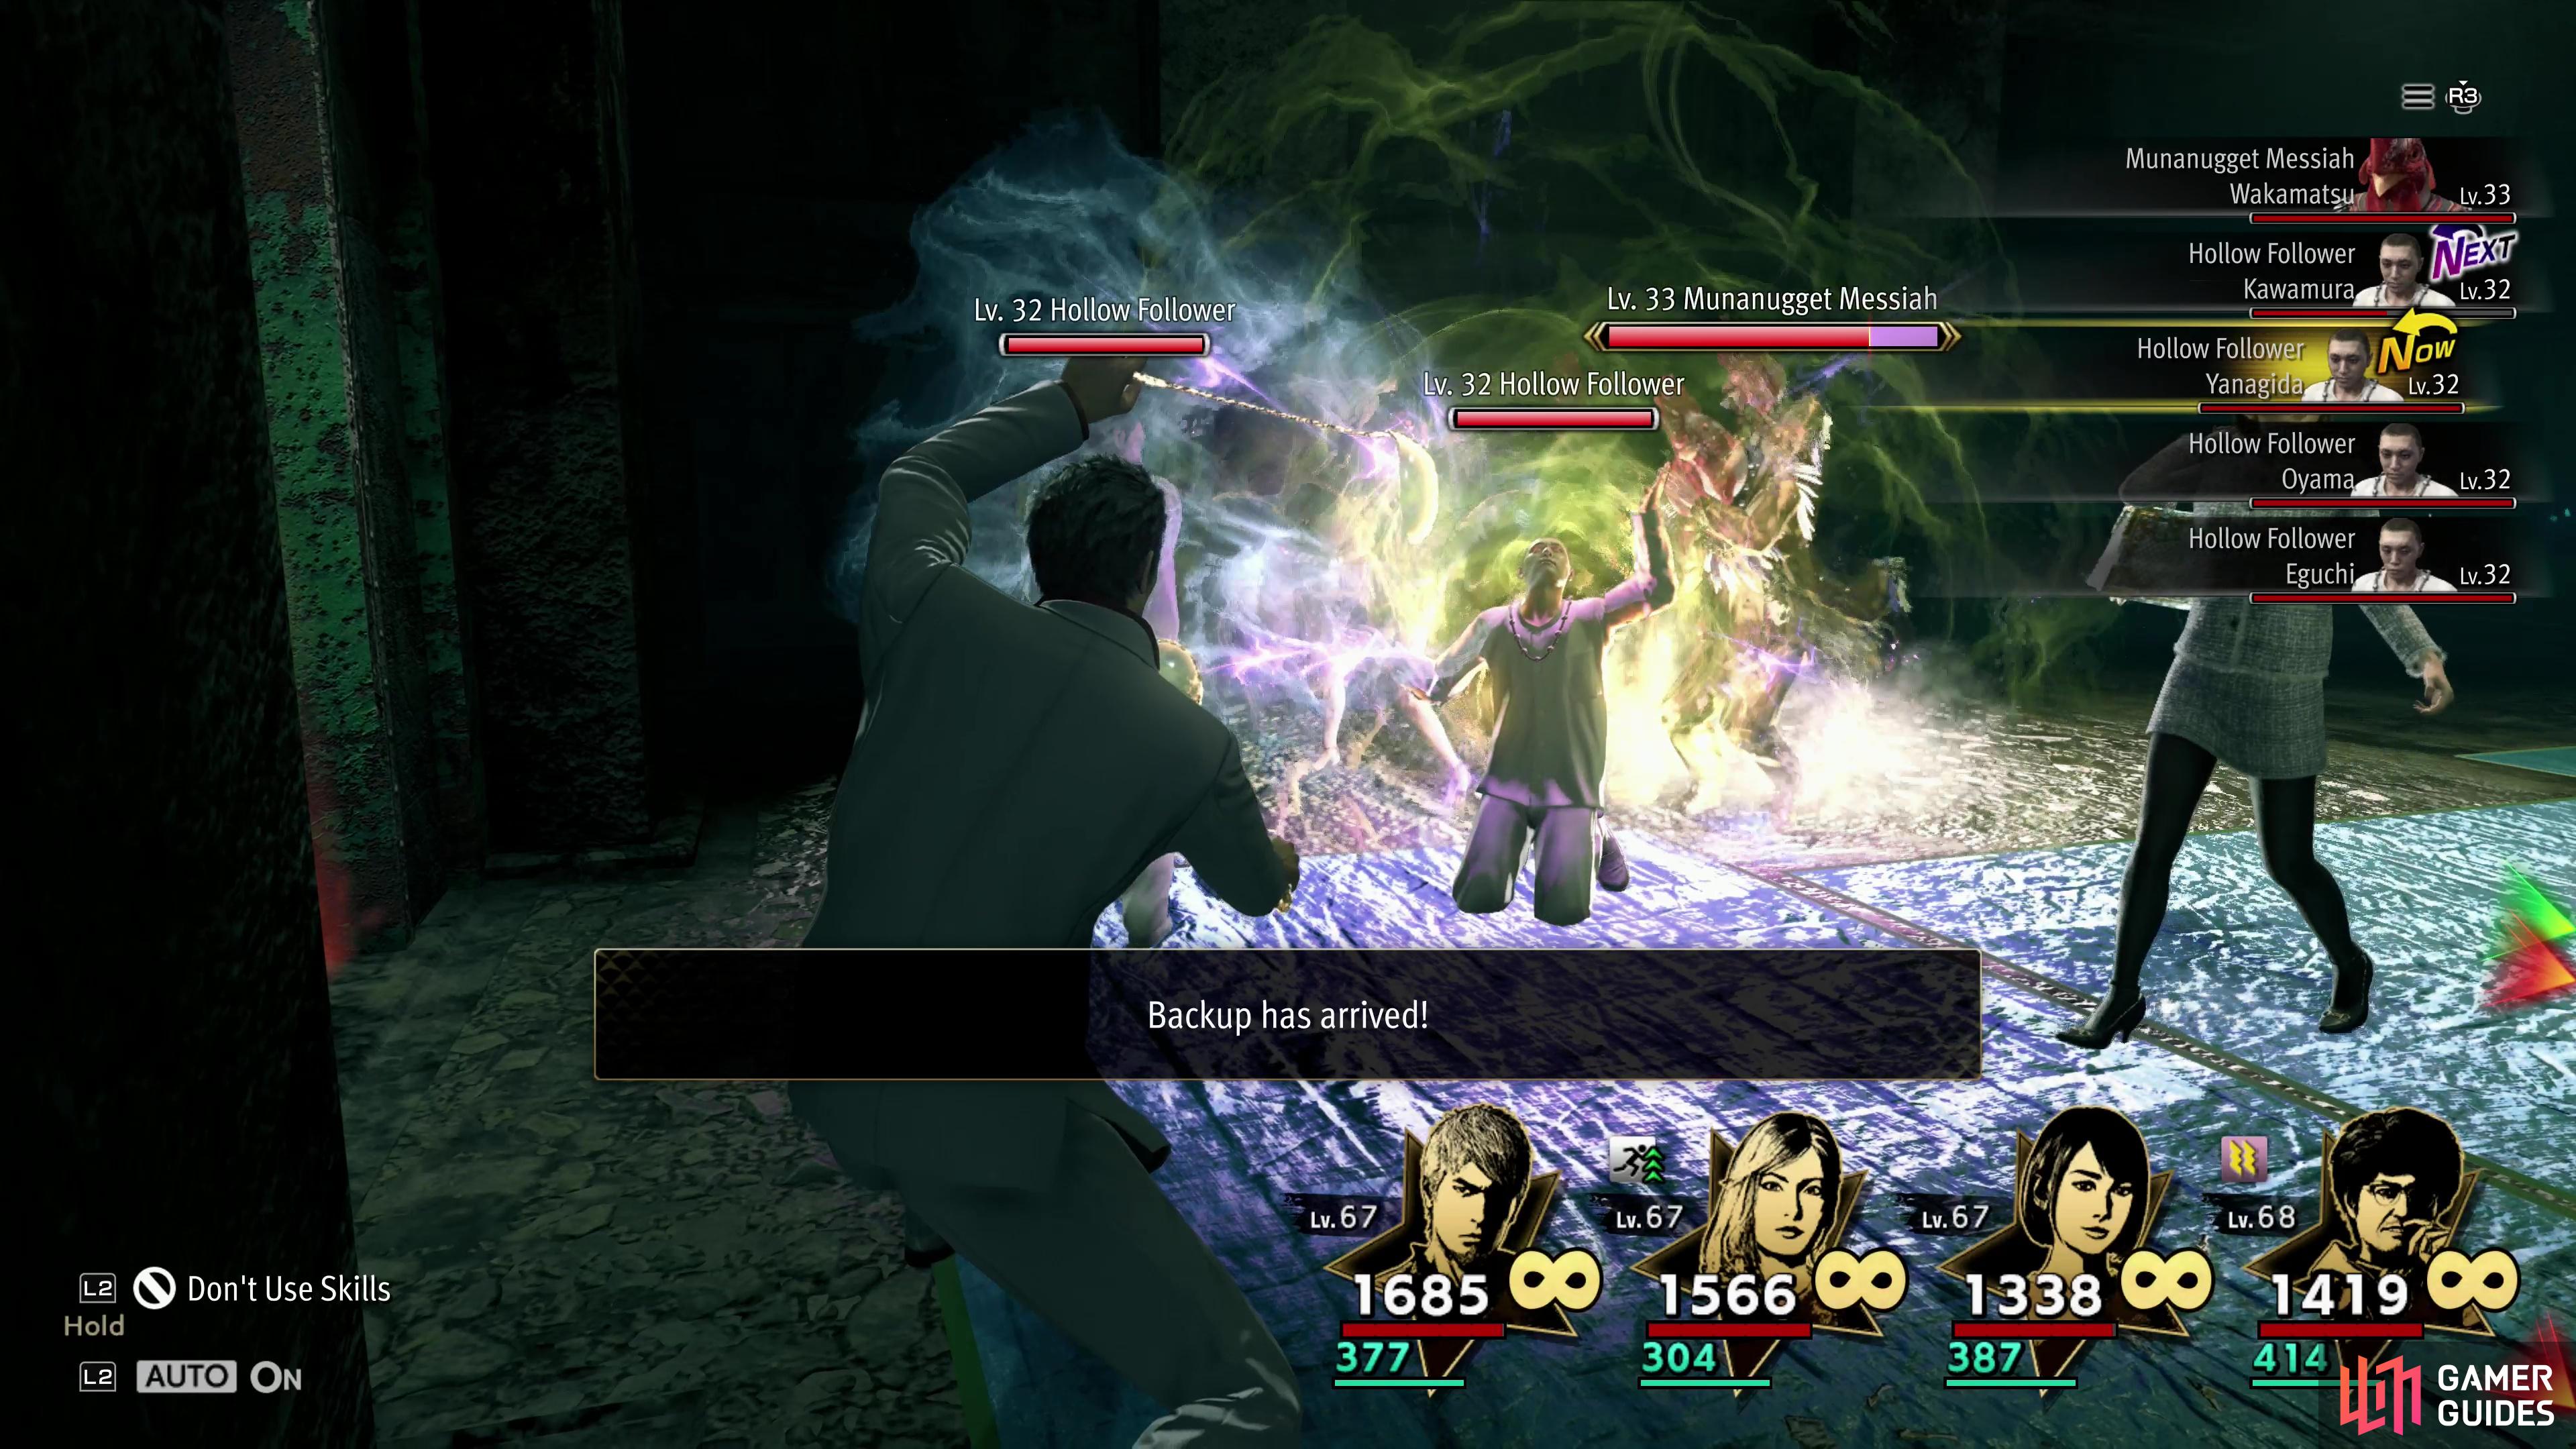
(1 of 2) Be wary of the Hollow Follower’s Demented Shriek ability, which can paralyze.
Be wary of the Hollow Follower’s Demented Shriek ability, which can paralyze. (left), When their numbers are depleted, the Hollow Followers may summon a Munanugget Messiah. (right)
Yokohama Underground Sector 1 Midboss - Hollow Follower x5
The Sector 1 midboss is a bit of an odd battle. If you’re not woefully underleveled, this should be a simple matter of sweeping aside what are effectively just five trash mobs. The Hollow Followers (Lv32) don’t put up much of a fight and aren’t terribly durable, even if they aren’t weak to anything. They can use Demented Shriek, an AoE that can inflict paralysis, and if their numbers are reduced they may manage to summon a more potent ally, a Munanugget Messiah (Lv33). This new foe can use buffs and debuffs, but doesn’t really alter the trajectory of the fight much. Just throw AoEs at these enemies and they should fall, and if not, you have no business being down in this dungeon - go level up. You’ll earn a ![]() Half Helmet for defeating these enemies.
Half Helmet for defeating these enemies.
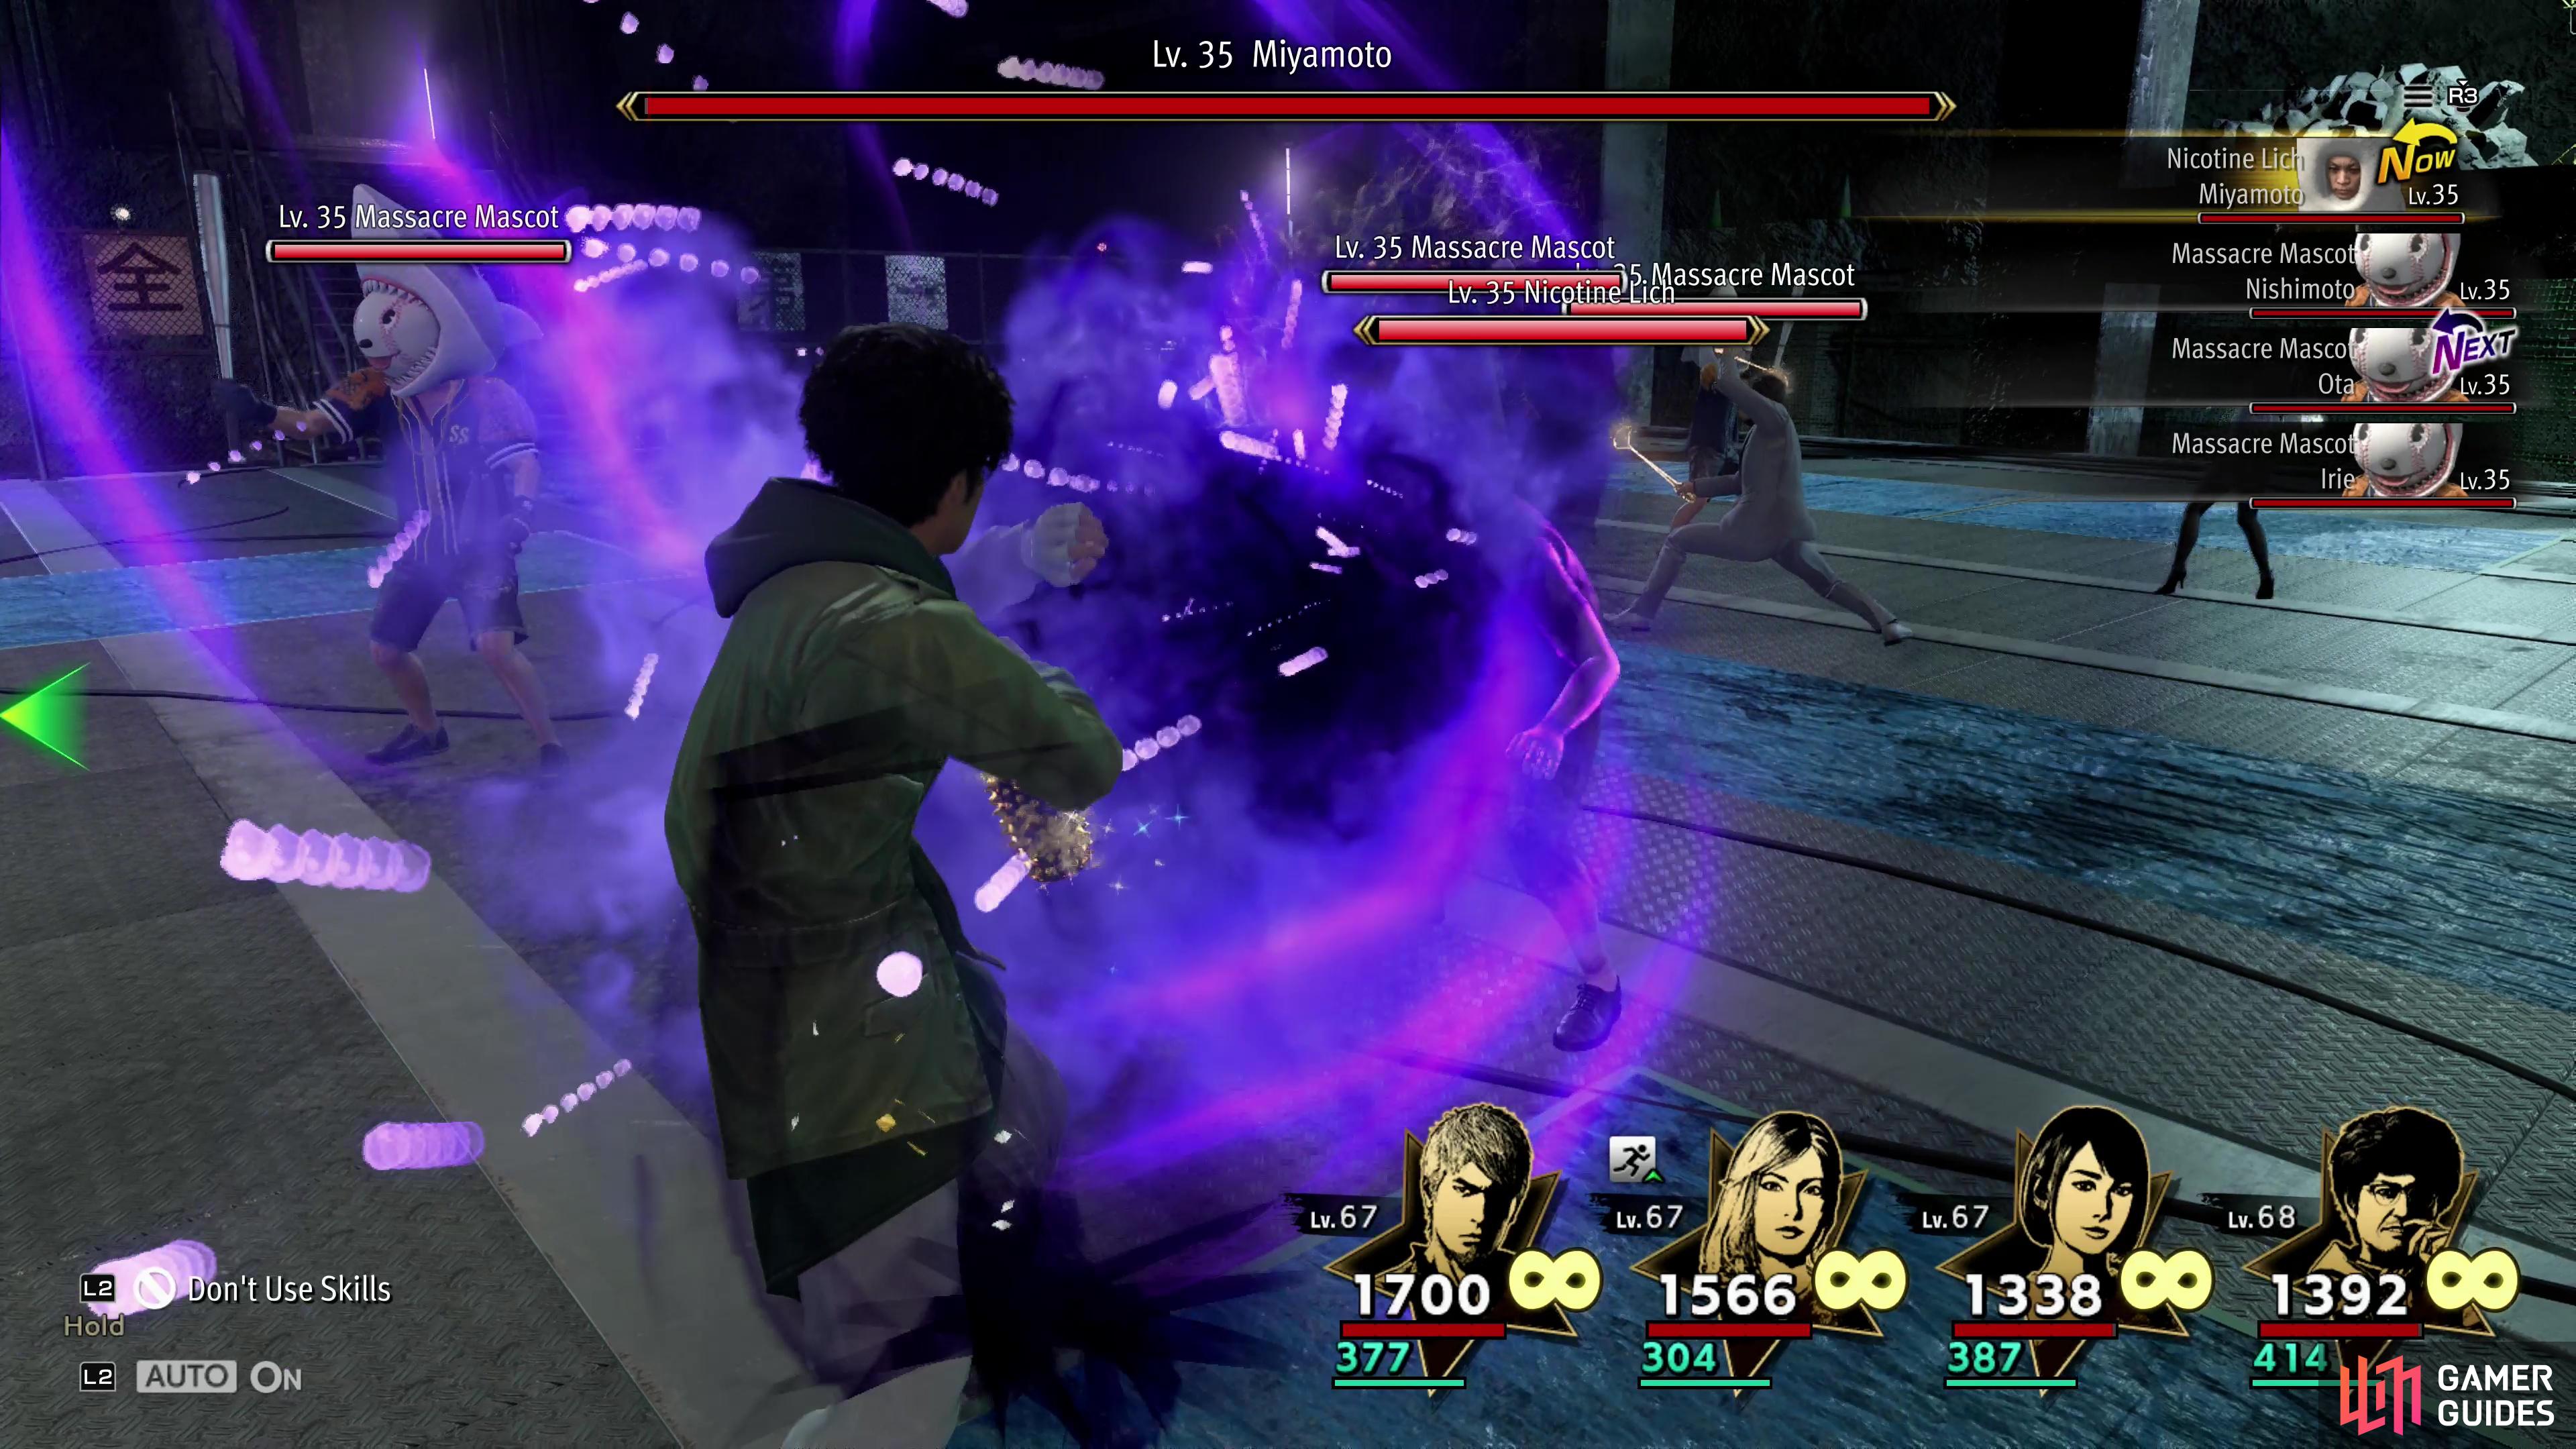
(1 of 2) The Nicotine Lich and his Massacre Mascot cronies can unleash various debuffs,
The Nicotine Lich and his Massacre Mascot cronies can unleash various debuffs, (left), but are weak to blade and ice attacks, respectively. (right)
Yokohama Underground Sector 1 Endboss - Nicotine Lich and Massacre Mascot x3
These enemies put up a bit more of a fight than the Sector 1 midboss, mostly due to their ability to inflict a variety of debuffs (rage, silence, poison). That said, they’re still not very durable, and the Nicotine Lich is weak to blade attacks and the Massacre Mascots are weak to ice, so attacks like Bubble Bale can absolutely clean up here. For defeating these enemies the first time you’ll score a Bewitching Snake Blade and for every subsequent clear, some ![]() Survival Boots.
Survival Boots.
Yokohama Underground Sector 2
| Sector 2 Details | |
|---|---|
| Enemy Level Range | 37-40 |
| Crafting Components | Geodes |
| Chest Items | |
| Rescue Reward | |
| Midboss | Sparkle Juggernaut (Lv38), Twitchy Streamer x3 (Lv37) |
| Midboss Reward | |
| Endboss | Angel of Megadeath (Lv40), Metal Headsman x2 (Lv40) |
| Endboss Reward |
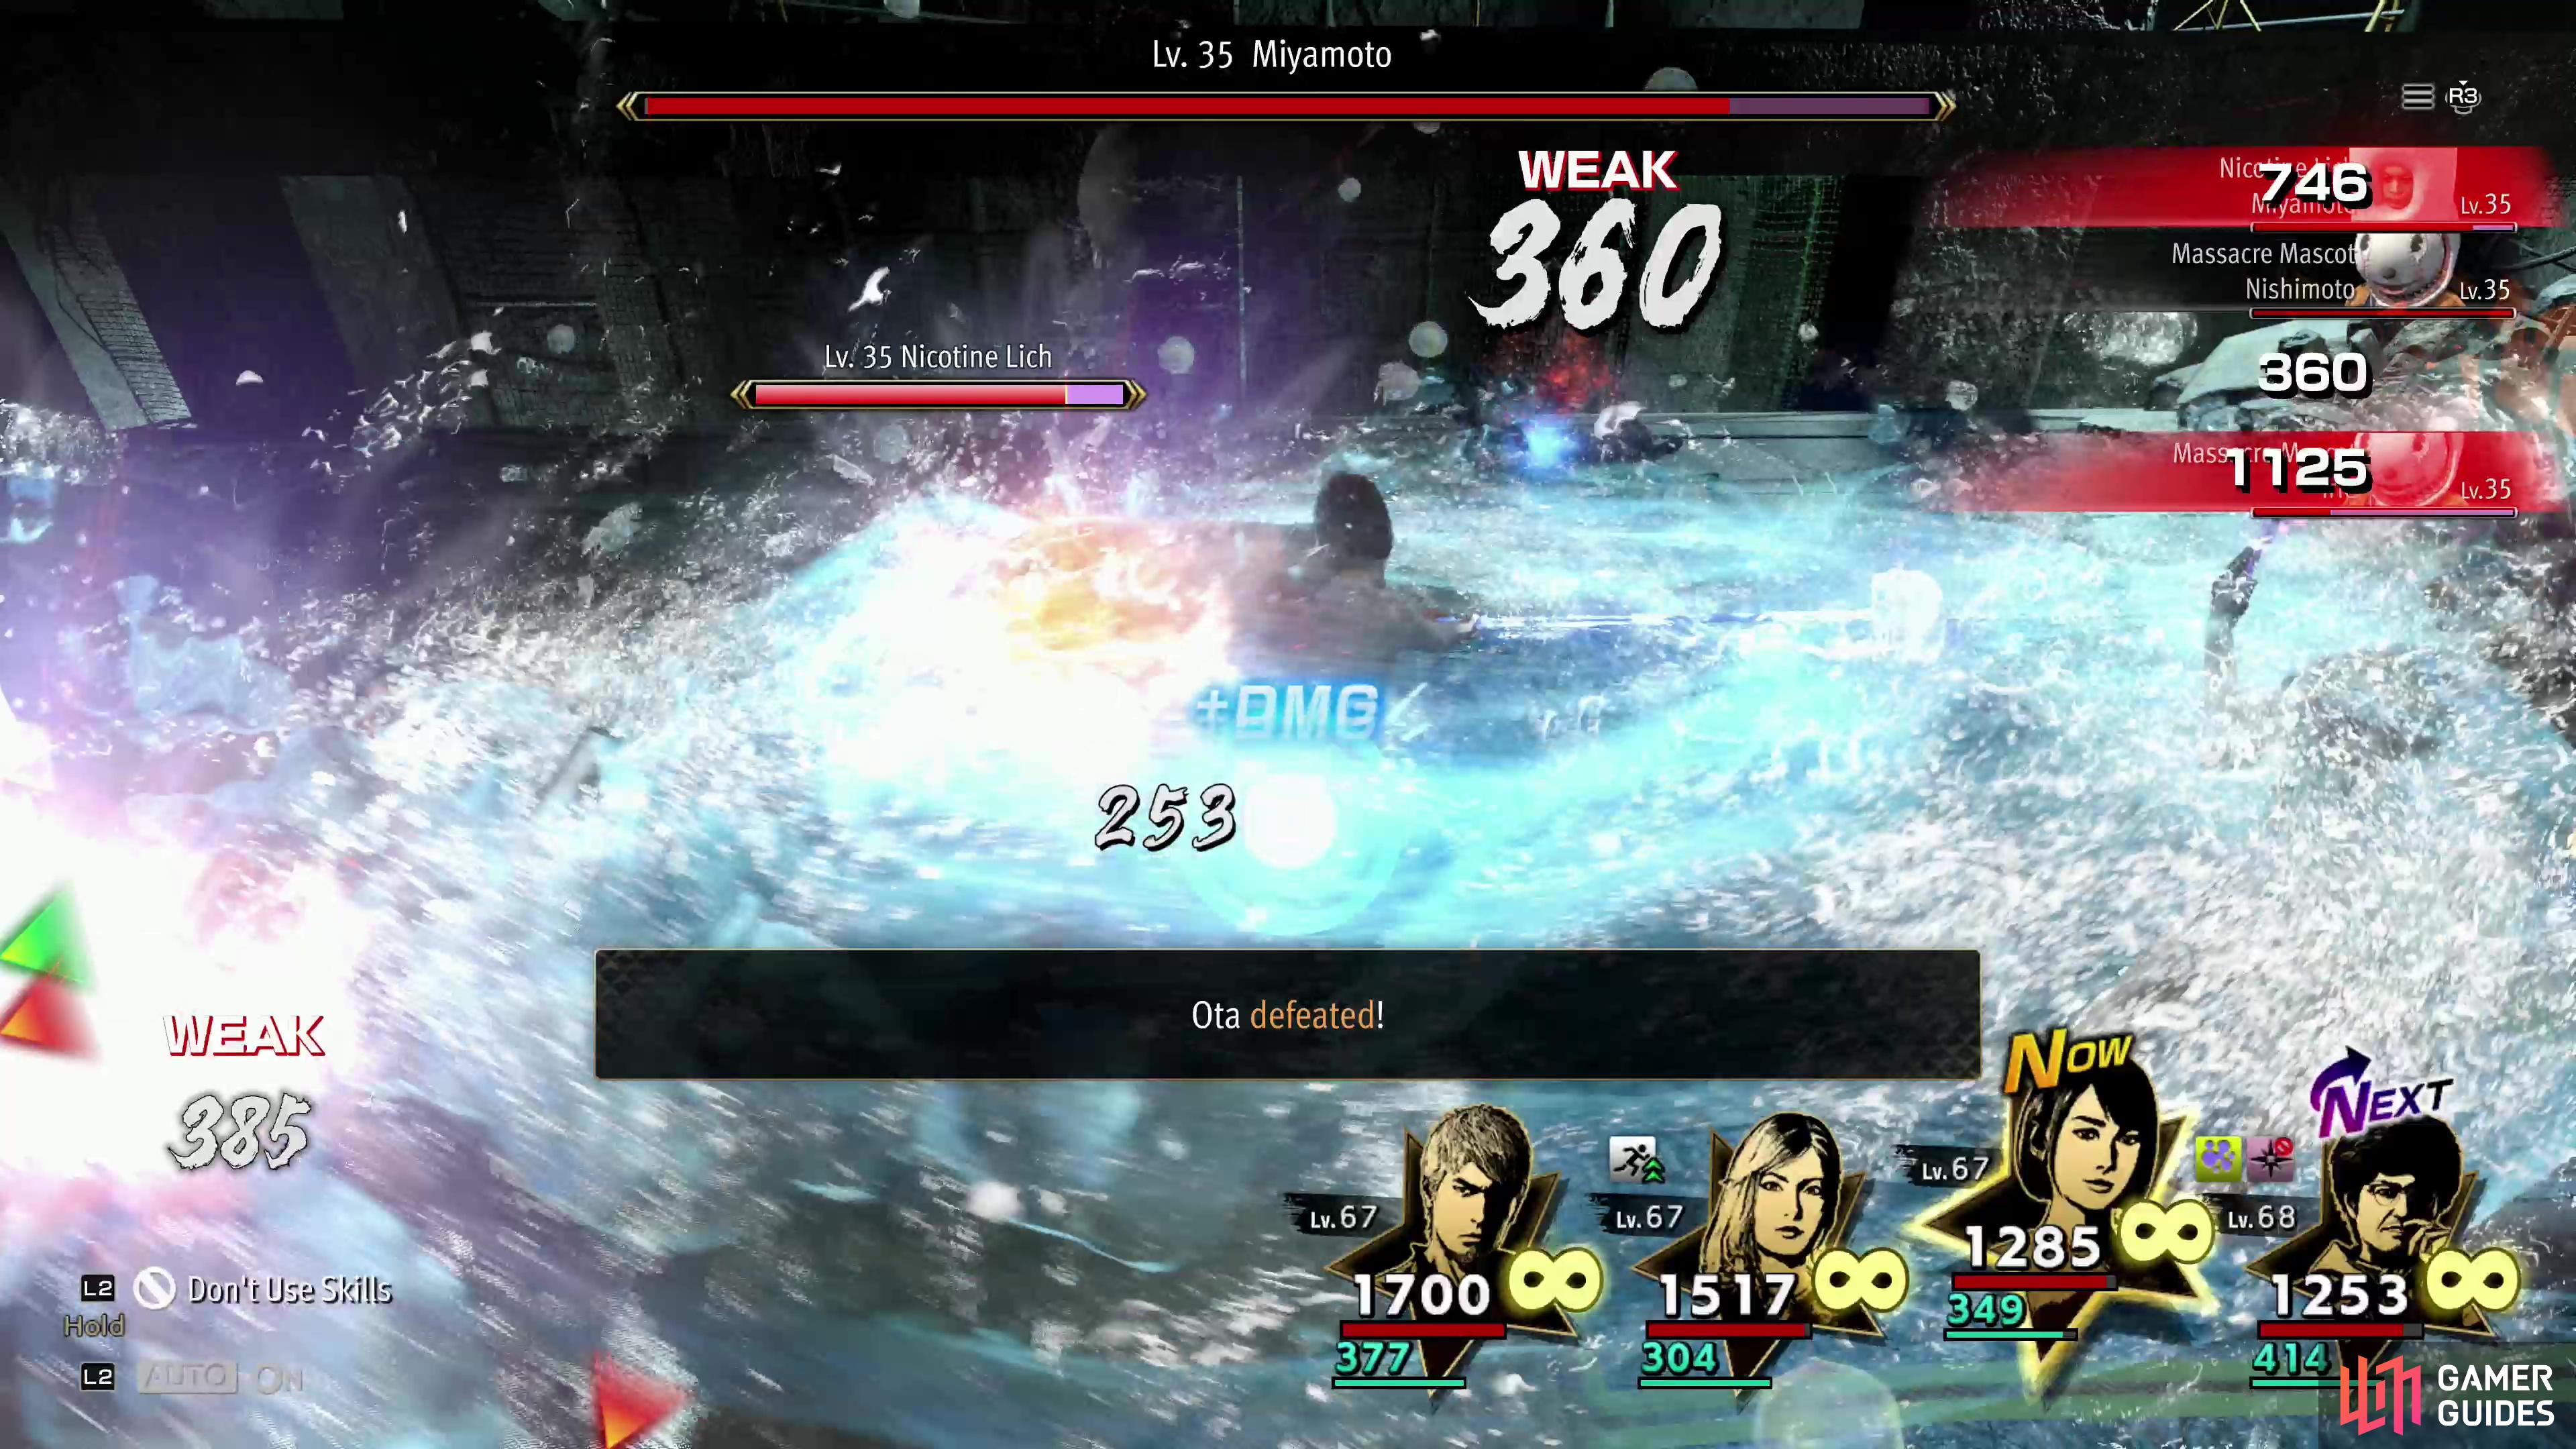
(1 of 2) Twitchy Streamers can drain your MP with Scandalous Shot,
Twitchy Streamers can drain your MP with Scandalous Shot, (left), keep them honest by blasting them with Burning Arrows, which should win this fight in short order. (right)
Yokohama Underground Sector 2 Midboss - Sparkle Juggernaut and Twitchy Streamer x3
A surprisingly easy fight, the three Twitchy Streamers can sap your MP with Scandalous Shot and lower Defense with Sudden Interview, but the former doesn’t bite deep when you can just visit a recovery point immediately after the battle. The Sparkle Juggernaut is moderately competent, offensively, and somewhat sturdy, but all these enemies have weaknesses; the Sparkle Juggernaut is weak to gun attacks and the Twitchy Streamers are weak to fire. That’s right, Burning Arrow clears this fight. Just spam Burning Arrow until the outcome of the battle is no longer in doubt (if indeed it ever was) and mop up. You’ll get a ![]() Cyber Helmet for clearing this speed bump.
Cyber Helmet for clearing this speed bump.
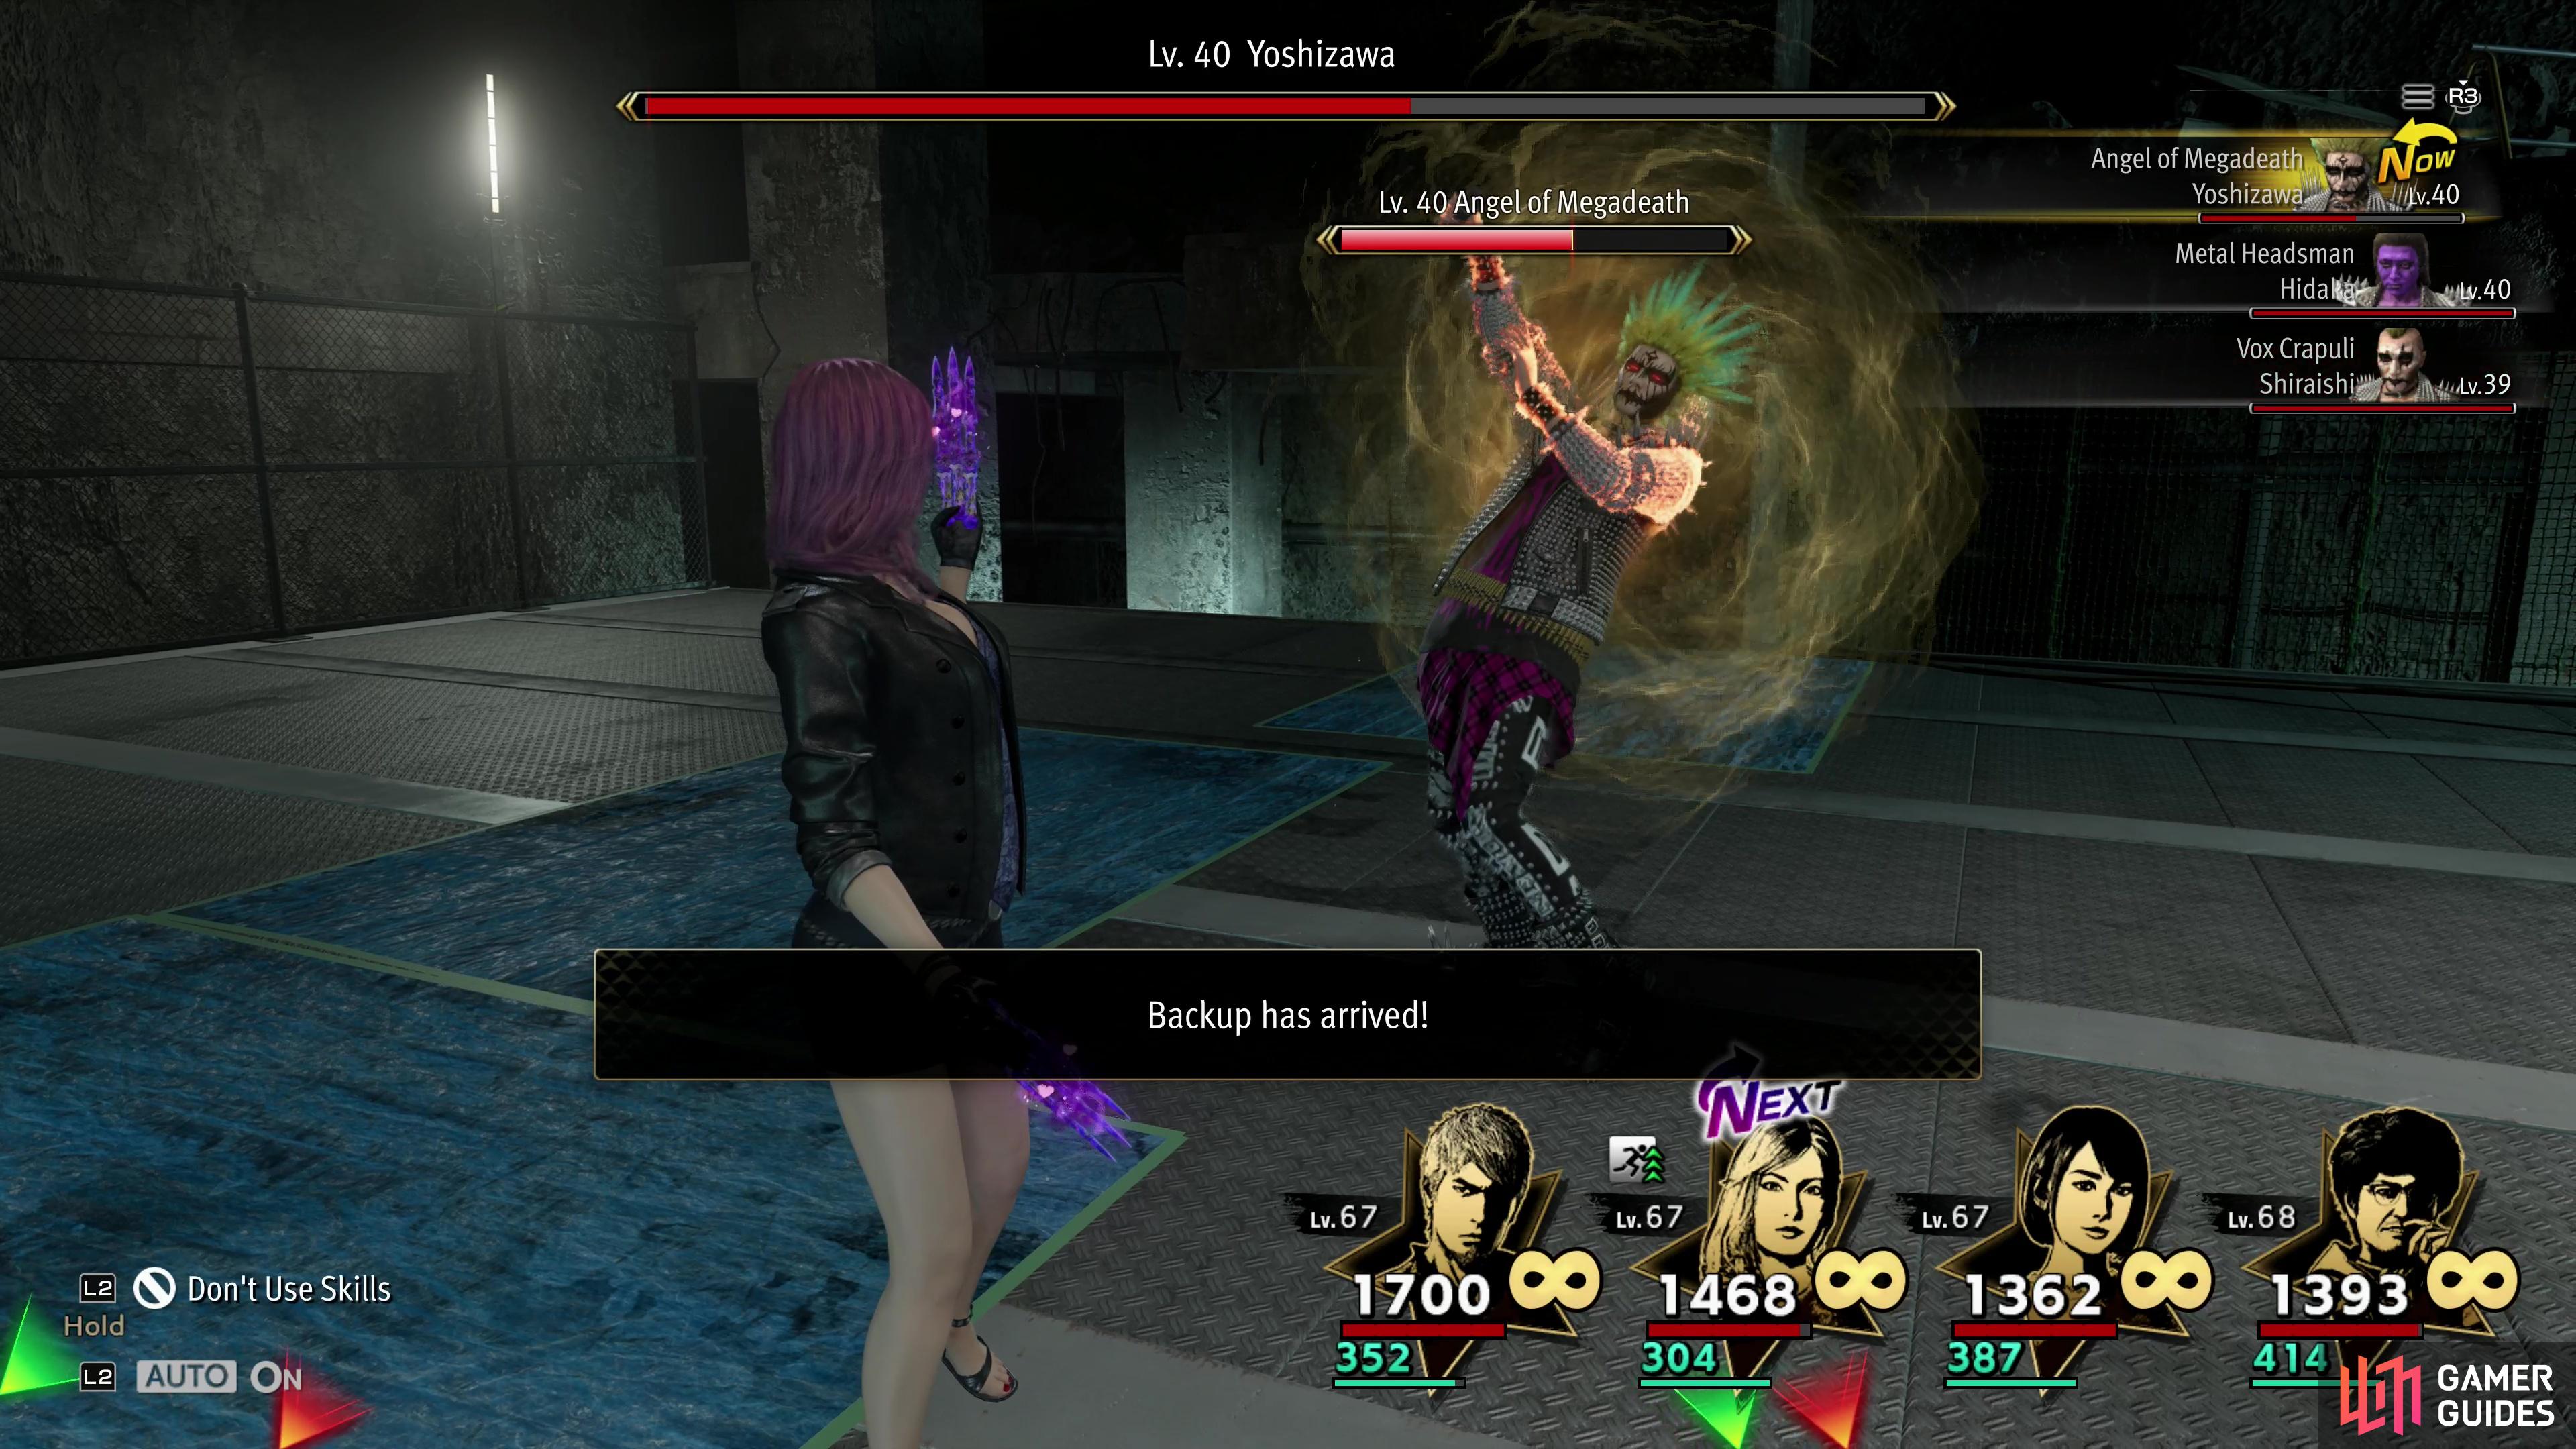

(1 of 2) The Sector 2 endboss and his minions can both summon allies,
The Sector 2 endboss and his minions can both summon allies, (left), and can inflict stun with AoEs like Howl of the Soul. (right)
Yokohama Underground Sector 2 Endboss - Angel of Megadeath and Metal Headsman x2
This isn’t even a proper boss, it’s a glorified special enemy, an encounter you can find wandering the streets of Yokohama. Even worse, the Angel of Megadeath is weak to blade attacks and the Metal Headsman enemies are weak to gun attacks. The latter makes Burning Arrow once again promising, and once those two are mopped up, focus any blade damage skills in your repertoire on the now-isolated Angel of Megadeath. Don’t get complacent, however, as both the Angel of Megadeath and Metal Headsman can summon more allies (in the former case, a Vox Crapuli), and in the case of the Angel of Megadeath, they can use a Group Cheer attack that gets stronger when they have nearby allies. The Metal Headsman enemies can also use Howl of the Soul to inflict AoE stun on the party. The best defense is a good offense, and the more you pelt enemies with Burning Arrows, the less chance they’ll have to grow their numbers and make a nuisance of themselves.
Yokohama Underground Sector 3
| Sector 3 Details | |
|---|---|
| Enemy Level Range | 44-47 |
| Crafting Components | Crystals |
| Chest Items | Armor of a Unified Nation, Jonin Vest of the Iga-Ryu, Super Lady Bondage, Three-Star |
| Rescue Reward | |
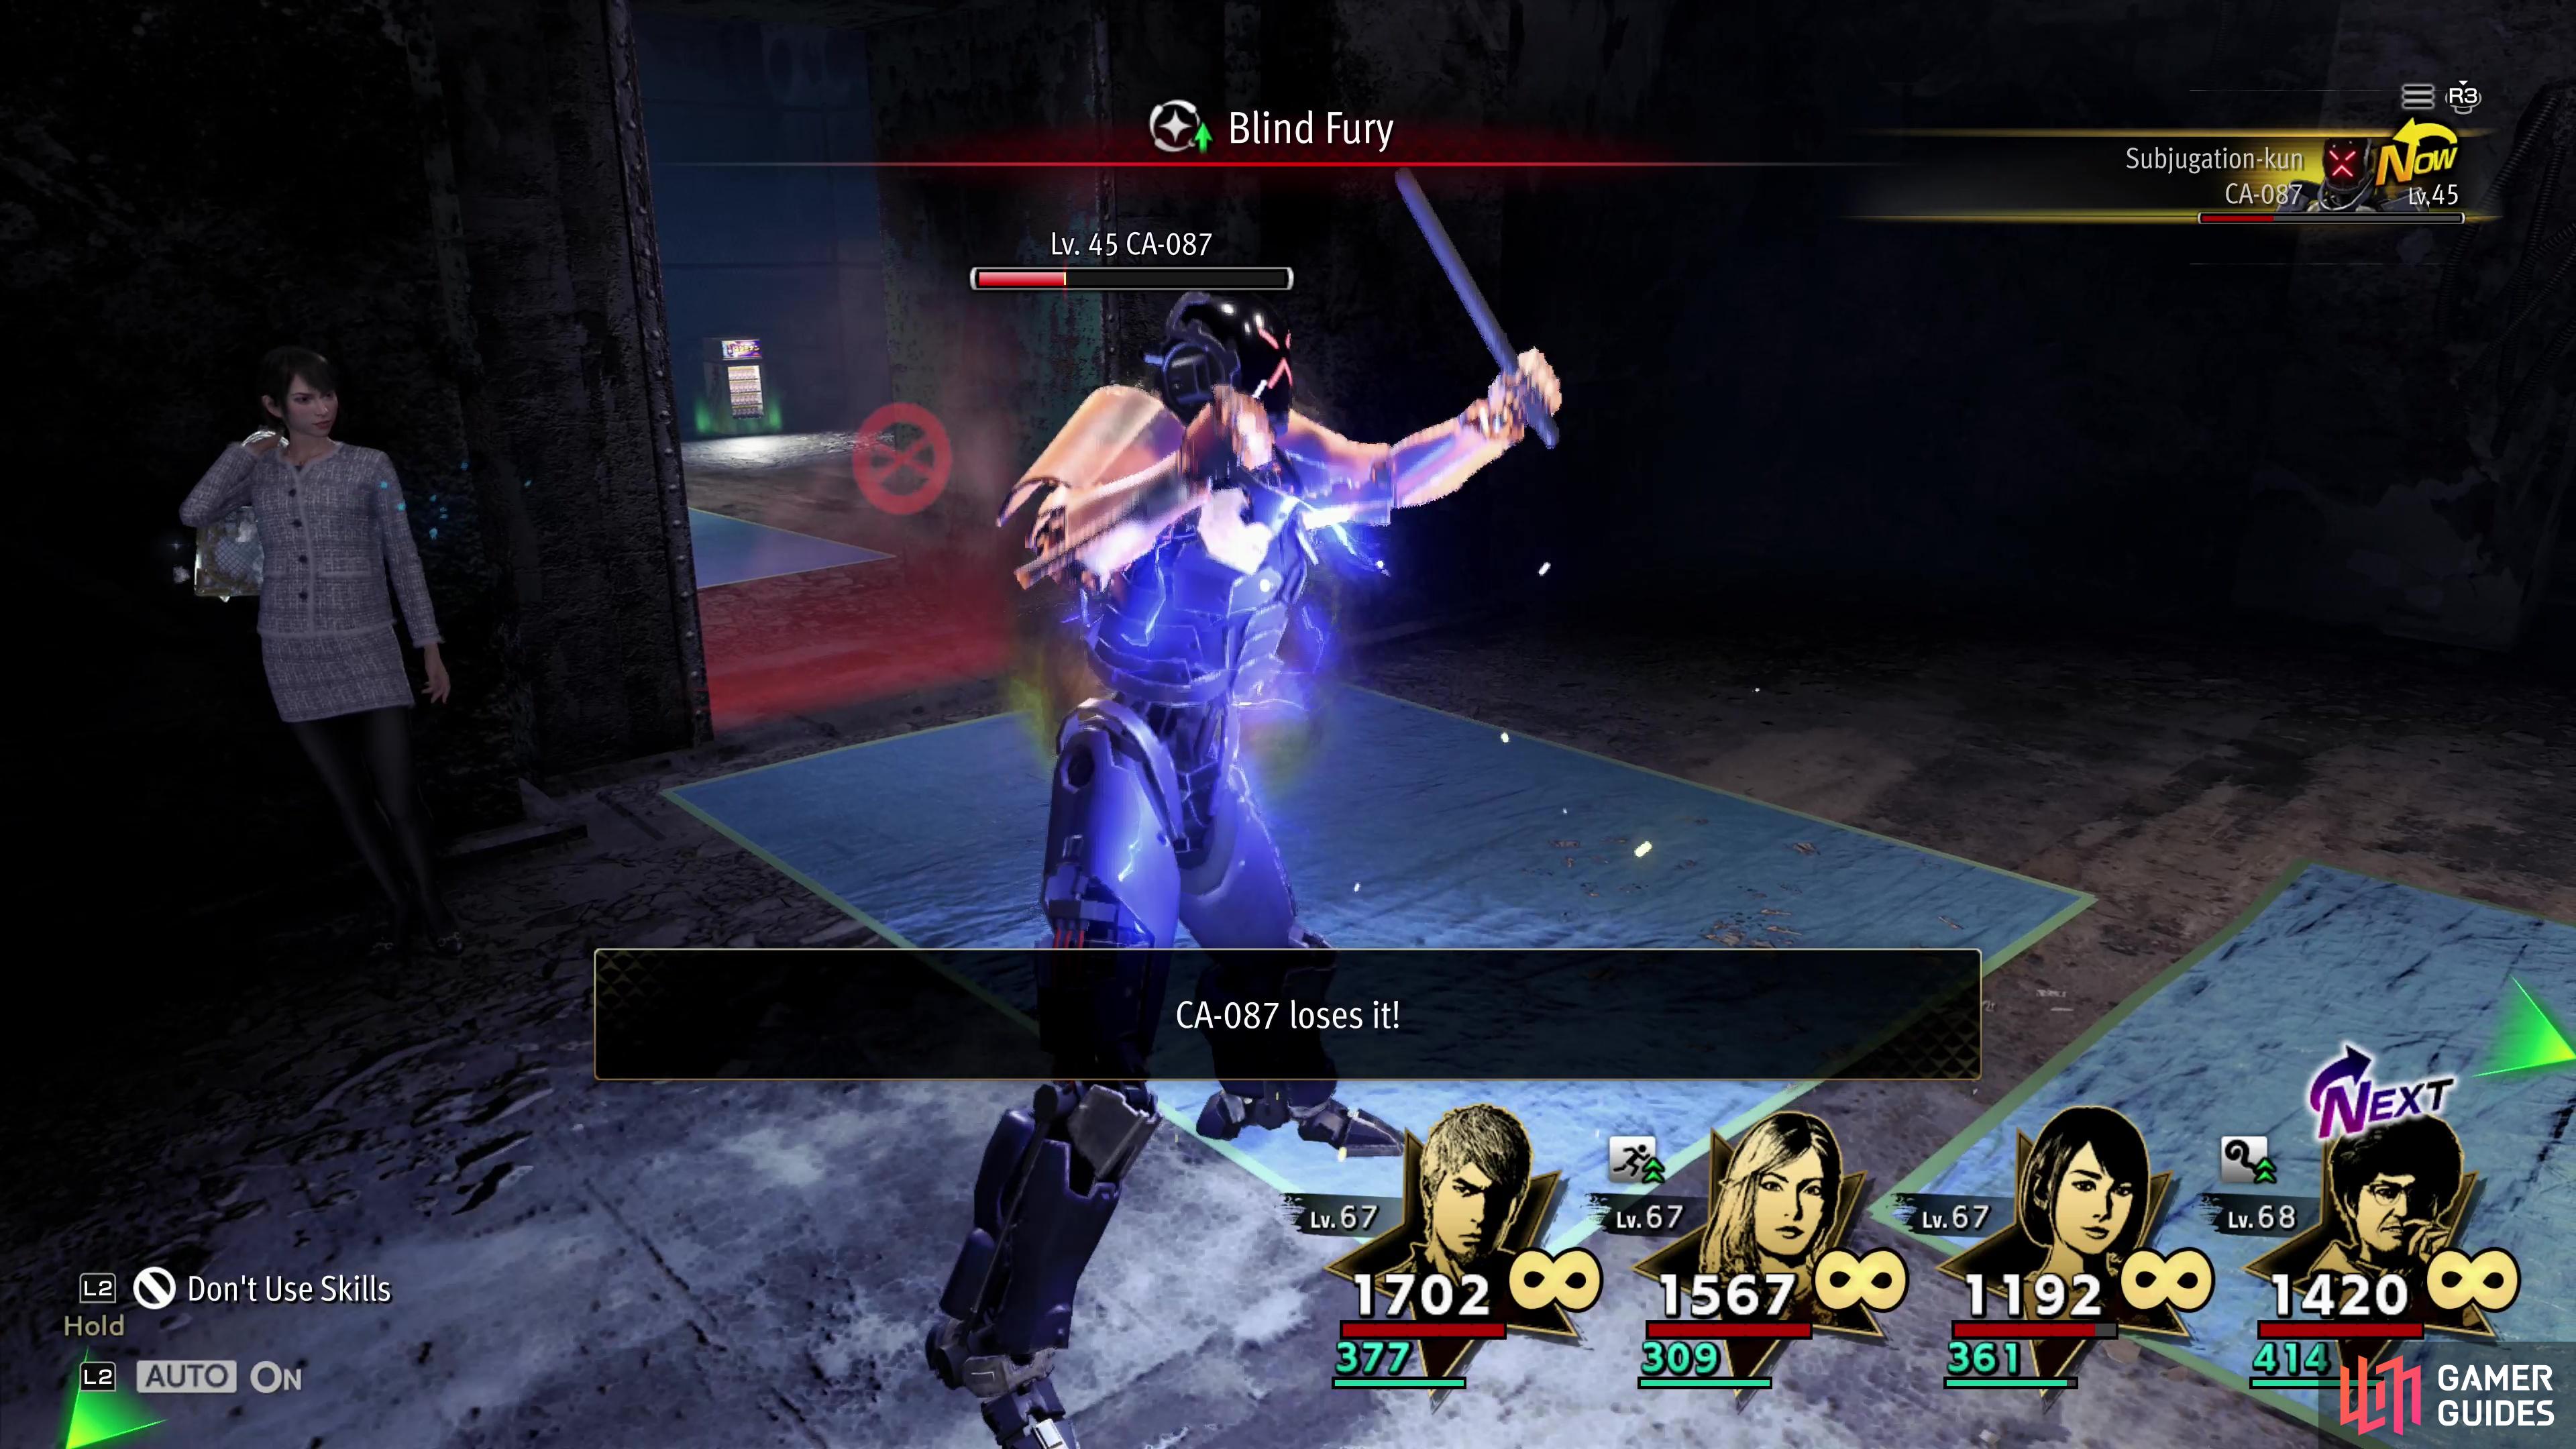
| Midboss | Edison of Anarchy (Lv45), Subjugation-kun (Lv45) |
| Midboss Reward | |
| Endboss | |
| Endboss Reward | True Dragon’s Suit (first time only), |
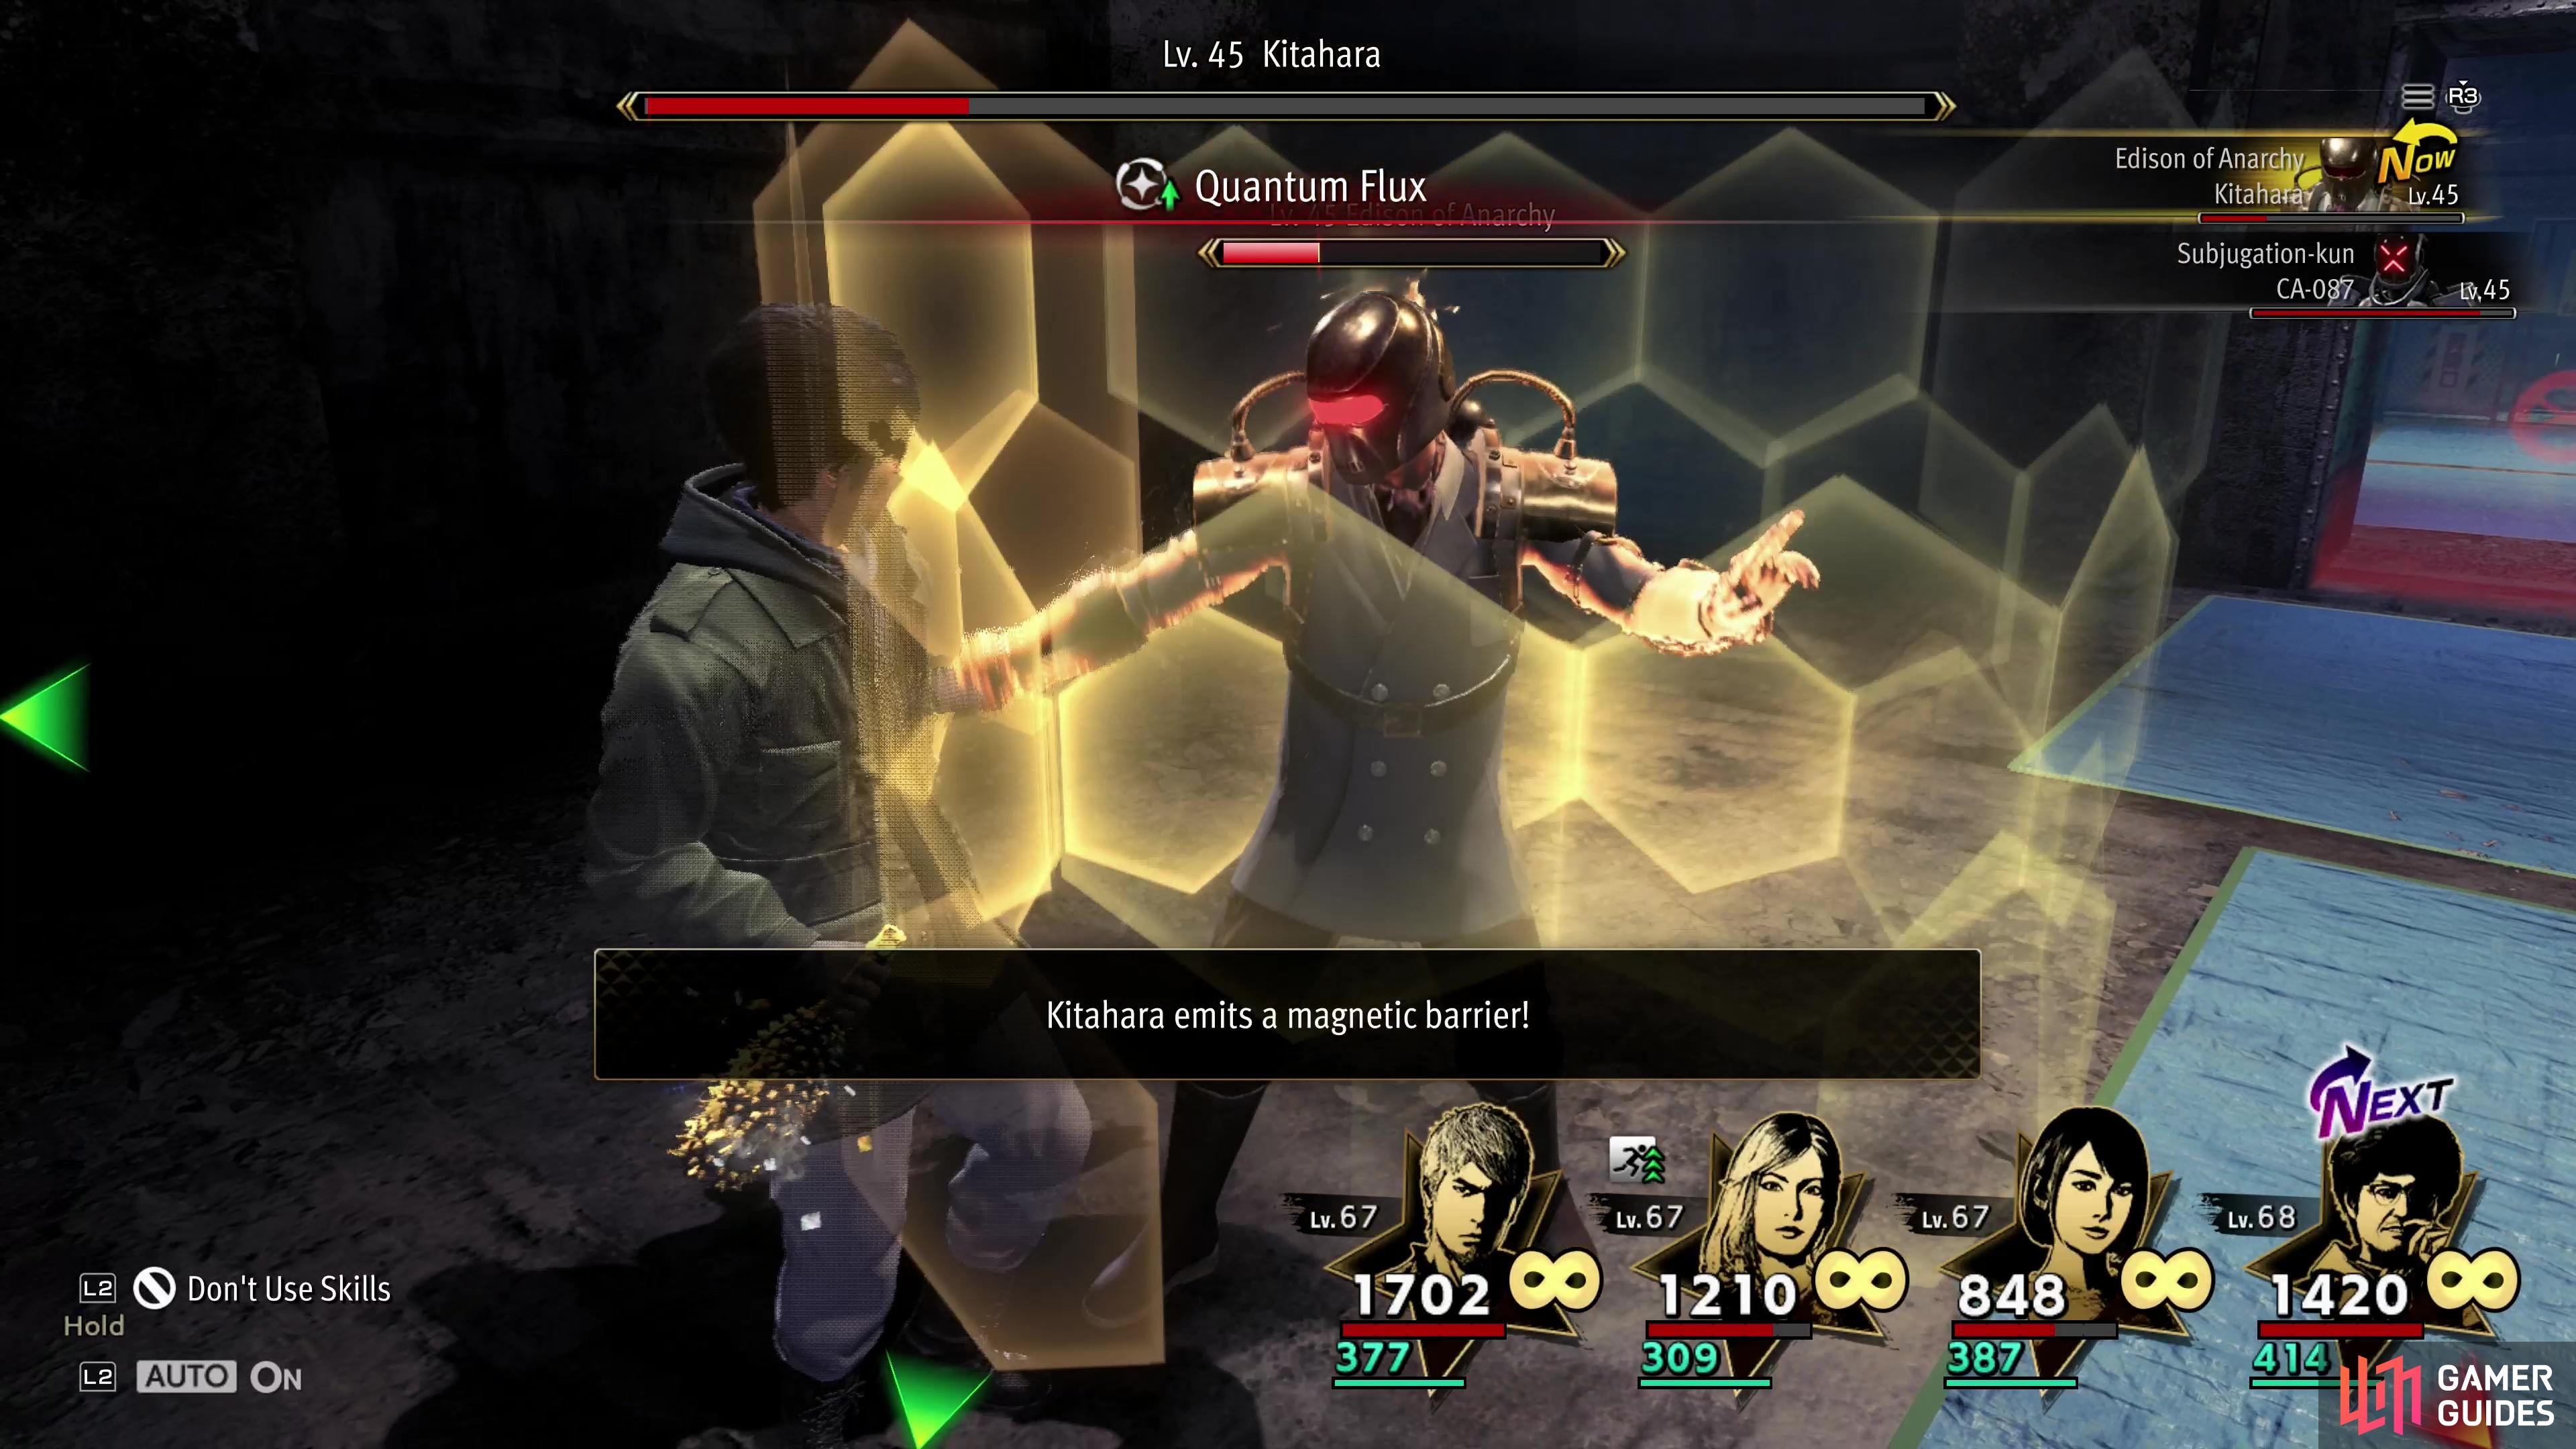
(1 of 2) Focus on the Edison of Anarchy,
Focus on the Edison of Anarchy, (left), as his robo buddy, Subjugation-kun, will power up when he’s under 50% HP. (right)
Yokohama Underground Sector 3 Midboss - Edison of Anarchy and Subjugation-kun
Only two strong foes this time instead of a gaggle of fodder. Edison of Anarchy is quick and fond of spamming magical attacks (both fire and electric). He’s also durable, and it’ll take a good bit of concentrated effort to bring him down, especially since he’s not weak to anything. For its part, Subjugation-kun will annoy you with melee attacks and its Taunt skill (inflicts Rage). This paired with its resistance to blade and gun attacks and its tendency to keep its guard up means you’ll often waste turns attacking the obnoxious robot. If at all possible, however, focus on taking Edison of Anarchy down, as he hits harder and, like most robots, Subjugation-kun will get a power buff when its below 50% HP, and you’ll want to be able to throw the kitchen sink at it to ensure it goes down as fast as possible at that point. Edison of Anarchy will complicate matters by using Quantum Flux when his HP are low, drastically reducing incoming damage - use this time to heal up and buff, and when he lowers his barrier, resume the offensive. Once he’s gone, use ice attacks to dispatch Subjugation-kun quickly. You’ll earn a ![]() Knight Helmet for overcoming this tandem.
Knight Helmet for overcoming this tandem.

(1 of 2) Utamaru has a broad arsenal of attacks, including a modified version of Robo Michio’s Destructo Beam.
Utamaru has a broad arsenal of attacks, including a modified version of Robo Michio’s Destructo Beam. (left), His refusal to double down on his strongest attacks is actually a liability, and you should be able to whittle him down by pelting him with fire attacks. (right)
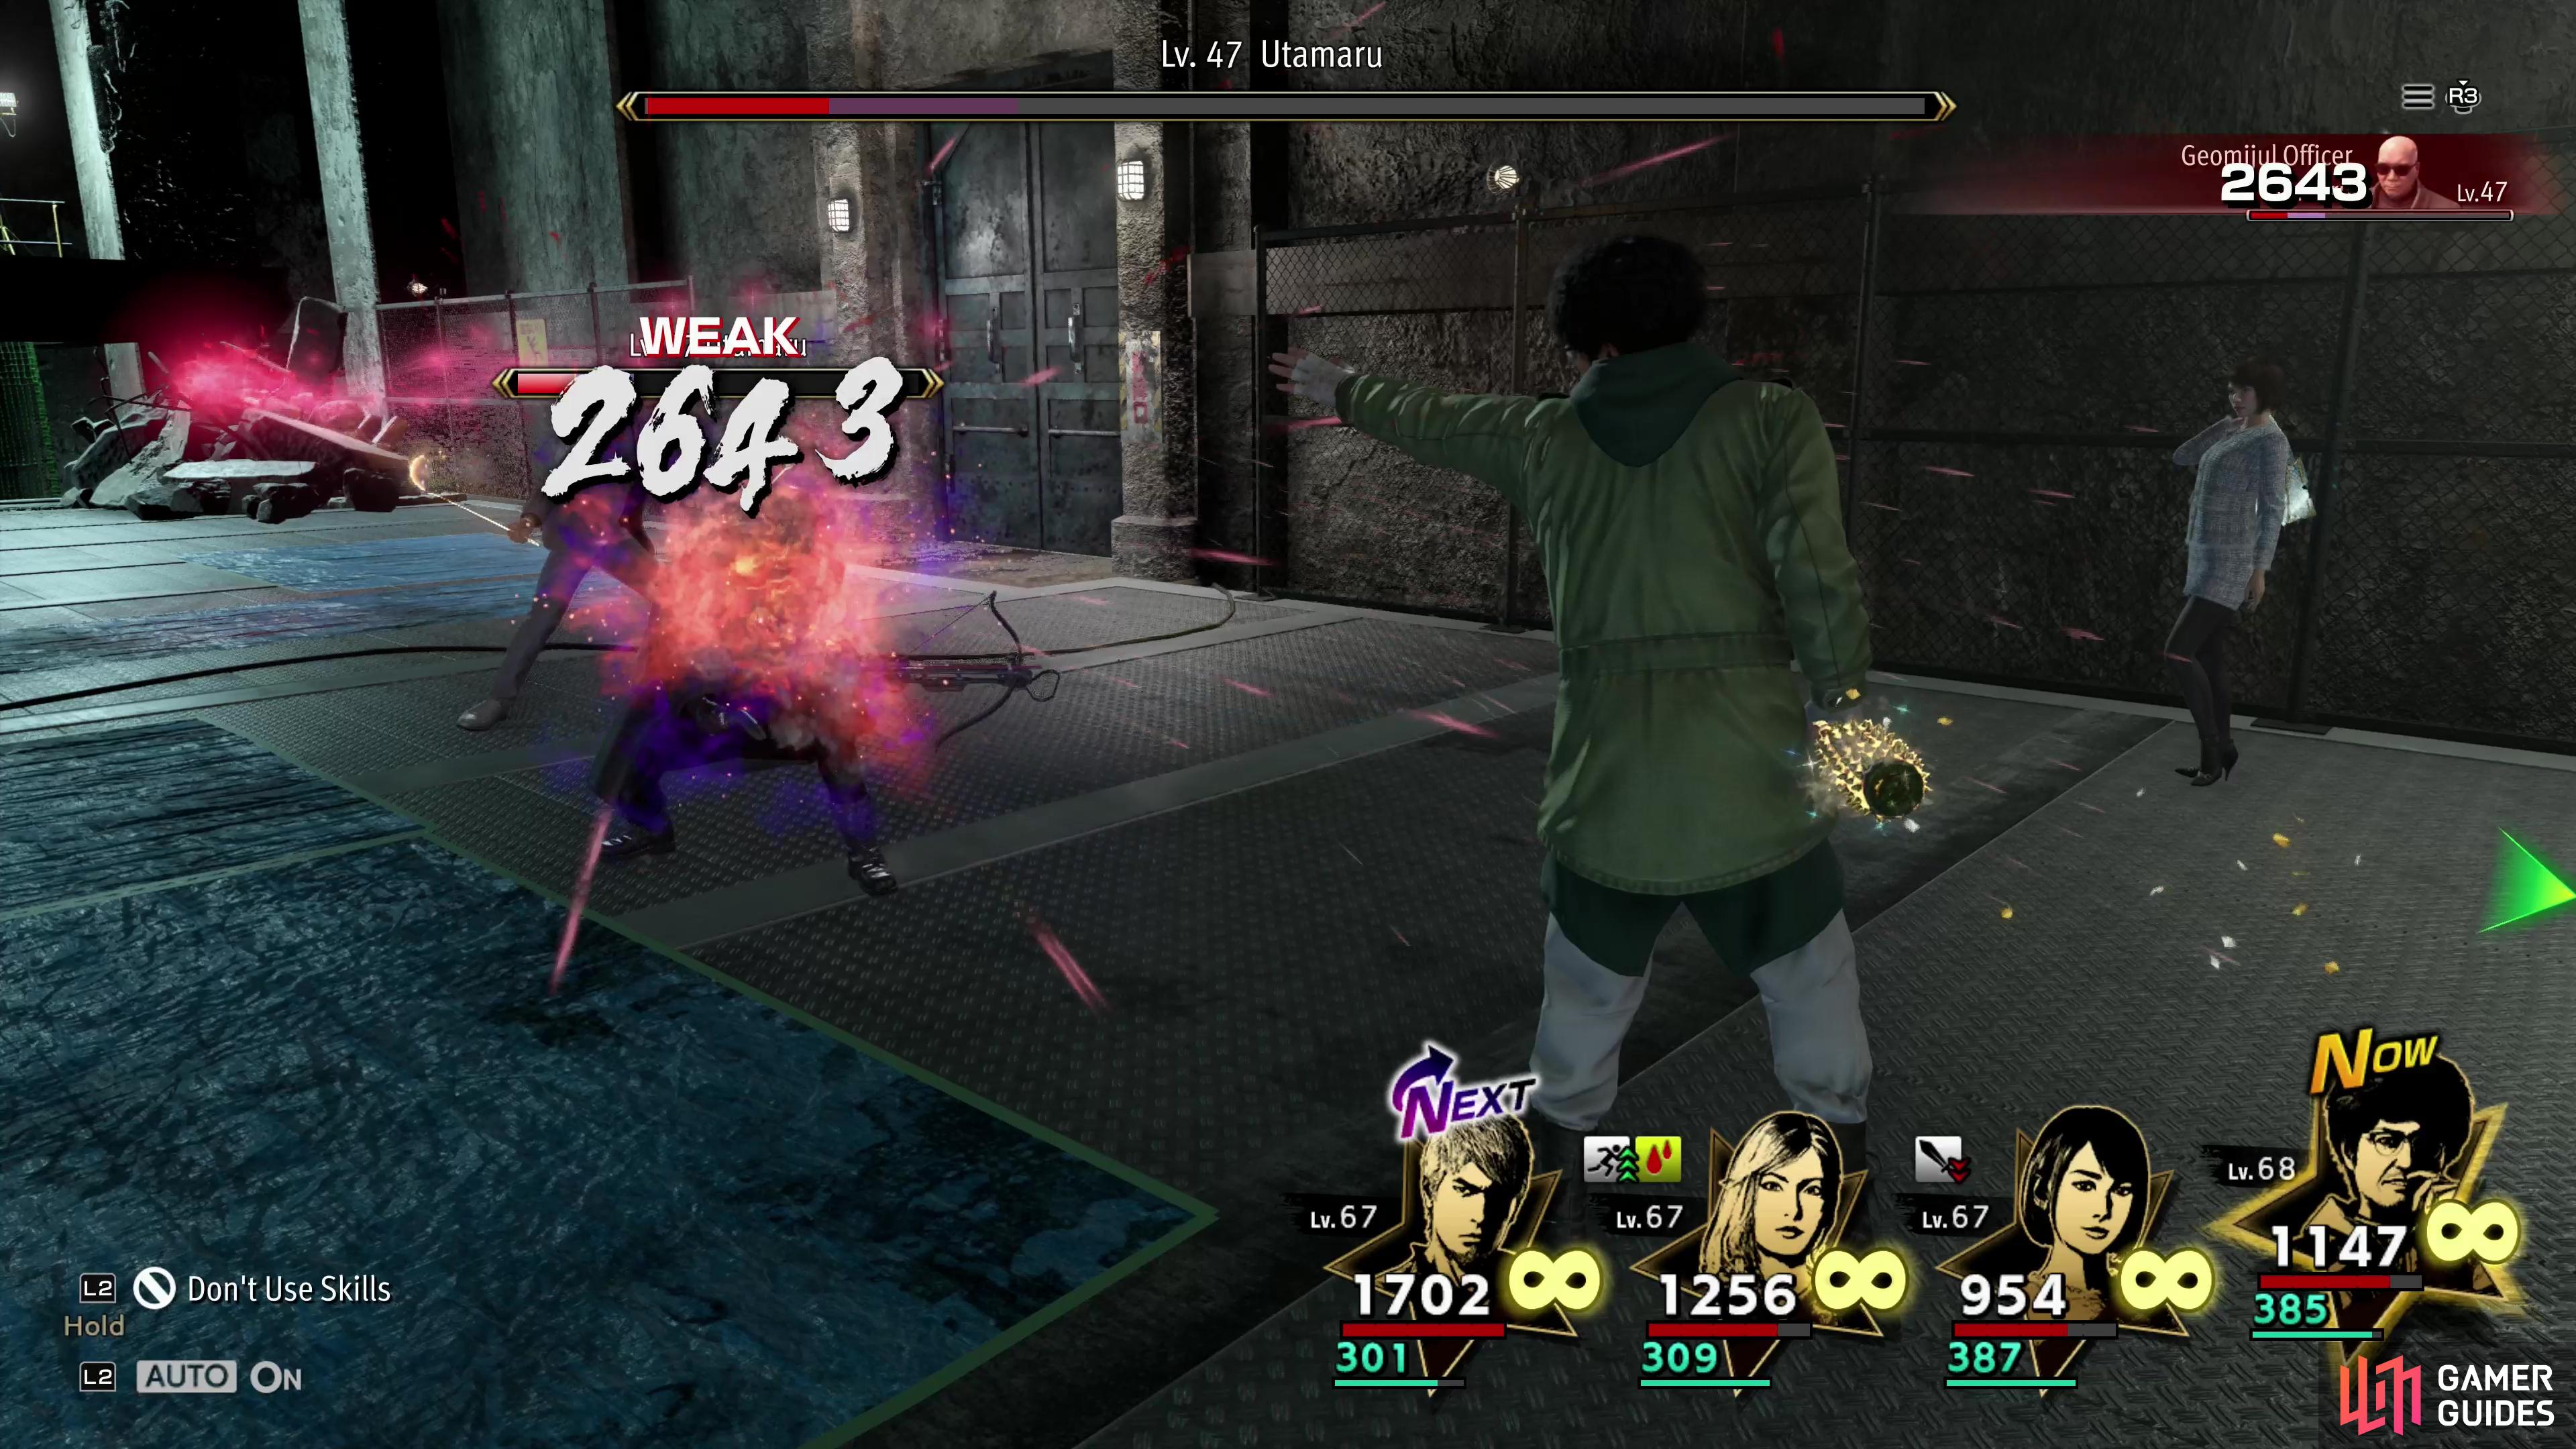
Yokohama Underground Sector 3 Endboss - Utamaru
It has to be said - Utamaru, the endboss of Sector 3, is just the Yokohama Underground version of ![]() Robo Michio. Utamaru is less predictable than Robo Michio, but that doesn’t make him more dangerous. If anything, Utamaru’s refusal to simply spam Destructo Beam when low on HP makes him easier to put down. When Utamaru has more than 50% of his HP he’ll largely use melee attacks like Hidden Katana and Disarm (which can inflict an Attack debuff) with the odd Destructo Beam thrown in. Utamaru’s Destructo Beam inflicts Paralysis instead of Burning and deals electric damage. When reduced to below 50% of his HP Utamaru will start using Hand Grenade, an AoE fire attack that can be rather painful. All that said, Utamaru just doesn’t deal persistent enough party-wide damage to be as much of a threat as Robo Michio - keep healed, try to score back attacks when you can, and use fire attacks (Rose Stinger works well), as Utamaru is weak to fire damage.
Robo Michio. Utamaru is less predictable than Robo Michio, but that doesn’t make him more dangerous. If anything, Utamaru’s refusal to simply spam Destructo Beam when low on HP makes him easier to put down. When Utamaru has more than 50% of his HP he’ll largely use melee attacks like Hidden Katana and Disarm (which can inflict an Attack debuff) with the odd Destructo Beam thrown in. Utamaru’s Destructo Beam inflicts Paralysis instead of Burning and deals electric damage. When reduced to below 50% of his HP Utamaru will start using Hand Grenade, an AoE fire attack that can be rather painful. All that said, Utamaru just doesn’t deal persistent enough party-wide damage to be as much of a threat as Robo Michio - keep healed, try to score back attacks when you can, and use fire attacks (Rose Stinger works well), as Utamaru is weak to fire damage.
Beat down ![]() Seonhee’s insubordinate minion and after some heel punishment you’ll score the True Dragon’s Suit, seven star armor exclusive to
Seonhee’s insubordinate minion and after some heel punishment you’ll score the True Dragon’s Suit, seven star armor exclusive to ![]() Kiryu, as well as
Kiryu, as well as ![]() Knight Greaves. The former can only be obtained once. You’ll also unlock the EX Sector of the Yokohama Underground, which houses a much, much greater endboss.
Knight Greaves. The former can only be obtained once. You’ll also unlock the EX Sector of the Yokohama Underground, which houses a much, much greater endboss.
Yokohama Underground Sector 4
| Sector 4 Details | |
|---|---|
| Enemy Level Range | 52-55 |
| Crafting Components | Crystals |
| Chest Items | Home Mistress Dress, No. 1 Jacket, Representin’ Homies Top, Shiny Dream Dress |
| Rescue Reward | Shark Fin, Ultra Booster |
| Midboss | Arminator (Lv53), Ghillie Man x3 (Lv53) |
| Midboss Reward | |
| Endboss | Ultimate |
| Endboss Reward |

(1 of 2) The Ghillie Man’s Critical Shot ability can deal tremendous damage.
The Ghillie Man’s Critical Shot ability can deal tremendous damage. (left), Fortunately they’re weak to fire, so bring them down with Burning Arrow. (right)
Yokohama Underground Sector 4 Midboss - Arminator and Ghillie Man x3
A fair test of your abilities, even if it doesn’t really reflect how difficult the Sector 4 endboss will be. The Arminator is basically a mini Utamaru, having most of the same attacks (including Robo Michio’s version of Destructo Beam - fire damage, can inflict Burn) while the Ghillie Man enemies are deceptively dangerous, potentially dealing absurd damage with Critical Bolt and putting targets to sleep with Tranquilizer. None of these foes are terribly fragile either, but they do have weaknesses you can exploit: Ghillie Man enemies are weak to fire, and the Arminator is weak to ice. Try to take out the former first with attacks like Burning Arrow (if you can get them to group up), then use ice attacks to wear down the Arminator. This is a fight where having multiple characters capable of competently healing will pay off, and if you find yourself losing the damage battle here, it’s a bad sign for things to come. You’ll get a ![]() Sacred Steel Helmet for emerging victorious.
Sacred Steel Helmet for emerging victorious.
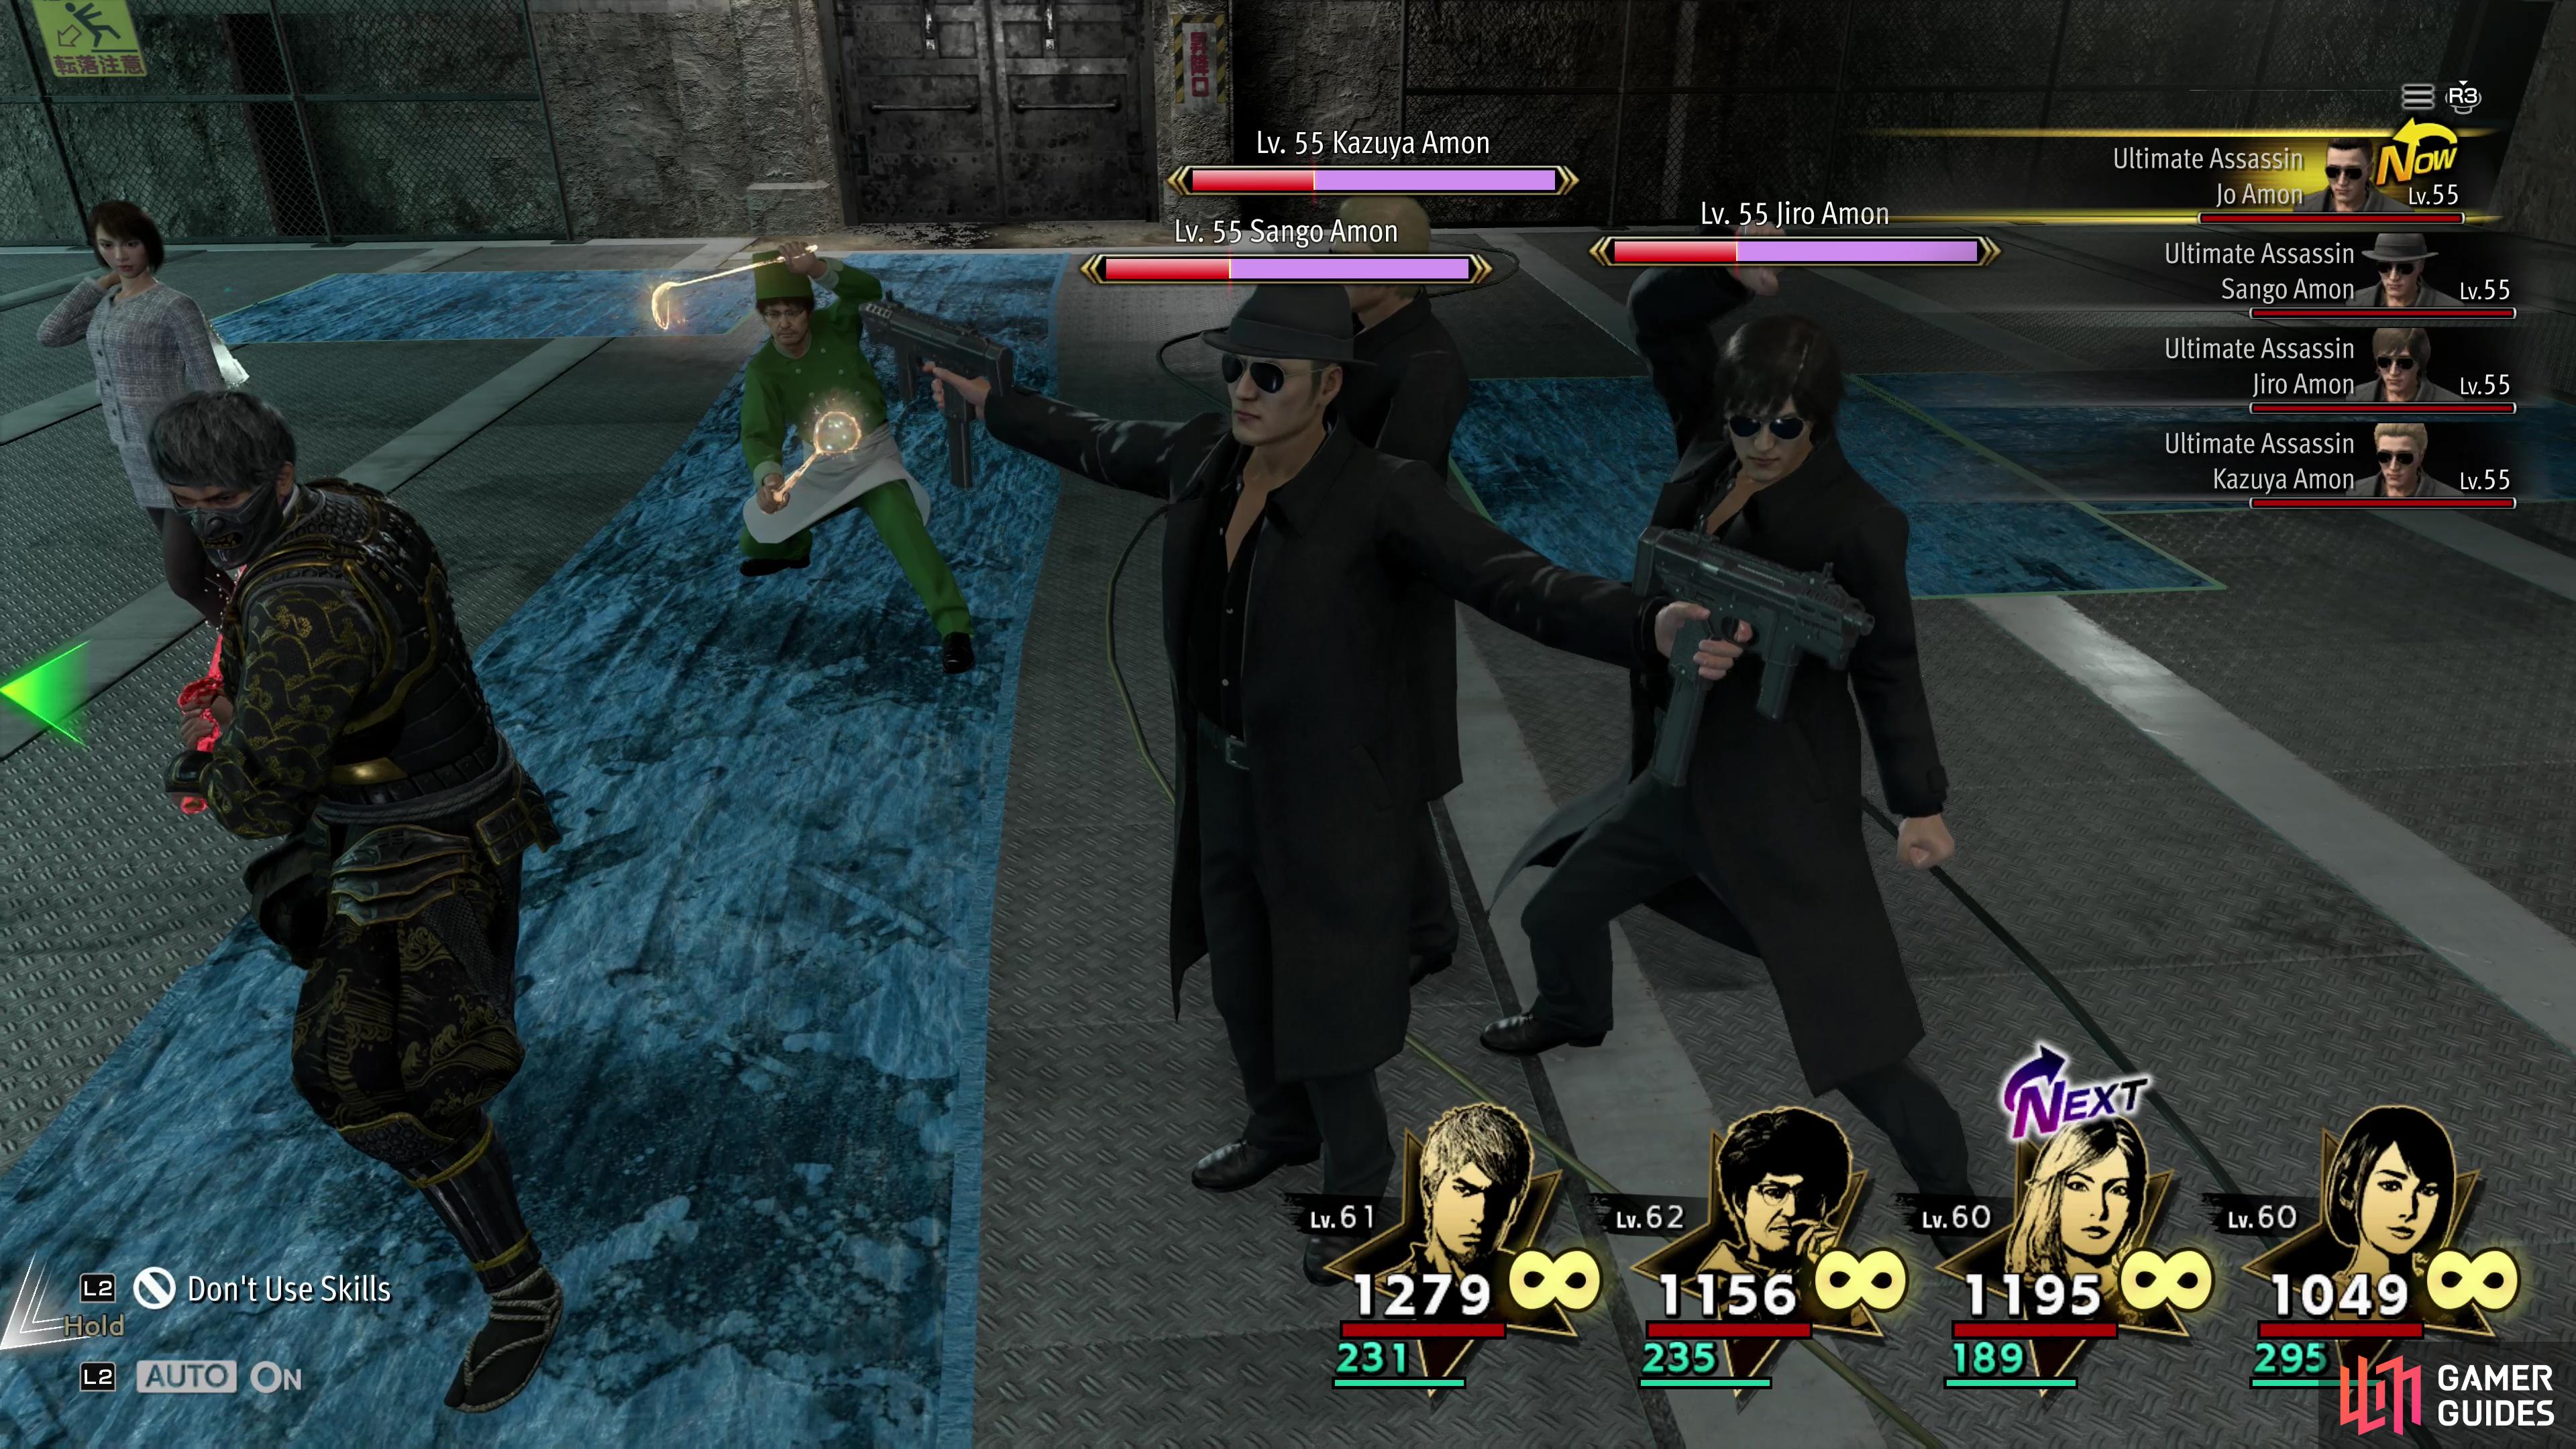
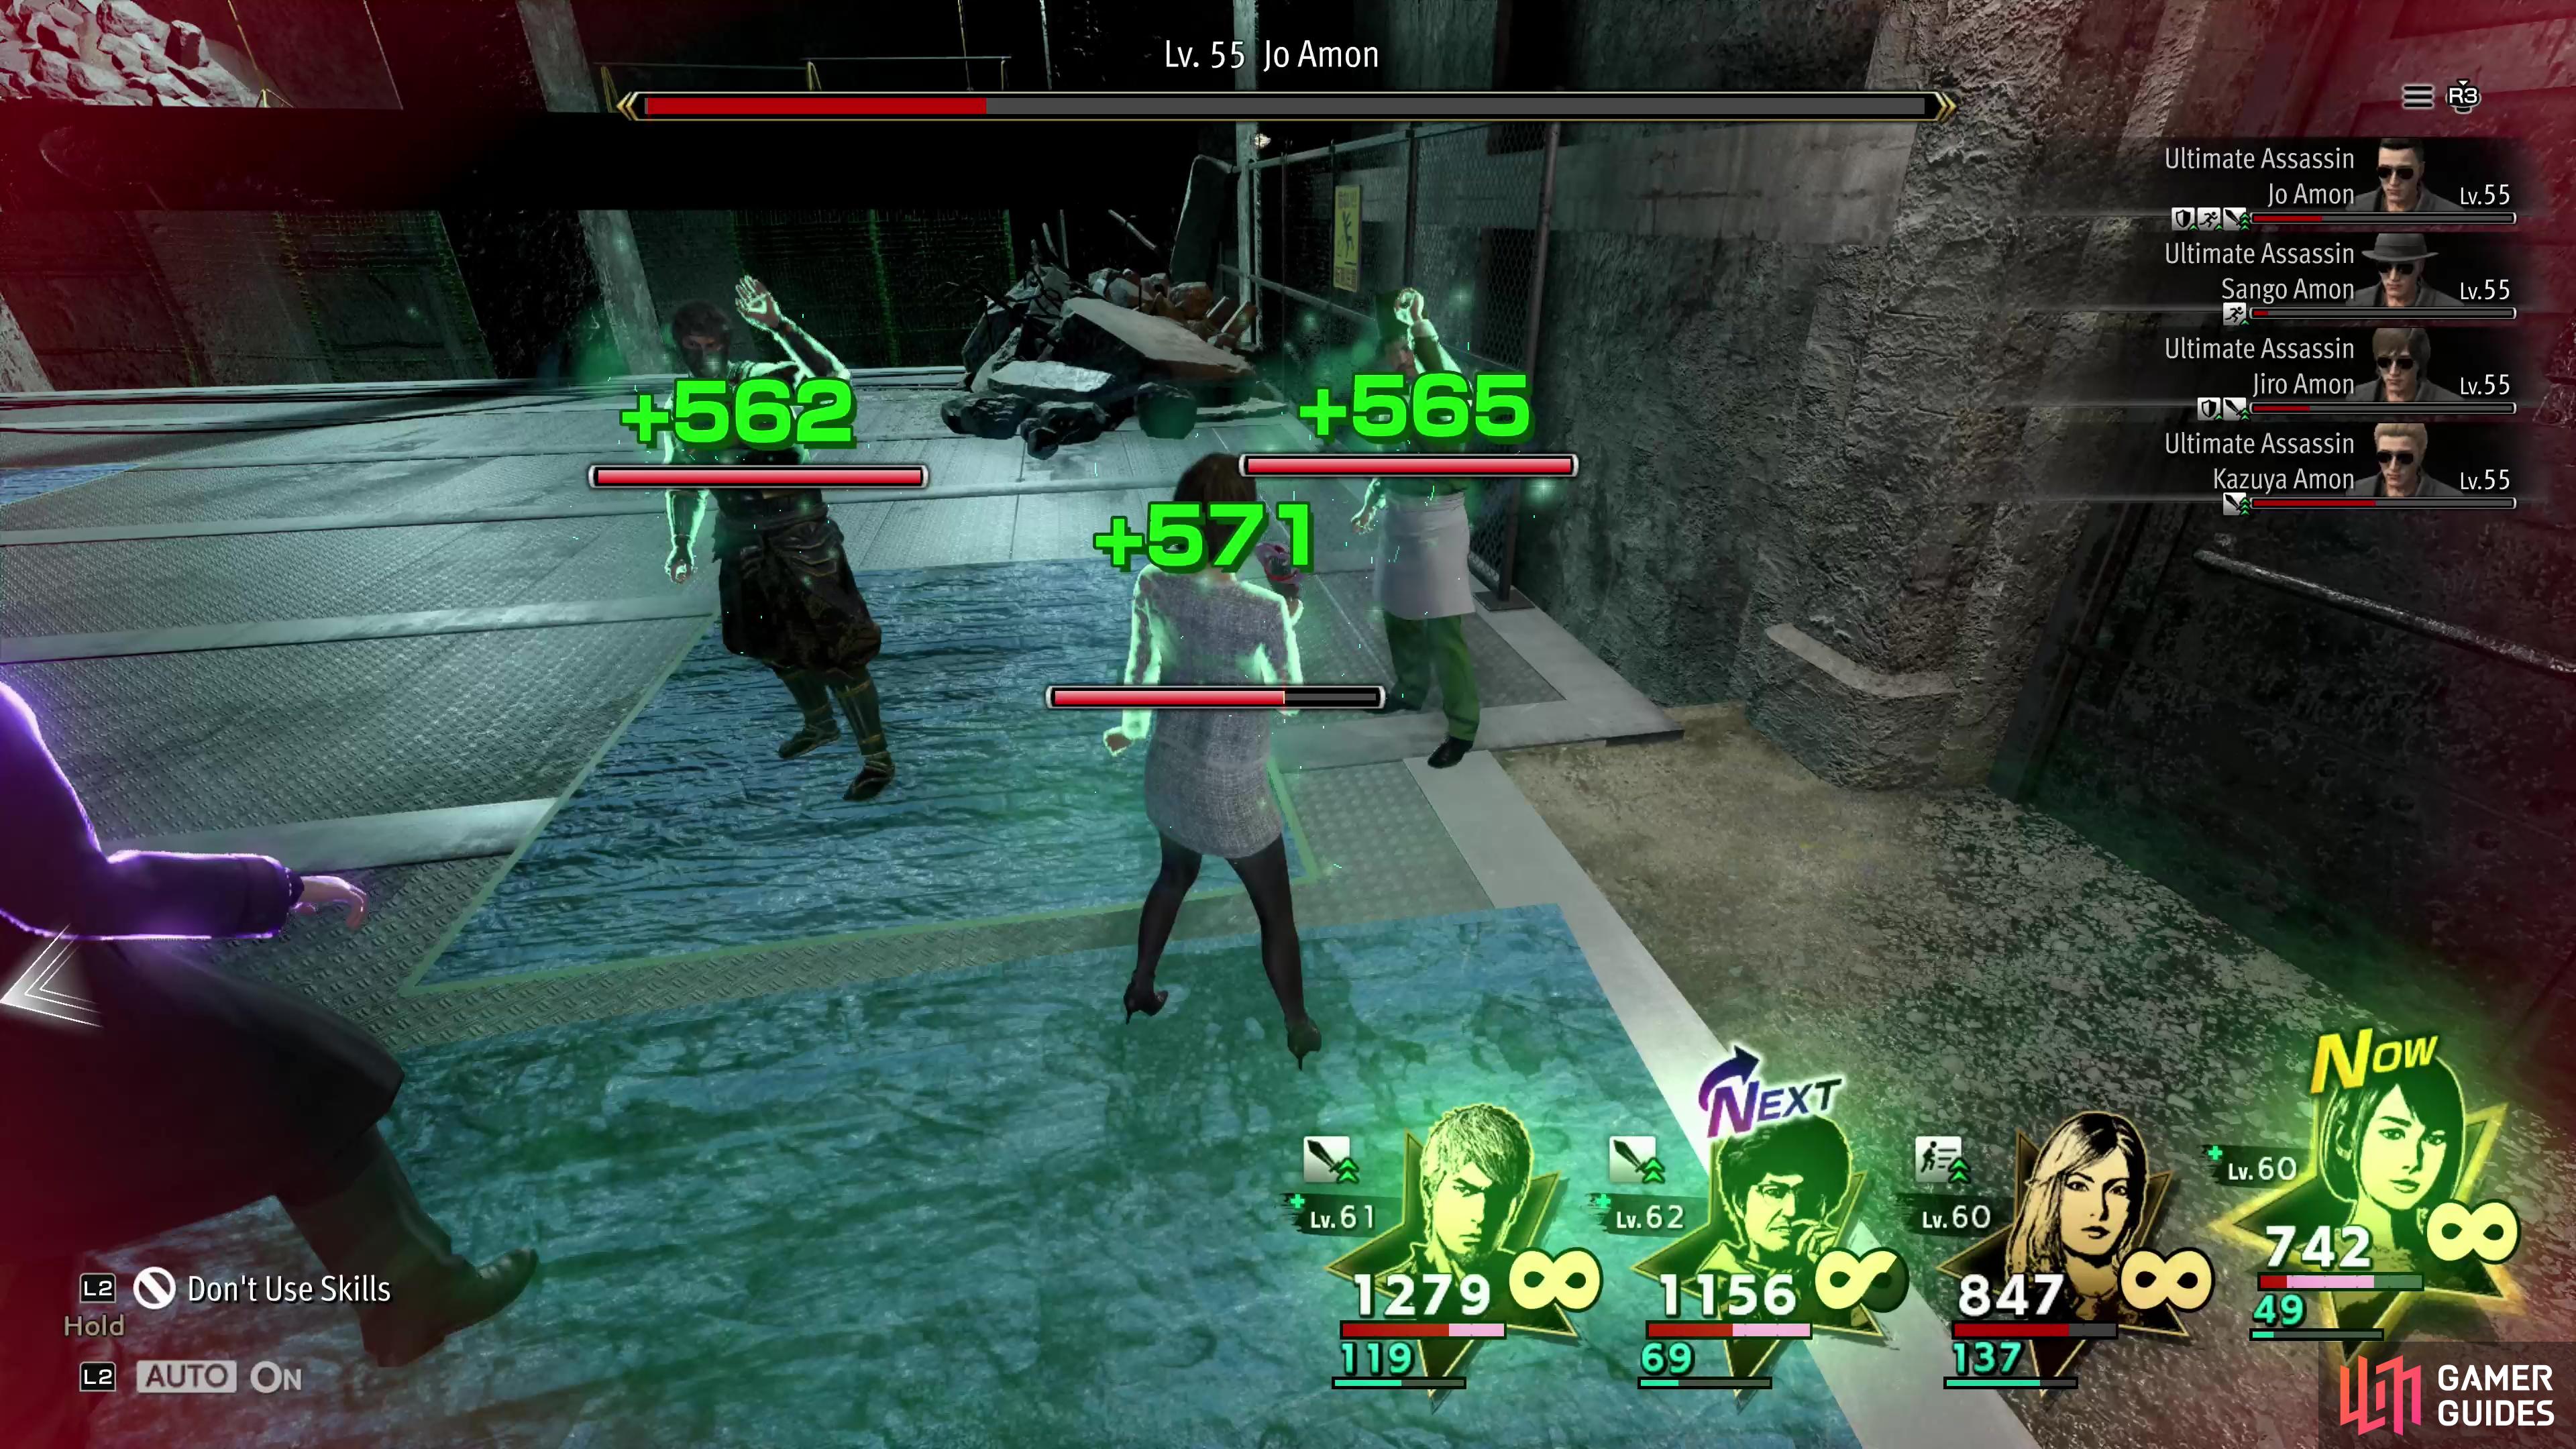
(1 of 7) You won’t be fighting one Amon at the end of Yokohama Underground, but rather a whole squad of Amons.
Yokohama Underground Sector 4 Endboss - Ultimate Assassin x4
As is Yakuza tradition, the most difficult boss in the game is Amon, and he’s got buddies this time. This fight is essentially a team-on-team battle, and the Amons can pull most of the same tricks you do - they’ll hit while you’re down, perform combo attacks, double teams, all that jazz. They don’t hit unreasonably hard (most of the time) individually, but if they get a few turns back to back and decide to focus on a single character with some of their stronger attacks, those 200-300 damage hits can add up, and if you end up getting bounced into a followup attack, things can get bad, quick.
Amon Weaknesses
| Amon | Weaknesses | Resistances |
|---|---|---|
| Jo Amon | – | Electric, Fire, Ice |
| Sango Amon | Blade, Electric | Gun, Ice |
| Jiro Amon | Gun, Fire | Blade, Electric |
| Kazuya Amon | Ice | Fire |
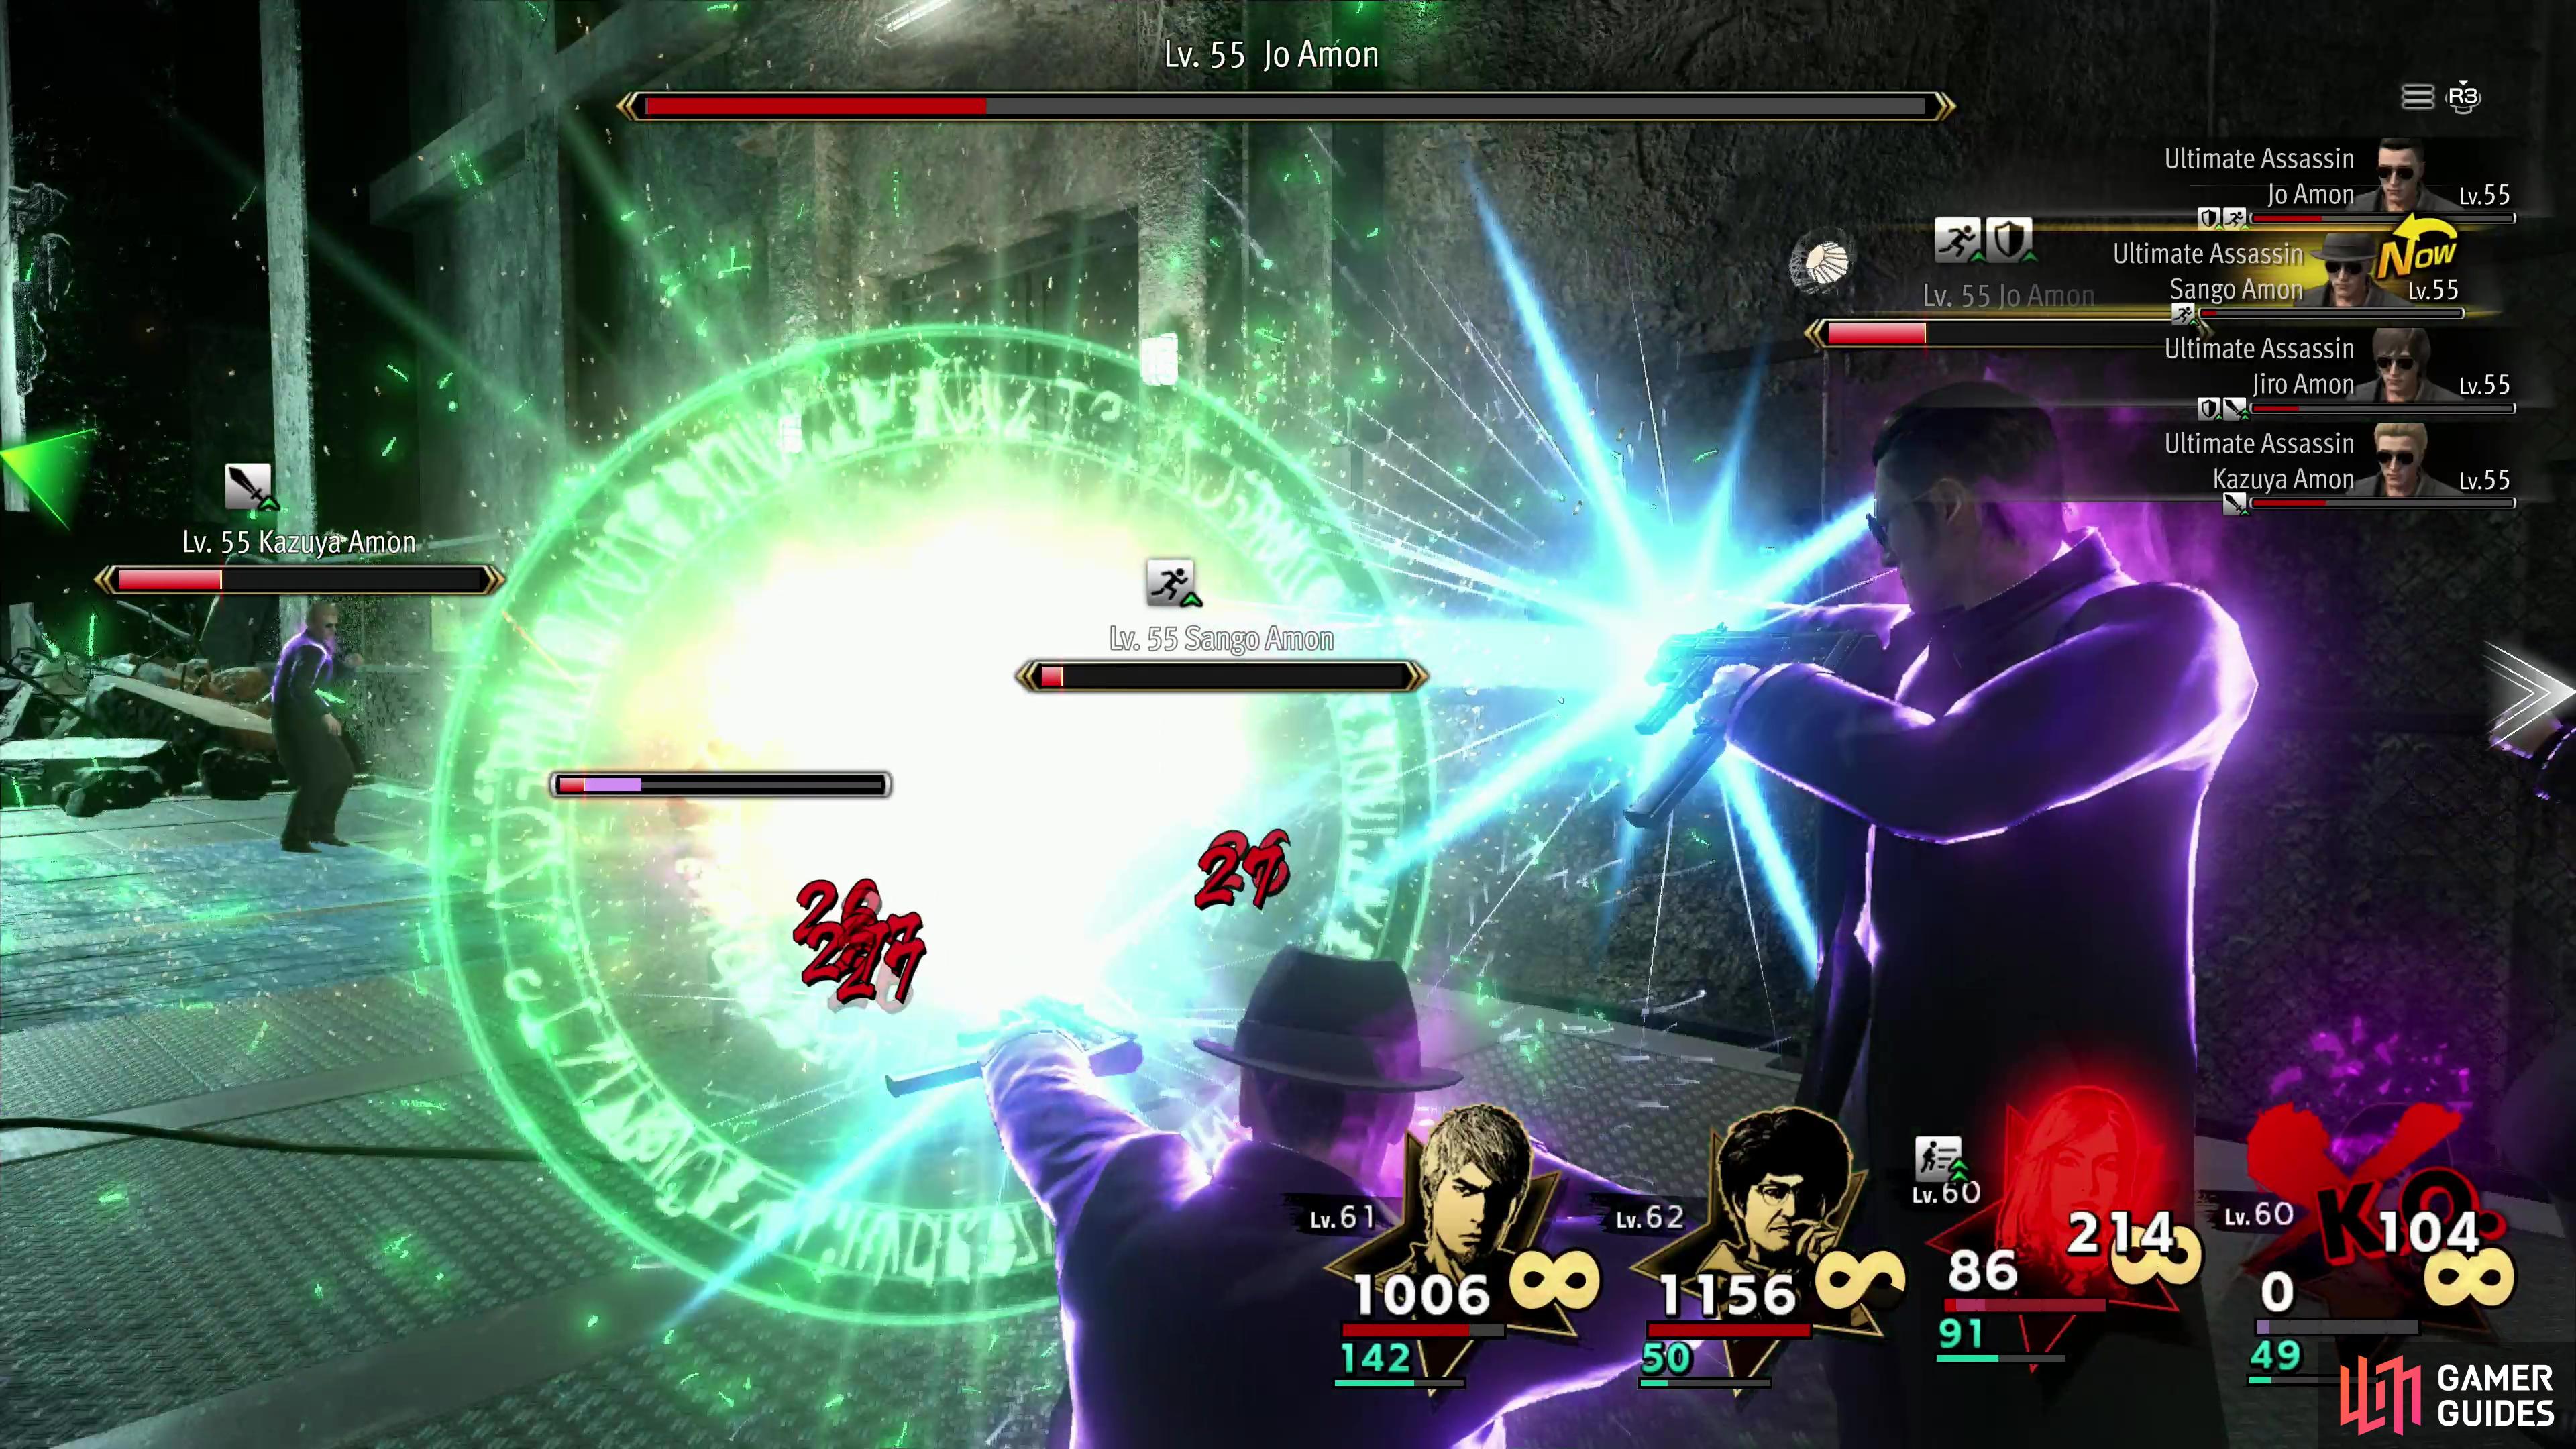
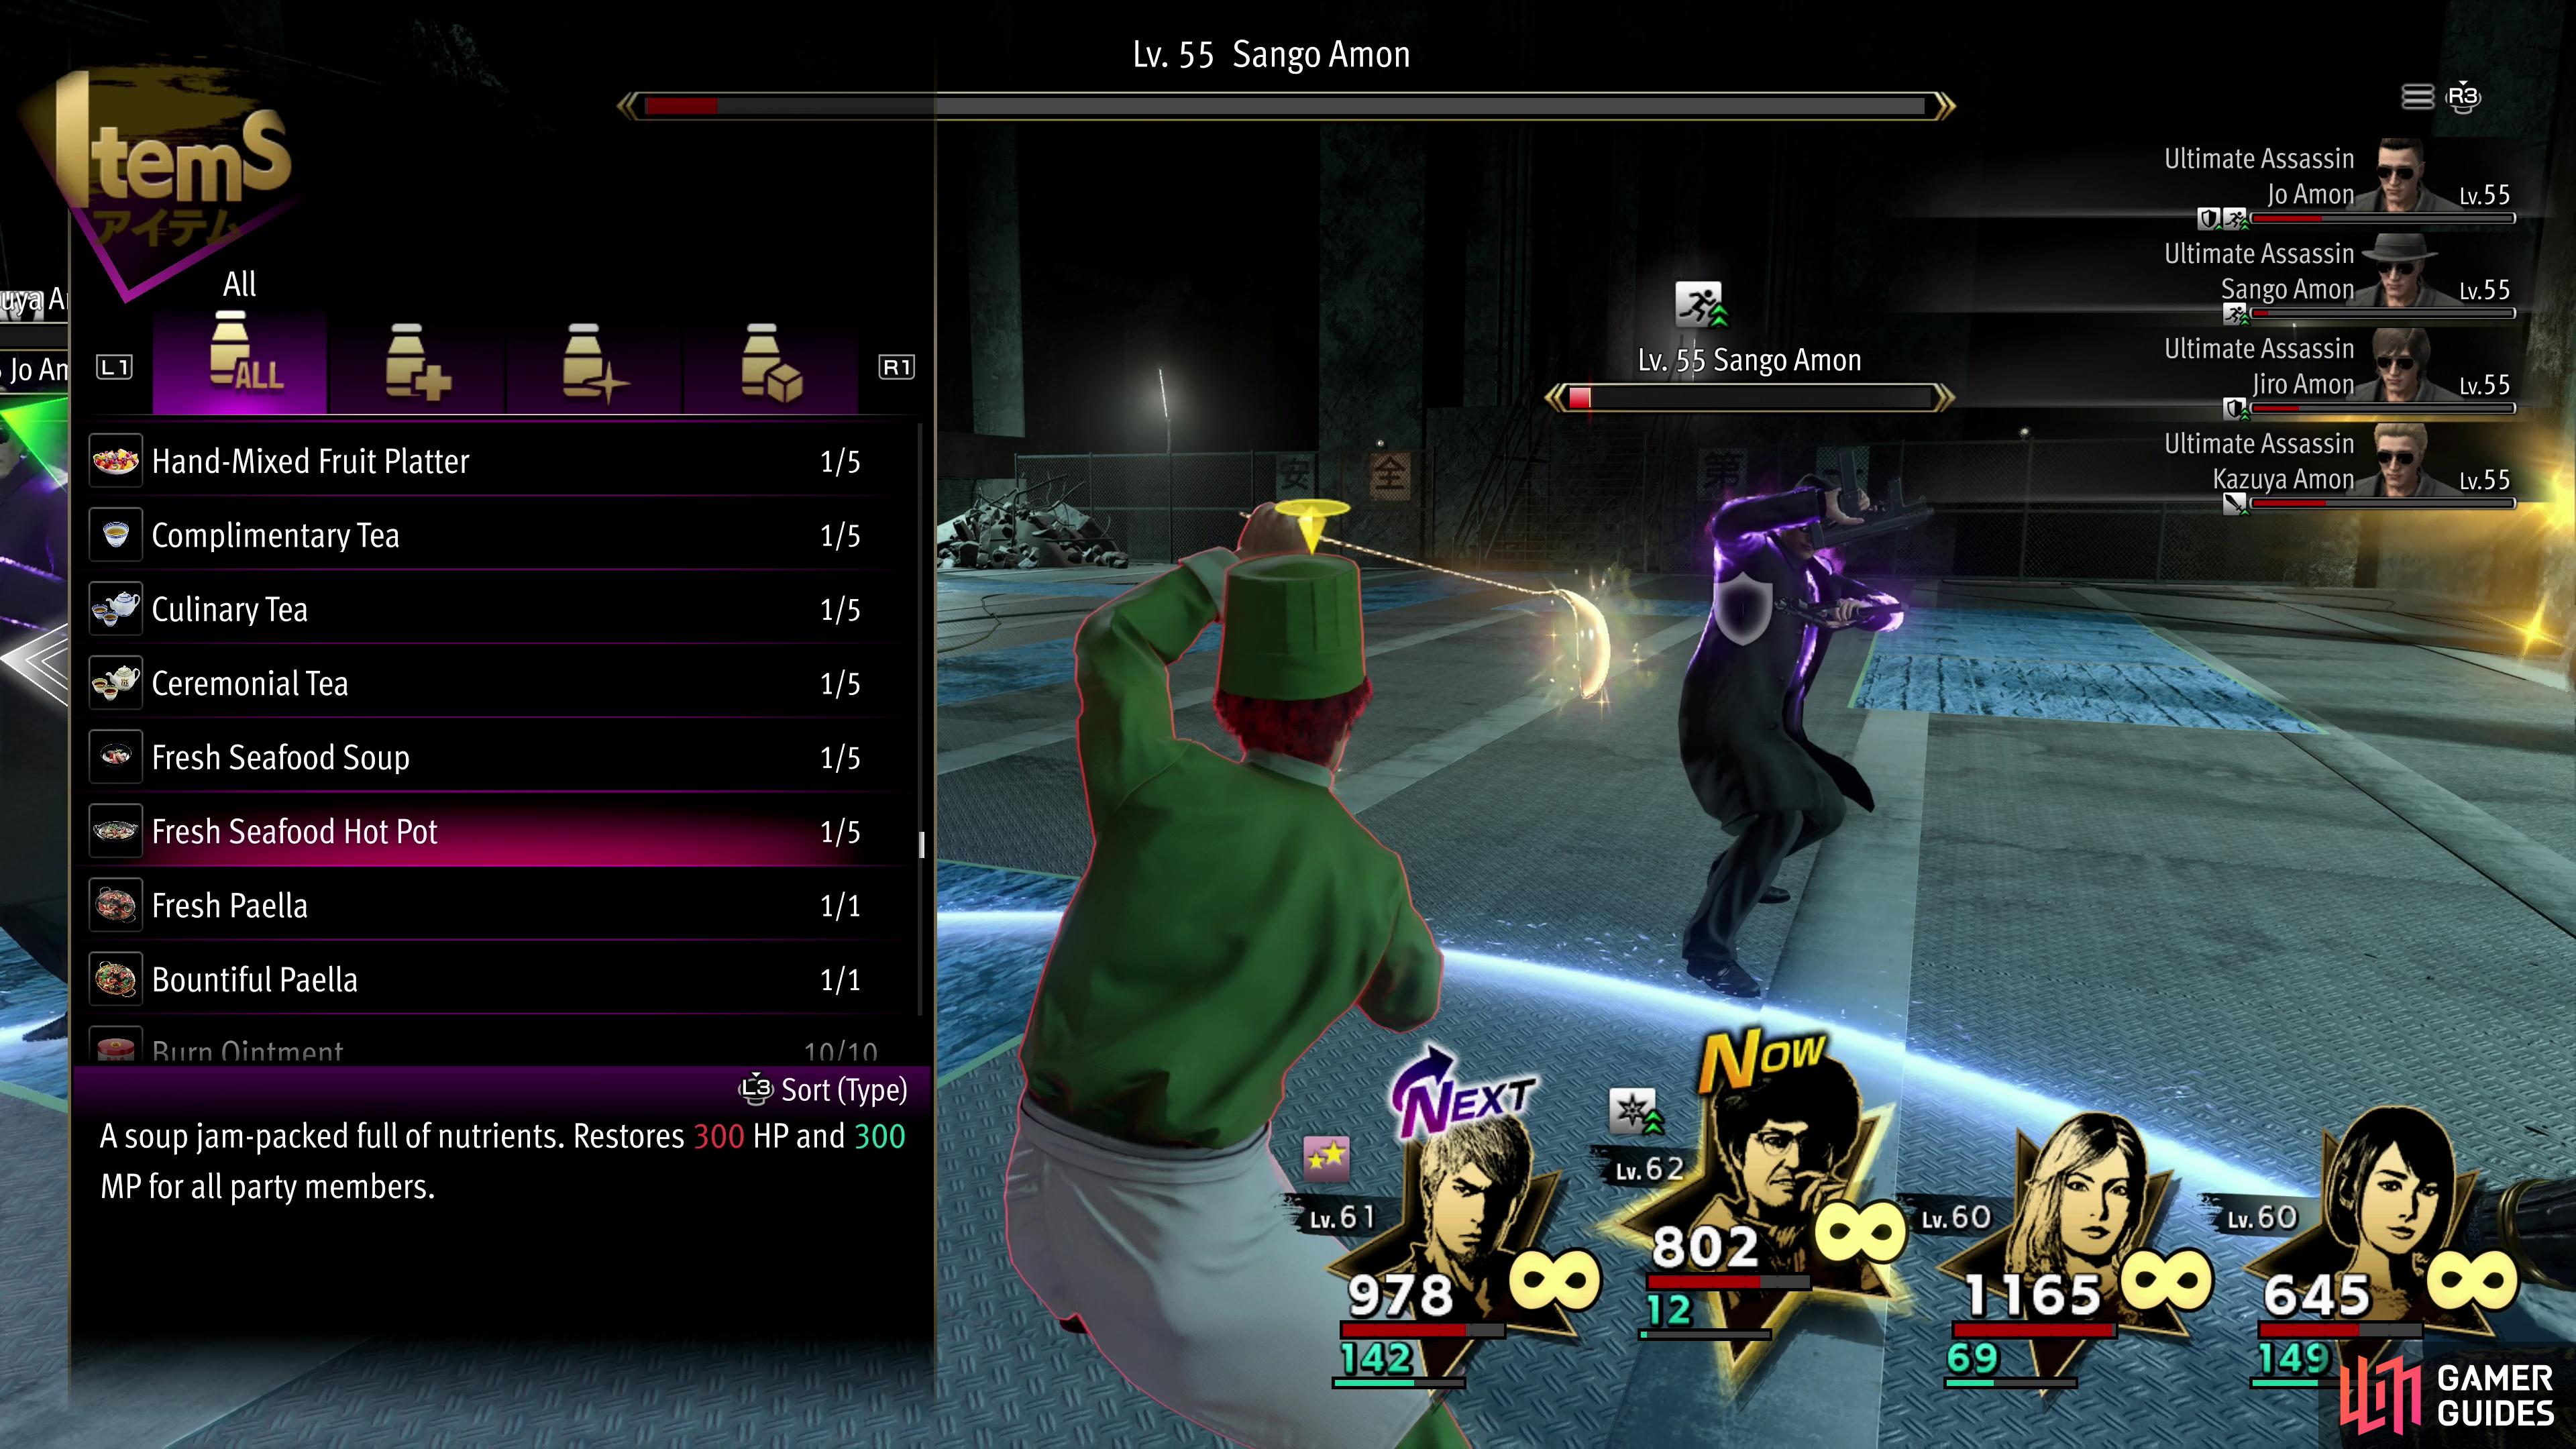
Jo Amon is by far the most dangerous of the bunch, seemingly gaining buffs at random and being capable of some real nasty attacks. His Komaki Hellstorm can hit a character for 300+ damage and inflict stun, while if he uses his Amon’s Assault all four Amons will join in for around 700 damage. Tag team attacks can surpass 500 damage, and while these aren’t terribly common, you have to be wary of these potential damage spikes and keep your health up. Making this more difficult are attacks like Chain Kicks (Kazuya Amon, 200+ damage and stun) and Rain of Pain (400+ damage). These only get worse if the Amons apply Attack buffs to themselves - which they likely will do (some of their attacks apply buffs, so they can make themselves more dangerous without having to interrupt their offense). Everybody in your party needs to have a healing spell, Magical Song or Beachside Bro-ffet, and having the ability to revive won’t hurt, either. Crafting some of the more potent meals via the bartenders at Survive is also a nice ace-in-the-hole to have, as you can restore massive amounts of HP/MP to the entire party with one action, regardless of distance. You probably won’t need them in any other fight, but they absolutely can be life savers here.
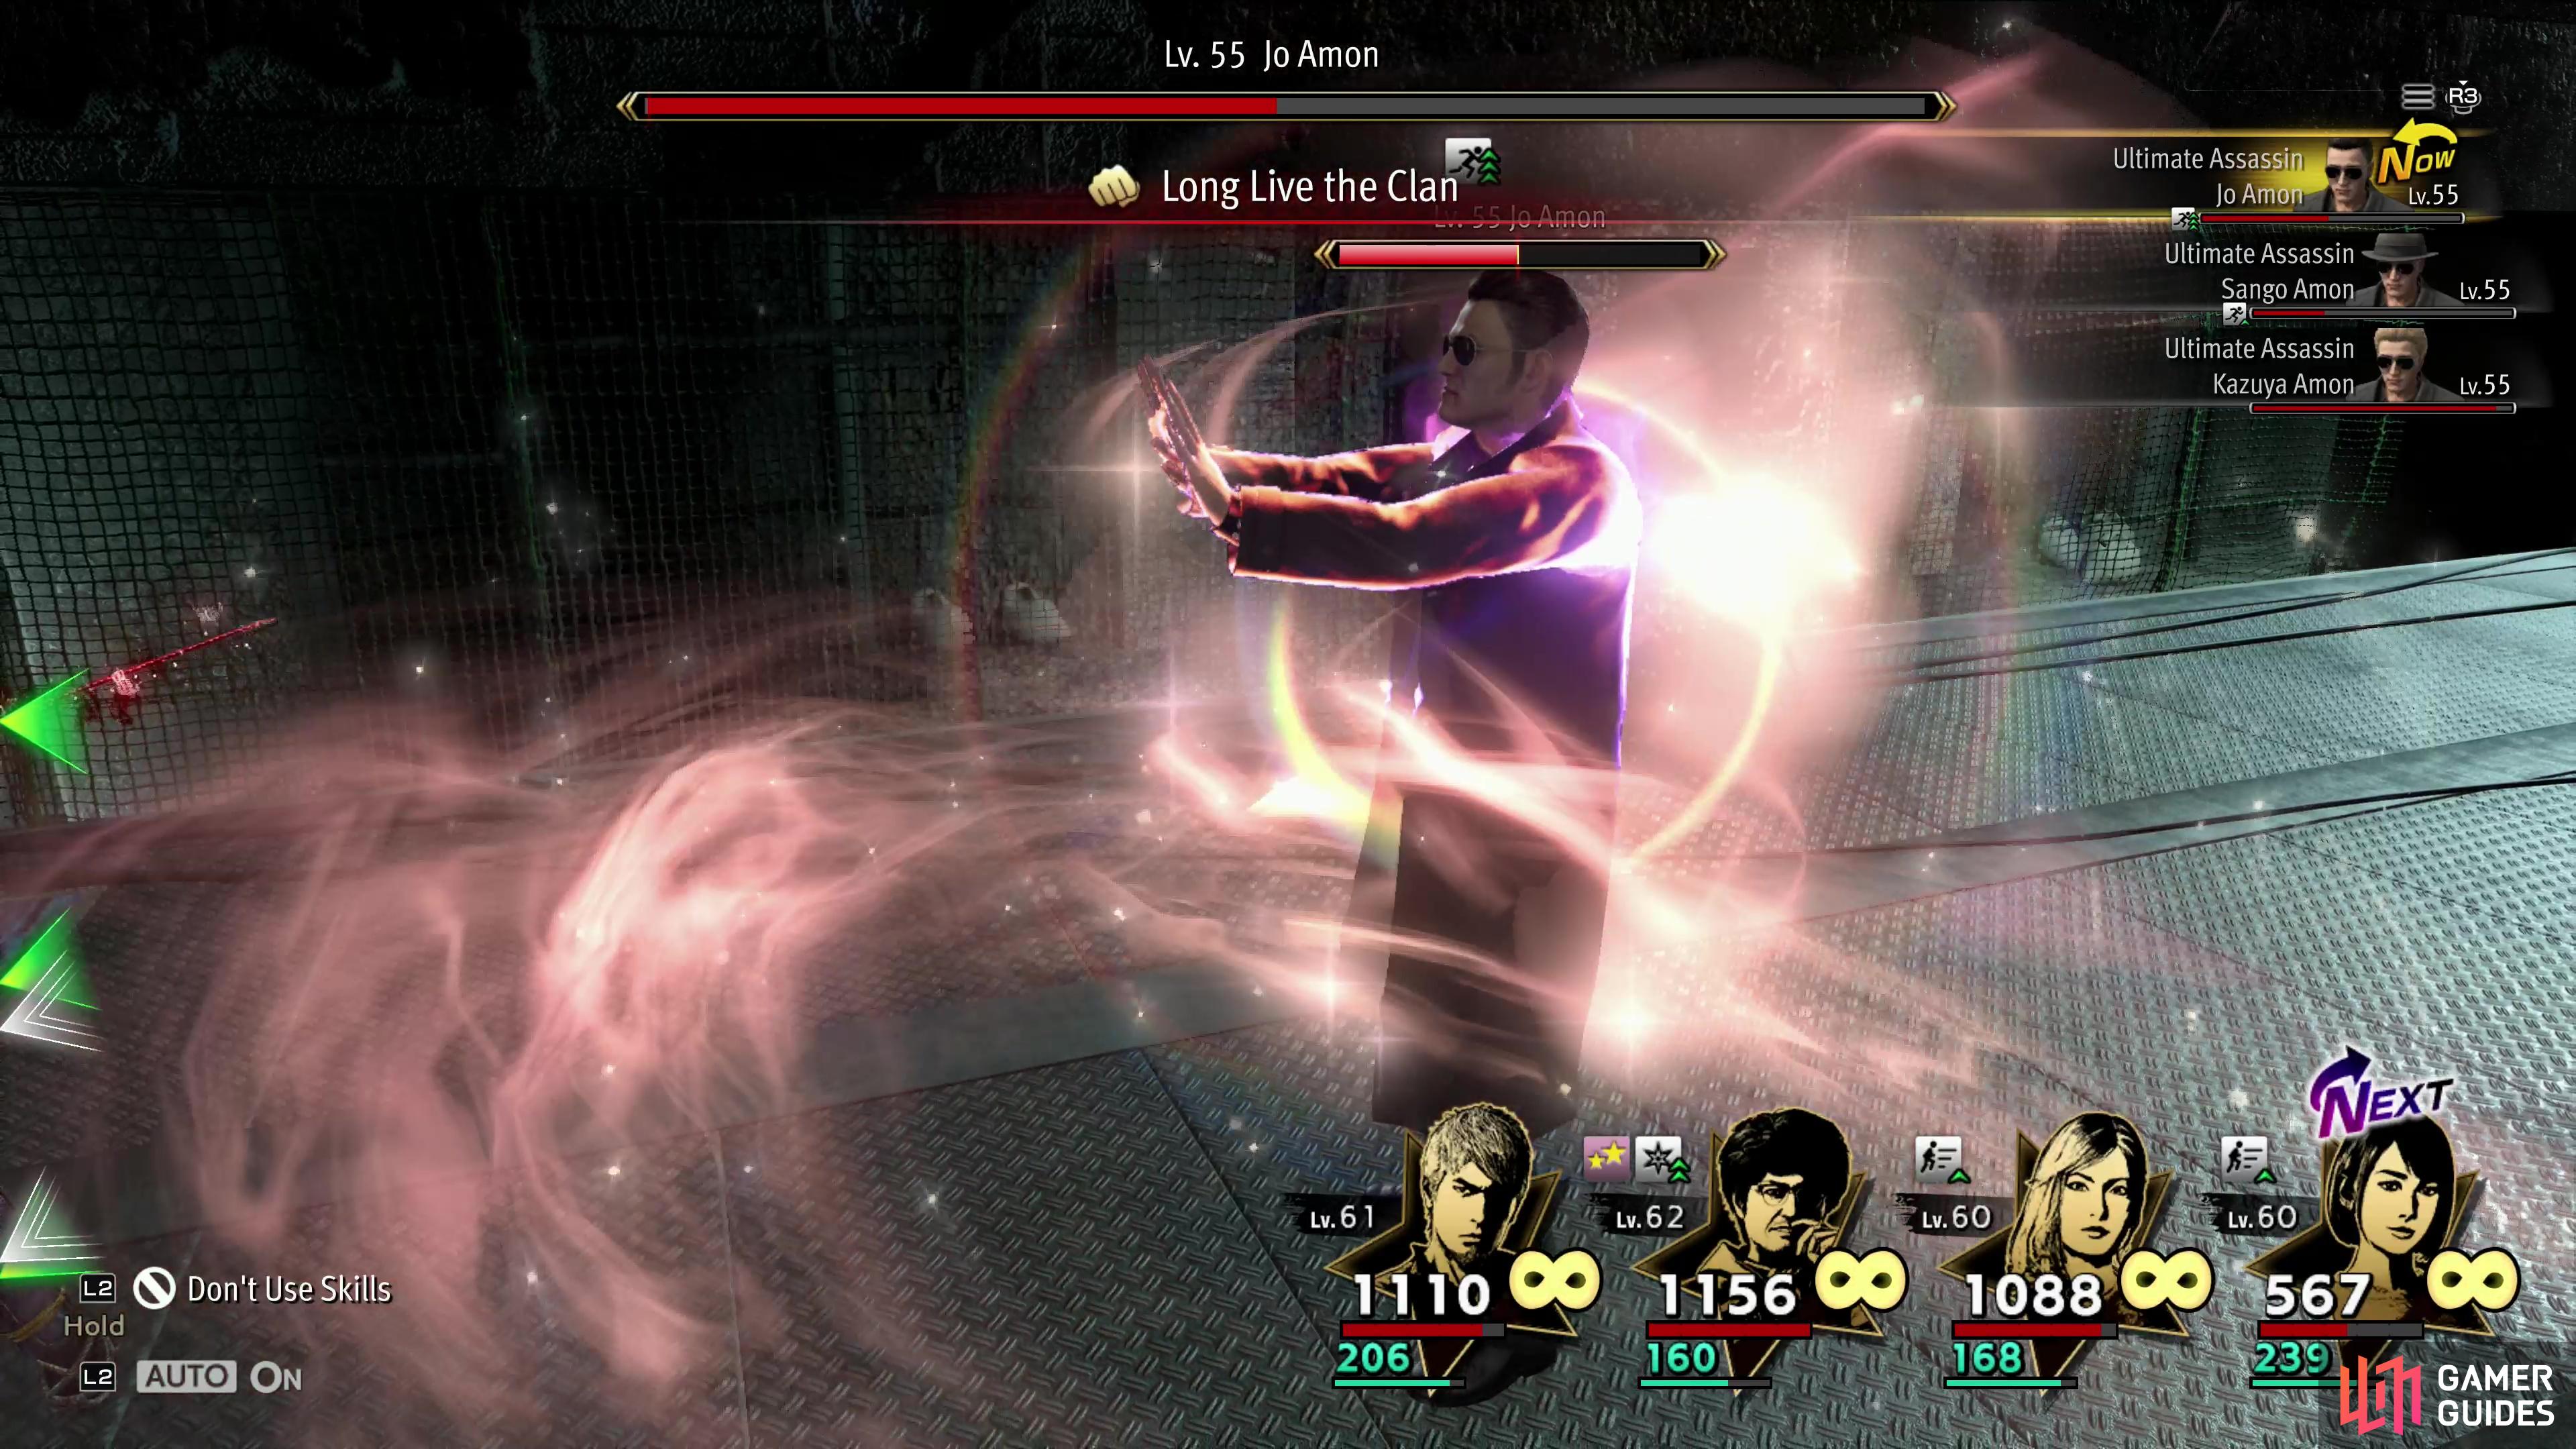
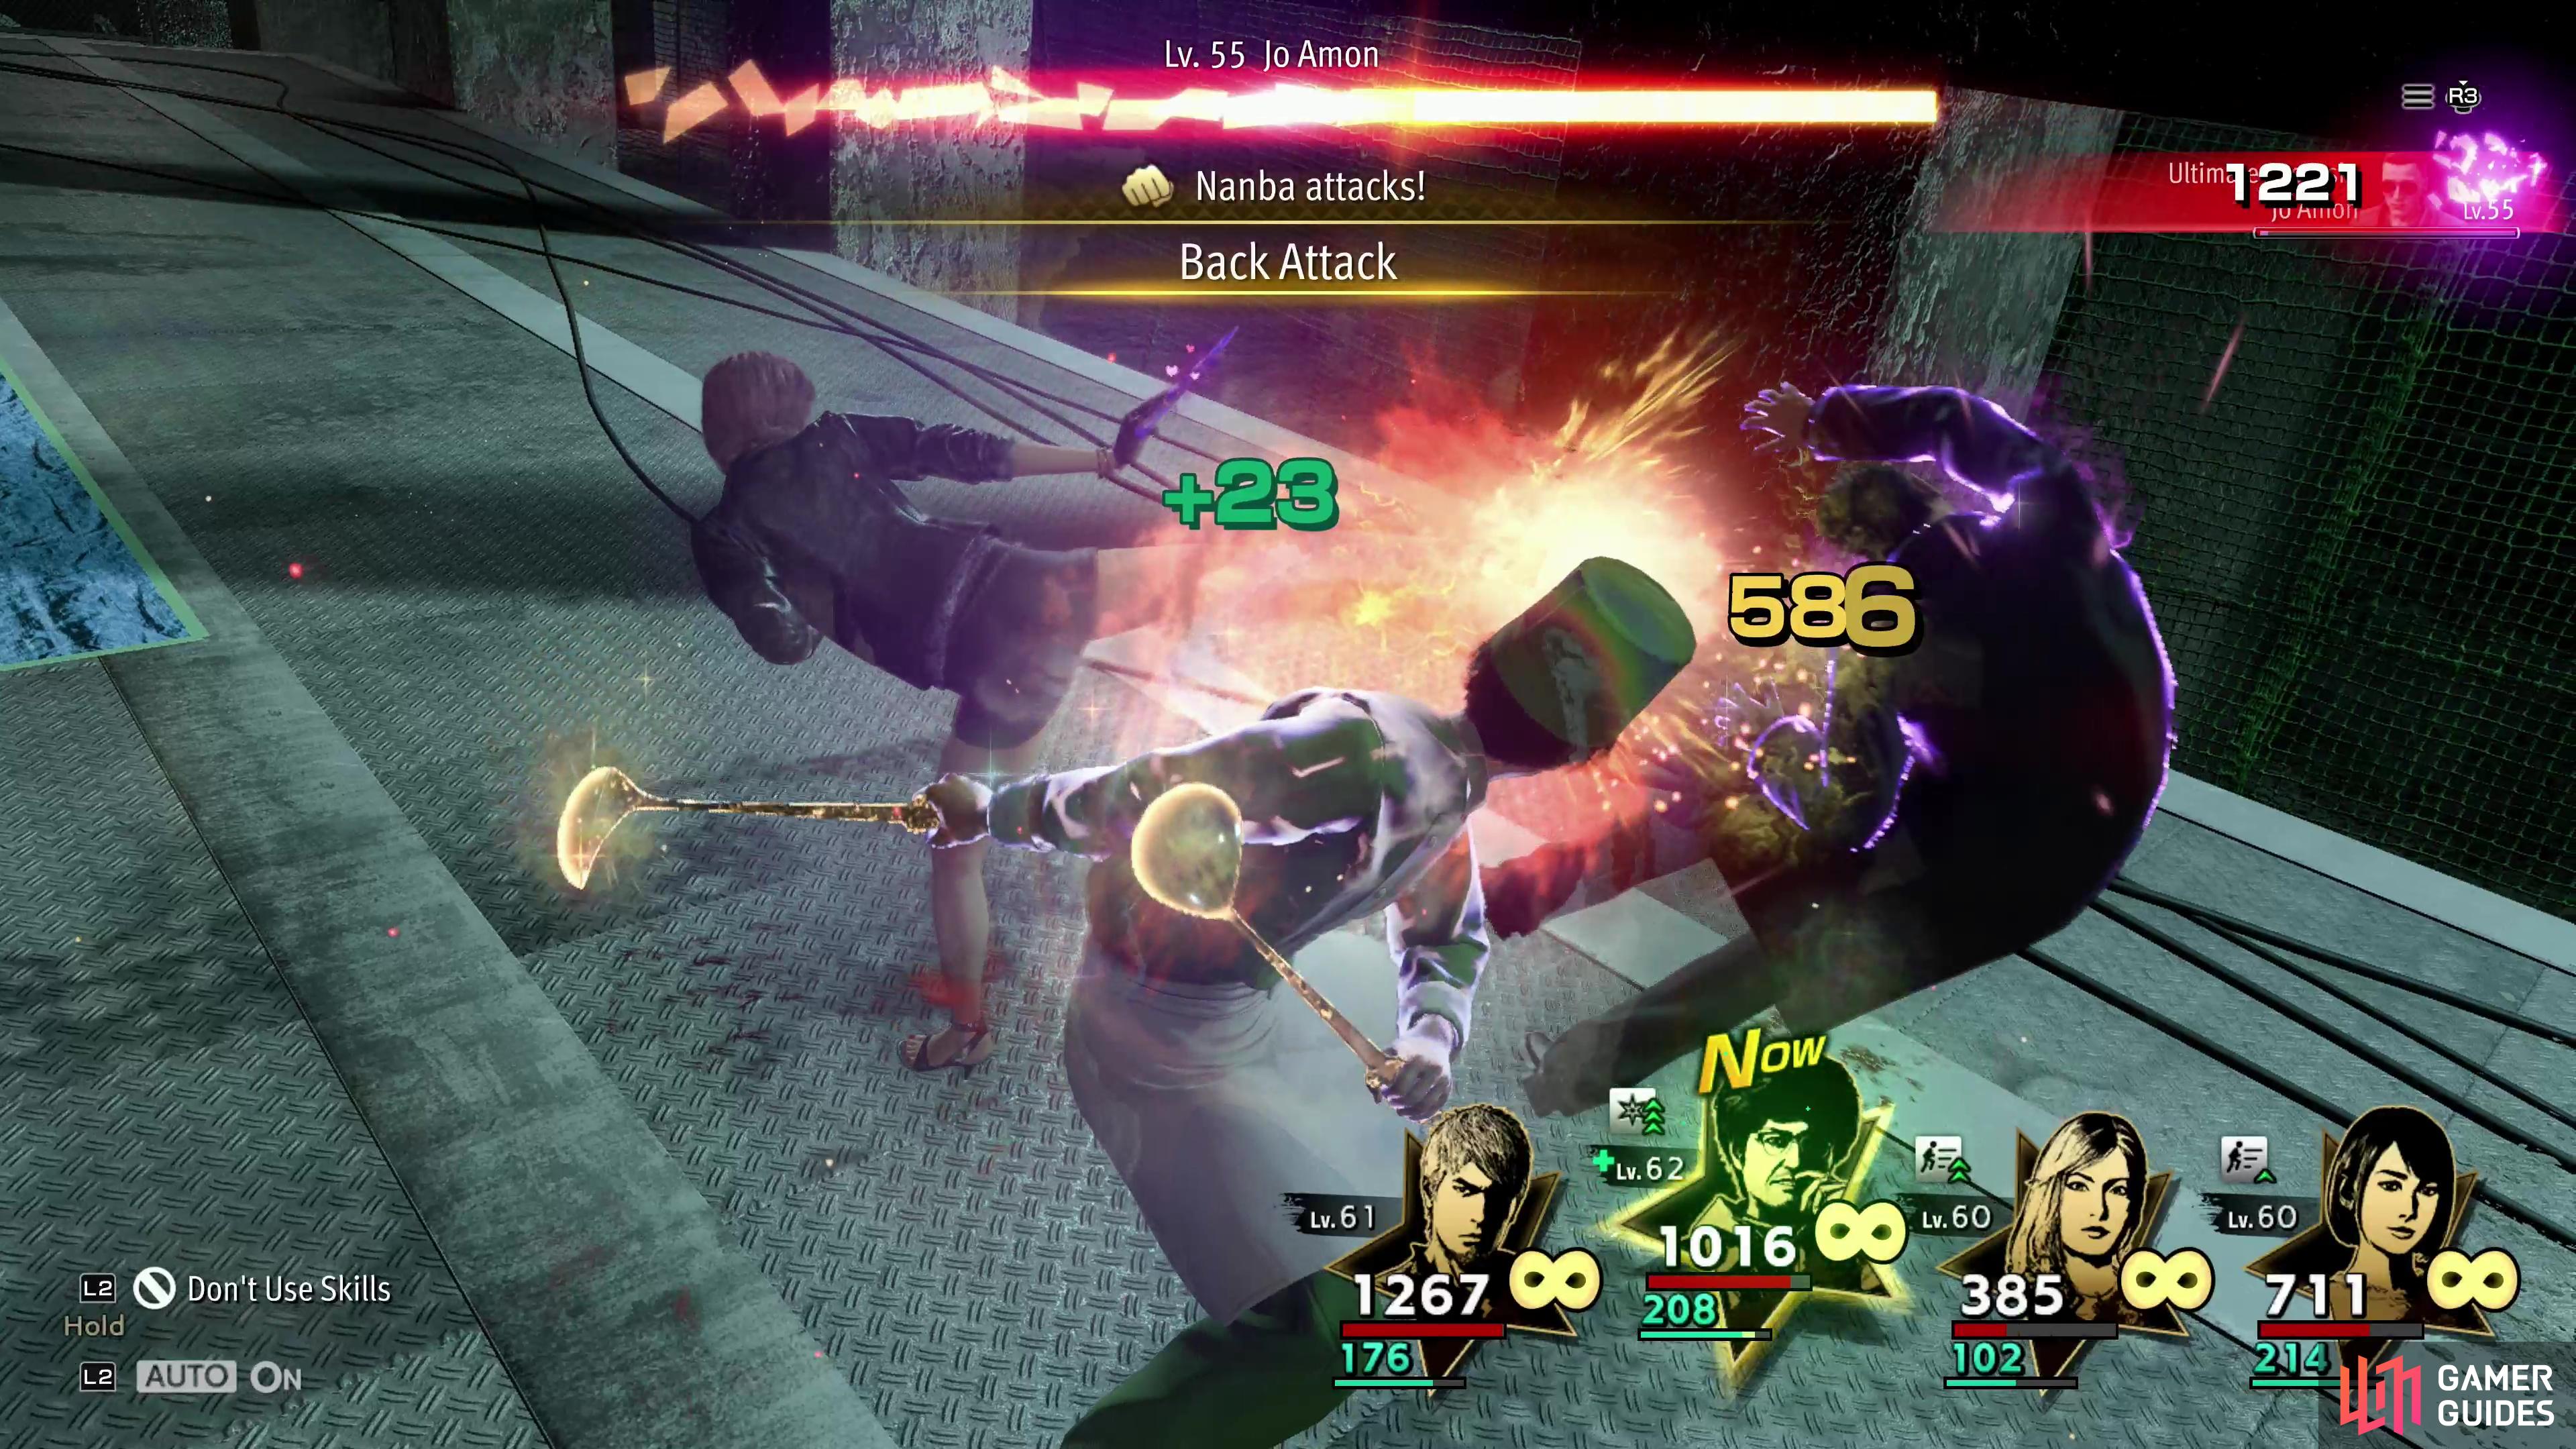
If their damage output isn’t bad enough, the real difficult part of this fight is that you can’t just pick them off one-by-one as you would in pretty much any other battle. Jrio Amon is tantalizingly weak to fire and if you press him with Burning Arrow, you’ll find him getting whittled down awfully quickly. If you kill one early, however, Jo Amon will likely use his Long Live the Clan ability to revive the fallen Amon at full HP, making your prior efforts a demoralizing waste of time. Instead, whittle them all down evenly (as much as possible), make sure your MP is in good shape before finishing one off, then start swinging with your most expensive, powerful attacks to try to finish them off quickly.
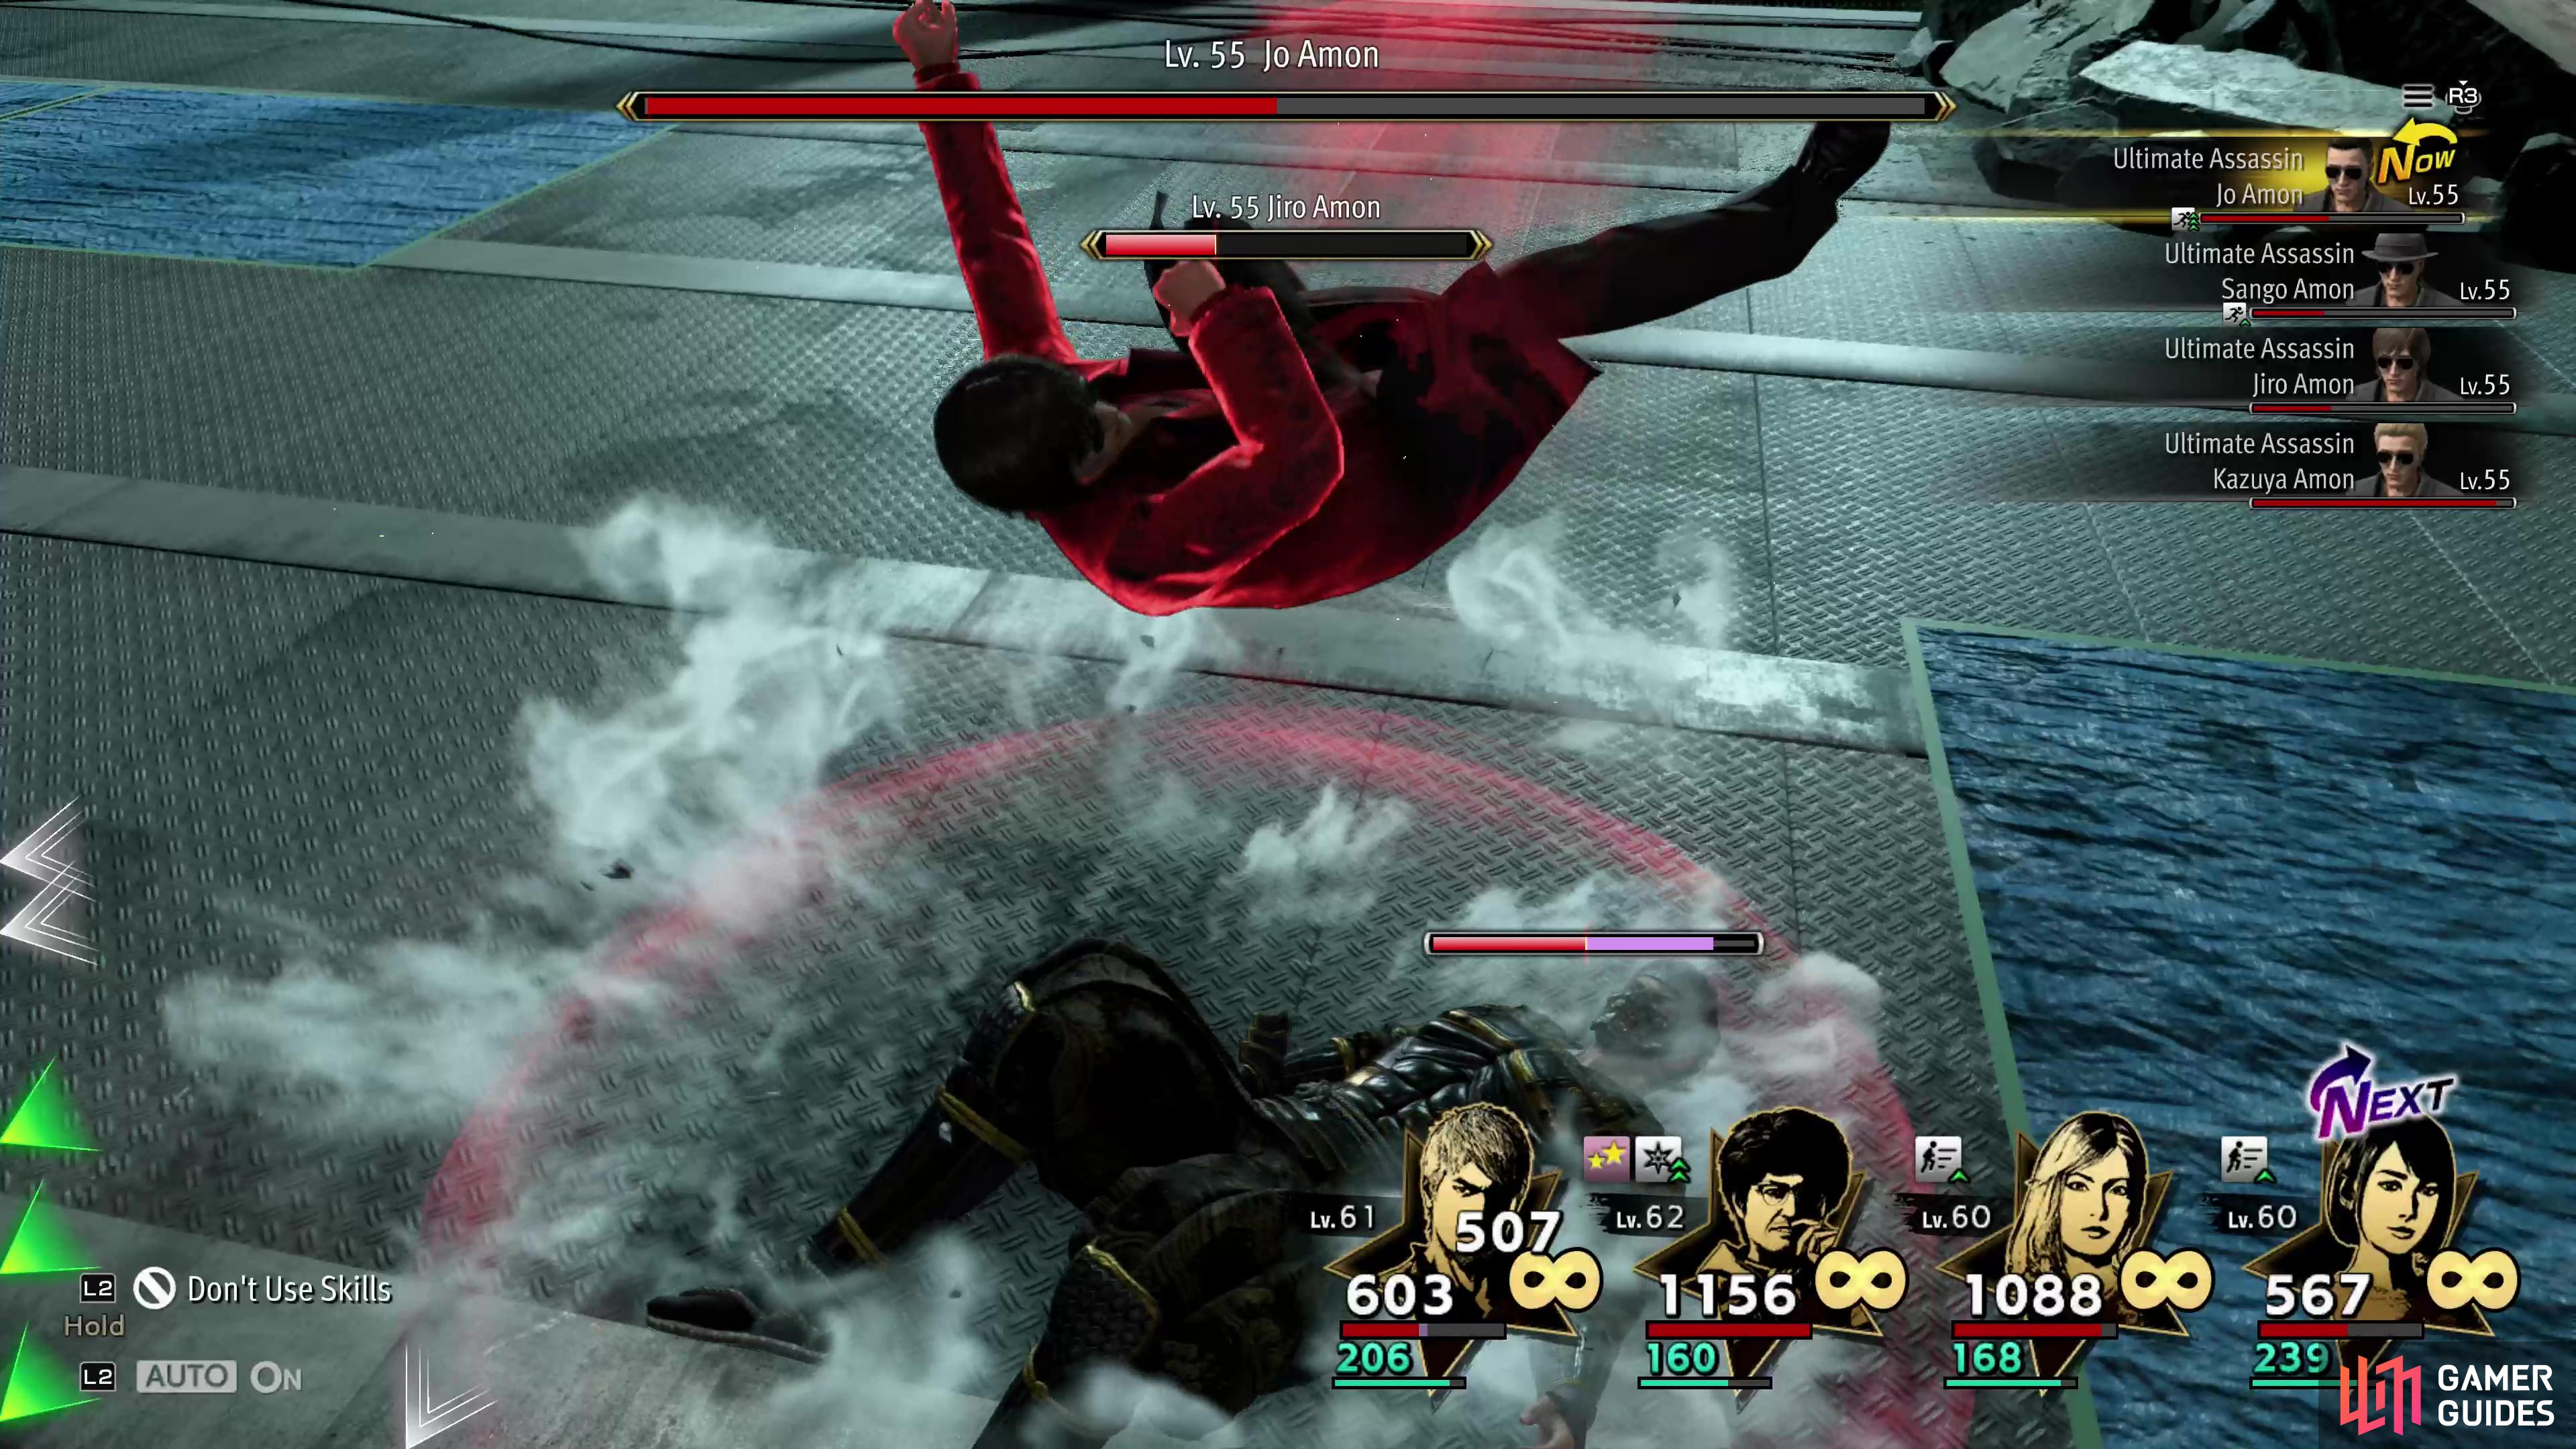
Alternatively, you can try to focus fire on Jo Amon himself. He’s the only one who seems capable of reviving allies, and frankly, he’s also the biggest DPS. He doesn’t have any weaknesses, however, so it’ll take quite a while to bring him down. If you can manage it, however, the rest of the battle should be much, much easier.
However you manage it, conquer the Amons and you’ll obtain some Squid Tentacles if this was your first victory, as well as some ![]() Sacred Leather Socks, some of the best footwear in the game.
Sacred Leather Socks, some of the best footwear in the game.
Now that you’ve conquered Yokohama Underground, check out the following pages to finish strengthening your party:

 Sign up
No Comments