
Story dungeons are a fairly common fixture in RPGs, and the Like a Dragon series is no different - you’ll have to tackle several of them during the course of the game. In these cases you’re warned about what to expect and given suggested character levels and gear quality recommendations so you’re prepared before you venture beyond the point of no return. For those who are braver and seek greater rewards, however, optional dungeons exist where you can test your mettle. Late in Chapter 5 you’ll unlock the Hawaiian Haunt (aka the Labyrinth) and while your first mandatory visit is relatively tame, there’s a lot more lurking in the depths. This page will discuss how the Hawaiian Haunt dungeon works, including its layout, what encounters you can expect, what items you can find and each sector’s mid boss and end boss.
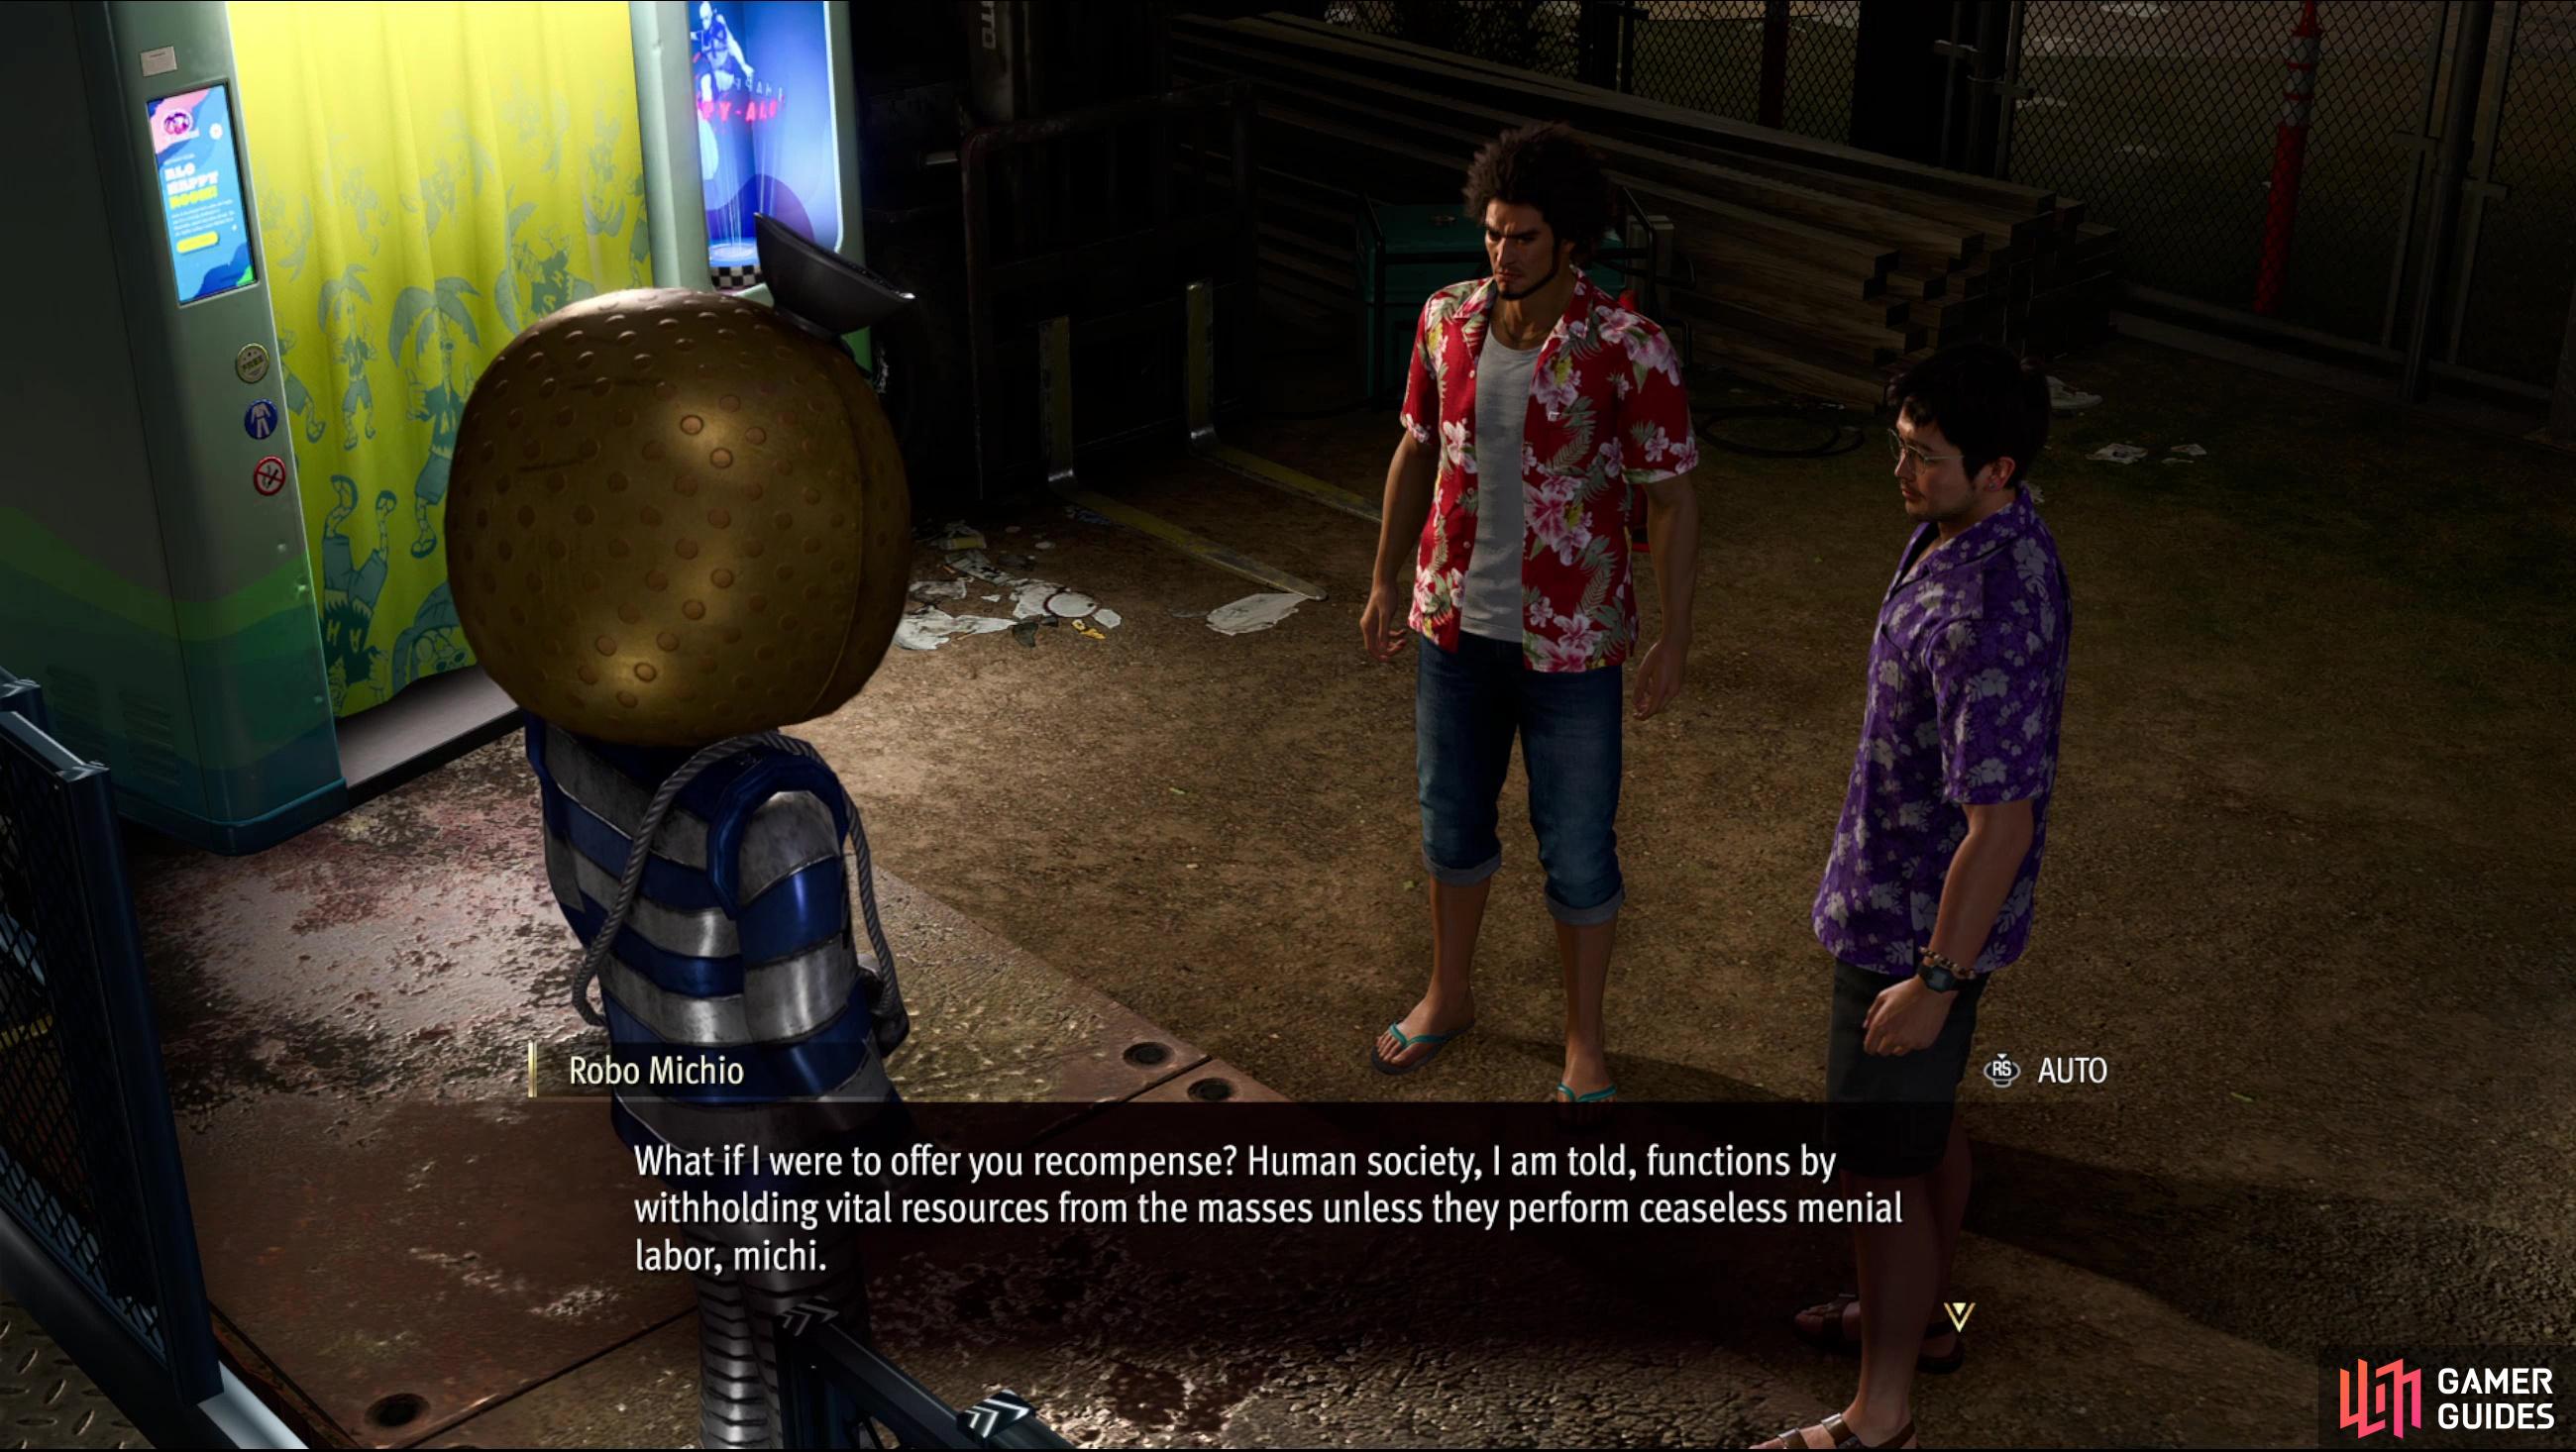
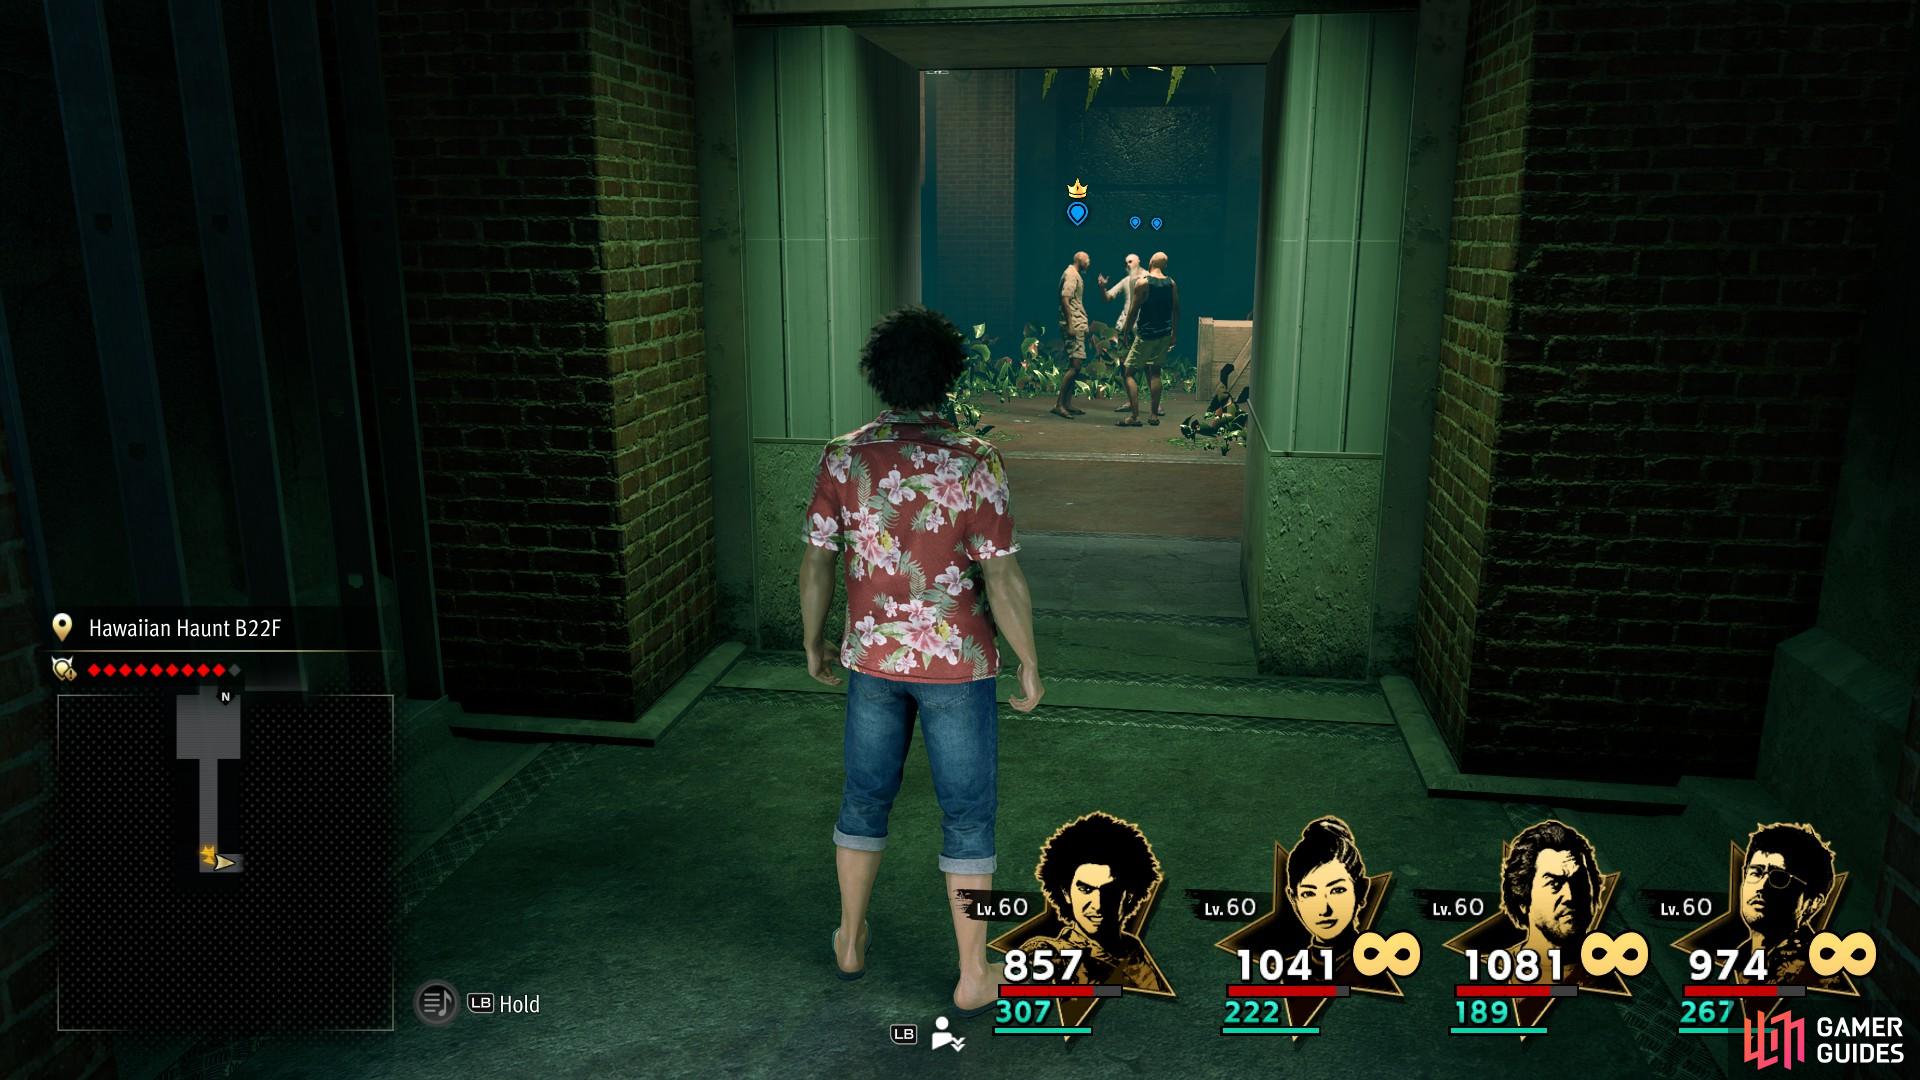
(1 of 2) Complete Substory 34 - Legend of the Labyrinth, then return to the Hawaiian Haunt and Robo Michio will ask you to clear the dungeon for him.
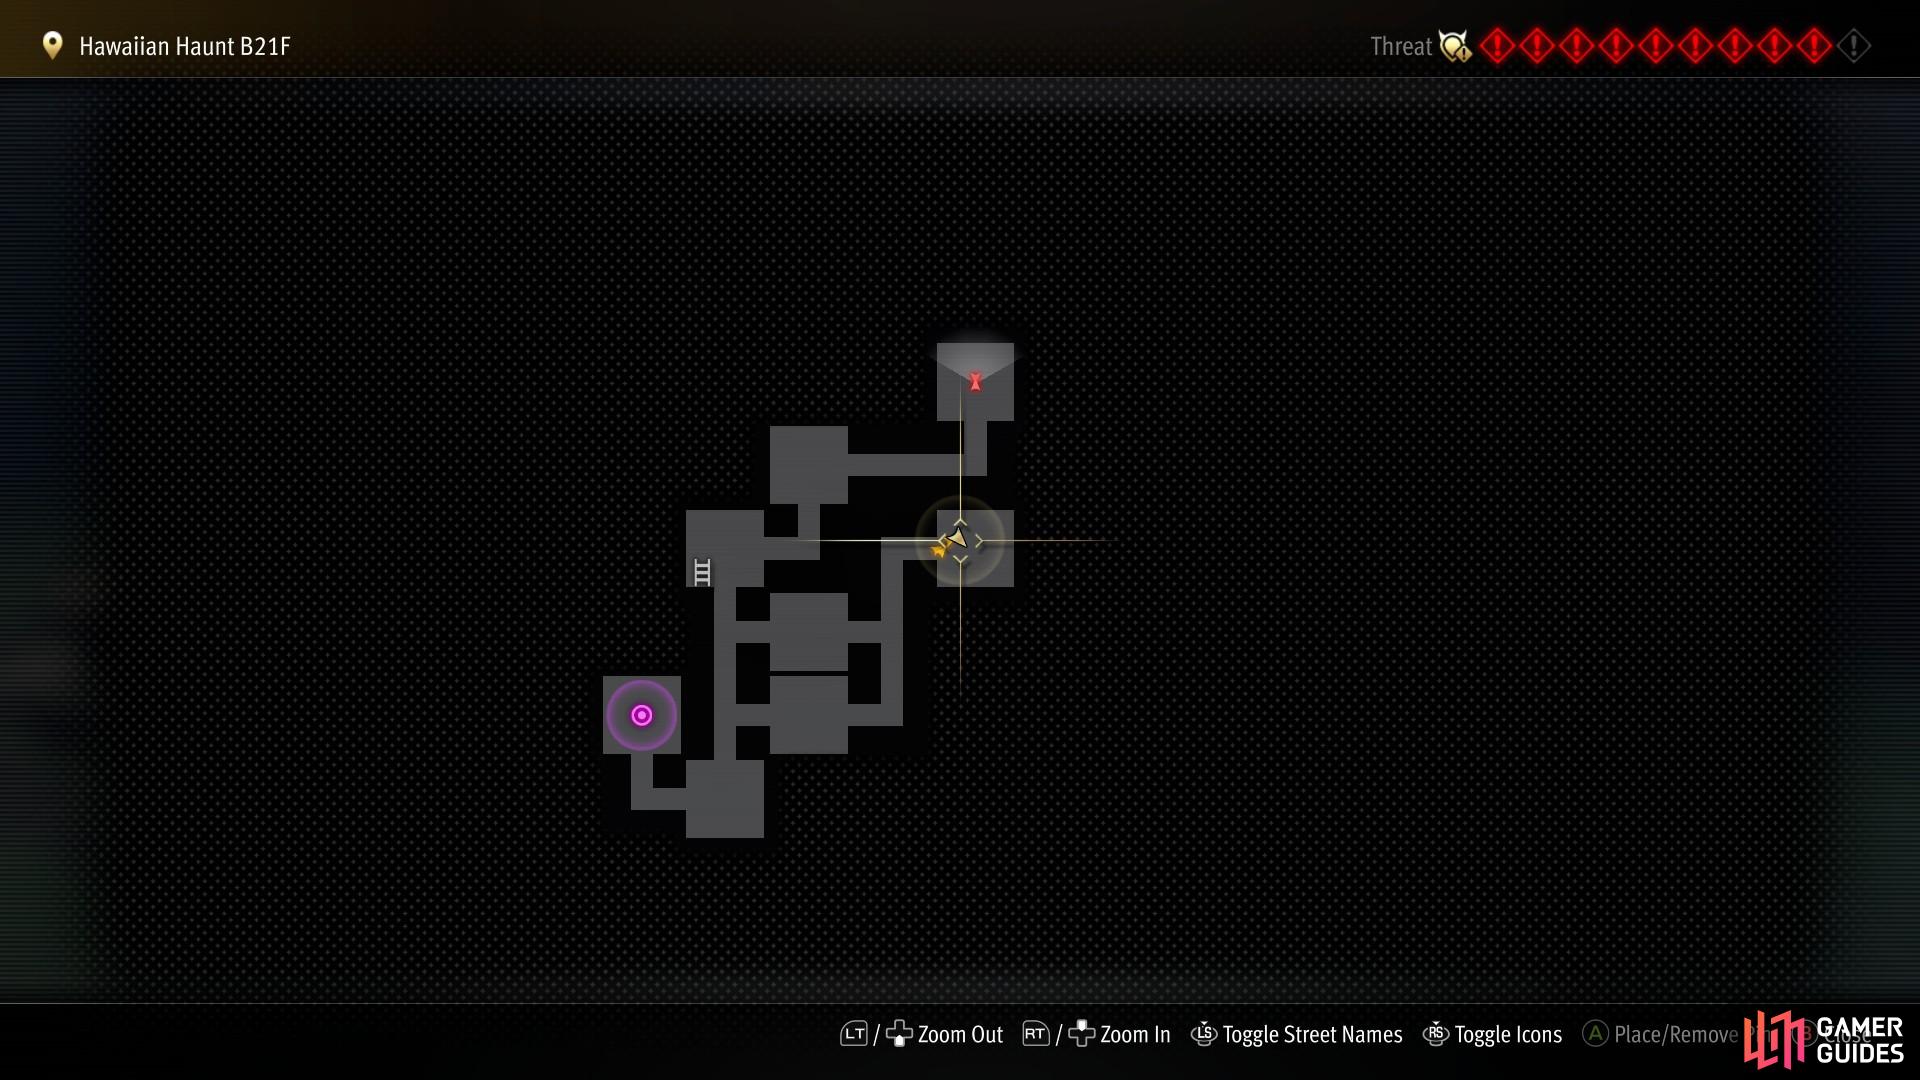
Complete Substory 34 - Legend of the Labyrinth, then return to the Hawaiian Haunt and Robo Michio will ask you to clear the dungeon for him. (left), Each floor of the Hawaiian Haunt is randomly generated, consisting of rooms linked by hallways. (right)
How to Unlock the Hawaiian Hunt Labyrinth Dungeon in Like a Dragon: Infinite Wealth
As mentioned earlier you’ll be introduced to the Hawaiian Haunt at the end of Chapter 5, as part of Substory 34 - Legend of the Labyrinth. All you need to do here is delve into the depths of Sector 1, which is reasonably easy (enemy level: 18-21), and you only need to stay long enough to locate and rescue a person from the depths. This is sold as the driving goal of the dungeon, and for this substory, it is. Once you’re done with the substory, however, rescuing people from the dungeon becomes more of an afterthought compared to the primary goals of delving the depths of the dungeon: defeating powerful enemies and extracting treasure. After unlocking this dungeon you can return here any time you have free run of Hawaii, which is most of Chapters 5-7 and 9.
Hawaiian Haunt Labyrinth Dungeon Layout and Encounters
Despite being billed as a “labyrinth”, the Hawaiian Haunt is just a procedurally generated dungeon consisting of smallish levels split into four sectors, each featuring ten floors. There’s a mid boss on the 5th floor and an end boss on the 10th floor. Once you defeat a mid boss or end boss, you’ll unlock a checkpoint that allows you to continue from the next floor (1st, 6th, 11th, etc.) Every time you defeat a mid boss or an end boss you’ll get a specific drop depending on the floor you just cleared, and generally you’ll start finding better loot the closer you are to a boss inasmuch as you’re unlikely to find any locked chests on the 1st or 2nd floor while you’ll usually find a chest or two on every 3rd or 4th floor. Otherwise every 1st-4th floor is very similar, while every 5th floor is just a boss fight with a healing minifridge and save point. Rinse, wash, repeat every five floors:
| Floor | Characteristics |
|---|---|
| 1st | Entry floor, checkpoint, low treasure |
| 2nd | Standard floor, low treasure |
| 3rd | Standard floor, moderate treasure |
| 4th | Standard floor, high treasure (one guaranteed chest at the floor exit |
| 5th | Boss floor, healing minifridge, save point |
Now that we’ve explained the broad strokes of how the Hawaiian Haunt’s five level rotation works, let’s look at what sorts of things you can expect to find on each non-boss floor, keeping in mind that each floor is just a smallish collection or square rooms connected by hallways:
- Hallways: Connects rooms, can contain the odd floor treasure, which is almost certainly going to be some kind of crafting material or Robo Disks. No enemies. The types of crafting materials you’ll find varies by sector:
| Sector | Materials |
|---|---|
| Sector 1 | Fragments |
| Sector 2 | Geodes |
| Sector 3 | Crystals |
| Sector 4 | Crystals |
(1 of 3) Some rooms are just empty, often filled with clutter, furnishings or machinery, but no enemies or treasure.
-
Empty Rooms: Pretty self explanatory, just an empty room. Sometimes occupied by machinery, but little else.
-
Standard Encounter Room: You’ll find a group of enemies (or a Metalworm) occupying a room. Generally just trash mobs, their average level varies by sector:
| Sector | Enemy Level |
|---|---|
| Sector 1 | 18~ |
| Sector 2 | 32~ |
| Sector 3 | 39~ |
| Sector 4 | 50~ |
- Special Enemy Encounter Room: A special enemy and a group of underlings occupy this room. More difficult and lucrative fights by far, these enemies give great XP, JEXP and money, and almost always drop a Key. They may be a level or two higher than the average enemy in the sector. Generally if you’re having trouble with these encounters, you should avoid the upcoming mid boss or end boss.
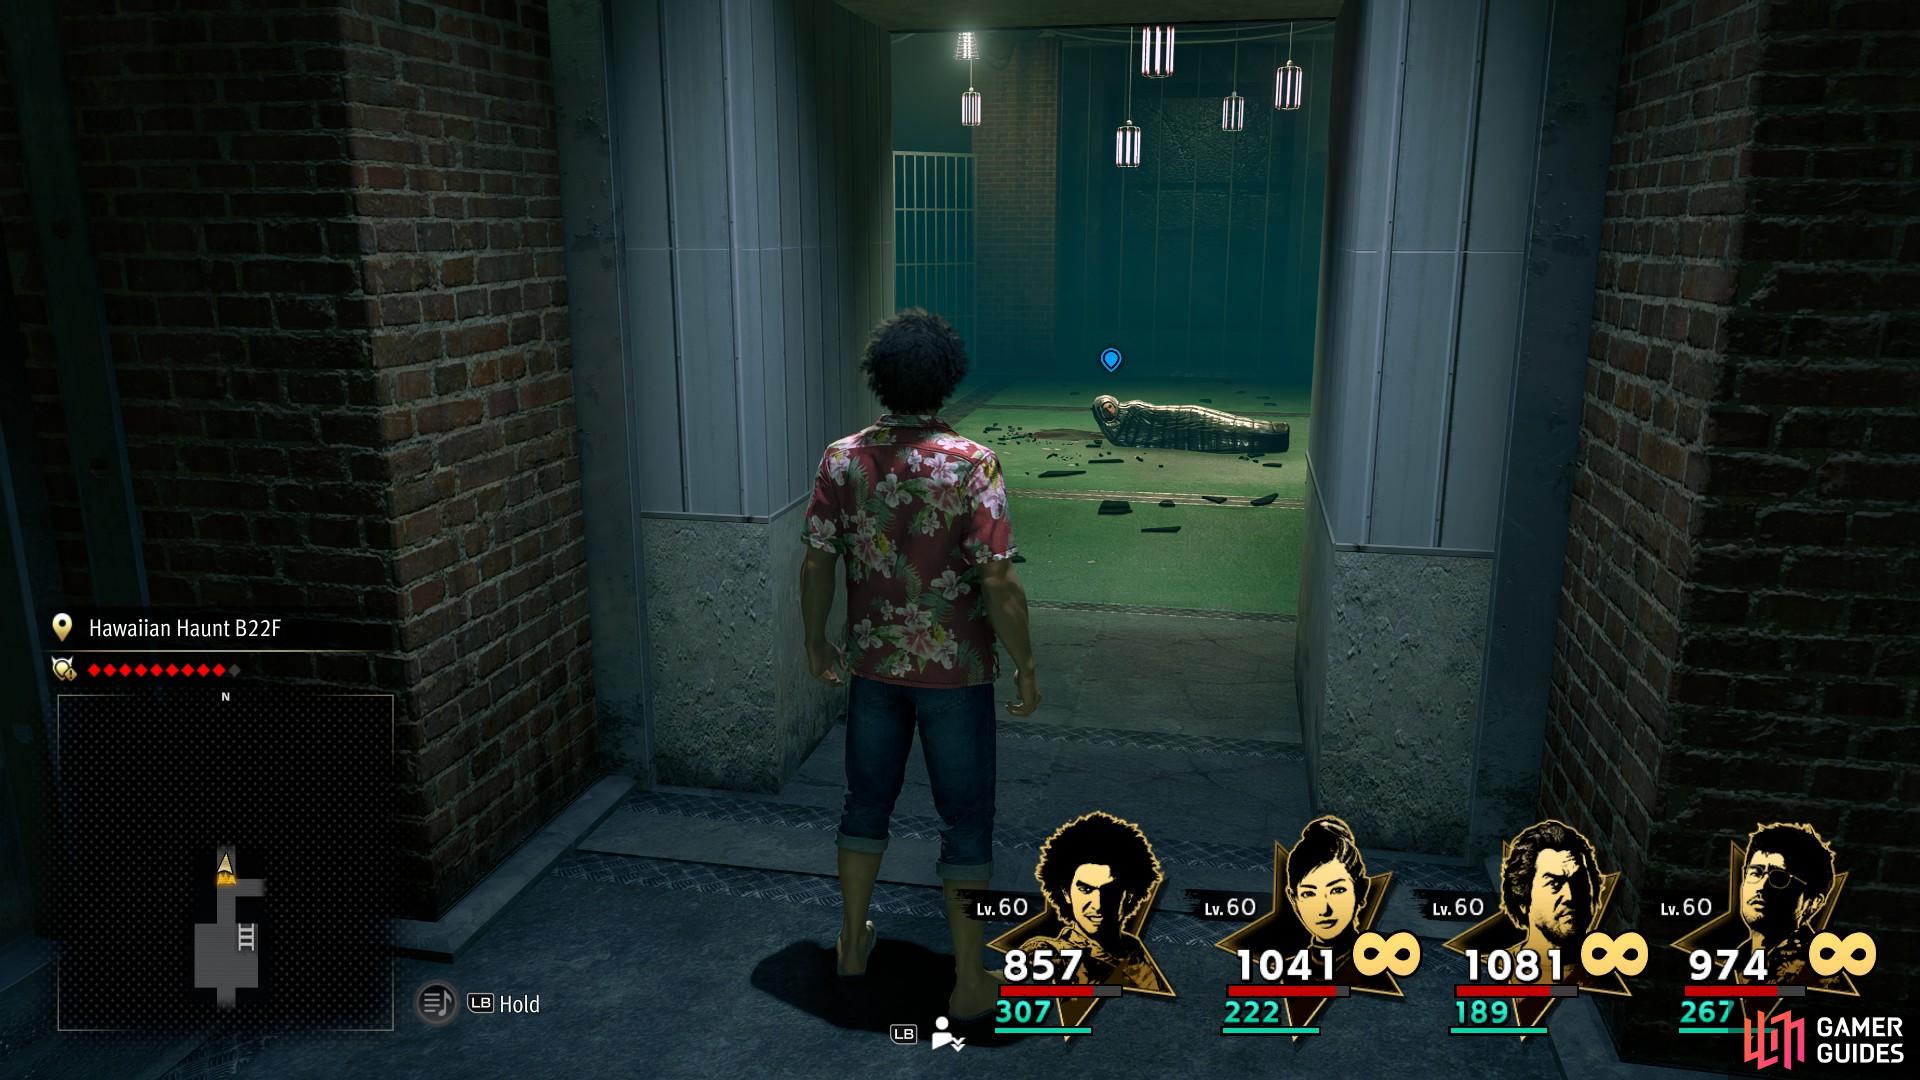
(1 of 2) Find people in need of rescue and defeat the special enemy harassing them.
Find people in need of rescue and defeat the special enemy harassing them. (left), Robo Michio will give you a reward for every five people you rescue - one reward per sector. (right)
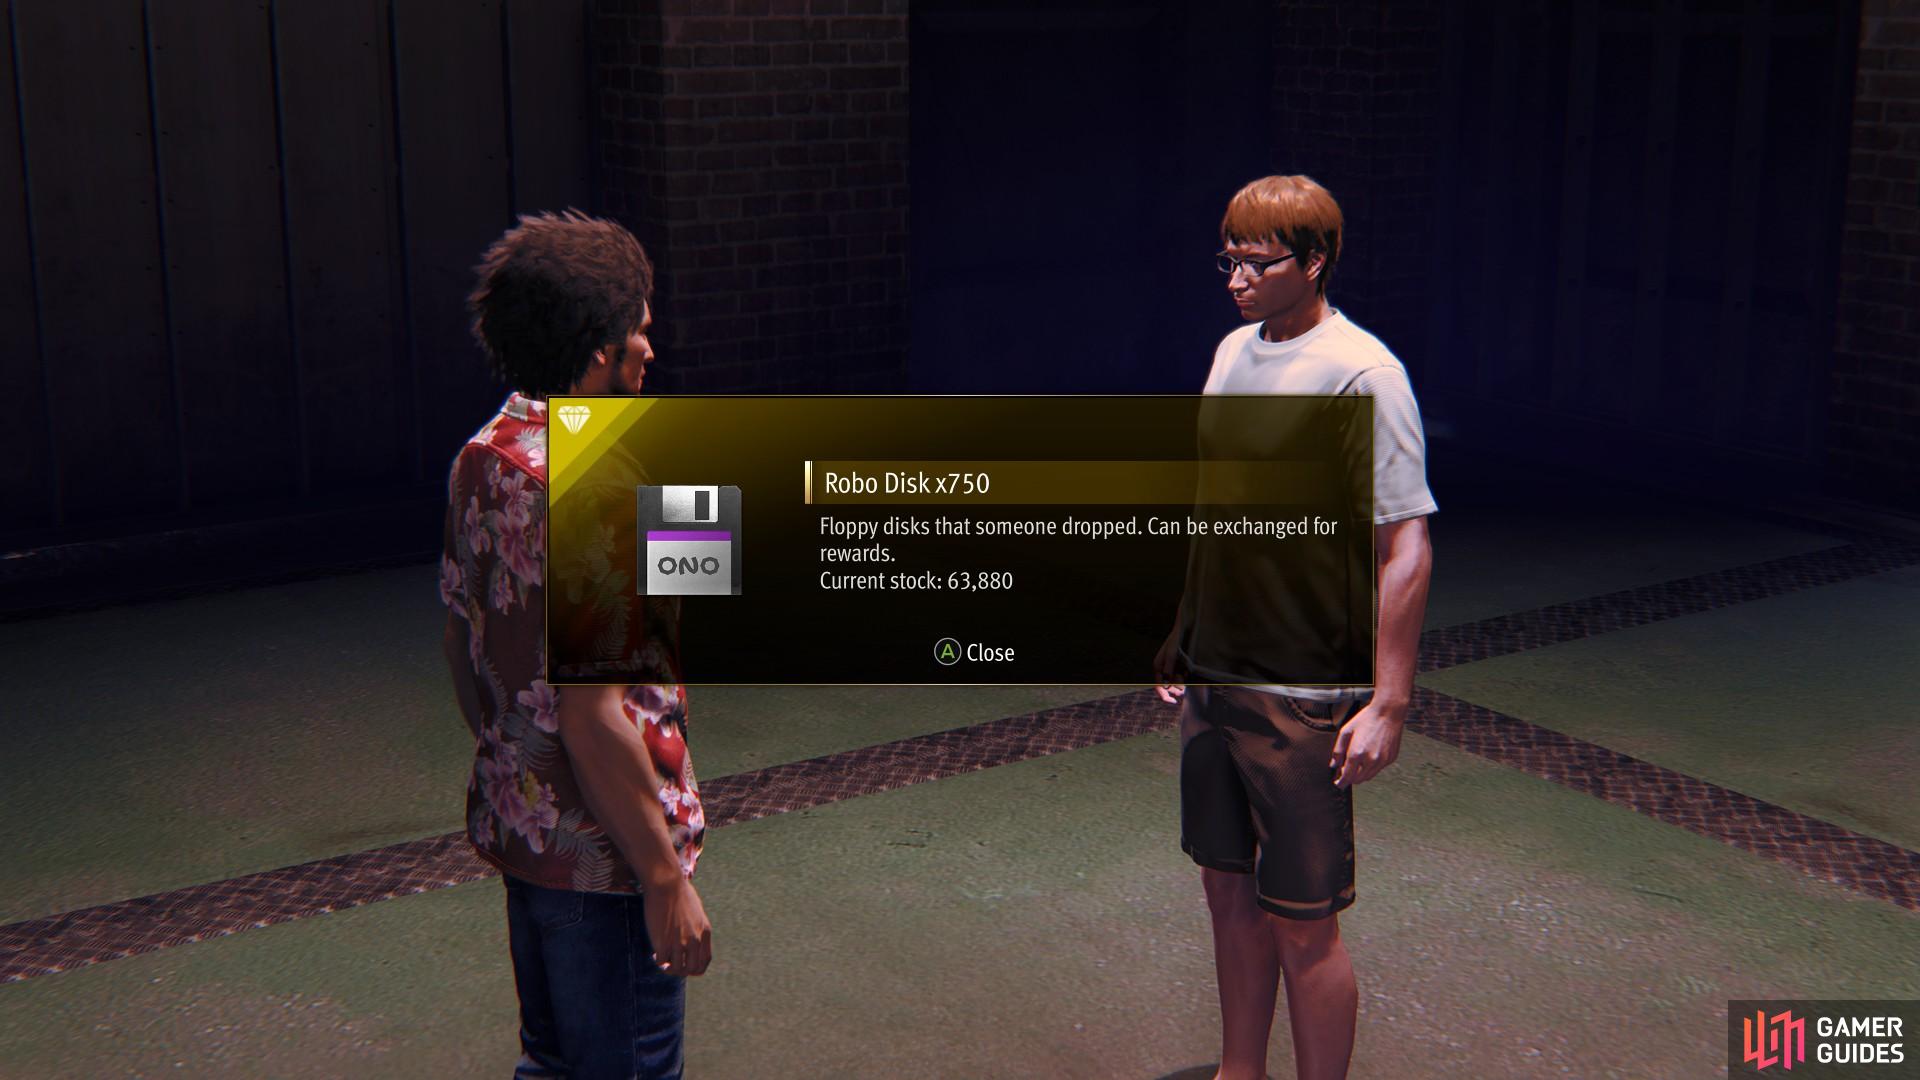
- Rescue Room: You’ll find a person in danger in this room being accosted by some enemies. They’ll all ignore you if you don’t talk to them, but if you do you’ll have to fight a special enemy and his lackeys. Defeat the enemies and you’ll rescue their victim, who will reward you with Robo Disks. While rescuing people isn’t all that lucrative by itself, you will get rewards from Robo Michio for every five people you rescue… and there are five people that need rescuing in every sector. These rewards are as follows:
| No. Rescued | Reward |
|---|---|
| 5 | Diving Knife |
| 10 | Dragonfish Tenugui |
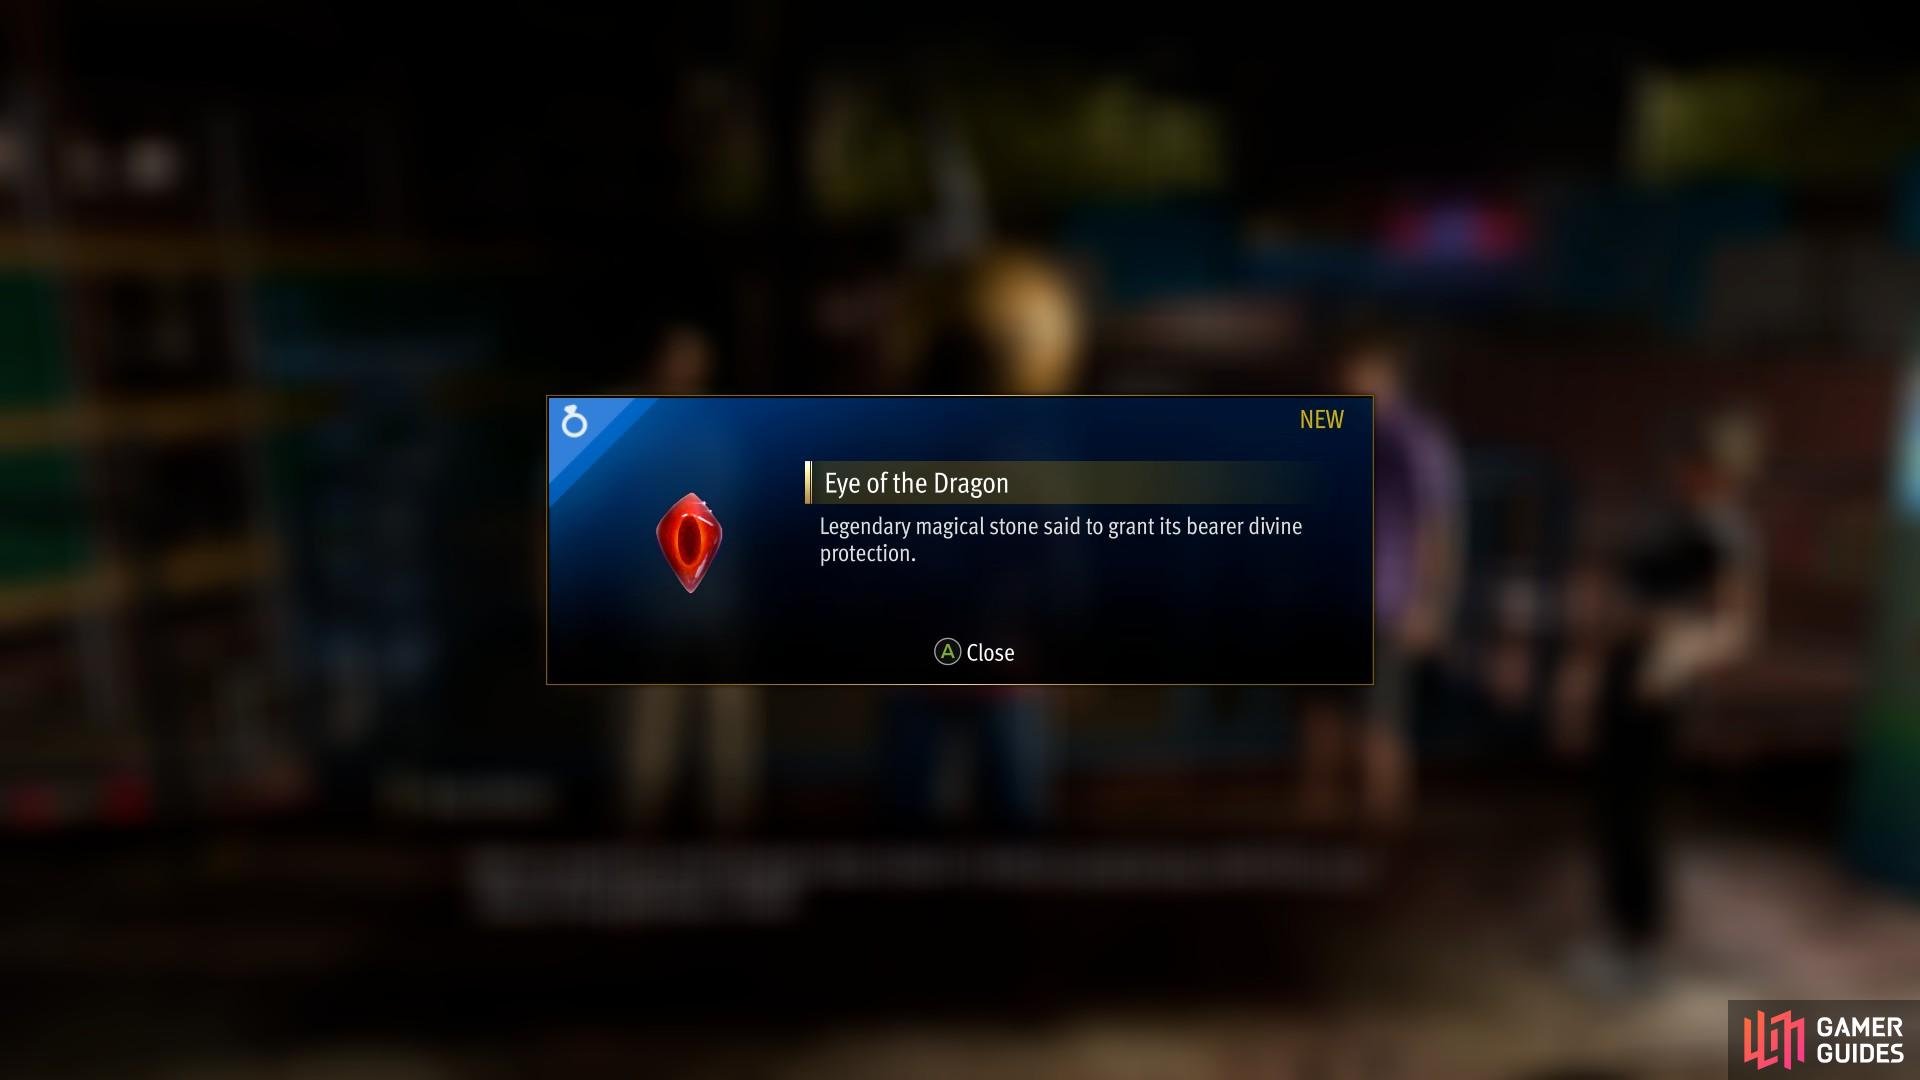
| 15 | Eye of the Dragon |
| 20 | Squid Tentacles, Ultra Booster |
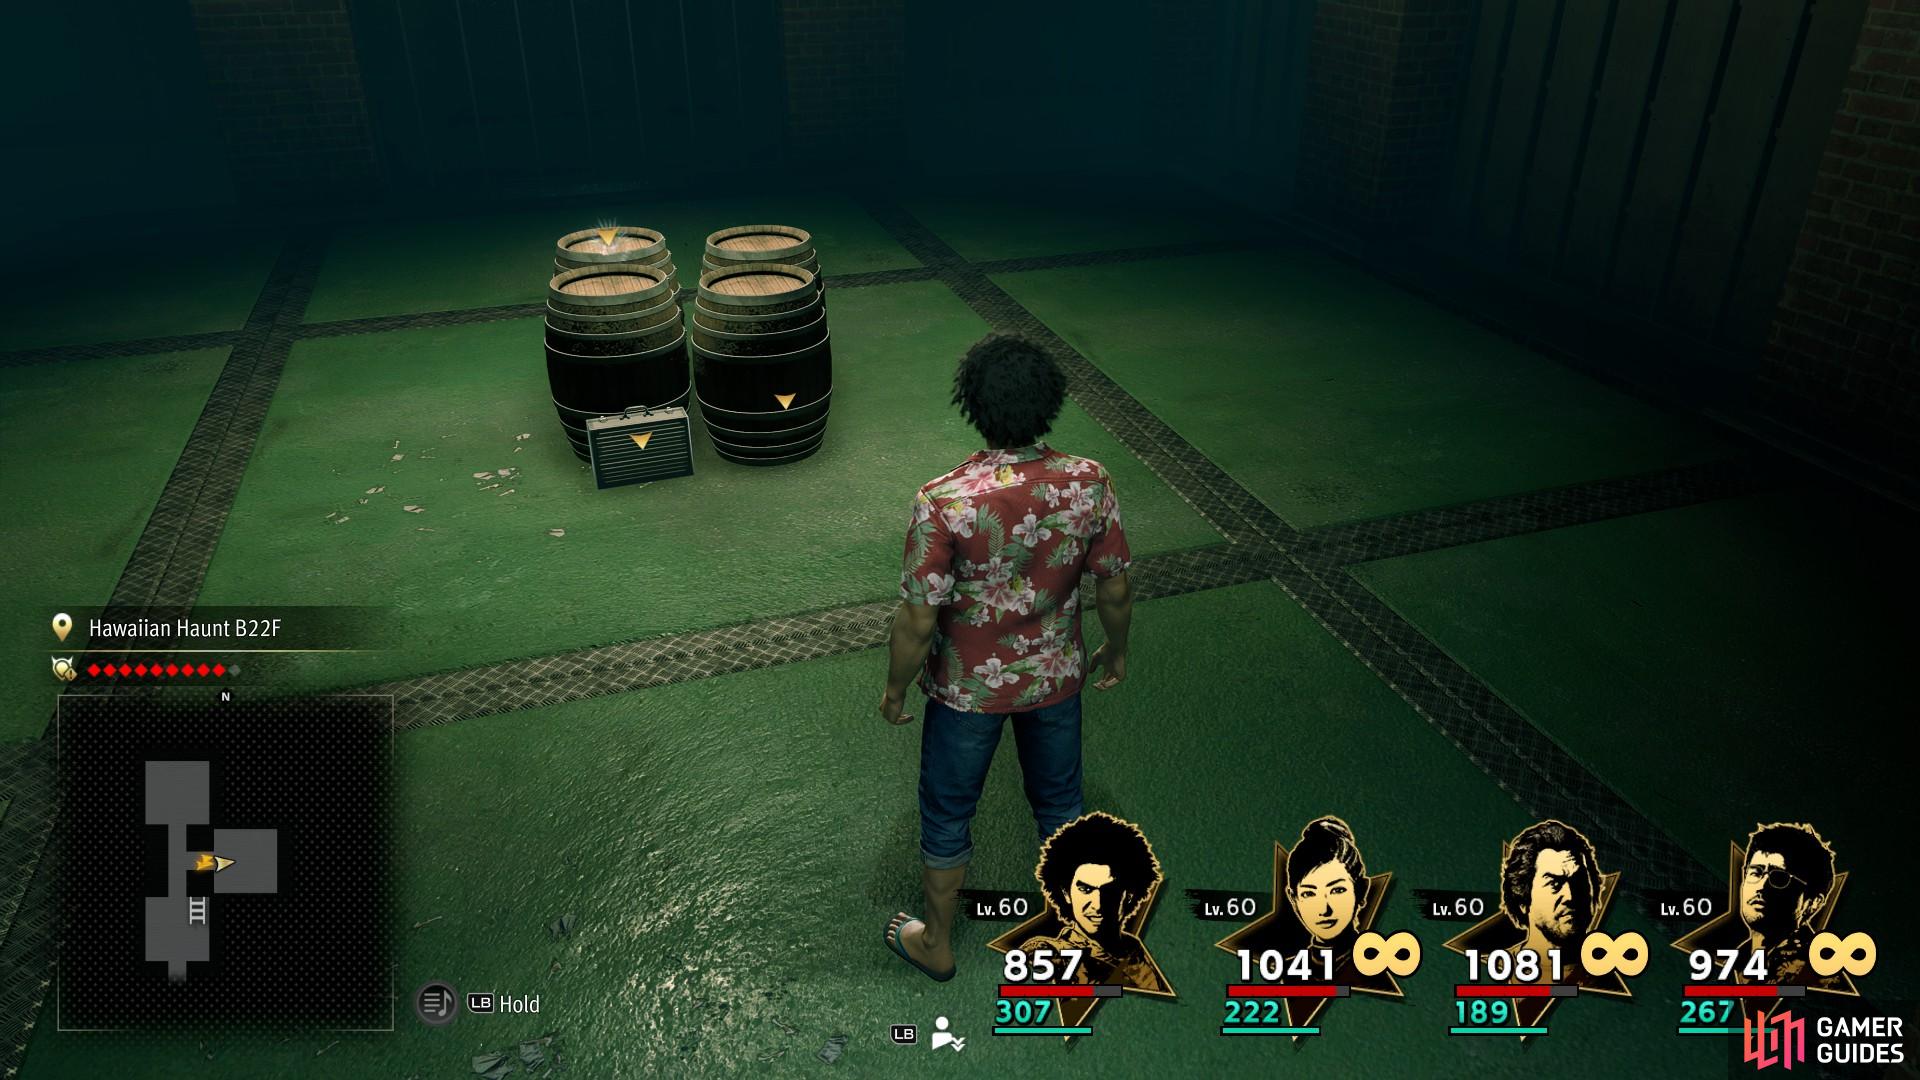
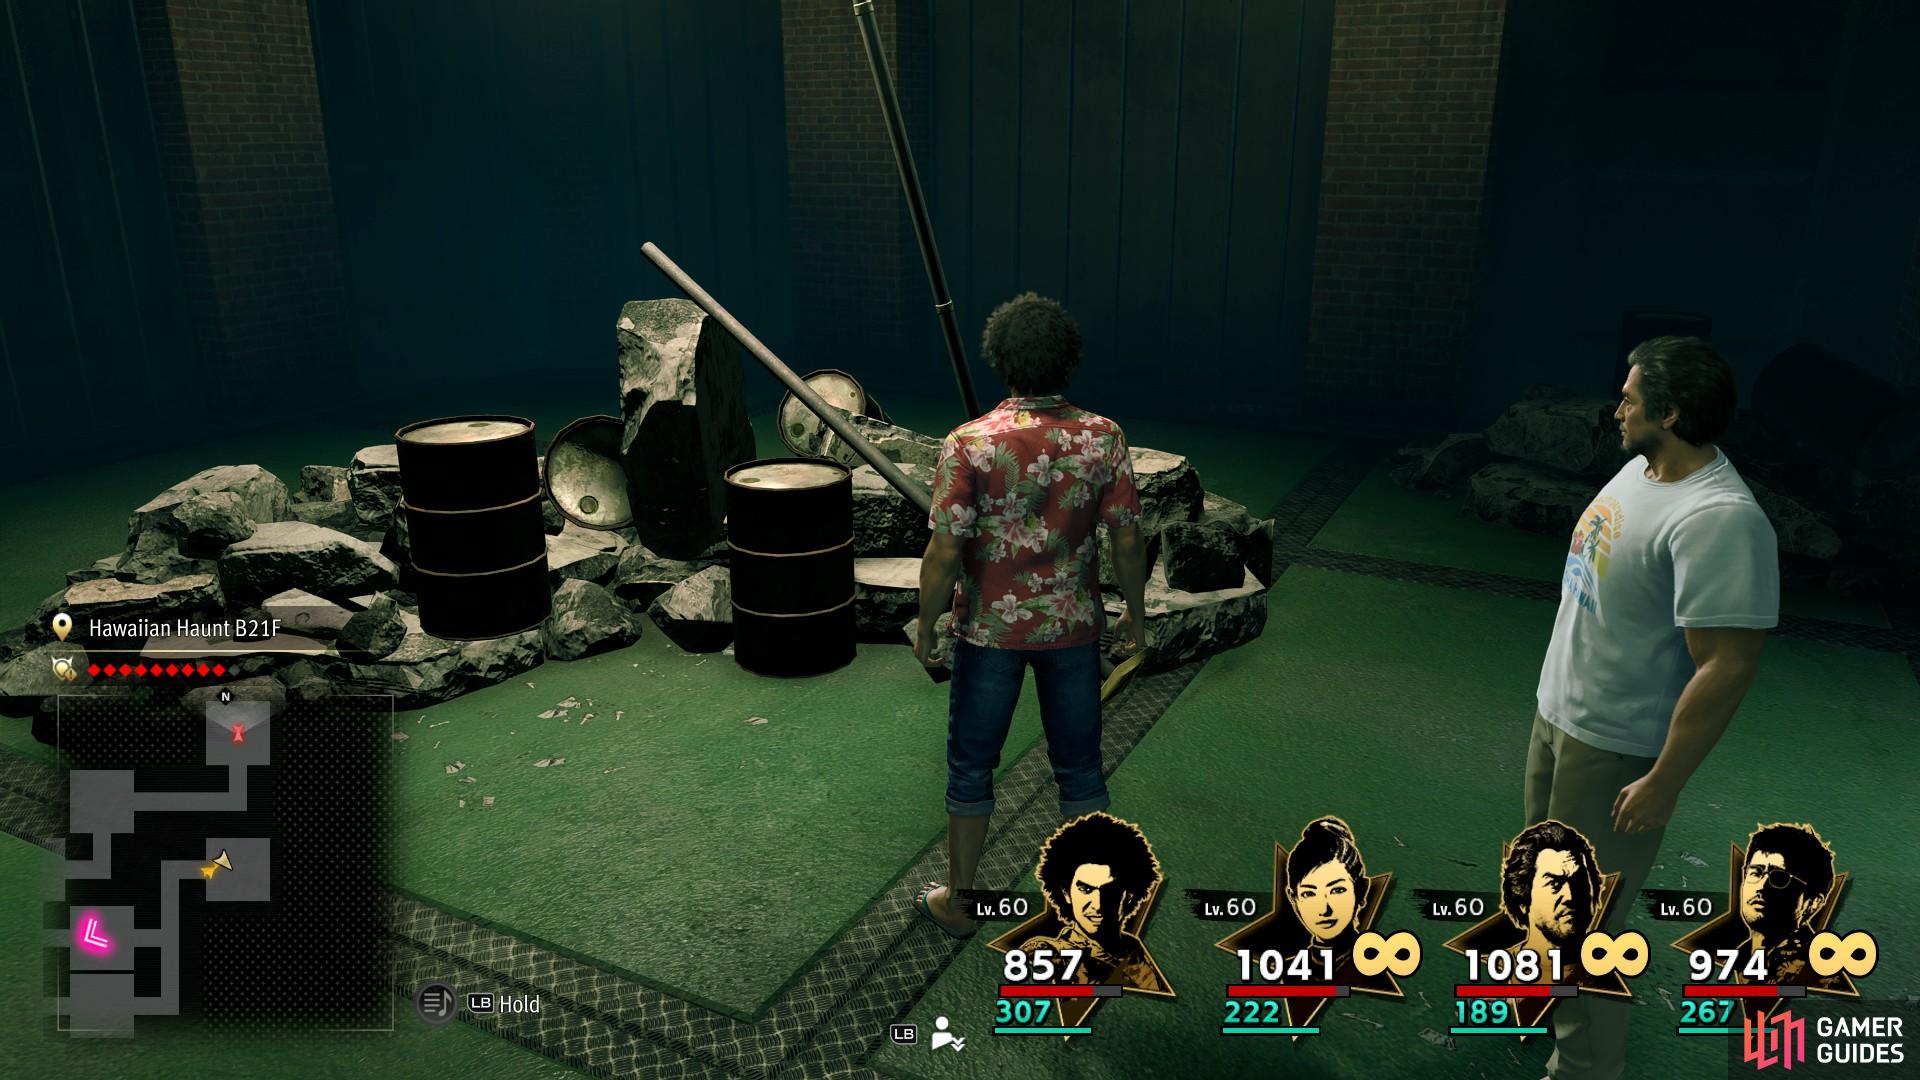
(1 of 3) Not all rooms are infested with enemies - some just have treasure - usually a few shinies and the odd suitcase.
-
Treasure Room: An otherwise empty room that, aside from some furnishings, houses some treasure. This is usually some floor treasure (with roughly the same drops you can find in hallways) and perhaps the odd suitcase or two. The best treasure you can find from suitcases are Job Rank boosting magazines, which are fine, but nothing worth going nuts about.
-
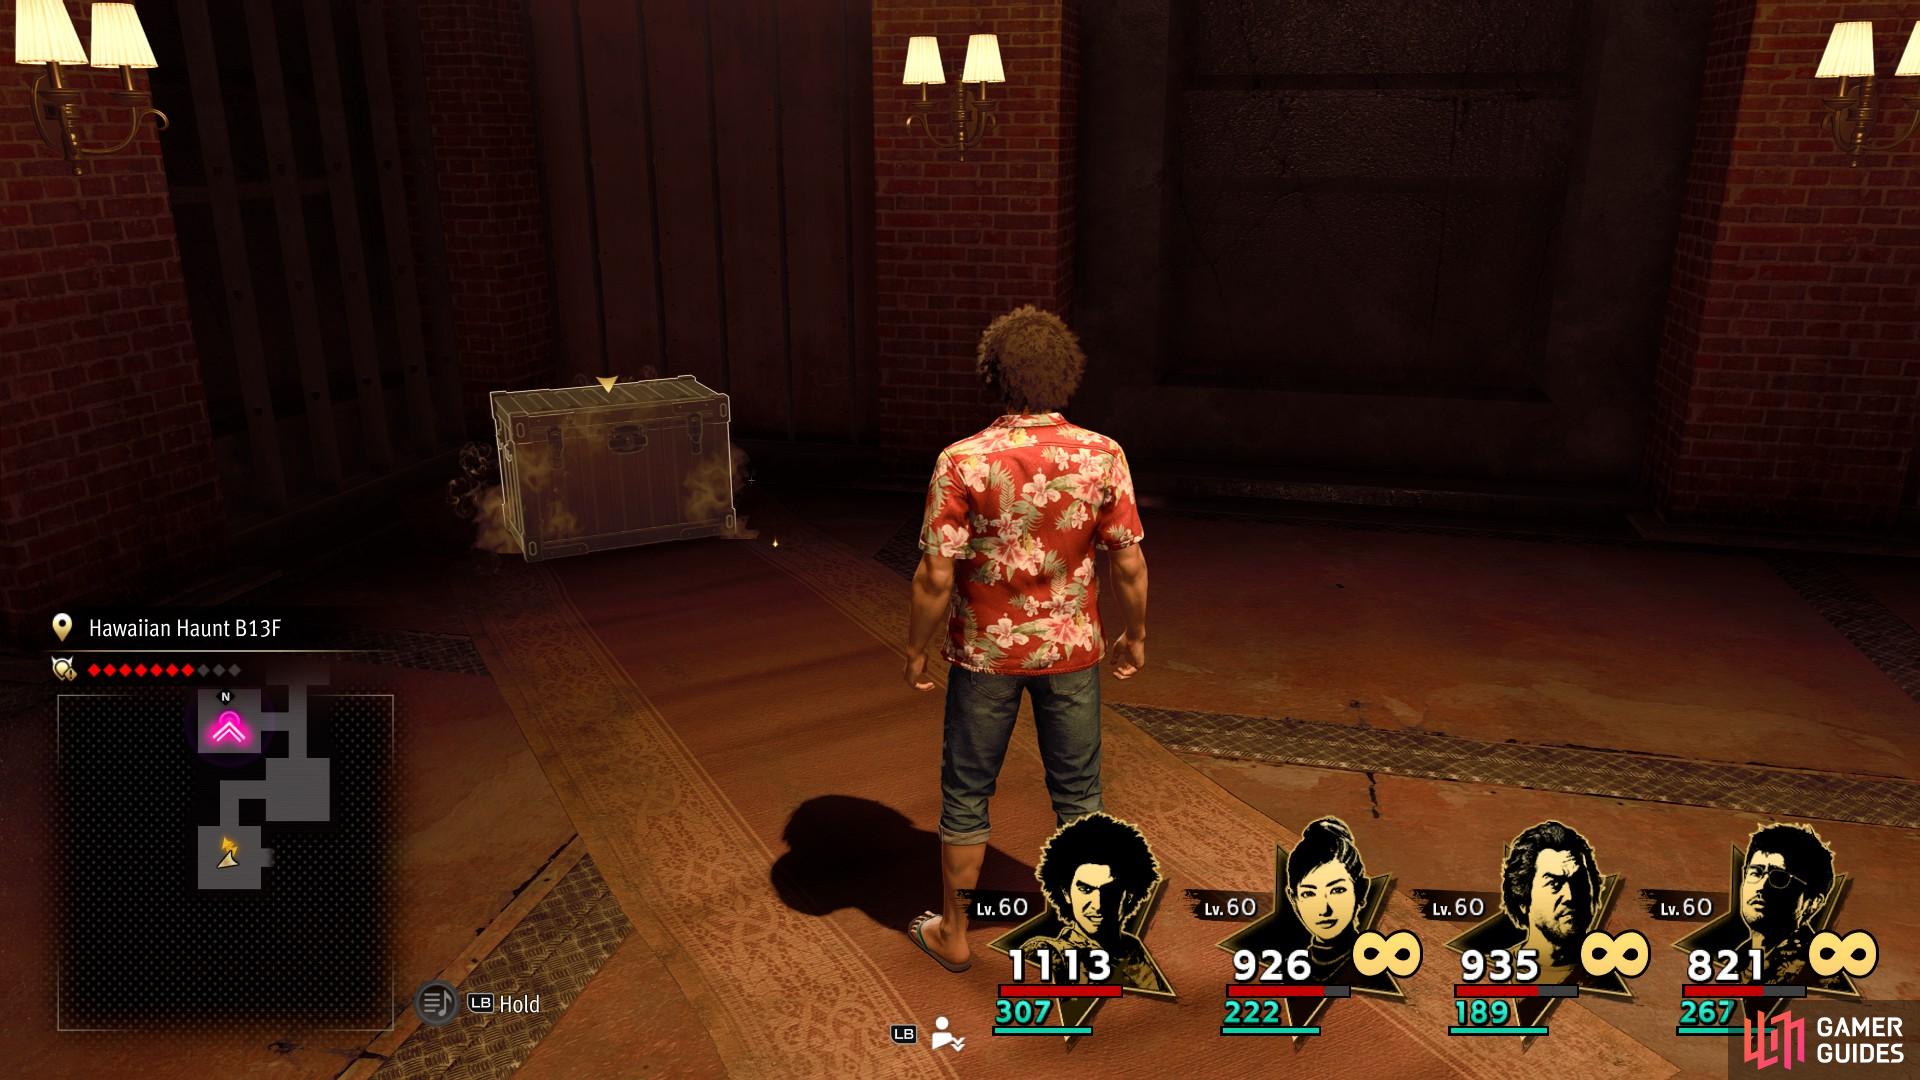
Chest Room: An otherwise empty room housing a locked chest. You’ll need a Key to open it, but since special enemies drop them, you should end up with a surplus of Keys by running the Hawaiian Haunt. Each chest has a chance to include some gear (weapon, armor, accessory) or they can have a “creep hiding inside”. If you get a creep, you’ll get no treasure and instead have to fight a special enemy, which is a bummer. The treasure you can find in chests depends on sector, as follows:
| Sector 1 | Sector 2 | Sector 3 | Sector 4 |
|---|---|---|---|
| Broken Commandment Nunchaku | Blue Metal Anklet | Daydream Maracas | Heavenly Garments |
| Durian Maracas | Life Jacket | Fang Axe | Iconic Jumpsuit |
| Jet Surfboard | Prestige | Mirage Coat | Paradise Bikini |
| Steam Cleaner | Space Opera | Purrfect Paws | Poseidon’s Wetsuit |
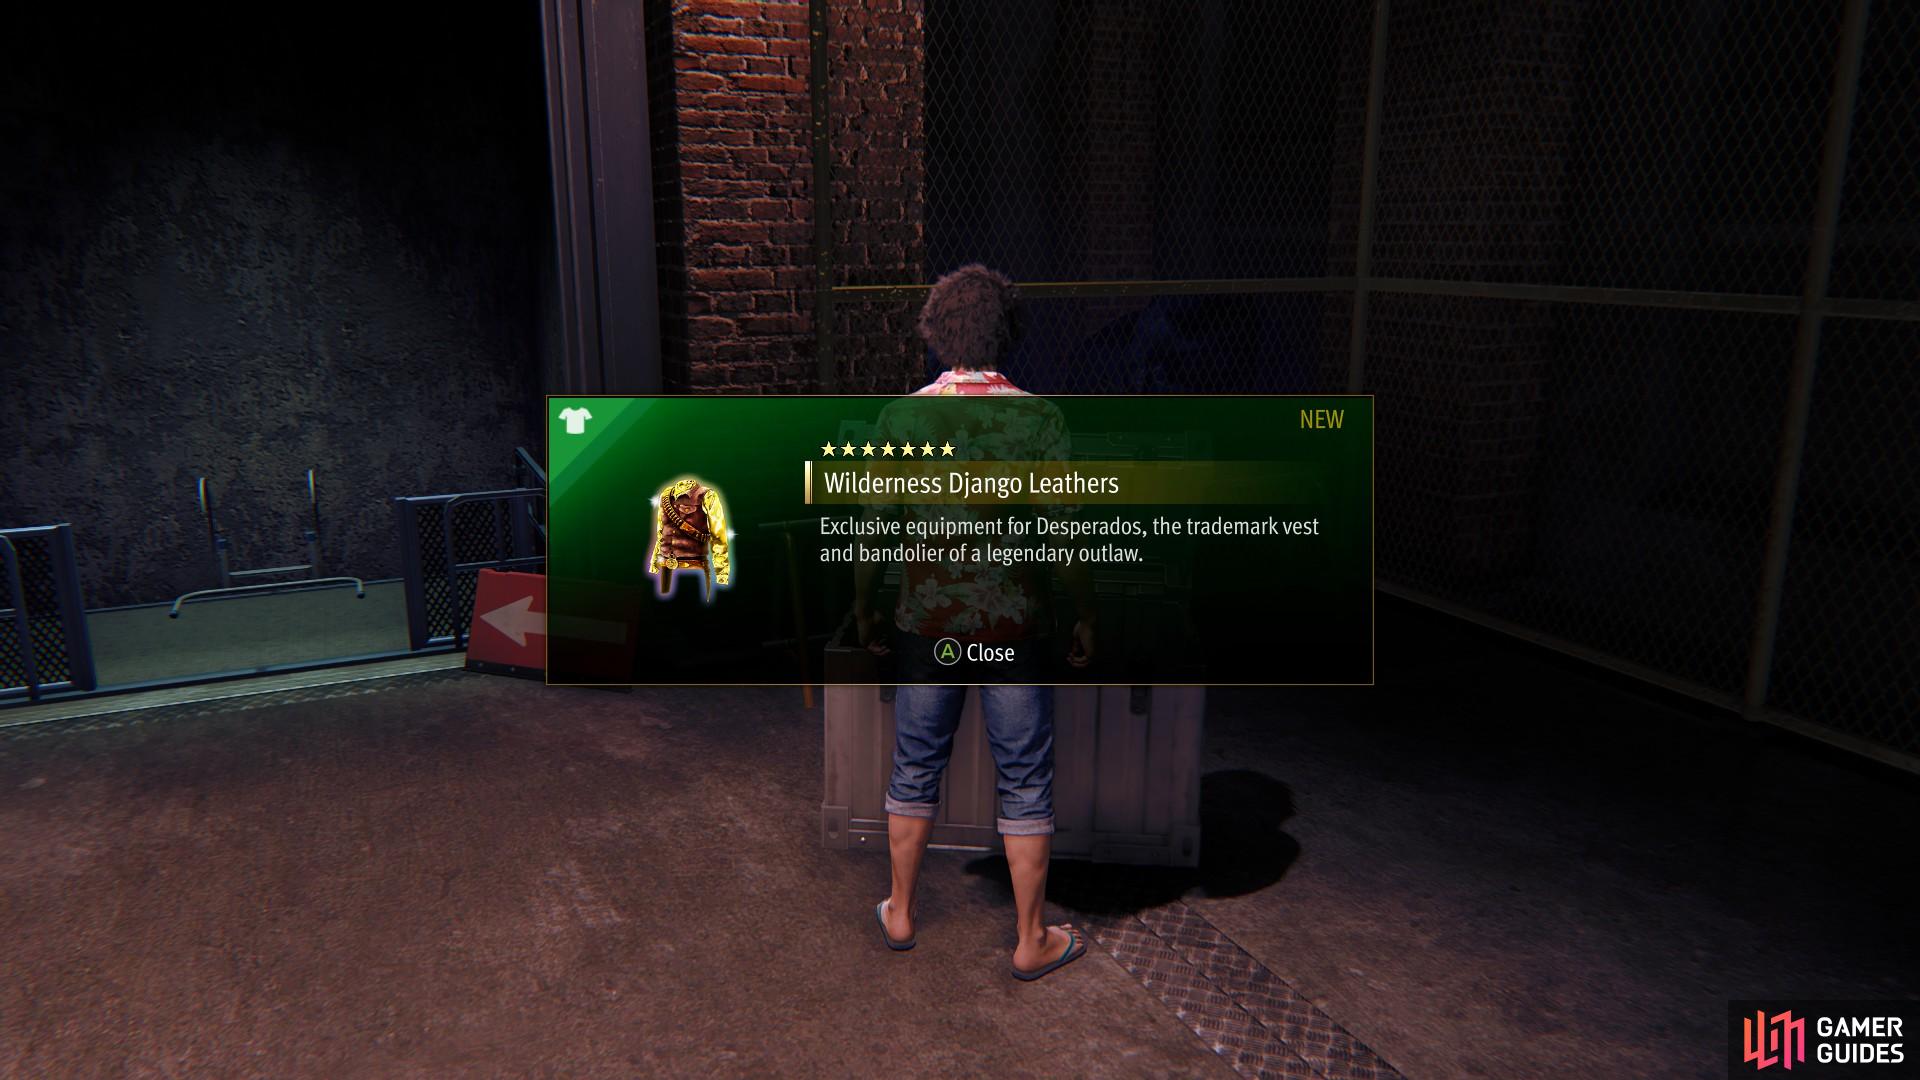
| Torchlight Axe | – | – | Wilderness Django Leathers |
Some of this treasure can be really powerful, especially the sector 4 drops, which are six-star class-exclusive armor with great stats and special effects. It’s worth noting you are guaranteed to find a creep-free chest near the exit on every floor just before a mid boss or end boss (4th, 9th, 14th, etc.).

Every floor contains an exit room, which allows you to press on to the next floor or exit the dungeon. The 1st-3rd exit room on each five-floor section will contain a suitcase, while the 4th will contain a chest.
- Exit Room: The room that allows you to exit the floor and either travel to the next floor, or exit the dungeon. If you exit the dungeon you keep all your gains. On the 1st-3rd floor of every series of five floors you’ll find a briefcase near the exit, and on the 4th floor of every series of five floors you’ll find a creep-free chest… a consolation prize for making it this far. You’ll also get Robo Disks every time you exit via an Exit Room.
In general you’ll be tackling the Hawaiian Haunt in five-floor chunks, looking for chests the deeper you go and fighting or avoiding enemies, as you see fit. If you just want to scour each sector for treasure, run the 1st - 4th floors and open any chests you find, but to make progress you’ll need to clear a mid boss or end boss at every 5th level, which will unlock a new checkpoint and allow you to progress deeper into the dungeon.
In addition to crafting materials you’ll regularly find Robo Disks in the Hawaiian Haunt, which can be traded for a variety of goods.
Hawaiian Haunt Robo Disk Rewards
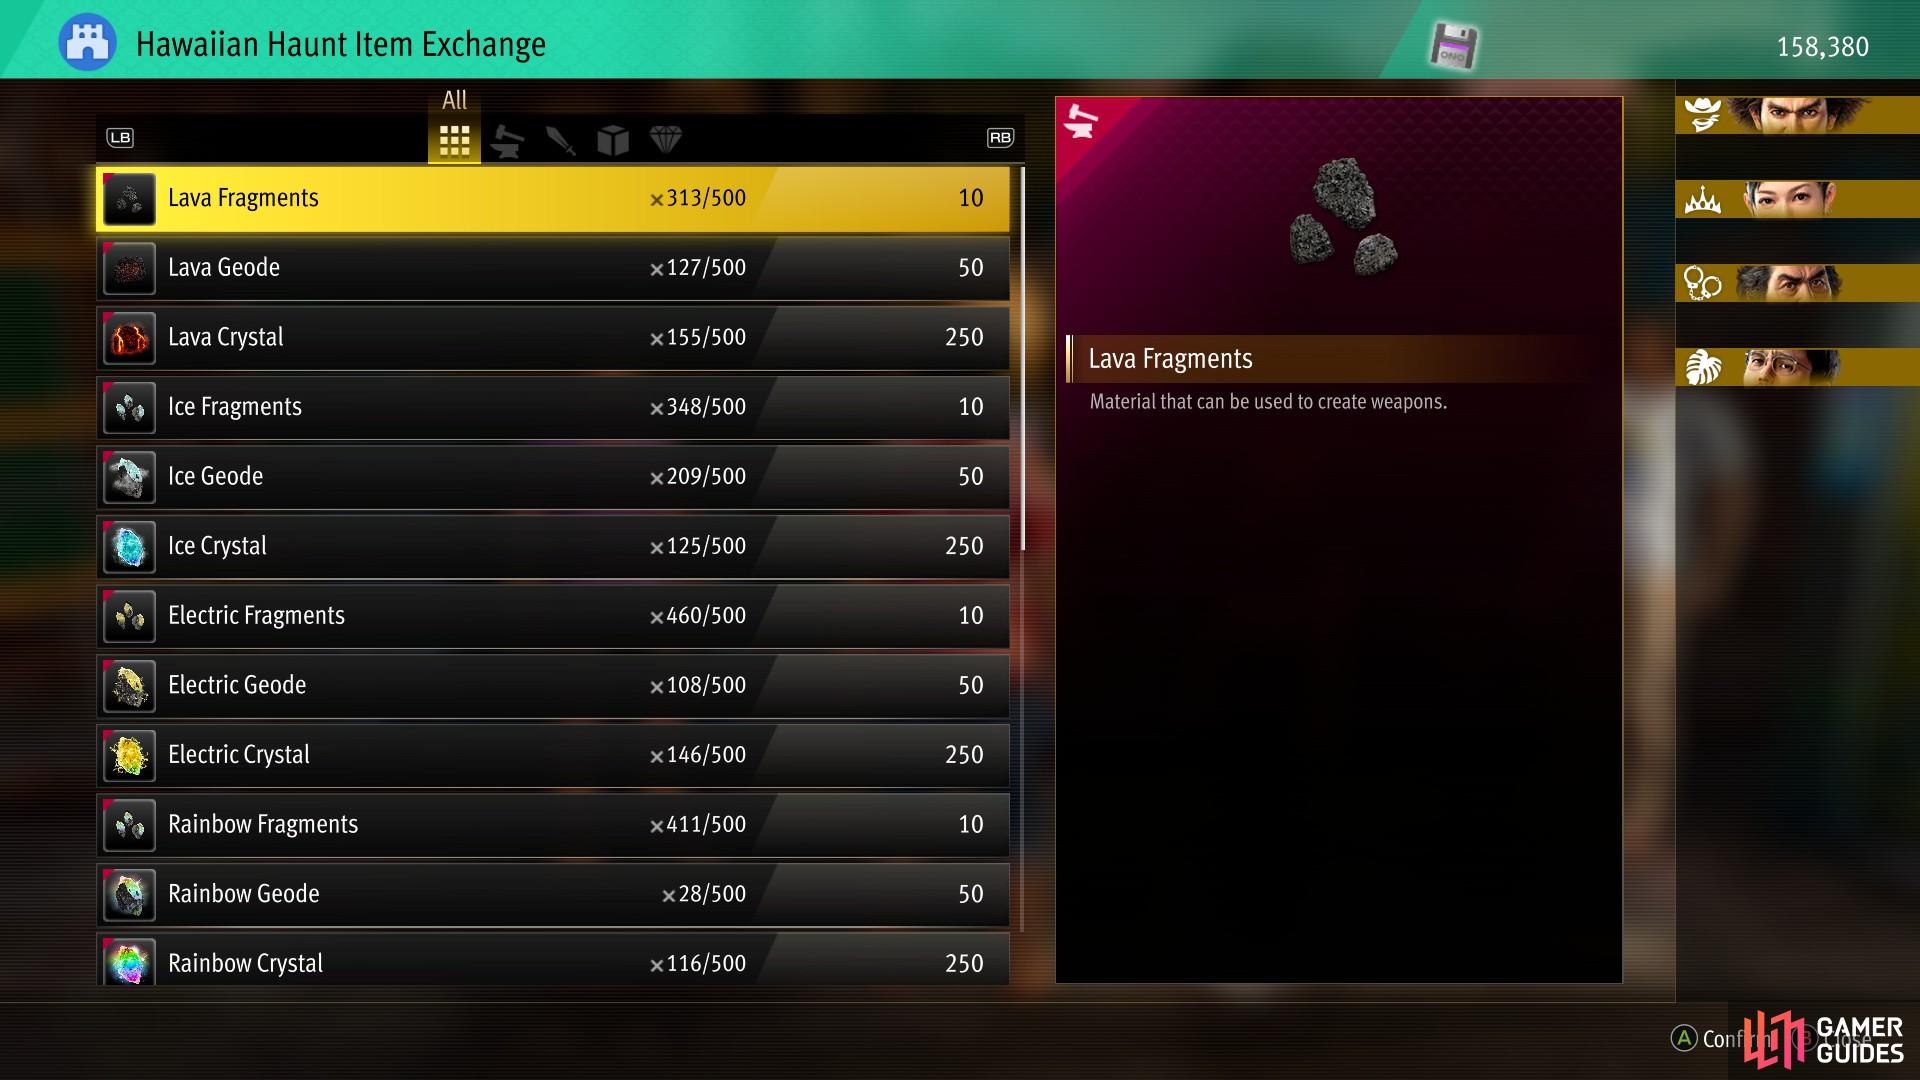
In addition to the treasure you can find on the ground, in suitcases, in chests and the rewards you’ll get from rescuing people, defeating mid bosses and end bosses and from clearing sectors (whew!), you can also score more rewards from Robo Michi. As mentioned earlier you’ll find Robo Disks as you explore the Hawaiian Haunt - these are obtained when you loot shiny spots on the ground, for defeating enemies, for rescuing people and every time you descend down to a lower level. Simply put, you’ll accumulate them all the time. Talk to Robo Michi after a dungeon run and you’ll get the option to “Exchange items”, where you can trade these Robo Disks for rewards, as follows:
| Rewards | Robo Disk Cost |
|---|---|
| Lava Fragments | 10 |
| Lava Geode | 50 |
| Lava Crystal | 250 |
| Ice Fragments | 10 |
| Ice Geode | 50 |
| Ice Crystal | 250 |
| Electric Fragments | 10 |
| Electric Geode | 50 |
| Electric Crystal | 250 |
| Rainbow Fragments | 10 |
| Rainbow Geode | 50 |
| Rainbow Crystal | 250 |
| Beautiful Seashell | 500 |
| Linebacker’s Wristband | 3,000 |
| Safe Key | 1,000 |
| Sonic Soundtrack CD 1 | 160 |
| Sonic Soundtrack CD 2 | 160 |
| Sonic Soundtrack CD 3 | 160 |
| Golden Kiryu Statue Blueprint | 1,000 |
| Golden Majima Statue Blueprint | 1,000 |
| Street Surfer Wheels (Blue SP) | 2,000 |
| Shark Fin | 15,000 |
The Linebacker’s Wristband is a weapon for the preorder exclusive Linebacker class, and it can be used to craft that class’s ultimate weapon. Otherwise the shop is noteworthy for selling crafting materials. The rate of exchange isn’t great, so this should really be used to get some supplemental materials for a weapon you really need to craft right now, rather than as a way to stockpile crafting materials (you’ll get plenty just exploring the dungeon). The deeper you are in the Hawaiian Haunt, the more Robo Disks you’ll get from all sources.
Sector 1 Walkthrough
| Sector 1 Details | |
|---|---|
| Enemy Level Range | 18-21 |
| Crafting Components | Fragments |
| Chest Items | Broken Commandment Nunchaku, Durian Maracas, Jet Surfboard, Steam Cleaner, Torchlight Axe |
| Rescue Reward | Diving Knife |
| Midboss | Masked Bandit x3 (Lv18), Boomstick Banneret (Lv19) |
| Midboss Reward | Classy Hat |
| Endboss | Penalty Boxer x2 (Lv20), Top Dog (Lv21) |
| Endboss Reward | Fairy Lei (first time only), Metal Shin Guards |
Ignoring the first mandatory trip during Substory 34 - Legend of the Labyrinth, the first sector of the Hawaiian Haunt is representative of what you’ll face as you descend. Ten floors, five victims to rescue, the standard loot distribution (most chests spawning on floors 3, 4, 8, and 9). Expect to pull three star gear from chests and to encounter Lv18-21 enemies. It’s not a bad idea clear this sector during Chapter 5 or 6, if you’re capable, as it’ll provide you with significant EXP, JEXP and cash, not to mention some superior gear.
Sector 1 Midboss: Masked Bandits and Boomstick Banneret
On the 5th floor you’ll encounter 3x Masked Bandits and a Boomstick Banneret as the mid boss. None of these enemies are all that challenging, but you may want to be wary of the Boomstick Banneret’s Sleep Grenade. Defeat them will earn you a checkpoint at the 6th floor as well as a Classy Hat, which is excellent headwear for this point in the game - you may want to consider doing several runs to get one for every party member.
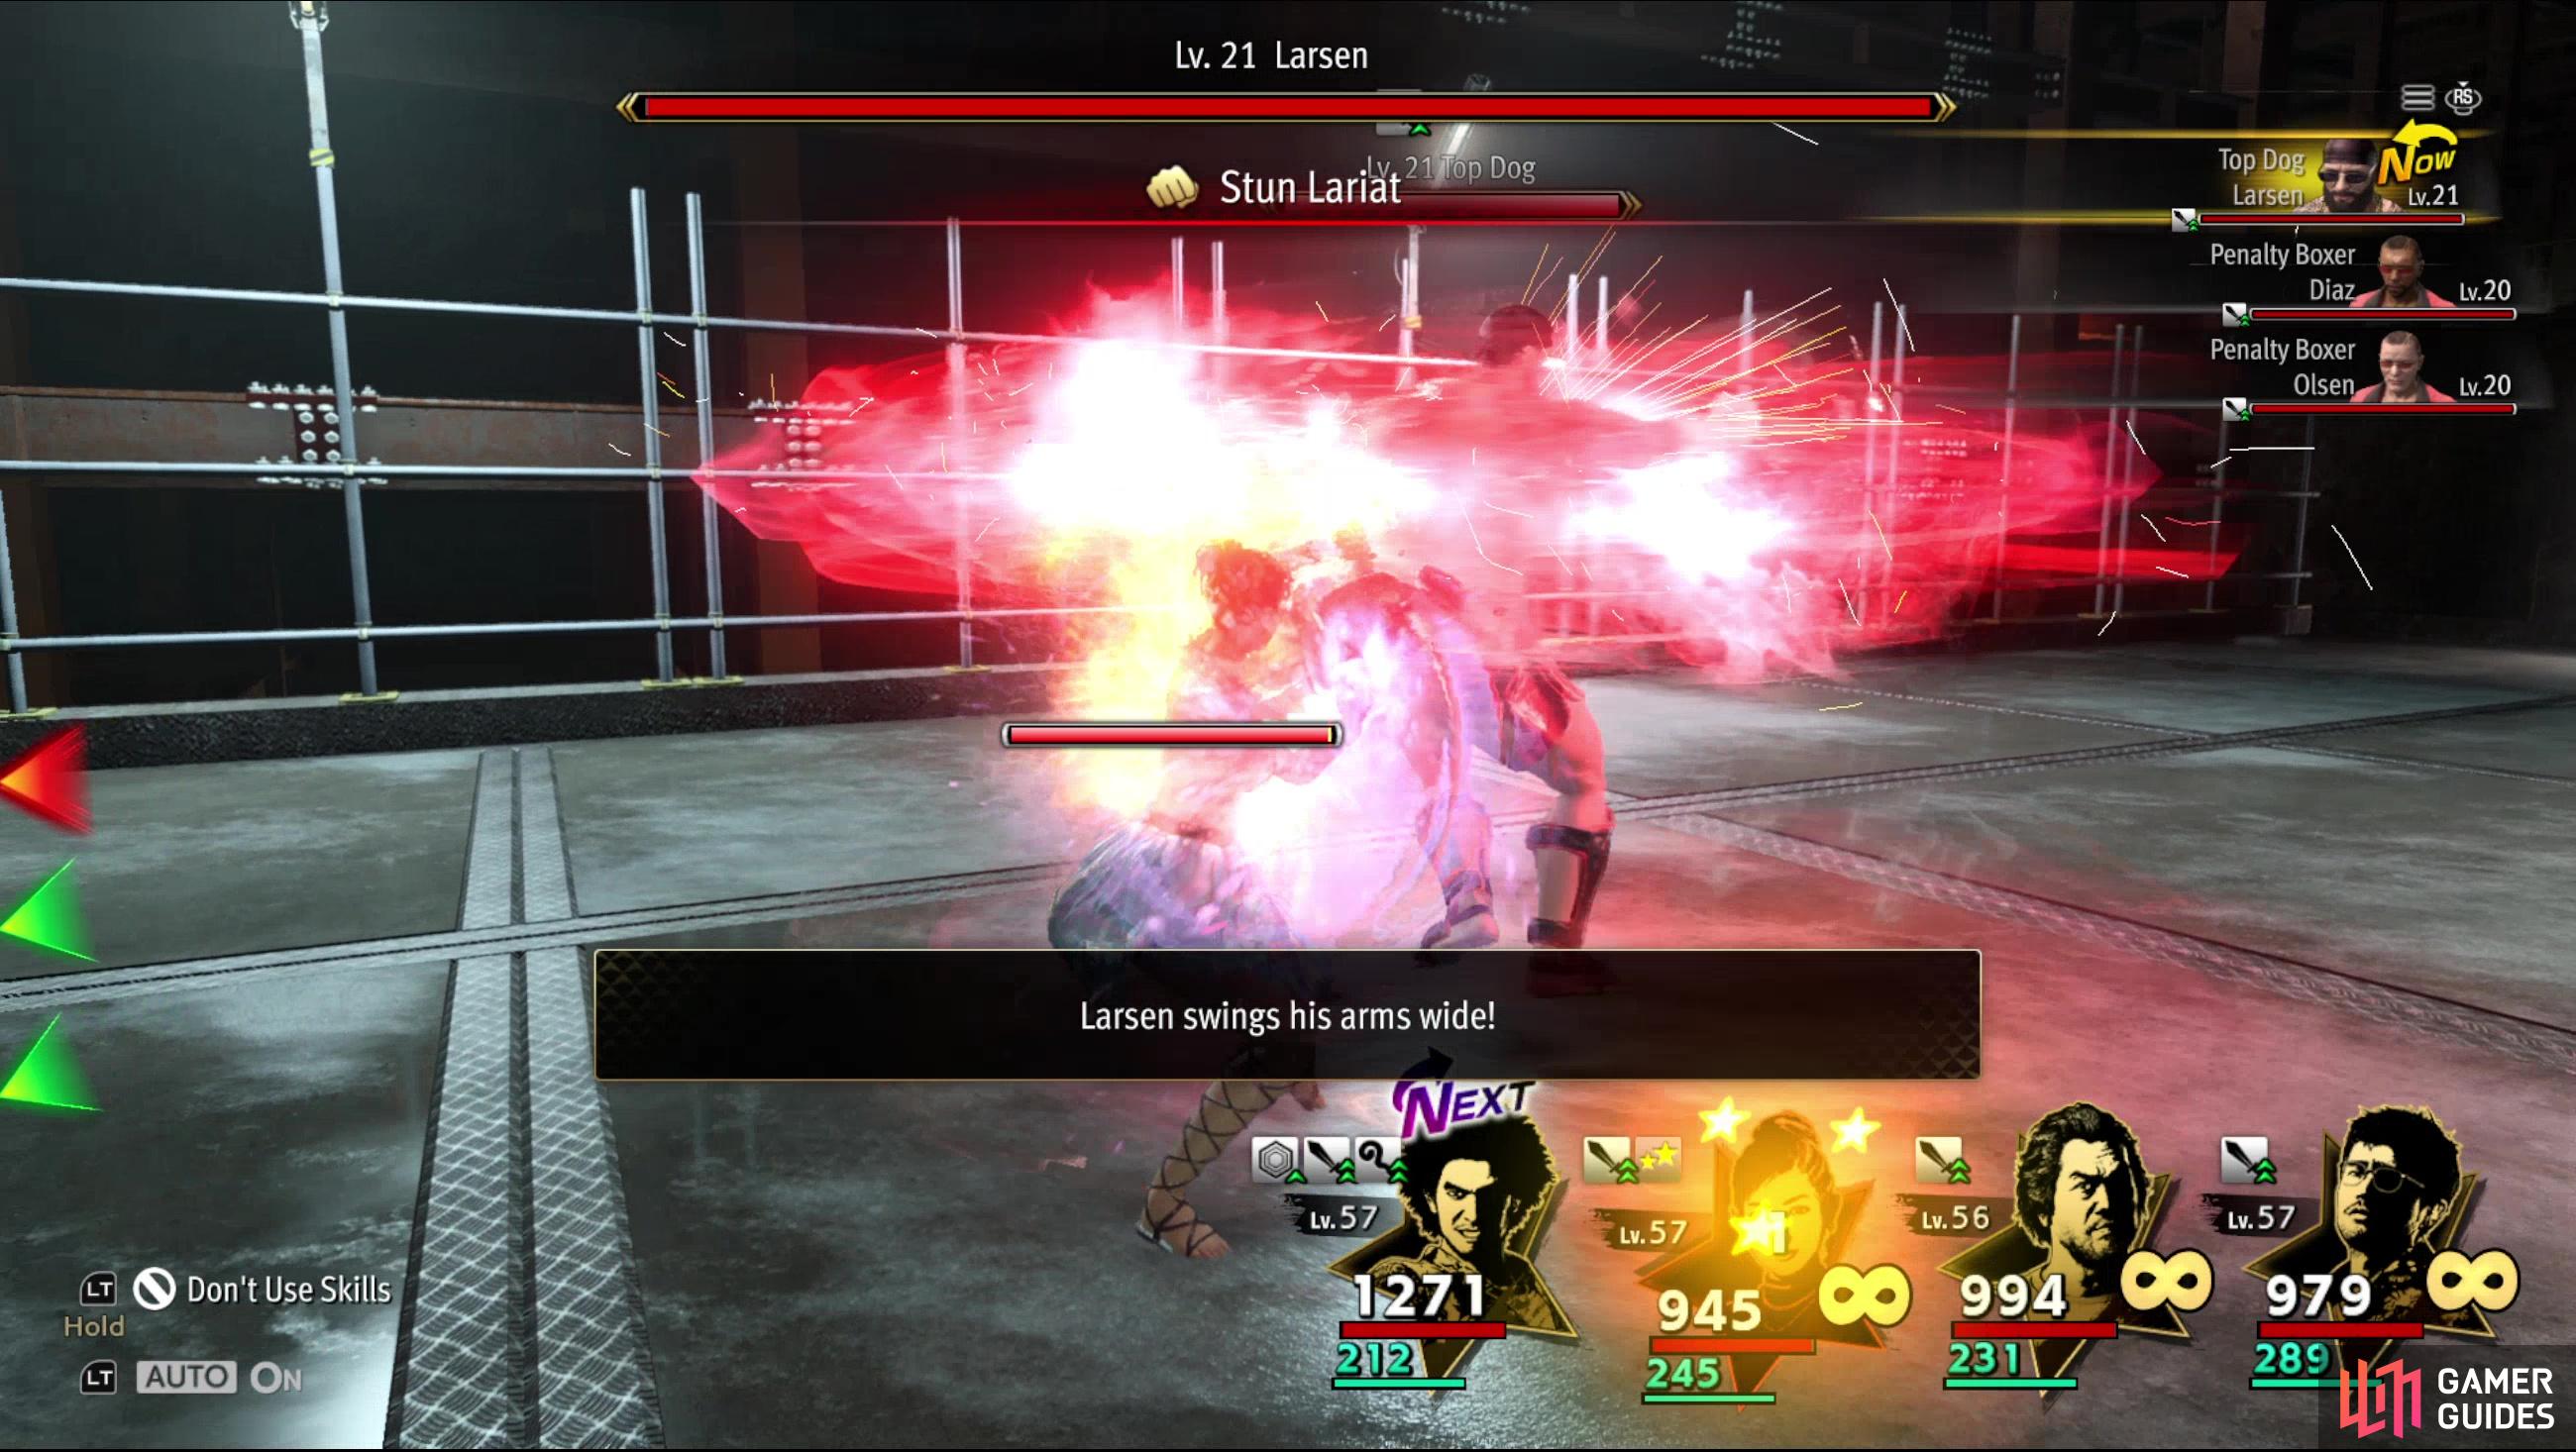
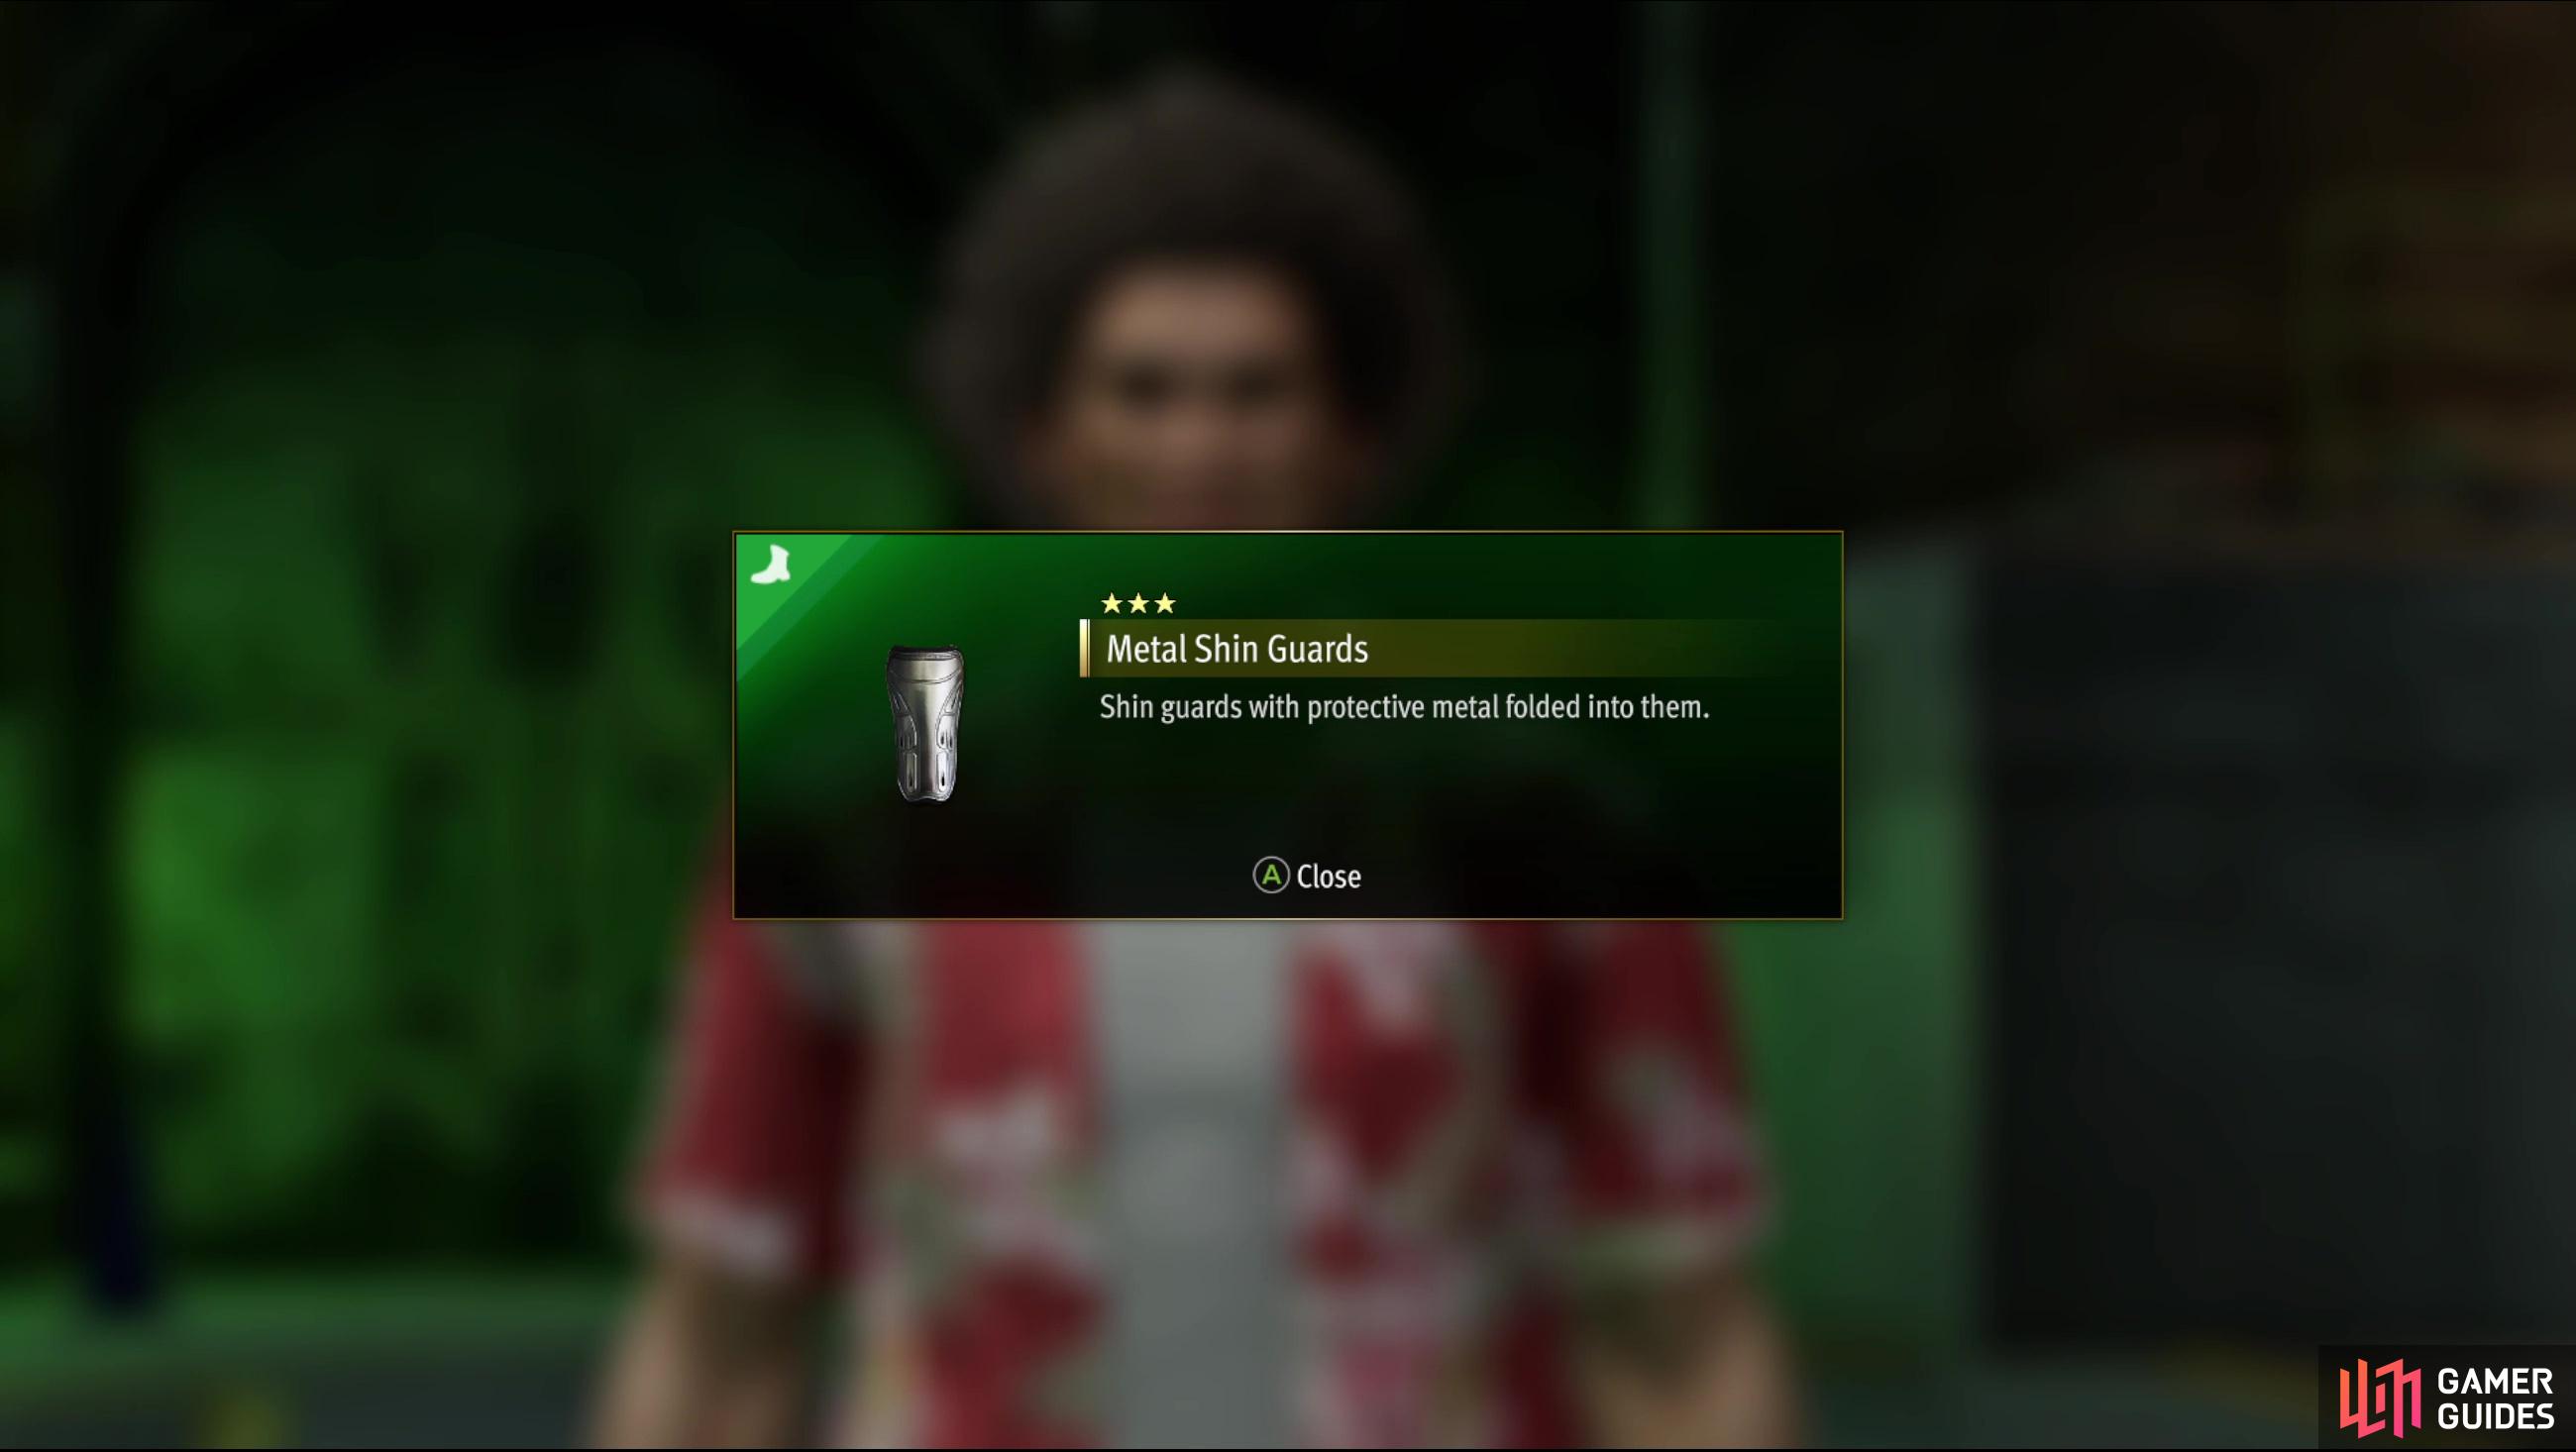
(1 of 2) The endboss for Sector 1 - Top Dog - only has one attack you need to be wary of. Stun Lariat is a damaging AoE that can inflict stun.
The endboss for Sector 1 - Top Dog - only has one attack you need to be wary of. Stun Lariat is a damaging AoE that can inflict stun. (left), For clearing Sector 1 you’ll get some Metal Shin Guars - a mere taste of what you can expect if you keep exploring. (right)
Sector 1 Endboss: Penalty Boxers and Top Dog
Reach the 10th floor and you’ll encounter the Sector 1 end boss, 2x Penalty Boxers and a Top Dog enemy. Something of a step up as far as difficulty goes, these enemies still aren’t that rough, and will effectively become special enemy encounters in later sectors. They’re all primarily melee bruisers, with the Penalty Boxers dishing out hefty damage with Knockout Express while the Top Dog can buff Attack with his Fight Night ability and can use a painful AoE skill called Stun Lariat, which, as the name suggests, can stun characters. If you unlocked new jobs and increased your Job Rank in them, this fight will be much easier, as the Penalty Boxers are both weak to water (the Desperado’s Poisoned Cloudburst, the Aquanaut’s Trippy Flipper Ripper, and the Housekeeper’s Bubble Breach all work well against them) while the Top Dog is weak to fire (the Housemaid’s Iron Maiden and the Pyrodancer’s Fire Spinning skills both deal fire damage). Emerge victorious and you’ll earn a Fairy Lei, while subsequent clears will earn you some Metal Shin Guards, and you’ll be able to advance to Sector 2.
Sector 2 Walkthrough
| Sector 2 Details | |
|---|---|
| Enemy Level Range | 32-36 |
| Crafting Components | Geodes |
| Chest Items | Blue Metal Anklet, Life Jacket, Prestige, Space Opera |
| Rescue Reward | Dragonfish Tenugui |
| Midboss | Hotstepper x3 (Lv32), Stress Tester (Lv33) |
| Midboss Reward | Suppression Helmet |
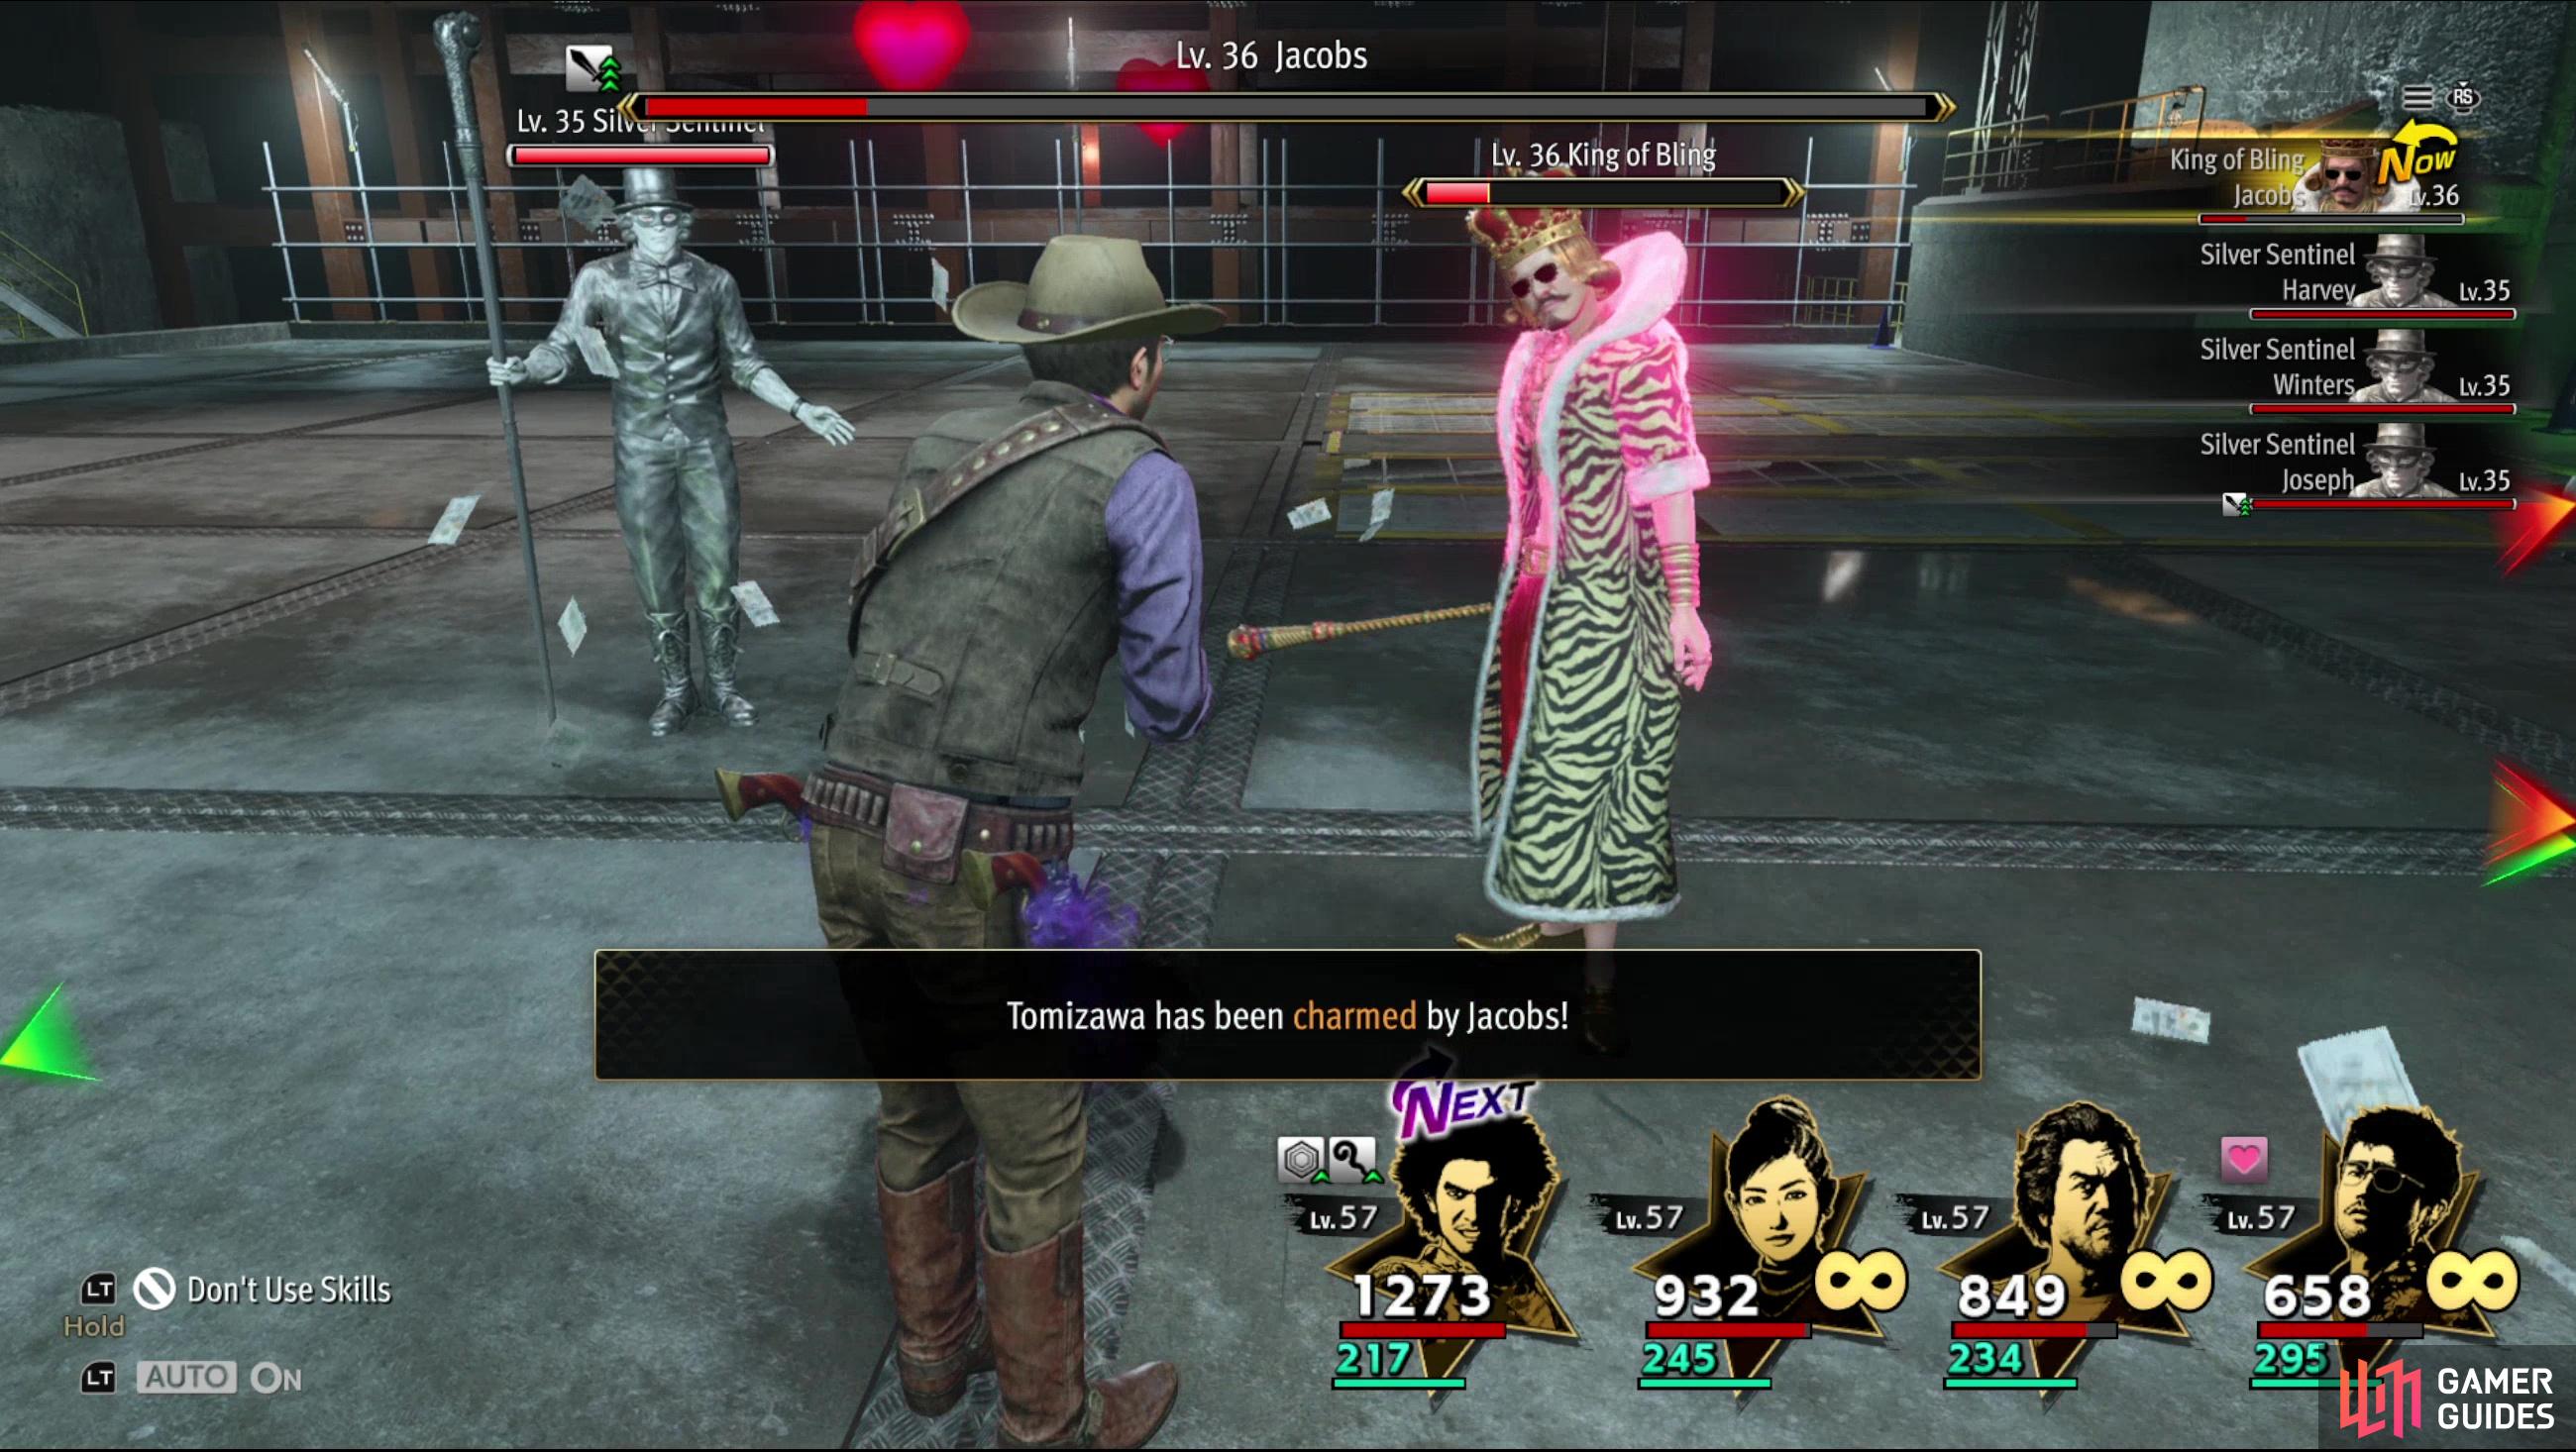
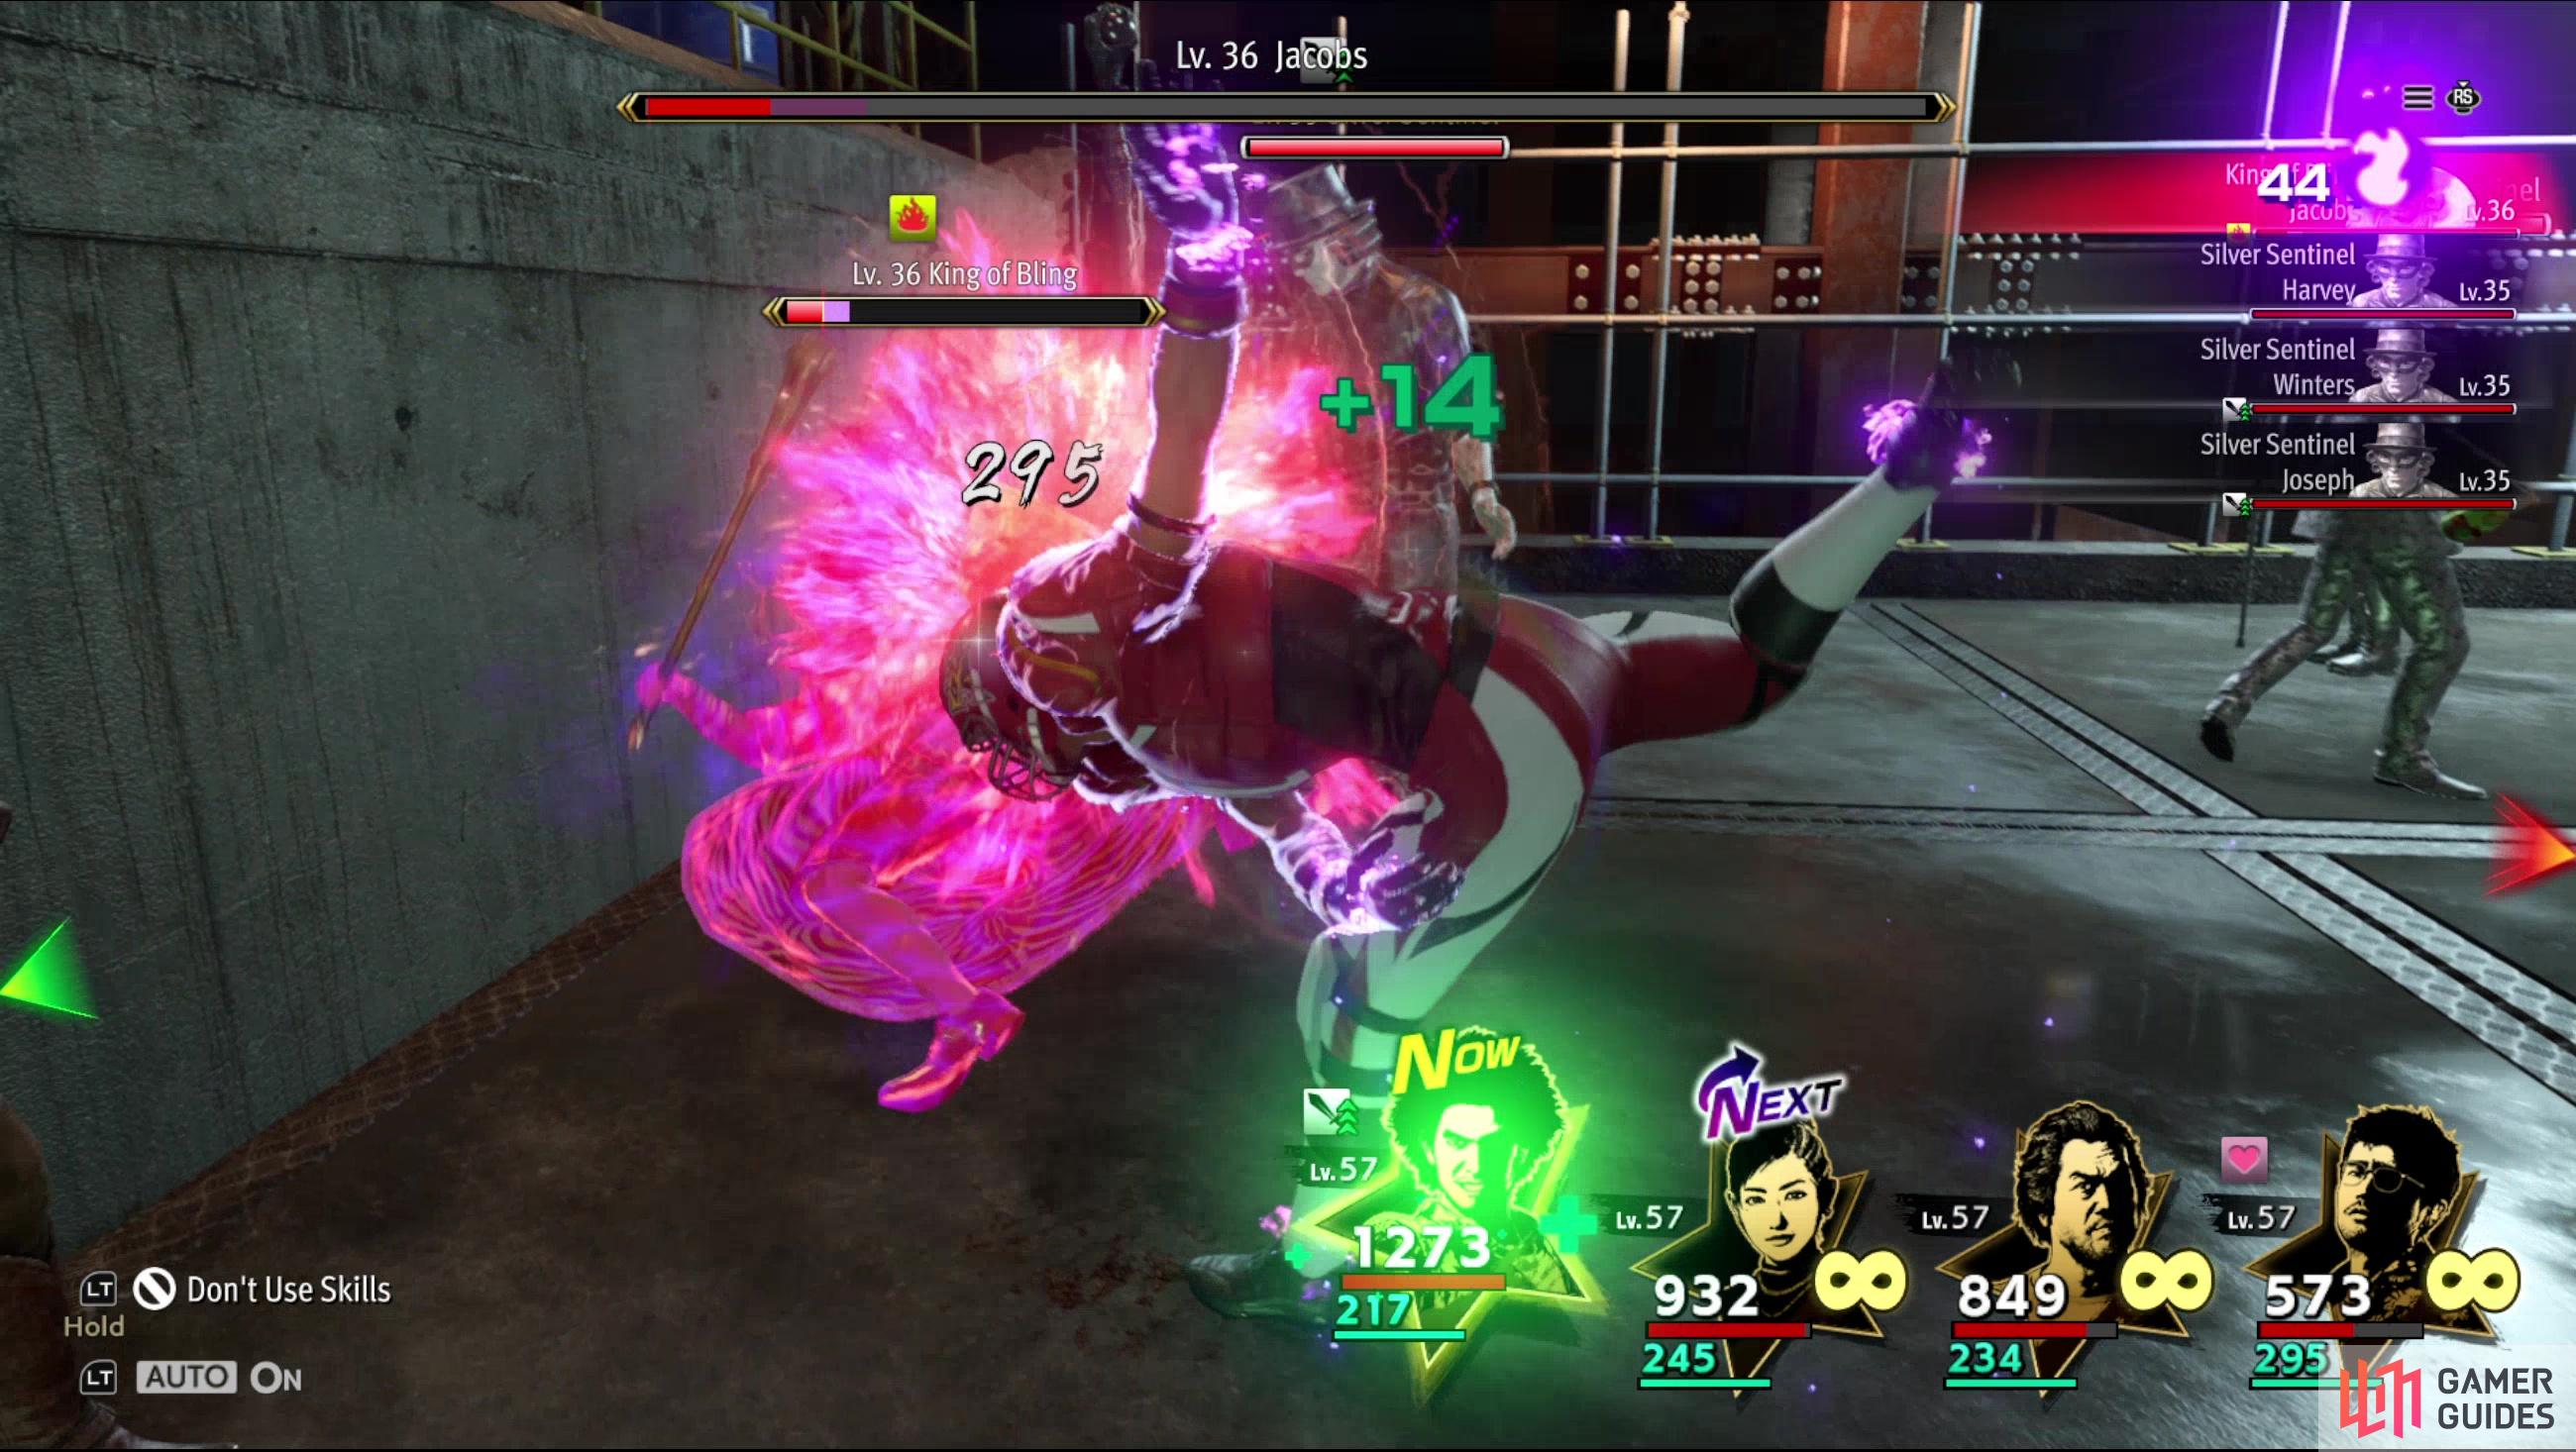
| Endboss | Silver Sentinel x5 (Lv35), King of Bling (Lv36) |
| Endboss Reward | Chromium Alloy Club (first time only), Boxing Shoes |
Sector 2 is a big step up in difficulty from Sector 1, featuring enemies that are Lv32-36 - over 10 levels more than the strongest foes in Sector 1. The treasure you can find here reflects the added difficulty, however, and you can expect to pull five-star items out of chests, and geodes can be found littering the floor. You’ll have to start transitioning your combat tactics towards skill-spamming to clear this sector with any ease or efficiency, and while time consuming, it’ll pay off the entire rest of the game. Getting five-star weapons and upgrading them to +10 so you can install a siphoning brand will help a lot, as will grabbing the War God’s Talisman reward from the Fortune Exchange.
You’ll also need to grind up multiple jobs to unlock their skills and consider boosting [Bonds] to unlock access to more jobs and more [skill inheritance slots] - tedious, thankless work, but also necessary to climb the power ladder in this role-playing game. Getting all male characters to Samurai JR12 for Glory Awaits (a good AoE attack/crit buff) and Burning Arrow (solid AoE damaging skill), Aquanaut JR18 for Beachside Bro-ffet (potent AoE healing) and dipping into Action Star JR1 for Heaven’s Fall (entry-level grapple) is a good idea (Desperado JR10 for Poisoned Cloudburst isn’t bad, either). Female characters should unlock Kunoichi JR15 for Flicker of Light, Substitution Jutsu and Scattering Flowers (entry-level grappling attack, gives your turn to another character and an AoE magical (fire) attack, respectively), Housekeeper JR1 for Bubble Breach (AoE magic (water) attack) and Geodancer JR12 for Breath of Life (50% HP revive) won’t hurt either.
Putting all these pieces together may take a bit of grinding, and you’ll probably need to craft/upgrade a decent weapon for each of them to expedite the process, but once every character has a strong physical AoE, magical AoE, and an AoE heal, you should be ready for a deep push into the Hawaiian Haunt.


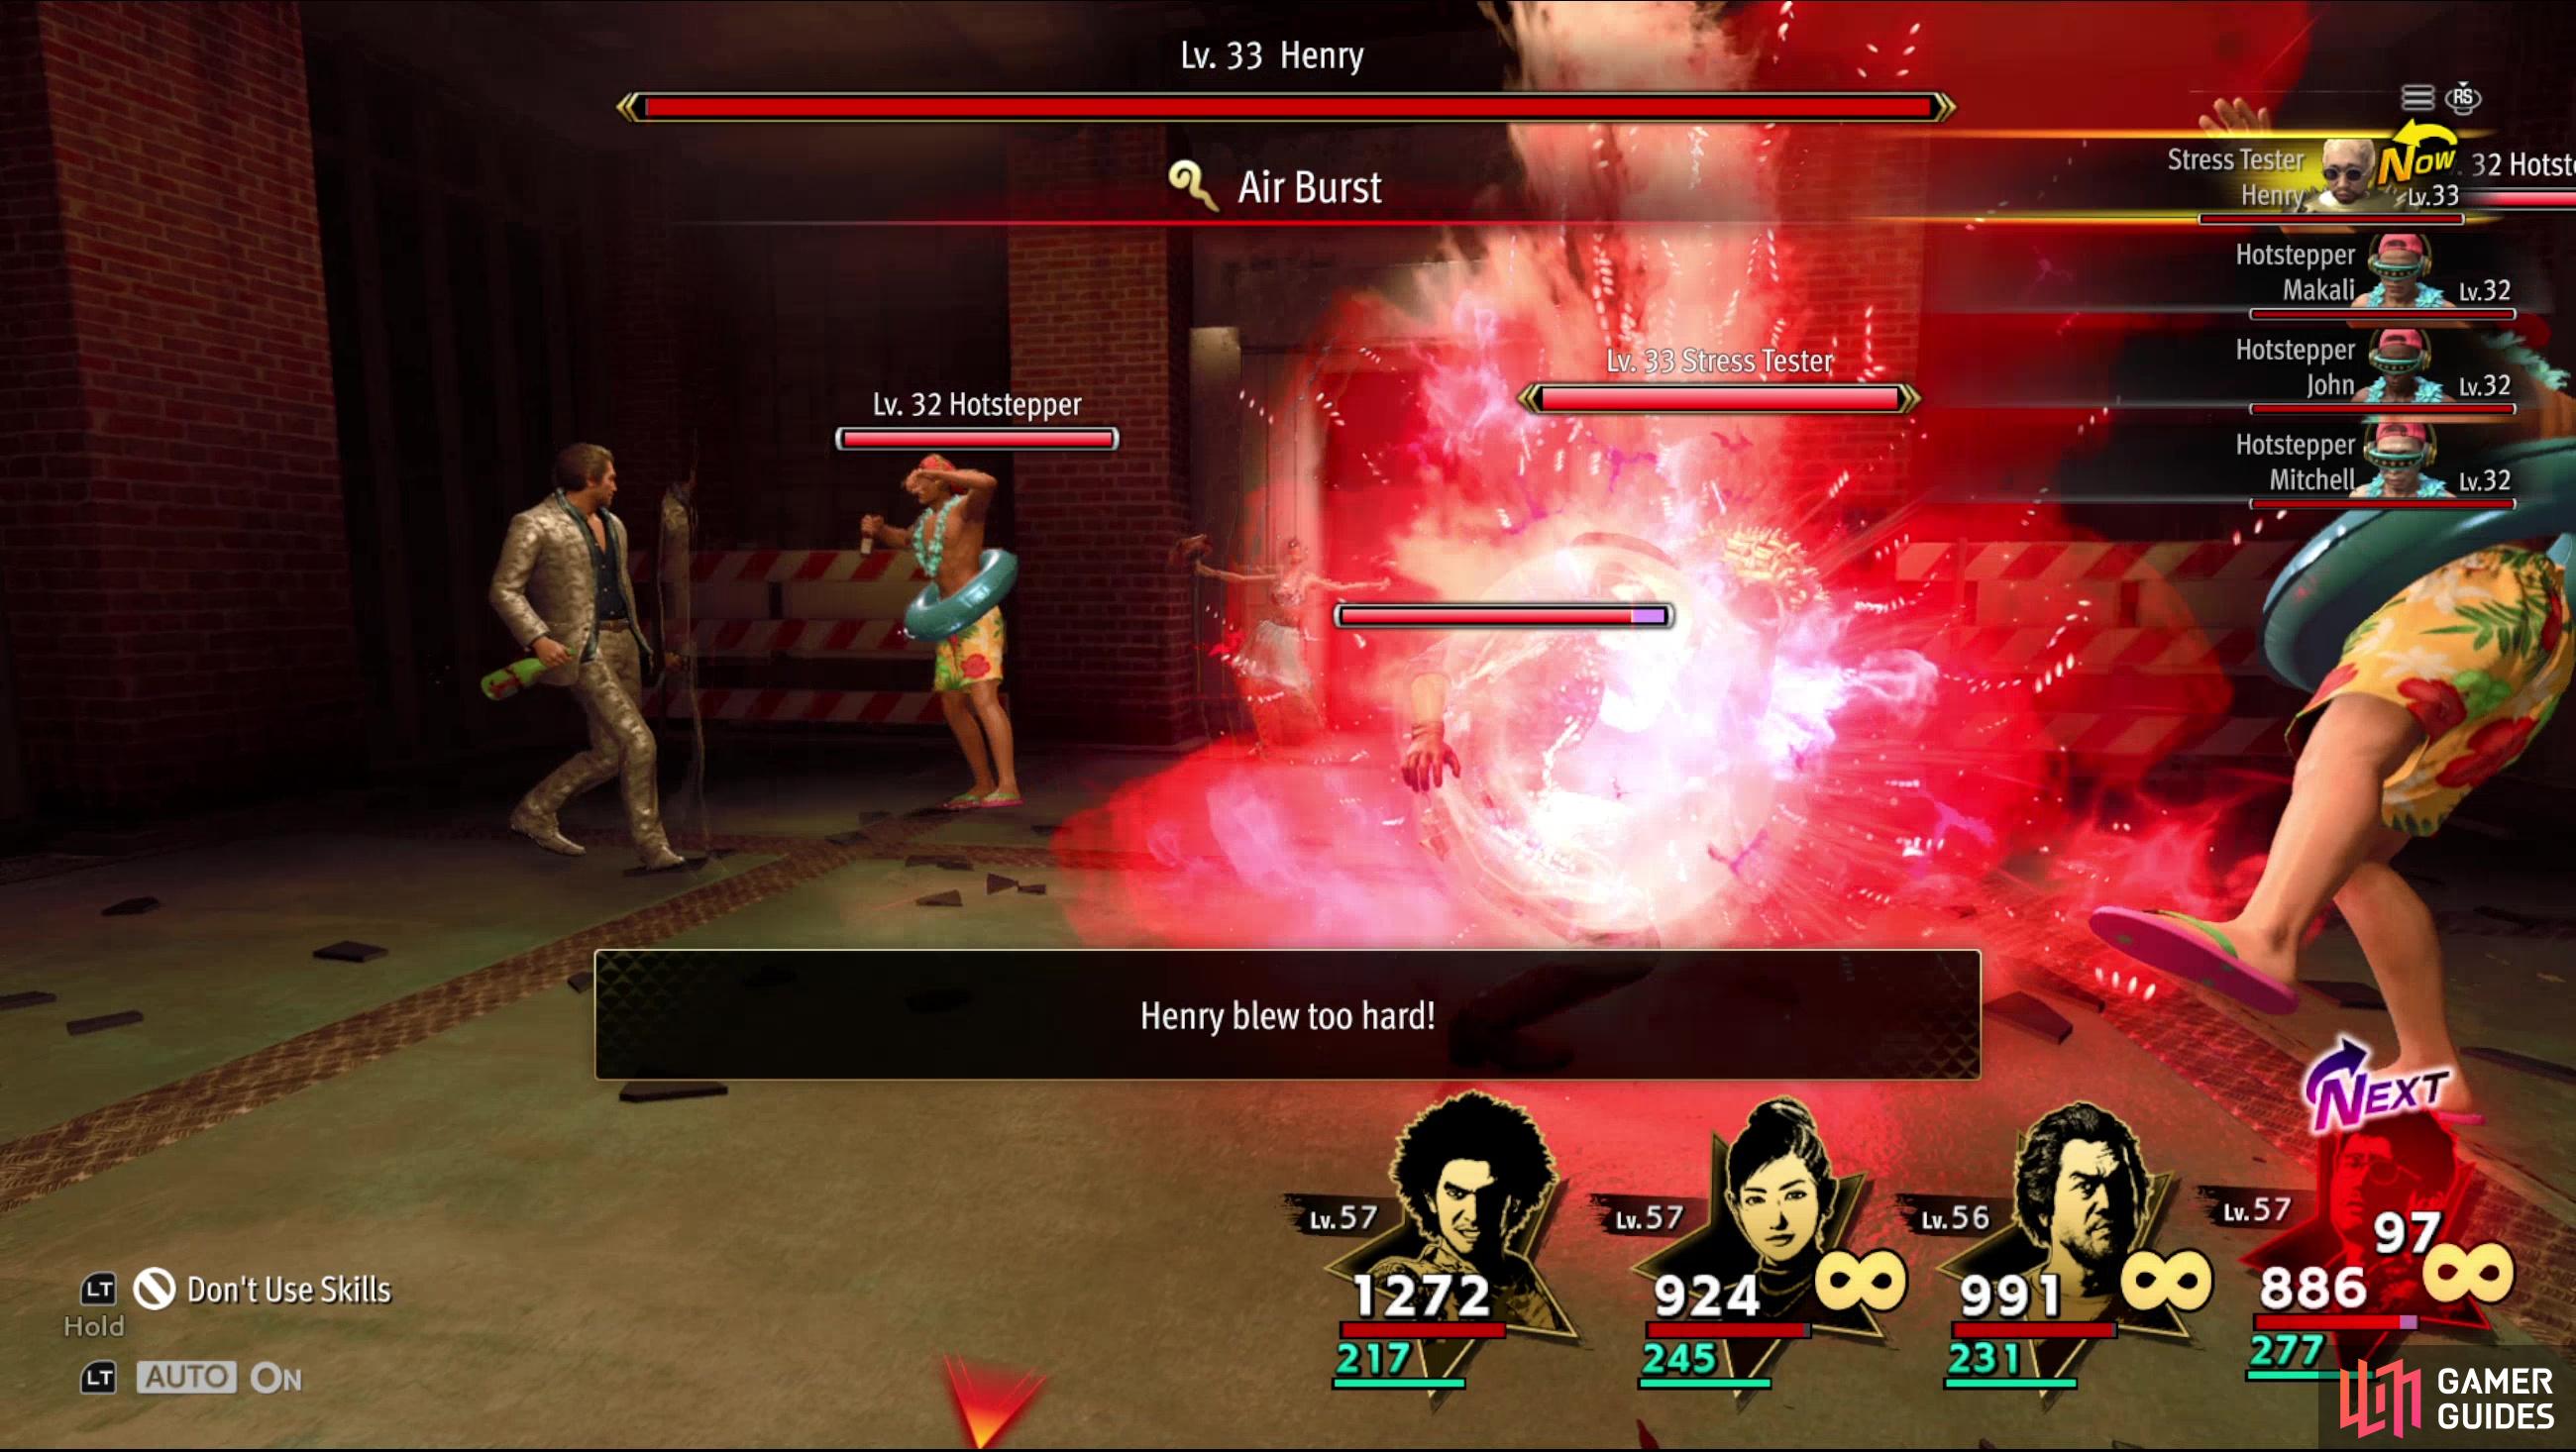
(1 of 4) The Hotstepper enemies are weak to electric damage.
Sector 2 Midboss: Hotstepper and Stress Tester
Of all the remaining boss battles left in this dungeon, the fight on the 15th floor is by far the easiest. Let that be a litmus test for how much more grinding you need to do. You’ll find yourself facing off against 3x Hotstepper enemies and a Stress Tester. All your foes exclusively use magic attacks, meaning you won’t be evading anything - in the case of the Hotsteppers they’ll use Bubbly Shower and Bubbly Maelstrom (both water element, the latter of which is AoE) while the Stress Tester will use a non-elemental magic attack, Air Burst. Stress Tester deals a lot of damage, but he must first charge with Pump It Up, and after using Air Burst he’ll waste another turn using Inflate. So the Stress Tester will likely only attack on turns 2, 5, 8, etc., (he starts “inflated” so his first attack is on turn 2 instead of the normal three turn rotation. The Hotsteppers are weak to electric damage and the Stress Tester is weak to gun damage. Defeating them will earn you a Suppression Helmet.
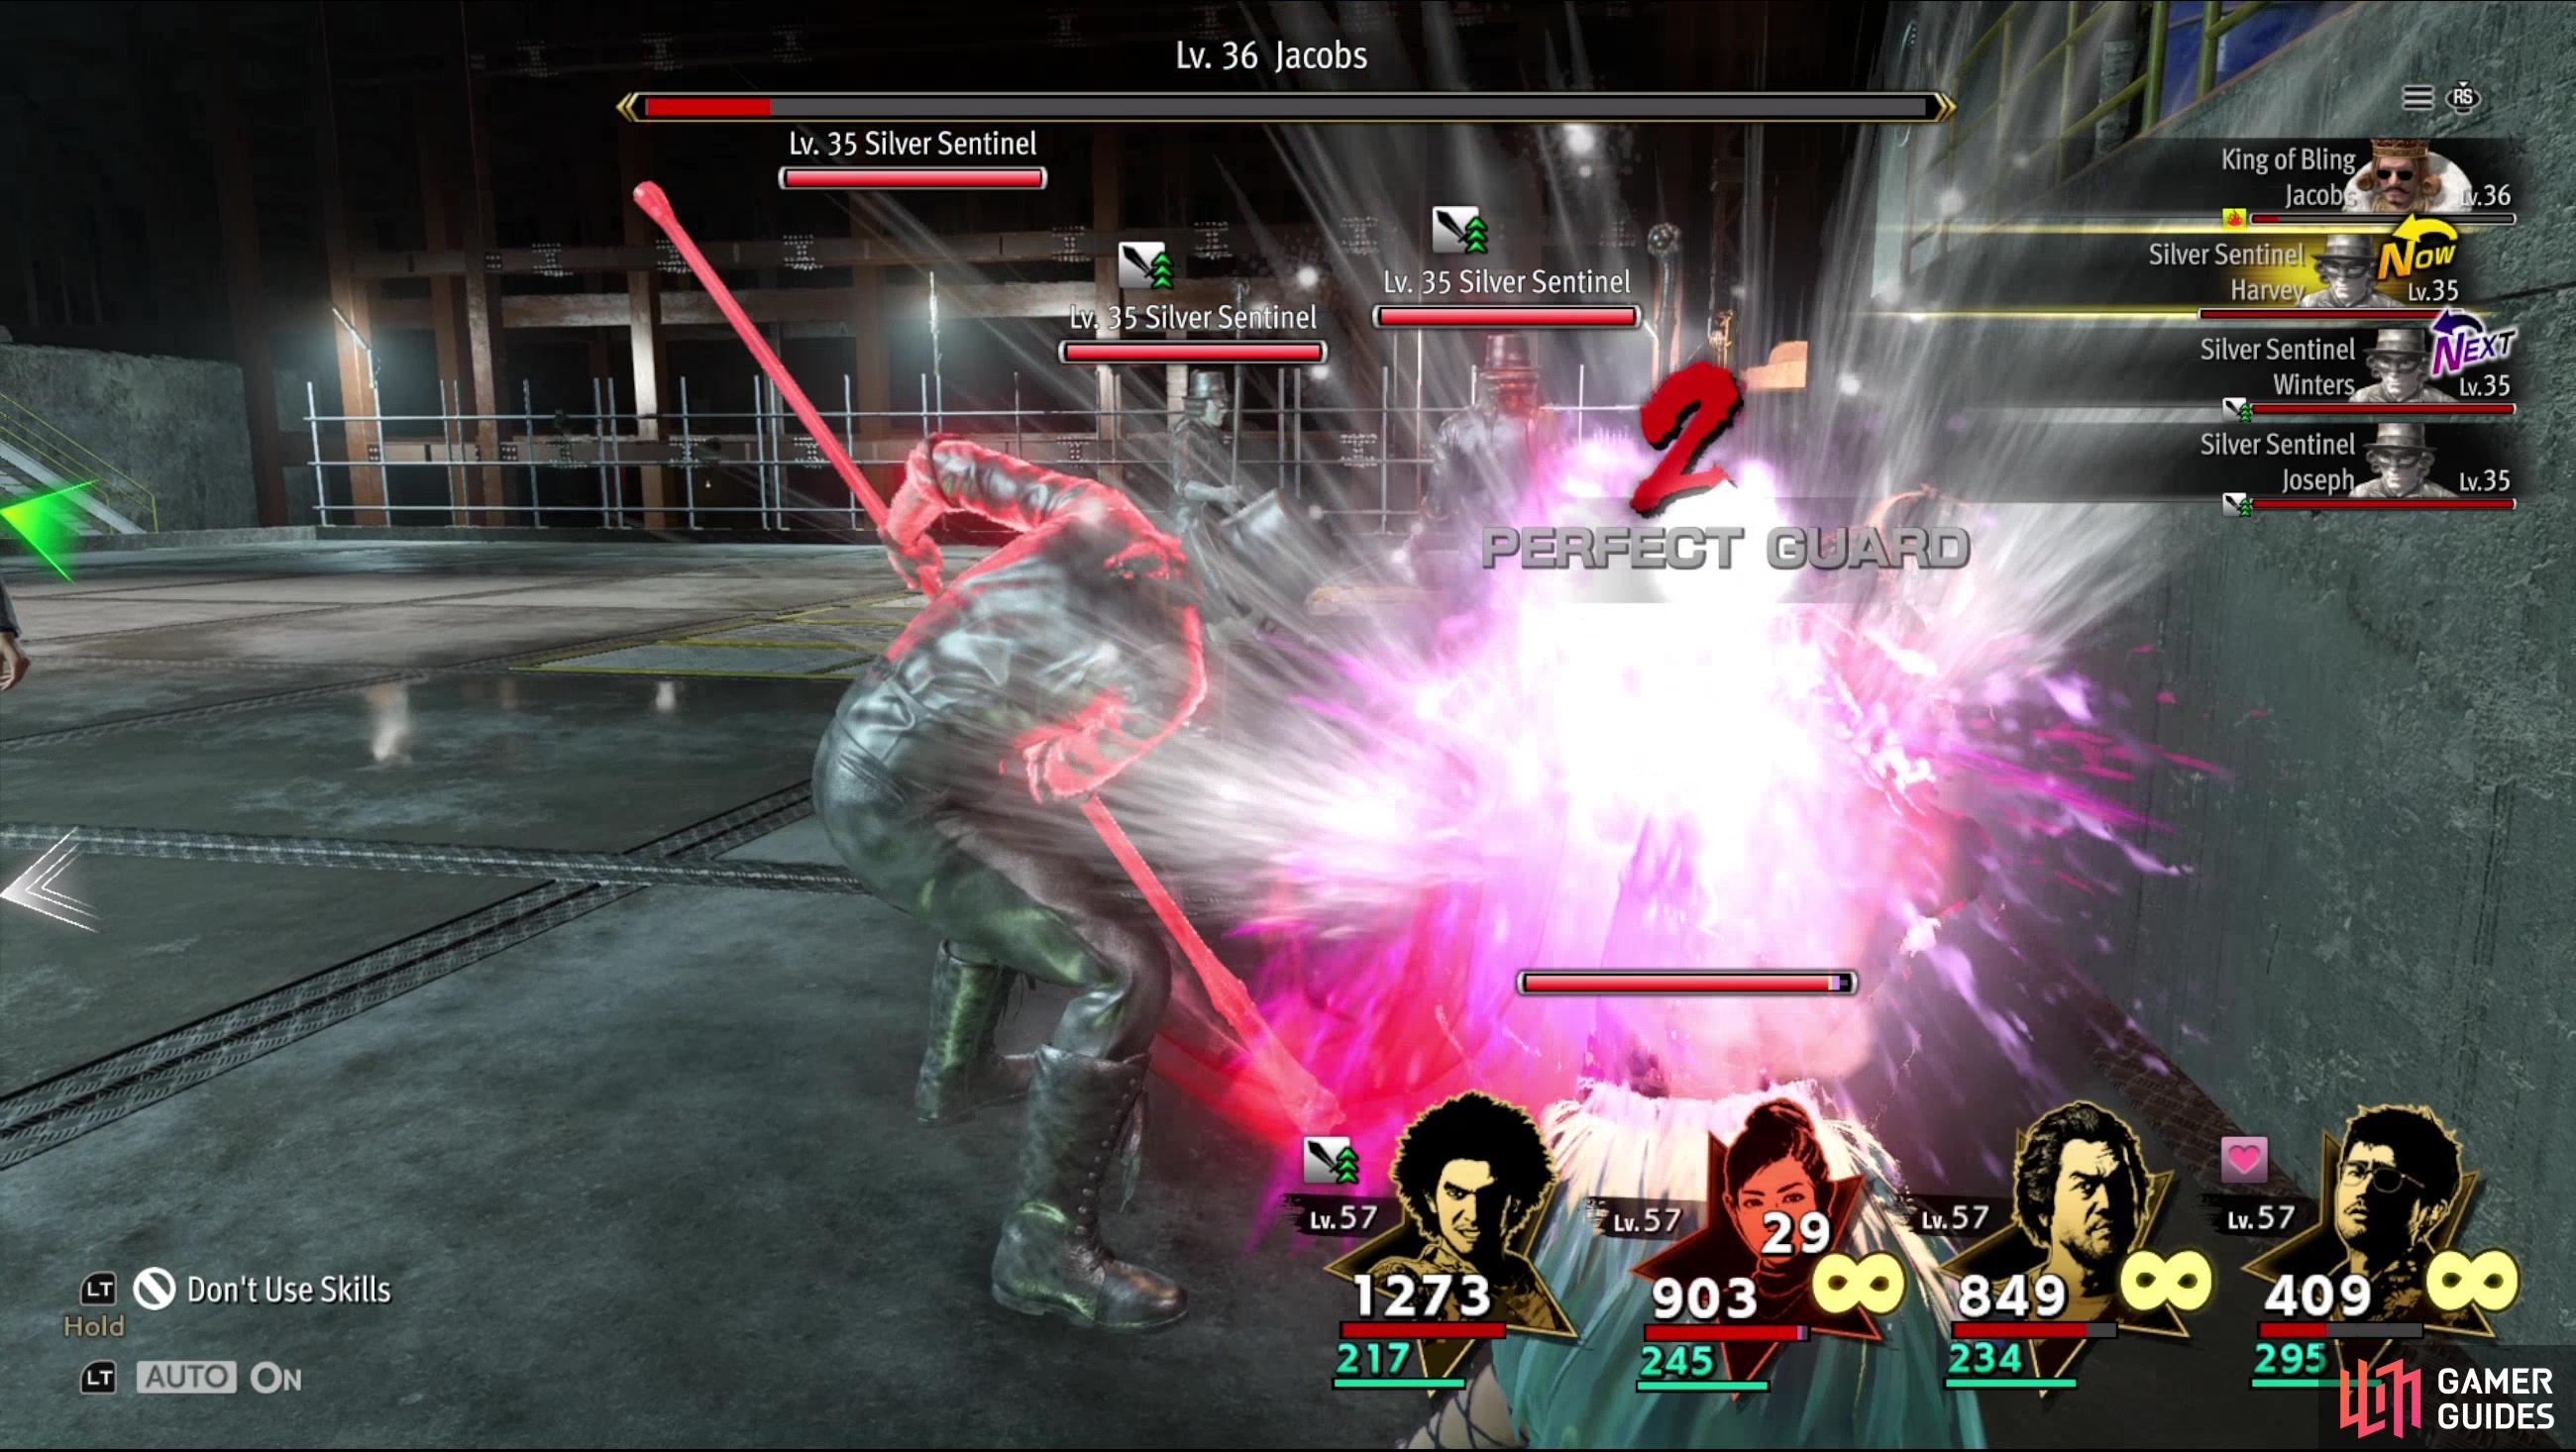
(1 of 5) Accompanying the King of Bling are three Silver Sentinels, who are dedicated melee bruisers.
Sector 2 Endboss - Silver Sentinel and King of Bling
The first potentially “difficult” fight, at least if you haven’t been leveling and gearing up properly. This makes those early suggestions about getting five star weapons, boosting Job Ranks, unlocking skills and raising your Bond something of a necessity. You’re fighting 3x Silver Sentinels and a King of Bling. The former are strictly melee enemies and will attack with Dynamic Slam and Full-Metal Tackle, both of which deal moderate damage. While not terribly dangerous on their own, there’s three of these enemies and they’re relatively durable, so getting rid of them fast can be tricky, although they are weak to water.
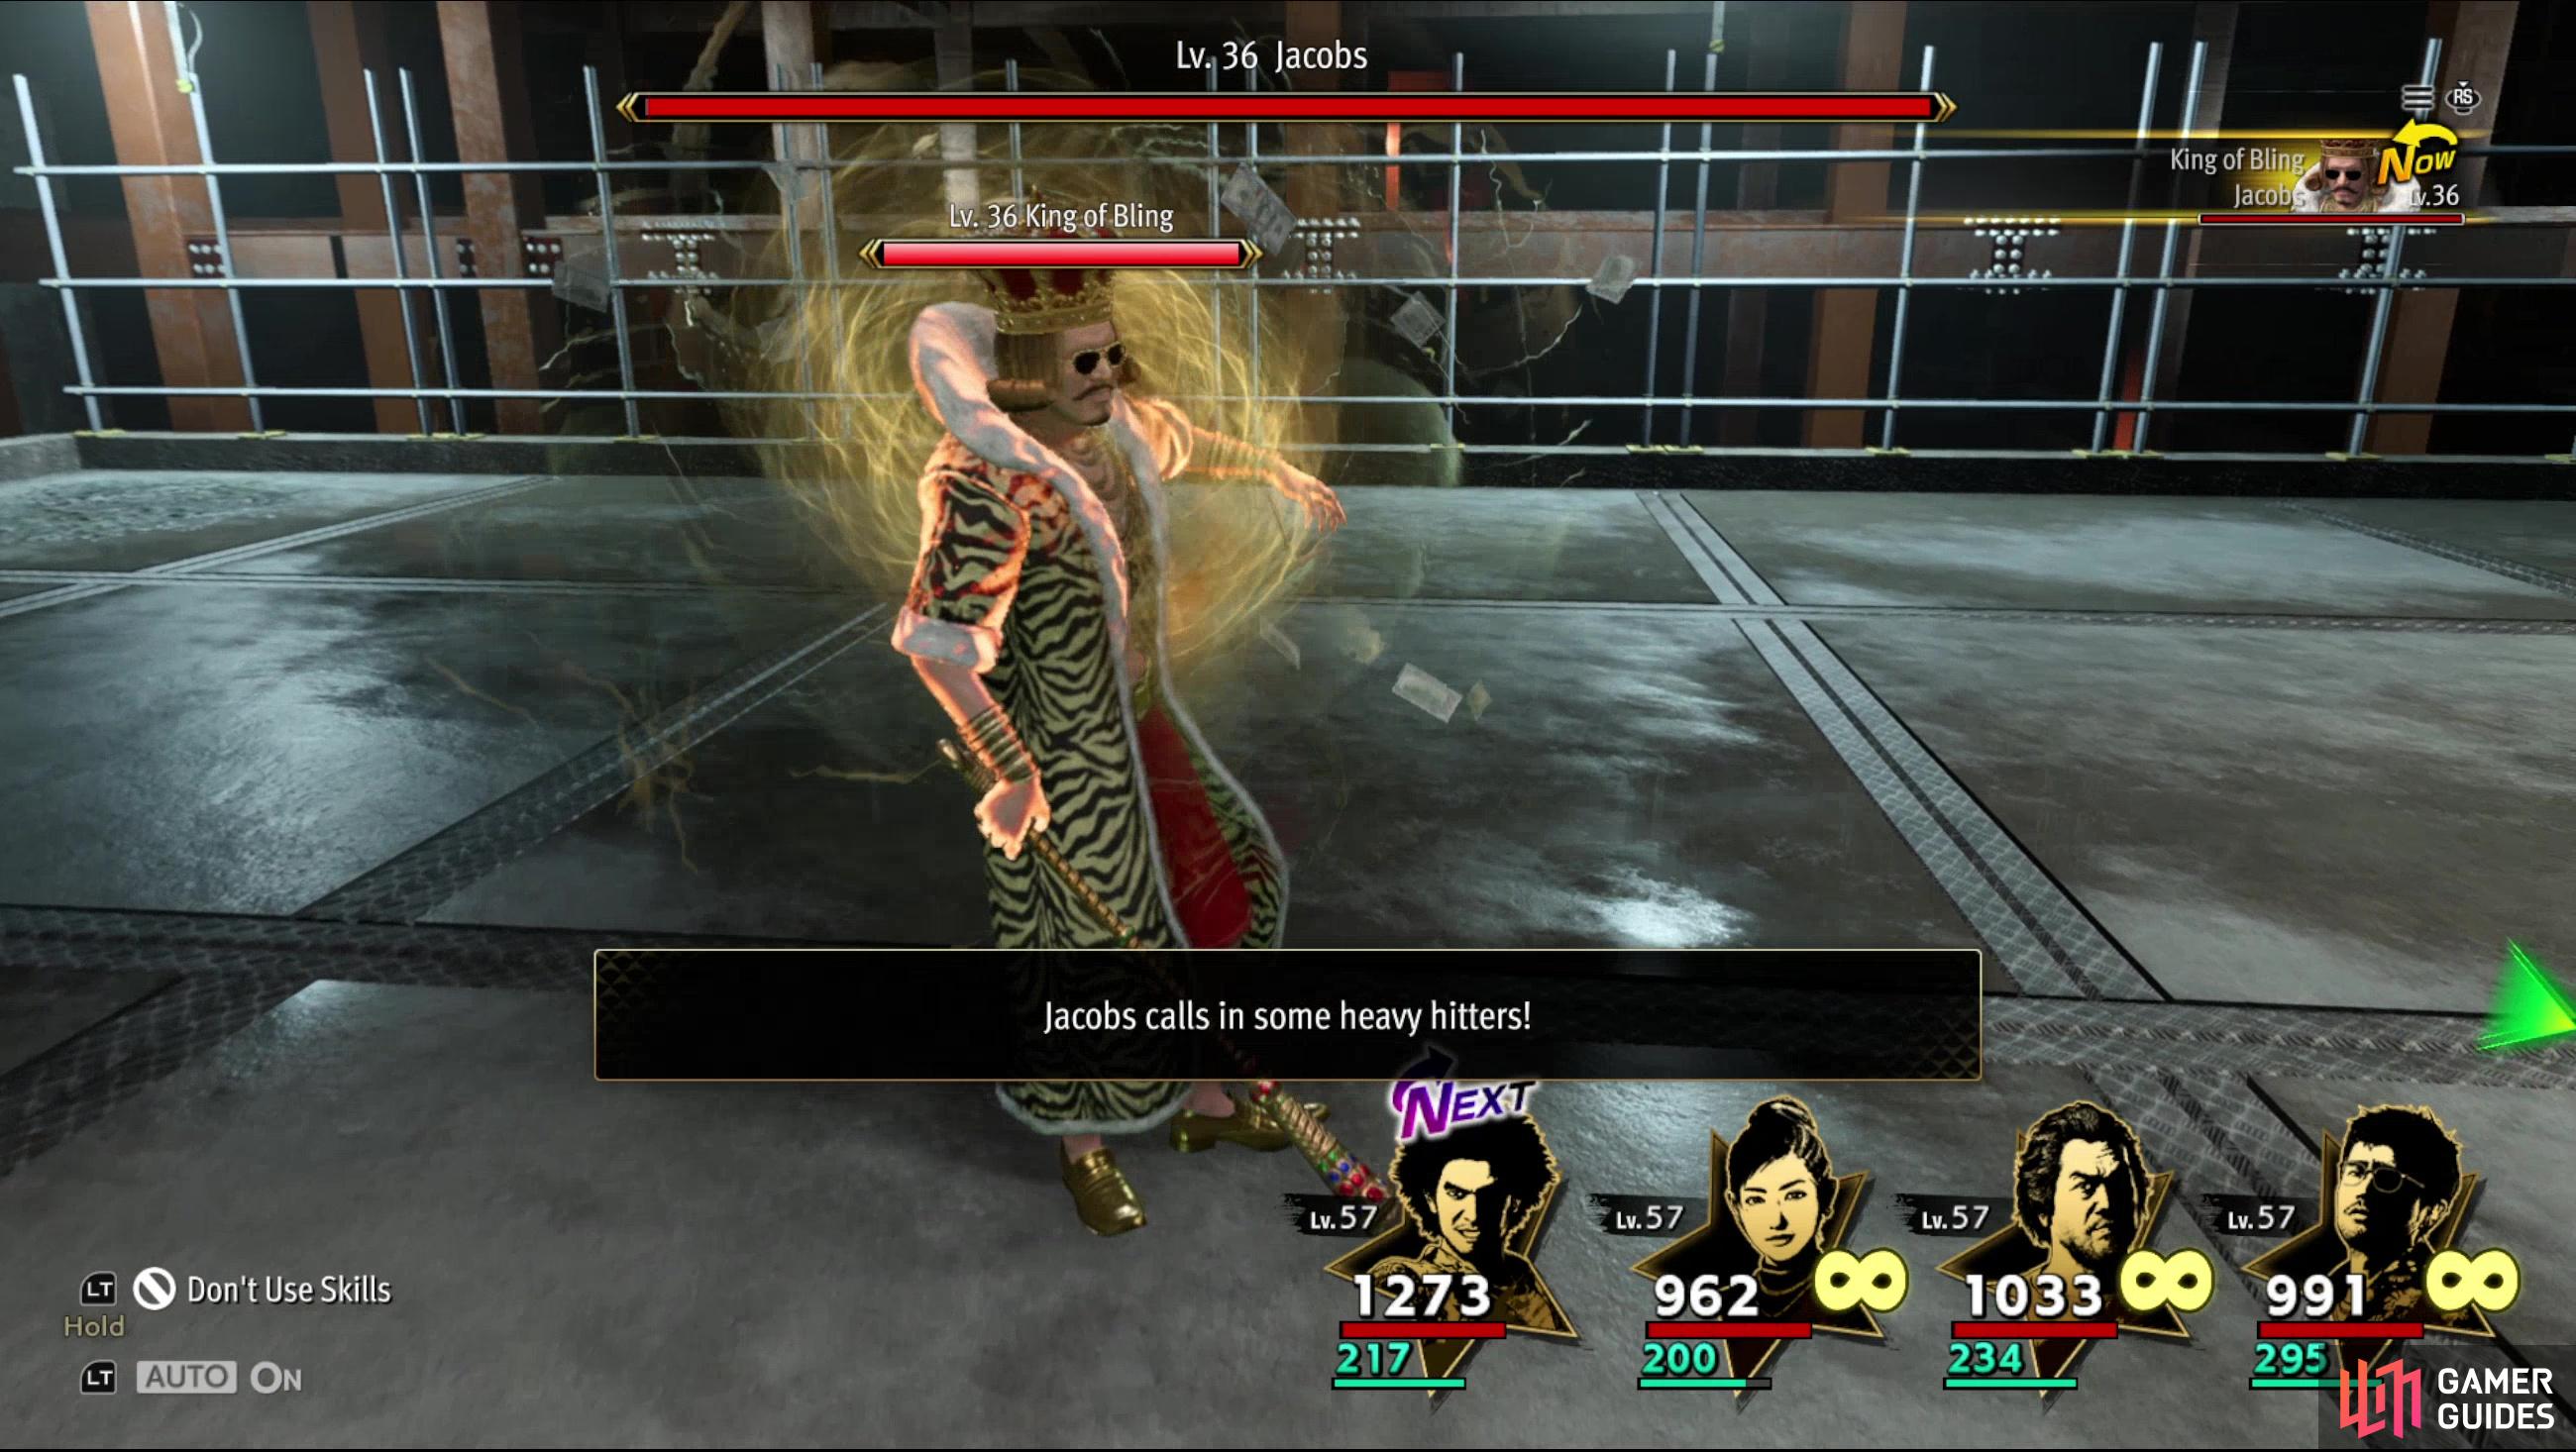
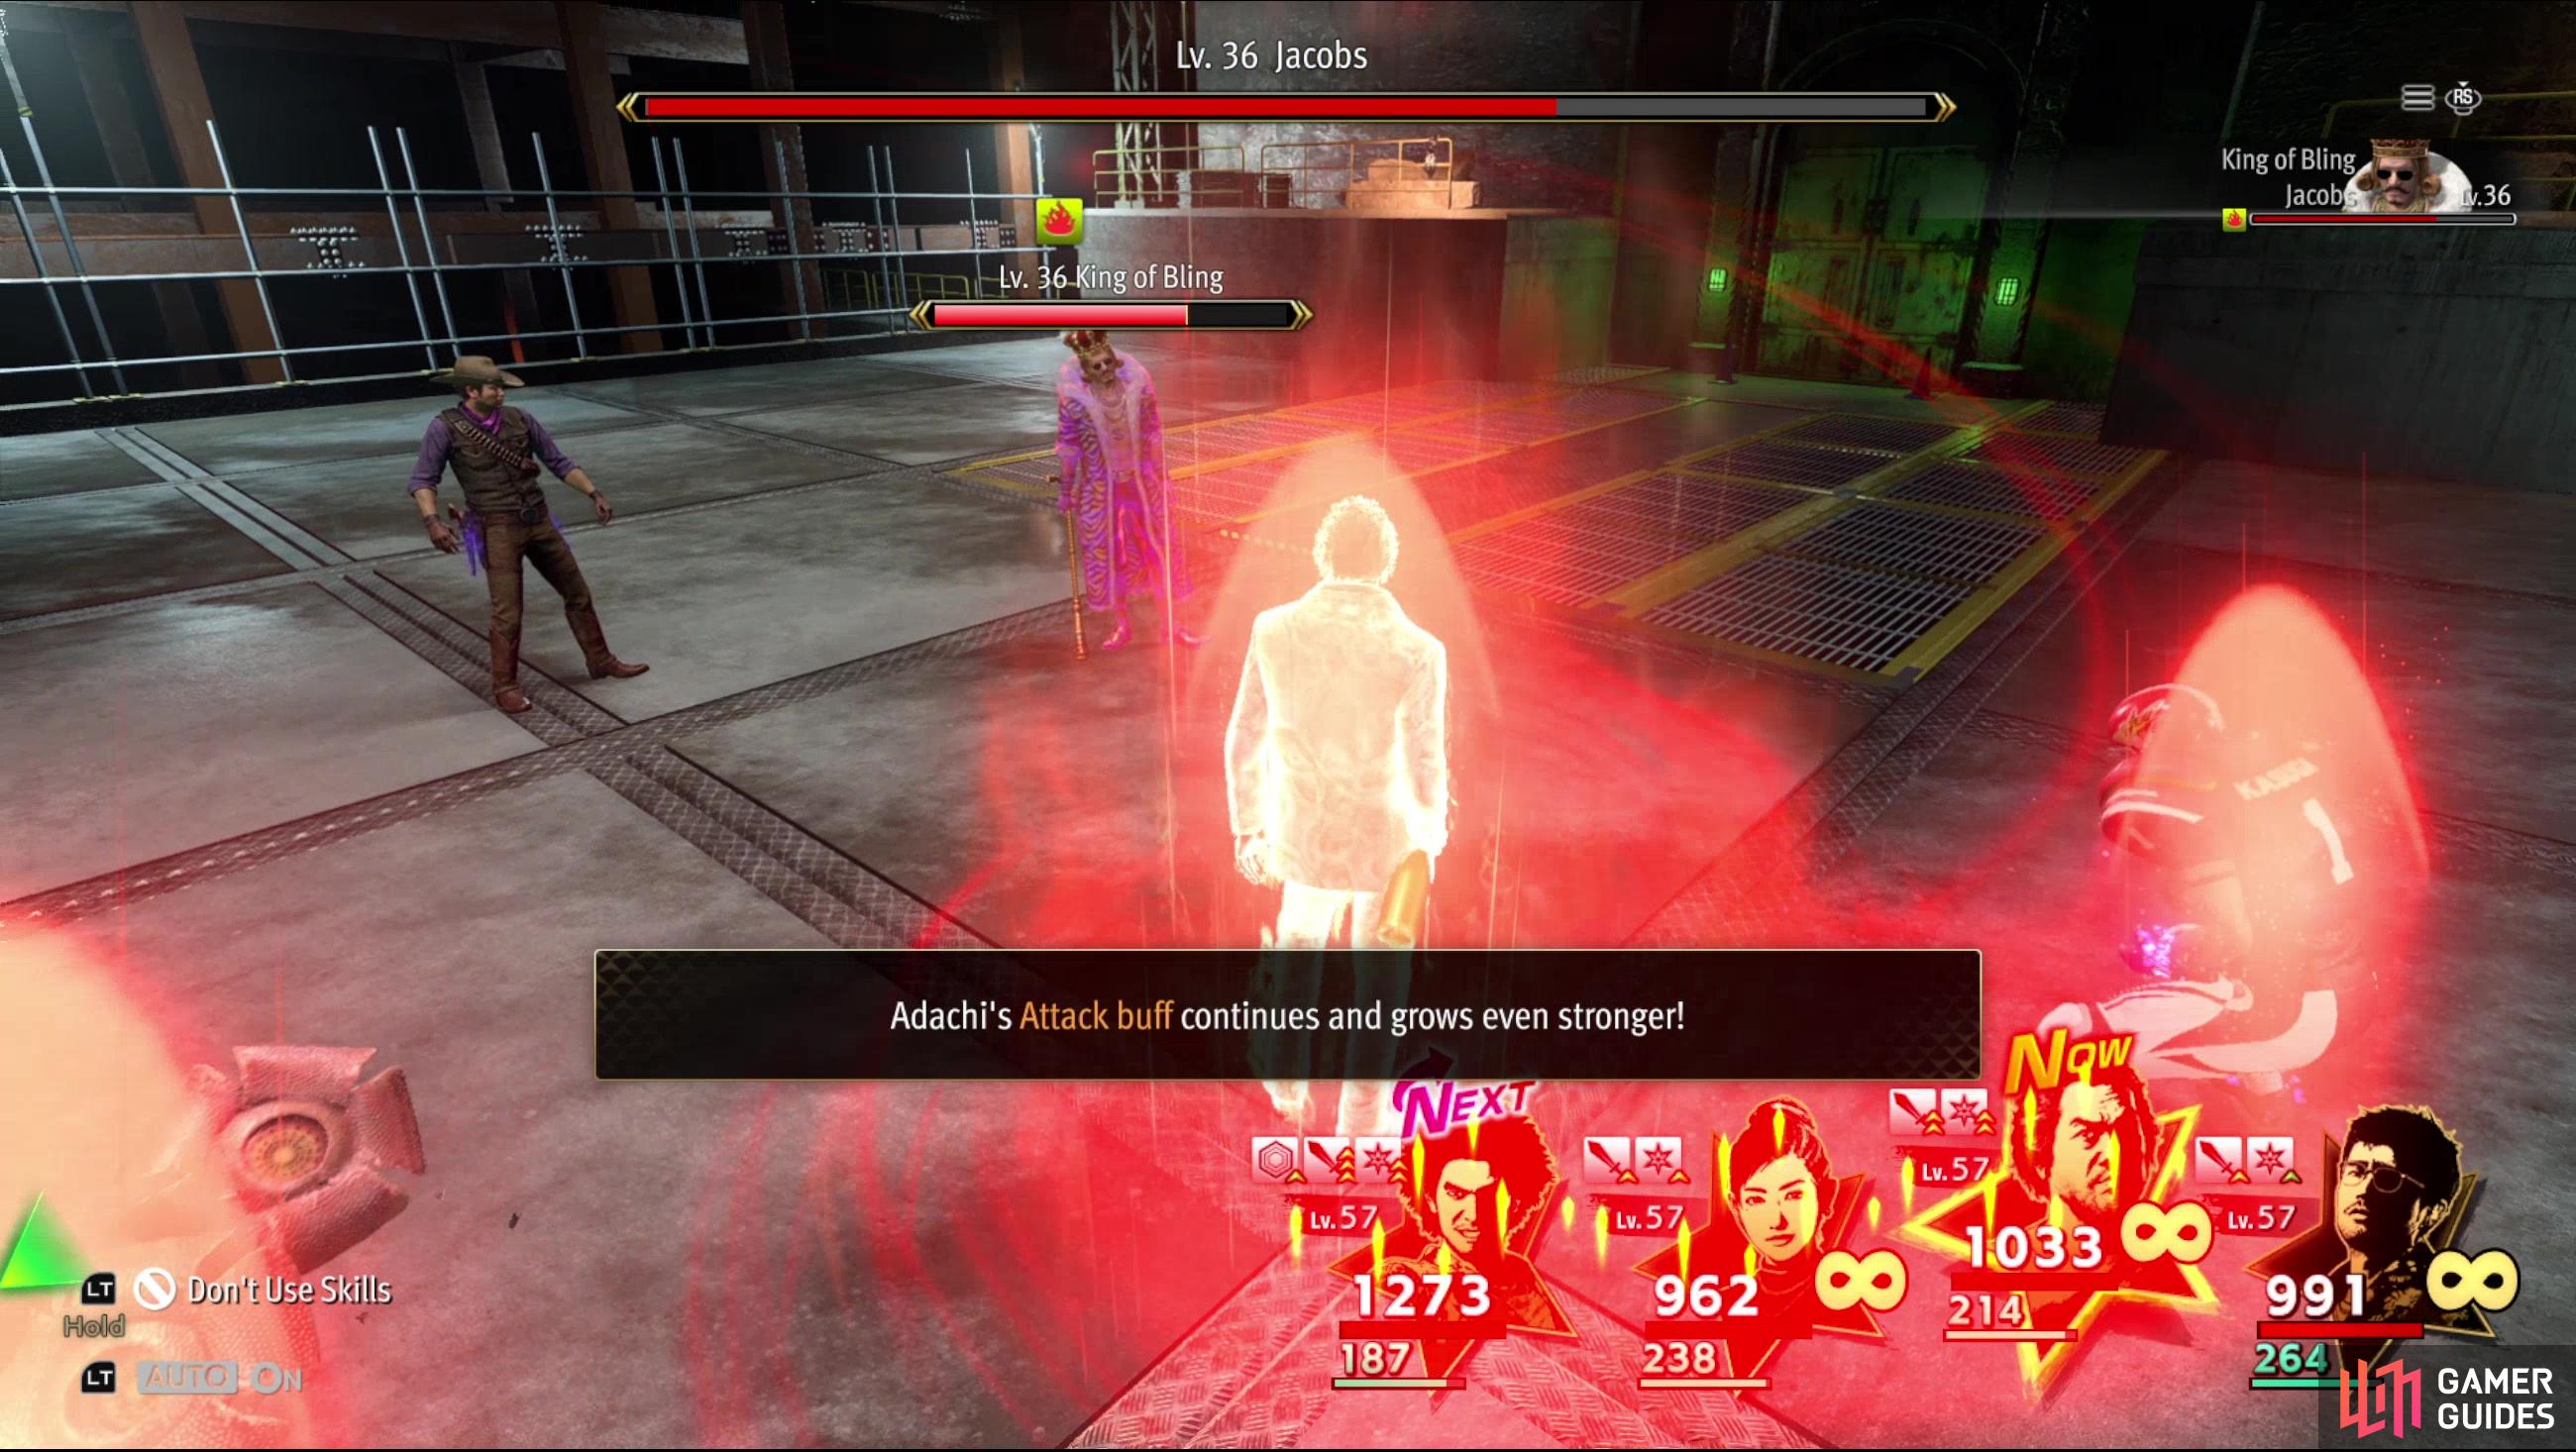
That said, you don’t want to get rid of them, as the King of Bling will regularly “call in some heavy hitters” whenever there are fewer than three Silver Sentinels around, summoning another three. You’d rather have three of these foes running around than five, so you should focus your attacks on the King of Bling. Unfortunately he’s not weak to anything, and he’s even more durable than the Silver Sentinels, so you’ll have to concentrate fire on him for several rounds to bring him down. Meanwhile he can also apply a massive Attack buff on an ally with Generous Tip and he can Charm a party member with Affluent Allure.
To survive the Silver Sentinels and bring down the King of Bling in a timely manner you’re going to need a well-equipped, leveled party with diverse skills. The more characters you have that can heal and buff, the better, and this really begs for every male character to have unlocked Beachside Bro-ffet (so everybody can heal) and Glory Awaits (an AoE Attack buff). Buff up, keep healed, and concentrate fire on the King of Bling. Once he falls the battle is just a matter of mopping up the Silver Sentinels. For surviving you’ll score a Chromium Alloy Club (first time) and Boxing Shoes (every subsequent fight). You’ll also unlock Sector 3…
Sector 3 Walkthrough
| Sector 3 Details | |
|---|---|
| Enemy Level Range | 39-44 |
| Crafting Components | Crystals |
| Chest Items | Daydream Maracas, Fang Axe, Mirage Coat, Purrfect Paws |
| Rescue Reward | Eye of the Dragon |
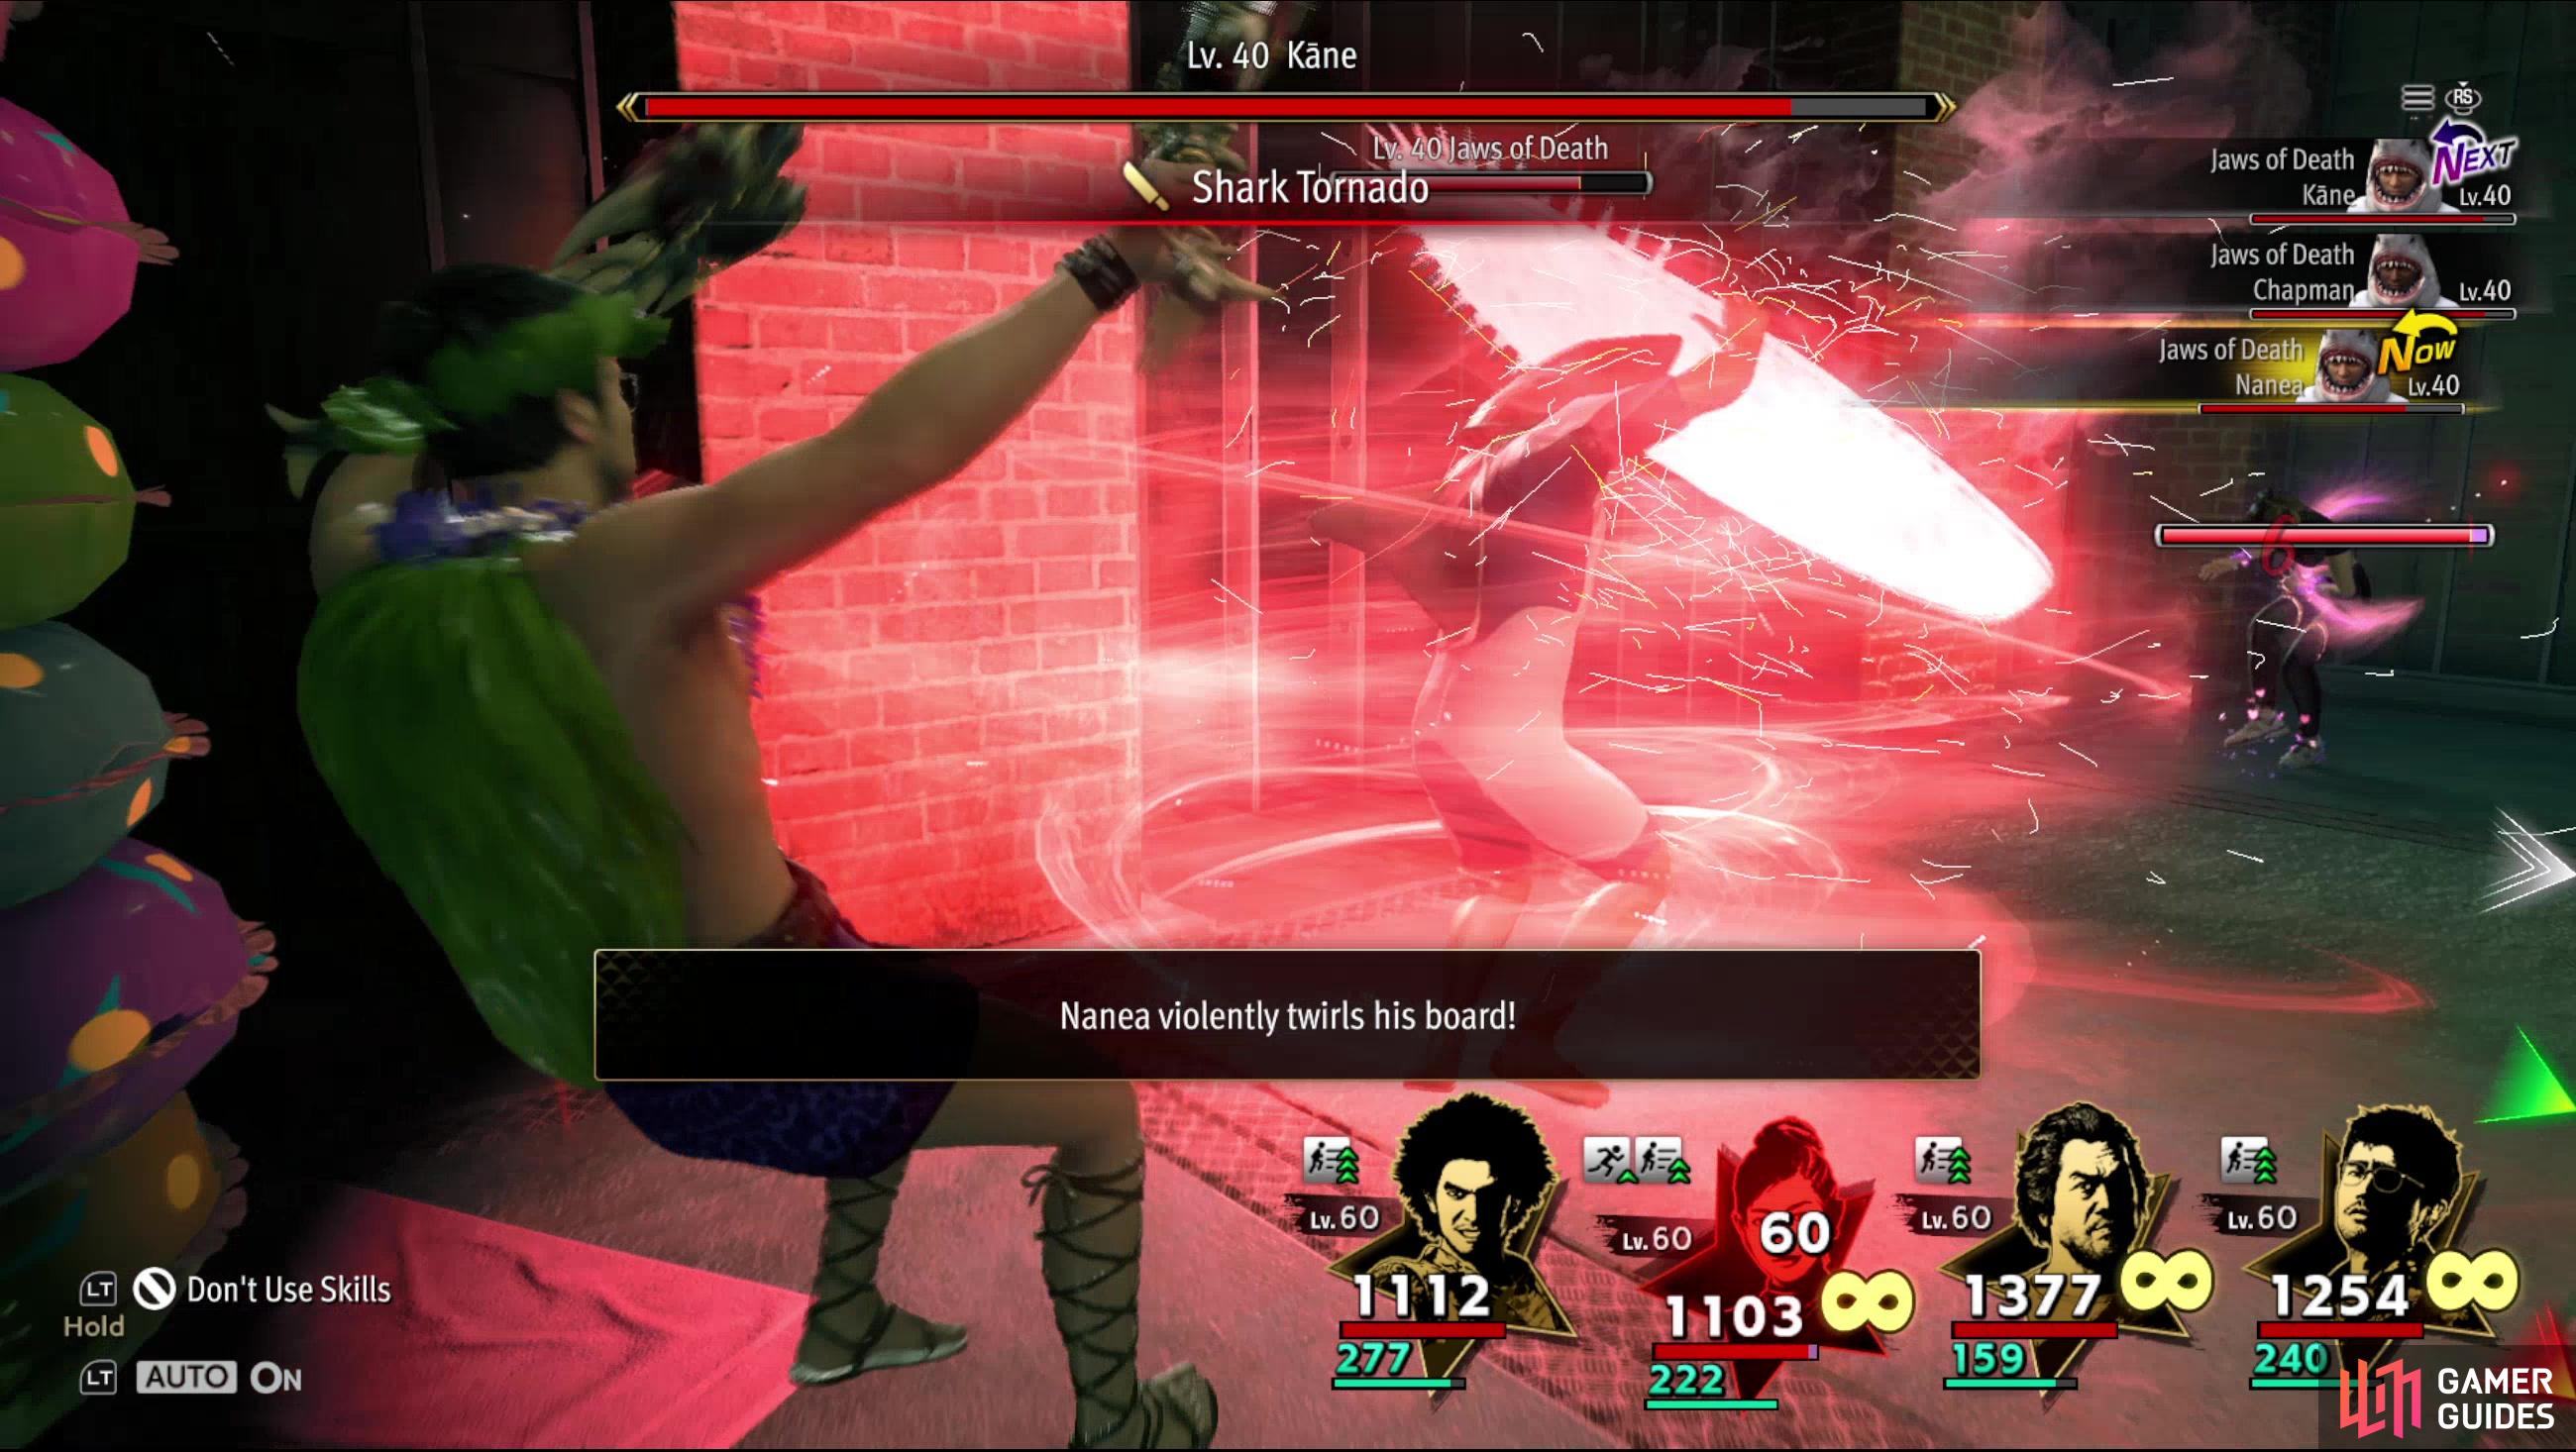
| Midboss | Jaws of Death x3 (Lv40) |
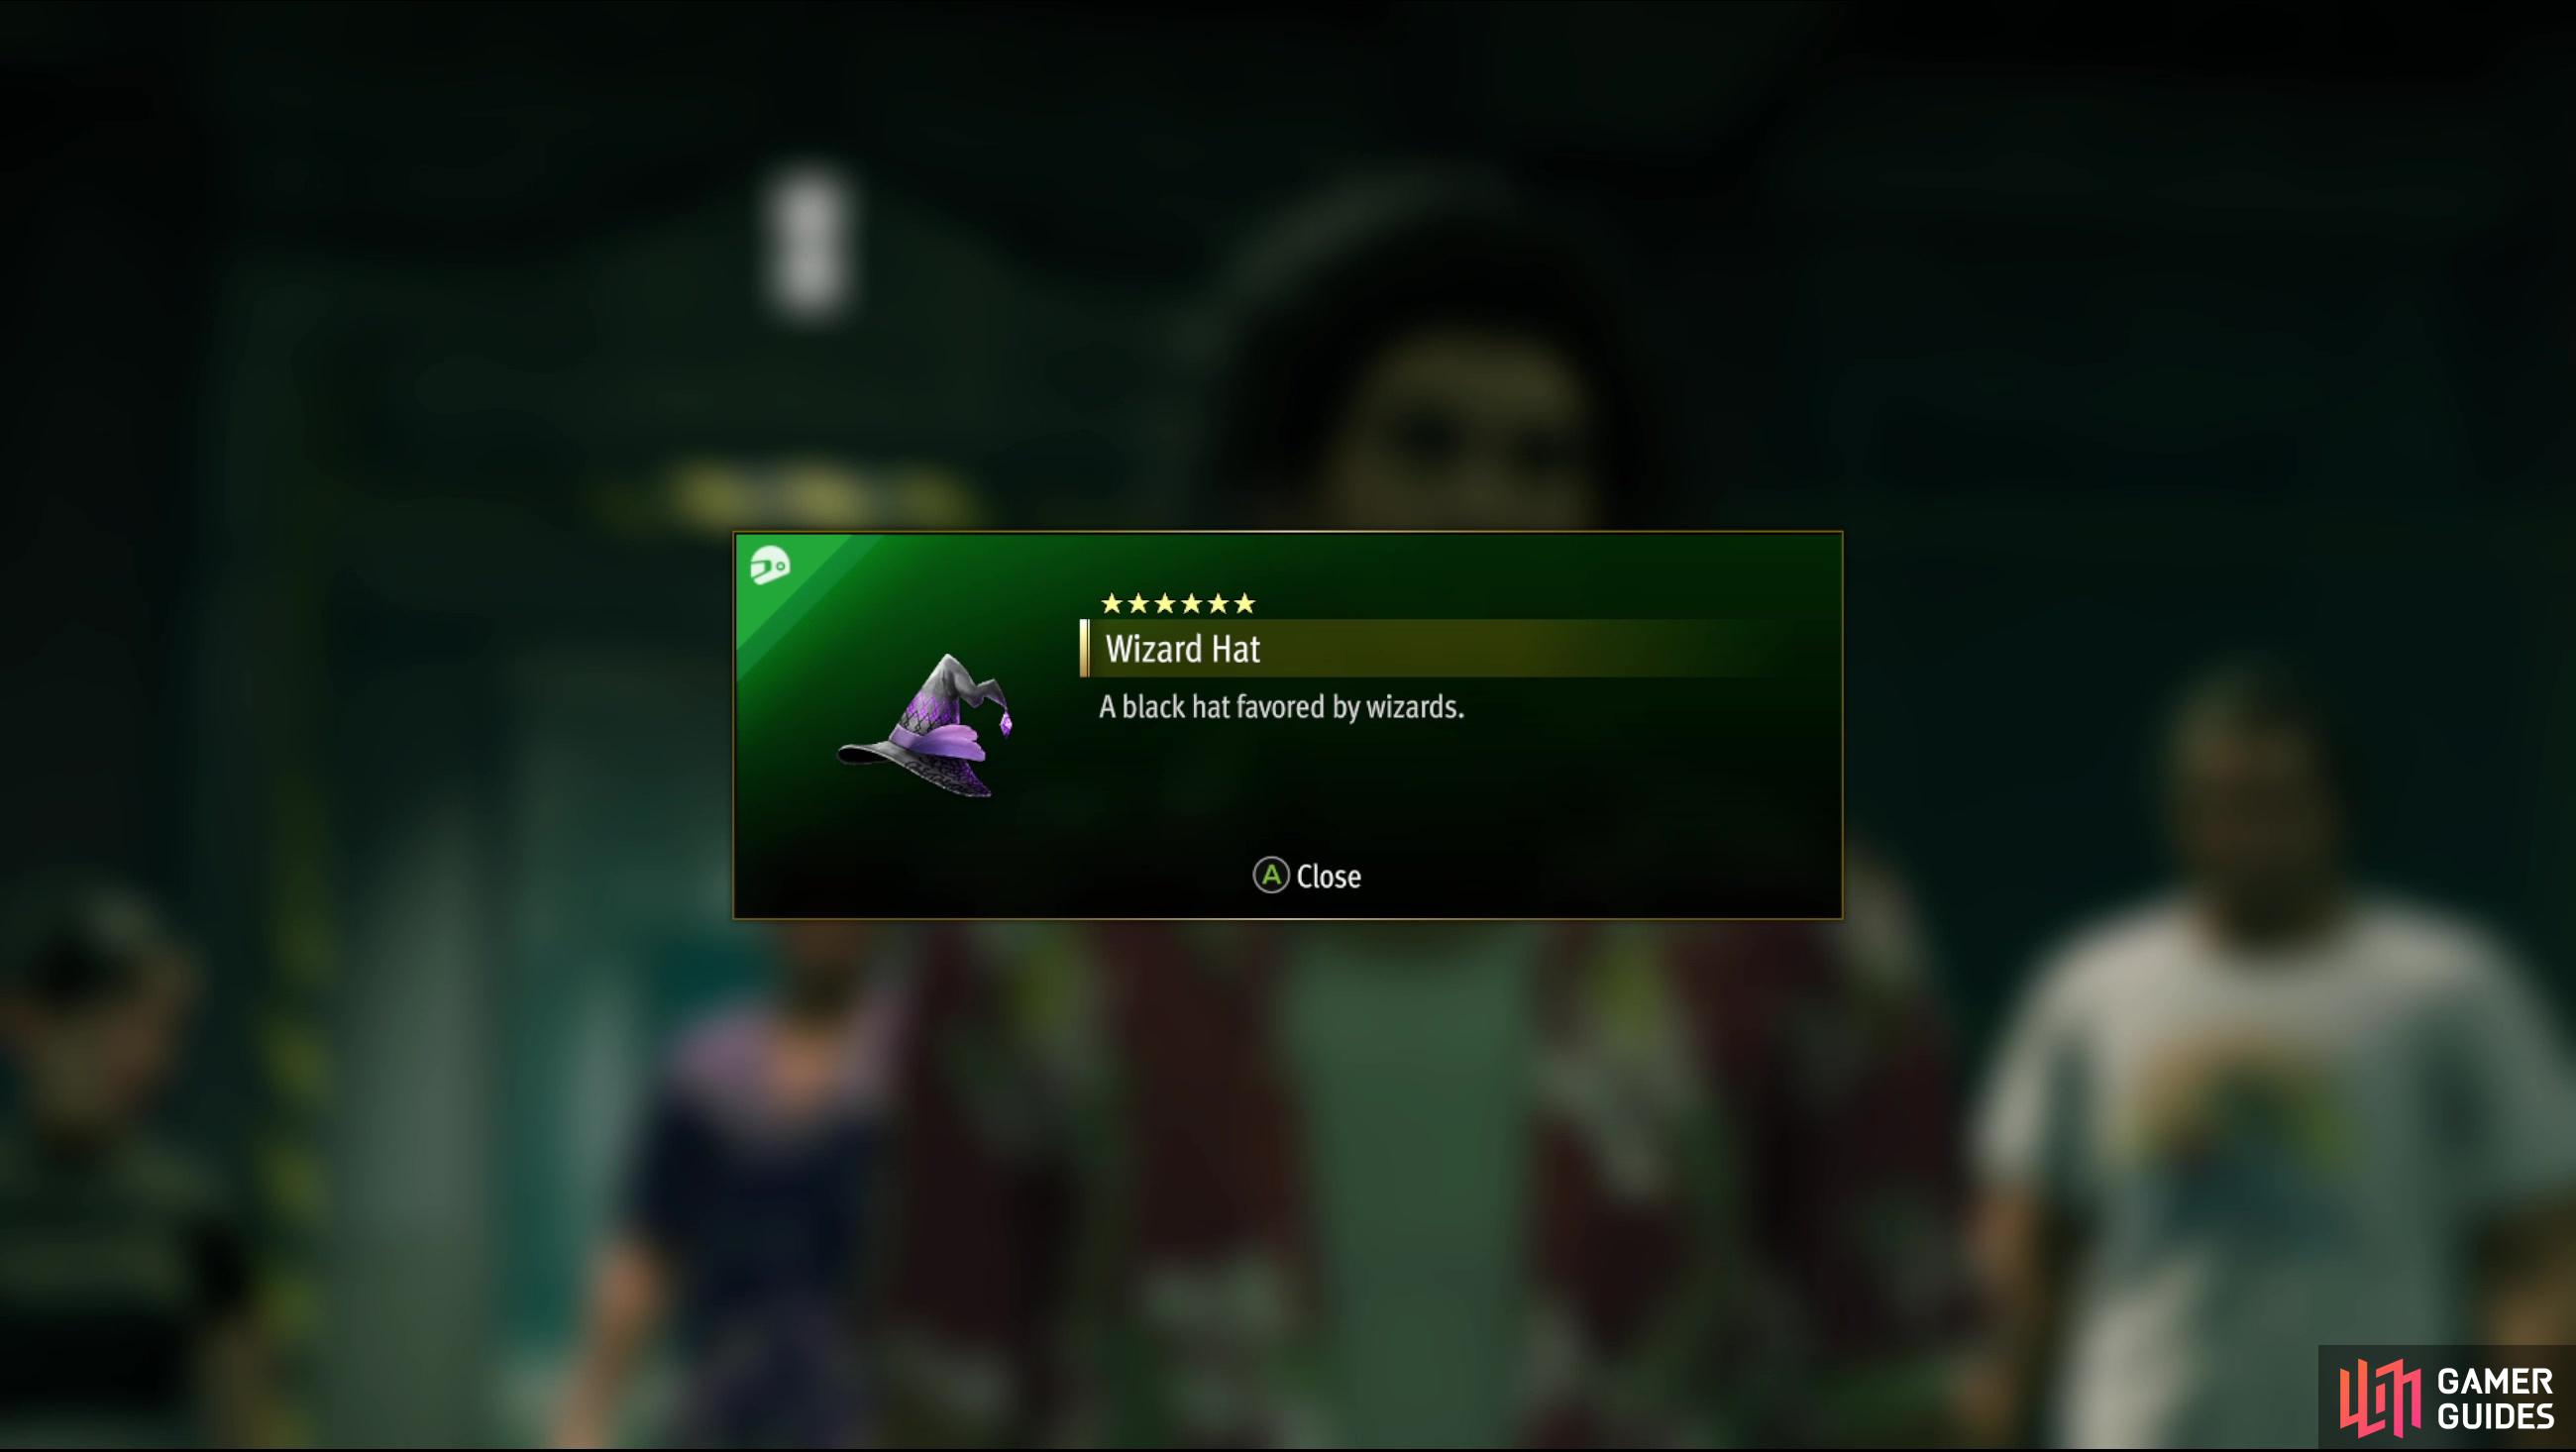
| Midboss Reward | Wizard Hat |
| Endboss | Robo Michio |
| Endboss Reward | True Hero’s Armor (first time only), Wizard Boots |
Sector 3 isn’t as huge of a leap in difficulty as Sector 2 was, but it’s solidifying the same trends that determined Sector 2’s difficulty: you’ll need to have progressed in several jobs to unlock their skills, and you’ll need your Bond raised to open up skill inheritance slots. Everybody should be able to heal, deal AoE damage and in the case of the male characters, toss around the Glory Awaits buff. The more characters who also have access to a grapple attack, a magic attack and have the ability to revive downed allies, the better. Five star gear should be the norm, and you should be pulling six star specimens from chests on this floor, some of which may be worth grinding for.


(1 of 4) Buffs like Accel Step will massively increase your evasion,
Sector 3 Midboss: Jaws of Death
The hardest fight in the Hawaiian Haunt yet, this one might not look very tricky, as you’re just fighting three Jaws of Death enemies - a variant of a special enemy you’ve encountered earlier. Not only are these three strangers (Lv40), but you’ll effectively be fighting three special enemies at once, and while they’re really just melee bruisers, they excel at dishing out significant damage. If your defenses, healing oir damage output aren’t up to snuff, you’ll find out awfully quick. These foes only have three attacks, a standard attack, Wipeout and Shark Tornado, the latter of which is an AoE attack that can inflict Bleeding. All their attacks will deal over 100 damage unless you’re insanely overleveled/geared, and if you’re unlucky (because you can’t really control where you characters wander between turns) and the enemy spams Shark Tornado you could see your entire party losing hundreds of HP each turn.
If you’ve unlocked the Breaker job, having all your male characters use Accel Step on themselves to boost their evasion can help mitigate incoming damage, as all the enemy attacks are physical. Otherwise, try to buff up the party with Glory Awaits on your first turn, then concentrate fire on one of the Jaws of Death enemies and keep everybody healed. The sooner you take out one of your foes, the easier this battle will become. Emerge victorious and you’ll obtain a Wizard’s Hat - a very useful tool for keeping every character’s MP high throughout prolonged bouts of grinding.
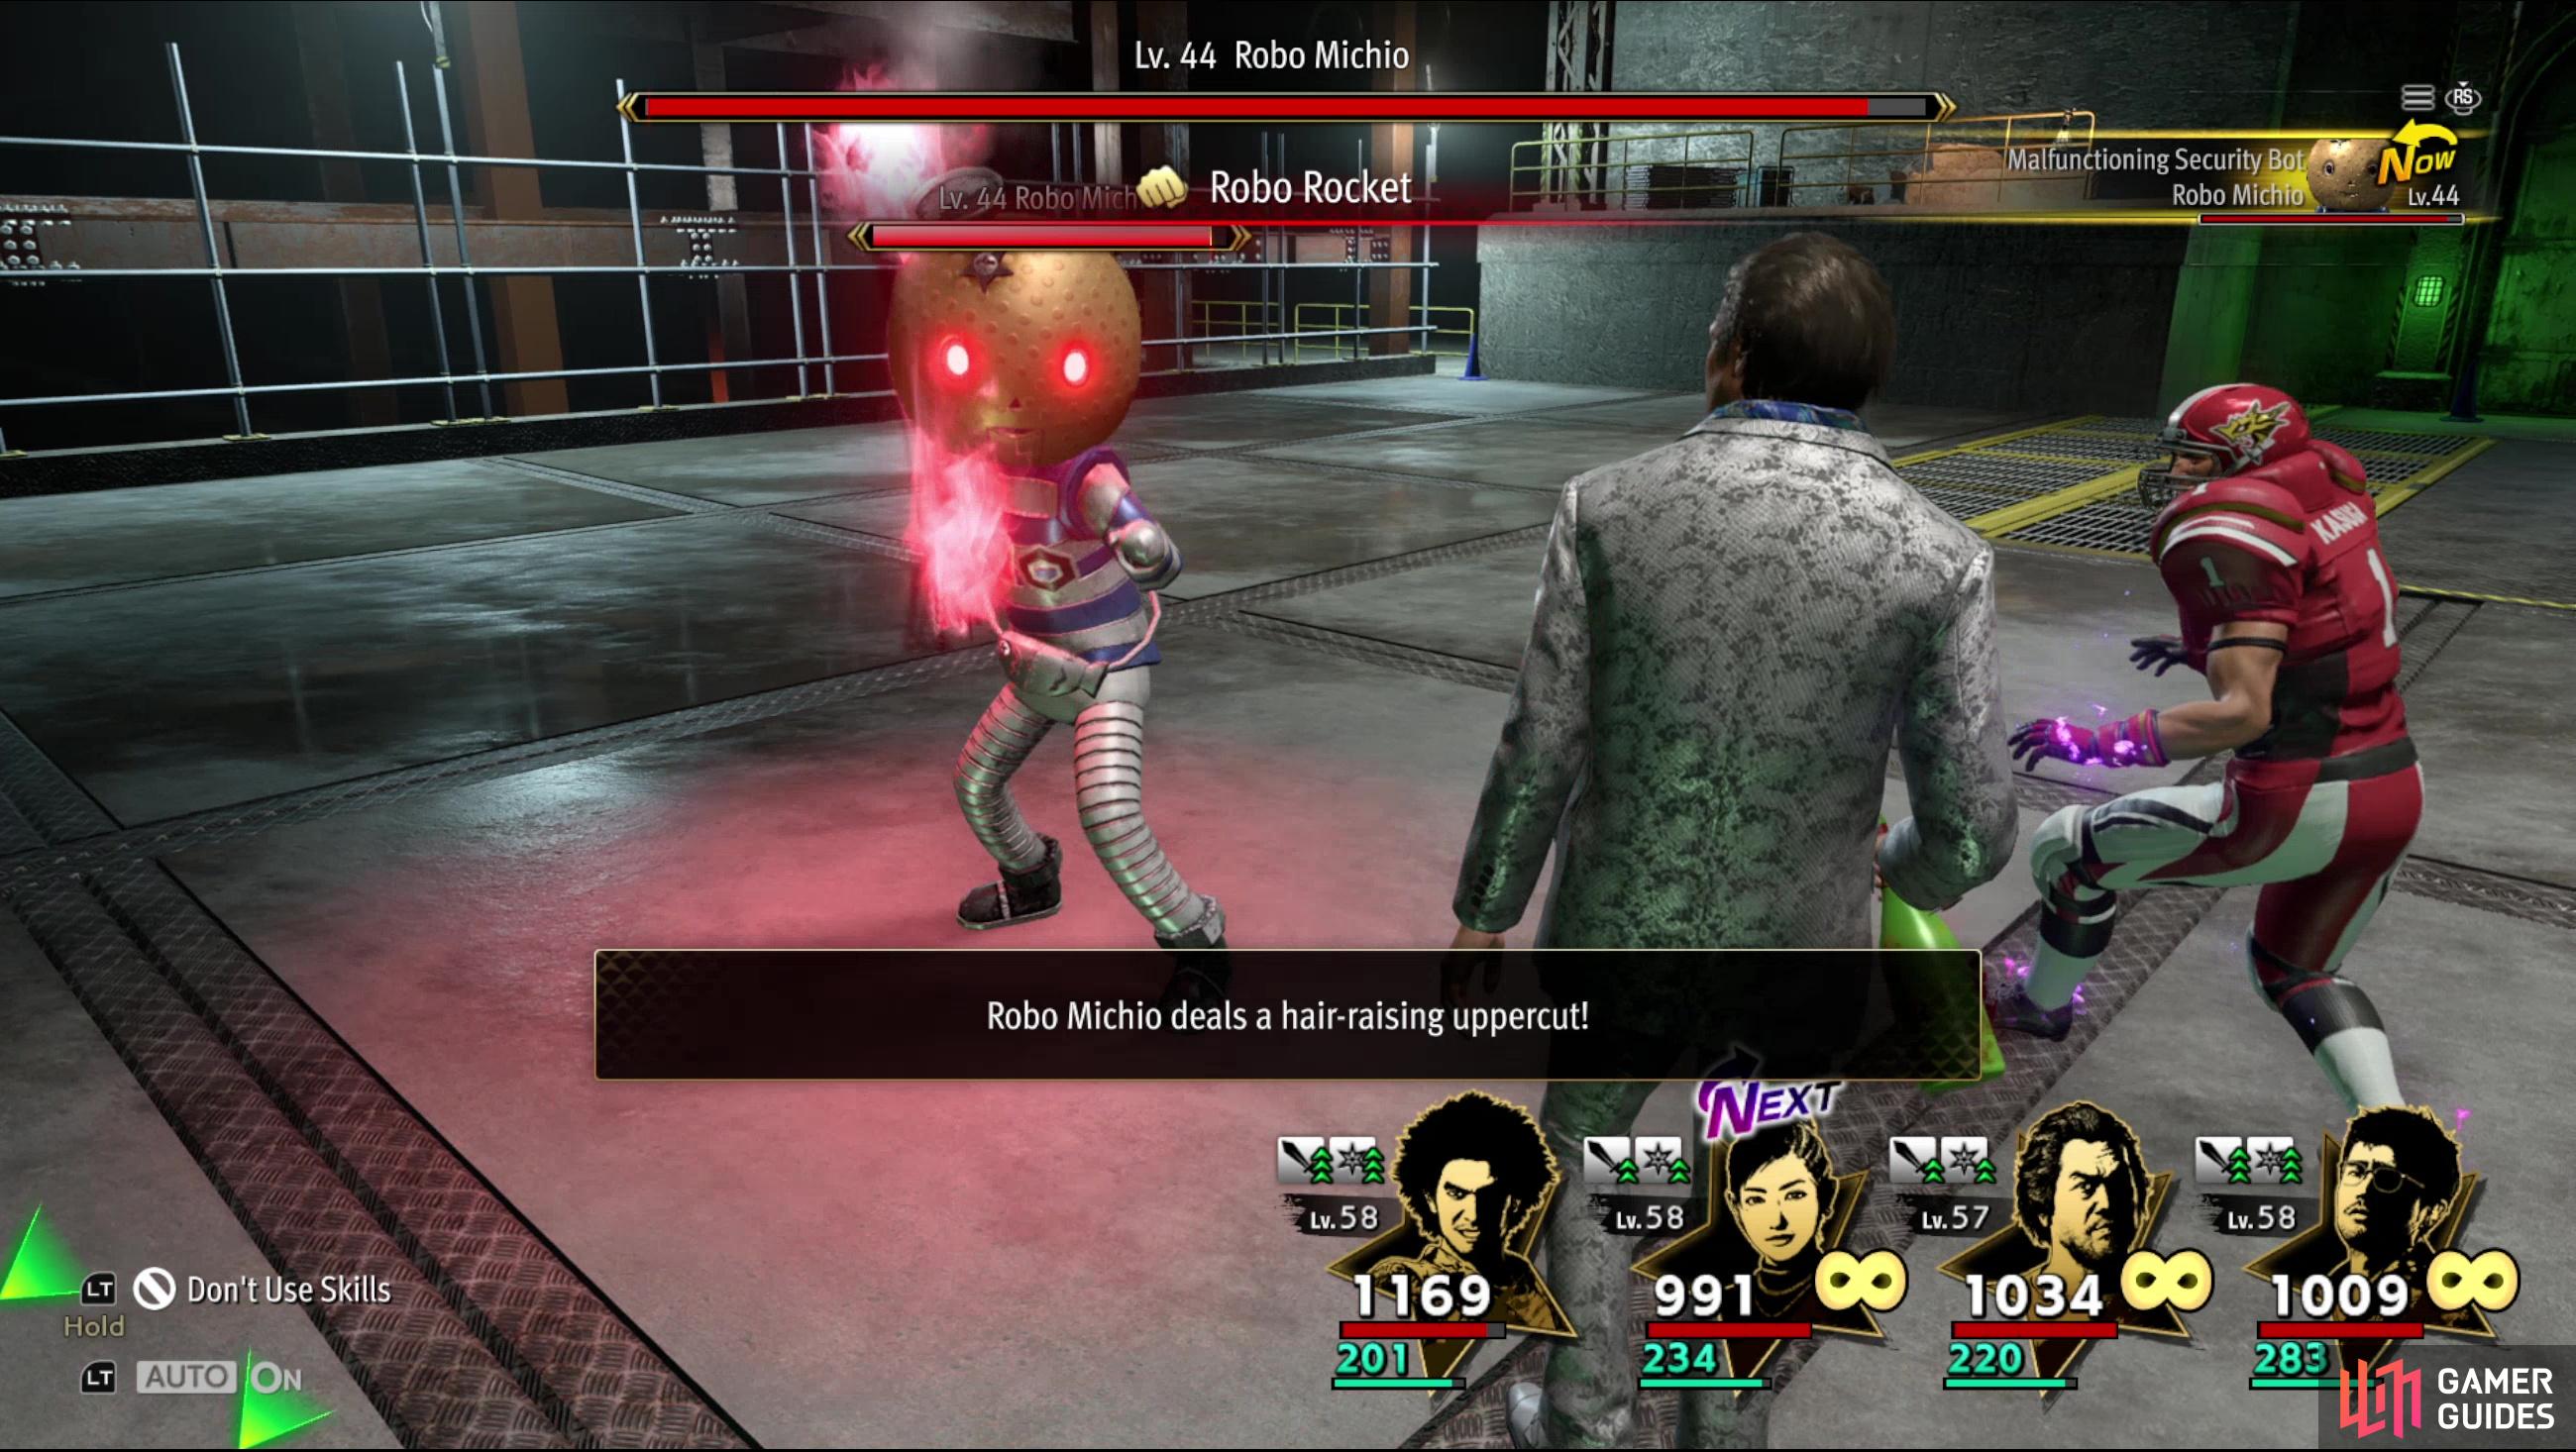

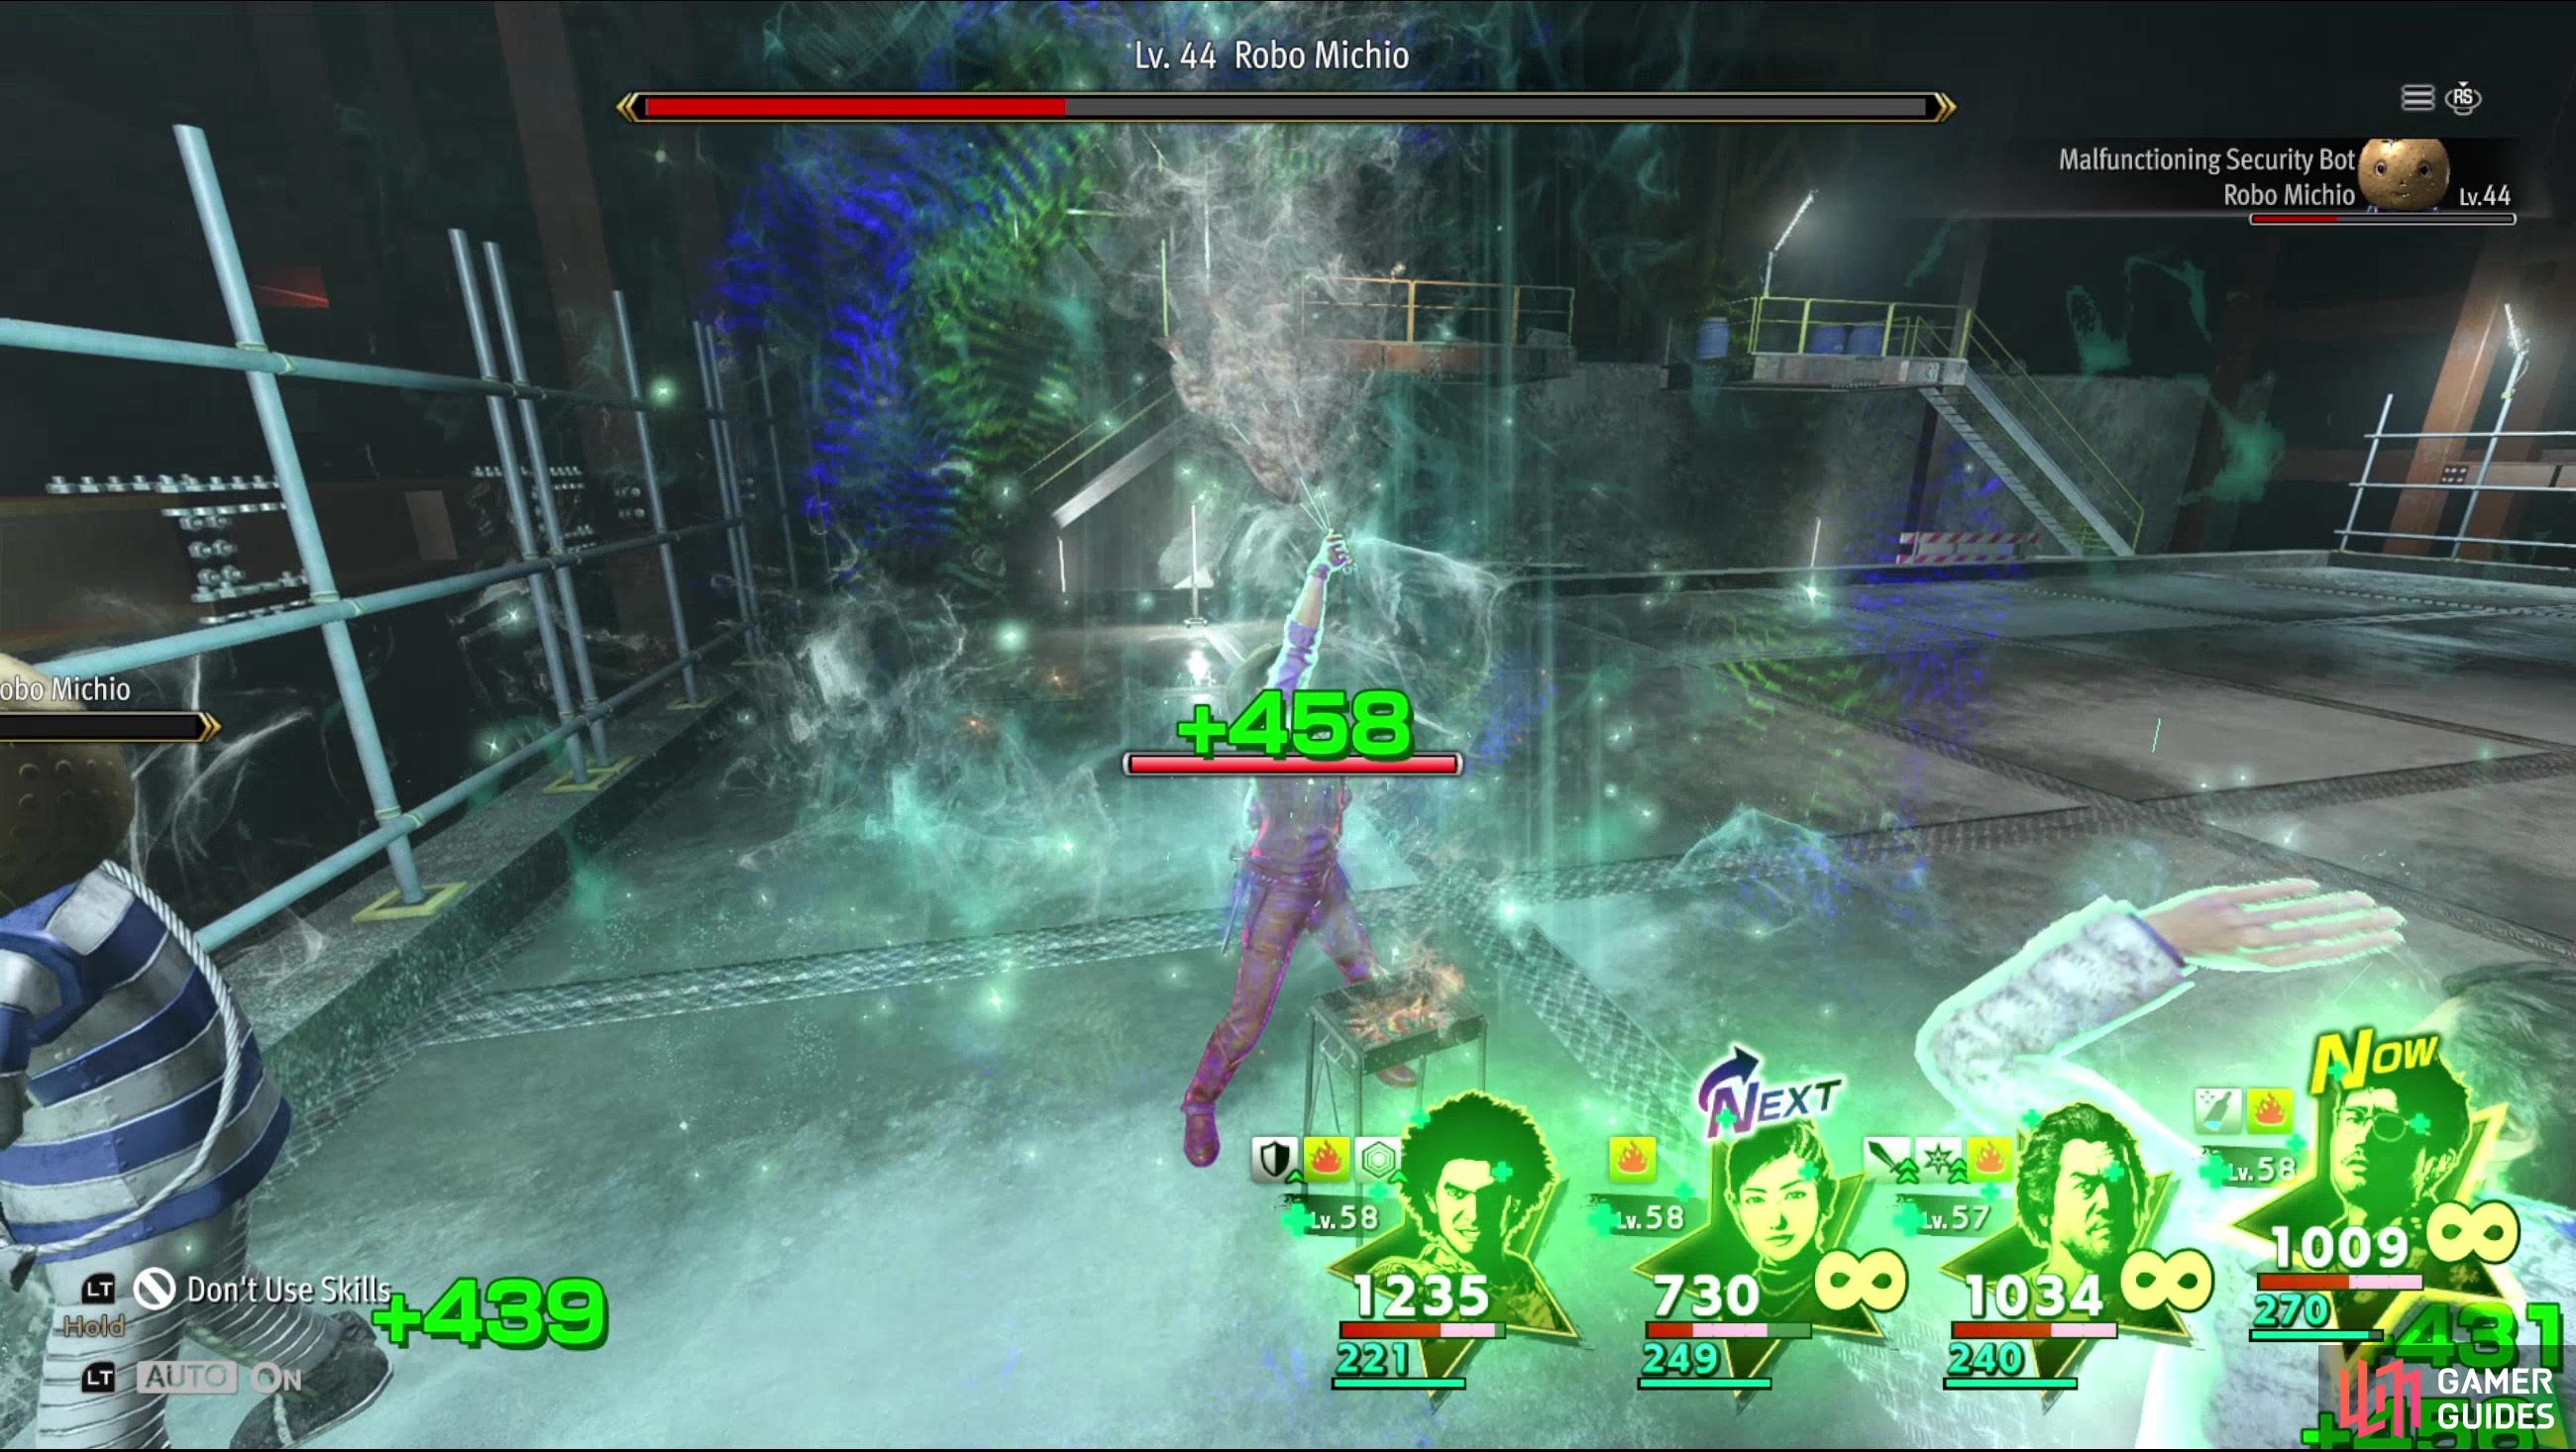
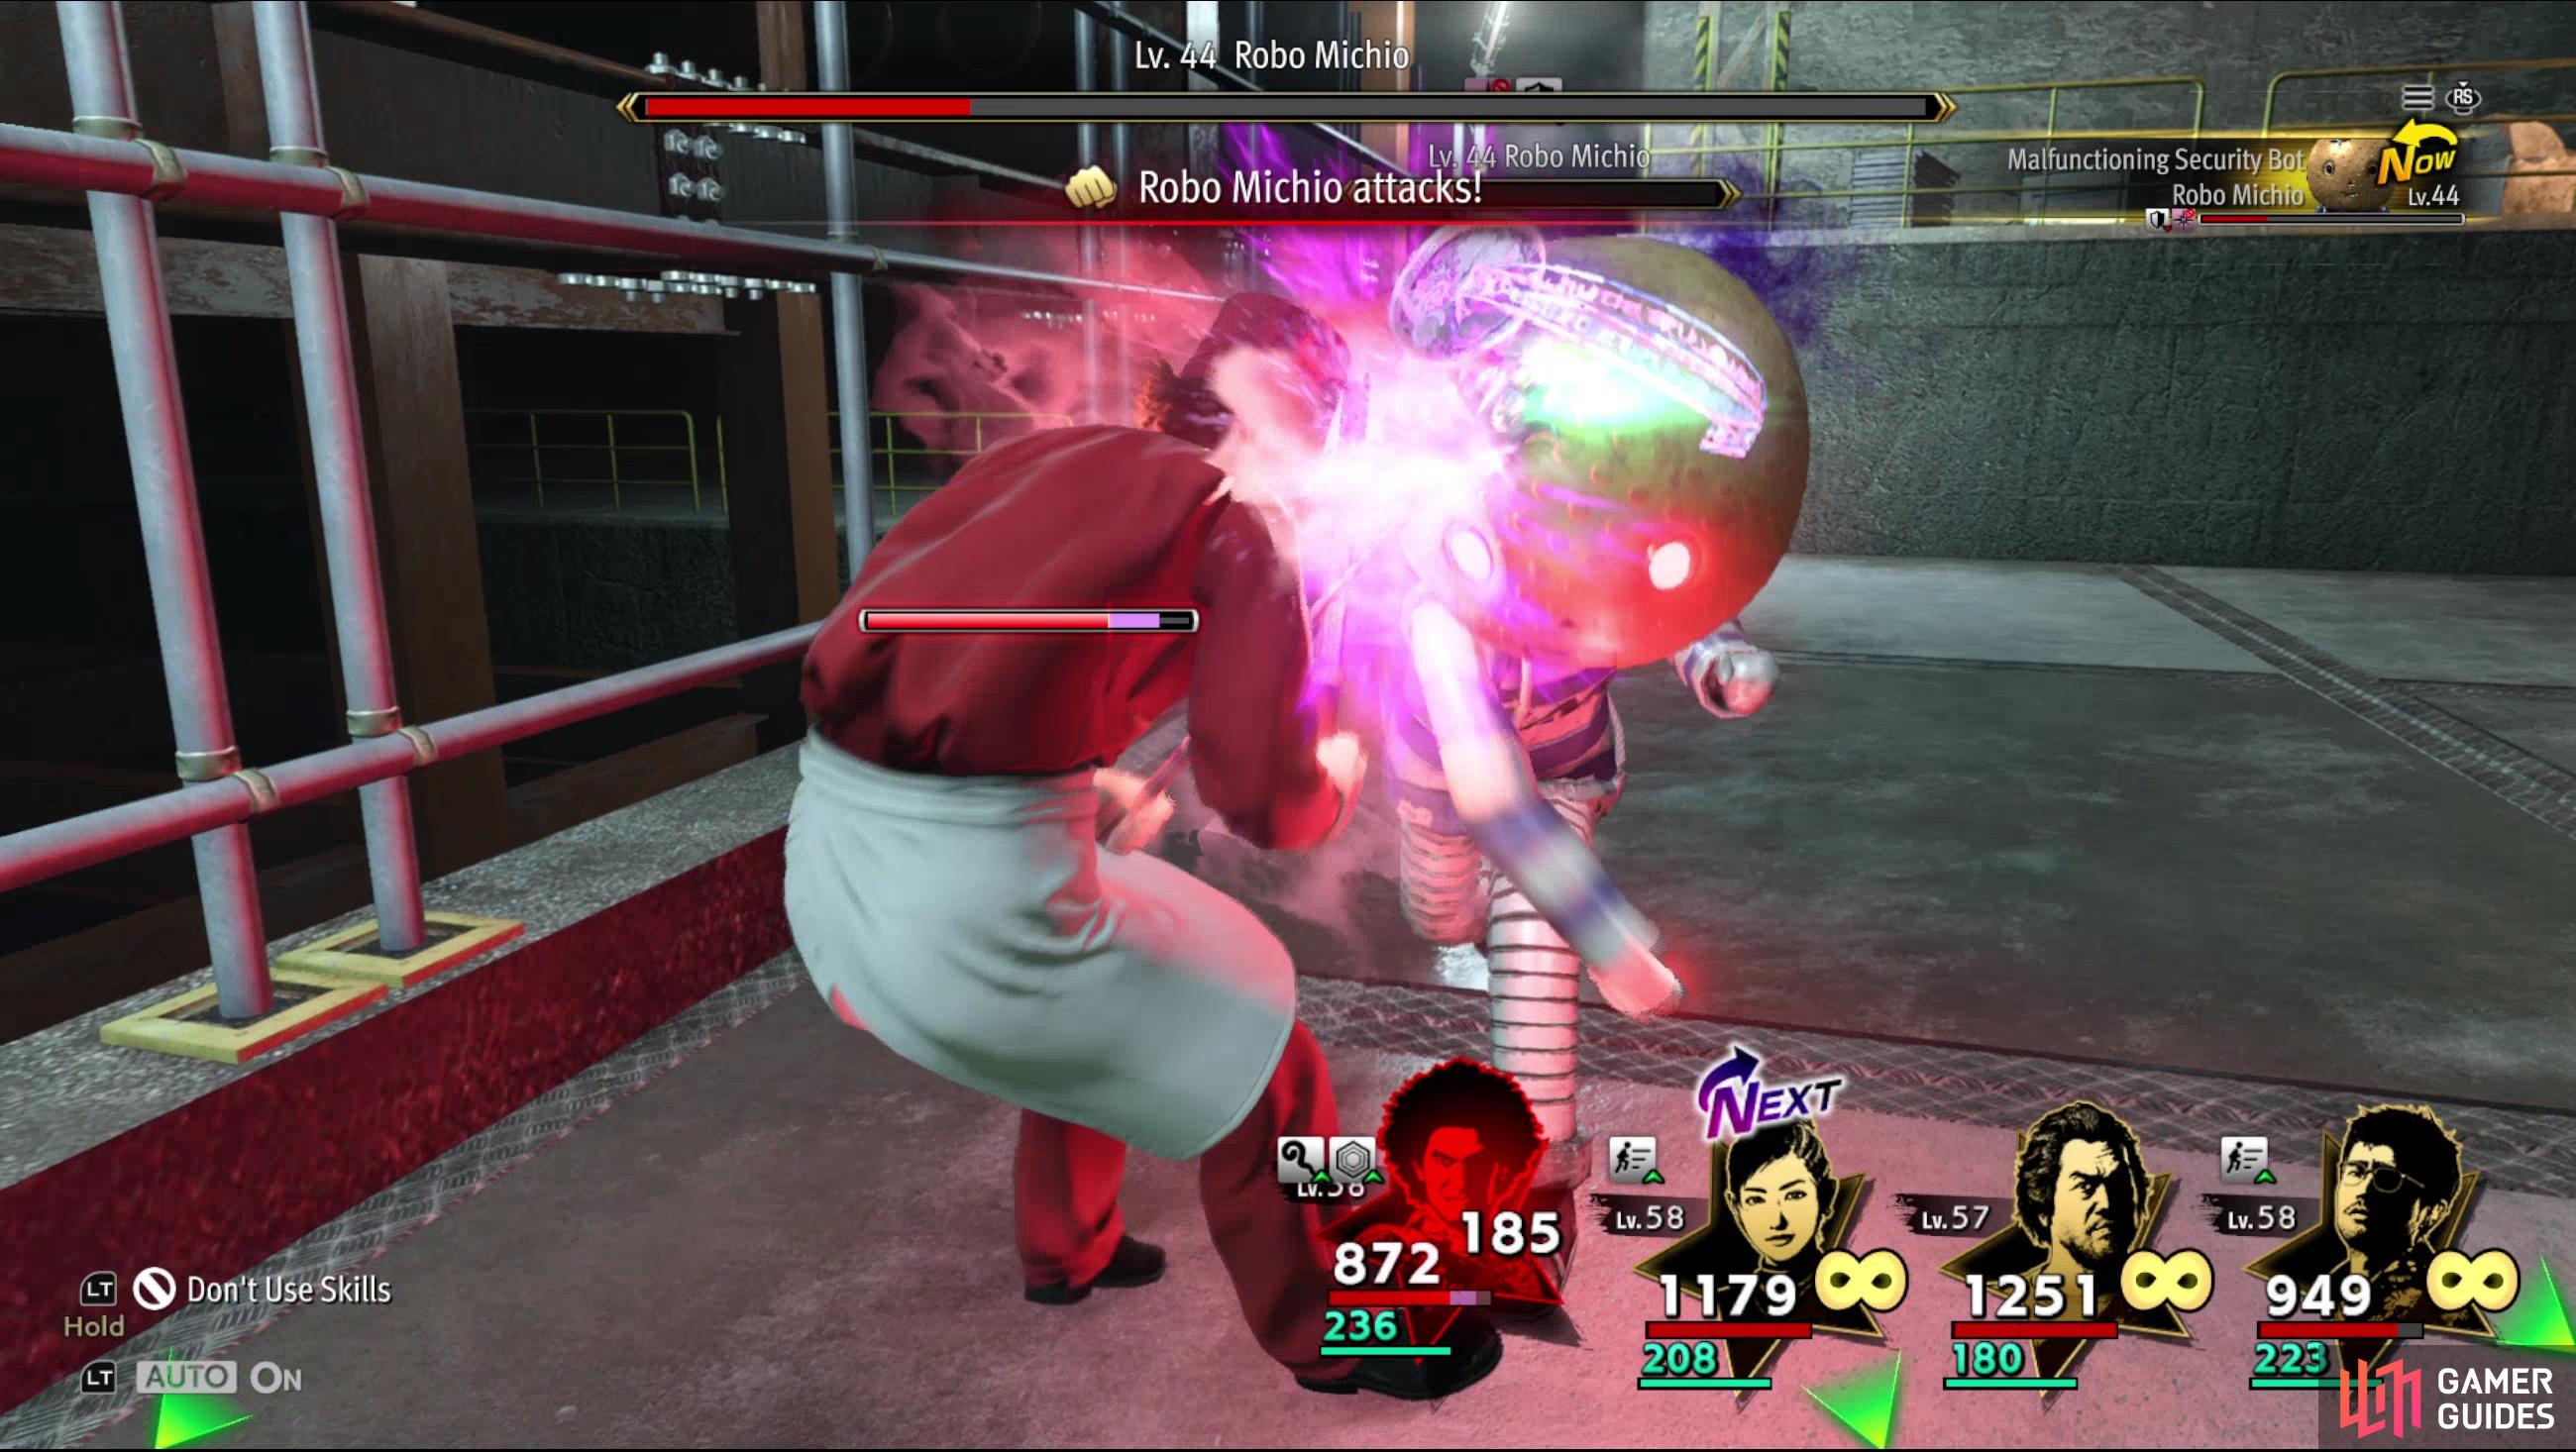
(1 of 6) When Robo Micho’s HP are above 50% he’ll spam a powerful Robo Rocket attack.
Sector 3 Endboss - Robo Michio
The endboss of the final* (*may not be as final as initially presented) Sector of the Hawaiian Haunt is none other than Robo Michio. Now fully charged, this robot is as dangerous as advertised, booting the`would-be vagabonds ruling this dungeon out of their spot before his IFF fails. While Robo Michio may be a joke robot, his combat capabilities are nothing to laugh at. He’s weak against water and can occasionally put up a guard which you’ll have to break with grapple attacks. He’s got a ton of HP and buffs like Glory Awaits will help speed things up.
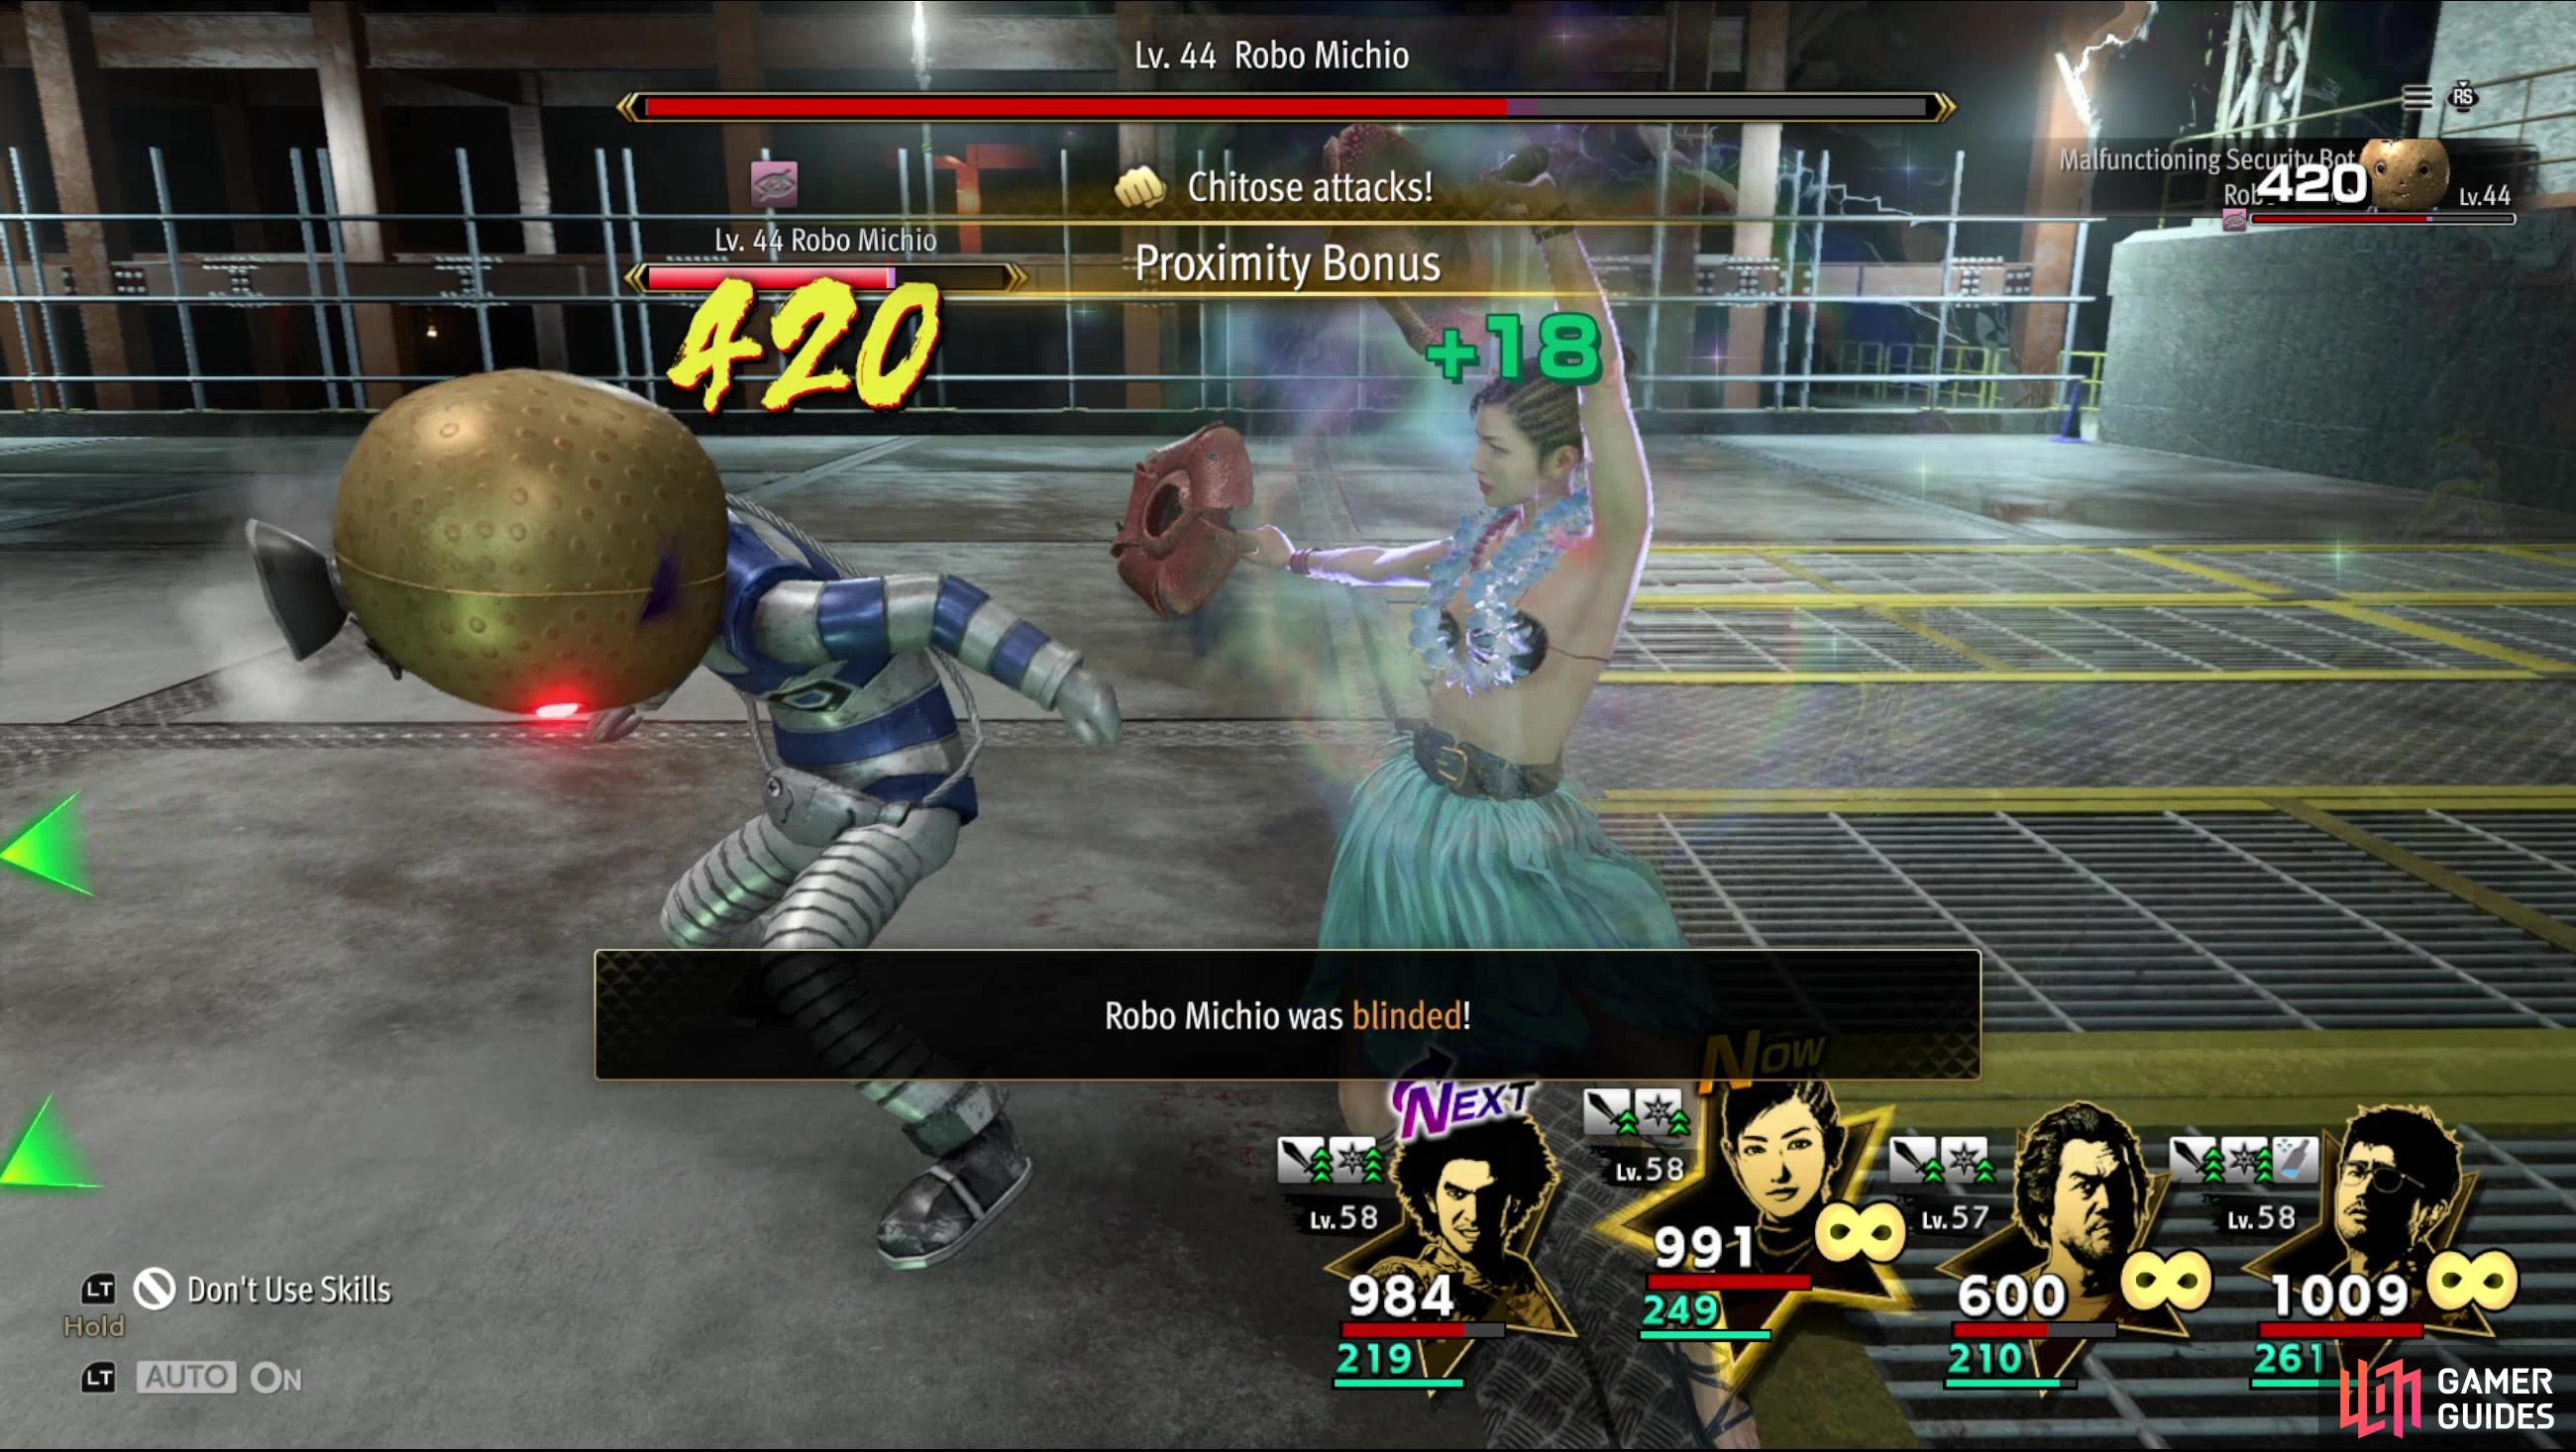
That’s the general outline, but this battle is a bit more granular than most, consisting of two distinct phases. When above 50% of his HP, Robo Michio will primarily engage in melee attacks, including a potent Robo Rocket attack that deals tremendous damage to a single target. This will easily clear half the target’s HP if you’re a reasonable level, but if you can inflict Blindness on Robo Michio he’ll have trouble connecting, making this phase much easier.
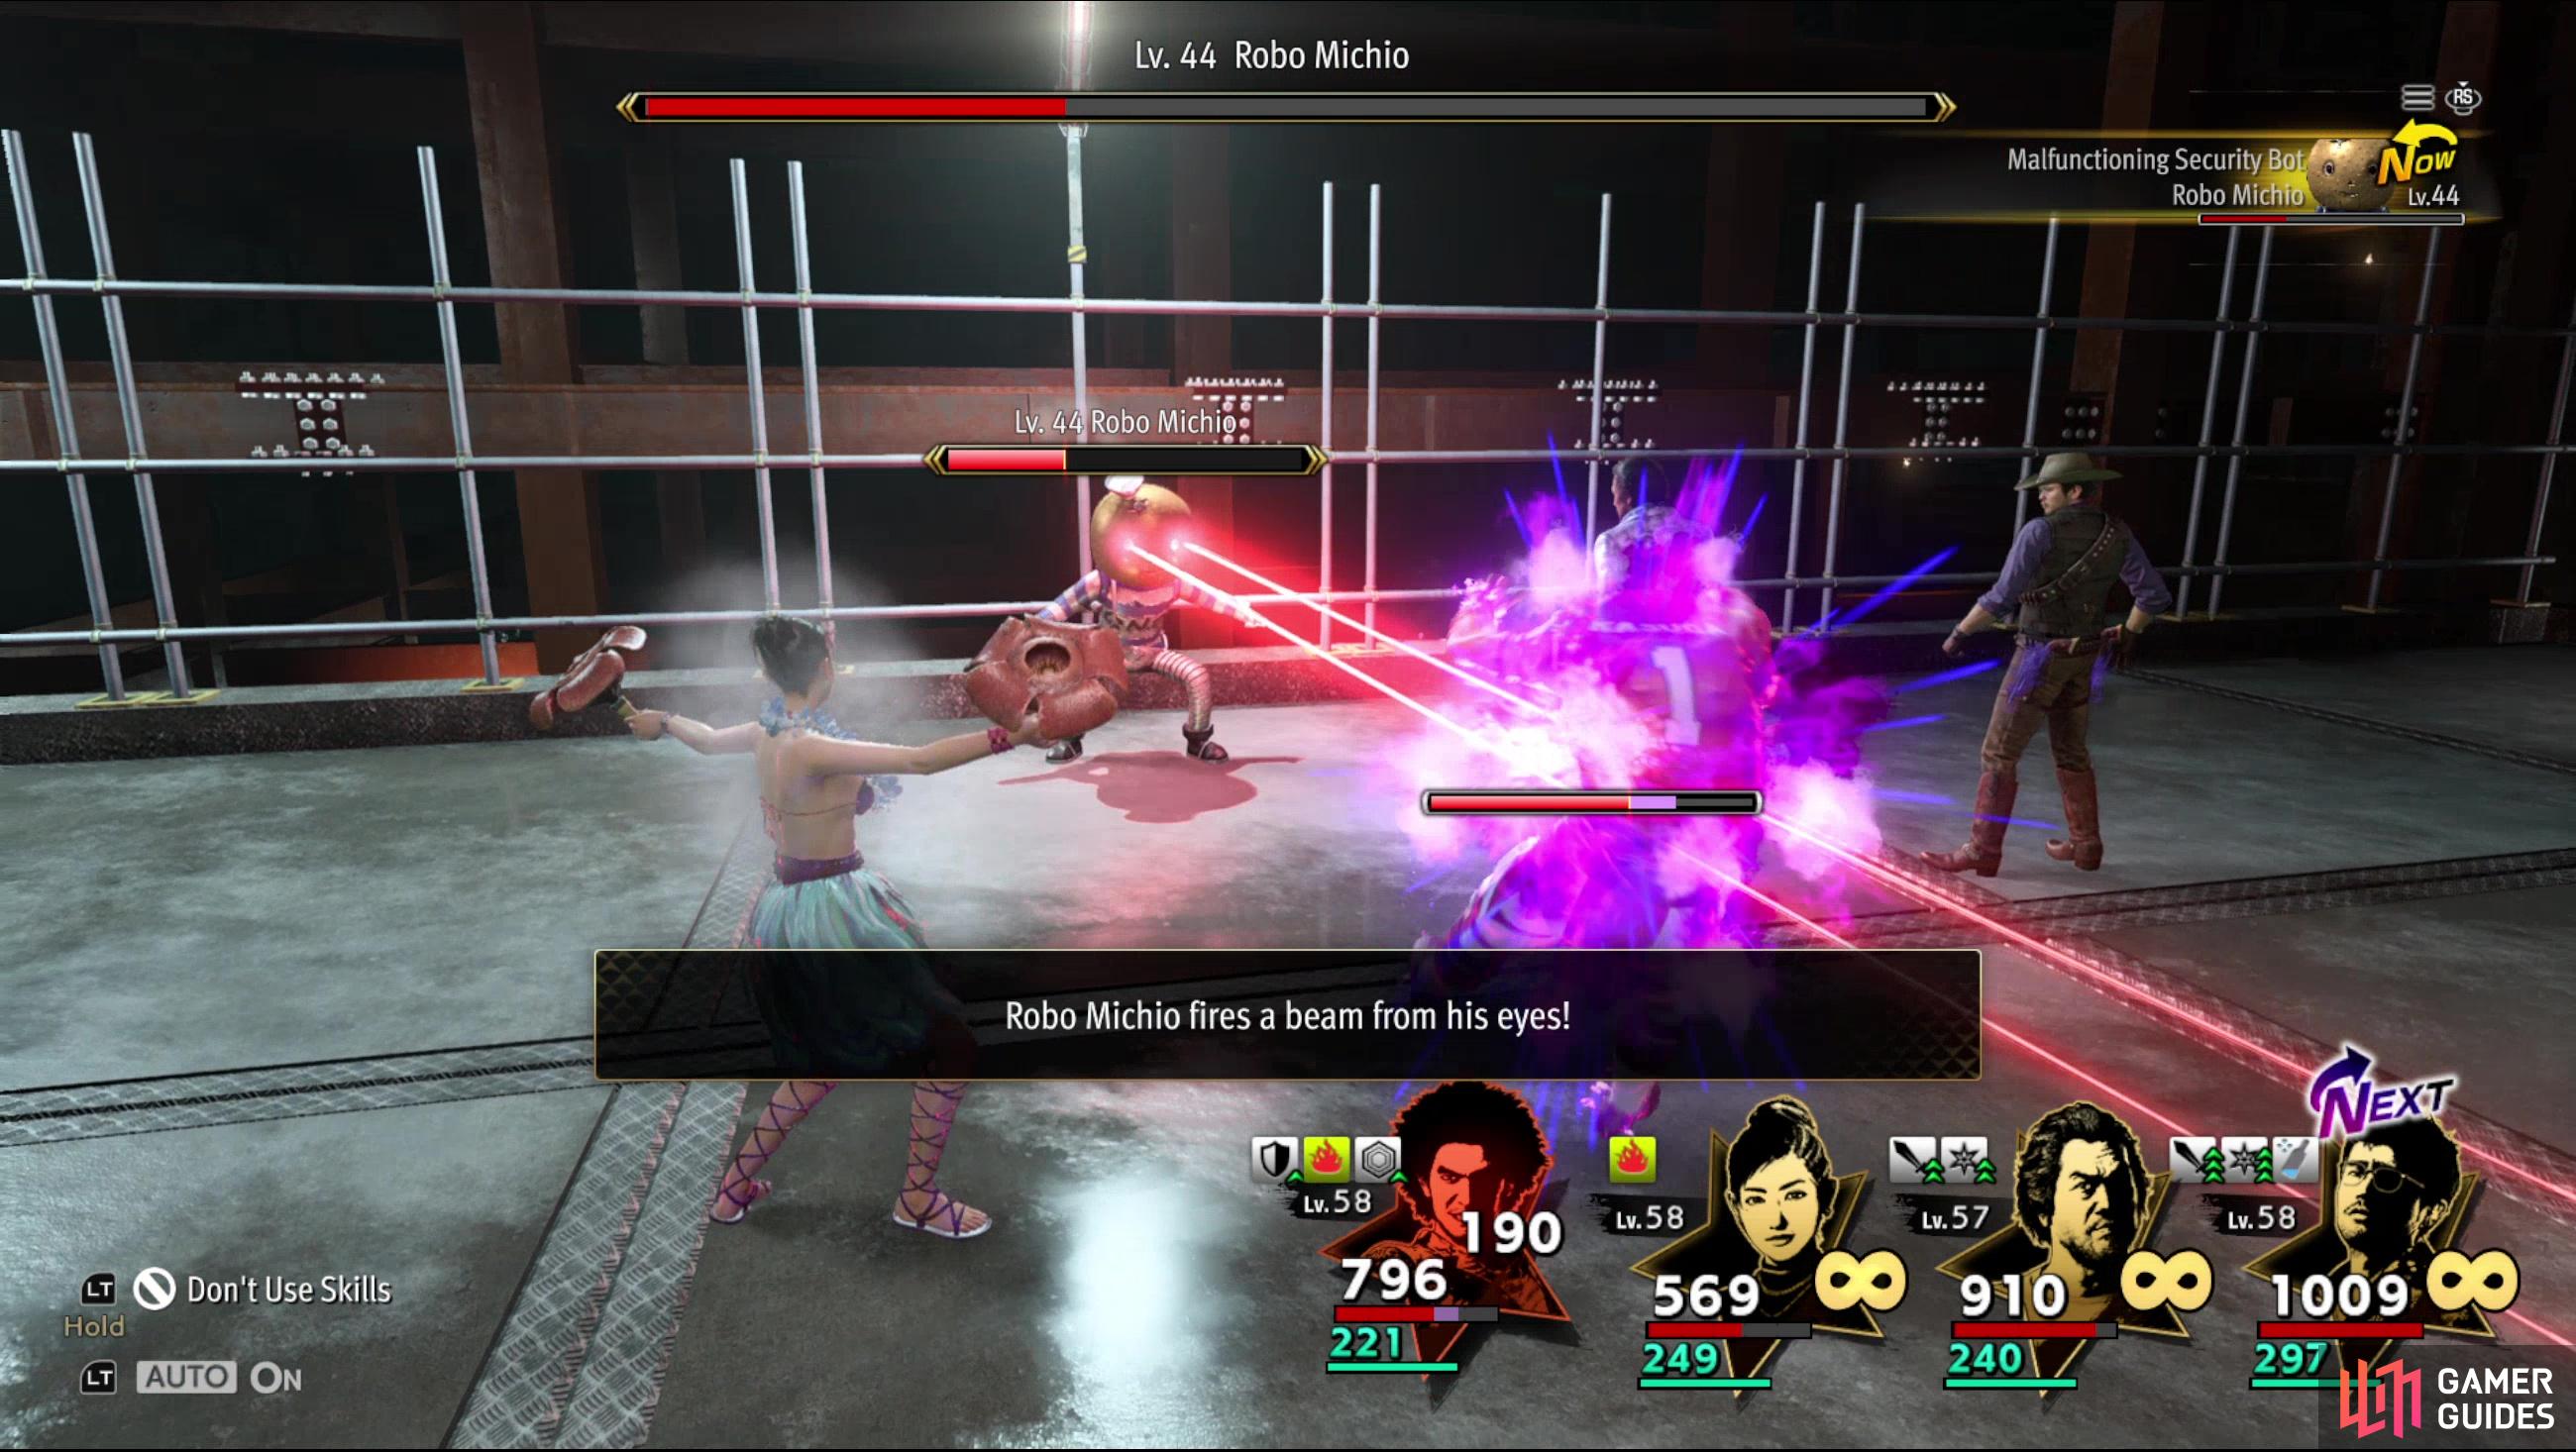
Once you’ve lowered Robo Micho’s HP below 50% he’ll get real nasty. The melee approach will be abandoned in favor of magical attacks, mostly spamming Destructo Beam. This isn’t quite as damaging as Robo Rocket, but it’s AoE and can inflict burning, so you’ll likely want to heal up after every attack. There’s a solution for for phase, too, however - if you can Silence Robo Micho, he’ll be forced to resort to a relatively weak melee attack.
Blind during the first phase of the fight, Silence during the second half, using healing and buffs as necessary. If you know what you’re doing, Robo Michio might be easier than the Jaws of Death. Defeat this malfunctioning mechanical menace and you’ll earn the True Hero’s Armor for your first clear, and Wizard Boots on every subsequent victory. You’ll also unlock the EX Sector (aka Sector 4).

 Sign up
No Comments