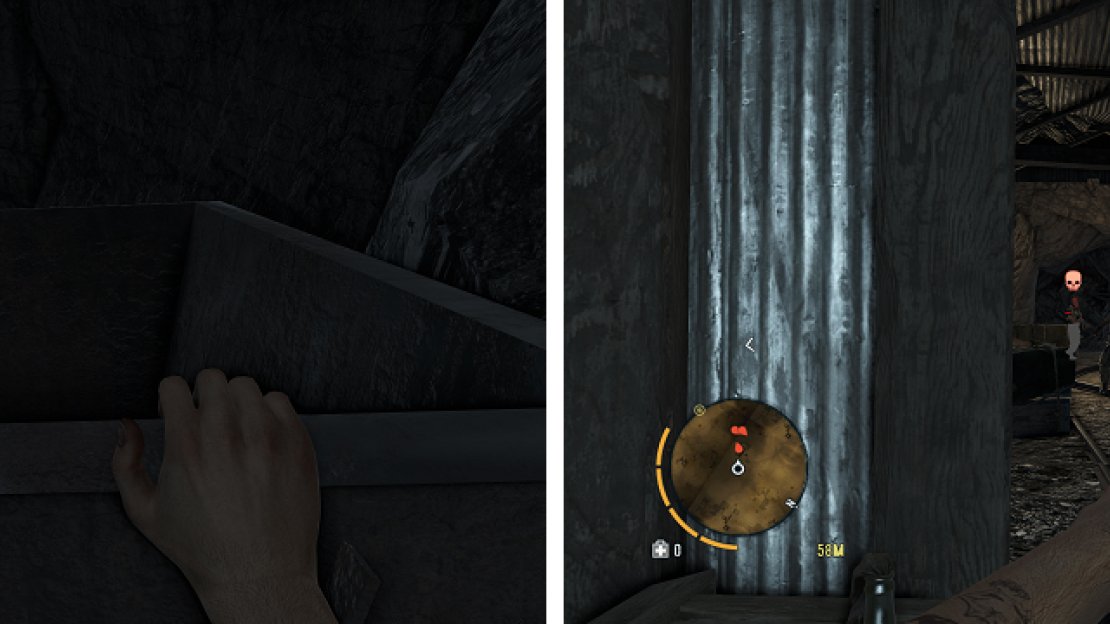
Once again, Buck is not too far from your current position, so go to the marker to start this mission. Go into the mine and onto the elevator, where you’ll automatically go down into the cave below. Push the cart out of the way, making sure you hide behind it from the enemy ahead. Sneak up behind him and use Takedown on him, then go and take out the other guy ahead of the first enemy.
In the next section, there will be about 5 enemies, so try and take out a few stealthily, but you most likely won’t be able to take all of them that way. Once they’re dead, push the cart to send it into some explosive barrels, which will kill a few enemies in the room ahead. Of course, there will still be some left, so clean up the leftovers.
The mine cart near the beginning provides some cover from enemy fire, but you’ll eventually have to abandon it not long into the mines.
As you approach the next room, you will see some lasers from snipers at the far end of the room. Go behind the cart and push it, which will make it inch forward, so follow it. When it stops, you will likely be spotted by enemies from the left area, so try to quickly take them out. Move to the next cart and try to inch out from the sides to take out the snipers, then push it and follow.
There might be one more enemy up above, a Molotov-throwing enemy, so kill him and then start crossing the bridge on your left. When you get across, you’ll most likely see some enemies coming down the ramp from the area above from before, one of which is a Heavy Gunner. Kill them, then go up the ramp and into the next tunnel.
As you go through this short tunnel, you’ll see some more enemies ahead. Just go through this tunnel and mow down all of the enemies in your path, but stop before you get to the big room. There is a sniper at the far end, so sneak out a little bit and try to shoot him before he shoots you. When all of the enemies are dead, follow the path to a door and go inside.
Once you make it past this door, be extremely careful of the Komodo Dragon on the other side.
Once the door is open, you will see a Komodo Dragon ahead, so shoot it and then go down the path. Drop down and go into the center of the room, pulling the mechanism, which will open a secret door. Follow this path, killing another Komodo Dragon, and jump the gap. There will be yet another Komodo Dragon on the path that leads to the old elevator.
Take the elevator down and after the short scene, follow the path and take a running jump to clear the gap. Once you eventually land right before the objective marker, you’ll find a Komodo Dragon. Grab the item on the altar and the ruins will start caving in. Start sprinting, following the path, until you reach the exit, where you’ll find Buck and the end of the mission.


No Comments