The Chase Begins
Your party’s boat lands on the beach and they talk for a little bit before you’re able to choose your loadout, after which the mission will begin. Start heading towards the first objective marker and you’ll spot some enemies moving around, so engage them. Once you clear the first batch near the bridge, you’ll have to fight some more. A checkpoint will pop up once all the enemies are dead.
The next section will have even more enemies, but not all of them are right in front of you. There’s a house on the hill on the right side that has a few enemies nearby, so check that area often. You’ll get another checkpoint when all enemies are dead.
Make sure you check all around the final village in The Chase Begins section of the mission, as enemies will come in from the left and straight ahead.
As you head towards the rock overhang, kill the enemies coming towards you and then to the next village. You need to clear out the village, so make sure you check to your left at the entrance, as well as around all of the buildings. You’ll start running into enemies with shotguns here, so if you want one, pick it up. Once it’s all clear, head to the marked door to free the NPC and finish this section of the mission.
Friends in Small Places
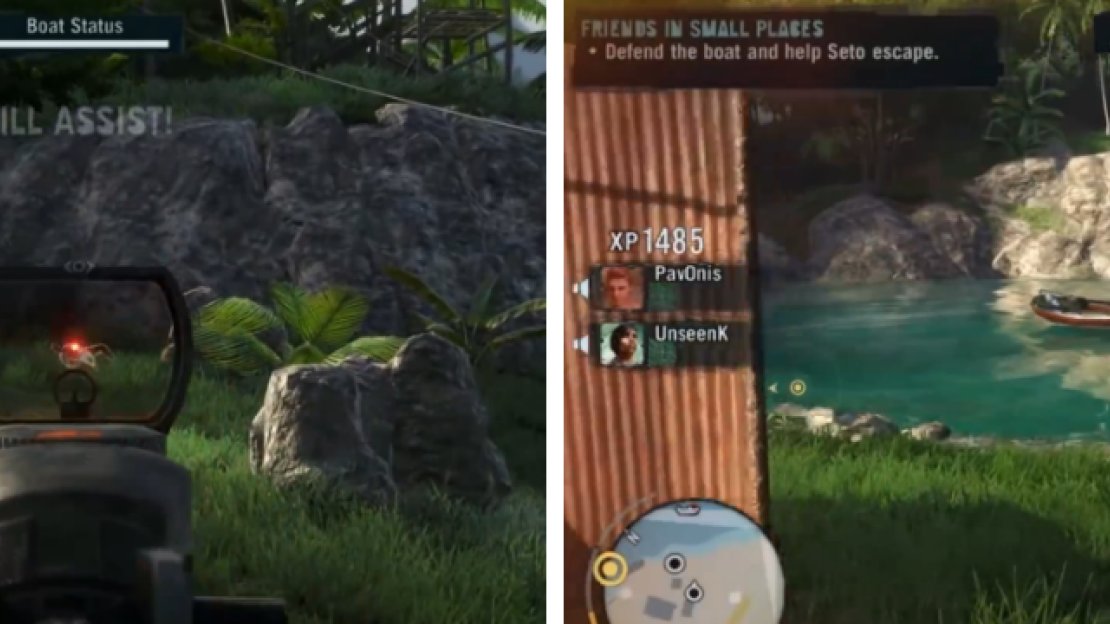
Once you start, go into the shack where the captive was and pick up the Booster Shot. What these basically do is allow you and the person you want to give it to add a buff that is chosen by both of you. Now, go to the boat, take out your Repair Tool and use it on the boat until its health bar is maxed out.
It’s now your job to defend the boat from the enemy waves until Seto (the captive) manages to escape. All you have to do is kill all of the enemies that come and attack the boat. Keep an eye on the boat’s health and should it need repaired, use the Repair Tool to fix it. Besides enemies on foot, also watch out for enemy boats. Once the last enemy is killed, this portion of the mission is complete.
You have to defend Seto’s boat until he manages to escape, so watch out for enemies from all directions, as well as enemy boats.
Cat and Mouse
It’s time to investigate the rest of the pirate encampment, so head to the objective marker and follow the path to the next area. As you approach, you’re likely to run into enemies, and you will need to be very careful when you get to the open area. There is a sniper across the waters, as well as one with a RPG.
If you can, kill them from this side before you use the boat to go across. Once you get across, take out the rest of the enemies, keeping an eye on the emplaced machine gun in front of one of the buildings, should an enemy try to use it. When all enemies are dead, this part of the mission is over.
Follow That Car
This portion is one of the competition-style missions, where you directly compete with the other players. The objective here is to drive the Quad Bikes to the bombs and then bring those bombs to the landslide. It doesn’t really matter who wins, and once you bring the required number of bombs, the landslide will be destroyed and you can continue on to the next part.
The Best Defense
With the landslide destroyed, it’s time to continue on with the mission by following the captain’s tire tracks. As you approach the next area, you’ll run into more pirates. Clear the enemies ahead, then cross the wooden bridge and take out the rest of the enemies.
For this next part, you will need to find some explosives and plant them on the bridge. Note that as you grab the first bomb and start towards the bridge, enemies will start spawning from the side of the bridge you first came from. Thus, it is imperative that your co-op partner(s) stay near the bridge and take out the enemies as they come.
When you go for the second bomb, more enemies will start crossing the bridge, including a Heavy Gunner. The Heavy’s health will be displayed above his head, which is incidentally his weak spot, so someone with a sniper rifle should aim for the head. Once the second bomb is planted, find the second detonator and use it to start the countdown for the bridge to explode.
To Catch a Captain
With the bridge behind you gone, it’s time to keep following the captain’s tracks. Follow the markers to the next village, where you’ll encounter more pirates. Keep following the path through the village and to the next, killing the pirates that pop up. As you get to the docks, you’ll encounter another Heavy, but with a Flamethrower this time. Treat it the same as the last, but it’s best to keep a distance away from the flames.
The next part is another defense section, this time with a fuel depot. You must protect it from being destroyed, so treat it like before and repair it if its health gets too low. You will have to contend with enemies on foot, who will likely man the machine gun nearby, as well as enemies on boats.


No Comments