Clearing the Way
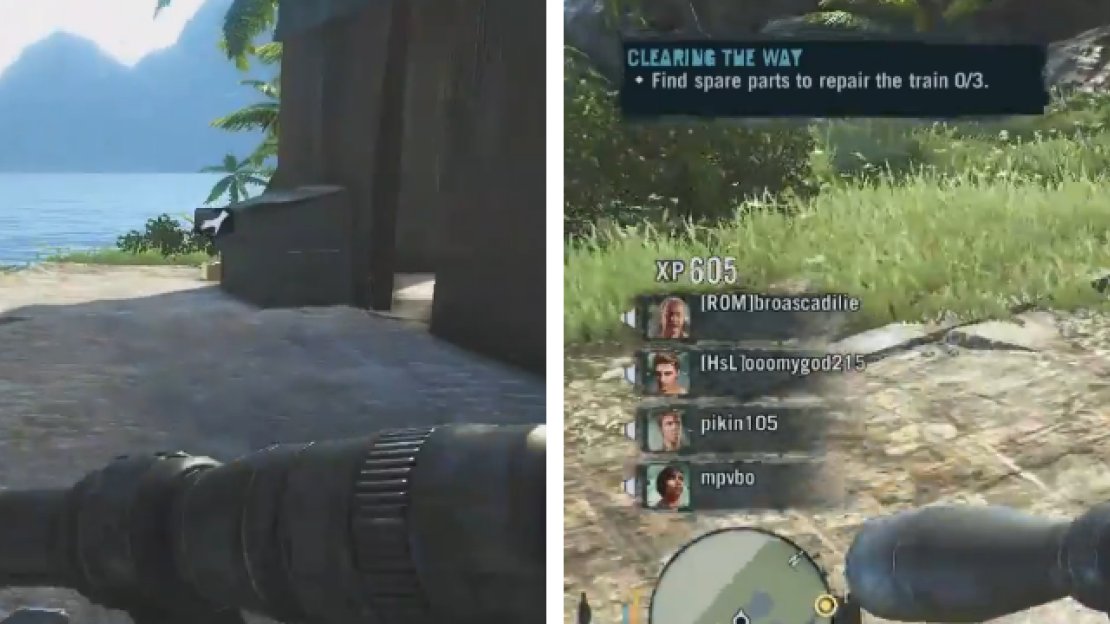
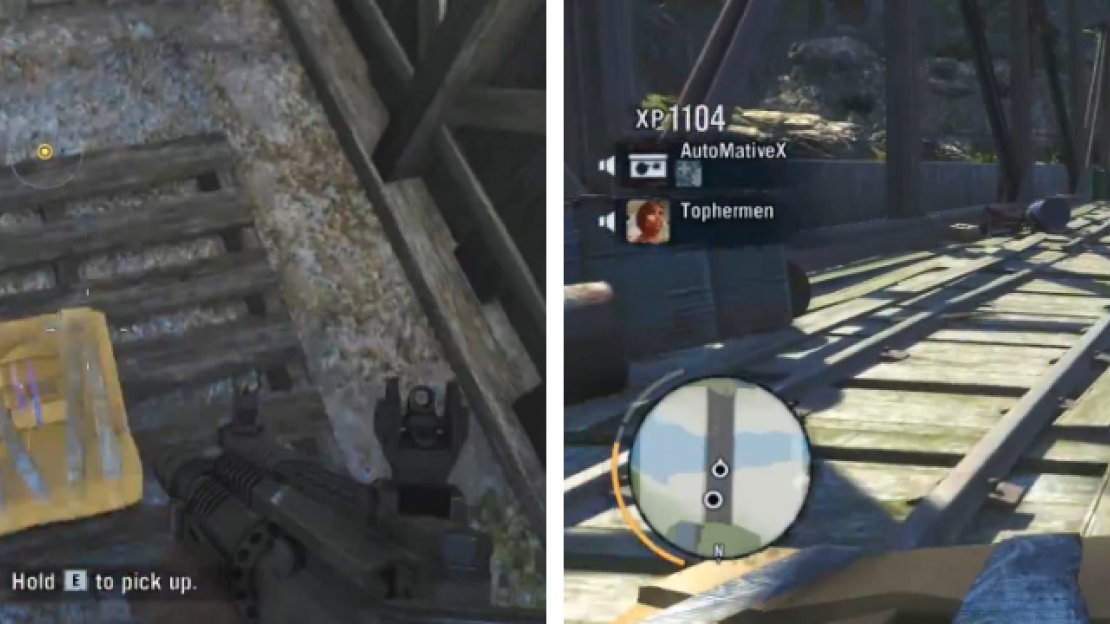
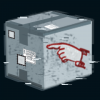
Welcome to the first section of the second co-op mission. Go forward and you can sneak up on the guy on the right, killing him stealthily. Once he’s down, open fire on the rest and clear all of the enemies. With them out of the way, you need to find three spare parts to repair the train, which are designated as hand symbols in the game.
After killing all the enemies in the first area, look for the hand symbols while walking around, which are the parts needed for the train.
Once you get all three, head over to the train and repair it until its health is full, which will trigger the enemies to start coming. You need to protect the train from waves of enemies, some of which include Molotov throwers and ones who charge you to try and melee you (which is a one-hit kill in co-op). Towards the end, even a Heavy Gunner will show up. Keep an eye on the path straight ahead, as well as to the left and right of the train itself. Once the enemies are dead, the train will stop and the next path will be cleared.
Back on Track
This is a very short objective, which only requires you to get through the tunnel itself. Follow the path straight, then to the right and through to the end, where you’ll come back outside near a bridge, which will trigger a cutscene.
Ready, Aim, Snipe!
When the cutscene is over, you will be in another competition-style mission. All players will be equipped with a sniper rifle that has unlimited ammo. Your objective is to kill all of the pirates in the area below, who are attacking Seto. The one with the most points at the end is declared the winner and gets some extra XP.
Detour Ahead
Your objective now is to plant 2 bombs onto the bridge to blow it up. Approach the first bomb and some enemies will appear, so kill them. Now, enemies will start coming at you from both sides, including ones with RPGs, Molotovs, a sniper and a dog, which should be your top priority when you hear it coming. Once both bombs have been planted, get the detonator and blow the bridge.
While carrying the bombs, enemies will keep coming from both sides of the bridge, so it’s imperative to have your partner(s) covering your back.
Through the Dark
Head along the path on the right side to get to the next area, which is a cave. There is an ammo resupply right outside the entrance should you need it. Not that far into the cave will be some enemies, so start firing, making sure to watch out for the ones with knives that charge you. In the more open area will be a sniper, along with even more enemies.
With the first area clear, head into the next one with the hole in the ceiling. Note that there will be a sniper standing on top of the hole outside, so try and take him out as quickly as possible. As you approach the far end, a Heavy Gunner will appear, so retreat back a bit and try to quickly take him out by shooting him in the head. With all enemies dead, head to the other side of the cave and take the zipline to finish this section.
Setting the Stage
For now, keeping following the path until you get to another village. Kill all of the enemies here and once they’re all dead, it’s time for the next part…
The Deal’s Off
This next section of the mission involves you ambushing the convoy, and is comprised of enemy waves consisting of trucks with mounted machine guns. The first wave is nothing but two trucks and then some ground troops. Note that it’s a good idea to blow up the trucks, as enemies will man the machine guns if they get the chance.
The second wave is another two trucks, a sniper and more ground enemies. There might also be a dog in this round, so be careful and pay attention to hear its barking. The third wave has more trucks, more enemies on the ground, including some dogs and Heavy Gunners. Once all the enemies are dead, a cutscene will occur and the entire mission will be finished.


No Comments