| Item List |
|---|
| Harvard’s Aegis |
| Tribal Necklace |
| Warden Recruit Shield |
| Codex |
|---|
| 036 Havard’s Aegis |
| 166 Ser Cauthrien |
| 170 Arl Eamon Guerrin |
| 172 Flemeth |
| 201 The History of the Chantry: Chapter 1 |
The bottom floor of the Tower of Ishal is very open and filled with traps. Keep your eye out for the traps as you make your way past the barricades, killing all Darkspawn in your path. The Genlock Emissary in the back can be annoying so utilize stuns on him. There is a chest to the right of the exit. In the next room, regardless of which door you open, you get attacked from both sides. Work one side at a time to overcome this. In this room are a chest, wooden chest, and two wooden crates. Continue into the next room battling more Darkspawn as you go. Loot the chest against the back wall then proceed to the 2nd floor.
The 2nd floor starts off a circular area with a chest to the left and a wooden crate to the right side. Exit the circle and enter the right door; kill the Darkspawn. There is a wooden crate at the end; open the door. Read the discarded book to obtain Codex 201: The History of the Chantry - Chapter One . Just a bit further is a locked chest. Utilize the Ballista to get a jump start on the enemy. Defeat them and enter the door at the right where two wooden crates lie. Open the Metal Door and dispose of the Darkspawn; loot the chest and wooden crate then proceed to the 3rd floor.
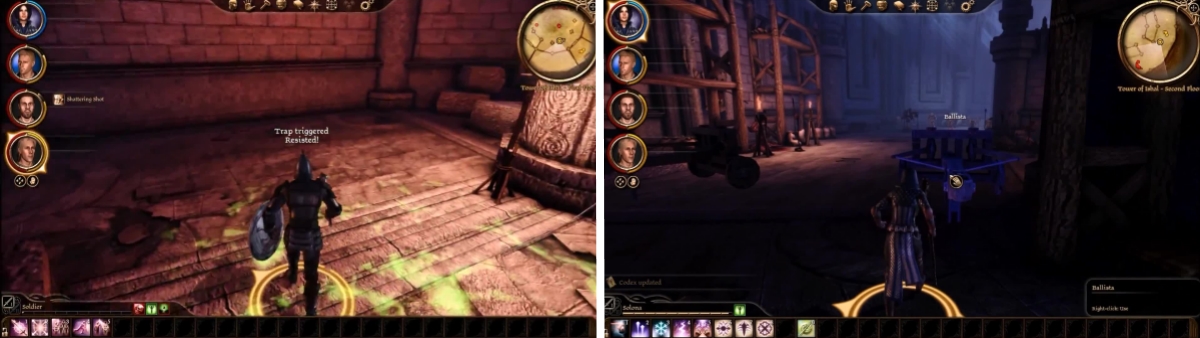
If you cannot disarm the traps here, send in one of the soldiers to activate them first. Use the ballista to kill some enemies outright further ahead.
Loot the pile of bones and continue forward to find more Darkspawn and a weapon stand. In the next room is another swarm of Darkspawn, but note the Cage Release which will release the Mabari War Hounds that are caged and fight on your side. Defeat the Genlock Alpha and loot the wooden chest in the corner if possible. Open the first door on the left and run into it to avoid fighting extra enemies. There are two crates in this room, one in the middle room, and another two in the third room. Past the metal door lie more Darkspawn but also a chest and weapon stand, when ready proceed to the top floor to encounter the first boss of the game.
BOSS - Ogre
Drops : Harvard’s Aegis (Yew)
The tactic here is let your characters beat on the Ogre and whichever one he attacks control and use to kite (run away from) the Ogre. If the Ogre switches targets then simply switch to that character and kite again. If the Ogre gets a hold of a character use Alistair’s Shield Bash to force it to let go.
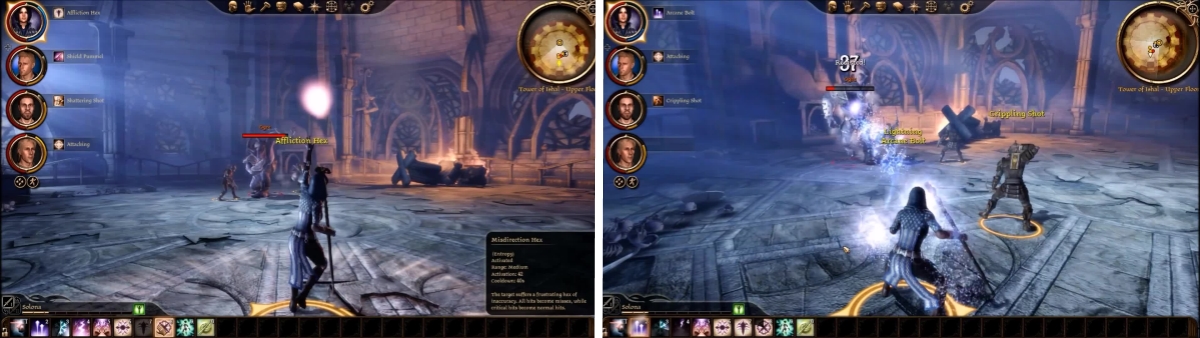
Hexes don’t work so well on the Ogre. Be sure to keep your distance if you are a ranged character and send in the tanks.
There are two barrels in the back, one always contains a gift. Light the beacon and watch the cutscene. When you awake at Morrigan’s home feel free to ask questions. There are two chests that can be opened and once completed exit the room. Here dialogue with Flemeth ensues and Morrigan eventually joins the party as you begin your journey to unite the nations against the blight. You obtain Codex 170: Arl Eamon Guerrin , Codex 172: Flemeth , and the four quests “ The Arl of Redcliffe “, “ A Paragon of Her Kind “, “ Nature of the Beast “, and “ Broken Circle “. Exit the area and head for Lothering.

No Comments