| Item List | Items Cont |
|---|---|
| Barbarian Mace | Thane Helmet |
| Chasind Crusher | Wilds Bow |
| Chasind Flatblade | Wilds Flower |
| Chasind Robes | Vial of Darkspawn Blood |
| Mud Idol | |
| Pouch of Ashes | |
| Rigby’s Field Journal | |
| Rigby’s Last Will and Testament | |
| Sealed Lockbox |
| Codex |
|---|
| 181 Morrigan |
| 312 A Pinch of Ashes |
| 313 Letter to Jogby |
| 314 Farewell Letter to Jogby |
| 315 Rigby’s Last Will and Testament |
| 316 Signs of the Chasind |
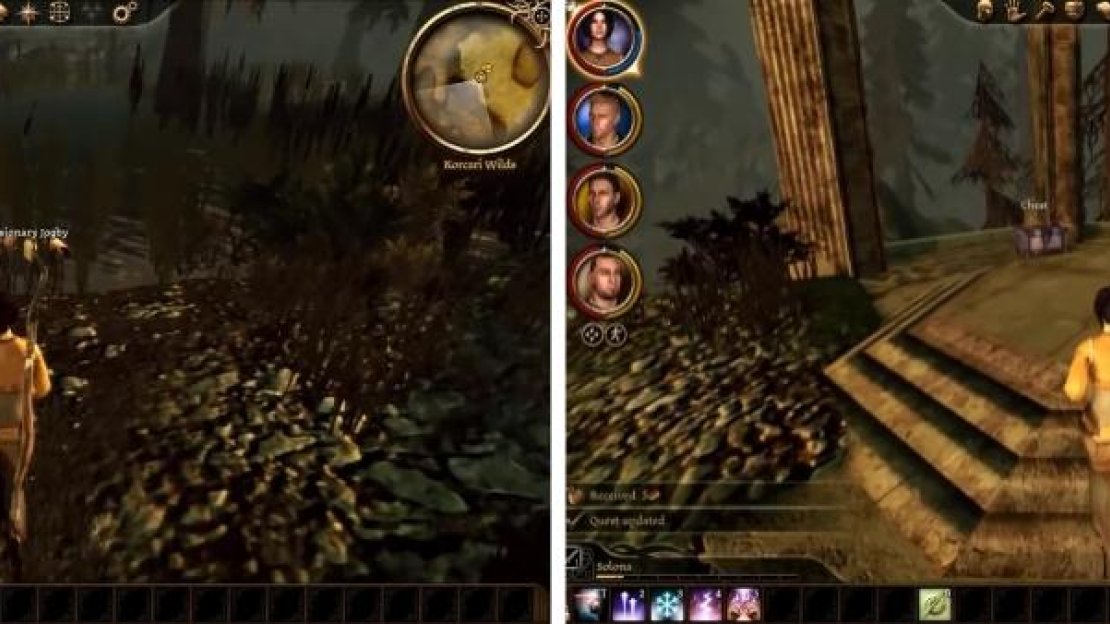
Head straight into the woods and immediately encounter a pack of wolves. When you are done disposing of them head over to Missionary Jogby and take his letter to begin the quest “ The Missionary “ and gain Codex 313: Letter to Jogby . From there turn left and find the Dying Soldier. Head north-east to an Elfroot then make your way through the camp to a Wilds Flower . Daveth will inform you that the Kennel Master was offering a reward for one of those and you obtain the quest “ The Mabari Hound “ if you hadn’t picked it up already.
Proceed further south and defeat the Darkspawn and move to the west side of camp to find another Elfroot. Continue west to a camp swarming with Darkspawn and when you are done dispatching of them loot the chest to acquire a letter and Codex 316: Signs of the Chasind . Follow the Chasind Trail Signs to find the treasure described in the letter. Starting with the one north of the camp on the hill and the one south around the camp. Follow the trail south and defeat the Darkspawn that attack to find another sign. Loot the Elfroot nearby and proceed further south to find another Chasind Trail Sign that, when touched, spawns 4 Genlock Rogues. Head across the water on the stones to find an Alpha Wolf and a pack of Wolves guarding a chest. Defeat them and loot the chest to complete “The Missionary” and obtain Chasind Flatblade, Codex 314: Farewell Letter to Jogby , and a letter.
You can find the Missionary in the beginning. Finding Rigby’s corpse instigates his quest Rigby’s Last Will and Testament.
Proceed north towards a tree bridging two hills and loot the Elfroot . Make your way around the corner and up the hill, defeating any Darkspawn that dare challenge you. Head over to where the Darkspawn are fighting off some Wolves to find Missionary Rigby. Loot him for Codex 315: Rigby’s Last Will and Testament which starts a quest “ Last Will and Testament “. There is also a chest which a rogue can unlock nearby. Across the way on the hill is a chest and three wooden crates and on the opposite hill is a Deathroot .
Make your way back to the Chasind Trail Camp and examine the hidden cache under the firepit. Choose to take the lockbox to Jetta. Make your way south-east until only a single path is present. To the east of it is an Elfroot guarded by a Genlock Rogue. Proceed down the single path south and the game auto-saves for you. A Hurlock Emissary sits on the bridge; allow the enemy to come to you and defeat them. Examine the last Chasind Trail Sign to obtain a new quest “ Chasind Trail Signs “. Across the bridge are several traps, be wary of them as you defeat the Darkspawn. Loot the dead soldier for Excerpt From Local Myths and Legends and Pouch of Ashes .
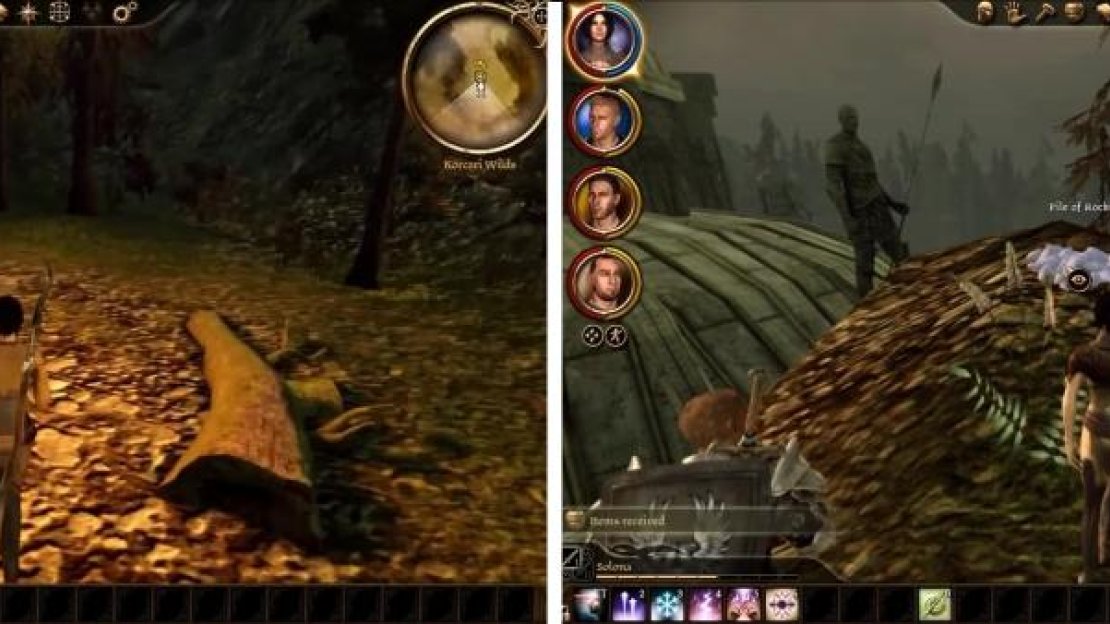
Following the Chasind Trail Signs leads you to the Cache here. Pouring the ashes on these rocks will summon a difficult enemy Gazarath. Concentrate attacks to defeat him.
Proceed south to a campfire being wary of the Genlock Rogues that spawn as you get too close. Loot the Elfroot and the Chasind Cache which contains numerous handy weapons and armor and completes the quest Chasind Trail Signs. Head north over to a Deathroot and pile of rocks; pour some ash on them to summon Gazarath. Defeat him and loot the Enchanter’s Footing from the pile of rags. Continue north looting the Elfroot and defeating the attacking Darkspawn. There is a Hurlock Alpha which will rally the other Darkspawn; defeating him first should make the battle easier. At the side of the ruins is a Deathroot and the Warden’s Cache lies in pieces in the ruins. A cutscene and dialogue ensues that eventually takes you to Morrigan’s home in the Wilds.


No Comments