Once again, there are plenty of things to do during this chapter with a couple of different paths and plenty of consequences. Follow these steps to aim for that 100% completion on the flow chart!
We start with a lunch break, so get out of the car to Join Hank by the food truck.


(1 of 2) Join Hank at the food truck


Join Hank at the food truck (left), Hold R2 to analyse all the markers (right)
– Analyse Environment: At the food truck you’ll be prompted to scan the environment, so hold R2 and look around. For your first scan, focus on Pedro’s face, Hank’s face, Gary’s face, and then the Detroit food hygiene licence in the upper left. Then you can scan Hank’s food – the hamburger and drink.
Hank Insults Connor - This will only occur if Connor died during ‘The Interrogation’ as well as the chase scene during ‘On the Run’. This will begin the chapter differently, where Connor shows up during Hank’s lunch break unexpectedly. After an exchange between the two, Hank will curse at Connor, and all of the following dialogues in this section will be automatically skipped.
TALK TO HANK
– Set 1 (at the counter): APOLOGIZE FOR BEHAVIOUR (increases reputation with Hank), PARTNERS, RECONCILE, REVIEW FACTS (all have no effect).
– Set 2 (at the table): GAMBLING (scan Pedro), CHOLESTEROL (scan food; increases reputation), COMPANY (scan Pedro or cook; increases reputation), HABIT, FREE MEAL, AREA, ENJOY YOUR MEAL (all have no effect).
– Set 3: HIGHWAY (obey Hank’s order not to pursue, otherwise locked), ABOUT CONNOR, HANK AND ANDROIDS, DEVIANTS (all have no effect).


(1 of 2) You can apologise to Hank to help increase reputation


You can apologise to Hank to help increase reputation (left), Work through the dialogue options however you see fit (right)
Next, Be Frank with Hank – Choose TRUTH, which will have no effect, or LIE, which will decrease reputation. Then Hank will ask you a question:
– SINCERE and PSYCHOLOGICAL will both increase your reputation with him. But choosing COLD will decrease it.
Then you’ll move on to the next section of the chapter as you aim to track down a deviant in a block of apartments.


(1 of 2) Analyse the feathers in the hallway


Analyse the feathers in the hallway (left), Knock on the door (right)
Examine Feathers - As you follow Hank down the hall, there’ll be some feathers on the floor about halfway.
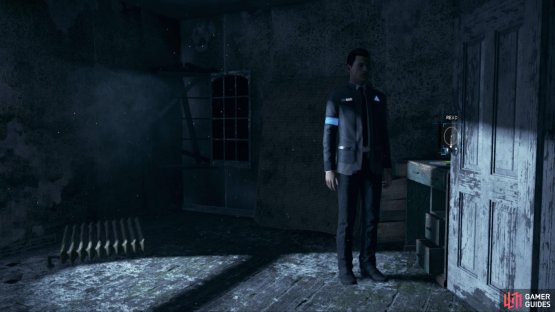
Into the Nest - Knock on the door twice. There’ll be no response and Hank will bust the door open so you can head inside to investigate.
INVESTIGATE APARTMENT
– Magazine: Find the magazine in the first room to the right. Read both articles to make them register in your collection.

(1 of 2) Find the magazine in the room immediately to your right upon entering


Find the magazine in the room immediately to your right upon entering (left), Read both articles (right)
– Find Diary: In the main room, look at the large poster on the wall. Scanning it with R2 will reveal that you can pull it down to find a hole in the wall behind it – the diary is concealed there.
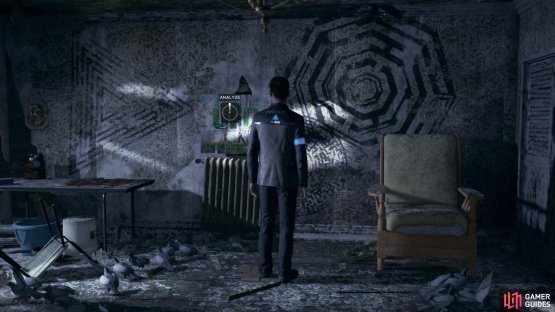

(1 of 2) Analyse the poster on the wall in the main room


Analyse the poster on the wall in the main room (left), Tear it down to find the diary (right)
– Find LED: In the bathroom, you can examine the sink by sampling the blood and scanning the LED ring.
– See rA9 Reference: While still in the bathroom, you’ll see the writing on the wall. Then Investigate the Stool against the wall that seems to have been tipped over. You can scan it for two clues, which will unlock the chance to reconstruct the scene.
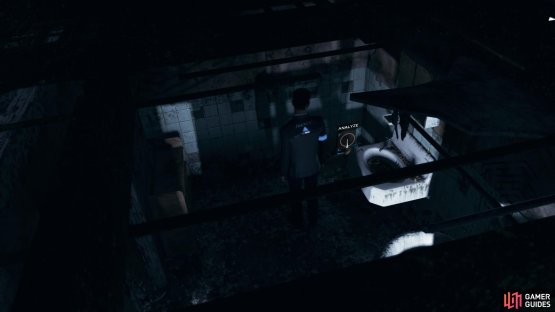

(1 of 2) Analyse the tipped over stool in the bathroom


Analyse the tipped over stool in the bathroom (left), Reconstruct the scene as prompted (right)
Investigate the Cage: Head back into the main room to examine the bird cage on the floor. Scan it for clues and reconstruct another scene to figure out where the android escaped to. He jumped up into the ceiling – and he’s still there.
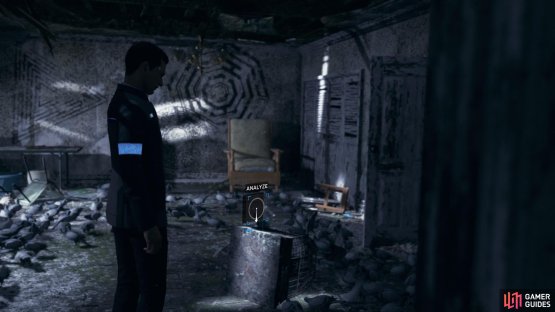

(1 of 2) Analyse the bird cage in the main room


Analyse the bird cage in the main room (left), Reconstruct the scene (right)
You’ll have around five minutes to locate the android; if you take too long, Hank will grow impatient and want to leave.
– STAY: If your relationship with Hank is high enough, he’ll give you extra time. But if it’s quite low, or you still run out of time with the extra few minutes provided, Hank will leave, and the chapter will end.
– LEAVE: Hank and Connor simply leave the apartment without having found the deviant, and the chapter will end.
Let’s assume here that you Find Rupert (the deviant android) – use the chair that the android used to climb into the ceiling and interact with it. When you look up, Rupert will drop down and run. The chase is on!
Chase Rupert: This chase scene has a lot of quick time events to complete, so get ready to avoid obstacles and jump rooftops. Along the way, you’ll be prompted to press R2 to quickly scan the environment and choose alternate routes to keep up with him. You’ll climb over an AC duct at some point and drop down into an urban farm (with greenhouses and such) and you’ll have to make a series of choices.

To get closer to Rupert you’ll have to choose the riskier routes – the downside to this is that there will be more button sequences to complete, as well as more opportunities to die.
So, depending on how all of this goes will depend on which outcome you get. There are three altogether.
Gaining on Rupert: If you manage to catch up with him, you’ll catch him having a scuffle with Hank – and Hank will get pushed over the side of the roof. Even though Hank’s chances of survival are high, your choice here will affect your relationship with him.
Rupert Pushes Hank: This will happen automatically if you successfully chase him to the end. Now you have to choose – SAVE HANK or CHASE DEVIANT.
– SAVE HANK: Do this, and both your reputation with Hank and Connor’s software instability will massively increase. Unfortunately, this leads to Rupert Got Away and the chapter will end (go this route to continue towards the good ending).
– CHASE DEVIANT: Now, Hank will survive, but choosing not to save him will lower both your reputation with him and your software instability (because you followed protocol). However, this leads to Rupert Committed Suicide, so you don’t get to finally catch him either way – and Hank hates you.
Lose Sight of Rupert: If you fail the quick time events, choose slower routes, or even run in the wrong direction, you can lose Rupert altogether. This leads to Rupert Got Away and the chapter will end.
Connor Died: If you miss any of the really critical button sequences (such as jumping rooftops) then Connor will die. This will lead to Connor Died Chasing Rupert, ending the chapter and resetting Connor when he comes back again (software instability will decrease).

Let’s break down the endings for you:
– Rupert Not Found: When investigating the apartment, fail to locate the deviant hiding in the ceiling or wait five minutes for Hank to give up and leave.
– Connor Died: When sliding down the first roof during the chase scene, don’t press anything and let Connor fall to his death.
– Rupert Got Away: At the end of the chase, SAVE HANK and let Rupert get away. Or just don’t chase after him at all once he starts running.
– Rupert Committed Suicide: At the end of the chase, CHASE DEVIANT instead of saving Hank. Rupert will throw himself from the roof once you catch up to him.
No Comments