The weapon challenges give you a weapon, a scenario and a short time limit in which to score as many points as possible. The good news is that most of them are relatively easy as long as you are able to keep a combo going and can correctly use the weapon at hand!
Below you’ll find a list of the challenges and some helpful hints and tips as to how to approach each challenge.
Weapon Challenge: Charge Beam
The charge beam challenge is definitely the most difficult of all of the weapon challenges in the game. Not only does it require a few seconds to charge up to fire off, but the enemies come from everywhere in this area so it is very difficult to herd them together and go for multi-kills in a time efficient manner.
Your best bet is to keep your eye on the mini map and when you see a large group spawn, quickly make tracks to the area and try to line up and destroy as many OD as possible whilst they are still somewhat bunched up.
Placing a decent Amp such as Twist of Fate on the Charge Beam pre-challenge can prove to be immensely effective as if the Amp activates you can get some pretty massive multi-kill numbers if near a spawn point.
Additionally you can equip the Bounce-splosion Amp to perform ground pound attacks which will also dish out damage and accrue points for enemies that get in too close.
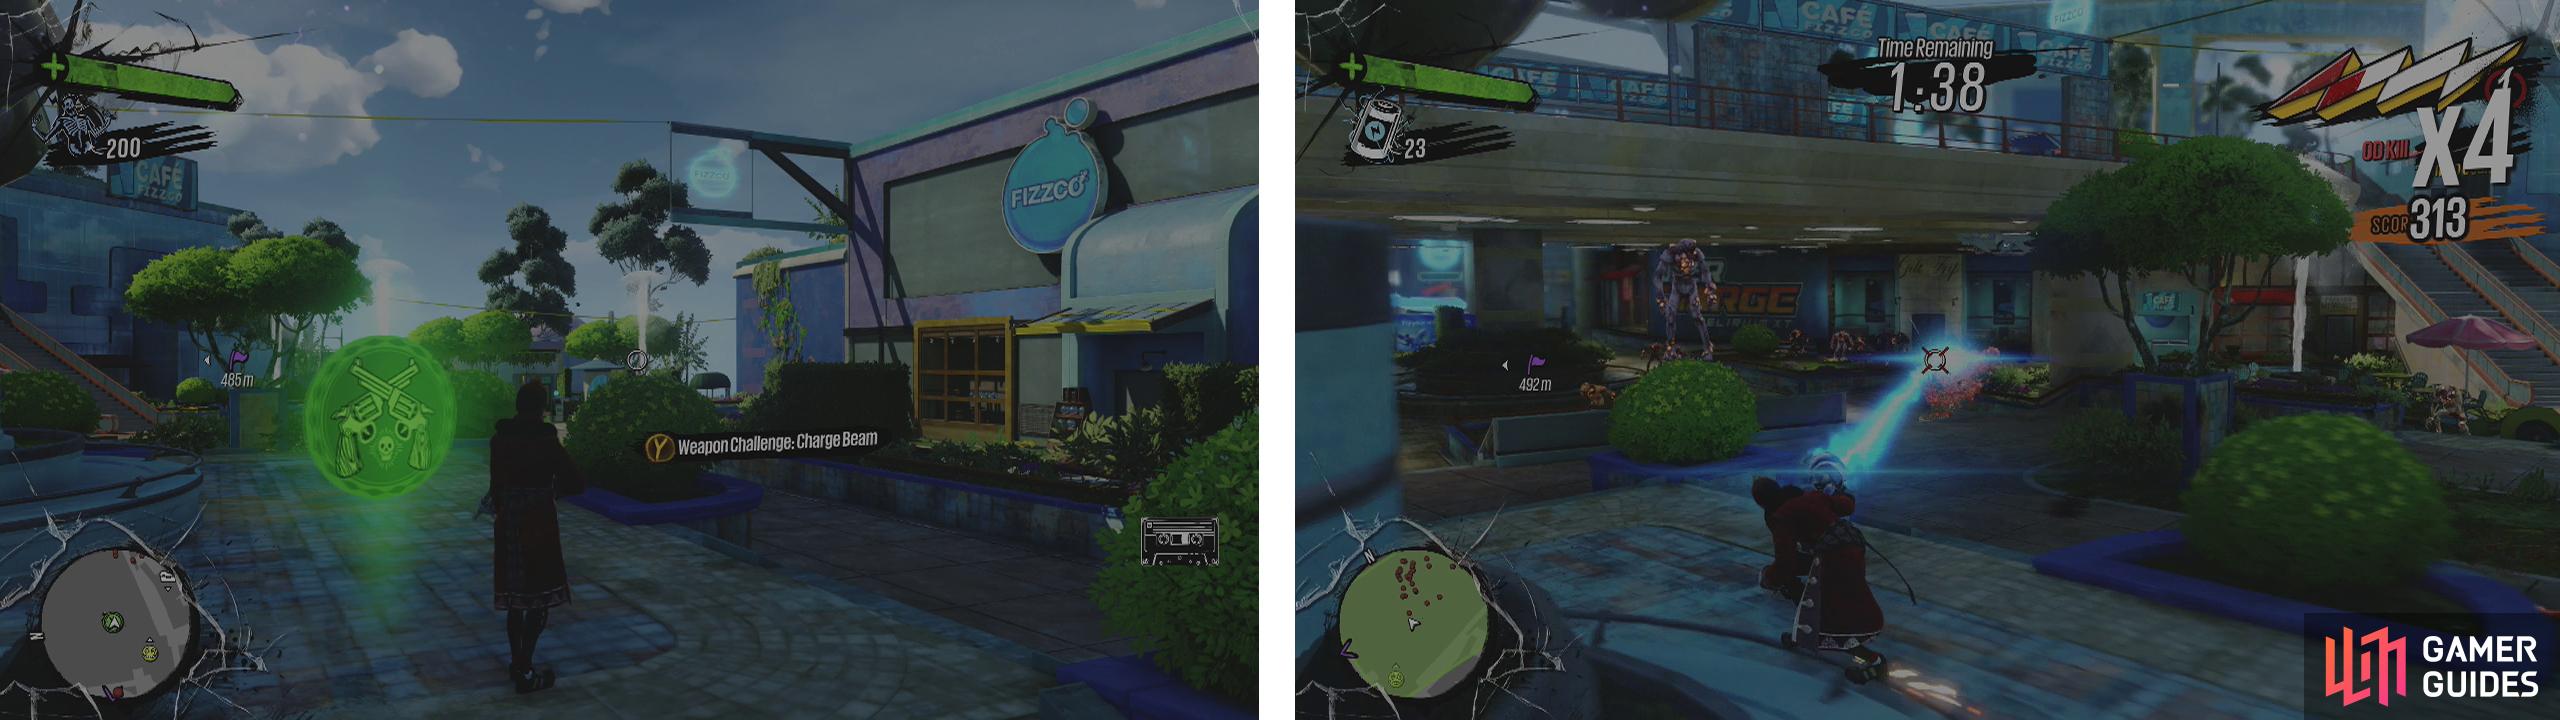
You can start the challenge here (left). Try to maintain a chain by grinding whilst killing enemies (right)
| Medal | Score | Reward/s |
|---|---|---|
| Bronze | 25,000 | $ 700 |
| Silver | 75,000 | $ 3,000 |
| Gold | 150,000 | 1,000 x Overcharge |
| Clothing: Medieval Helmet |
Weapon Challenge: Excalamune
This weapon challenge is very similar to a gameplay sequence that we undertook towards the very end of the game during the ‘Awesomesmithing’ mission. In fact, it takes place in exactly the same location and you once again have the fully powered up Excalamune that is able to shoot fire and lightning. The only real difference is the presence of a time limit and the fact that you are killing OD instead of Fizzco Security.
As this weapon is already massively overpowered, with the correct Amps equipped you can be an unstoppable juggernaut able to earn that gold medal without breaking a sweat. Equip the Chance of Lightning or It Burns Epic Amps and the Roid Rage or un-Defibrillator melee Amps. Now jump onto one of the railings around the hospital car park (the longer the better) or along the adjacent road and grind back and forth along it continuously, mashing the melee button as enemies appear.
Herkers will show up midway through the challenge, but you can safely ignore them and continue your grind-based death dealing and so long as you keep your combo up, you’ll have the gold in the bag in no time.
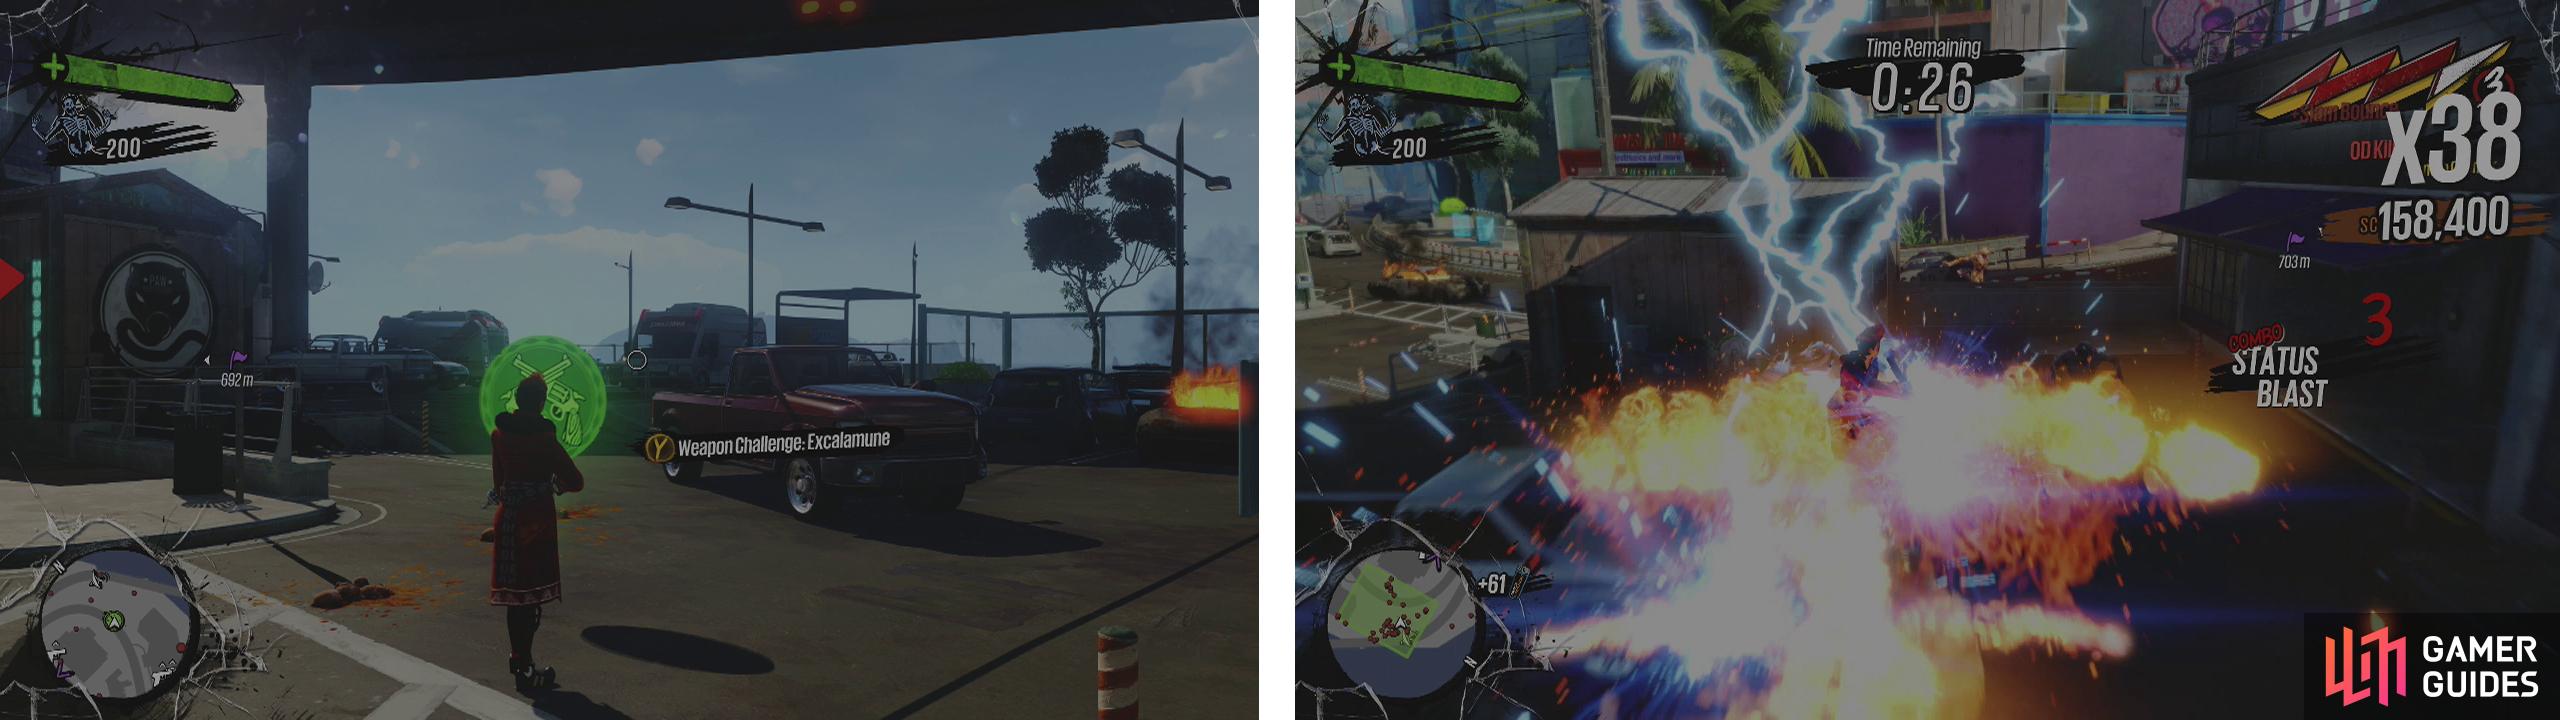
You can start the challenge here (left). The added electricity and flames make Excalamune both a melee and ranged weapon (right)
| Medal | Score | Reward/s |
|---|---|---|
| Bronze | 25,000 | $ 700 |
| Silver | 75,000 | $ 2,000 |
| Gold | 150,000 | 4,000 x Overcharge |
| Clothing: Breastplate |
Weapon Challenge: Murdering
This challenge is actually quite tricky until you figure out what to do. You see the Murderang can potentially hit an enemy twice – once on the way out and again on the way back. The problem is, that these will not count for much unless you are in a combo. As such, the trick is to keep your combo going for as long as possible.
The easiest way to get this challenge done with a gold medal in a hurry is to utilise the U-shaped grind rail around the garden joined to the Drugs ‘R’ Us building. This rail is particularly useful as enemies will spawn down the streets on either side of the adjacent Drugs ‘R’US building so using this will give us a good view up both major enemy thoroughfares whilst still maintaining a grind.
When you see them appear, just fire your Murderang weapon as much as possible into the crowd. Repeat with every group of enemies you see whilst ensuring not to leave the grinding rail at any time and being sure to re-establish your grind if you are knocked off.
If you continue to pup Murderangs into the crowds for the majority of the time, whilst keeping your combo going, you should earn the gold medal with plenty of time remaining to pad out your score further.
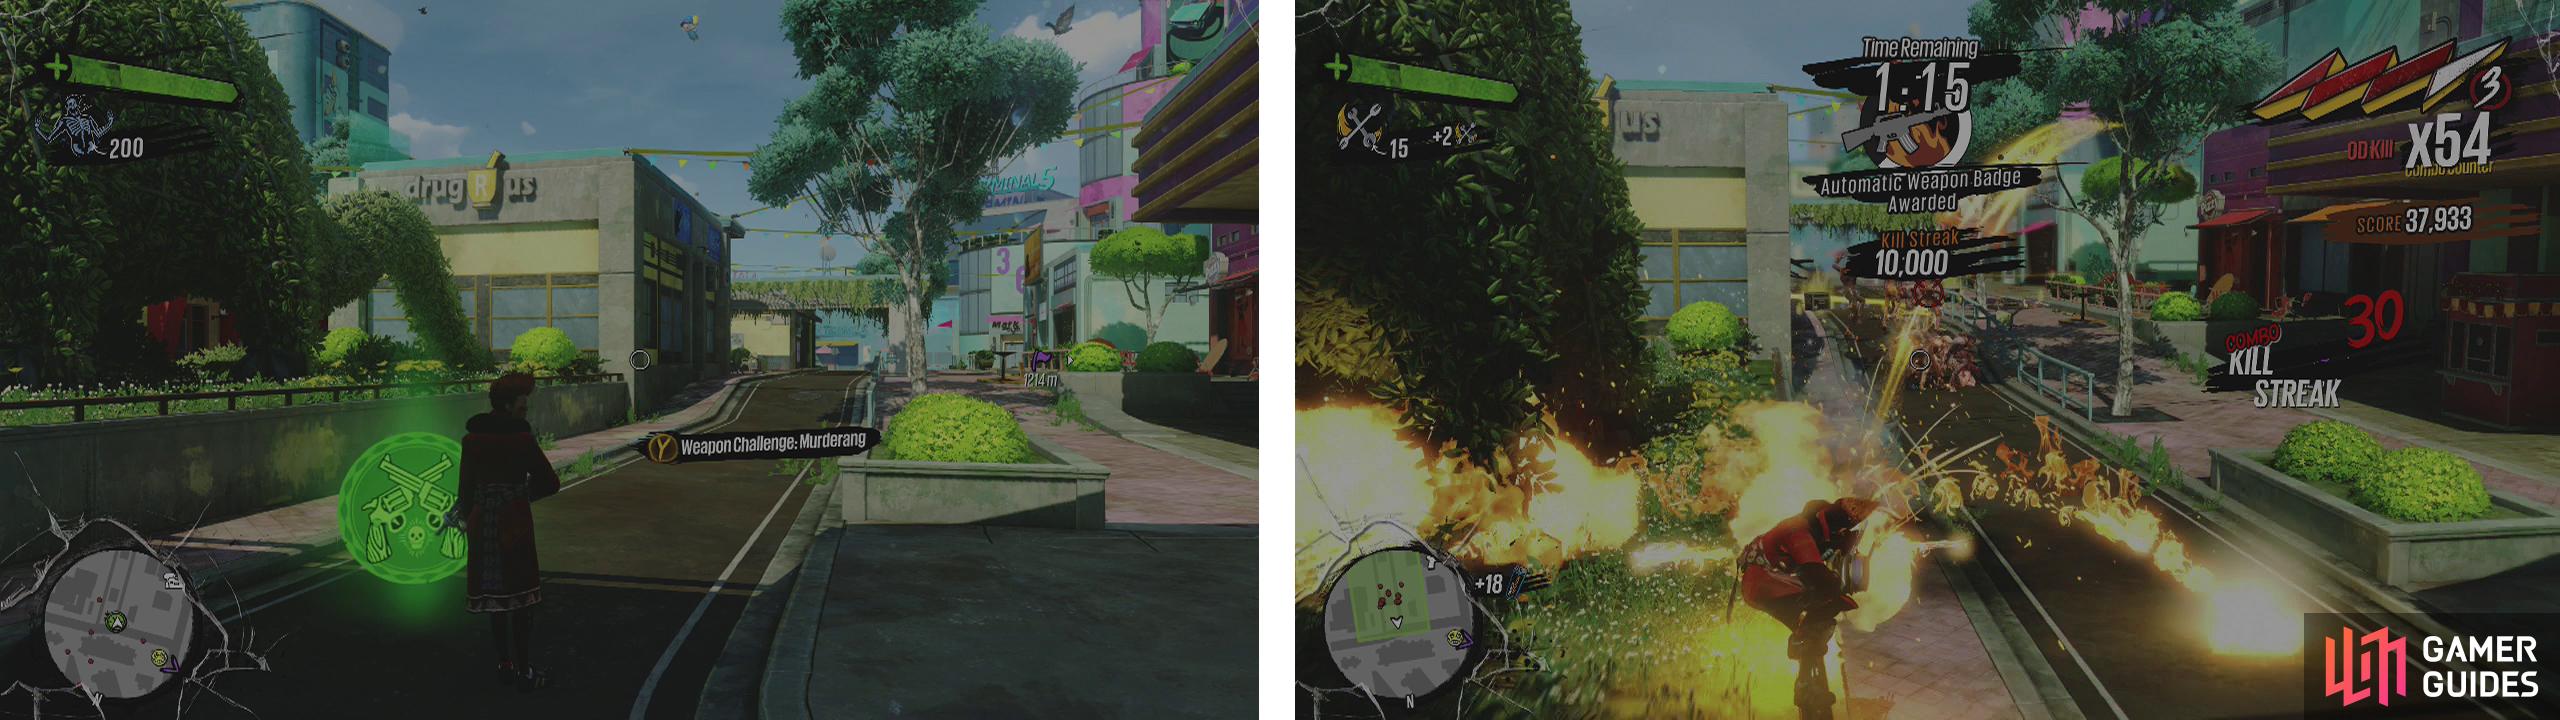
You can start the challenge here (left). The key to this challenge is to maintain a grind whilst firing on the crowd (right).
| Medal | Score | Reward/s |
|---|---|---|
| Bronze | 50,000 | $ 700 |
| Silver | 75,000 | $ 1,500 |
| Gold | 150,000 | 3,000 x Overcharge |
| Clothing: Gladiator Shirt |
Weapon Challenge: One-Handed Dragon
This challenge, like the others can be quite difficult until you figure out an efficient way of eliminating enemies whilst maintaining a combo and for the most part, this particular challenge area is not the easiest to work with. Fortunately, we have a decent strategy for you!
As soon as you start the challenge, run up to the orange information booth directly in front of you and use it to bounce up to a wire above. Believe it or not, this wire is pretty much unreachable to any OD and they will constantly crowd beneath you at the ground level. As such, to generate a massive score in no time, grind back and forth along the wire whilst using your explosive pistol to constantly fill them with explosions!
Towards the back end of the challenge some blowers will show up and as they can hit the wire with projectiles, you’ll have to avoid their incoming fire. However, if you can do that and continue to unload into the regular OD below, you should easily scoop the gold medal.

You can start the challenge here (left). The key to this challenge is to maintain a grind whilst firing on the crowd (right).
| Medal | Score | Reward/s |
|---|---|---|
| Bronze | 25,000 | $ 300 |
| Silver | 75,000 | $ 1,000 |
| Gold | 150,000 | 2,000 x Overcharge |
| Clothing: Gladiator Skirt |
Weapon Challenge: Pigeon Roasting
You’ll remember this challenge from the story mission ‘The King’s Feast’ and the set up and way that it plays out is almost identical. There are four Pyro Geyser Traps in the centre of the road, which I’m sure you remember require you to jump onto the green button in the centre to activate.
To successfully complete the pigeon challenge, you’ll need to use the wires strung across the top of the street to navigate the area quickly and efficiently. When you see pigeons gather at one of the Pyro Geyser traps, jump down onto it to toast as many as possible, and then quickly bounce back up to the wires and travel to the next trap.
By the time you have utilised all four traps, the first should be finished with its cool down and be ready to fire once again. If you see pigeons gathered around a trap on cool down whilst you are travelling between sections, use your flaming compensator to shoot them if you wish, although this entirely unnecessary as by just maintaining a decent route cycling through the traps you should earn the gold medal with no real problems.
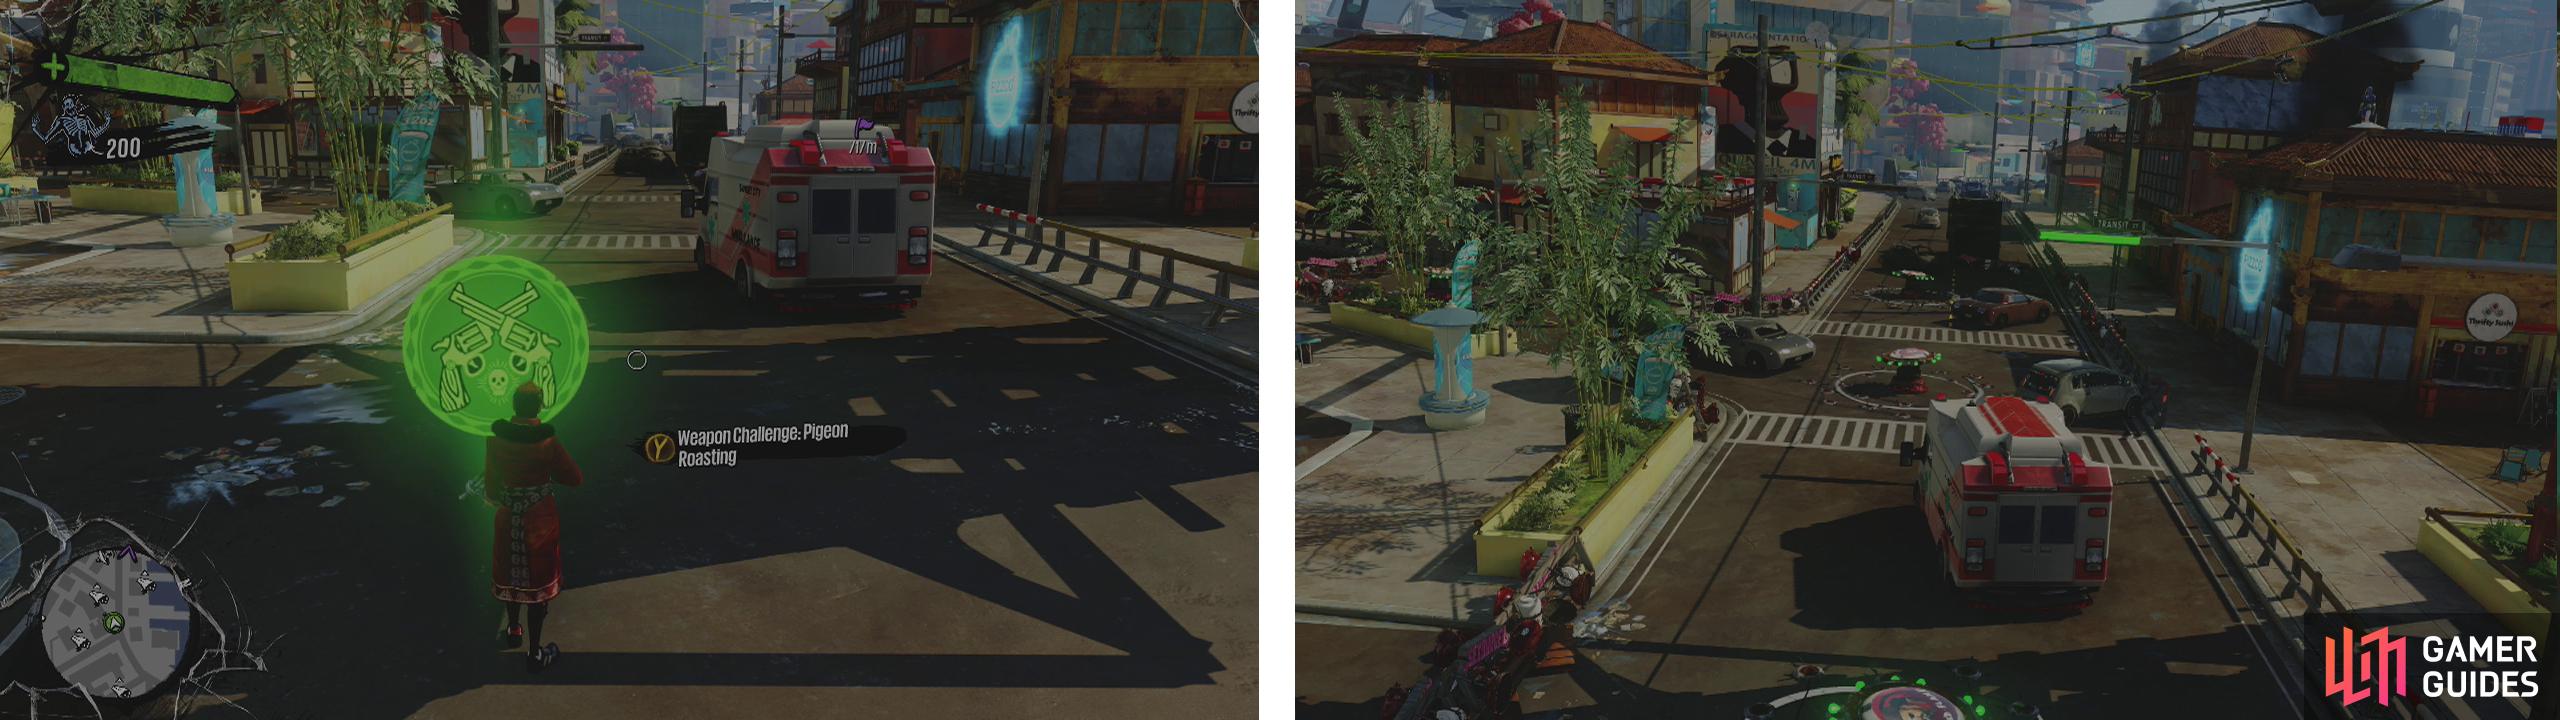
You can start the challenge here (left). We’ll have to use those traps to kill pigeons… again (right).
| Medal | Score | Reward/s |
|---|---|---|
| Bronze | 50,000 | $ 300 |
| Silver | 150,000 | $ 1,000 |
| Gold | 250,000 | 2,000 x Overcharge |
| Clothing: Body Art - Tattoo |
Weapon Challenge: The Dude
This challenge is good fun and has us doing something a little more unique than the others that we’ve played through so far. You see we have a safe zone marked out with red lines on two adjacent highways. Our goal is to prevent the OD from entering this area, because if they do we will be hit with time penalties which limit our ability to score.
The Dud is a charge up weapon that can decimate a crowd of OD if lined up correctly and the highway areas provide the perfect bottleneck for the OD to do just that. When a group of OD is approaching the safe zone, they will be marked by an objective marker whilst they are still some distance off. Keep your eye out for these and use the time to set yourself up, firing a single shot into a crowd is usually enough to kill all of them off.
You can traverse between the two highways using the bounceable tires and the wire strung between them. Essentially we just need to maintain awareness of incoming crowds of OD, get yourself into position and launch a bowling ball into them to kill them all before moving on to the next group. It will get more hectic towards the end, but if you can keep them relatively under control and don’t allow too many time penalties, you should be able to earn the gold medal.
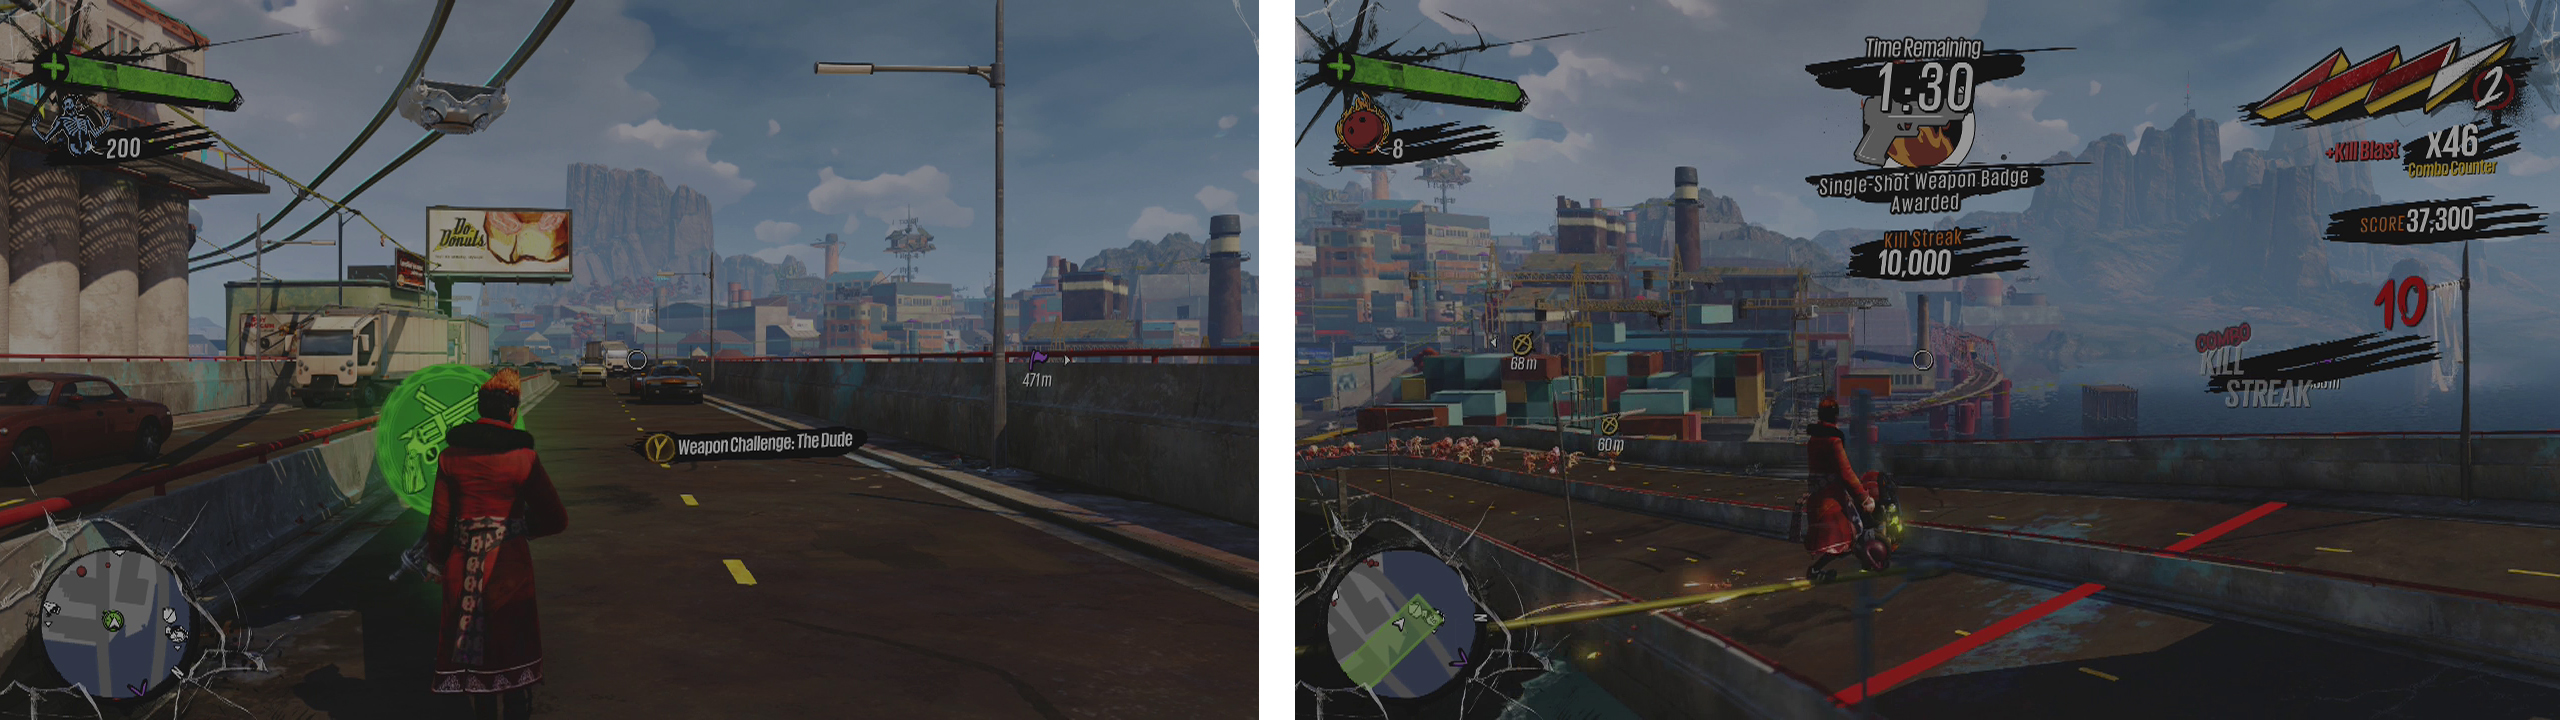
You can start the challenge here (left). We need to traverse between the two highways to defend our safe zone (right).
| Medal | Score | Reward/s |
|---|---|---|
| Bronze | 25,000 | $ 300 |
| Silver | 75,000 | $ 1,000 |
| Gold | 150,000 | 1,000 x Overcharge |
| Clothing: MMA Gloves |
Weapon Challenge: The Shocker
Having not used the shocker weapon at all before attempting this challenge, I was surprised at how easy it was.
Essentially all we need to do for a gold medal is to maintain a grind along the power plant railing whilst holding down the fire button to send and endless stream of death electricity into the swarms of OD that appear. Fortunately, the shocker has a chain lightning effect that will stun enemies adjacent to the enemy hit, giving a potential for additional kills.
If you have the shocker levelled up, equipping a decent Amp such as Twist of Fate , Bear Force One or Moving Menace will make things even easier.
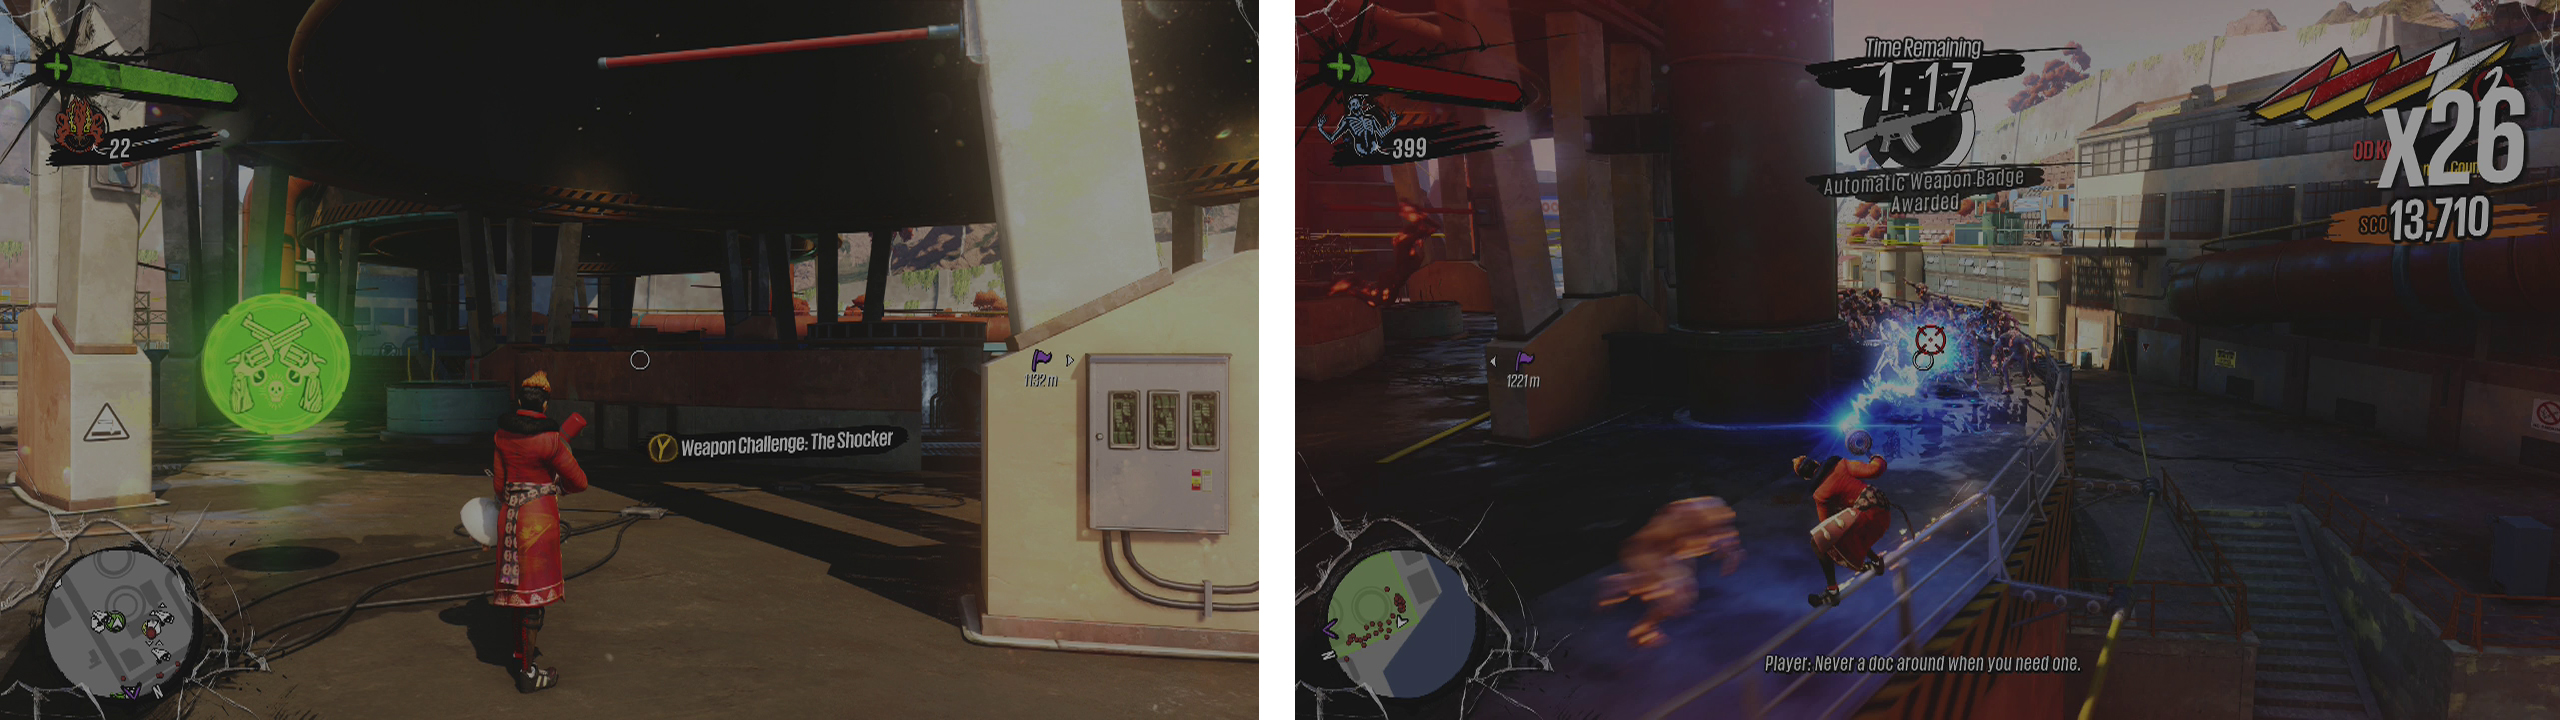
You can start the challenge here (left). The key to this challenge is to maintain a grind to build a combo whilst firing on the crowd (right).
| Medal | Score | Reward/s |
|---|---|---|
| Bronze | 25,000 | $ 500 |
| Silver | 50,000 | $ 2,000 |
| Gold | 75,000 | 1,000 x Overcharge |
| Clothing: Dog Tag Earrings |
Weapon Challenge: TNTeddy
The TNTeddy challenge is fairly straightforward and the game will even point out to you how to complete it in a hurry. As you know, the TNTeddy is essentially a grenade launcher that shoots explosive laden teddy bears and of course, it is most effective when used on a group of enemies as the impact and splash damage will both affect enemies within the area.
During this challenge, pools of Overcharge will periodically appear and the OD will swarm to it. At this point, you’ll want to use the TNTeddy to fire a round directly into the middle of them for maximum effect. More and more pools of Overcharge will appear the further you get into the challenge and the game will also conveniently highlight them for you with objective markers.
To be most efficient, use bounceables to get up onto the power lines running above the main road and grind back and forth whilst keeping an eye out for the bunched up enemies. When you do see them, fire away and then return to looking for the next group. Rinse and repeat this process for the duration of the challenge and you should get the gold with no real problems.
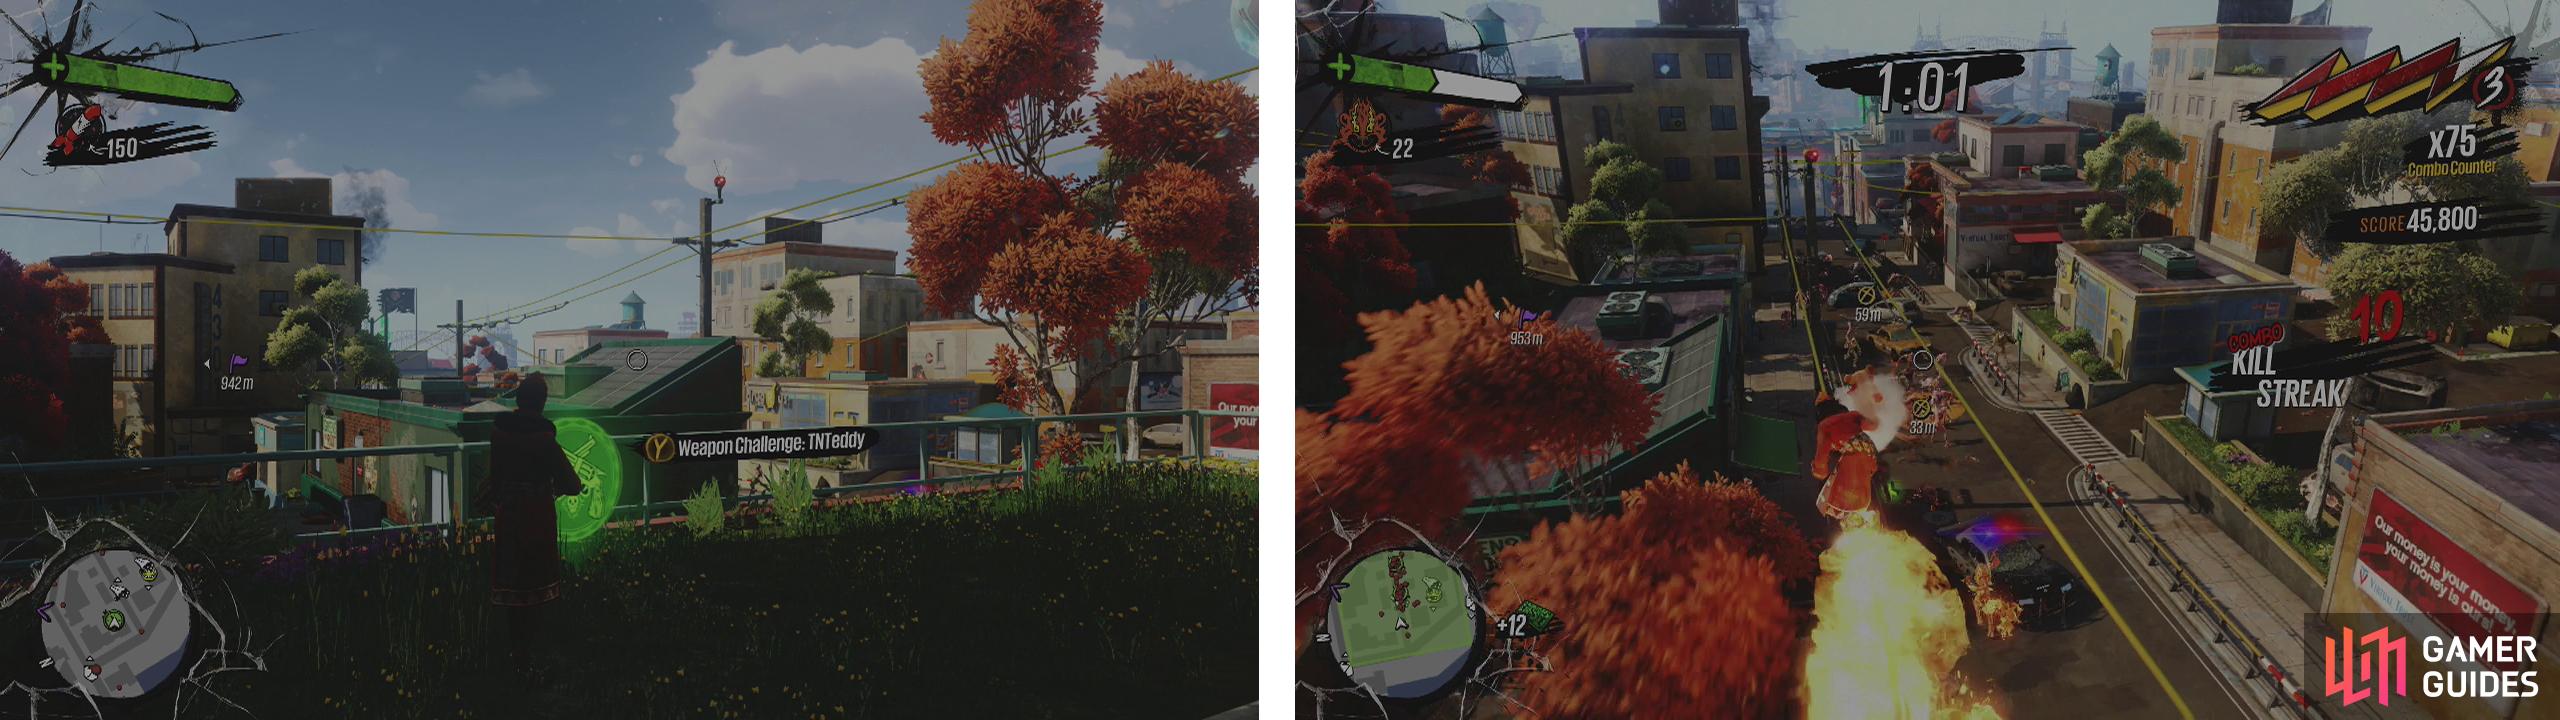
You can start the challenge here (left). The key to scoring big is hitting the groups of OD around Overcharge puddles (right).
| Medal | Score | Reward/s |
|---|---|---|
| Bronze | 25,000 | $ 250 |
| Silver | 75,000 | $ 1,000 |
| Gold | 150,000 | 1,000 x Overcharge |
| Clothing: Army Jacket |
No Comments