Part 1: Downtown
After picking up the mission, make your way over to the objective marker on the map. When you arrive, you will notice that there is a fair bit of Fizzco Security about. We need to climb to the top of the indicated building whilst also clearing out all of the enemies within the yellow zone marked on the mini-map.
For the most part, the enemies are Blade Bots and Rifle Bots. However additional enemies will spawn the higher you climb towards the objective and these will include additional Blade Bots and a few Bomb Bots. Take care of them in the usual fashion, and ensure that you have your electric themed weapons equipped for some extra damage! Remember to keep moving when facing off against ranged enemies!
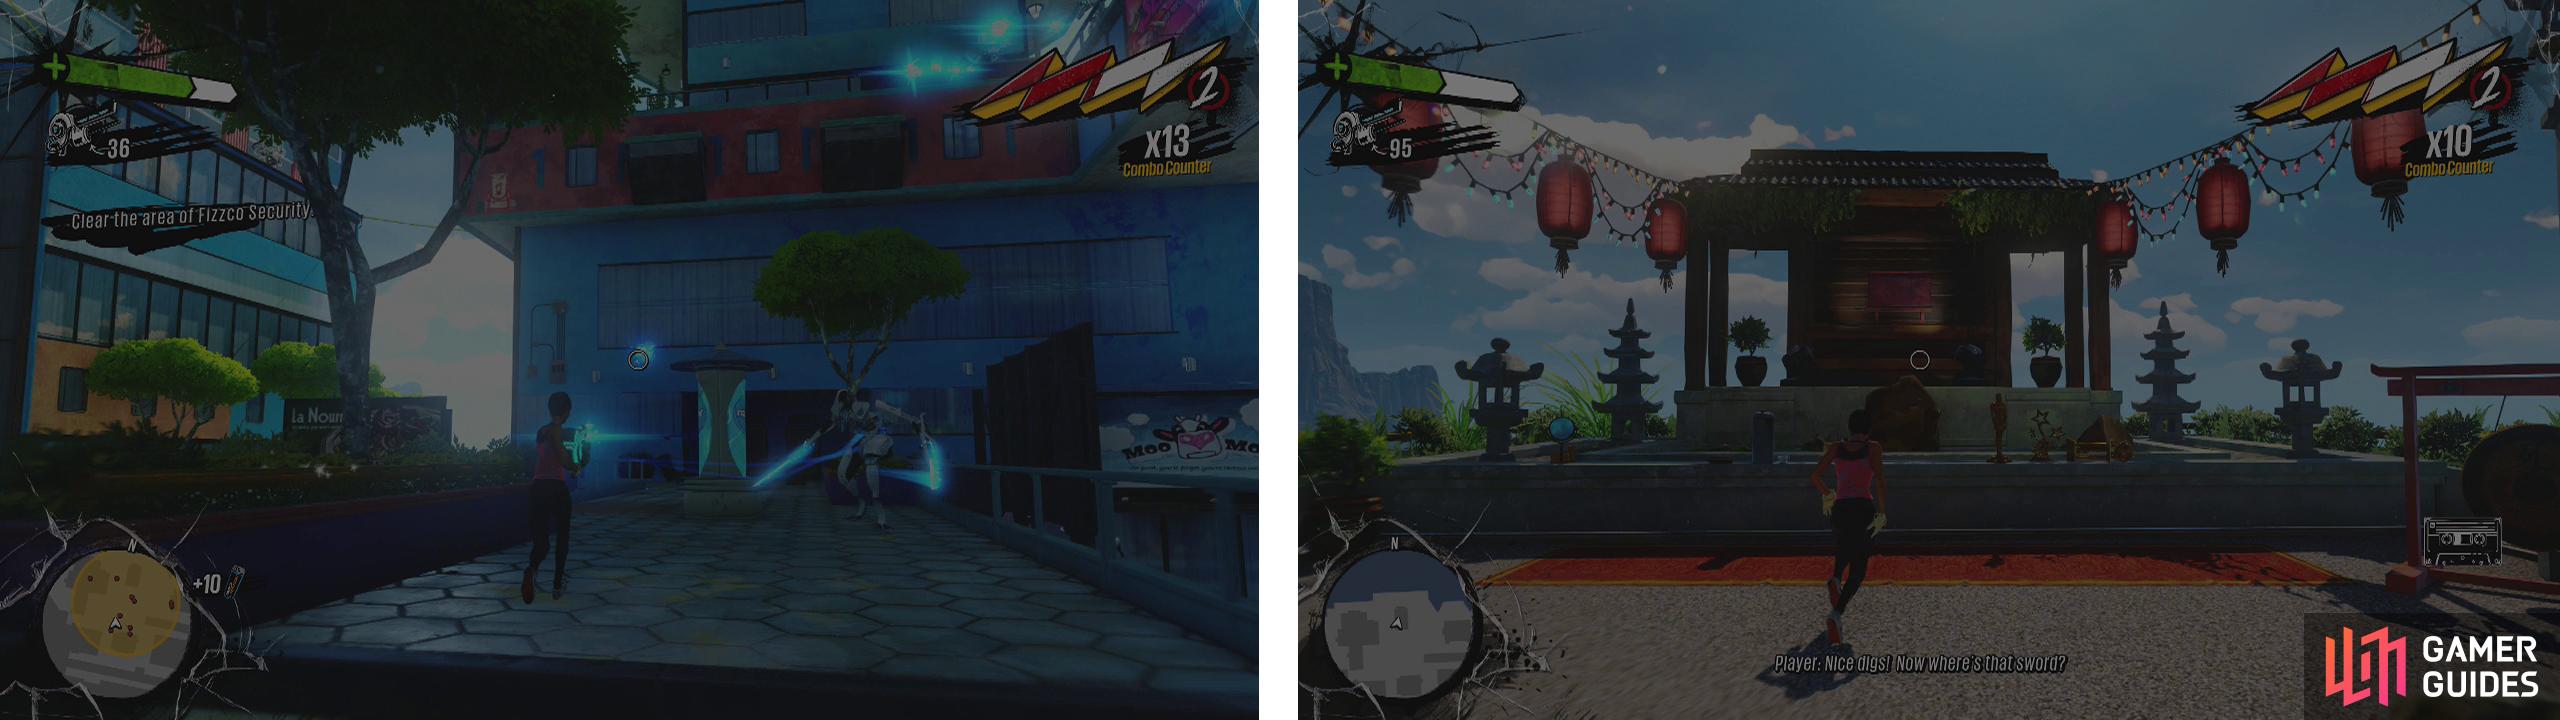
Clear the yellow zone of Fizzco Security (left) and then make your way to the rooftop (right) for a scene.
Once the area is clear, climb to the very top of the indicated building and interact with the objective marker. A scene will play.
Afterwards interact with the trophies nearby. Now that we have some materials, our objective will update once again.
Part 2: Power Plant
You can fast travel to the Power Plant if you wish to save a bit of time, or cruise over the old fashioned way. Either way you decide to go about it, once you arrive, you’ll need to eliminate all of the OD in the area.
This is no easy task this time around however as you’ll soon find out. There is a Spawner, five Muggers and a good number of regular OD in the area. First things first, switch all of your Amps over to fire-based attacks for some extra damage and then get to work.
I suggest staying on the ground to begin with (or the adjacent power lines) and attempting to take out the Spawner before too many more regular OD appear. Dodge his attacks and keep peddling backwards away from it. Doing this constantly should also keep you away from Mugger attacks as well (just keep your eye on the ground just in case!). Once you have disposed of the Spawner, turn your attention to the Muggers and the regular OD.
When the zone is clear, interact with the steam vent indicated by the objective marker inside one of the cooling towers for a scene.
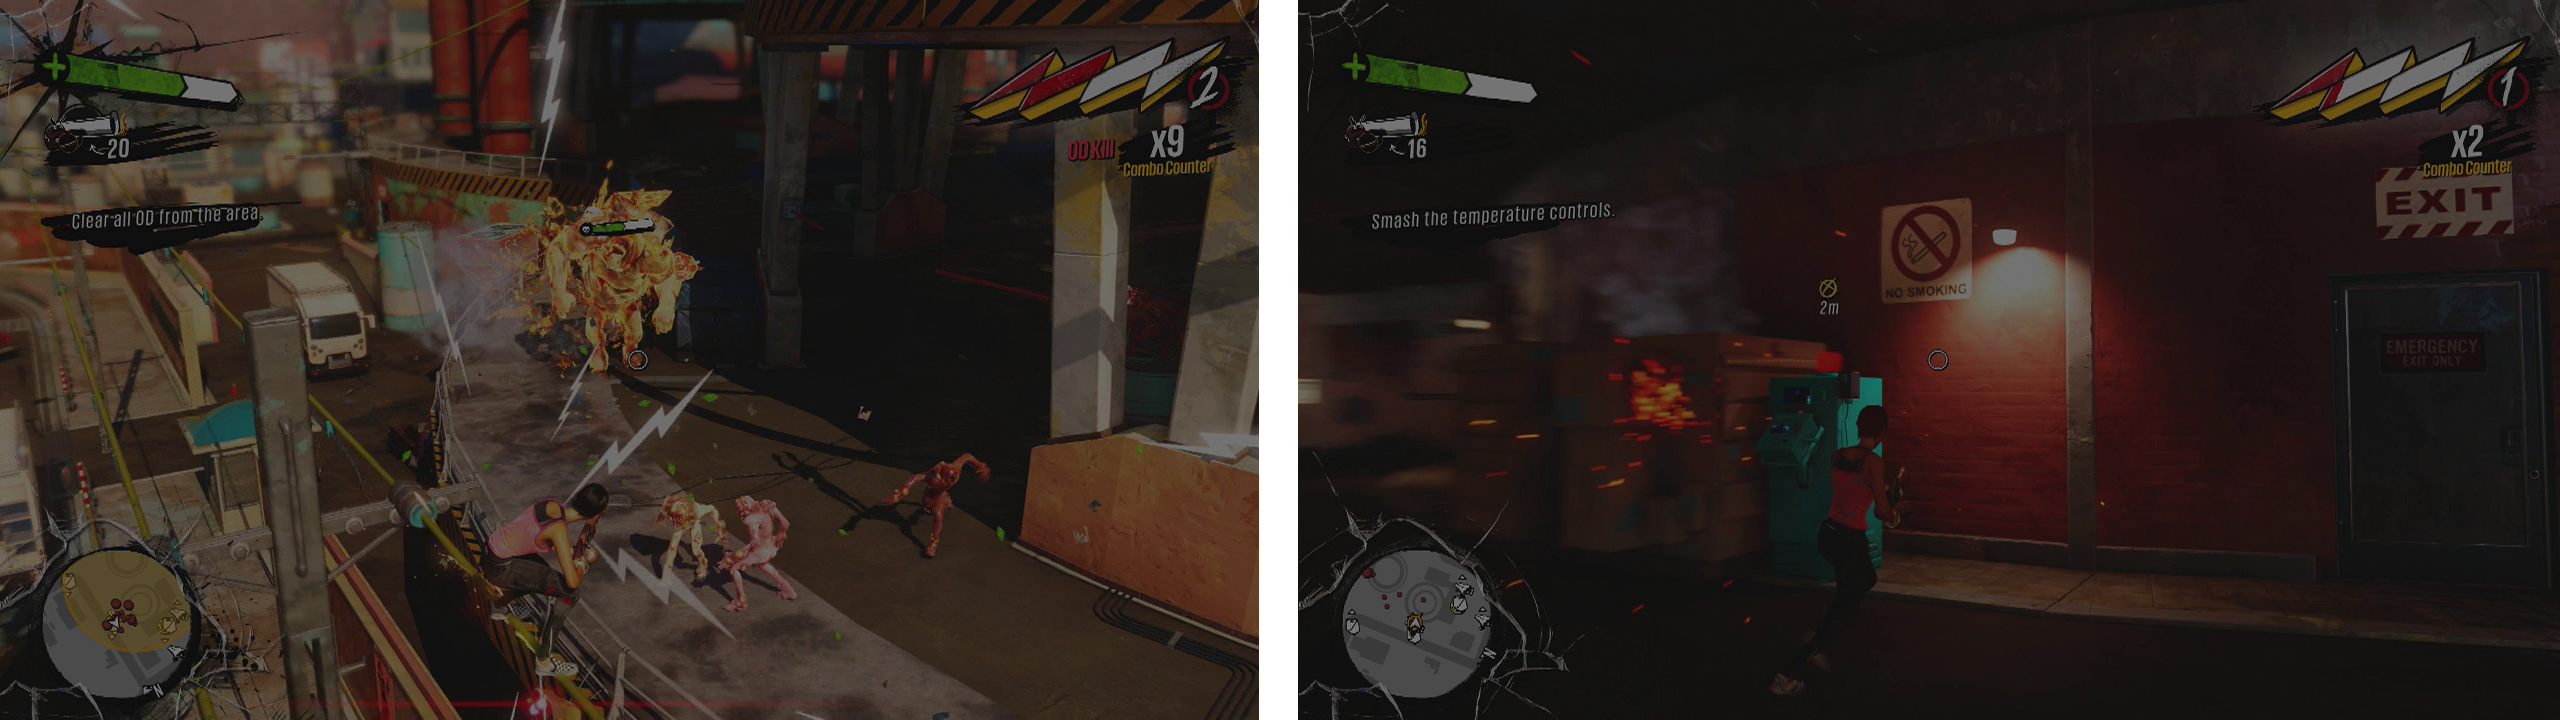
Clear out the area of OD initially (left). Then destroy the temperature control units (right) and clear the area of OD… again.
There are three temperature control units around the base of the cooling towers. We need to destroy all three of these to continue with the mission. Unfortunately, the area will now be populated by a good number of Blowers, Gunkers, a Mugger or two and a Herker. Try to get rid of the Mugger first as it will attack you pretty much anywhere you go before focusing on the ranged attackers and finally the Herker. Destroy all three panels to progress.
After all of the OD has been dealt with, the objective marker will update once again. Hop up to it and platform your way up to the top of the cooling towers using the grinding rails, vents and swing poles.
At the top you’ll need to kill a pair of Wingers. If you are running low on health or ammunition, there are plenty of crates about to help you out. Use the rails up here to keep moving to avoid their attacks and take them down.
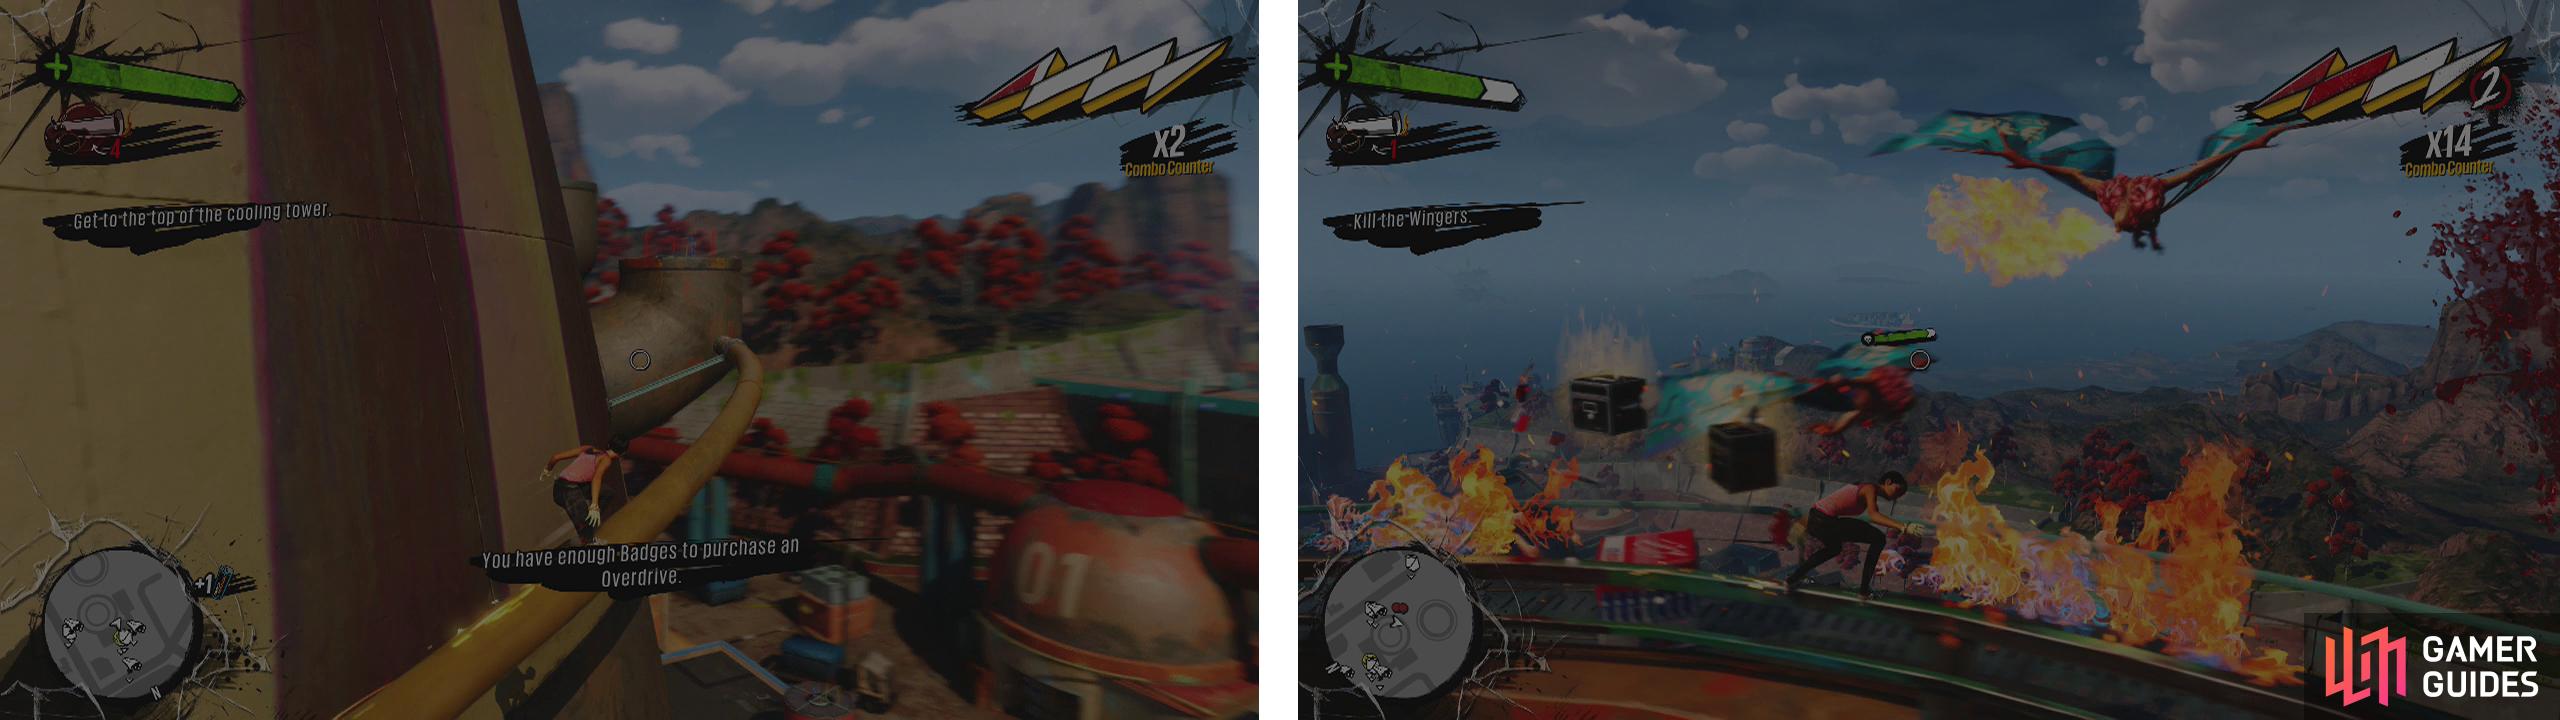
Grind your way to the top of the cooling towers (left) and kill the Wingers that are lurking there (right).
Now head over to the highlighted cooling tower and hop in. Hit the melee button on the way down to do a bounce slam. Keep pressing the button prompts as they appear until a scene plays.
Part 3: Water Treatment Plant
After the scene, you will now have the Excalamune weapon. This bad boy shoots fire when you swing it, causing tonnes of damage! Make your way over to the Water Treatment Plant and again, you will need to clear the area. This time it is Scabs on the menu!
There are a lot of them, however most of them are Rushers and with your brand new toy, you should have no problem wiping them out quick smart. It gets tricky with the regular machine toting Scabs and the pair of Tossers, who will join the fray after you kill enough Rushers. For both enemy types, you can charge and melee them to death or shoot from a distance to take them down.
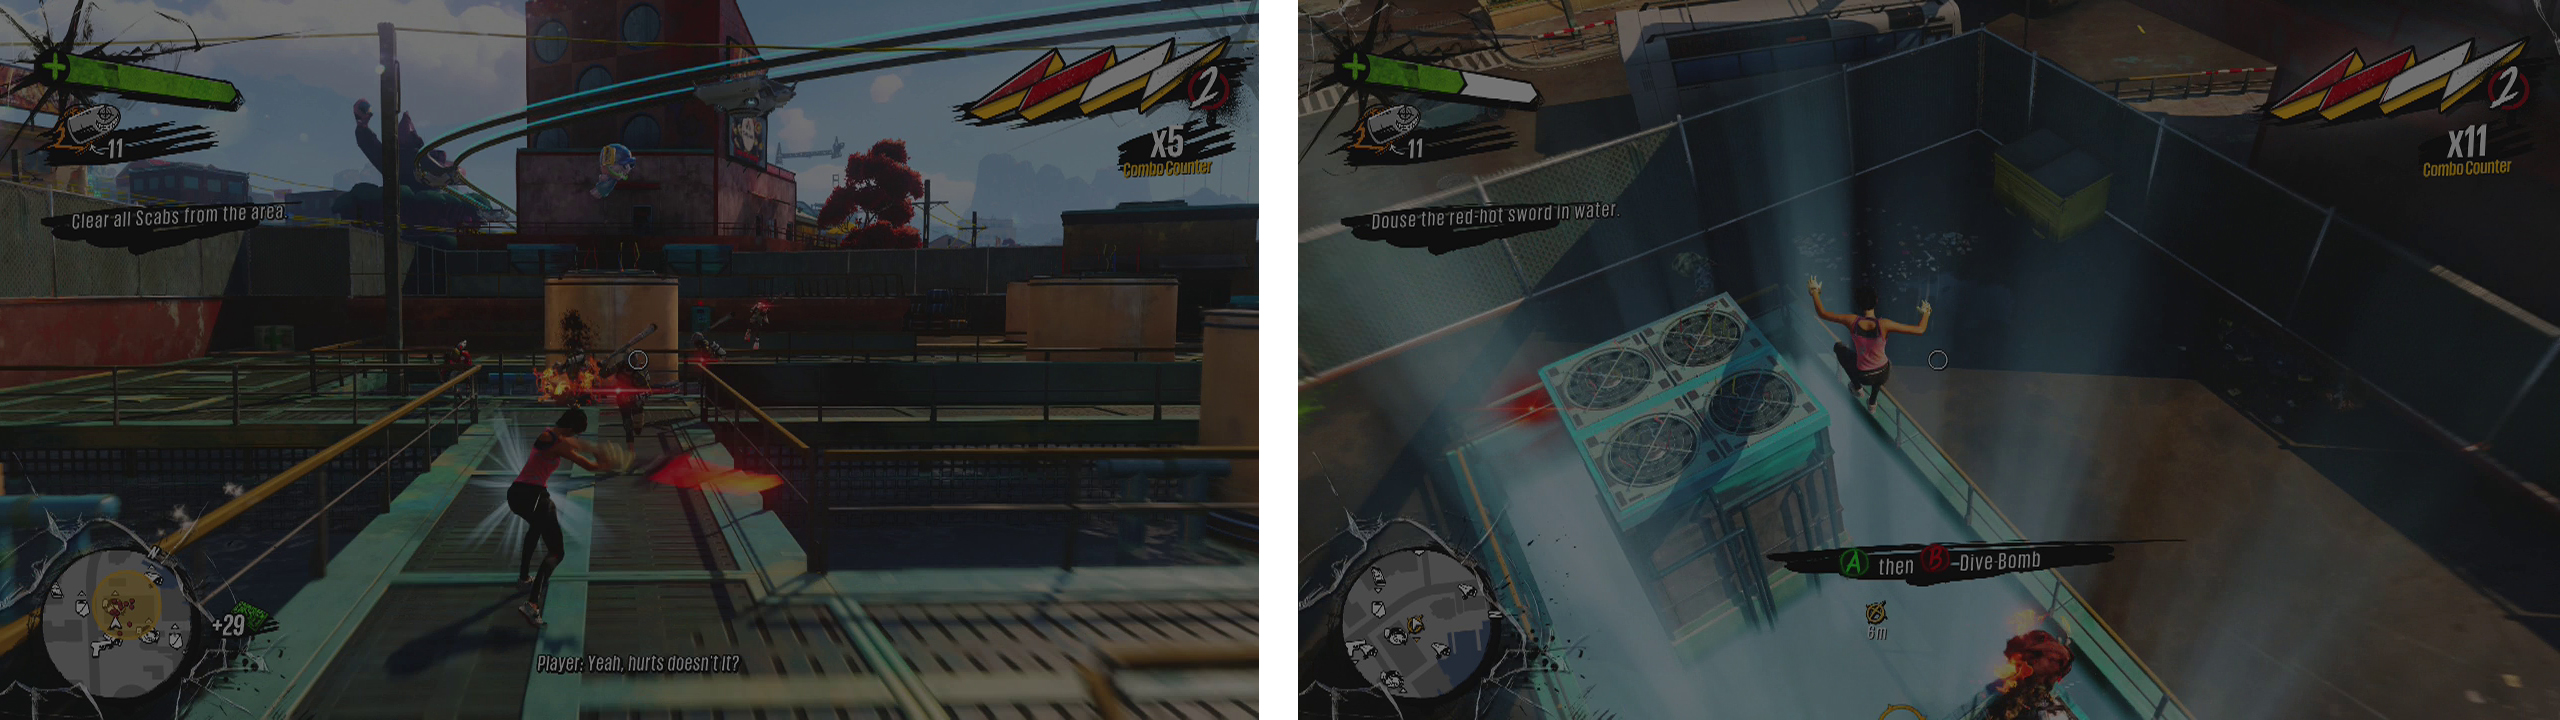
Use your new weapon to help eliminate the Scabs (left). Then divebomb the indicated pool of water (right).
Now that the area is relatively safe, head over to the objective marker and dive bomb it from a bounce for a scene.
Part 4: Hospital
Now that the sword is complete, it will shoot both electricity and fire when swung in a melee attack causing a ridiculous amount of damage (you can kill a Herker in 4 swings!). When you are ready to progress with the story, you need to make your way all the way (or fast travel) back to the Hospital.
Drop down to the car park, stand in the circle indicated by the objective marker and interact with it to begin the next phase.
Here is where you get to see just how ridiculously overpowered the Excalamune weapon is. We are going to get swarmed by Fizzco forces, with the majority being Blade Bots and the occasional Rifle Bot and we need to kill 99 in total to continue. The good news is your new sword will pretty much one-hit kill anything it touches. You may still want to shoot the Rifle Bots from a distance, or dodge roll your way over to them to take them out, but the Blade Bots are much, much simpler to dispose of.
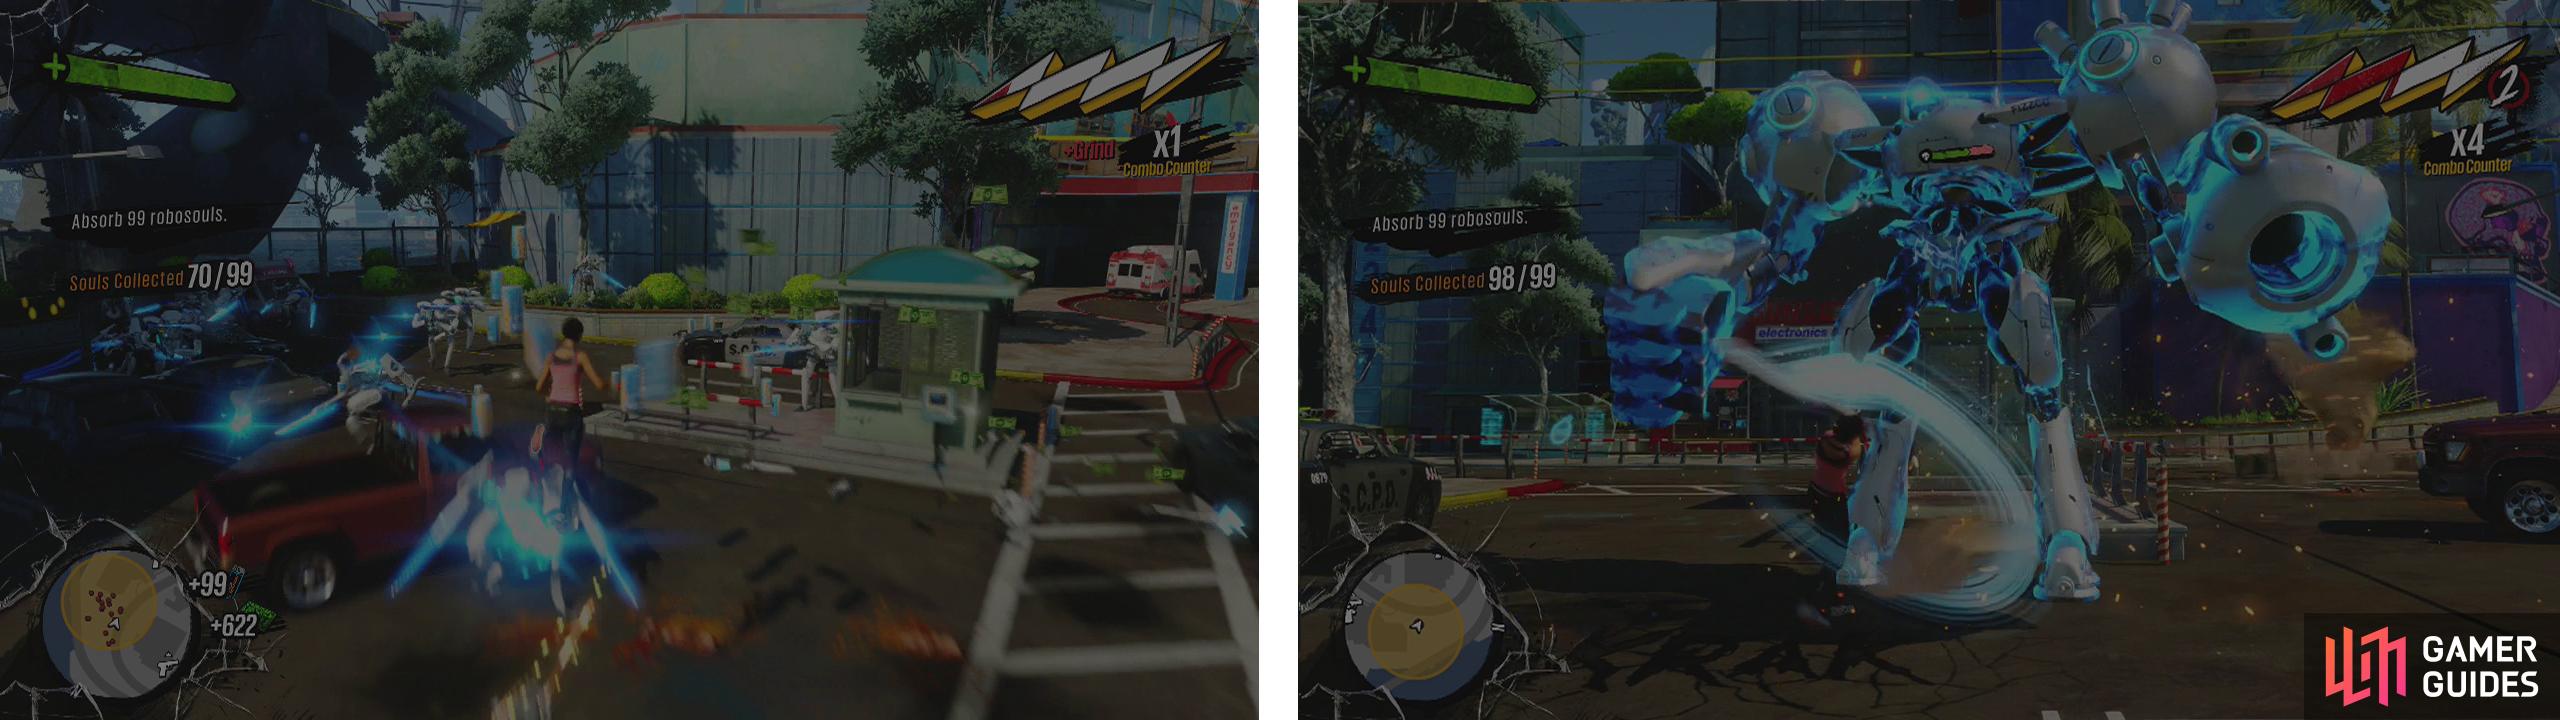
Use your ridiculously overpowered sword to eliminate 98 Fizzco Bots (left). Then go one-on-one with a Tank Bot (right).
Once you have consumed 98 robot souls a cut-scene will play. You’ll now face off against a Tank bot one on one. This too is super easy; just watch out for his ground punch electrocution attack and melee him. Nothing else in terms of his attacks will really bother you at melee range and the electricity from the sword should keep him stun-locked until he dies.
When it’s all clear, head back inside the hospital to end the mission.


| Reward/s: | Unlock/s: |
|---|---|
| $ 15,000 | Challenge: Traversal Challenge #14 |
| 8,000 x Overcharge | Challenge: Weapon - Excalamune |
| Weapon: Excalamune |
No Comments