Part 1: Locate Bryllcream
The first part of the mission has us destroying Fizzco guard posts. The first is quite close, so make your way over to the objective marker and defeat the turret and Fizzco bots located within the yellow mission area on the mini-map.
When it’s clear, you’ll need to climb the tower to the top. Follow the stream of objective markers that show you where to go and practice using your wall run as you ascend. Once you reach the top, interact with the panel at the base of the radio tower.
We’ll now be behind a scope that is able to focus on and listen to people talking in the distance. To begin with hold it over the objective marker. Look at the meter below the scope; you want to focus it on a location when the needle is pointing into the red zone. There a number of different locations to listen to. Once you have found Bryllcream, your objectives will be updated.
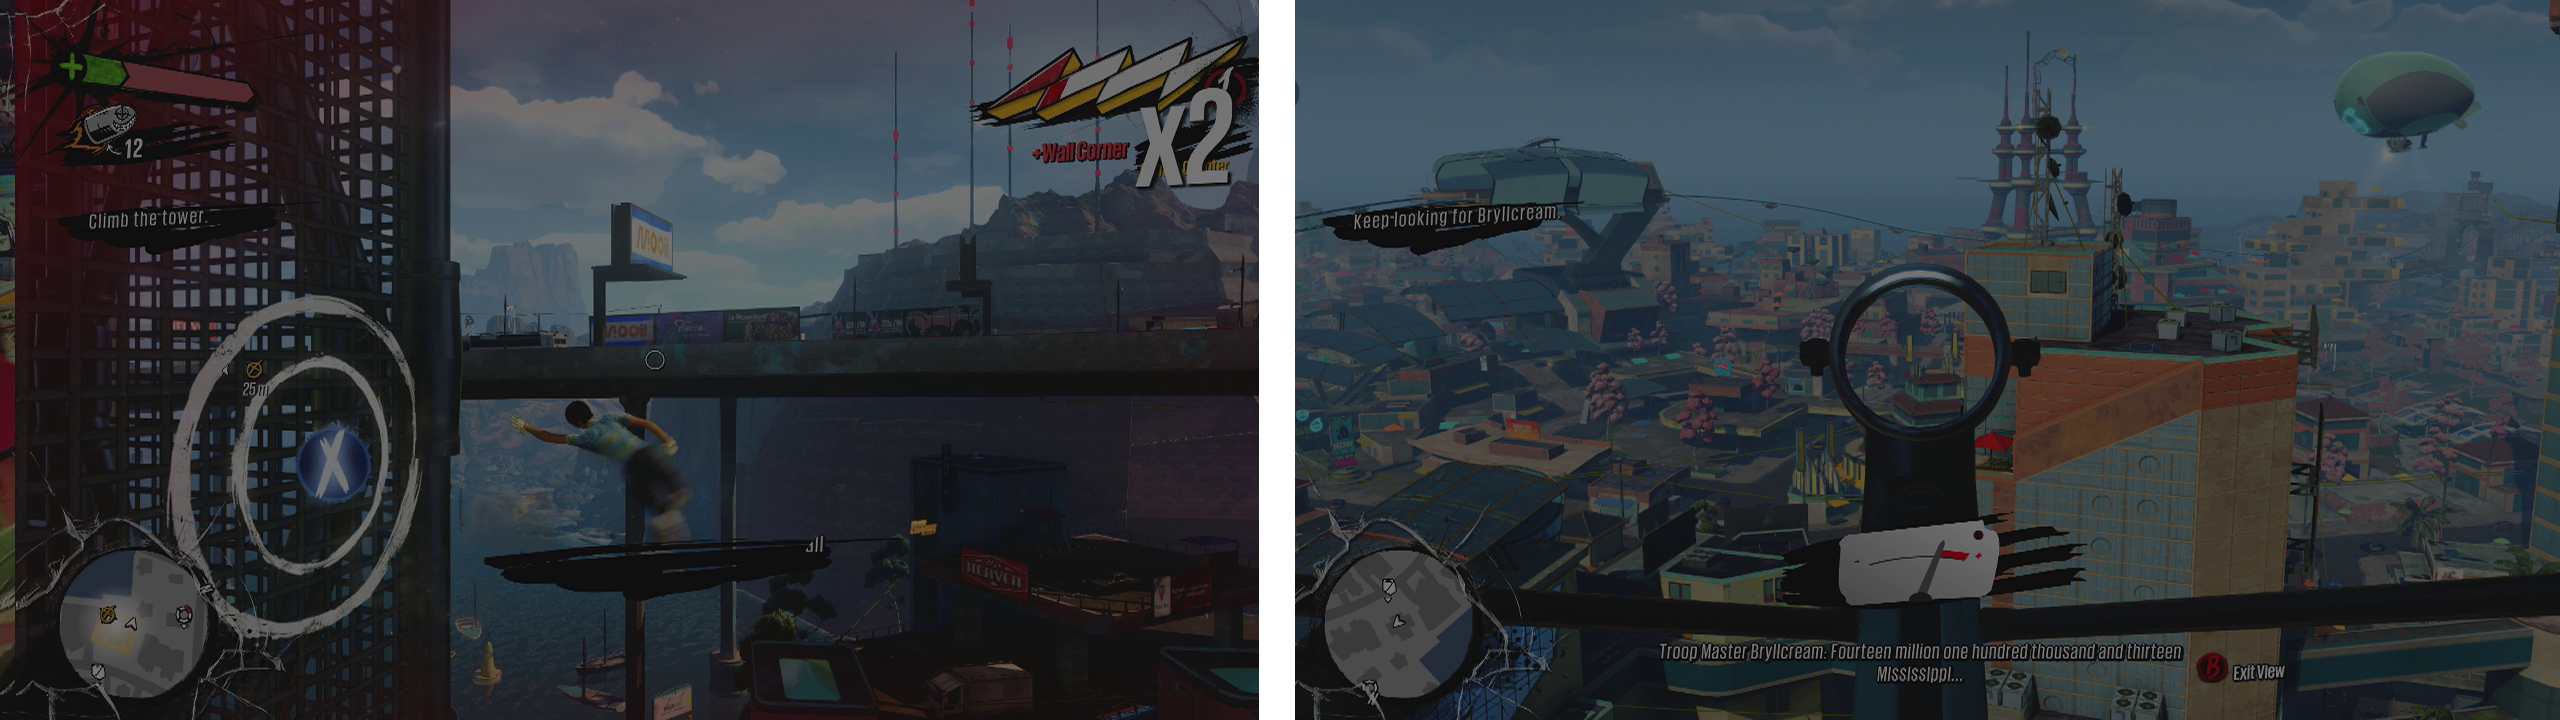
Climb the building (left) and use the radar scope at the top (right) to locate Bryllcream.
Make your way to the next objective marker on the helipad in the distance. As you approach, you will be attacked by multiple Fizzco Rifle and Blade Bots. They are quite numerous and can be a massive pain in the behind, so you should try and kill a few of them before reaching the destination to make navigation less painful. When you arrive, hop up onto the helipad, clear out any Fizzco Bots in the immediate area and then destroy the jammer.
Once you have disabled the jammer, head over to the next objective marker on a nearby building. This is for another satellite dish on the roof that we need to hack. Again, like the first building, you will need to use your wall running skills in places to reach the top, however this time the game won’t assist with constantly refreshing objective markers for you.
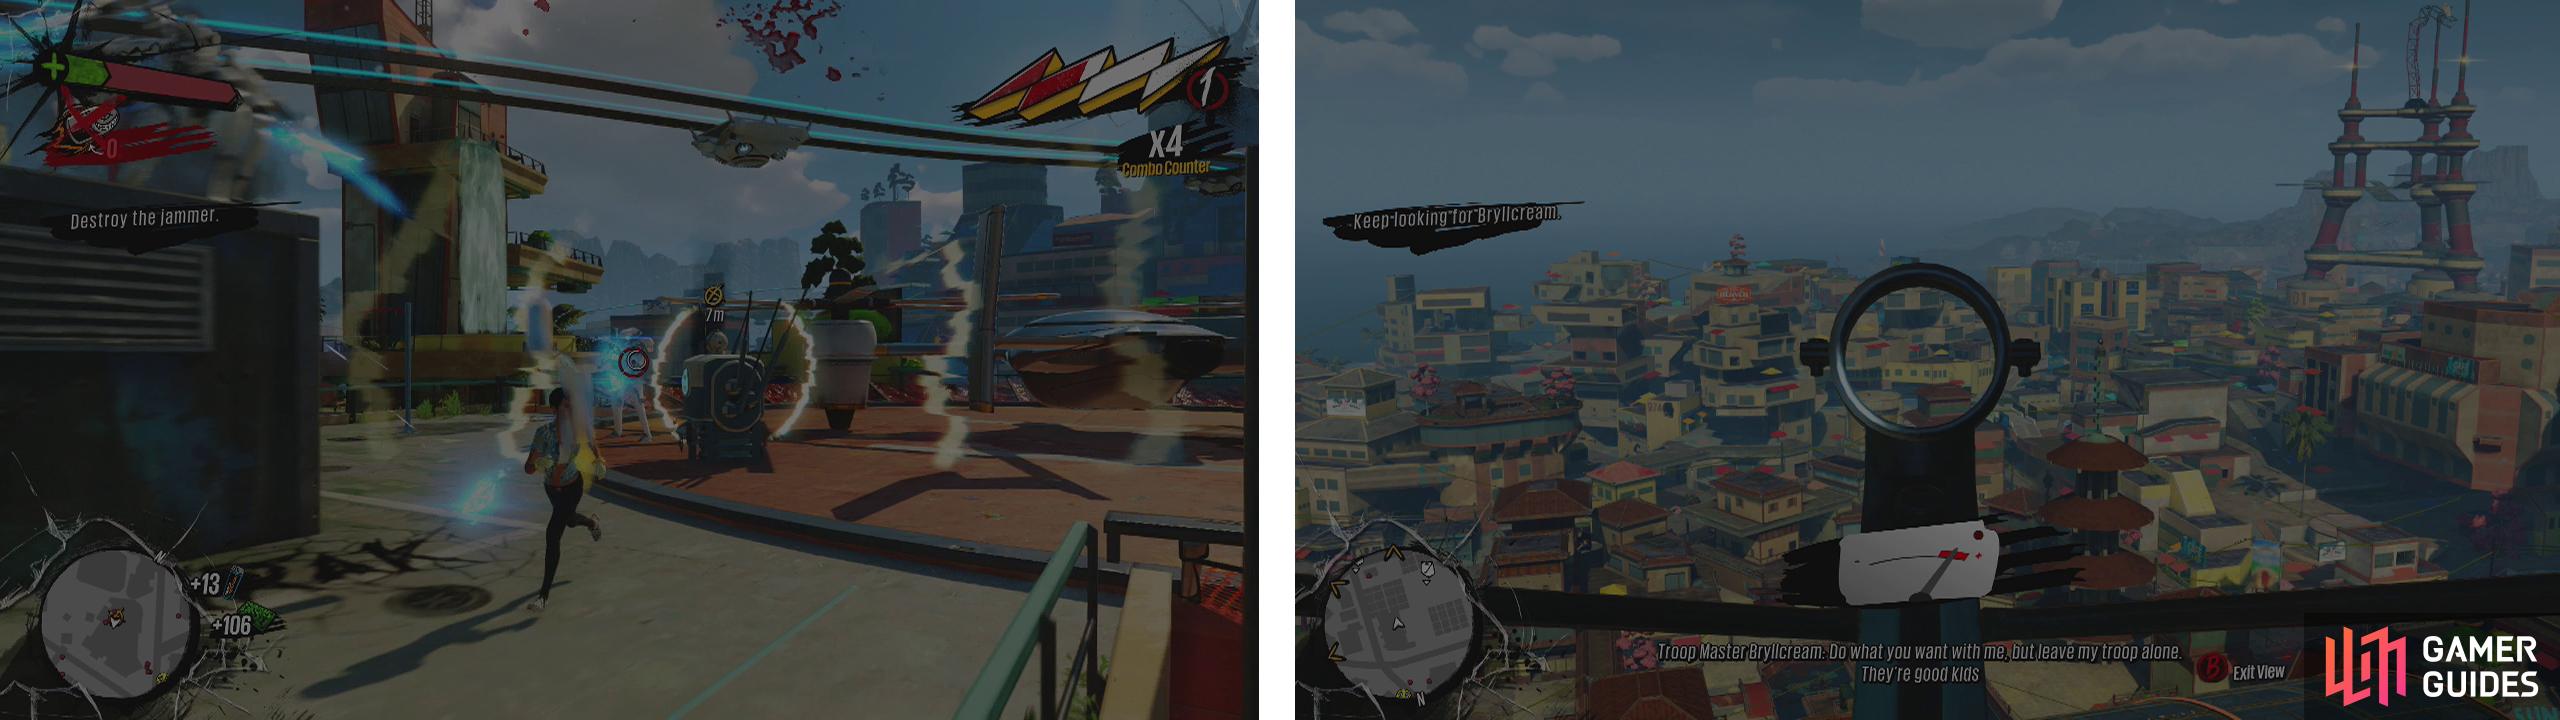
Clear out the Fizzco Bots and destroy the jammer (left) before climbing to the next radar scope (right) to locate Bryllcream.
Interact with the panel on the satellite dish once again and use the scope to locate Bryllcream using the needle at the bottom as an indicator. Once you have found him, exit the dish and your objective marker will be updated once more.
Part 2: Save Bryllcream
As you approach the car park at the next location, a short scene will play. Afterwards, enter the yellow mission area on the mini-map and clear out the Scab forces here. There are plenty of Rushers to keep you on your toes and a fair few regular Scabs, but perhaps the most annoying are the Tossers on the rooftop with their mine launchers. We’ll need to clear out the car park of bad guys before we continue, so prioritise the mine launchers if possible to make the rest of the fight a little easier.
Once the area is clear, make your way up to the rooftop and interact with the garbage truck. Following the scene, you will need to run and grab three kegs of Overcharge, all in relatively close proximity and throw them onto the truck. Of course, doing this the first time will immediately cause OD to appear, so be quick at grabbing the next two!
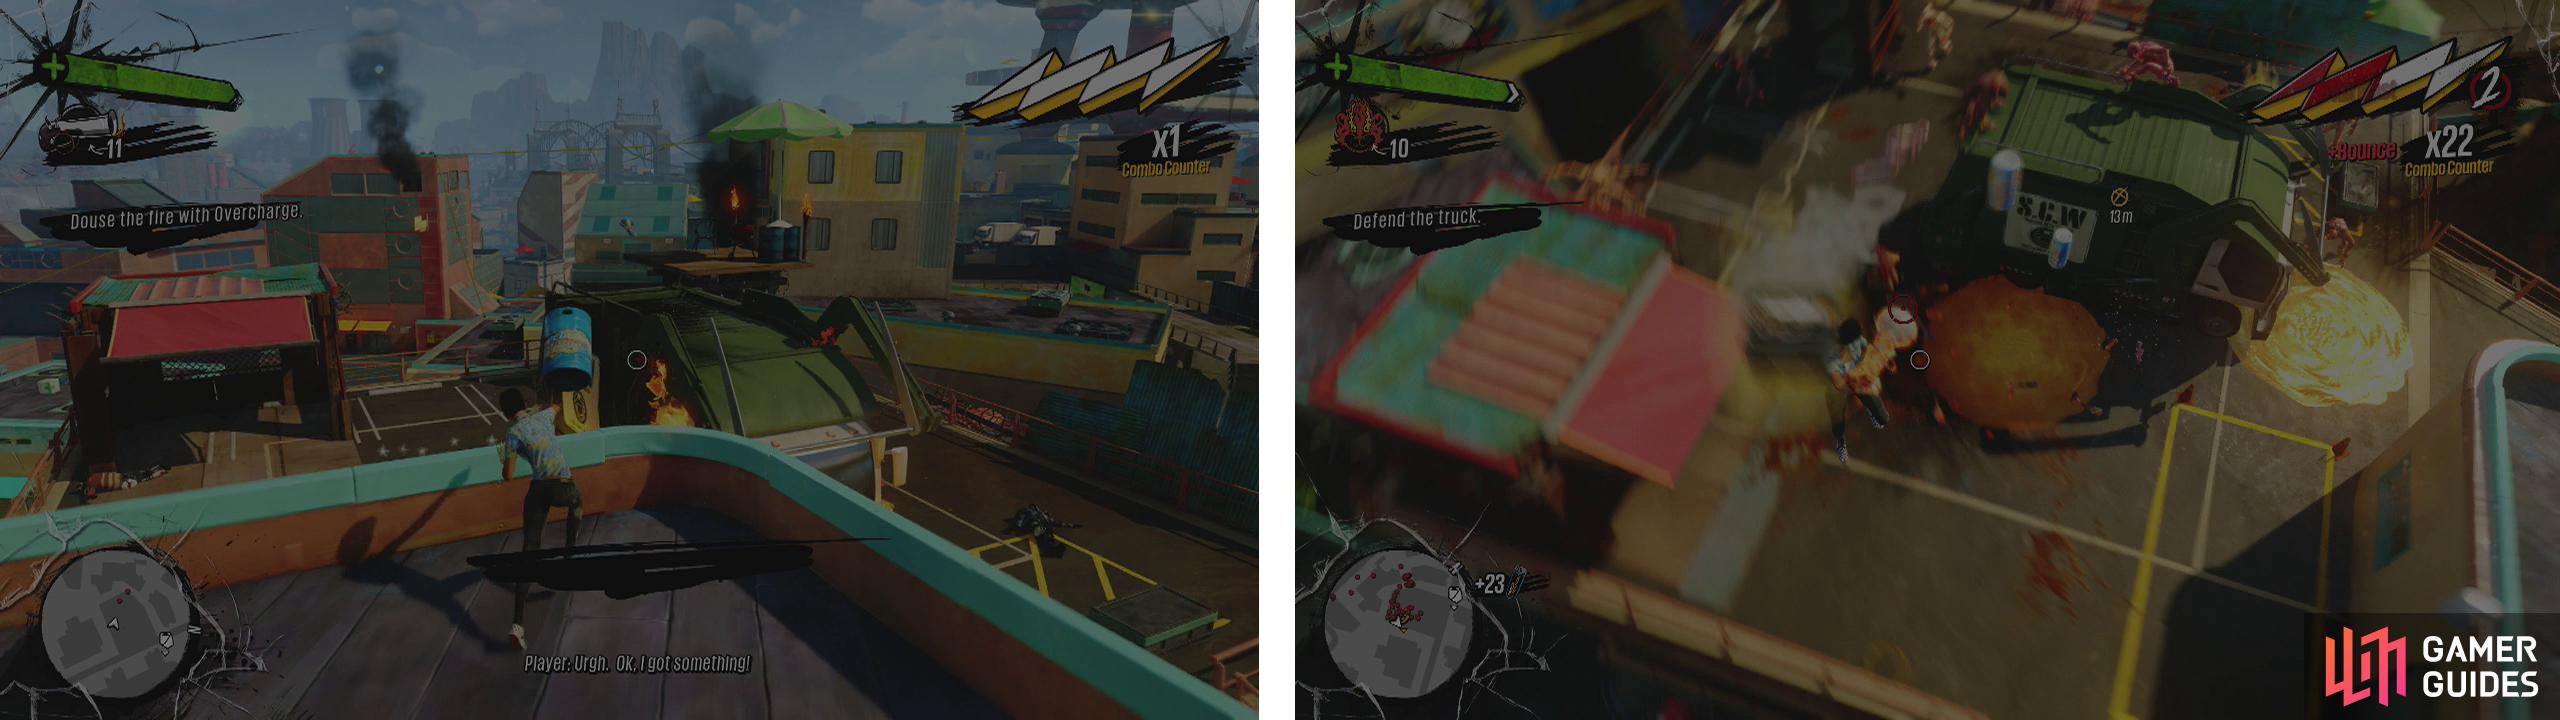
Throw the kegs of Overcharge to put out the fire (left). Then defend the truck against OD (right).
After drowning the truck in Overcharge, a great number of OD regulars will show up along with a few Poppers. We need to defend the truck for a short period of time, so continue to kill them as they come. When you have killed enough enemies, the garbage truck will take off, so quickly follow it out of the car park and jump on top of it at street level for a ride.
When the truck eventually stops, simply clear the street of any OD in the immediate area and then interact with the truck for a scene to end the mission.
| Reward/s: | Unlock/s: |
|---|---|
| $ 5,000 | N/A |
| 6,000 x Overcharge |
No Comments