
For Olberic’s third chapter, you will be travelling to Wellspring, which you should have already visited for Therion’s third chapter. You didn’t visit here during Chapter 2, so if you haven’t done Therion’s story yet, then look at that page for more information on making the journey to this desert town.
Having triumphed in the arena in Victors Hollow, he gained some insight on Erhardt and his past, leading him to Wellspring. With only the knowledge that Erhardt is somewhere in town, he decides to ask around town. There will be three people you have to talk to in order to advance the story. You learn that Erhardt is a bit of a hero to the town, as he helped fend off the lizardmen harassing the village. None of them know his current whereabouts and as you think about it, some guards track you down and question your motives in asking about Erhardt.
As Olberic questions his need to wield a sword, he finds out the reason for Erhardt’s current work in helping protect Wellspring. Captain Bale is about to tell you the location of Erhardt, when some lizardmen are seen approaching the town. Prepare and head west from the house to Western Wellspring Sands. Speak with Bale there when you’re ready to battle, which will trigger a battle with some Sand Lizardking Is. They have basic attacks and can buff the entire enemy’s physical attack, so they aren’t anything too special, but you want to take them out quickly. You can do this by exploiting their weaknesses to spears, staves and ice.
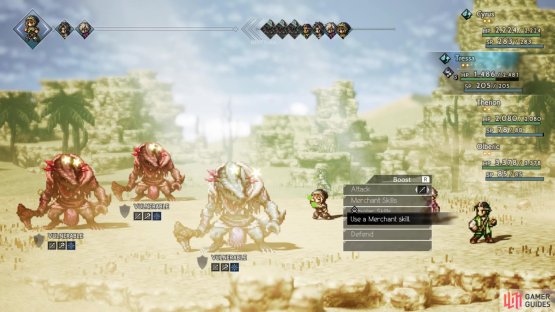

(1 of 2) Both sets of Sand Lizardkings share the same weaknesses

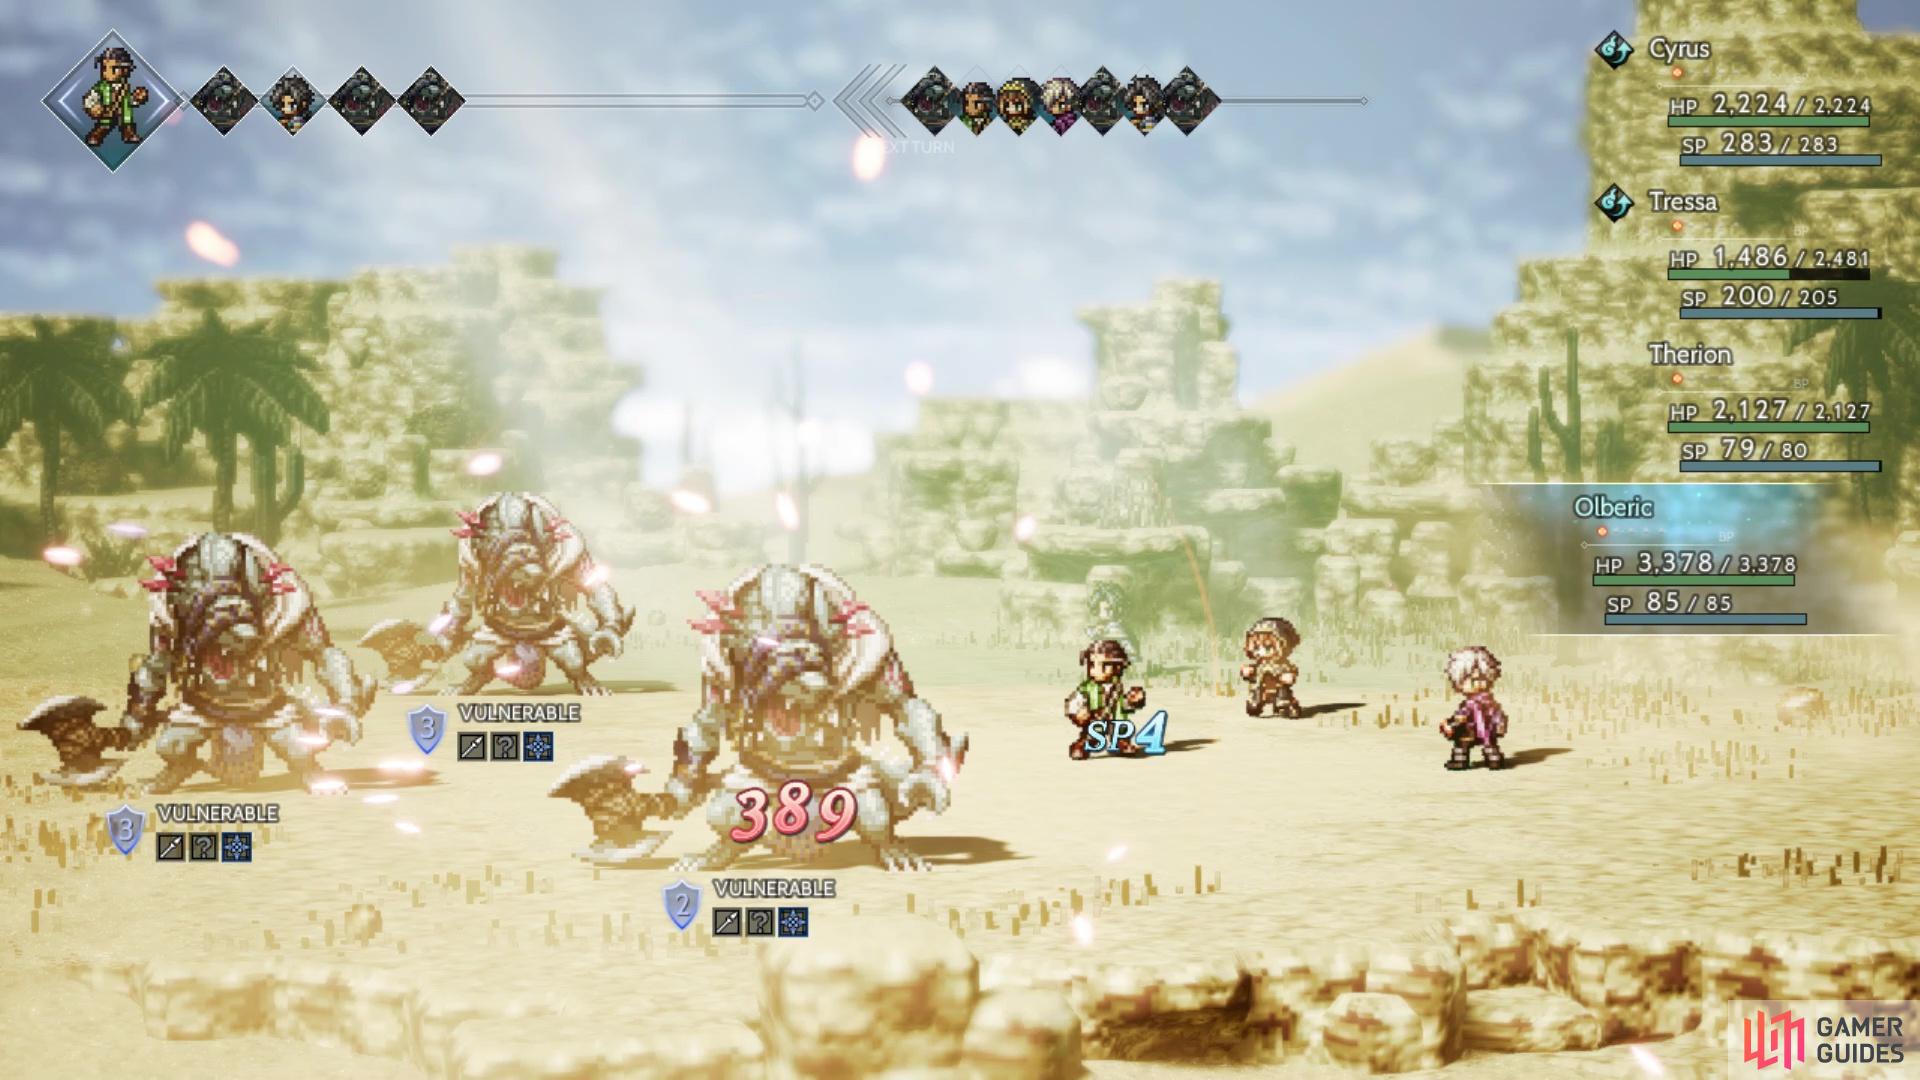
Both sets of Sand Lizardkings share the same weaknesses (left), although the second set will be a little stronger than the first (right)
After the first wave, you will get into another battle with Sand Lizardking IIs. They aren’t much different than the previous encounter, although they can debuff their defenses, but they have the exact same weaknesses. Once the second battle is over, you will have free reign to explore Western Wellspring Sands. There is nothing to the east, except for the save point you saw prior to the fights with the lizardmen. For now, stick to the northern edge of the map and you will eventually pass under a stone arch, with a chest found a little further beyond that (Olive of Life M).
Return to the pond of water to your east and from the western edge of it, head straight south to find another chest nestled along the southern end of the map (6,000 Leaves). Continue straight west to another save point, as well as the entrance to the Lizardmen’s Den.
Lizardmen’s Den
At the beginning of the dungeon will be a save point and just south of them, which might be a tad difficult to see because of the fog, are some stairs. Take these stairs and follow the trail to come to a chest, which holds 400 Leaves. Return to the beginning and climb the stairs to the left to the left of the save. As soon as you climb the stairs, head right and open the chest for 2,000 Leaves. Continue north, then move to the right to find a hidden passage, leading to a purple chest (Silver-filled Pouch).
Return to the main area and backtrack a tiny bit south, then look for the trail heading west to have it curve around and take you to another chest (200 Leaves). Back at the northern end, venture west and cross the bridge. As soon as you do, you will spot some stairs just to the south of the bridge, where there will be a chest underneath the bridge itself (800 Leaves). Climb the stairs to your left and open the chest at the end for a Copper-filled Pouch. Venture south from the bridge and you will find a chest at the end of the trail (4,000 Leaves).
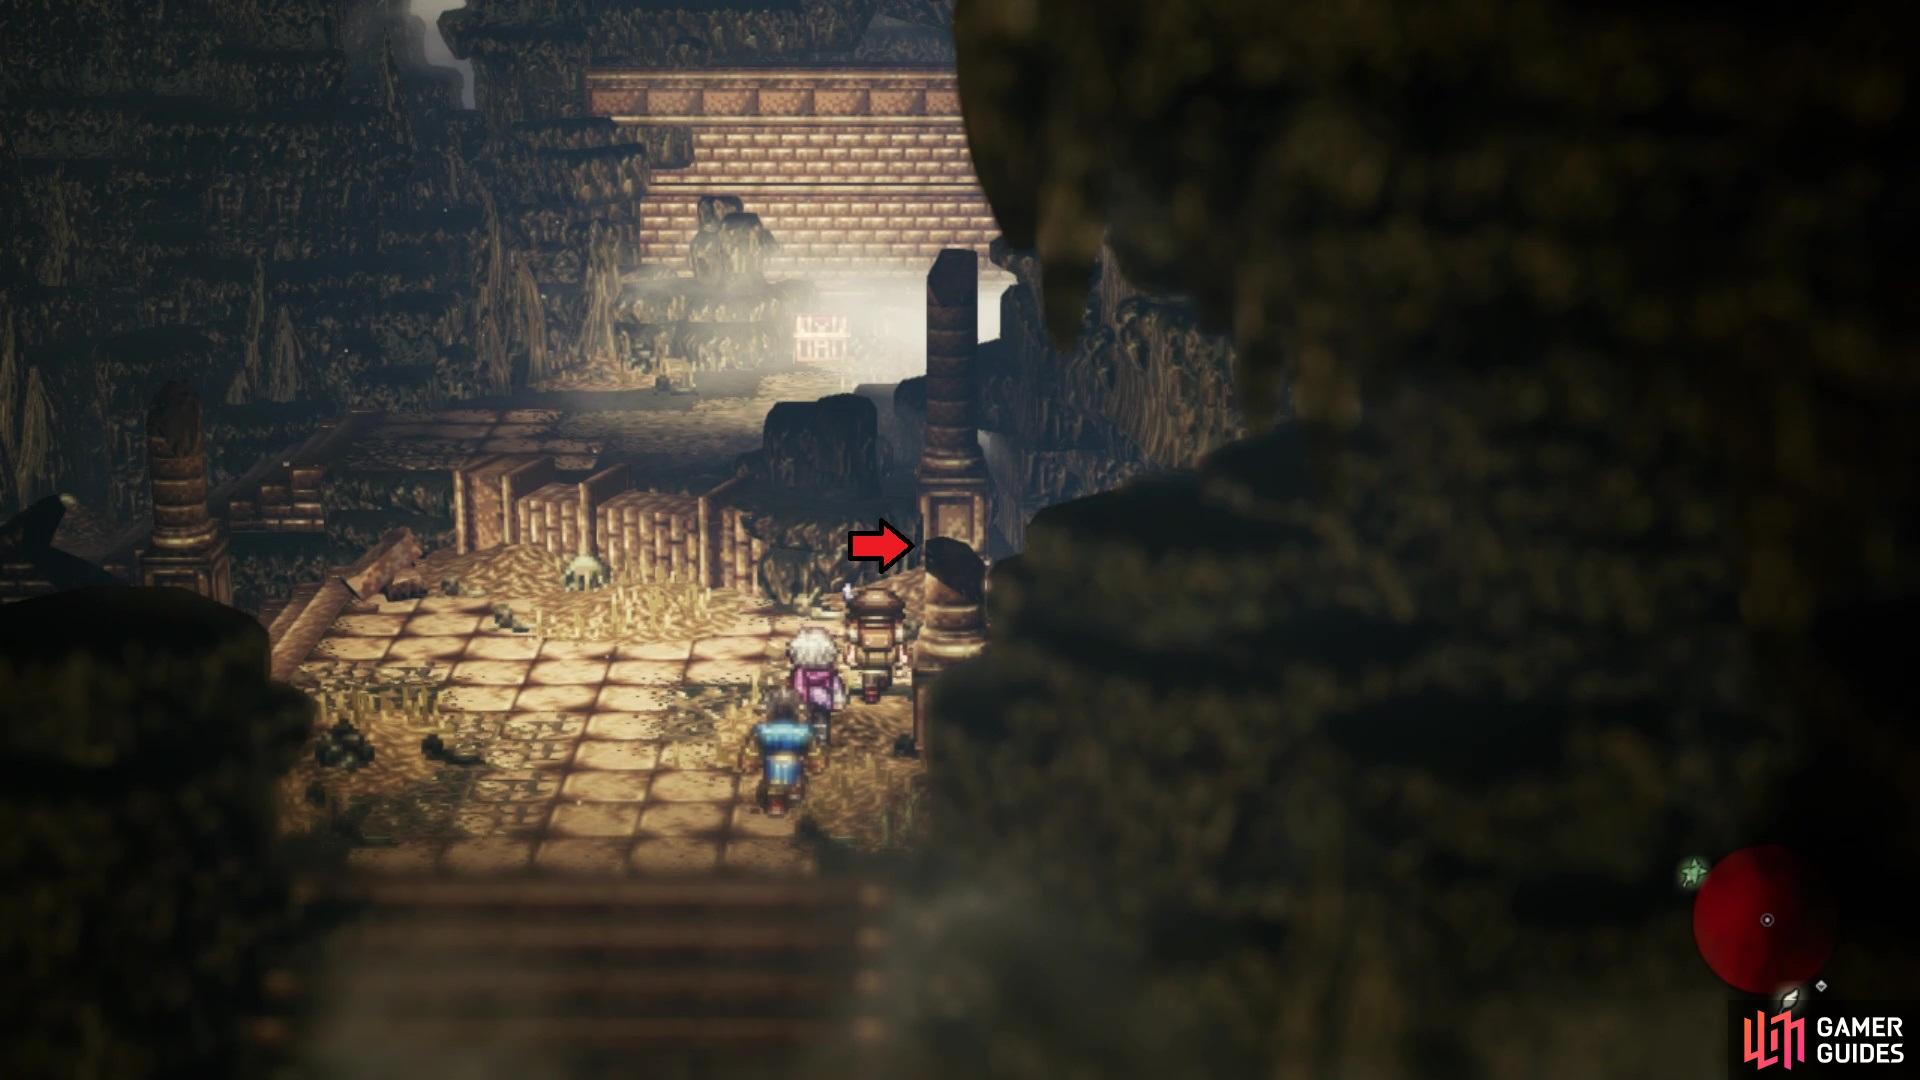
You will find a secret passage that leads to a purple, locked chest pictured above
It may look like the path to the north of the bridge is blocked by a broken pillar, but you can just go around the left side of it. Do that now and step to the right of the small set of stairs there to find another chest (1,000 Leaves). Run past the save point north of there, heading east, and you will find a chest in a small alcove (1,400 Leave), as well as one last chest a little more east (Copper-filled Pouch). Double back to the save point and step into the area north of it to meet with an old friend. After the short scene is over, head to the right and you will encounter the boss.
Lizardman Chieftain
As far as Chapter 3 bosses go, the Lizardman Chieftain is fairly tame, as he doesn’t really have any kinds of tricks and is pretty straightforward. He will begin the fight by using Summon Comrade, which brings two Sand Lizardkings into the fray, which triggers three of his weaknesses being blocked. They have pretty low health and are weak to spears, staves, ice and wind. In fact, they shouldn’t last long enough to do much of anything, so they aren’t a threat. Note that the Chieftain can resummon them throughout the battle, but they will have half health and less shields than before.
The Chieftain doesn’t really have many attacks, although the few he has can be annoying. Armor Crush hits for high damage and will debuff the person’s physical defense, while Wallop will deal a little less damage and have a chancr to inflict Unconscious. Between those two and his normal attack, you won’t see anything else until he hits 50% health, which is when he’ll throw in Rampage. This hits random party members around five to six times for medium damage. That is pretty much the entire fight, as the Chieftain doesn’t gain anymore shields or have a boosted attack. He is weak to swords, daggers, axes, lightning and light.
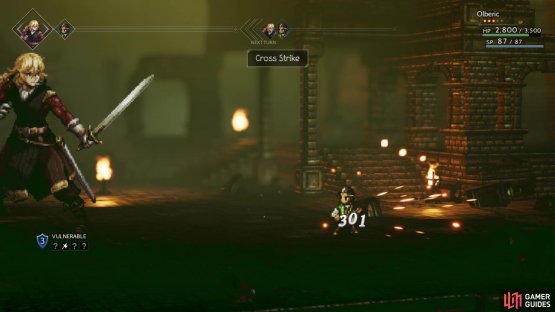
With the Lizardking Chieftain finally out of the way, it looks like Wellspring will finally be safe from their attacks. Return to where you first saw Erhardt and speak to him again (the area to the west has nothing). While talking with one another, you will see a prompt to duel Erhardt pop up. Go ahead and accept it to begin the duel. Despite Erhardt having a strength of ten, this is a scripted battle and it’s fairly easy. If your defense is up to snuff, then he should only be dealing around 2-300 damage with his normal attacks and about 3-400 with Cross Strike.

(1 of 2) The Chieftain’s most worrisome move is Armor Crush
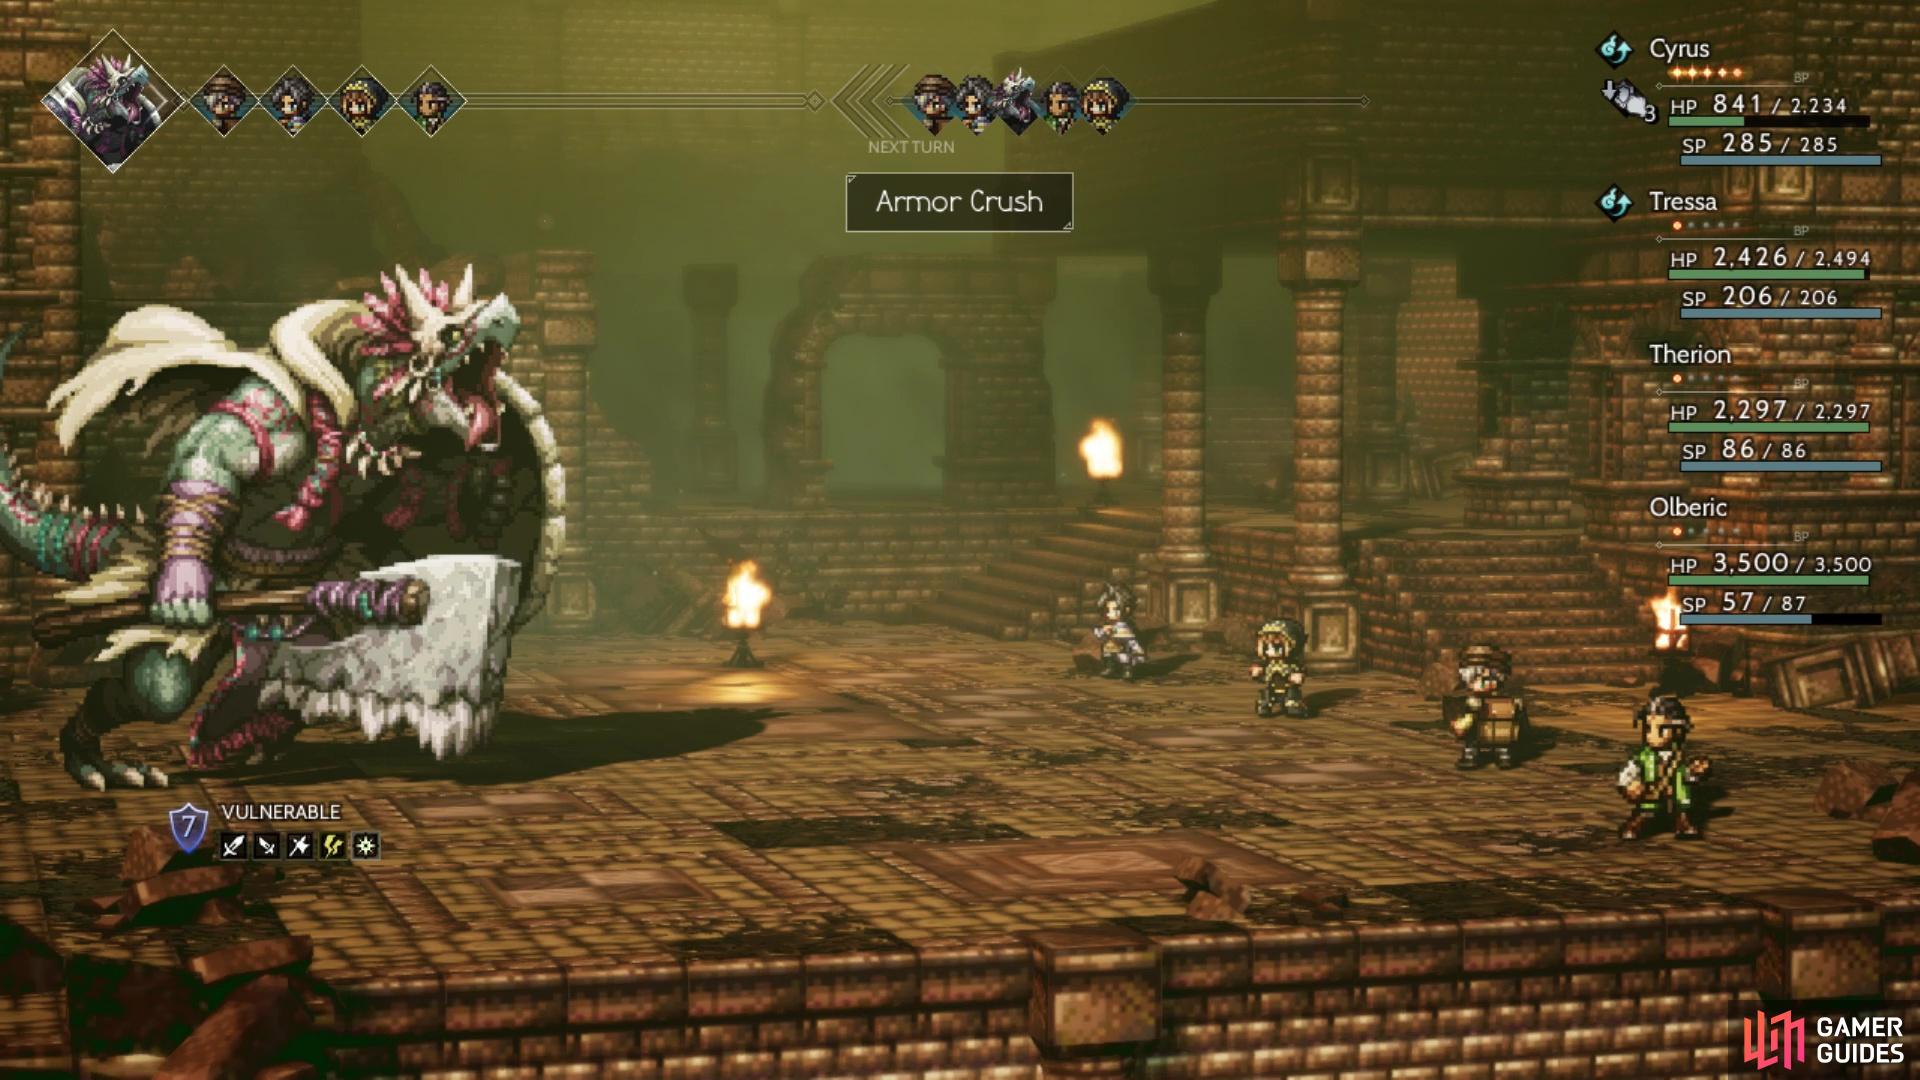

The Chieftain’s most worrisome move is Armor Crush (left), With the proper defense, Erhardt should be an easy duel (right)
Erhardt is weak to swords, axes, ice and dark. The best thing to do is use your basic sword attack to whittle his shields down, then use a max boosted Cross Strike to deal major damage. Don’t forget to heal when necessary and you can use Abide to up your physical attack when close to breaking, to just give that extra oomph to Cross Strike. It shouldn’t take long to finally get the upper hand on Erhardt and win.
After the duel is over, Erhardt and Olberic seem to make up and become friends again, with Erhardt telling Olberic of his former master. The one who planned the destruction of Hornburg was a man named Werner, who has set up shop in Riverford, Olberic’s next destination. This will bring an end to Olberic’s third chapter and if you’ve been following this guide, this will be the end of Chapter 3.
No Comments