Luckily for you, Tressa’s second chapter also begins in Quarrycrest, so head to the tavern and choose to start her tale. She is following in the footsteps of the mysterious traveller in the diary she got from Leon, who mentions resting in Quarrycrest. After the initial scene, where you’re introduced to someone named Mr. Morlock, you will need to head to the upper area of this section of town, where another scene will take place. It looks like the worker found something and Tressa wishes to purchase it off of him.
Use Purchase to get the stone from the migrant worker, then watch the scene that occurs after that, where you meet another merchant named Ali. You will witness Tressa in action, in another cutscene, as she sells the skystones and earns you a nice cool 1,500 Leaves. You’ll regain control here and should return to the Quarrycrest Mines area. Go to each of the NPCs with the green bubbles and purchase the Nondescript Stones from them. There’s three in total and once you’ve done that, return to the square. Some more scenes will happen, including one of Ali taking your customers away from you. This will lead to you having to approach the front of the village, where Mr. Morlock butts his head into the conversation. After it’s all over, him and his friend drag Ali away to Morlock’s Manse and Tressa goes to rescue him.
(1 of 2) If you don’t begin a chapter upon arriving in a town
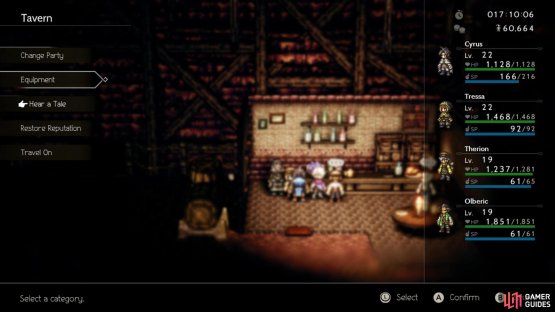
If you don’t begin a chapter upon arriving in a town (left), you can use the Hear a Tale option in the tavern to start (right)
Road to Morlock’s Manse
When you’re ready to continue Tressa’s story, there’s an exit in the northwest of the first section of town that leads to the Road to Morlock’s Manse. Without being distracted by the chests you likely see, head west at the beginning to the end, then look south for a ramp that will bring you back around to the one chest to the south (Healing Grape M). Return north and as the path veers off to the east, keep following it east to some stairs that put you in front of another chest (Inspiriting Plum). Continue north from there and when you reach the save point, there is a path off to the east that leads to one more chest (5,000 Leaves). Go ahead and enter Morlock’s Manse now.
Morlock’s Manse
Climb the stairs before you and enter the first room on the left for a chest (Healing Grape M). The door to the right of the first leads to a large room with nothing in it (and another exit), so run past it and the hallway heading south, until you find some stairs going down. At the bottom of the stairs, enter the first doorway to find another chest, which contains an Energizing Pomegranate (M). Climb the stairs just past that room to run into a save point. Feel free to use it, then take a peek inside through the doorway next to it to spot another chest (Conscious Stone).
In the northwest corner of the same room, there is a hidden passage that leads to an extremely well-hidden chest (6,000 Leaves). Return to the previous room and exit to the southwest, following the path to another room with a chest (Wind Soulstone M). Double back to the save point now and exit the first area of the manse to the northeast. In this new area, there is a doorway to your left upon entering, which houses another chest for you (Refreshing Jam). Up the stairs, avoid the first room and enter the second to find a purple chest, which will yield a Hasty Helm when opened.
The next two rooms have nothing, so you can safely ignore them and head down the stairs nearby, where you will find another save point and a large doorway. Move past the doorway to spot one final chest for an Olive of Life (M). That about wraps it up for this dungeon, so heal up, save and go through the doorway to face another boss.
BOSS - Omar
Omar comes prepared with two Footmen, although you see that Omar is in front and doesn’t block any weaknesses, unlike Cyrus’ boss (if you did that first). However, there is another mechanic in play here, which will be talked about in a little bit. At first, you will want to concentrate on the Footmen, since they can put out quite a bit of damage on their own. You have their normal attack, as well as Slice, which is a stronger version against one ally. Vacuum Slice will hit all of your characters and Violent Slash does random hits against your party from two to four times. They are weak to swords, axes, lightning and wind.
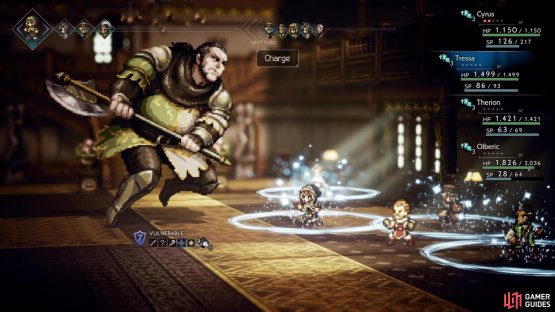
(1 of 2) Omar will gain more shields upon recovering from a break
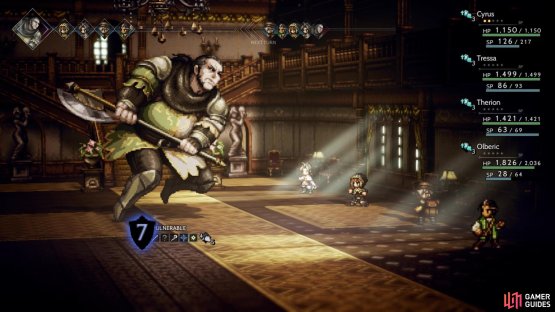
Omar will gain more shields upon recovering from a break (left), Hired Help’s Mercenaries are a great tool to use in physical-heavy battles, due to them buffing the party’s physical defense (right)
By now, you should have the majority of the Merchant’s skills available to you. Of a particular note is the one called Hired Help. If you have never used this before, for fear of spending your money, it brings up a list of people you can summon into battle with a list of costs. Surprisingly, one of the better ones is the cheapest option, the Mercenary, for 150 Leaves. While the damage isn’t anything to be proud of, since it does single digit most likely, the Mercenary will cast a party-wide defense buff. Boost it and the defense buff will last longer, plus you’ll get more attacks from the Mercenaries.
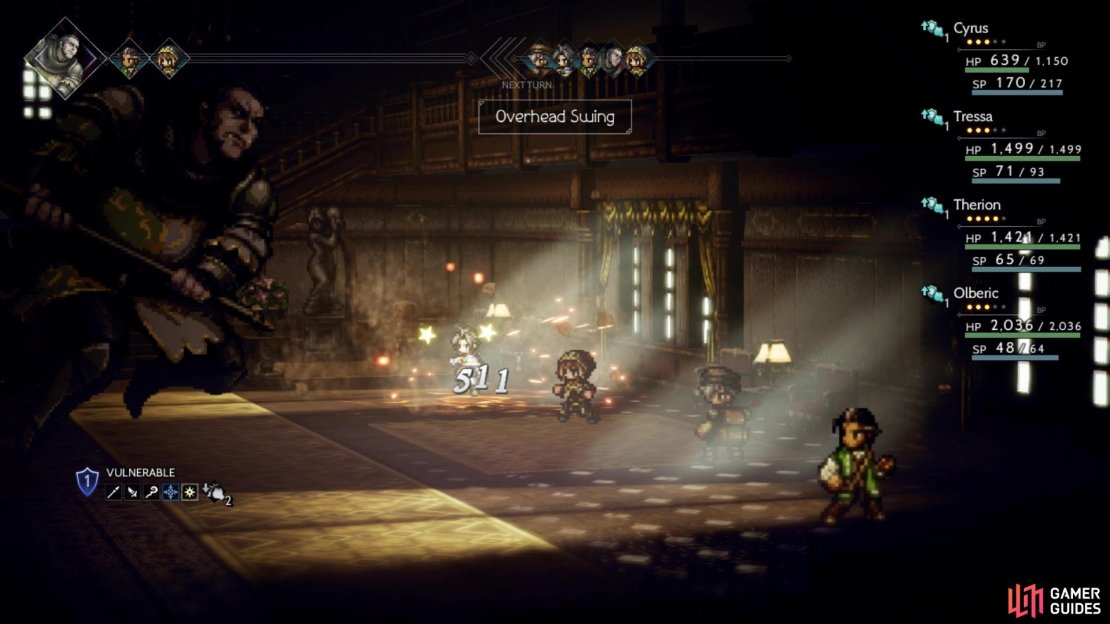
As for Omar, his normal attack probably hits for around 200 damage, while Sideswipe hits the entire party for 3-400. His Money’s Worth will summon the familiar dark aura, after which he will use Overhead Swing on a single character. This does massive damage and can also inflict Unconscious, so you might want to keep his shields low and break him before he has a chance to use it. Remember that extra mechanic mentioned in the opening paragraph? Well, whenever Omar recovers from having his shields broken, he will tighten his defenses, which will grant him two more shields, permanently. Omar is weak to spears, daggers, staves, ice and light.
He will do this twice, so while he starts with five shields, he can have a total of nine by the battle’s end. So, the flow of the battle is to get rid of his Footmen, then reduce his shields to the point where you can easily break him whenever he uses His Money’s Worth, so you don’t see Overhead Swing. When he regains composure and increases his shields, fall back on the same tactic as above. Note that he can resummon his Footmen, but they will have half health and one less shield. Don’t forget any debuffs, like Leghold Trap (which helps a lot), and buffing your own party members.
Overhead Swing, Omar’s ultimate move, not only does big damage, but it can also inflict Unconscious
Upon felling Omar in battle, Morlock will be a better listener and leave town for good. Back in town, Ali will say he owes you a debt and mention the Merchants’ Fair, which is held in Grandport. That will be your final destination, as Tressa opts to head for Victors Hollow next to find a treasure beyond her wildest dreams. That’ll put an end to Tressa’s second chapter.


No Comments