
Battling Basics
If Cyrus if your first character, then this will be your first dungeon. Enemy encounters are random and upon getting into your first battle, you will see a brief tutorial about exploiting enemy weaknesses. Basically, all enemies in the game have what is called Shield Points, which is shown to the left of the vulnerable boxes. In order to break an enemy, you need to hit them with one of their weaknesses, which will reduce their Shield Points by one. For an example, let’s take a look at one of the enemies in this dungeon, the Ice Sentinel. It only has a single Shield Point and is weak to both staves and fire, two things in Cyrus’ repertoire (the three other weaknesses you don’t have access to right now).


(1 of 2) The Shield Points and weaknesses are shown under the enemy sprite
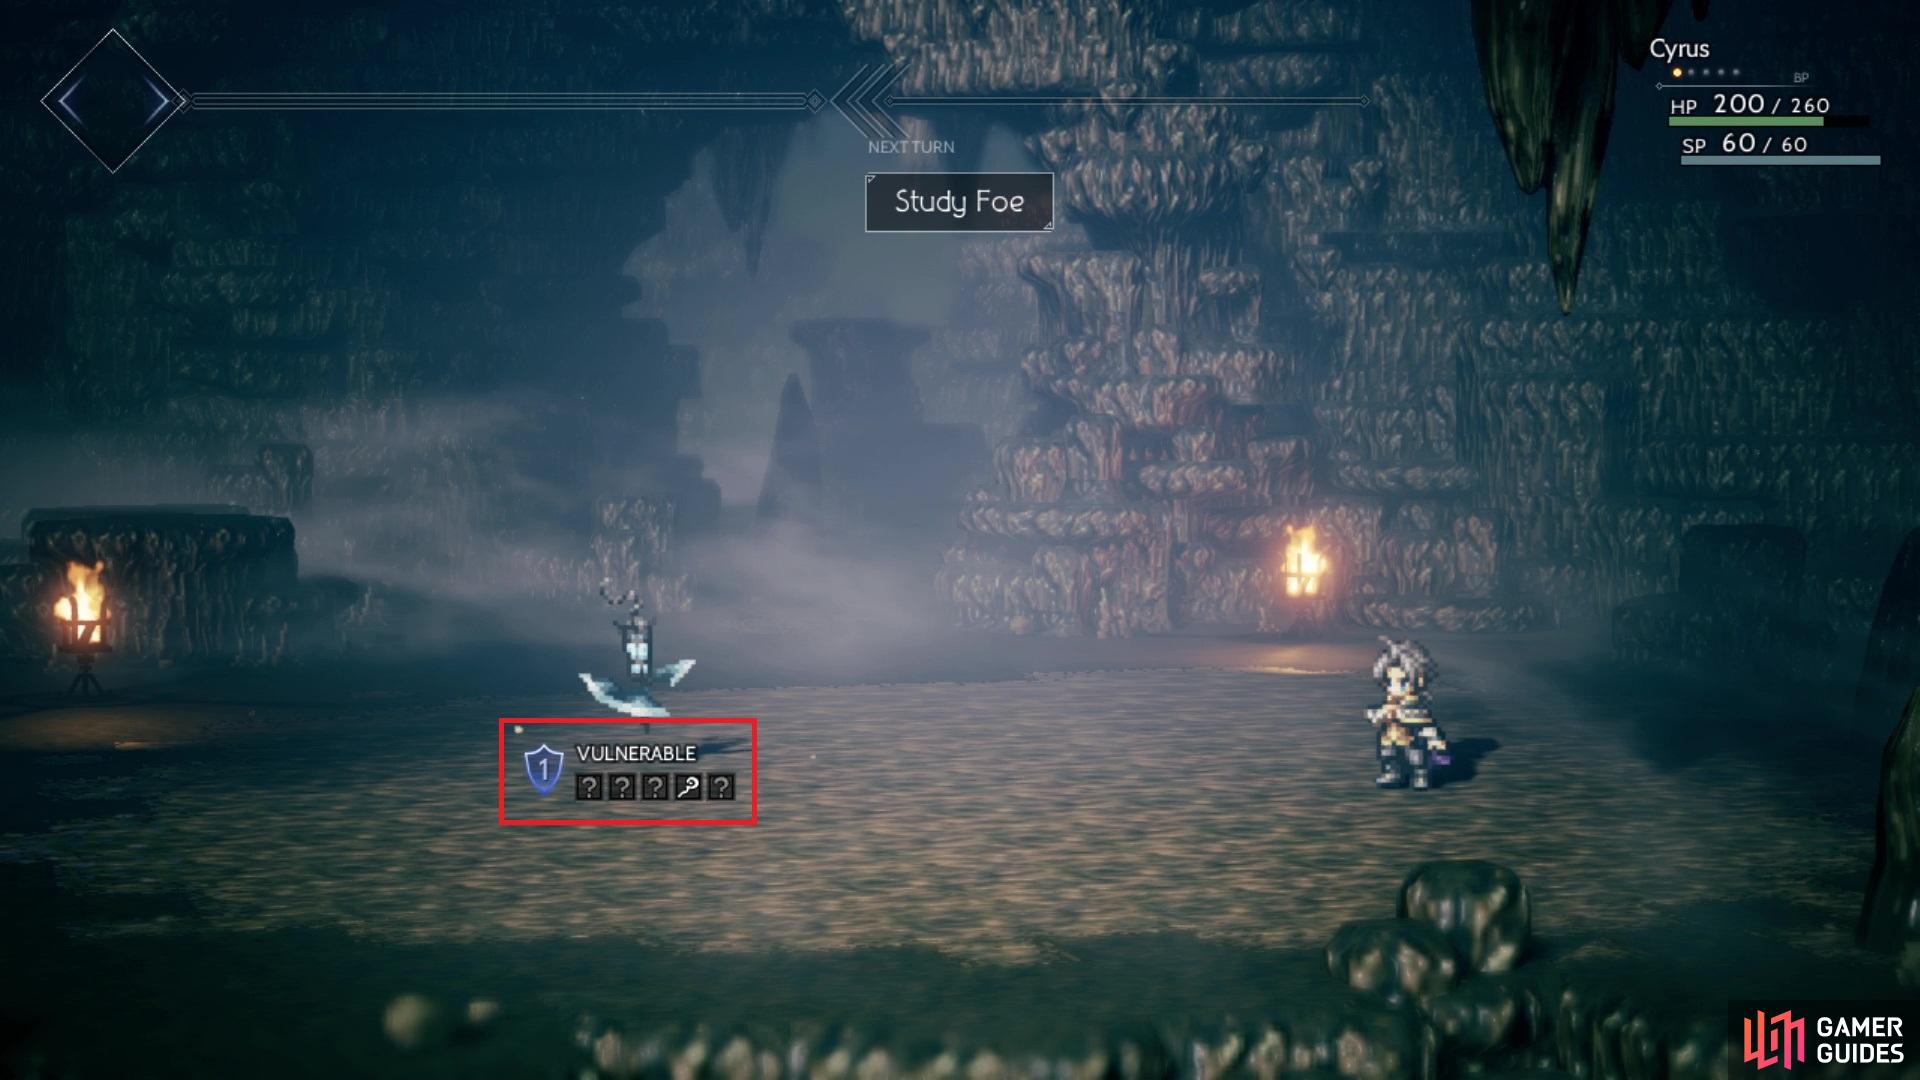
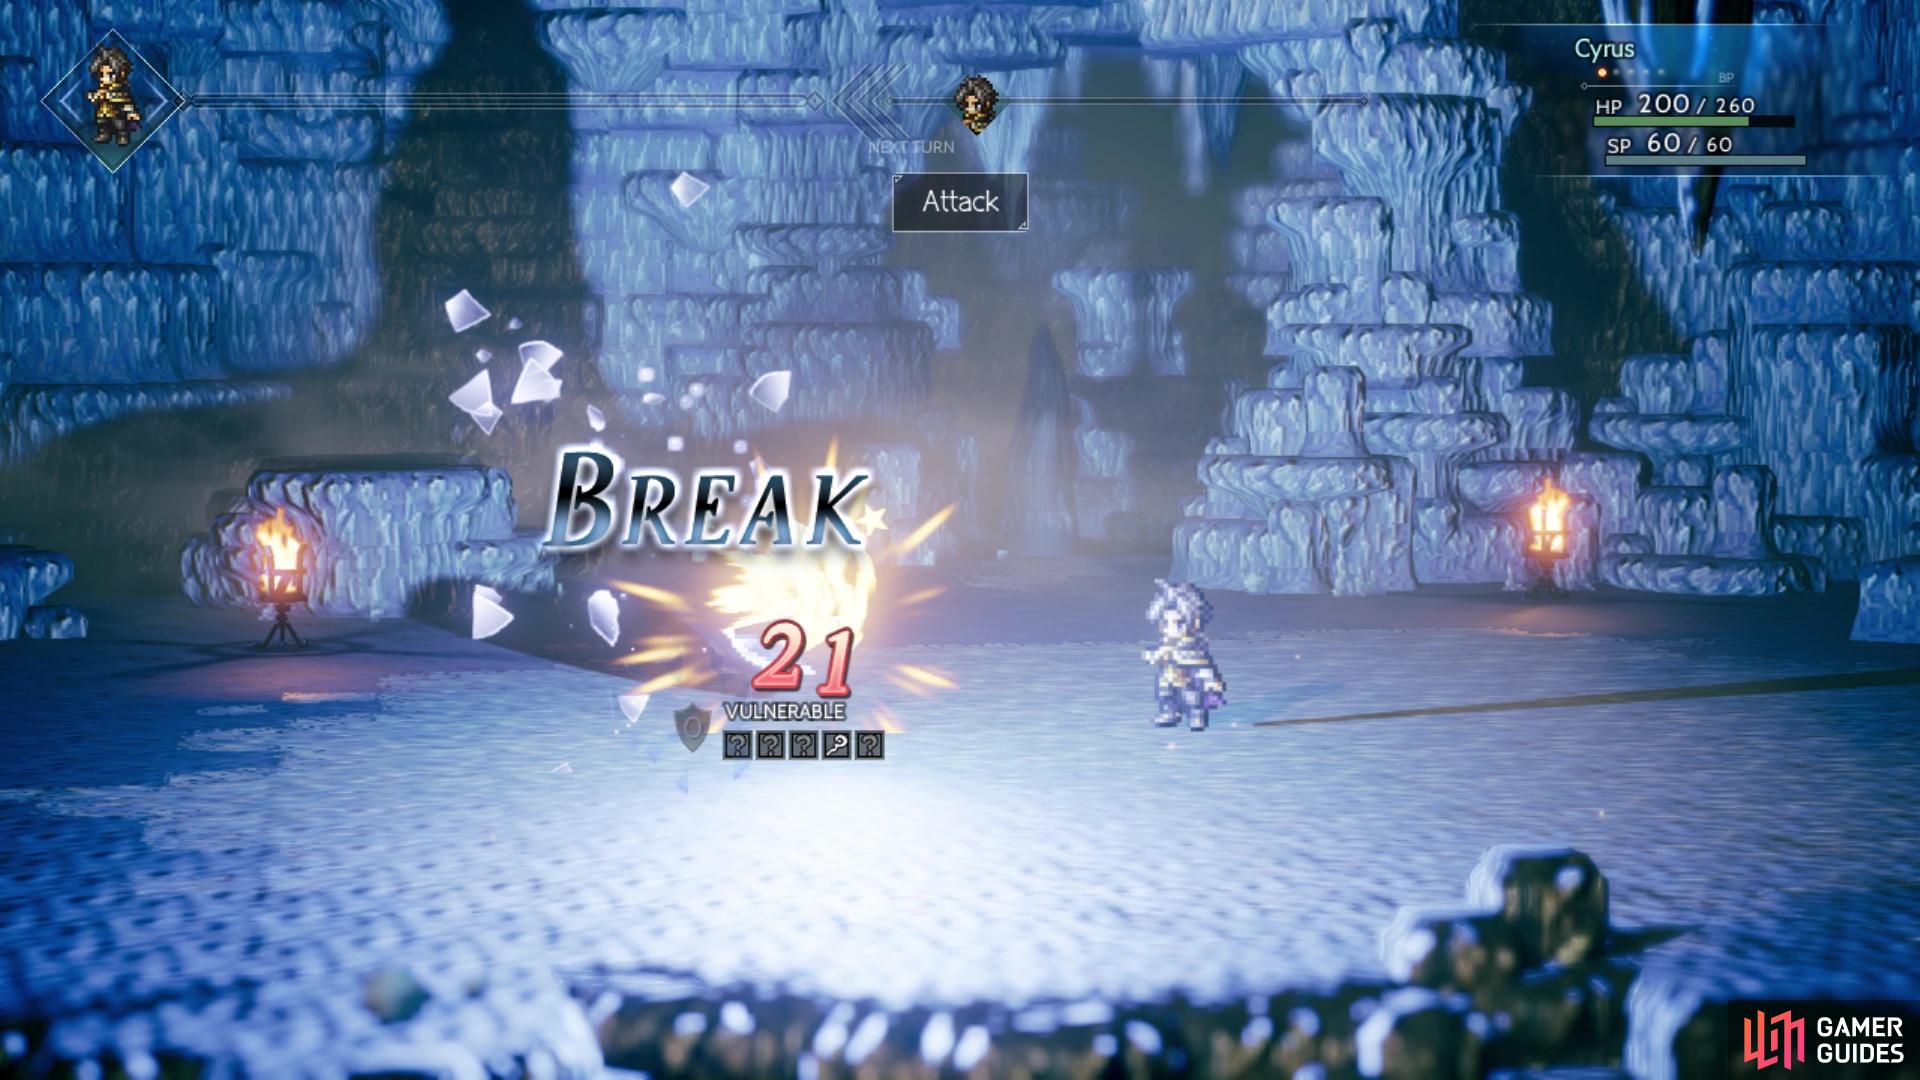
The Shield Points and weaknesses are shown under the enemy sprite (left), Reduce their Shield to zero to break the enemy (right)
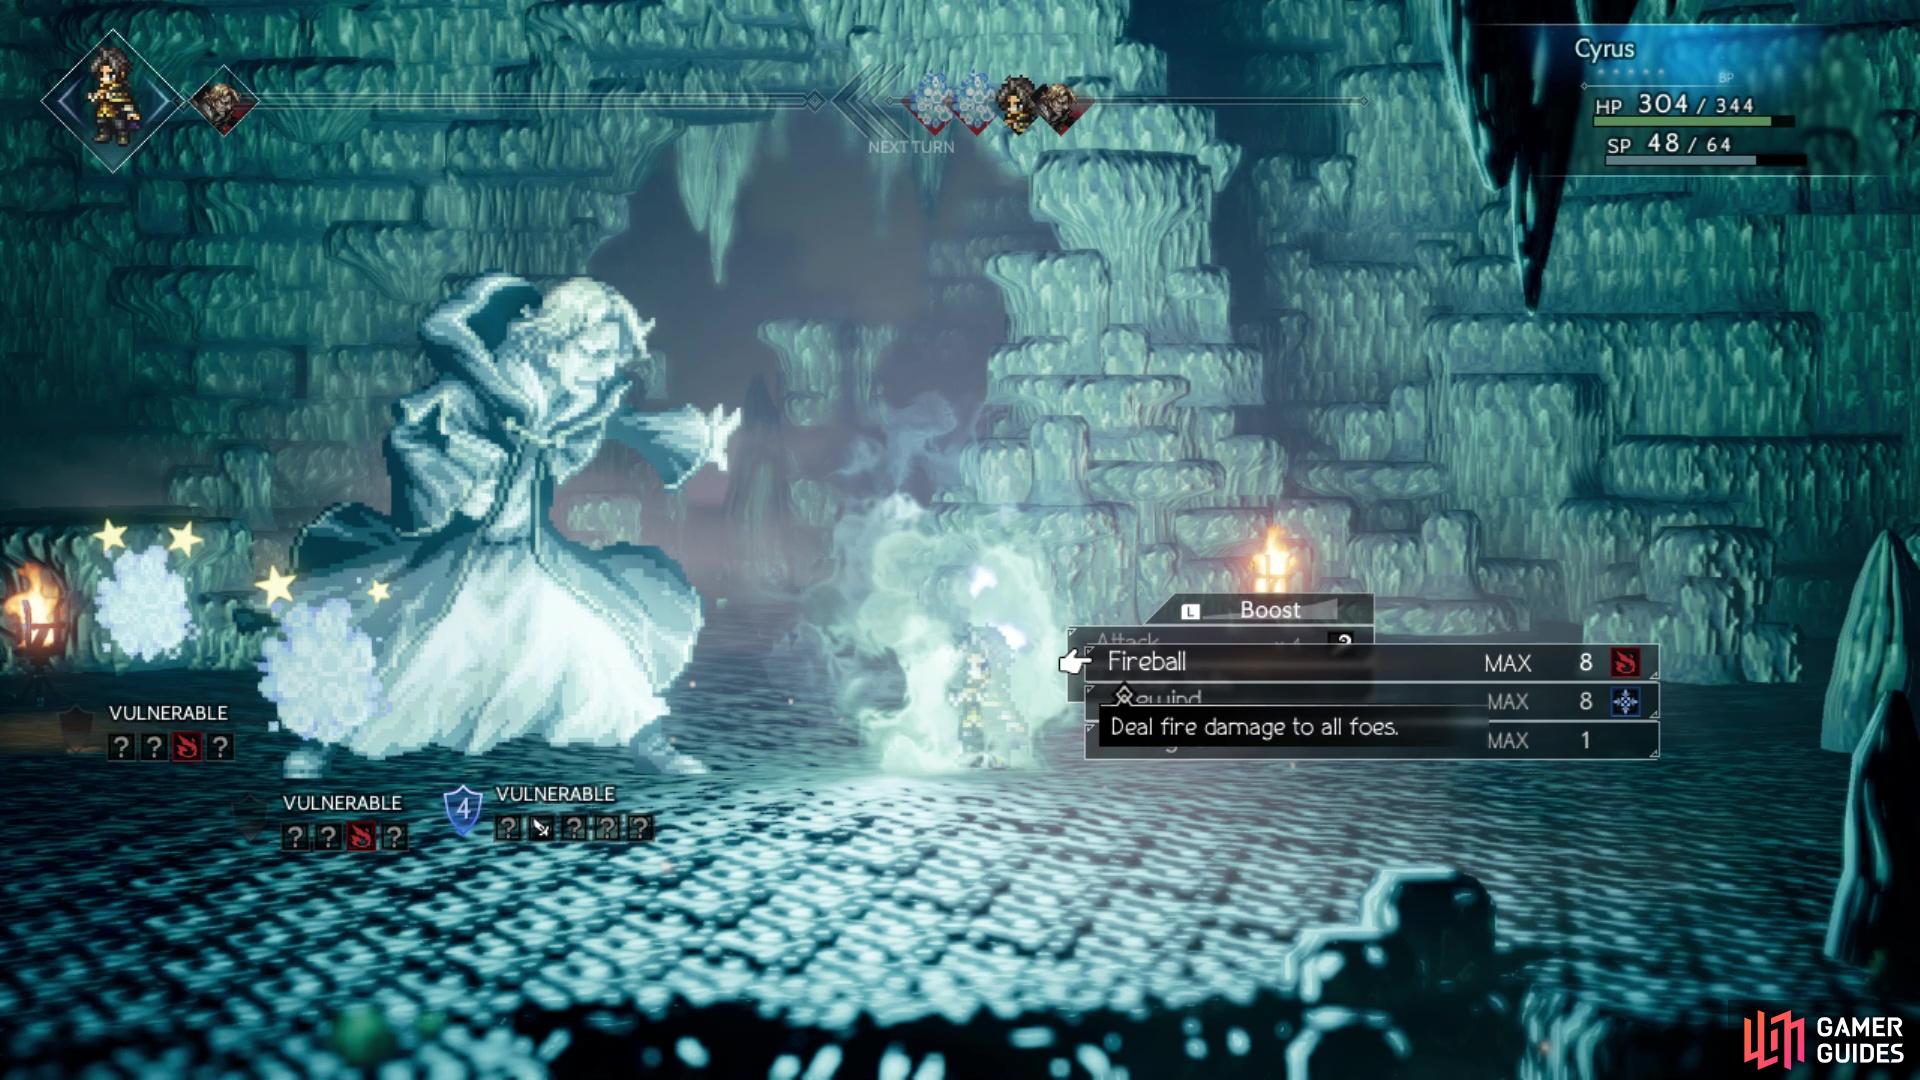
So, rather than waste precious SP on an enemy by using your magic on them, it would be best to strike the enemy with your staff to break them. Once broken, an enemy will have stars above their head and they will be out of commission for a single turn, so you can use that turn to attack the enemy or recover. The turn order is shown at the top of the screen and it is possible to manipulate it with status ailments and defending. So, you struck the Ice Sentinel with your staff and broke your foe. This should trigger another hint screen, talking about Boost mode.
Above your character’s HP are little dots, some of which might be filled up. These are Boost Points (or BP) and you can apply these to your attacks to enhance their power, which is done with the R button. You gain a single BP every turn and can apply up to three to your attacks. In the case of physical attacks, the number of BP applied will translate to the number of attacks you dish out, while in the case of something like Cyrus’ elemental spells, it will increase their power accordingly. Note that you will not gain BP the turn after using any, so there is some strategy to this system.
Exploring the Study
Your have two main goals in exploring the study, which is to get to around level 5 and to open all of the chests, of course. Leveling up will replenish all of your missing HP and SP, so if you know you’re going to level up on the next fight, don’t be hesitant in going all out. From the entrance of the Study, there is a path to your left, which leads to a dead end with a chest (Healing Grape). Return to the entrance and head right this time, ascending the hill and seeing another chest straight ahead to the north. Run up there to open it (Herb of Clamor), then follow the path to the path, making a note of the chest you see above you.
Climb up the next hill and you will be at a fork in the road. Unbeknownst to you, there is a slightly hidden path slightly north of the fork, leading to the right and to the chest you just saw prior to this. The chest contains a Wind Attire, which is a nice chest piece for Cyrus. Back at the fork, head north this time to reach another dead end with yet another chest (Inspiriting Plum). You can now continue by venturing east at the fork, going straight to another chest at a dead end, past some stairs (Herb of Light). Up the stairs and a little further will be a NPC, who is actually a merchant. You can’t Scrutinize him and he only sells restorative items, so restock if you need any.

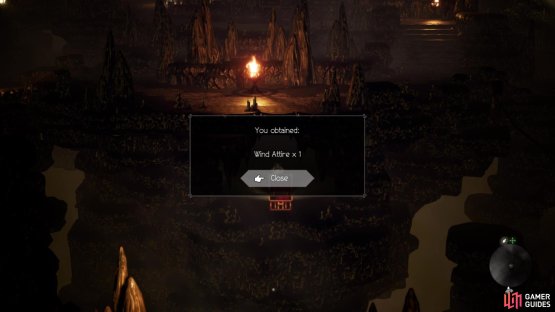
(1 of 2) There is a secret path pictured in the screenshot above
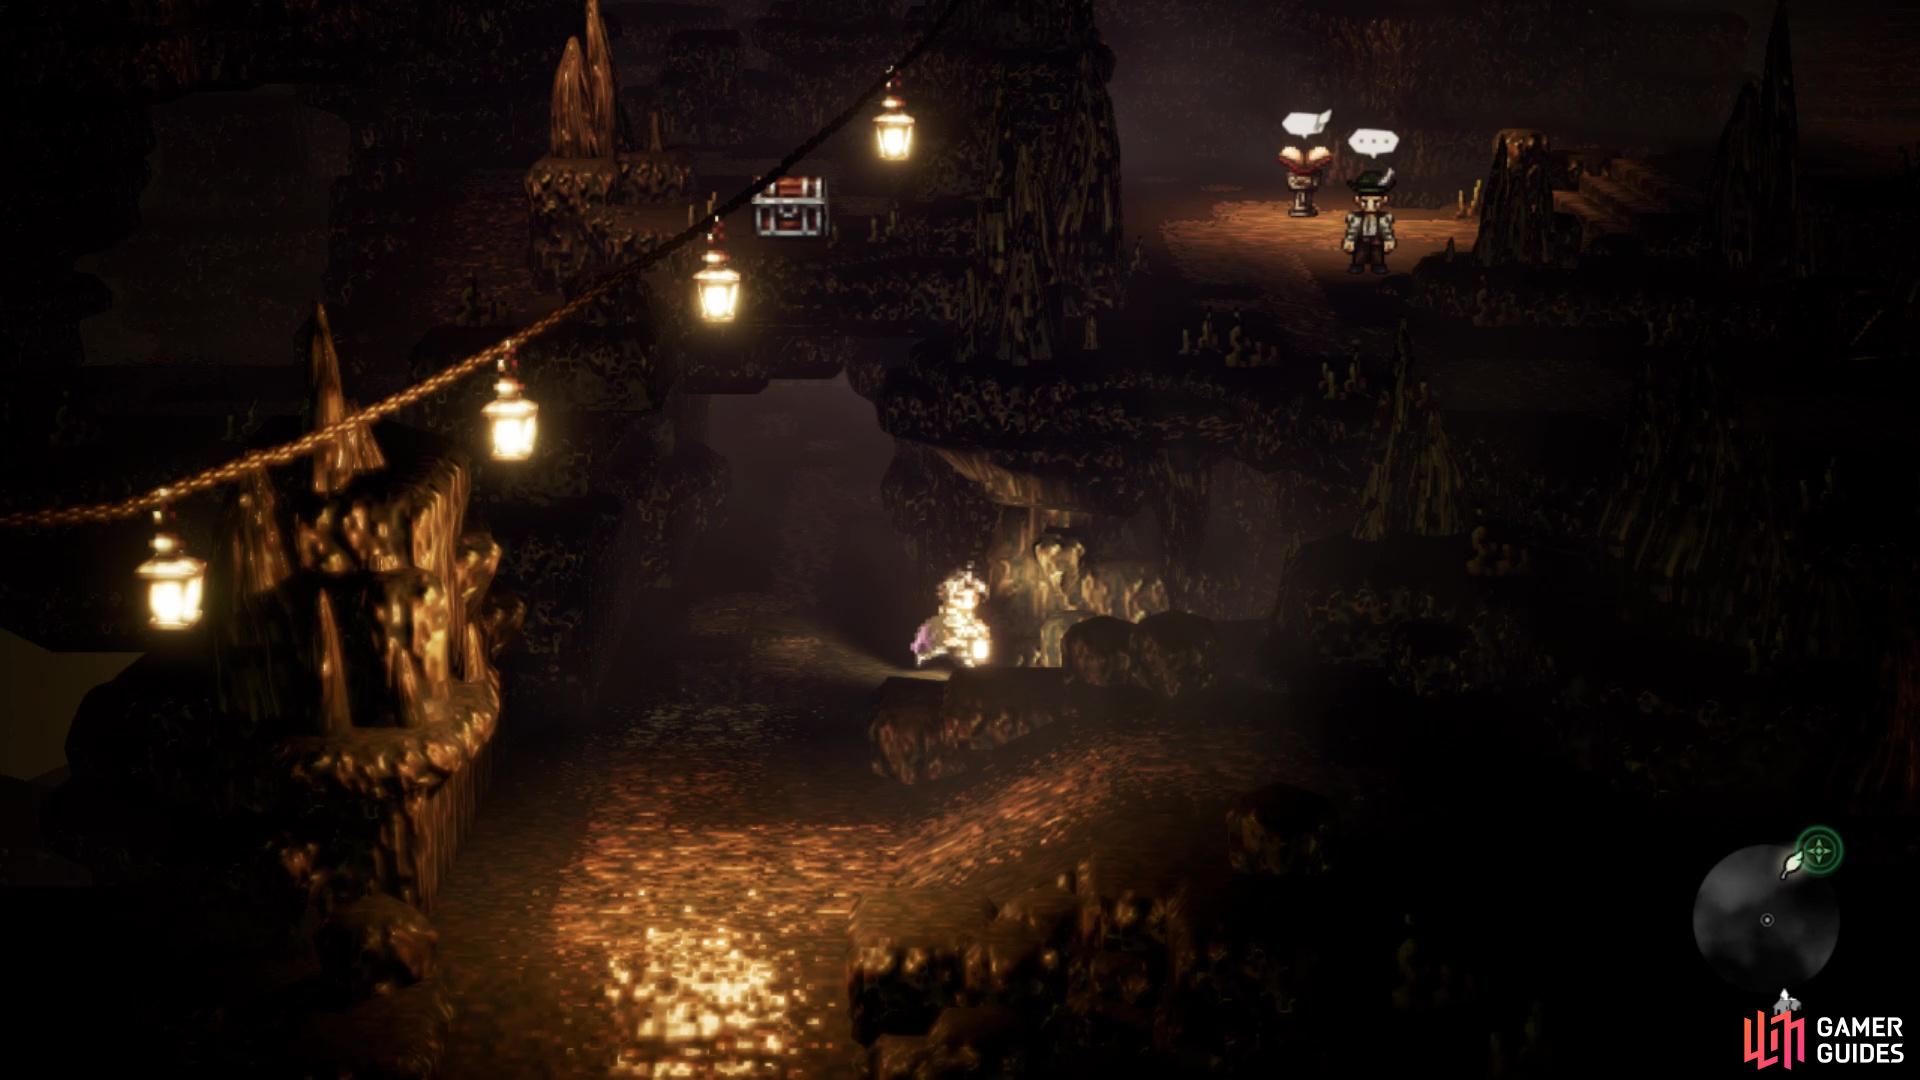

There is a secret path pictured in the screenshot above (left), which leads to a chest with a nice piece of equipment (right)
Make sure you save your game and bypass the the northern trail to Cyrus’ colleague, as there is another treasure to your east (Light Soulstone). All that remains is speaking with Russell at the top, which will trigger a boss fight, but you want to continue fighting until you unlock enough JP (Job Points) to be able to unlock the skill sub-menu. Every character has two types of skills, active ones and support ones. Whenever you earn enough JP, which is 30 in the case of the first one, you will be able to select one from any of the active skills in the middle.
Support skills work a bit differently and unlock as you obtain more of the active skills. For Cyrus, the majority of his active skills are elemental spells. Lightning Bolt deals lightning damage to all enemies once, similar to Fireball and Icewind and their respective elements. Fire Storm/Blizzard/Lightning Blast are just more powerful versions that hit twice. Analyze is a nifty spell that shows the HP amount for an enemy (appears quickly underneath the top-middle of the screen), but it also reveals a weakness (more if you Boost).
If you do grind for level 5, then do so right in front of the boss at the top, as you will go into the fight with full HP/SP.
BOSS - Russell
Russell is not too tough of a boss, but he is accompanied by two Water Wisps. These enemies will use mainly ice attacks, like Icicle and Icewind, as well as a rather weak physical attack. Them being weak to fire will help, since you can just use Fireball twice to break them, then let loose with a Boosted Fireball. They have around 700 HP (solo), so it will take a few rounds to get rid of them. Russell, on the other hand, has a variety of attacks, including four physical attacks and a number of fire-elemental ones.


(1 of 2) A fully boosted Fireball will help in quickly taking out the Water Wisps
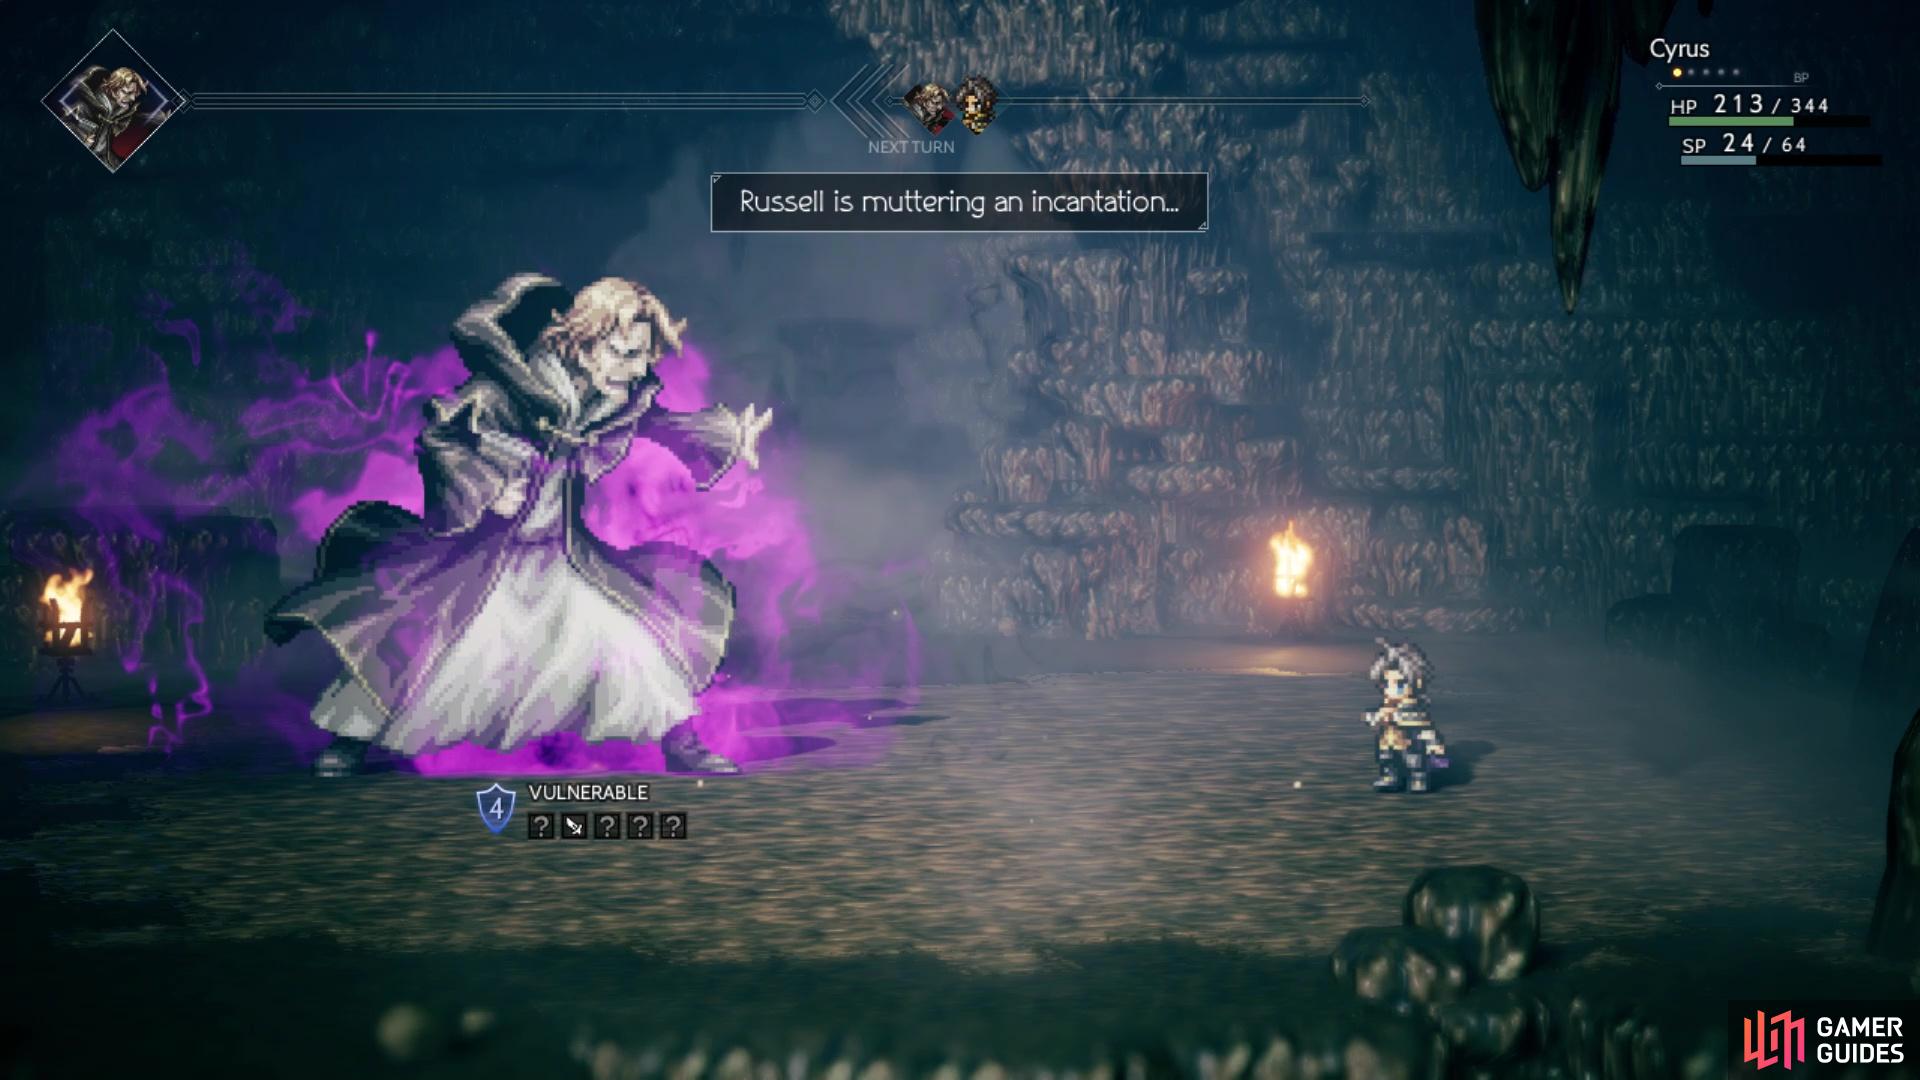
A fully boosted Fireball will help in quickly taking out the Water Wisps (left), Russell muttering an incantation usually means a strong attack is coming next round (right)
Attack, Tome Toss and Tome Tempest aren’t too bad and easily shrugged off without worry. Note that Tome Tempest hits the entire party, as does Fireball and his ultimate attack. The only real annoying physical attack is Intimidate, which can inflict Silence for three turns. The only real thing to watch out for from Russell is whenever he starts “muttering an incantation,” as this is usually followed by Dragonsbreath, his most powerful skill.
The easiest thing to win this battle is to go after the Wisps first, pelting them with Fireball, until they’re gone. Once you do that, you can hit Russell with your staff (one of his weaknesses) and possibly wait until he begins the incantation, keeping an eye on the turn order. If you get a turn after the incantation is begun, then you can break him to put a stop to it. Follow up a break with a fully powered Icewind, another of his weaknesses. As long as you keep an eye on your health and use items when necessary, you won’t have any trouble with the boss.
Back in Atlasdam
After Russell is finished, you will return to town, specifically the library. It turns out another book is still missing, but this was before Russell’s time. The Headmaster’s assistant comes and tells you he wishes to speak with you, so that’s your next destination. You’re automatically put outside the library, where a new NPC can be Scrutinized. Another hidden item is unveiled, this time in one of the bushes to the left of the main entrance of the academy (Large Feather). All that is left is to visit the Headmaster again, who has some troubling news this time. This will put Cyrus on a “sabbatical,” meaning he is free to explore the world.
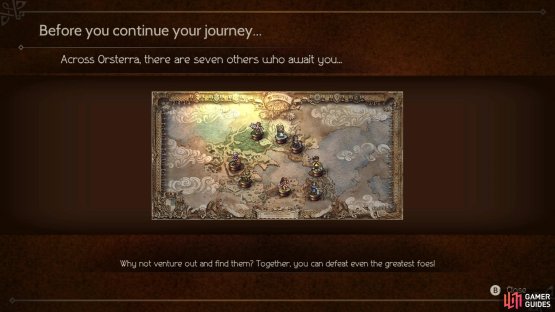
If you need to restock on any items, do so now, then leave via the southeastern exit in the town portion of Atlasdam. Upon finally exiting, you see a brief screen telling you about the seven other characters out in the world. Who you pick will be up to you, but Ophilia is probably the closest and she is a Cleric. Tressa also isn’t too far off and is one of the better beginning characters, due to her ability to make money and possibly net some awesome equipment. If you look at the World Map from the menu, you will see that Cyrus’ second main quest is located far to the west and has a recommended level of 24, so it’s time to go around and get some other characters first, starting with Tressa.

(1 of 2) The game will tell you where the characters’ Chapter 2 story starts
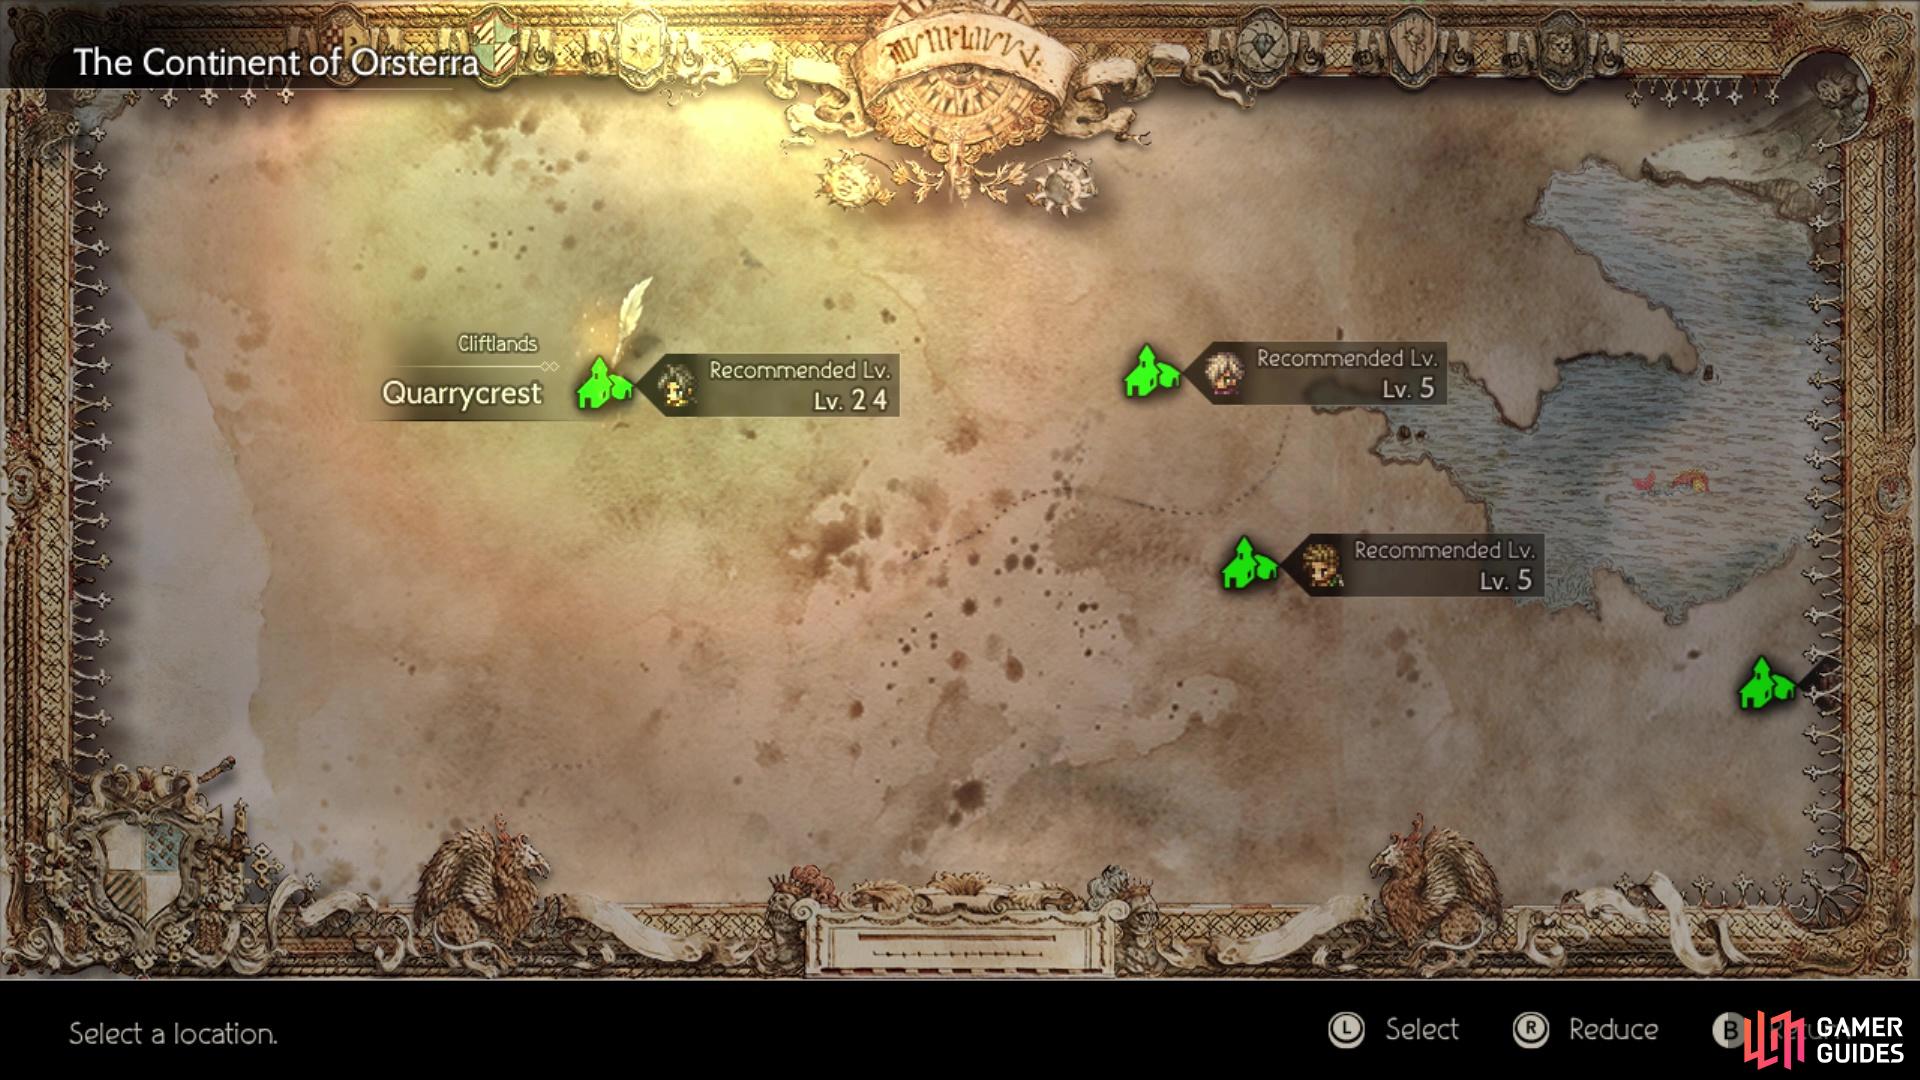

The game will tell you where the characters’ Chapter 2 story starts (left), You will want to start recruiting other characters in order to get stronger (right)
No Comments