| When | Where | Reward |
|---|---|---|
| After completing Ophilia’s Chapter 4 | Western Wispermill Flats | 12,000 Leaves, Elemental Augmentor |
To begin this Side Story, head to Wispermill and exit the town, where you will see a NPC right there. Note that you will need either Alfyn or Cyrus for a quick step, so make sure one of them is in your active party. It seems some monster or something is nearby, scaring the farmer’s sheep, so he wishes someone will take care of it for him. Follow the trail down and around, until you spot another NPC, a Trembling Merchant. Inquire/Scrutinize this NPC to get the Where the Direwolf Prowls info; inspect it in your inventory to see that the wolf has been spotted in the Forest of Purgation.
Note that the upcoming boss is purely physical, so make sure you stack physical defense on your characters. If you don’t remember where the Forest of Purgation is located, it’s on the western side of the Western Wispermill Flats; there’s a slightly hidden path to the left of the signpost there. Once inside, you won’t have to go too far to get to where this direwolf is located, as it’s pretty much north of the entrance. Check out everything for your equipment, save your game, then step into the small clearing to initiate the boss fight.
This fight is definitely one of the toughest in the game, since Managarmr is very strong and some of its skills make the fight go a lot longer than needed. Managarmr starts out with two actions per turn, gaining a third whenever it drops to 50% HP. It starts out with six shields, then gains an additional three shields after recovering from a break, up to a maximum of twelve. Thankfully, the Managarmr doesn’t change its weaknesses at all, which are spears, axes, thunder and dark. However, it can block out its weaknesses whenever it summons Direwolves.
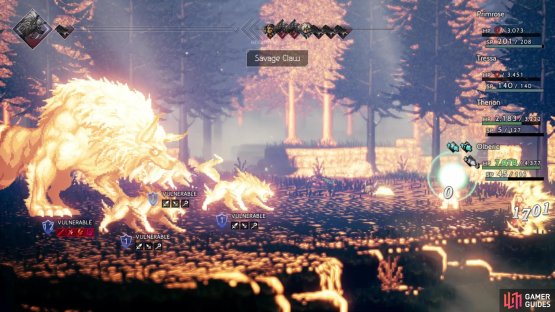
The boss can summon these Direwolves three times throughout the entire fight, with the first one being a single Direwolf. On subsequent summons, it will summon two and then three Direwolves, all of which are the same. They will have five shields and are weak to swords, daggers and staves, plus they have around 30,000 HP. When it summons a single Direwolf, the boss will have two of its weaknesses blocked. Two Direwolves block three weaknesses and three Direwolves will block all four. Because of the boss’ damage output, combined with the Direwolves, it’s imperative that you get rid of them as soon as possible.
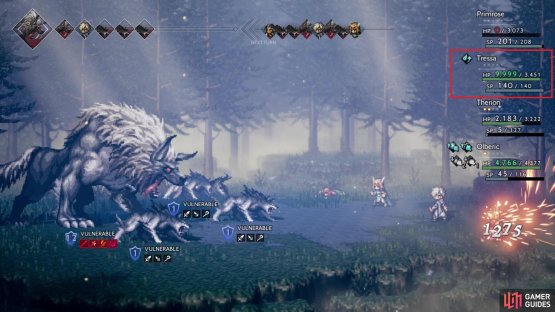
(1 of 2) This battle is very tough, as the enemies do a lot of damage
This battle is very tough, as the enemies do a lot of damage (left), so Saving Grace is extremely useful here (right)
Of course, things are a little difficult in breaking them, as their weaknesses don’t make it easy to do just that. However, having a Warmaster with a lot of strong weapons and high strength will help in taking them out quickly, since Winnehild’s Battle Cry is one of the better moves. In fact, a fully boosted Battle Cry with BP Eater and high enough strength should be able to take out the Direwolves with no problem (average of 5-6k per hit). Doing this when there are two and three Direwolves will help tremendously, even if they aren’t broken. Triple Slash and Rend are the only moves they have that hit all characters, although Bite does do quite a bit of damage.
With the Direwolves out of the way, it’s time to concentrate on Managarmr. It doesn’t have a lot of moves, but the ones it has hurt a lot. Savage Fang will likely deal around 1500+ damage to a single character, plus it has a chance to inflict Terror. Savage Claw will hit the entire party for major damage (upwards of 2,000 damage), plus it will lower your physical attack. Bestial Growl will raise the physical attack of all enemies, which is something you never want in this battle, so make sure you at least cancel that out with Shackle Foe. Lastly, Lunar Howl will damage your entire party for medium damage, but the big kicker for this is that it removes all of your buffs that aren’t a part of your equipment.
Naturally, with as much physical power that Managarmr has, you want to try and have Shackle Foe on it as much as possible. Sure, it can cancel it with Bestial Growl, but the more you have it on the boss, the better. Likewise, you want to buff your own physical defense with Hired Help’s Mercenaries, even though the boss can remove it. At this point, you should also have access to all four advanced classes, with the Sorcerer, Runelord and Warmaster being extremely helpful. Although the Sorcerer isn’t viable against the Direwolves, it can be helpful against the boss, since it has two elemental weaknesses.
Likewise, putting a Thunder or Dark Rune on your characters will be a good idea to help whittle down the boss’ shields. If you have the Double Tomahawk axe equipped, then you can get a lot of hits on the boss’ shields with that, since it hits twice with each normal attack. Even better, boosting your normal attack with that will even double it, so a fully boosted Double Tomahawk hits eight times. A weakness to spears means you can also use the Warrior’s Thousand Spears skill for breaking shields. One other thing you can do is have Runelord on Tressa, then combine Transfer Rune with Sidestep, since everything is physical, provided the boss doesn’t get too happy with Lunar Howl.
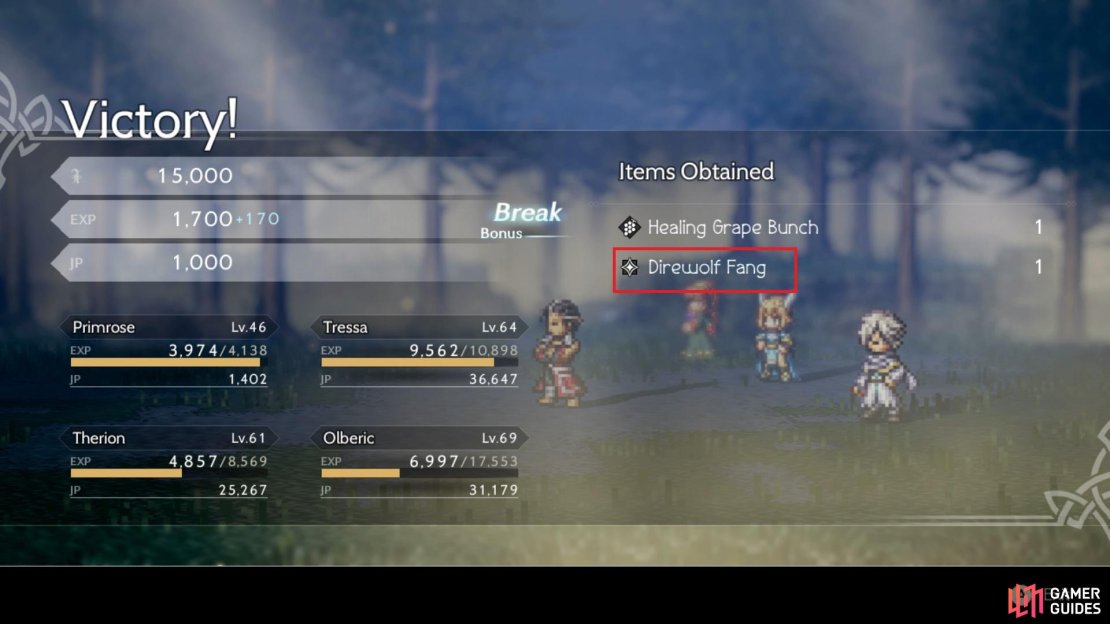
You will need the Direwolf Fang drop to finish this quest
When you manage to defeat Managarmr, it will drop a Direwolf Fang. Bring this item back to the questgiver to finish the Side Story.

No Comments