| When | Where | Reward |
|---|---|---|
| Chapter 2-3 | Goldshore | 7,000 Leaves, Leviathan Shield |
The Fledgling Fisherman in the northern part of Goldshore and talks about some creature that is terrorizing the seas. This quest has two parts, with the first one involving Stealing/Purchasing the Leviathan’s Egg from the fisherman. Your Steal chance might be pretty low, so it’s a lot easier to just Purchase it with Tressa. Once you have the egg, exit Goldshore and cross the first bridge, then venture south and cross a second bridge. When you reach the end here, look north to find the entrance to Captains’ Bane. At the end of the dungeon, you will find yourself face to face with the boss, who you will need to defeat.
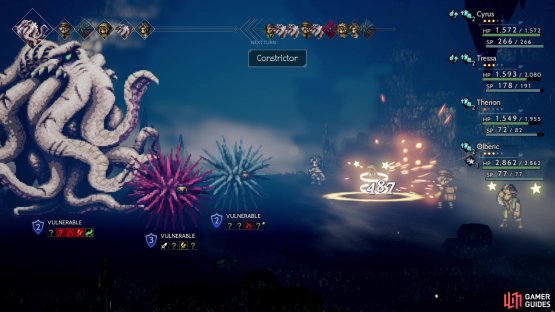
The Leviathan can be a difficult boss, especially if you tackle it at the end of Chapter 2. It will begin the battle with three actions, and its attacks can hurt. On its initial action, the Leviathan will summon a Crimson Urchin and Sea Urchin to join in on the fun, which will block its three center weaknesses. Considering that the Leviathan is strong and gets three actions per turn, you will want to get rid of the Urchins as soon as possible. It isn’t just because of the blocking of weaknesses, but the Urchins can do some damage as well. Roll is a single-target attack, as is Venomous Sting, but the latter can inflict Poison. You might also see one use Venomous Rain, which does random hits to the entire party, although it’s not clear if this can also Poison.
(1 of 2) The boss will use Constrictor often to inflict Unconscious
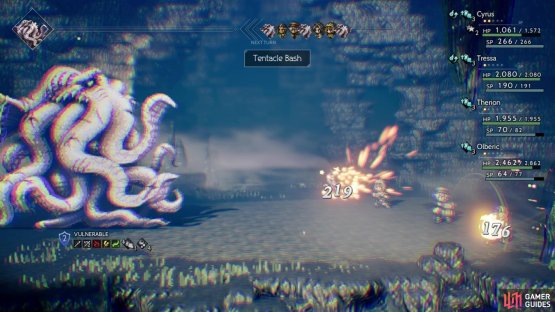
The boss will use Constrictor often to inflict Unconscious (left), Tentacle Bash will hit random allies, so you may get unlucky (right)
The Sea Urchin is weak to daggers, staves, fire and light, while the Crimson Urchin is weak to swords, axes, lightning and dark. Even after defeating them, the Leviathan can resummon them back into the battle multiple times, although they only have half health and a fraction of their original shields. Should they be summoned again, you want to get rid of them as quickly as before, since the boss can devour them to recover 5,000 HP. With those two out of the way, let’s take a deeper look at the Leviathan.
This boss can certainly dish out the damage, as well as annoy you with Constrictor, which does good damage to a single target and inflicts Unconscious. With three actions per turn, this can be dangerous if it decides to use it on your healer or multiple characters get afflicted with it. Sweep will damage your entire party once and Tentacle Bash are three to five random hits on any of your characters. While the hits are random, if a single character takes a good chunk of the hits, then they might be in trouble of dying, especially if the Leviathan has more actions following Tentacle Bash.
Breaking the boss might be easy at first, since it only has four shields, but upon recovering, it will gain an additional two shields, up to a total of eight. Of course, the Leviathan becomes more dangerous once it hits yellow health, as it seems to start using Dissolving Mist, which hits the entire party and removes all of their buffs. To add to this, it can use a boosted attack, gaining the dark aura and following that up with Rampage. This attack hits the entire party for some good damage and it might even be followed up with other attacks, depending on the turn order.
Naturally, you don’t want to dawdle too long in this fight against the Leviathan, so hitting hard and quick will be a top priority. A Merchant and Thief will be ideal here, since the Mercenaries from Hired Help will boost your defense, while Shackle Foe from the Thief can lower the Leviathan’s physical attack. Keeping these buffs/debuffs on at all time will make the damage a lot more manageable. Despite blocking the middle three weaknesses while the Urchins are out, you can still break the shields with spears and wind; the middle three weaknesses are bow, fire and lightning. Considering the weaknesses, a Warrior/Hunter can make quick work of the shields with their multi-hit attacks, hopefully making this boss a little easier. After the fight is over, there will be a quick, little scene and the sidequest itself will be finished.


No Comments