Your destination for Alfyn’s second chapter is Goldshore, which is located northeast of Stonegard. From Stonegard, exit to North Stonegard Pass and when you can, journey north to Moonstruck Coast. Keep going north, but veer off to the east a little bit to get to West Goldshore Coast. From there, Goldshore will be to the east.
Exploring Goldshore
With a name like Goldshore, you expect at least some goodies to be had. Of course, the very first NPC has such an item, a Dragon’s Vest, which has quite good defenses but a low steal rate. Now, the reputation repair rate in Goldshore is a tiny bit steep at 7,000 Leaves, so be careful about wasting too much money here. The house to the right of the Provisioner has a chest inside, containing an Inspiriting Plum. There’s also another chest inside of the tavern, which is holding an Olive of Life. There is also another chest cleverly hidden behind the tree to the left of the tavern (Thunder Soulstone M).
The southern section of town has been a bit of a bust, so head north to Goldshore Manor District. Note that the lady right before the bridge sells you the Forbidden Bow; the downside to this Forbidden weapon is that increases your encounter rate. Check out the equipment shop to the left, which has Elemental Robes for sale, and for a fairly decent price. Now, head up two sets of stairs to the right of where you entered to find a chest sitting next to a house (4,500 Leaves). North of that building is another one, which has another chest sitting on its left side (Herb of Clamor). The final location in this area is in front of the cathedral.
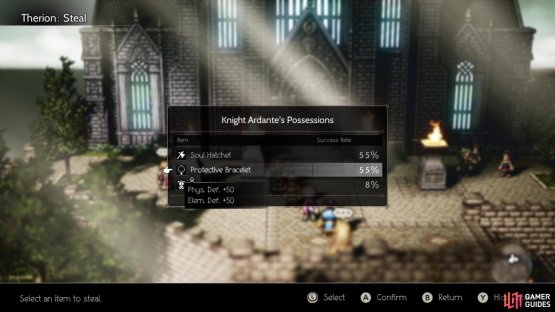
(1 of 2) Both the Protective Bracelet
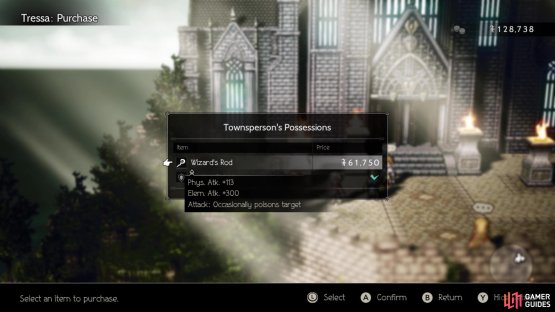
Both the Protective Bracelet (left), and Wizard Rod are two items you should try and get into your inventory (right)
The guard in front has a Soul Hatchet, which might be nice, but the better item is the Protective Bracelet, as it boosts both physical and elemental defense by 50. Even better, the NPC to the left of the guard has a Wizard’s Rod, sporting a whopping 300 Elemental Attack. On the far left side of the cathedral, to the left of the Wizard Rod NPC, is a chest that’s hard to notice (Energizing Pomegranate M). Inside of the cathedral, there are two chests to be opened, one next to a pillar on the right side (Olive of Life) and another in the left room (Inspiriting Plum Basket). Head up to the front and towards the flame, then look to the right to spot one final chest, which contains an Herb of Light.
Le Mann, Explorer Extraordinaire (II)
There are four Side Stories to be gotten while in Goldshore, but they either require you to visit areas you might not have access to or need you to head into a higher level dungeon that might be too dangerous right now. Return to the first area of town and look towards the northeast to see a Side Story on the small, wooden bridge. This is Le Mann, who you might remember from Rippletide. It seems he is feeling a bit homesick and needs a nudge to continue his journey. Fast travel to Rippletide and look for a man named Harris, knowing you will need either Primrose or Ophilia to complete this quest.
Harris is located near the inn, which is to the south of the shops and tavern. Either Allure or Guide him to get him to follow, then return to Le Mann in Goldshore to finish up the quest.
| Objective | Reward |
|---|---|
| Gave Le Mann that extra push to continue his journey | 6,600 Leaves, Fortifying Nut (M) |
The Merchant’s Path
Head back to the northern part of Goldshore and look for the northern of the two Side Stories up here. The Merchantry Master is having some trouble with some bandits and may have difficulty getting stock in for his customers. To complete this quest, you will need either Cyrus or Alfyn, so get one of them into your party and head to West Goldshore Coast. Cross the bridge north of the save point and you will see a NPC on the other side. Scrutinize/Inquire him to see a piece of information, A Safe Route, that will be useful to the questgiver. Hand this info over to him to finish the quest.
(1 of 2) The location of the NPC you Inquire/Scrutinize for information
The location of the NPC you Inquire/Scrutinize for information (left), The location of Drevon (right)
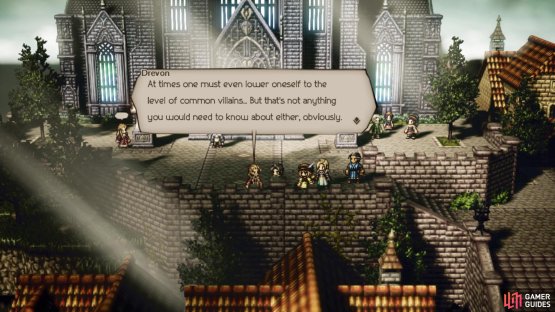
There is an alternate solution to this Side Story, which involves having either H’aanit or Olberic in your active party. You need to search the town for a NPC named Drevon, who is the aristocrat-looking fellow in front of the cathedral. Challenge/Provoke him, who should be easy considering he’s pretty weak, to finish the quest.
| Objective | Reward |
|---|---|
| Found a safe route for the Merchantry Master and his merchants | 11,000 Leaves, Slippery Nut, Light Nut |
Alfyn’s Second Chapter
That’s all for Goldshore, so head to the tavern and start up Alfyn’s second chapter. As Alfyn takes in the sea air, he overhears some townspeople talking about people who have been getting sick. It appears another apothecary is in town, but before Alfyn decides to go ahead and meet her, a young child captures his attention. Her sister is sick, so go inside the house just north of you to find out what’s wrong with her. By chance, you see the other traveling apothecary, who helps the young girl and when you arrive, you’re chased out of the house.
Head north to the Manor Distract for another scene, where we finally meet this other apothecary in person. Go to the beach afterward for another scene, then the northern part of town for one more. It looks like Alfyn will help Ellen’s poor mother, with him checking out Flynn and figuring out the true cause of the cough. Marlene, Ellen’s mother, doesn’t know about the moss, but suggests asking around town. There is a man in front of the tavern that you can use Inquire on, which gives you information on Vanessa’s destination, as well as another person in front of the large house just east of the cathedral, who speaks of Glowworm Moss. This puts your destination as the Caves of Azure to the east (the exit is across the bridge next to the tavern).
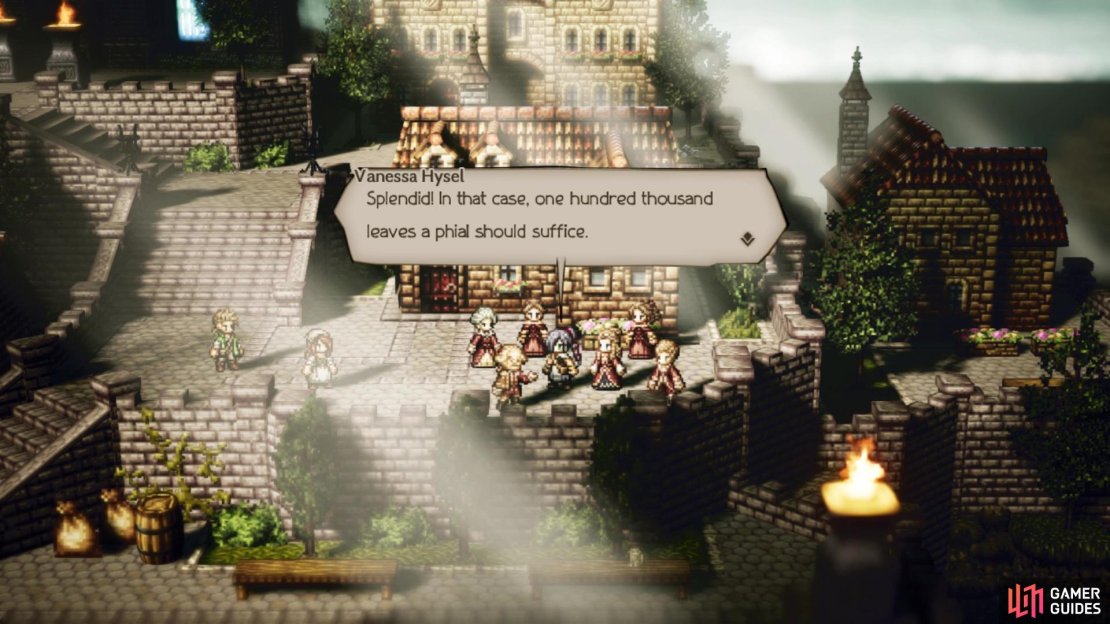
We finally get to see Vanessa’s angle
Road to the Caves of Azure
As soon as you enter this area, look for an opening to the north that will bring you to the south and a chest (Heavy Coin Pouch). Follow the path until you come to a split, where you will want to head south to find a chest at the end (Energizing Pomegranate). The other trail will bring you across a bridge and once on the other side, venture south to find another chest (Purifying Seed). Journey to the north to eventually reach the Caves of Azure.
The Caves of Azure
Not far from the entrance to the caves is a save point, where you can go one of two ways. You should see a blurry silhouette of something to the north, but ignore that for now and take the southwestern path to find a chest at the end (Purifying Dust). Head north from the save point now and as you get closer, you see that the blurry object is actually a chest, a purple one in fact. Go ahead and open it (Falcon Garb), then continue southeast of the chest, along the northern path.
As the path bends to the north, you should spot another chest in the upper right corner of your screen. To get to this, you need to find the hidden path behind the plant right when the trail diverges to the east; this chest contains a Spiked Armor. Return to the entrance of the secret path and head east, following the trail until it will eventually bring you to a torch. There’s a path leading to the southeast that’ll bring you to another chest (Ruinous Dust). All that is left is getting to the back of the cave, where Vanessa is waiting for you.
BOSS - Vanessa
Vanessa is accompanied by two Sellswords, who are protecting her weaknesses, so you will need to defeat them before you can start working on her shields. The Sellswords are mainly physical, so upping your physical defense will work pretty well for this battle. Sideswipe is the only attack of theirs that will hit everyone, while Wild Strike hits random targets from four to six times. They are weak to swords, bows, ice and light, plus have six shields and a fairly healthy amount of HP.
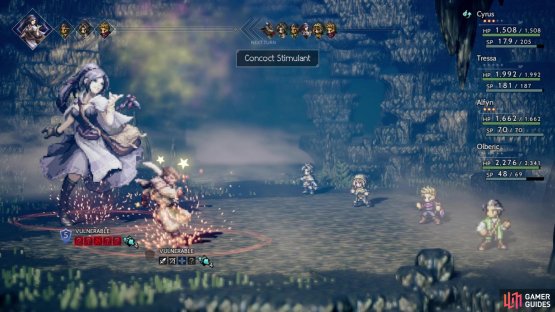
Once you get rid of the Sellswords, Vanessa’s weaknesses will be exploitable, which are spears, axes, fire, wind and darkness. Physically, she is weaker than the Sellswords and has a variety of attacks in her arsenal. She has a normal attack, as well as Huff and Puff, both dealing physical damage to a single ally. Concoct Poison sounds exactly as the name suggests, which will inflict poison on a single character. The same is true for Concoct Sedative, which inflicts sleep. Concoct Stimulant will buff the entire enemy party with a physical attack buff.
(1 of 2) Concoct Stimulant buffs all enemies’ physical attack
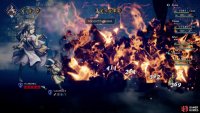
Concoct Stimulant buffs all enemies’ physical attack (left), Concoct Explosive is Vanessa’s most damaging move, which isn’t too much (right)
Vanessa will also use Concoct Explosive to deal decent damage to the entire party. When she gets to around half health (yellow name), Vanessa will use Concoct Restorative to bring back the Sellswords, who will have their full health and shields. Luckily, she can only use this skill once during the entire battle, so quickly get rid of them again before they have a chance to do any harm. She doesn’t have any ultimate attack, so the battle should be a lot easier once you get rid of her Sellswords the second time.
Alfyn will give Vanessa a little help in making sure she doesn’t escape, thanks to some slumberthorn. After picking some of the moss, you will automatically return to Goldshore. Make your way back to Ellen’s house for a scene, then some more will happen and that will bring an end to Alfyn’s second chapter, with his next stop being Saintsbridge.




No Comments