The Black Throne
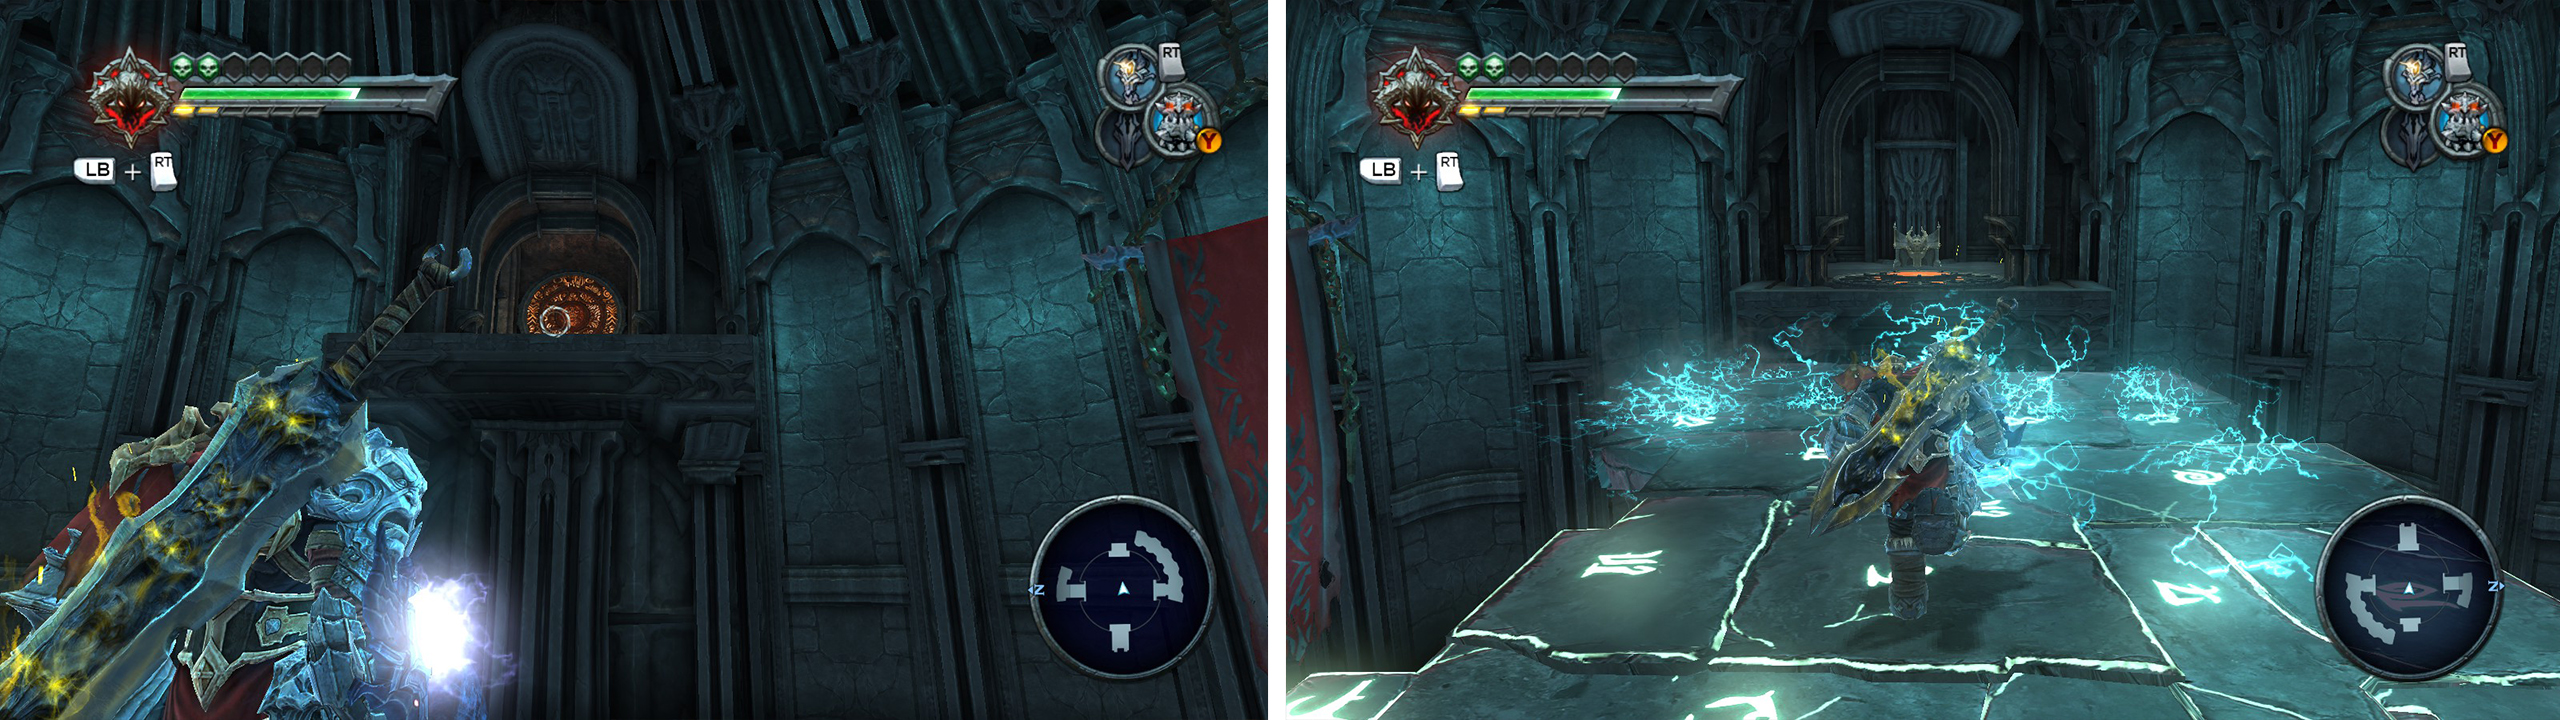
Head through the door directly in front of you and stand on the symbol on the floor to generate a bridge. Follow this across the zone and enter through the door on the far side. After a quick scene introducing Azrael, you will need to head through the door on the right side of the room. Another quick scene will show you where to go in the room.
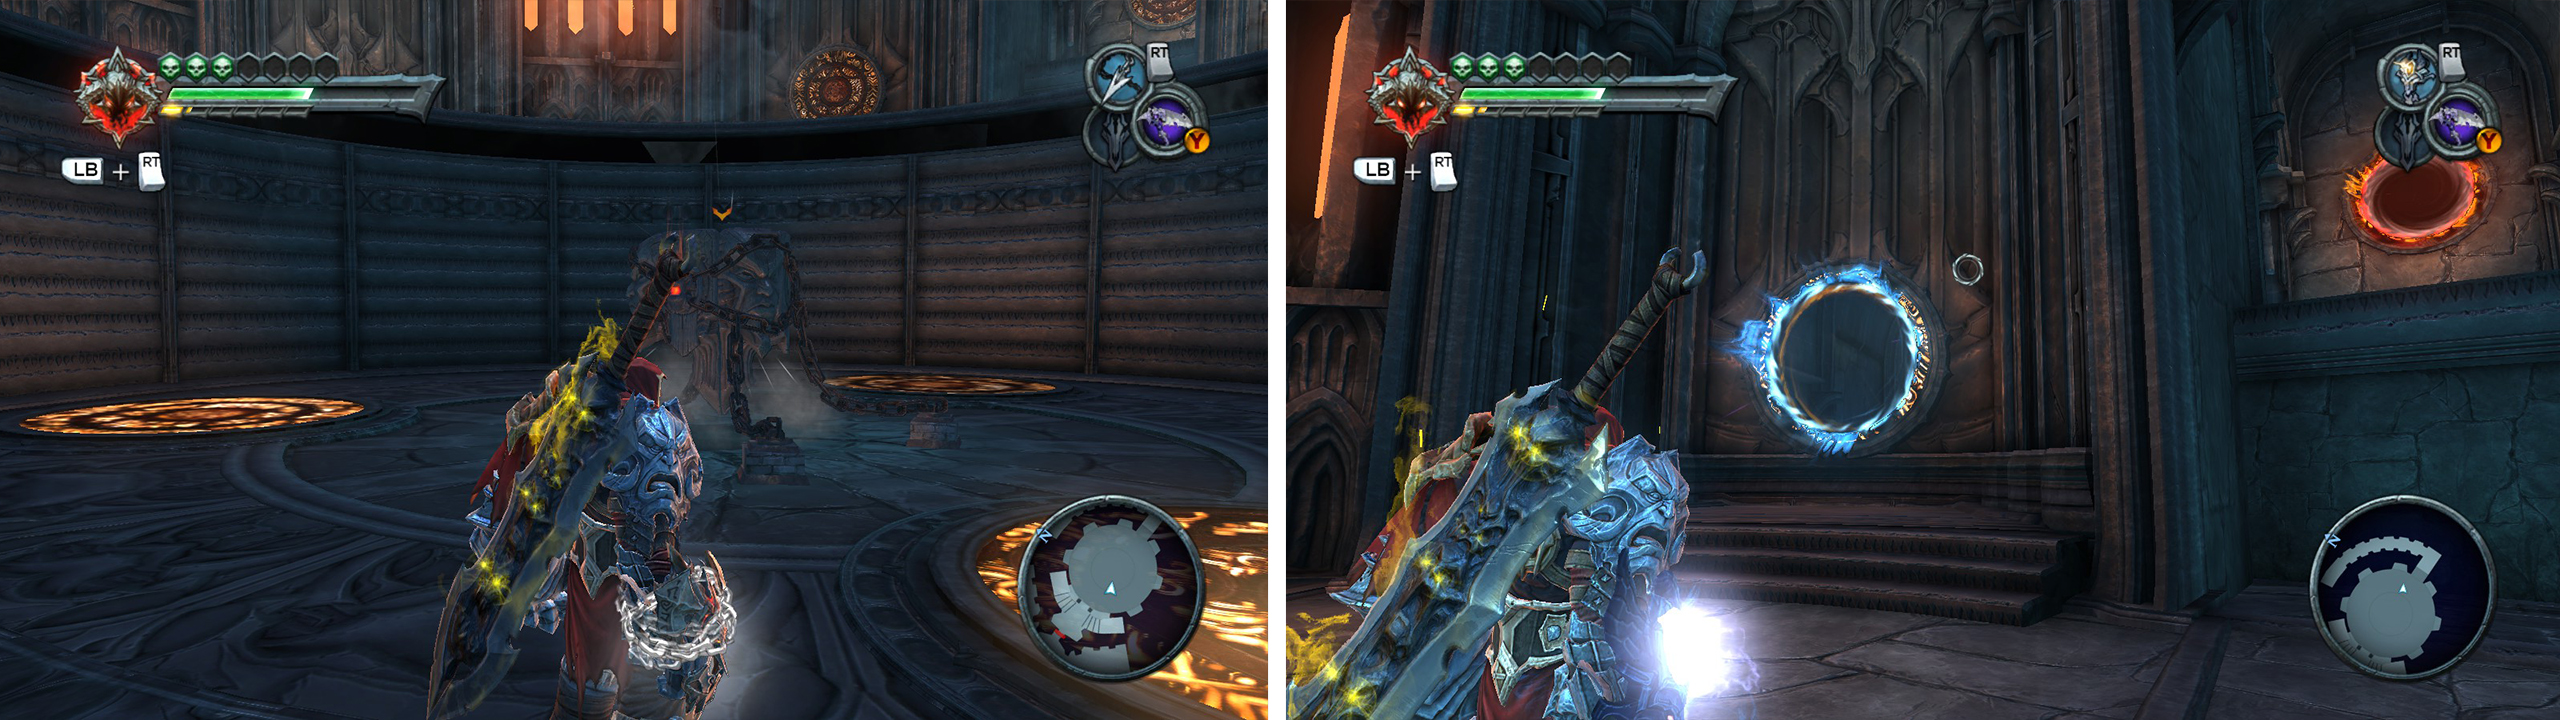
Hit the crystal in front of you and the wall will rise, creating an opening to the right. Run through here and use your cross-blade on the crystal on the wall opposite, re-enter the first room and use the crystal again to open the left passage, then cruise through the two open doors and before heading through the third, turn right and hit the crystal here.
Go through the now open doorway here and jump across the gap for the Blue Soul Chest . Return to the previous platform and look up. Use the grapple point here to cross the gap and climb the stairs. At the top of the stairs make your way to the ledge overlooking the room and hit the crystal below and to the left of your position to open the door next to you. Follow this passage around until you reach another balcony overlooking the same room.

Speak with Azrael (left). In the first room manipulate the crystals to work your way through the room (right).
This time hit the other crystal located nearby on the opposite wall to open another door. Backtrack to the top of the stairs and head through into the next area.
As you enter, both exits will seal up and you will need to defeat the Wraith to continue. At the top of the stairs you will see two switches. Pull the one on the left to rotate several platforms in front of you. Doing so will reveal some grapple points. Pull the second switch to flip over another two platforms. The one closest to you will have a crystal on it which controls another platform further down the chain. You will need to hit the crystal until the platform it controls in the distance has its grapple point facing upwards, then pull the right hand switch again to have them both drop their grapple points downwards.
Once the way across is complete, head across the gap to the other side. To either side of the door here are a Yellow Soul Chest and a Green Soul Chest if you need to replenish your health/wrath before the next area. When you are ready to do so, head through the door.

Fight off the enemies outside (left) and then arrange the grapple hooks (right) so that you can cross the gap.
As you enter, the door will lock. Look to your left and right to find a Green Soul Chest and a Blue Soul Chest . Grab these and jump down into the room below.
Dropping to the floor here triggers several waves of enemies you will need to eliminate. The waves Include:
- The first wave consists of a pack of red Angels.
- The second wave features a group of Spiked Minions and a Greater Dragon,
- The third and final wave sees a Wraith and another flock of red Angels.
Once these have been defeated, the floor will open beneath you giving you access to a Demon Chest. Open it for a new item - the Voidwalker (a teleportation gun like in Portal). Unfortunately you cannot use these everywhere, but you can use them on the round, glowing orange symbols you have probably been seeing on walls occasionally.


When you regain control look up to an alcove on a ledge above, opposite the entrance. Use the Voidwalker on the orange portal pad within and then jump back into the hole to activate another on the ground here. Jump through this to teleport up to the ledge.
Continue down the tunnel here and activate the symbol on the right and at the dead end, use a charged up Voidwalker shot on the symbol on the floor (charging up the shots will increase you speed upon exiting which allows you to reach higher up or out of reach areas). Jump through the first portal to be launched up to the platform above.
Grab the Voidwalker from the chest (left) and then use it to create portals to reach a higher platform (right).
Pick up the Blue Soul Chest here and do a 180 degree turn. Activate the symbol on the wall across the gap, and then jump down and through the other activated portal here to arrive on the ledge.
Stand on the orange panel on the floor here to raise the nearby portal. Cruise to the end of the hall here and activate the next portal next to the bomb plant. Through the portal you will see a red crystal, toss the bomb through here and when the crystal is dust, jump through and glide across to the ledge it was blocking.
As you enter the next room, look up and to the left to see a portal symbol on a balcony above. Use the floor symbol to create a bridge, cross this but turn to activate the Voidwalker symbol as you cross. Activate the bridge symbol on the ground when you reach the other side and then return back across the bridge in the direction you came, drop down the shaft in the previous hallway and enter the second activated portal to reach the balcony.
Use the orange symbol on the floor to cruise across to the other side of the room and open the chest here for the Legendary Enchantment – Fury’s Embrace . Activate the bridge again and when able jump down and glide across to the passage opposite our original entry point.
As you cross the bridge, look up to the left and hit the portal pad (left). Once on the upper platform, follow the bridge to the far side for a chest with a Legendary Enhancement (right).
Use the two shadow flight geysers here to reach the platform above and as you enter the room, the doors will lock behind you. Open the Green Soul Chest and Yellow Soul Chest to your right if necessary. Now use the Voidwalker on the door that just closed and a charged Voidwalker portal on the symbol on the floor nearby. Jump through to launch upwards and at the top of the shaft, exit into the large open area.
Boss: Tower Guardian 01
This is the first of three Tower Guardians that we need to fight. All three have the same attack patterns, but the environment in which we take them on will differ. This fellows attack moves include:
| Attack/s | Description |
|---|---|
| Overhead Smash | The boss will slam his chain down into the ground. This will cause a significant amount of damage if it hits you, so be sure to dash at the last second to avoid it. |
| Whirlwind | When the boss takes damage, it will stand up and swing its chain around in circles quite quickly. This can be quite painful, so try to keep a lot of room between War and the Guardian. |
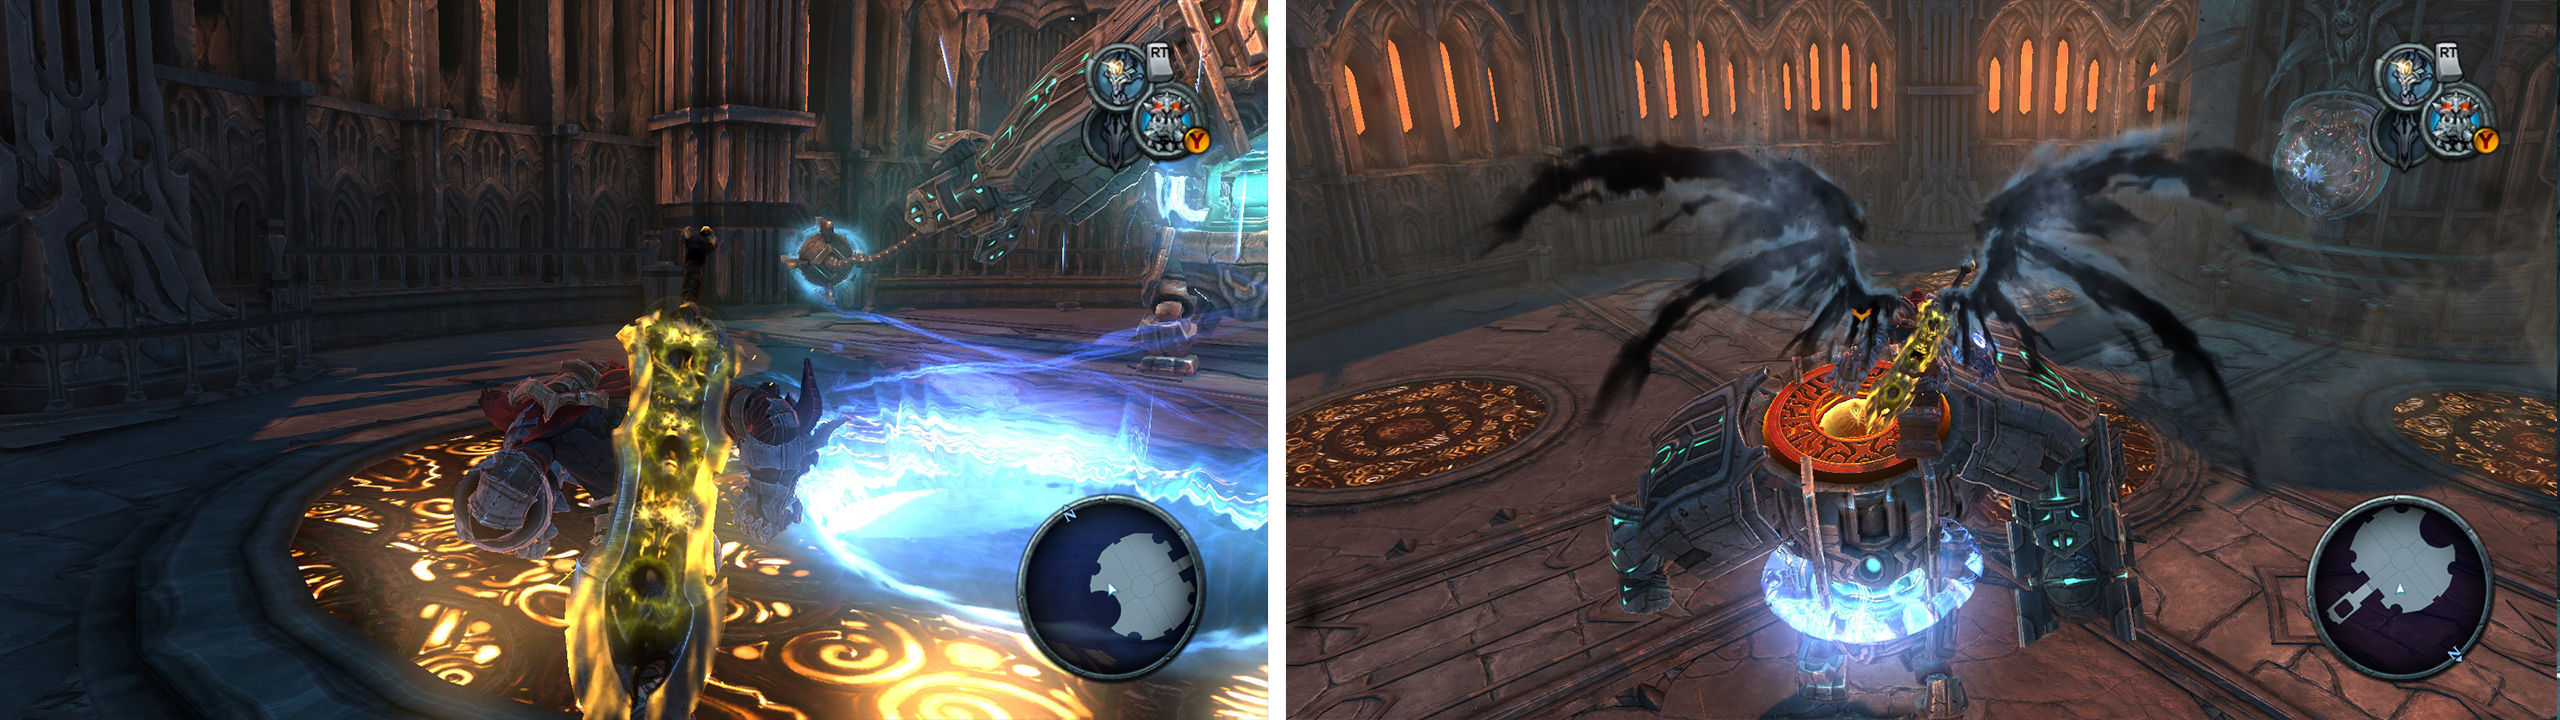
Use the portal pads on the floor (left) to launch yourself and land on the boss’s head (right).
Combat Strategy:
Look to the ground to see several large portal pads, drop two of these on any one pad with the second being a charged super portal. Wait for the boss to do the overhead smash. Following the attack, the boss will become immobilised for a few moments, use this opportunity to drop through the portal and glide over to land on his head. Use the action button to damage him. He will falter, so head in and smash him a few times until he regains his footing.
Once he regains his footing, your portals will disappear and he will start his whirlwind attack, stay away from him until it stops. Then repeat the process until you can hit the action button to win the day.
After he dies, a blue beam of energy will shoot out from the building in front of you. Our task now is to lead the beam of light all the way back to Azrael’s Prison.
Head back down to the previous area and look up the shaft, the blue light is hitting a teleport pad. As such, put your first portal here, and then use the Voidwalker to put another portal on the back of the locked door here. The blue beam will come through and open the next door for you.
At the end of the tunnel here, you will need to repeat the process and get the blue beam to come through the portal to activate the lift. Hit the switch to descend.
When you reach the bottom, the blue beam will be hitting a portal symbol right in front of you and just next to it is a second. Activate both of these to open the door to the previous area. Move through the door here.

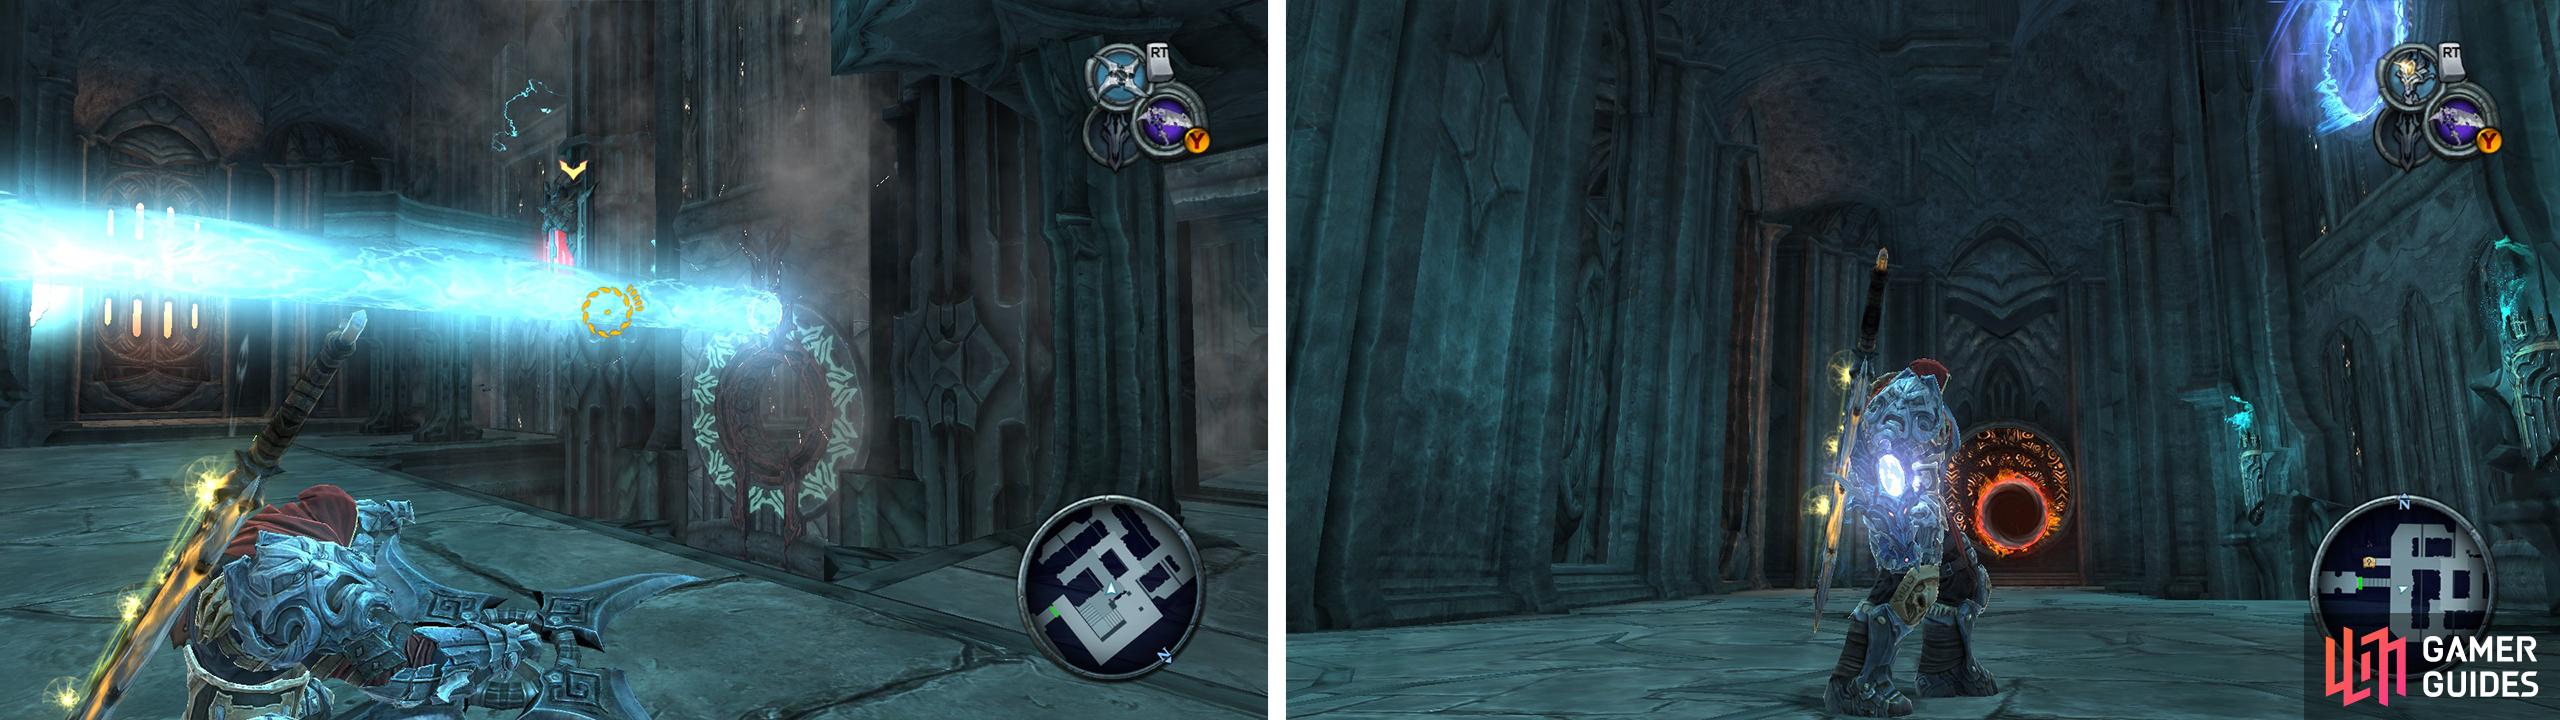
Use the portal pads to re-direct the beam (left). The spherical crystals (right) will store the beam when active.
Upon exiting you will see all of the exits become sealed and you will have to fight to unlock them. The first group of enemy combatants consists of two Wraiths, next up will be a Greater Dragon, following this will be a final wave made up of a Wraith and a group of red Angels. When the fight is over, activate the portal the blue beam is hitting and then grapple across to the other side of the chasm. Look up above the grapple points to see a second portal pad, activate this to open the door ahead.
As you enter this next room, as per usual you will need to activate the portal pad being hit by the blue beam. Drop down to the area below and work your way around the walls to activate it and then do the same for the second pad (it is on the wall opposite the first, just below the grapple point). You will see that the beam passes through the hole in the first wall here. So we need to line up the second two walls also to allow the beam to pass through.
Make your way back to where we dropped down from the area above and activate the crystal here, move through the door that opens and hit the crystal to the left. This should align the holes in the walls, giving you access to the next area.
Move the sections of wall so that the laser can pass through the hole (left). Before exiting, arrange portals as such (right) to launch up to a platform with the Dungeon Map.
Before exiting, look to the north just before the exit to see a teleported pad. Activate this, then turn and look at the closest raiseable wall, you should see a second pad on the back of this. Use a charged Voidwalker portal on the second pad and use the crystal nearby to raise it as high as it will go. Step through the portal on the ground floor and you will be propelled into a small alcove above the area with a chest containing the Dungeon Map .
Drop down and exit through the door to return to Azrael’s Prison.
No Comments