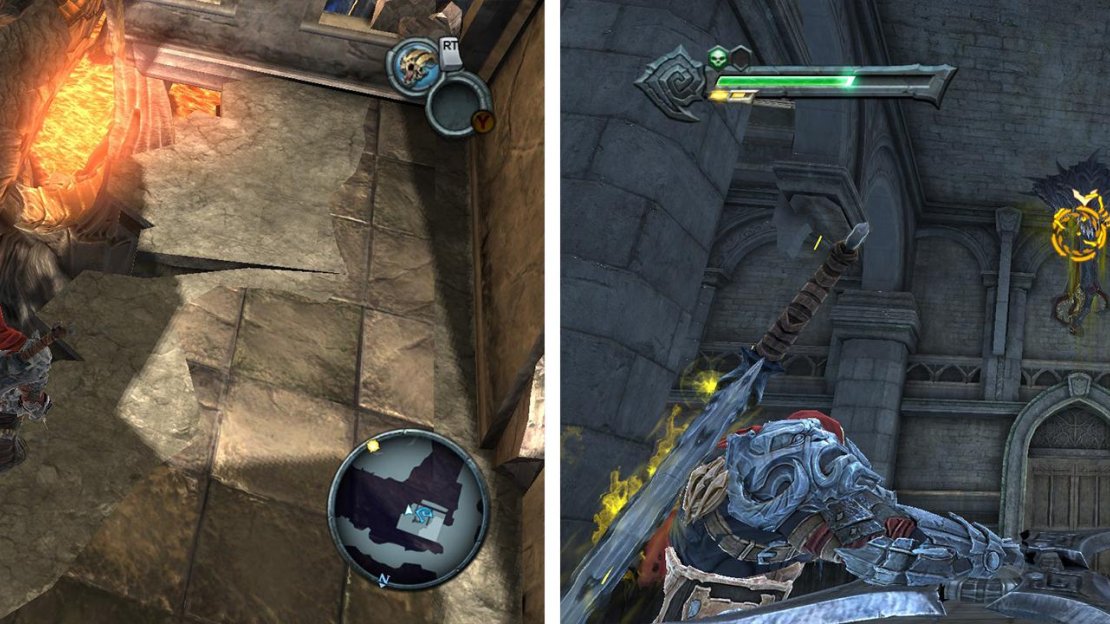
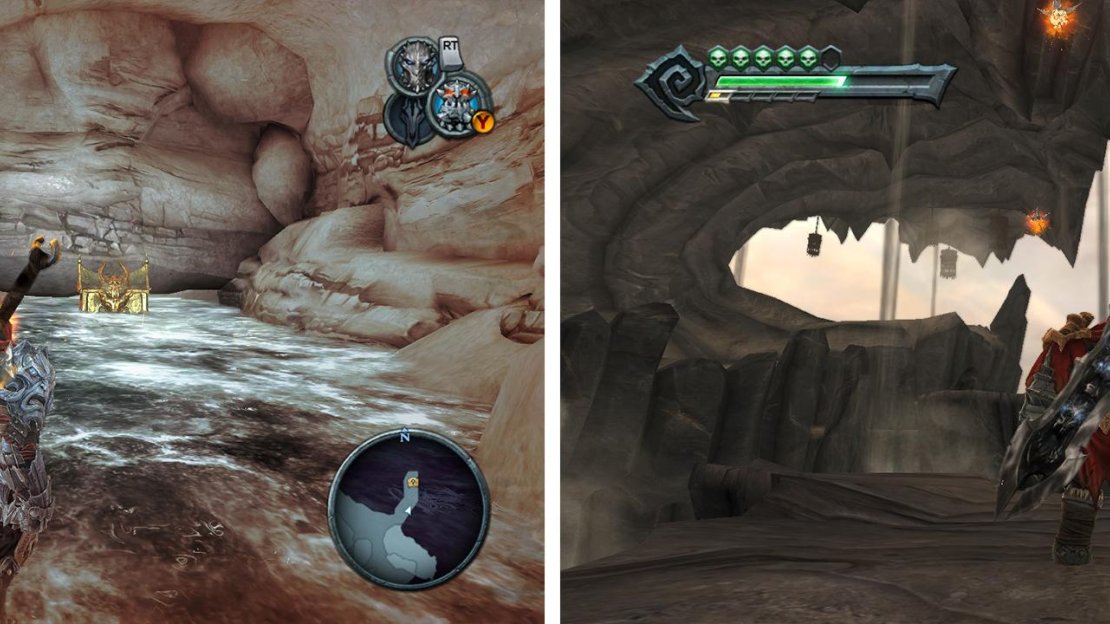
The Abyssal Armour Set consists of 10 pieces that can be found hidden in chests around the game world. Finding and collecting all 10 pieces will transform War into the new armour which has significantly increased defence (and looks pretty cool too). Once unlocked, the abyssal armour can carry over into any new games that you start afterwards.
The pieces are all listed in the walkthrough above and can be found in the following locations:
Scalding Gallow
- At the bottom of the ramp leading to Samael’s prison, you should see a ruined building in front of you. On a column to the left you should be able to make out a red crystal with a bomb plant mounted on it. Either grab a car and pitch it at the bomb or use your cross-blade/pistol. This will cause the column to collapse and create a small ramp, allowing you access to the chest containing the Abyssal Armour piece.
- After freeing Samael from his prison, head to the Vulgrim Location nearby. In the back corner of this room, you will see a missing part of the wall. In front of you, you will see Samael’s stomping grounds. Look below the prison and you should be able to make out a small rocky path below. Use your newly acquired shadowflight ability to jump and glide down to the path, follow it to the top to find a piece of the Abyssal Armour Set .
Scalding Gallow: Look for the hidden path below Samael’s Prison from the Vulgrim Location (left). Twilight Cathedral: Before fighting the boss climb up the block again and stun the Demon Plant (right) the armour is inside the door its guarding.
Twilight Cathedral
-
After riding the platform with the three statues up to the courtyard in front of the boss door, turn around and use the block you pushed into the corner earlier to access the above balcony. At the top, turn to the left and use your cross-blade to stun the demonic plant above the door. Enter the room and look on the far side of the balcony for a chest containing the Abyssal Armour piece.
Drowned Pass -
Jump into the water, dive under and find the most north eastern tunnel. Swim through this and surface into the cave at the far end. Defeat all the enemies and then pick up the fourth piece of the Abyssal Armour Set from the nearby chest.
-
You will be awarded the fifth piece of the Abyssal Armour Set when talking to the Gatekeeper after completing the four shadow challenge arenas in the area. Impossible to miss!
The Hollows -
When you enter the first large tunnel area in The Hollows and the doors all get sealed off. You will have to fight a group of Spined Minions and a Greater Dragon. Look back down the tunnel to see where the Dragon burst through the wall to find an alcove containing the sixth piece of Abyssal Armour .
Eden: The armour can be found behind the waterfall (left). Ash Lands: Use the Abyssal Chain from the rocky platform accessible via the shadowflight geyser in the desert (right) to reach a rooftop with the armour.
Iron Canopy
-
After fighting the first big spider, you will arrive in a room with the locked blue door at the far end. To the left of this is a climbable wall, at the top grapple across the gap to find a chronosphere. Do not activate this yet, instead look up and to the left to find another cheeky grapple point. Use the abyssal chain to pull yourself up here and open the chest for Abyssal Armour piece number 7.
The Black Throne -
In the Black Throne’s third tower. When you reach the bottom of the long downwards spiralling staircase with large red crystal in the middle of the area. Activate the nearby portal pad, then look out the door, you should see a rotating, floating stone block. Wait for the pad on it to become visible then activate it. Wait for it to turn and face the bomb plant before jumping through and gliding across the gap. Activate the portal pad here and use the abyssal chain to grab the bomb from the stone column, wait for the portal on the rotating stone block to face a bunch of red crystals before tossing the bomb through to remove the obstacle. Jump through after it to find a chest containing the eighth piece of the Abyssal Armour Set .
Eden -
Go to the very eastern side of the map and in a small passageway hidden behind the waterfall, you will find the ninth piece of the Abyssal Armour Set .
The Ash Lands -
The final piece of the Abyssal Armour set is hidden on top of the first building you encountered in the Ash Lands. To get to it, you will need to ride Ruin around the back to find a large raised rocky area, to get on this, follow the rocky wall around until you find a shadow flight geyser. Use this to access the ledge above. Run to the far end and use the abyssal chain on the grappling points here to reach the top of the building. Open the chest here for the final piece of the Abyssal Armour .


No Comments