| Quest Giver | Reward | Lvl |
|---|---|---|
| Ellie - The Droughts - Raider’s Drydock | Cash, Rare Shield | 11 |
Enter ship, Talk to Lilith
Following the dramatic events of the previous mission, all that remains to do is enter the ship and leave Pandora behind. Head up the stairs to your side and follow the walkway up to the ship as you take to the stars. Once you regain control, resist the temptation to explore your new Base of Operations for a moment and speak to Lilith to get the ball rolling before plugging in the Astronav Chip.
Check on Tannis, Marcus, crew quarters
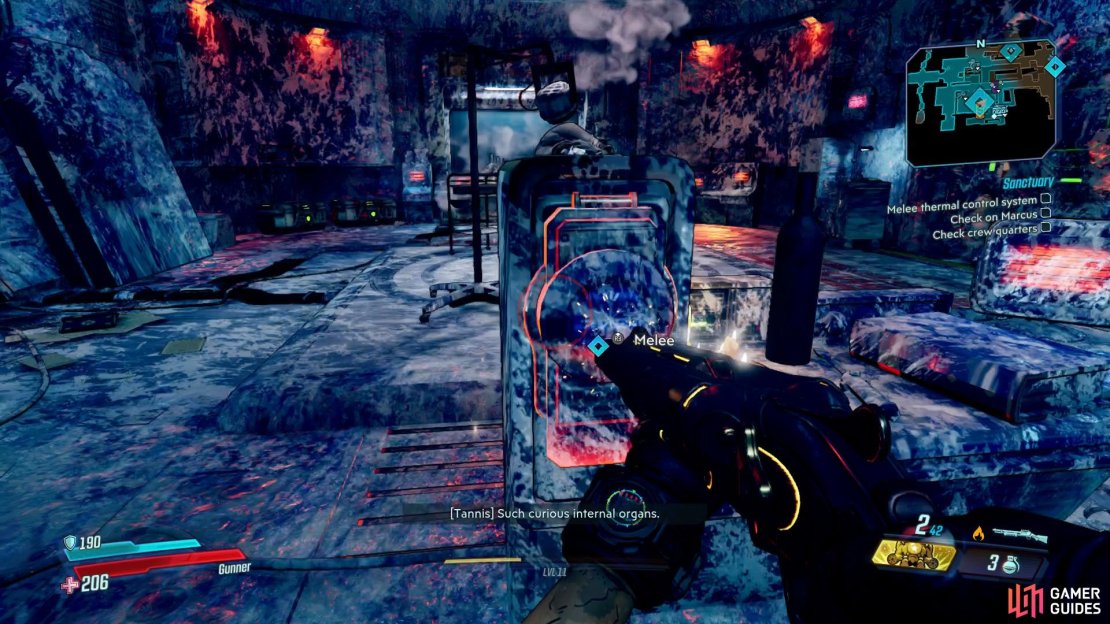
Your first task is to seek out the crew of Sanctuary so leave the bridge and hang a right to find the Infirmary. After listening in on Tannis, melee the nearby switch to get the thermal controls working again before she send you on your way. The Infirmary is where you’ll come to use the Vending Machine to restore your health or check up on any useful Class Mods to buy. For now, you don’t have the capability to equip Class Mods yet so you can safely ignore it.
Next on the list is Marcus, who you’ll find on the floor below Tannis, head back towards the bridge and cross over to the northern side where you’ll find some stairs leading down. As you head down the corridor, Marcus will come rushing out seeking your help. Look up and to the left to spot the first fire suppressor then follow the path to find the next. The last one can be found down the stairs, in the firing range.
At Marcus Munitions, you can find two Vending Machines and the SDU shop, perhaps the most interesting of the lot. You’ve seen the other two Vending Machines by now and they’re no different here but the SDU shop is of special note, you can spend your cash on Storage Deck Upgrades (SDUs) to increase how much ammo you can hold for each of your guns, maximum Grenade count, Backpack storage, Bank storage and finally Lost Loot storage. Each upgrade costs more money but they’re all incredibly worth it and probably by the best use of your cash in Borderlands 3. For now, focus on backpack space and possible ammo for your favored gun type as that will be the most useful.
(1 of 4) Hit the thermal controls switch in Tannis’s lab
While you’re also here, if you return to the firing range downstairs, you’ll be able to use the firing range to test out your guns on two different settings. This can be handy to see how particular guns work and as an additional bonus, if you get a perfect score on any of the modes you’ll nab yourself Good Against Remotes Is One Thing.
Your final task for now is to head to the crew quarters, which you’ll find by taking the door to the left outside of Marcus Munitions and following the corridor. Along the way you’ll notice the large Golden Chest to your left, this is where you use any Golden Keys you may have obtained through SHIFT-Codes be it from pre-orders or from Twitter. This will open the chest each time with a chance for some really great guns scaled to your level. It’s generally best to wait until higher levels to use your keys but if you find yourself going a while without a good gun, consider using one, another Trophy/Achivement Stay Golden can be obtained as a result of it.
As for your task at hand, the crew quarters is a little further down and you’ll need to open the door by hitting the switch to the left. As a reward for freeing them, the same room will become your personal space in Sanctuary. In here you’ll find your shared Bank across all characters along with the ability to place decorations or even guns in certain places. Just outside here, you’ll find a Quick Change machine for all your cosmetic and Respeccing needs along with the Lost Loot machine, this will collect any Rare and upwards rarity gear that you may have missed but beware there is a limit, based on the SDUs you have purchased.
Talk to Ellie
Ellie’s managed to solve the issue while you’ve been checking in on everyone so head down to the Cargo Hold by taking the nearby stairs down from the crew quarters and speak to her. As soon as she opens the shutters however, the Cargo Bay doesn’t look salvageable so hit the switch on the side to jettison it into the great beyond. All is not lost however, Ellie mentions Earl might be able to help you, head down the stairs into the bay and knock on the ominous chained door to meet Crazy Earl.
Find Moxxi’s nightclub
Earl isn’t trading without something in return and Ellie suggests Moxxi’s nightclub, return up the stairs and head to the corridor opposite Marcus Munitions to find the place you’re looking for. Speak to Moxxi and then follow her to the nearby Slots and use the machine on the left to find yourself some Eridium.
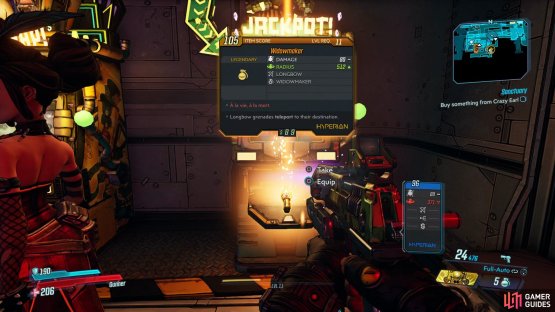
(1 of 2) The Slots are always worth your time for their potential Legendary rewards
The Slots are always worth your time for their potential Legendary rewards (left), use the Tip Jar for a Trophy/Achievement along with some unique guns at certain intervals. (right)
Moxxi’s Slots are the second task most worthy of your cash in Borderlands 3, in between buying any SDUs as you come back to Sanctuary, consider using the rest on the Slots as there’s some truly remarkable items to be won such as Legendary weapons, shields, class mods and artifacts along with more Eridium. Alternatively, if you get the grenade reward, you’ll need to dash away from the machine to avoid getting blown to smithereens, you will however obtain yet another Trophy/Achievement Dropping Loads for your troubles while another Tips Appreciated can be obtained by giving Moxxi a tip at the bar.
With that little side task out of the way, make your way back down to Crazy Earl and speak to him to access his shop. You’ll be making your purchases via any Eridium you’ve found so far but for the sake of the mission, anything is fine regardless of the price (Room Decorations are the cheapest if you want to save your Eridium). Earl’s shop sells an assortment of goods that will change the way your character or Echo looks and is purely for cosmetic gains. This isn’t the only use for Eridium however and you’ll find plenty of cosmetic unlocks throughout the course of the game. Do note however that you can unlock My Name Is Earl for purchasing at least 20 cosmetic goods from him.
After exiting the shop when you’ve purchased something, Earl will toss out the Entropy Accelerator that Ellie was looking for, pick it up and then take a quick look at the Vending Machine here. This is the other exclusive use for your Eridium and probably the best use for it. Here you’ll be able to buy an assortment of equipment that comes with the Annointed transfix on them and these are special indeed. All Annointed gear will affect your character’s skills in additional ways and while some effect all Vault Hunters, some are exclusive to a particular class. This isn’t something you need to worry about for now, you change equipment at a fast rate during the course of the campaign but once you reach the endgame, Annointed gear will be a huge part of the chase and being able to purchase some here is always useful.
Install entropy accelerator, return to bridge
Return back up to the top floor (the floor that holds the bridge and Tannis’s Lab) and follow the marker to install the Entropy Accelorator. With the ship fully operational again, return to the bridge and when prompted, navigate to Promethea to see everything is not right there either. Finally, speak with Lilith one final time to bring this mission to an end and begin the next.
Extra Activities in Sanctuary
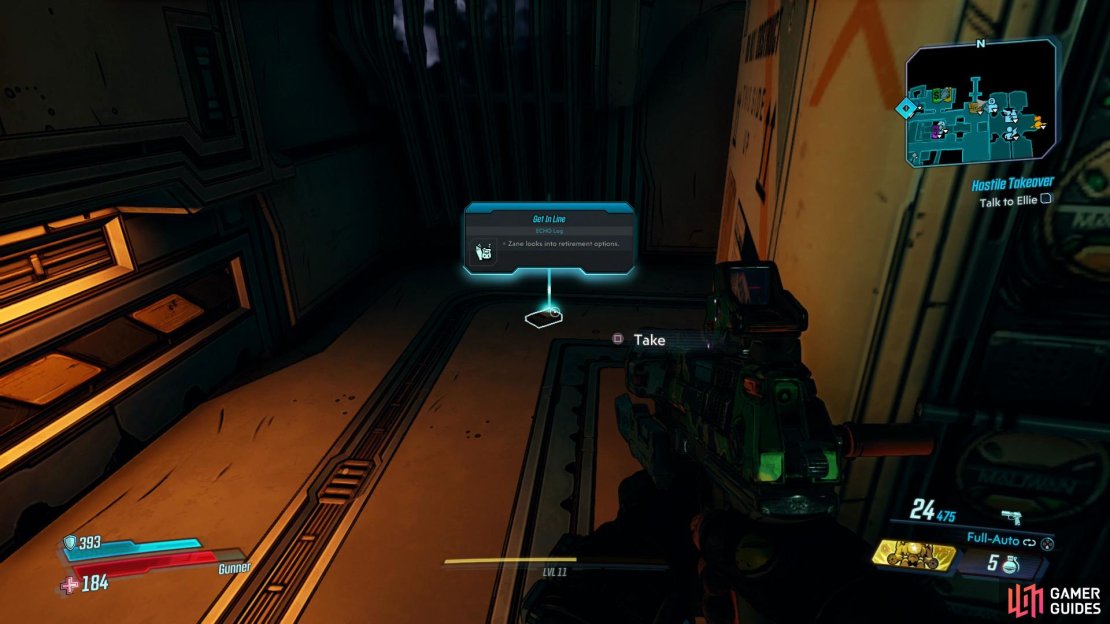
(1 of 4) You’ll find Zane’s Echo Log at the back of Deck A
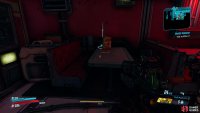
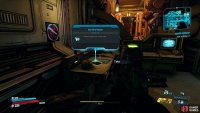
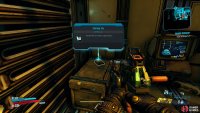
You now have full access to all of the features of Sanctuary so take the time to try everything out. Additionally, there are four Echo Logs, one for each Vault Hunter, hidden on the ship which gives a little more backstory on them. The first, Get in Line based on Zane can be found at the back of Deck A, to the left of the ladder leading down. The next two are found below on Deck B, head to Moxxi’s Bar and search the tables at the back to find Reborn, based on Amara. From there, leave Moxxi’s and take a right and through a door, then immediately left and left again to find the next, One More Mission, based on Moze. The final Echo Log can be found on the northern stairwell between the Cargo Bay and Deck B, when you can, enter the opening on your left (or right if coming up from the Cargo Bay) to find Morning Tea, based on FL4K.














No Comments