| Quest Giver | Reward | Lvl |
|---|---|---|
| Vaughn - The Droughts | Cash, Rare Sniper Rifle (Optional Objective) | 6 |
Pick up head
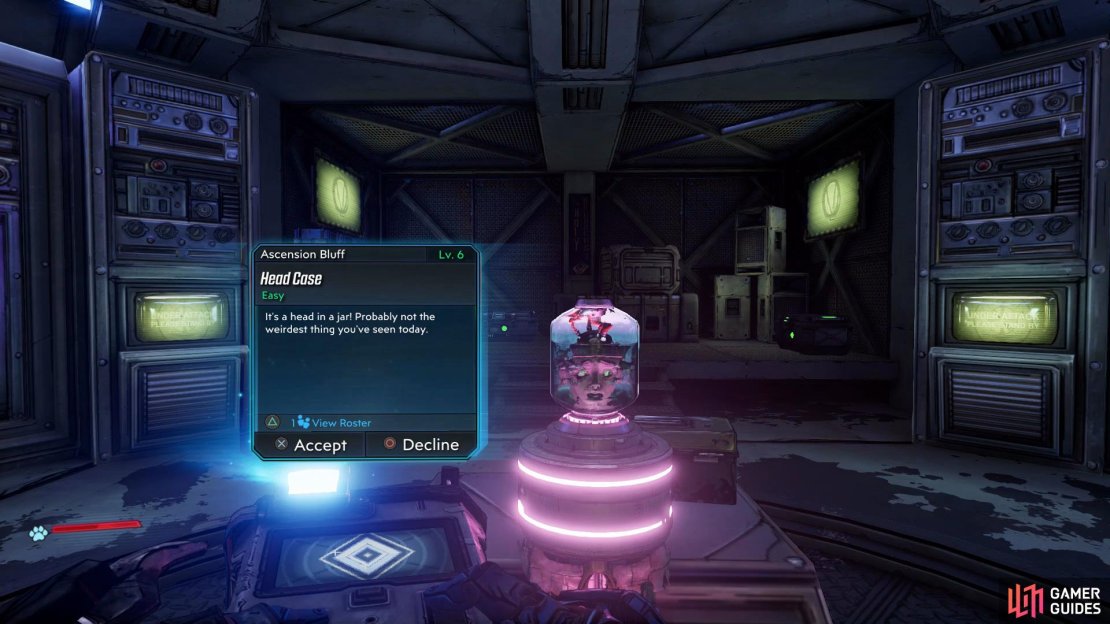
To begin this Side Mission you’ll need to defeat Mouthpiece in the Cult Following Main Mission. After you’ve defeated Mouthpiece head up the stairs to the right side of the arena and follow the path around until you see a dark room with a head in a jar.
Collect the Head and make you way to the entrance of the Path of Sacrafice where you’ll need to plug the head into a console. Once you’ve plugged the head in, interact with the computer to begin a simulation.
Collect memory fragments
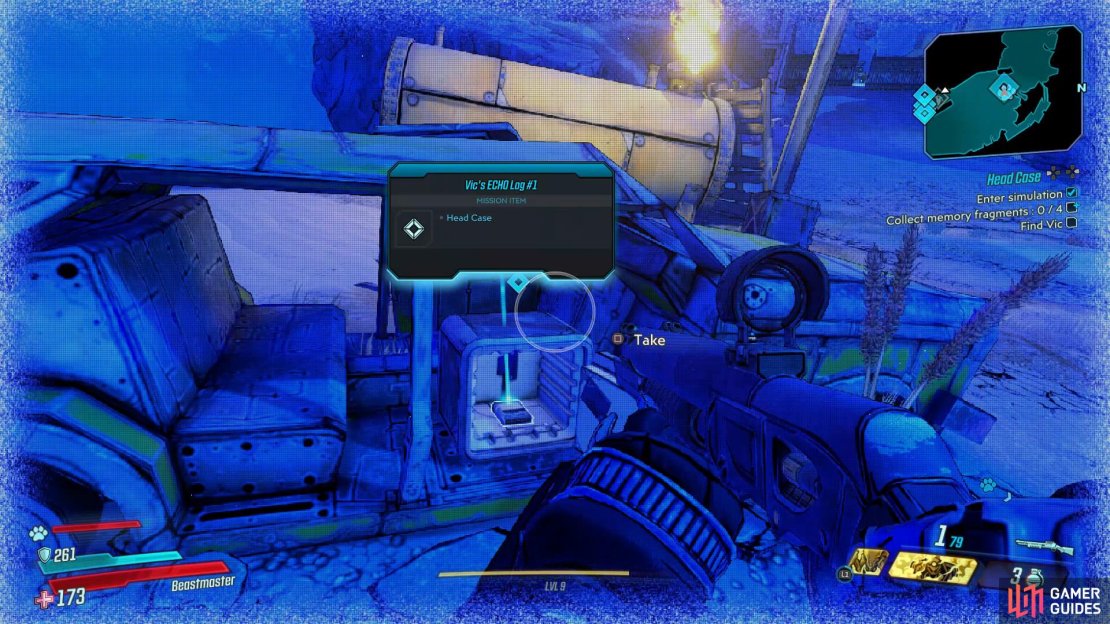
(1 of 4) You’ll be able to find the first of Vic’s ECHO Logs located in a destroyed car in the beginning of the area,
Once you’ve entered the simulation you’ll need to find four of Vic’s ECHO Logs that’s scattered around the area on your way to find Vic herself.
- Vic’s ECHO Log #1
The first of Vic’s Logs can be located in a destroyed car that can be found right from the start of the simulation.
- Vic’s ECHO Log #2
You’ll be able to find the second of Vic’s ECHO Logs on a chair a bit further in from the destroyed car.
- Vic’s ECHO Log #3
You’ll be able to find the third ECHO Log located in The Holy Broadcast Center in the first room on your left from the entrance.
Vic’s ECHO Log #4
Finally, the forth ECHO Log can be found in the area to your left, just past the speakers.
Find Vic
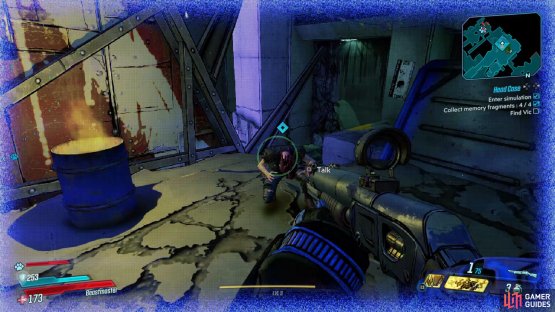
(1 of 2) You’ll be able to find Vic kneeling on the floor on your way through The Holy Broadcast Center,
You’ll be able to find Vic kneeling on the floor on your way through The Holy Broadcast Center, (left), after you’ve spoke with Vic, the Interrogator will spawn. (right)
With all of Vic’s ECHO Logs collected, continue through The Holy Broadcast Center until you reach a ramp, head up it to find Vic kneeling on the floor. Speak with her to cause the Interrogator to spawn.
The Interrogator shouldn’t be too difficult to deal with but to make your life easier, take out all the other enemies that’s nearby first and use the piller in the area for cover if need be.
Exit Simulation
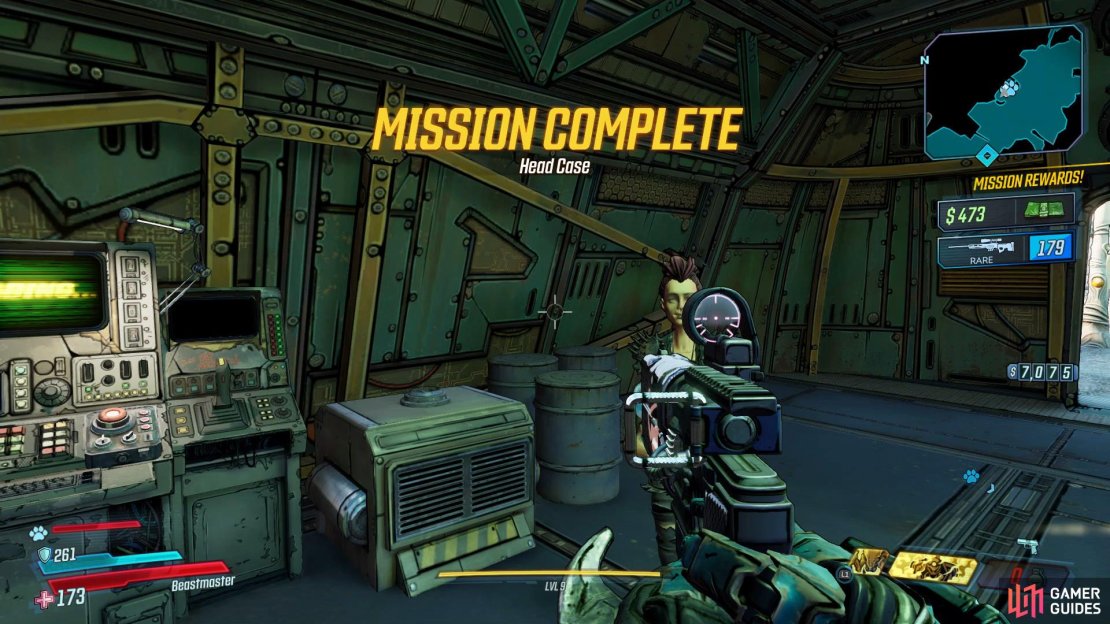
With the ECHO Logs collected, and the Interragotor killed, it’s time to exit the simulation. Head back to console where you entered the simulation to complete the Side Mission and obtain a Unique Rare weapon for your troubles.



No Comments