

| Quest Giver | Reward | Lvl |
|---|---|---|
| Typhon Deleon - Desolation’s Edge | Cash, Eridian Fabricator | 36 |
Go to Vault
You’ll continue from where you left off with your new task heading to the Vault to retrieve the last key. You’ll find some new Side Missions, Homeopathological and Cannonization to accept here and both Side Missions will lead you to Red Chests and other tasks. As you exit out of area, take the southeastern path and melee the vines. Follow the path south, dispatch the enemies and then hug the western wall to find the second Typhon Log before dropping back down.
Back in The Conqueror, head along the eastern wall to find the Maliwan camp and leave your vehicle behind. As you head forward, you’ll meet another Traunt and then up ahead, you’ll run into a large group of Maliwan. These Dark variants of the Maliwan soldiers are essentially just tougher versions, they still attack much in the same way as their lesser counterparts.
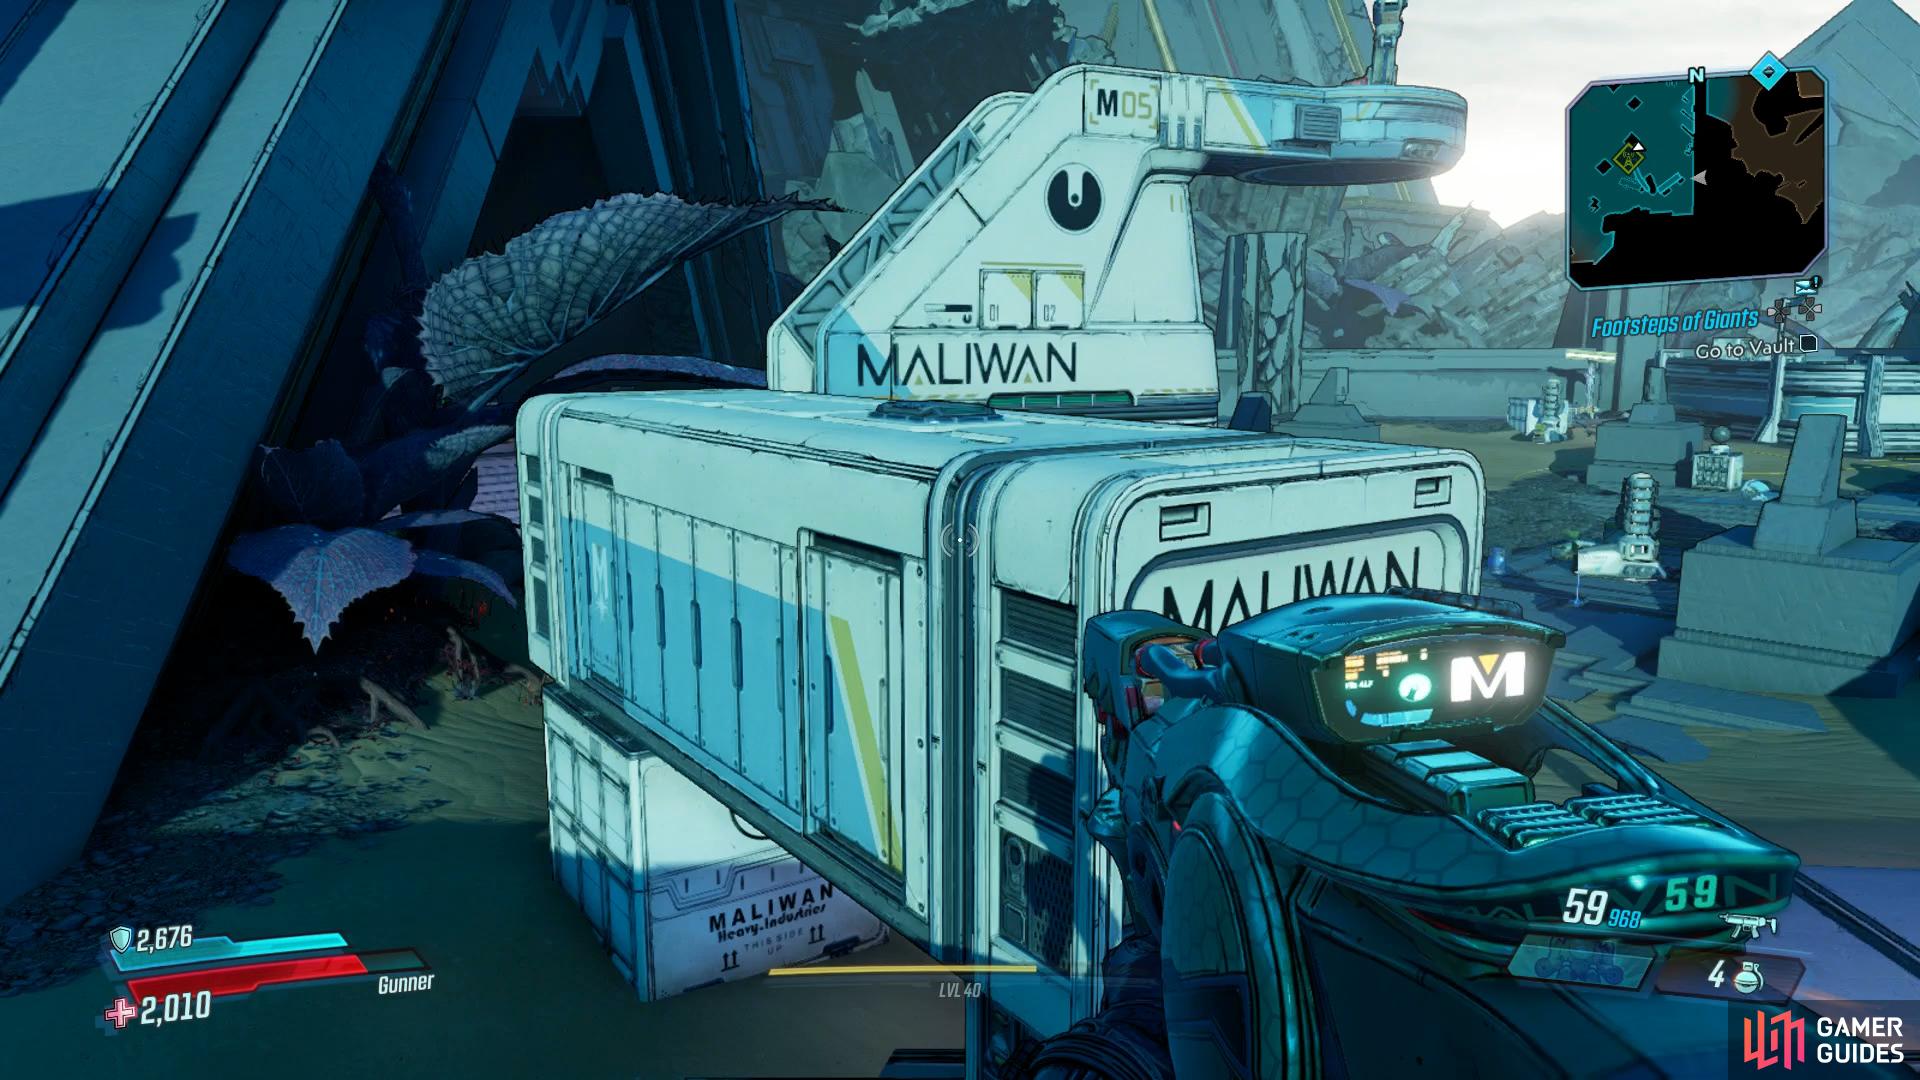
Use the containers to reach the outer wall and begin the climb to the Crimson Radio
while you need to disable generators to reach the Hijack Vehicle inside.
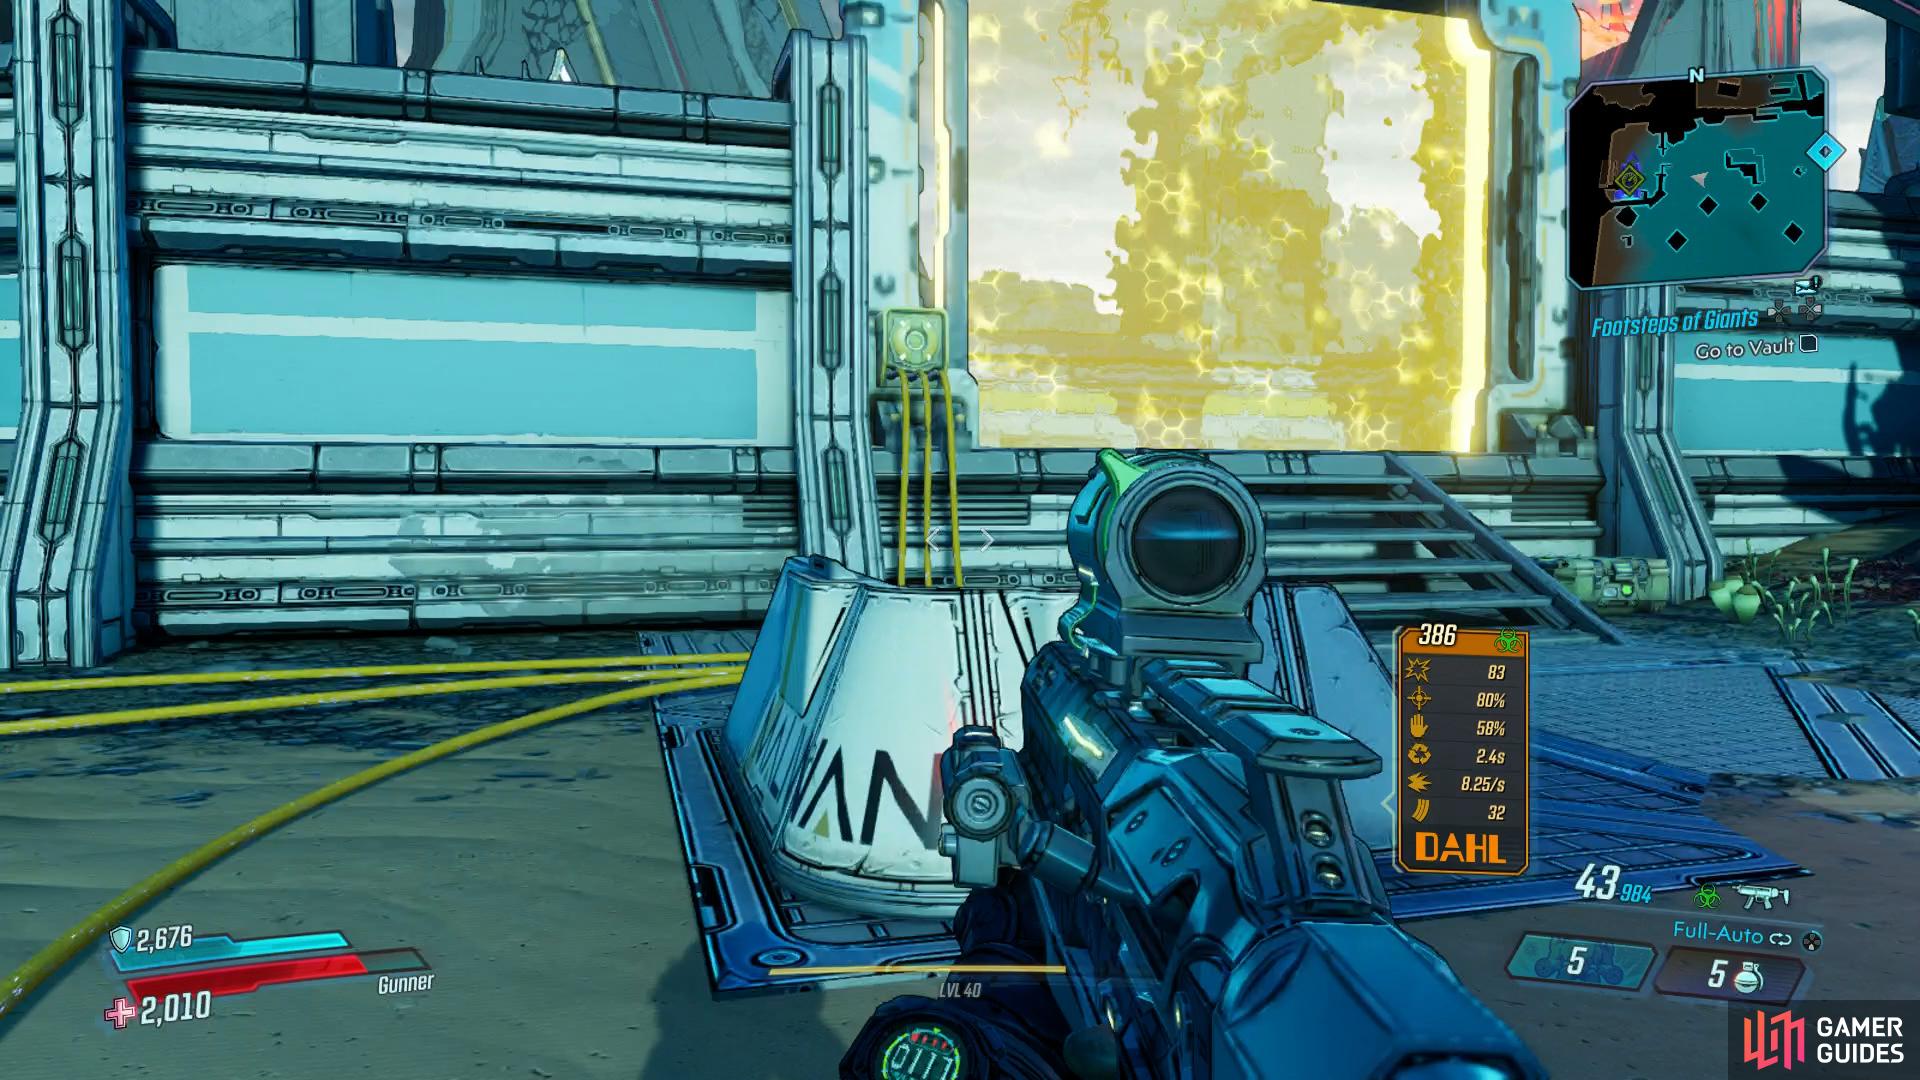
Once the entire camp has been taken out, head up the stairs to the south and then take out another large group. Once they’re defeated, head to the southeastern wall and use the containers to reach the outer wall. Follow this south and jump onto more crates before following it to the staircase where the second Crimson Radio awaits. While you’re in this location, head over to the northwest to spot a barrier with a Hijack Target behind it, follow the yellow wires to generators and shoot them all in quick succession to temporarily drop the barrier. You can then head inside, grab the Vehicle and drive it back to the nearby Catch-A-Ride.
Return to the camp and make your way to the southeast to encounter yet another large group of Maliwan. The two Heavies, accompanied by a Gunwolf, are the biggest threat here, try to make effective use of your Action Skill here and take the Gunwolf out first before focuing on the larger targets. As the path starts heading east, you’ll have another group of basic Maliwan to take down before taking on the Elites. These are not as tough as they sound however, especially if you have a Corrosive weapon on hand, their health will plummet quickly.

Use Corrosive weapons to take the Elites down quickly

then climb up in the middle to shoot the generator.
Climb the structure in the ground following their defeat and you’ll be able to spot the generator, take aim and blast away at it to bring the barrier down. As you make your way across the bridge, you’ll notice another Side Mission, [Welcome to Slaughterstar 3000] which is another Circle of Slaughter mission, like the others, it’s best to save these until after the campaign. Continue across the bridge however and you’ll find the bridge destroyed before your very eyes.
Take alternate route
take the northwest path out of this area and make your way back to the Catch-A-Ride in the northern part of The Conqueror desert. Your next destination can be reached by taking the path reached by hugging the eastern wall here. Melee the vines to gain access and then up ahead you’ll run into Eridian Guardians, pay special attention to the Sera’s here, they’re the most troublesome of the bunch.
Continue east, taking out another group of Eridian Guardians and then melee through the vines. Another group of Guardians await on the other side and then follow the path east to take out a further two groups. As you head towards the area to the east, take a detour to the north to find the second Dead Claptrap. Prepare yourself before you drop off to the east, the brother of an old adverary awaits just beyond.
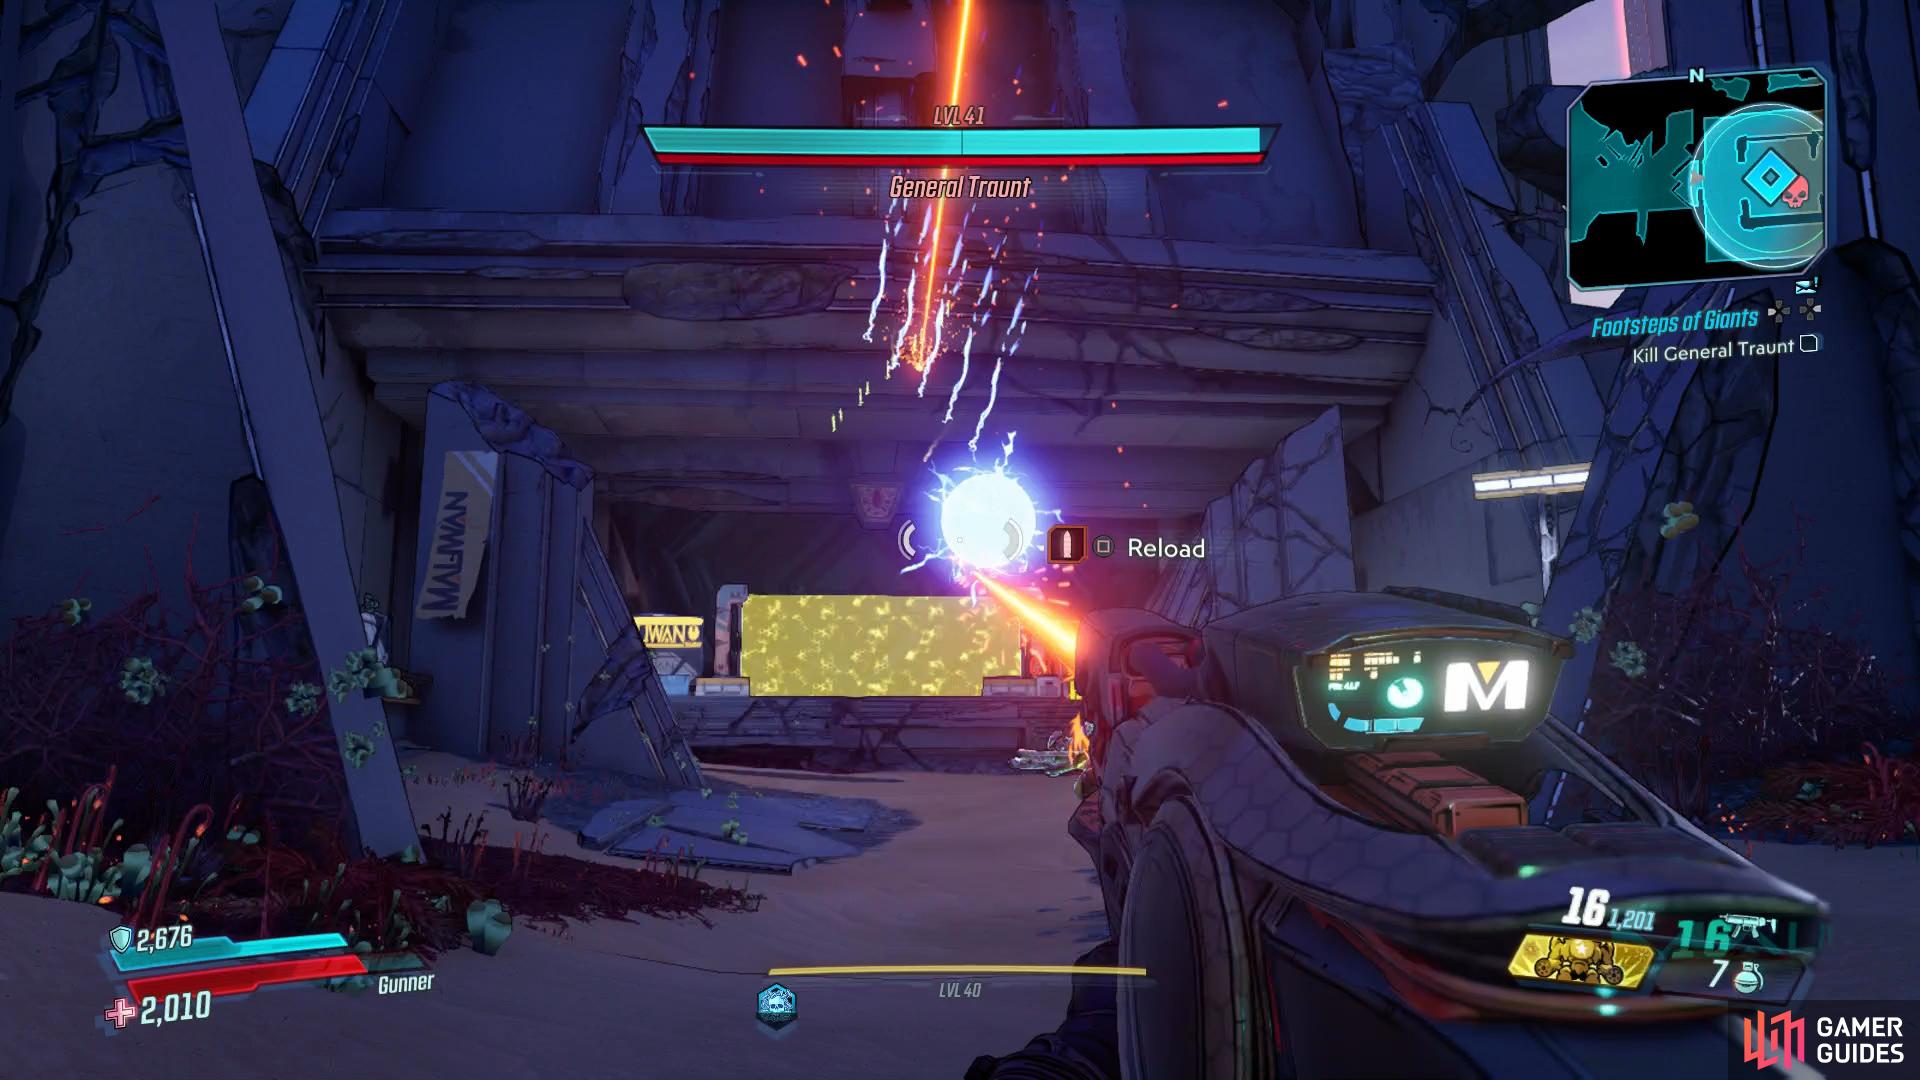
Boss: General Traunt
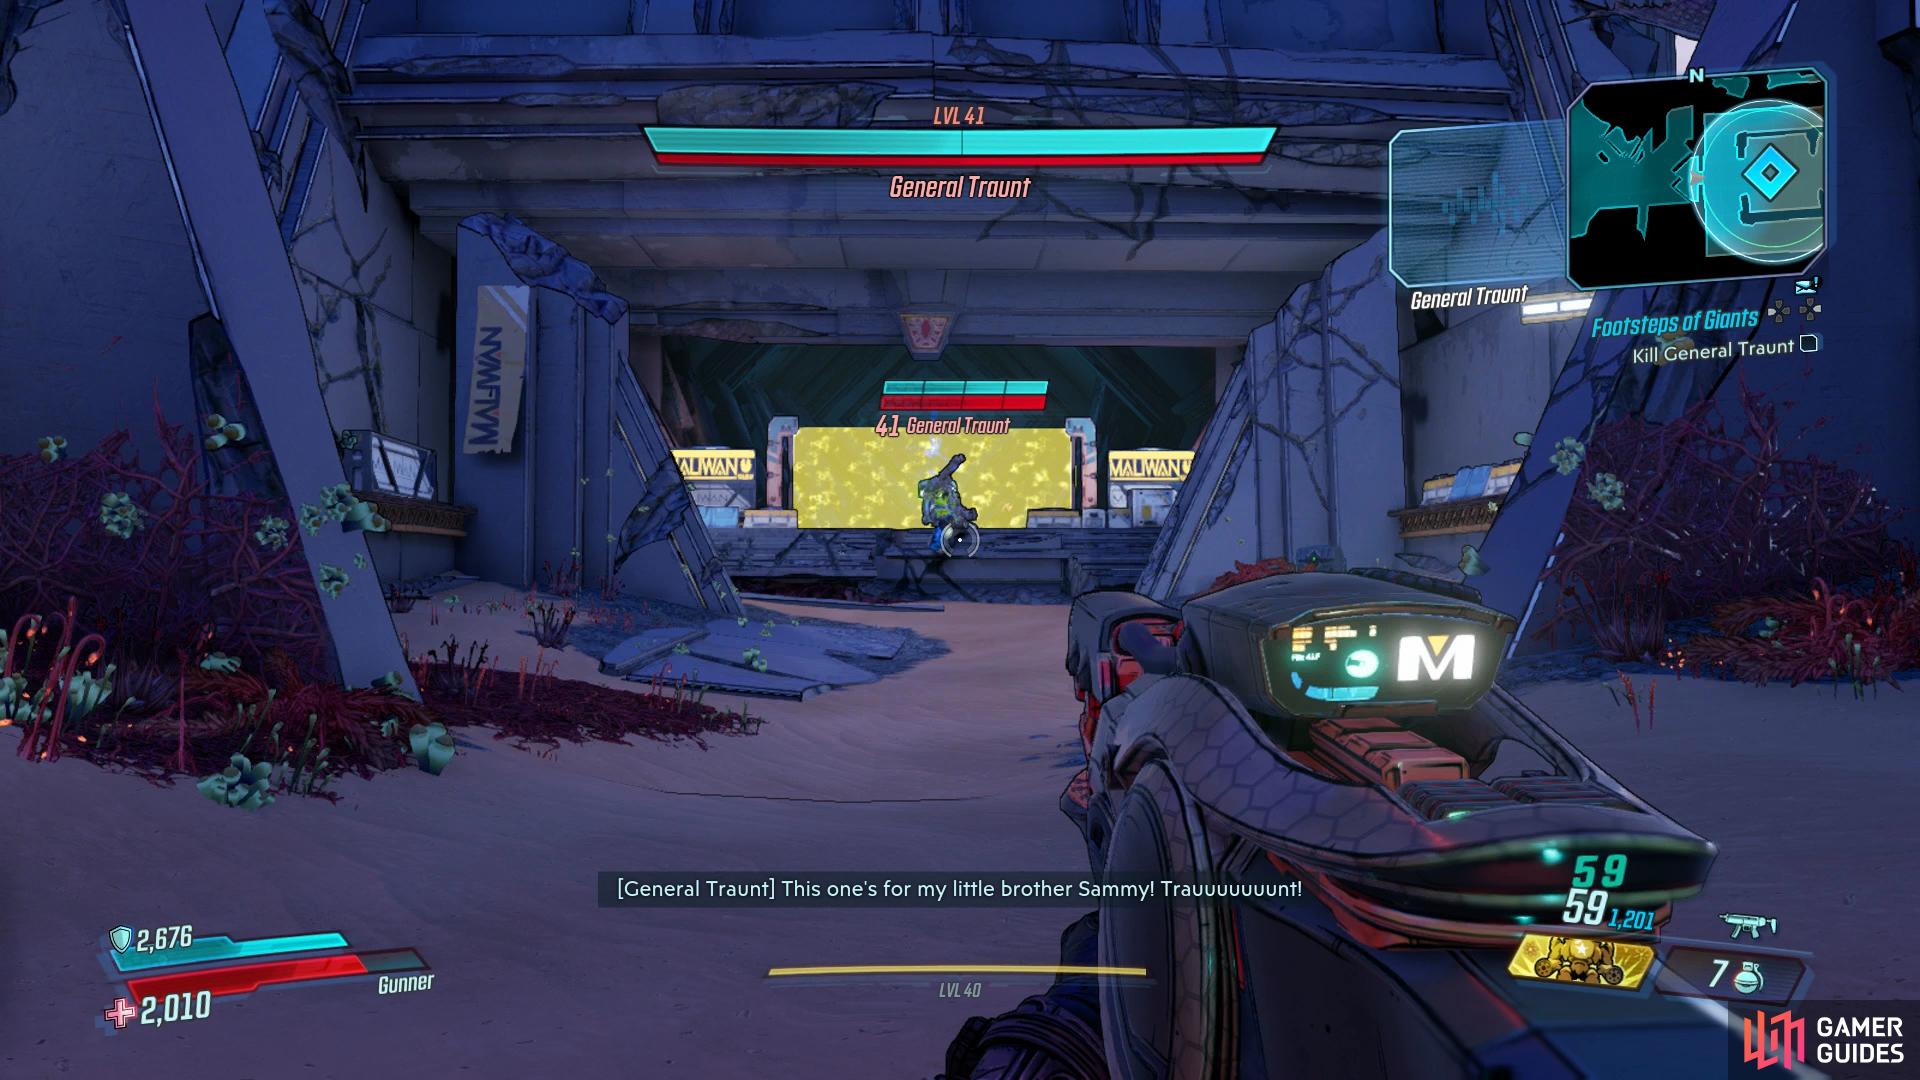
The first thing you should notice is that the arena you’re fighting is rather limited, add on top of that the fact that Traunt is similar to his younger brother you fought back on Athenas and you know that there is trouble brewing. Pay attention to Traunt’s health, he has a Shield you’ll need to take down first and of course Shock weapons or Action Skills are your best bet. You’ll also notice the large generator on his back, this is his weak point.
Traunt will attack by firing a barrage of beams at you, these are similar enough to avoid by keeping on the move. More deadly, are his ability to shoot different elemental Orbs. These will persist in place and continue to damage you if you’re caught up in them, they can however be shot down so be sure to do so if you get the chance.
He also retains the ability his younger brother used by shooting an fast paced Orb that will travel around the outside of the arena, damaging anyone it comes into contact with. The best way to avoid this, and in fact most of his attacks, is by standing in the area you drop into, right against the wall. The biggest issue here however is you need to make sure you keep track of the other Maliwan soldiers, they’ll constantly sneak in behind so pay attention to the radar at all times.
Outside of this, providing you take position in the previously mentioned area, Traunt shouldn’t be too much trouble. His attack are all easily avoidable and by this stage of the game, you should have more than enough firepower to bring him down. You’ll also find General Traunt has no unique drops to farm either, he’s simply a roadblock.
Collect your loot following the end of your battle with Traunt and then continue east to pass into the next zone.
Reach the temple
The Tazendeer Ruins are the second Zone of Nekrotafeyo and as such, you’ll find a whole host of new Crew Challenges and Zone Completion tasks to undertake. Make use of the nearby Vending Machines and then head east and take out the Eridian Guardians while following the path. Once you head out into the open, begin heading northwest to find a group of Vandas along with a Dead Claptrap in the corner.
Continue following the path northeast, taking out more Nekrotafeyo creatures in the process and you’ll eventually come across a fork in the path, leading north or south. South is the way to the temple but first head north and continue to the next fork, opting to take the eastern path first where you’ll find the second Dead Claptrap at the bottom of a waterfall.

You’ll find a Dead Claptrap by going east at the fork
while heading west and over this tree will lead to a Red Chest.
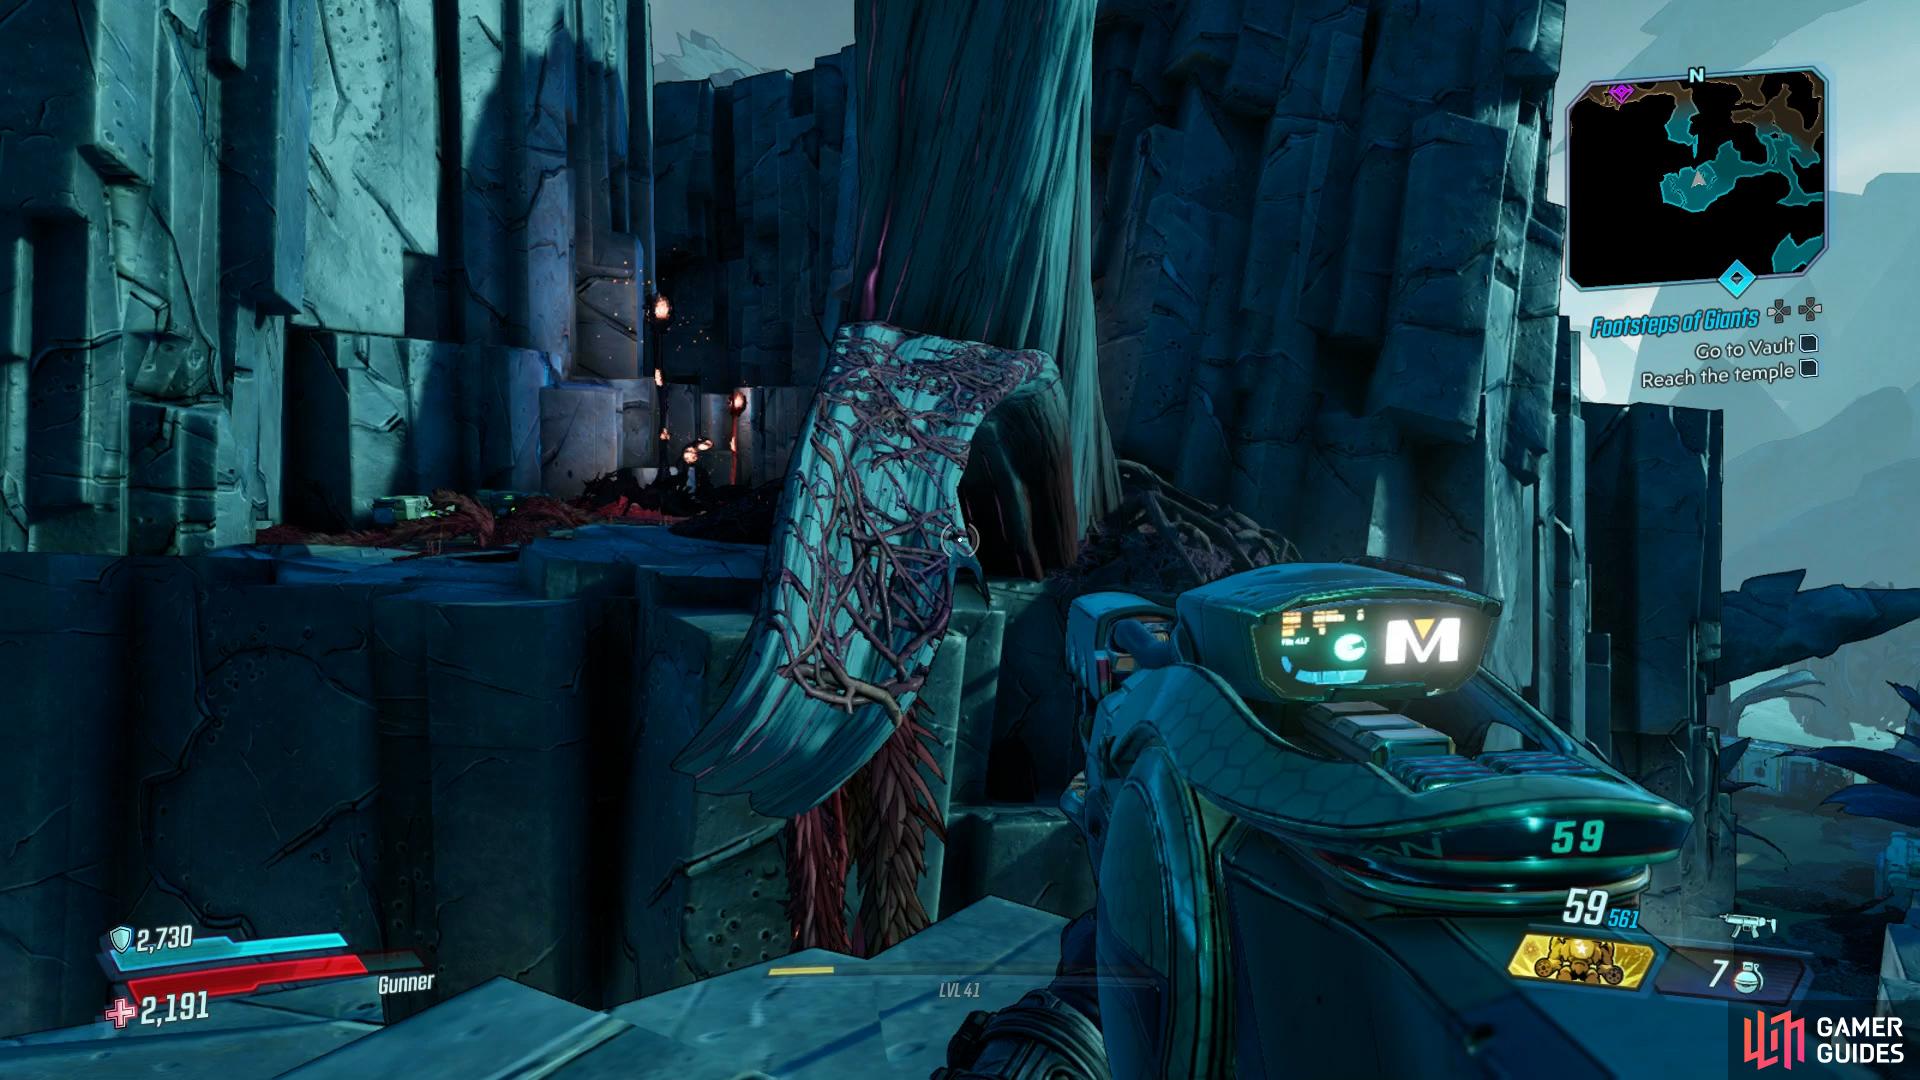
Return to the previous fork and take the western path, keeping to the western wall until you find a part of the tree you can jump to (take a look at the map to help you here) and reach the other side. Follow the path here and melee the vines to find a well hidden Red Chest. Return to the fork once more and head to the far north this time where you’ll find a Maliwan camp. Take them out and then search the makeshift house to the north to find a Typhon Log.
Return all the way back to the first fork, back when you had the choice to reach this northern or southern paths and this time take the southern path. Take out the creatures as you make your way up the stairs and then head west at the top to find the second Typhon Log overlooking the path below.
Continue south from here and follow the path around to the east, taking the creatures out in the process and you’ll eventually reach a Maliwan camp. This is a large battle and you’ll want to focus on any Nullhounds and long range soldiers before taking down the others. Once the battle is over, you’ll be presented with three different paths to the south, east and west.
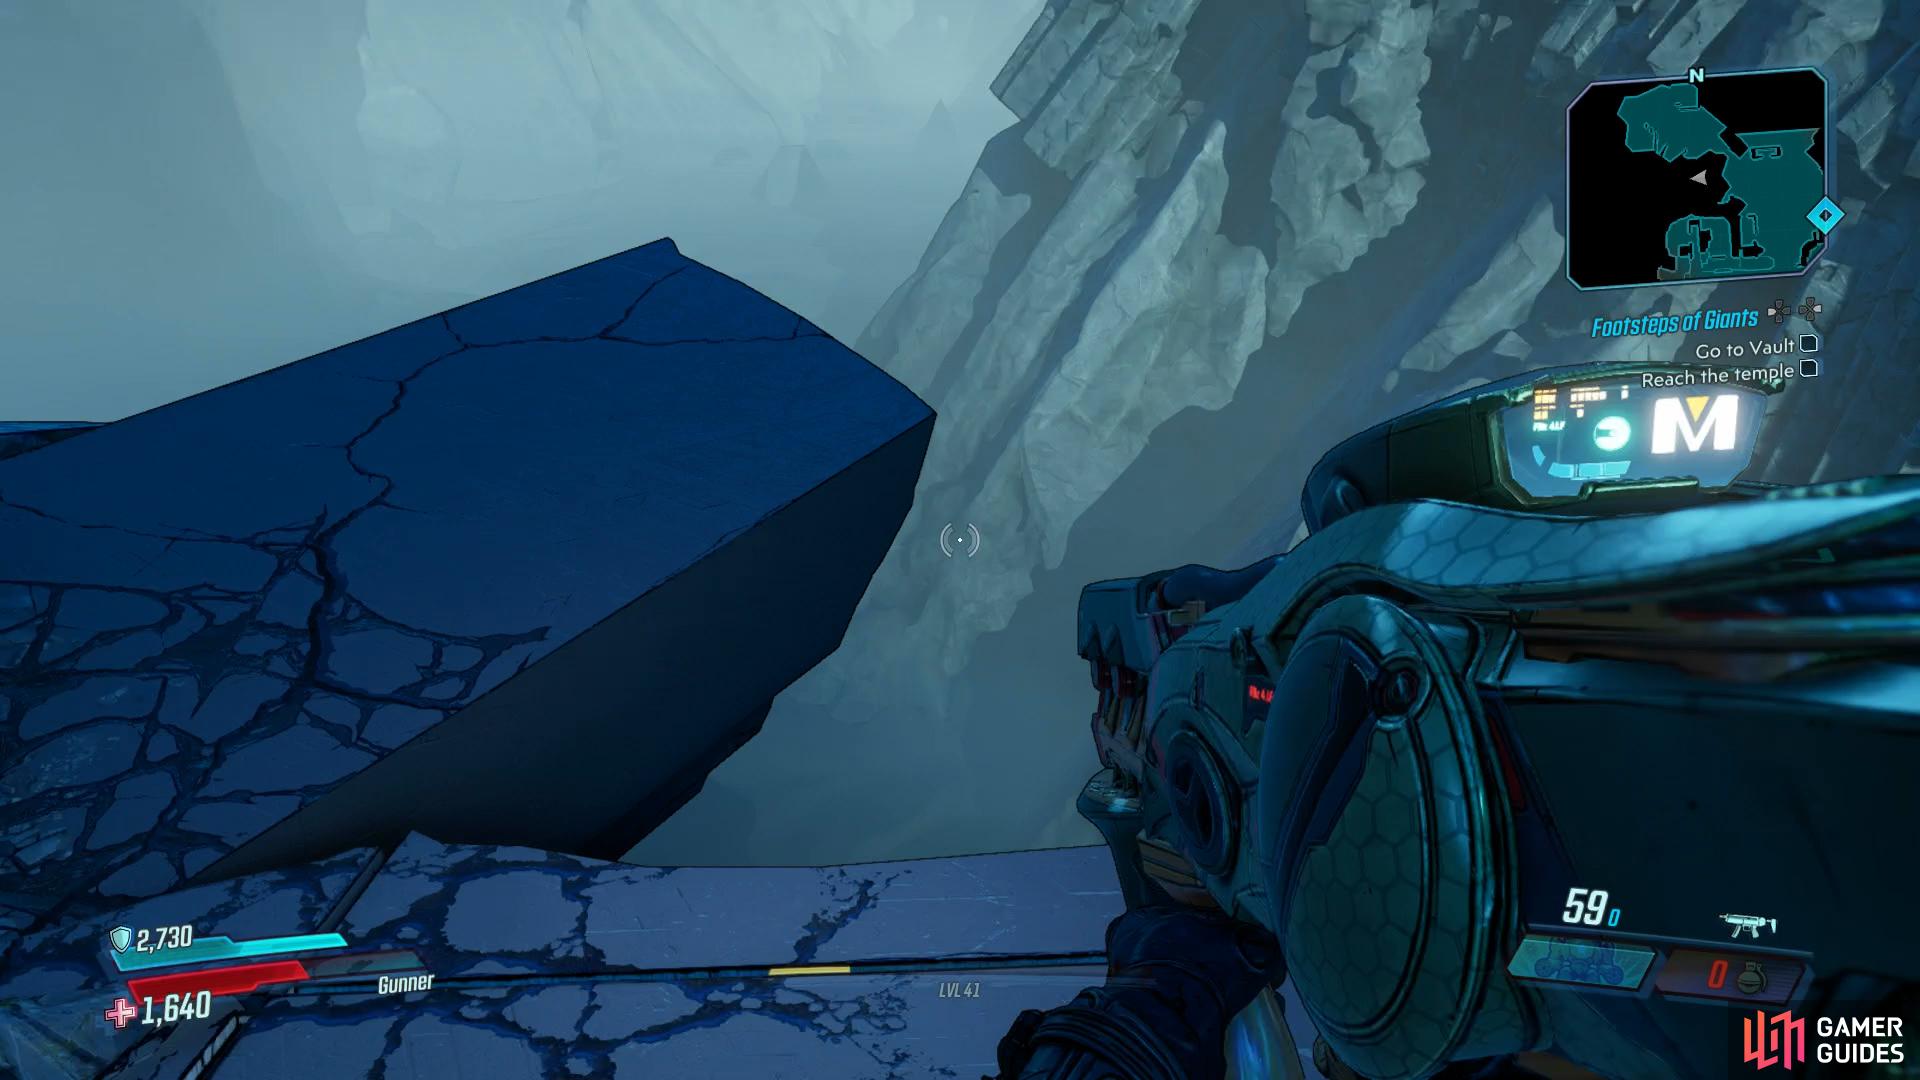
Start by taking the western path and take out another group of Maliwan followed by a second group containing some Badass variants. Once the area is clear, look for a small path by the cliff’s edge to the northwest and you’ll be able to work your way around the cliff and into the tower where at the very top you’ll find a Crimson Radio.
Search here on the western path to begin the climb to the Crimson Radio
while the eastern path will take you to the Target of Opportunity and a Red Chest.
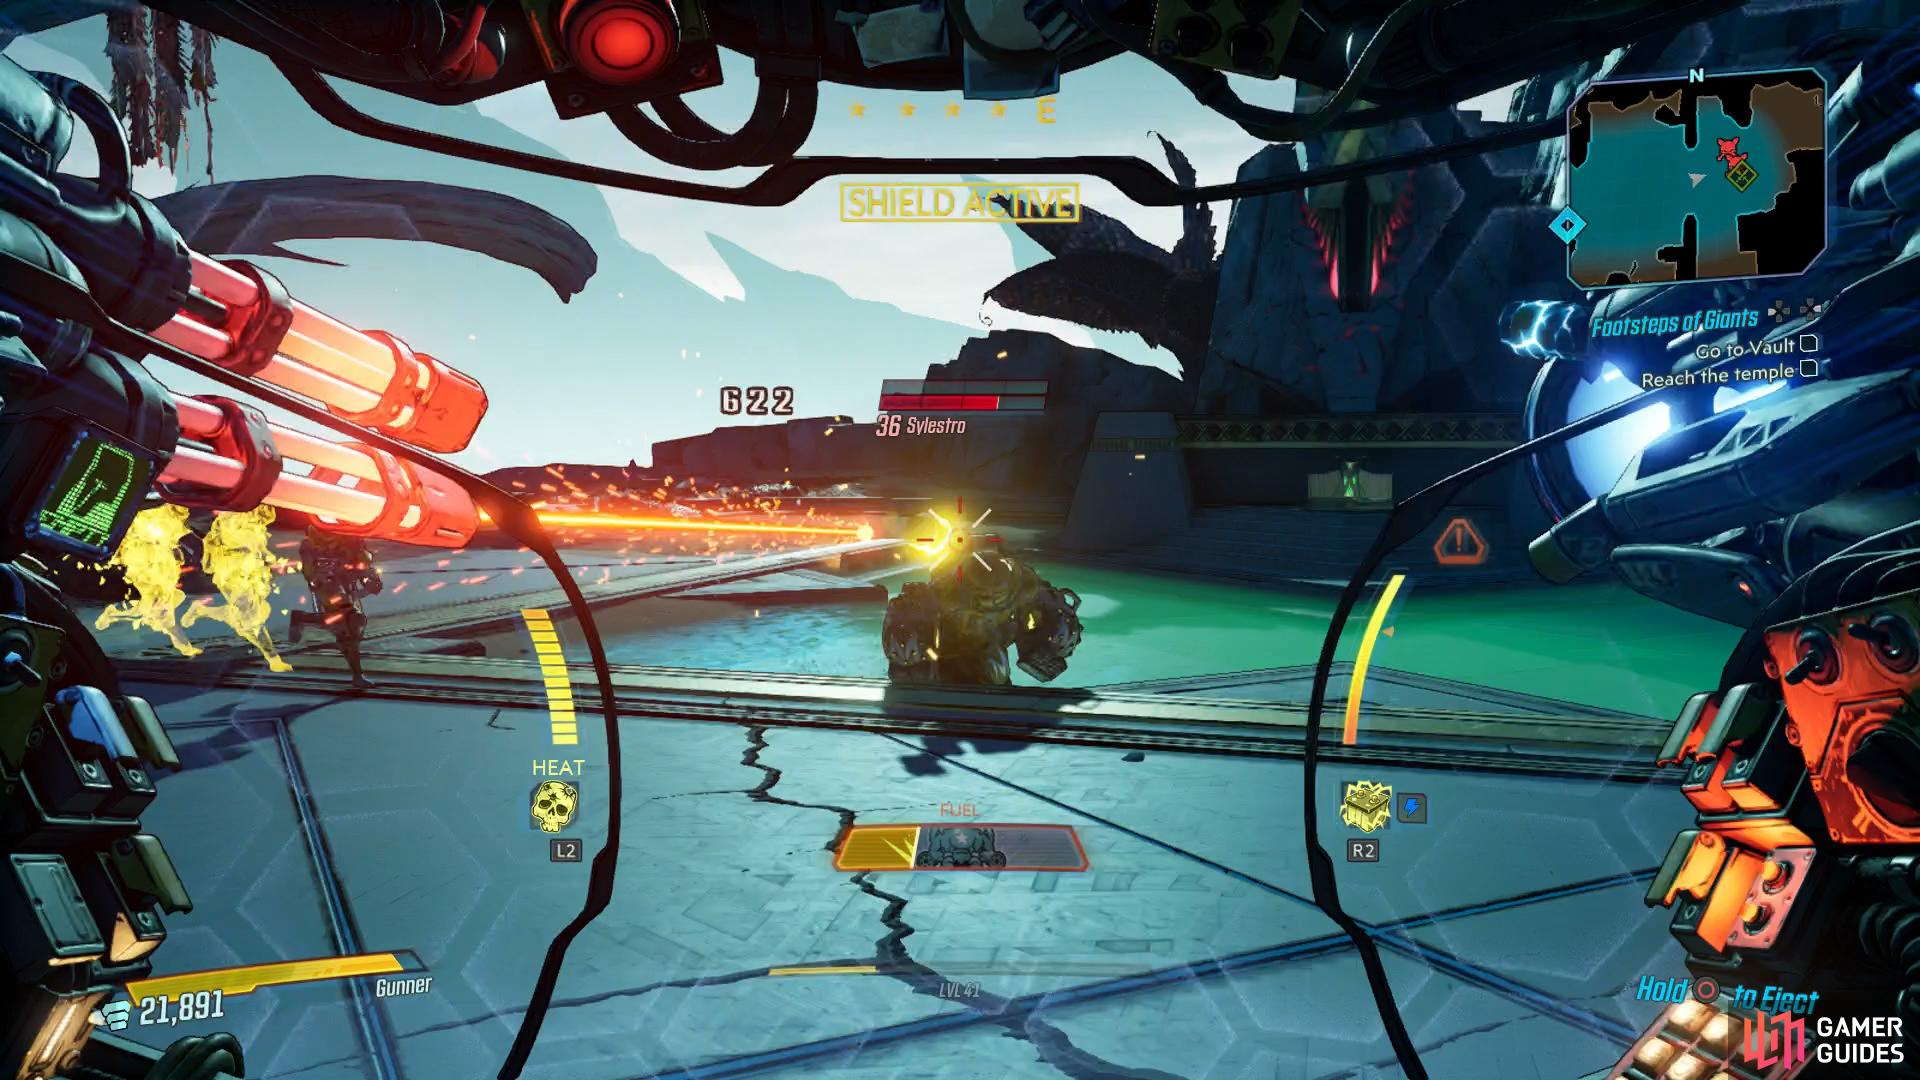
Return to the fork and this time take the eastern path, taking out more Maliwan soldiers along the way. At the far end, you’ll run into the final Target of Opportunity in the game, Sylestro and Atomic. Sylestro is a faster paced Heavy with Radiation based attacks while Atomic is a Flash based Maliwan soldier. You’ll need to make effective usage of your Action Skills here but should you prevail, you have the chance to obtain the Legendary Pistol, Pesilence from Sylestro and you’ll unlock the Trophy/Achievement Zer0ed In provided you’ve cleared the other nine Targets of Opportunity across the galaxy, rewarding you a mail with another Legendary from Zer0. Before you make your way back to the fork again, loot the nearby Red Chest first then head back and take the southern path to the temple.


Clear Maliwan forces, Activate elevator
The group up ahead aren’t an overly difficult group, especially if you’re playing Solo. You’ll have one Badass to contend with and a couple of tricky NOGs but that aside, they should go down fairly quickly. Once the area is clear, head over to the elevator to discover it’s missing two Crystals. The first can be found on top of the nearby generator, grab it and insert it into the statue’s hands.
At this point, you’ll need to contend with a Heavy in the name of Lieutenant Preston and his allies. Focus on taking down the other soldiers first before focusing on Preston himself, as a Heavy he has a lot of health. You’ll find Preston will shoot multiple Corrosive blasts at once, keep your distance and aim at his back generator to put him down. Once he’s defeated, collect your loot, grab the second Crystal and insert it into the other statue’s hands. Finally, interact with the nearby keyboard to turn the statues and activate the elevator.
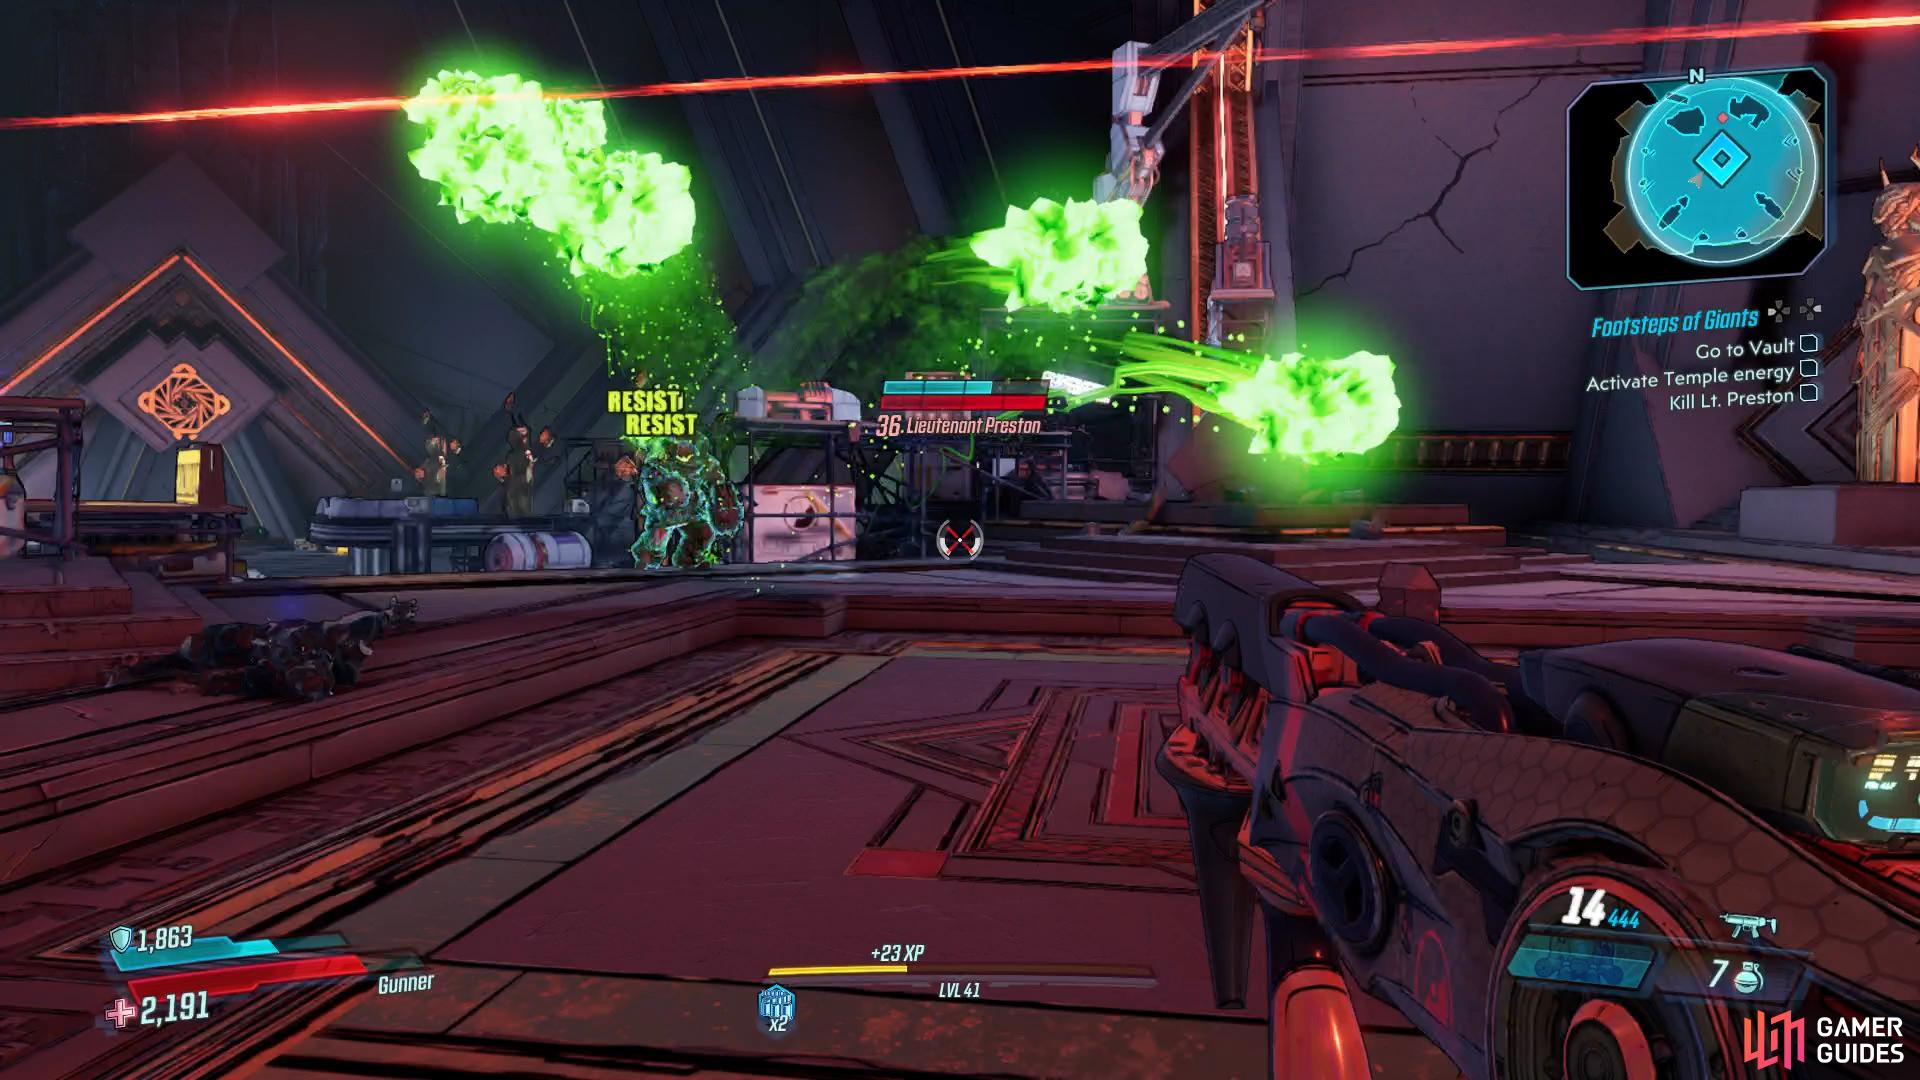
Beware of Preston’s Corrosive blast.
Go to Vault
Follow the path south and head through the western door to find the Eridian Writing here before continuing to follow the southern path. As you venture out into the next open area, you’ll have to contend with a group of Guardians with the Herald being the nastiest of the bunch. Focus your attention on it before taking out the Seras after.
With the area clear, follow the path and drop down below and continue through the ruins until you reach An Eternal Silence. You’ll need to deal with another group of Guardians here including a Berserker at the end of the battle, these Guardians have more health and will rush to attack you in melee range so keep backing up while firing at it.
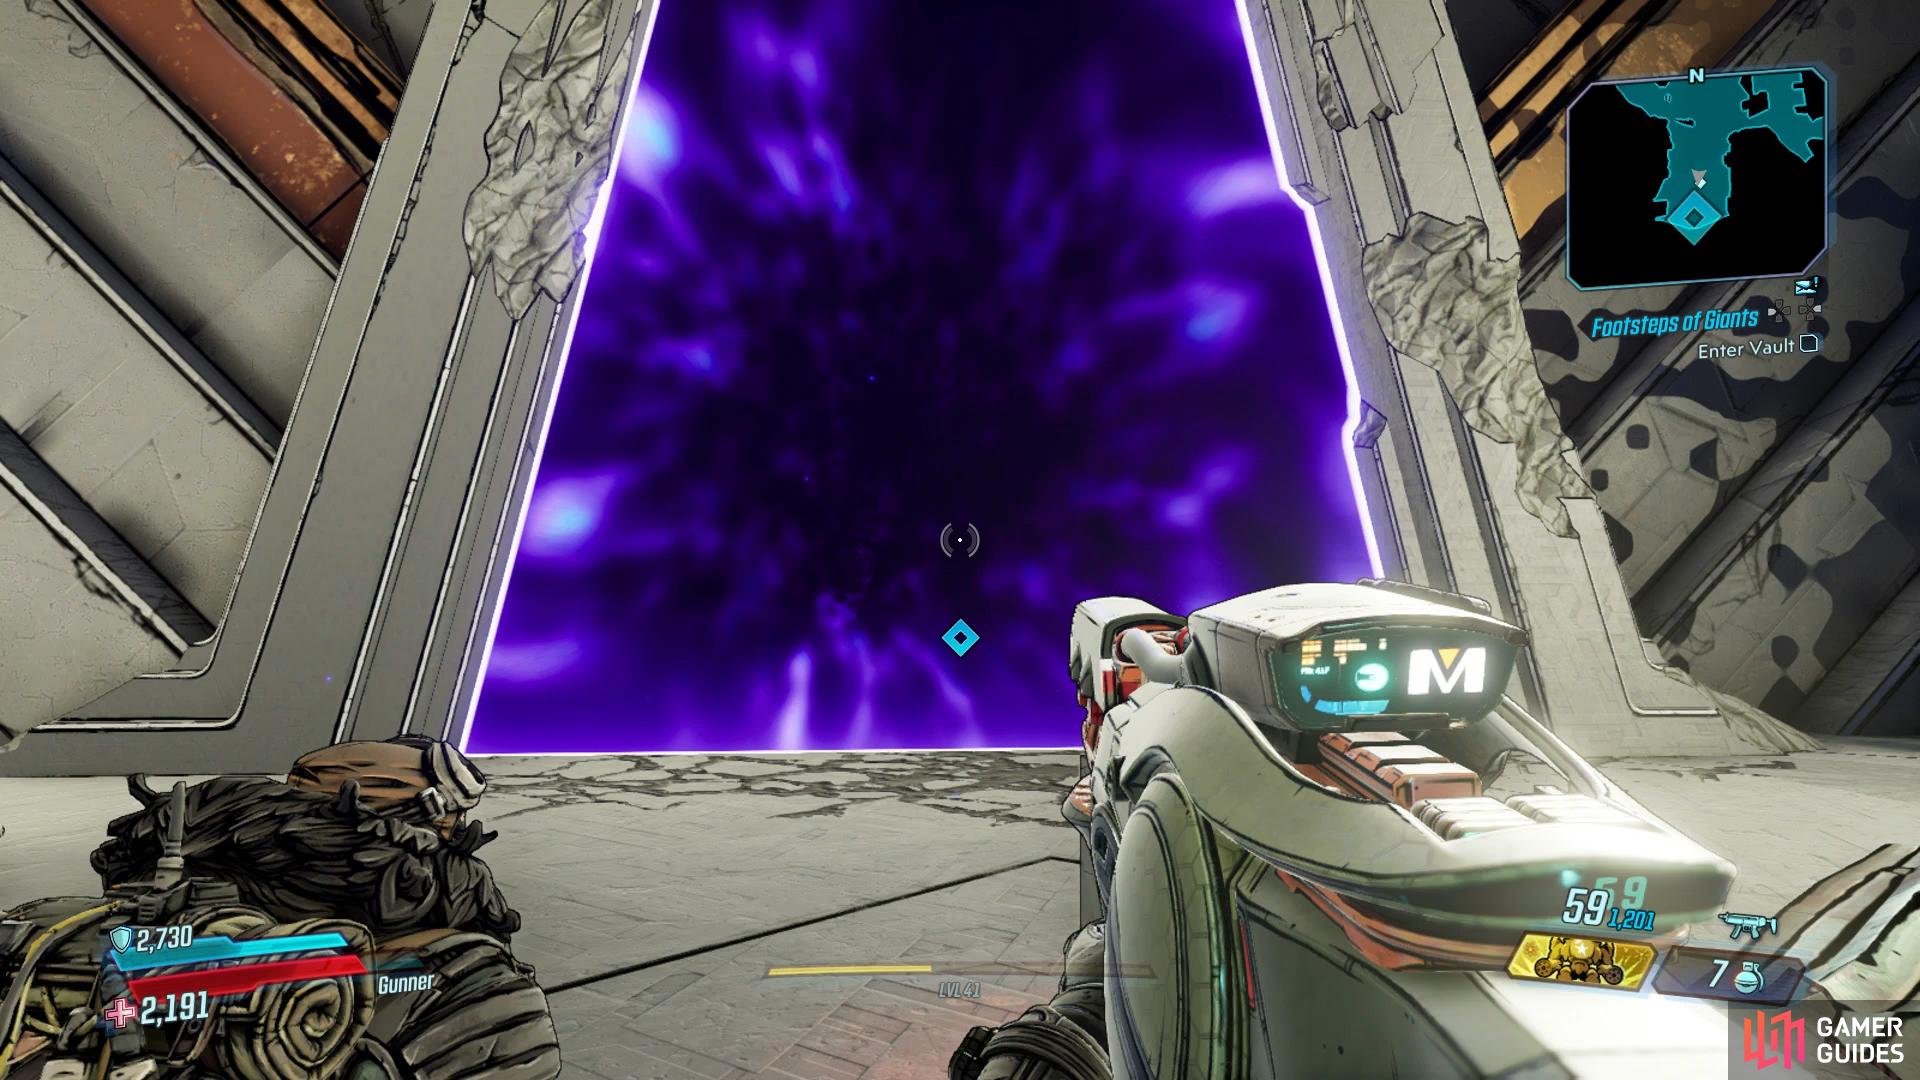
Head over to the pedestal on the west to summon Typhon and then follow him as he divulges more information on the Calypsos. Once you reach the site, dig around the stones to cause Typhon to uncover the location of the Vault Key. Follow Typhon again and place the Vault Key on the pedestal to open the Vault and head through.
Loot Vault,
Follow Typhon into the Vault and before taking the gift from Typhon, look to the west to find the final Typhon Log in the game. You’ll have to wait a little before you can claim the final Dead Drop however so for now, take the Eridian Fabricator from Typhon and complete the mission, unlocking the next. The Eridian Fabricator can be equipped to one of your gun slots and uses 10 Eridian to shoot out a bunch of guns. You can obtain up to Epic level guns from this however you shouldn’t rely on it too much, the Eridian is more valuable.
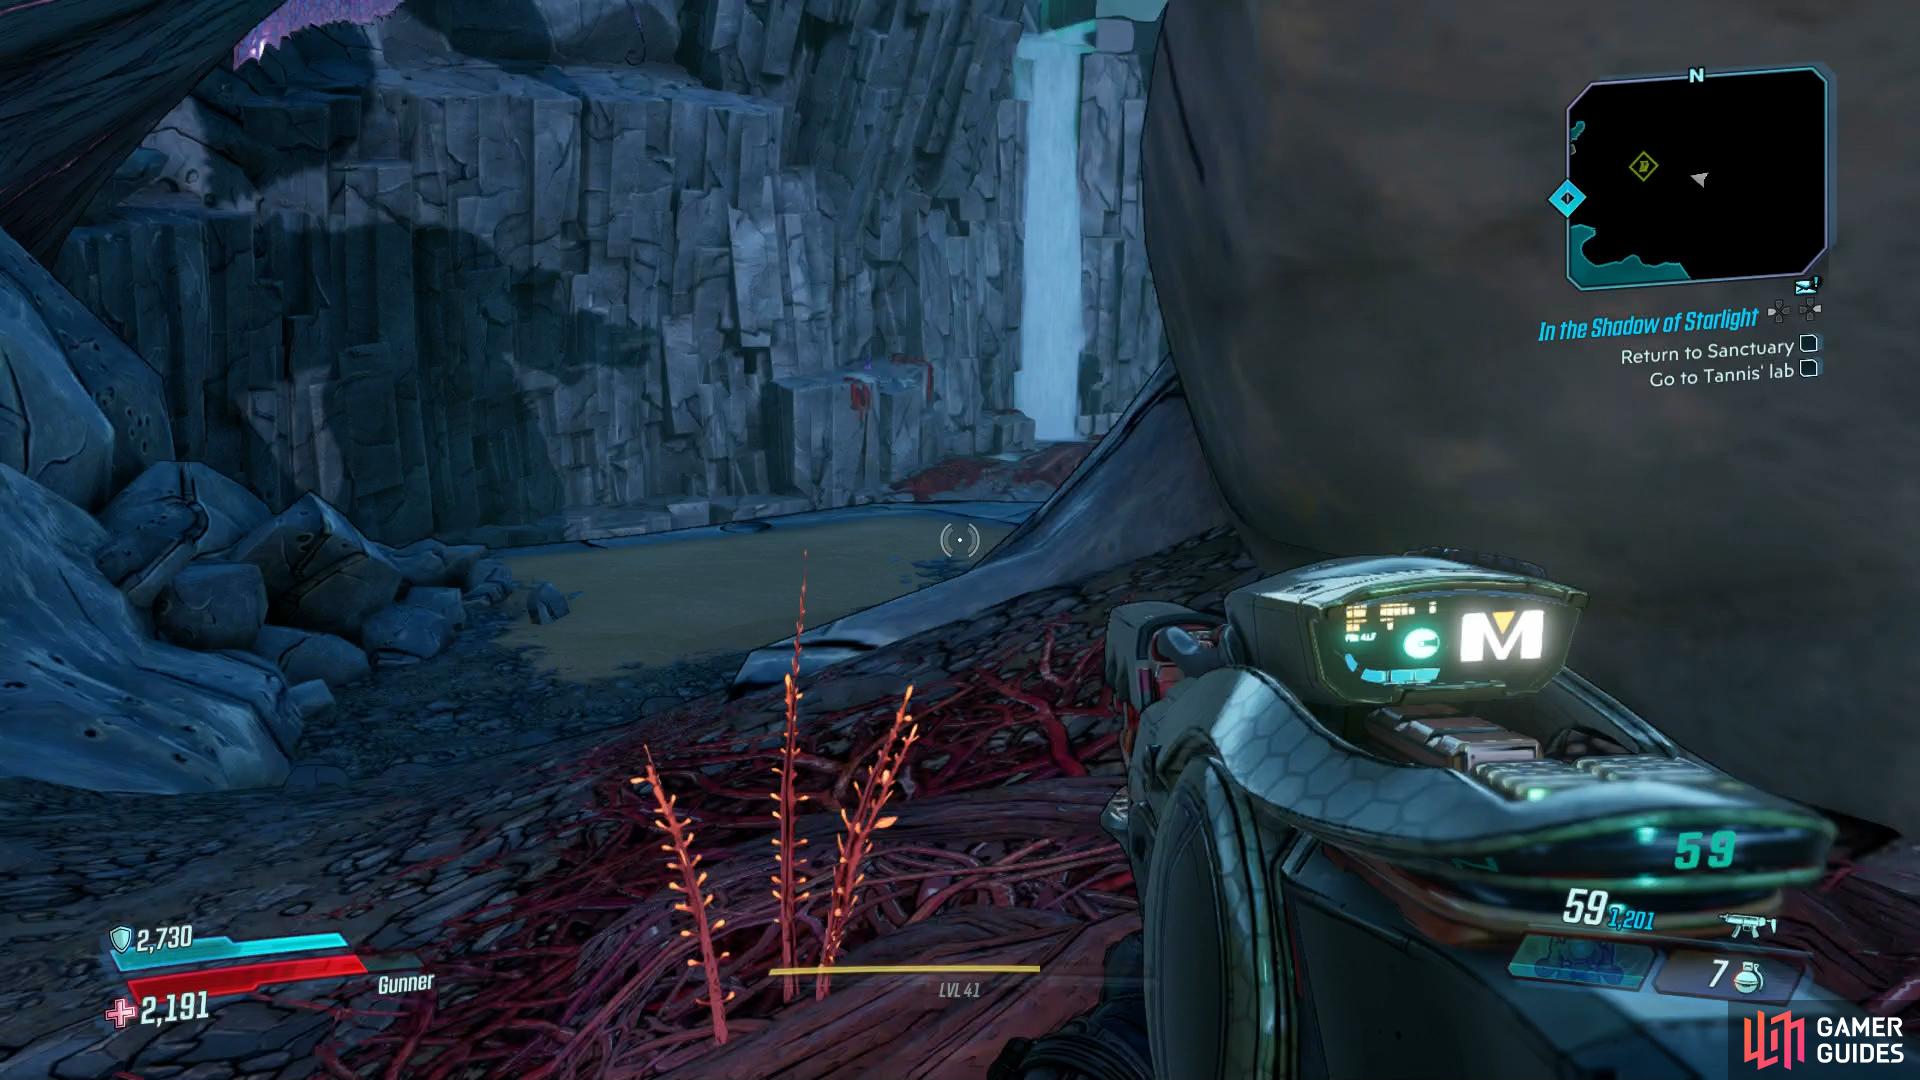
You’ll find this hidden path in Charnel Keep to the east
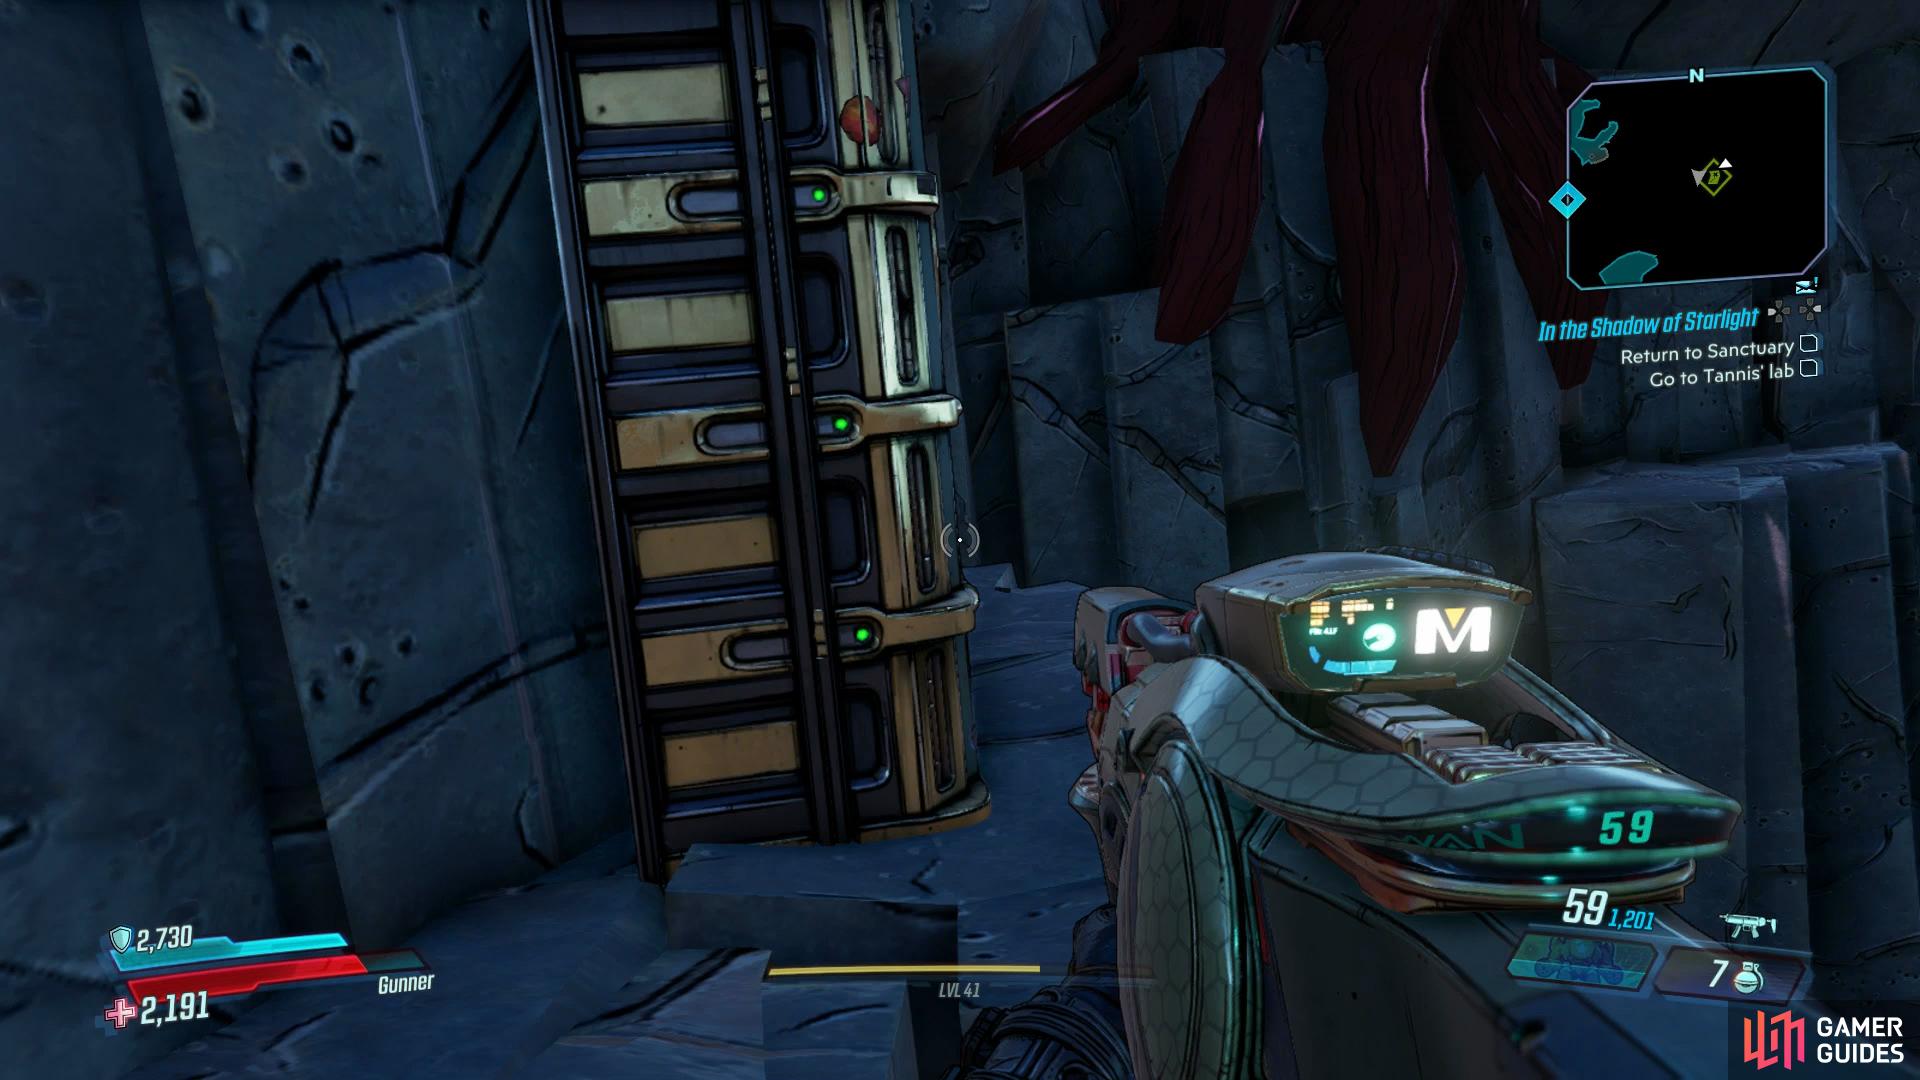
drop off the cliff at the edge to find the final Dead Drop in the game.
Before you head back, be sure to Fast Travel to the only place you can here and make your way to the main fork leading north and south again. Take the southern path until you reach Charnel Keep and follow the path south. Follow the path east here and then head along the northern edge to find an area not on the map, from here you can drop off the cliff where the icon is and claim the final Dead Drop in the game and unlock Industrious in the Face of Cosmic Terror.

Industrious in the Face of Cosmic Terror
Complete all Crew Challenges and Side Missions on Xylourgos.

50
No Comments