| Quest Giver | Reward | Lvl |
|---|---|---|
| Brick - Konrad’s Hold | Cash, The Hunterer (Rare Sniper Rife) | 33 |
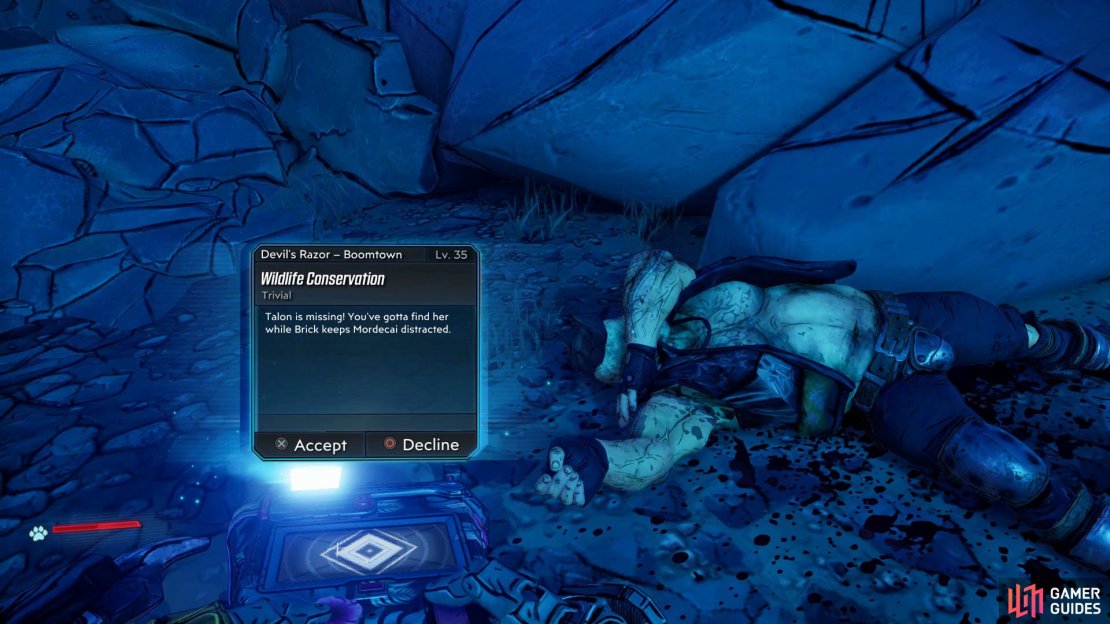
You’ll be able to accept this Side Mission from a corpse to the left of the entrance of Konrad’s Hold if you’ve completed the Side Mission Life of the Party.
Look for Talon / Follow Blood Trail
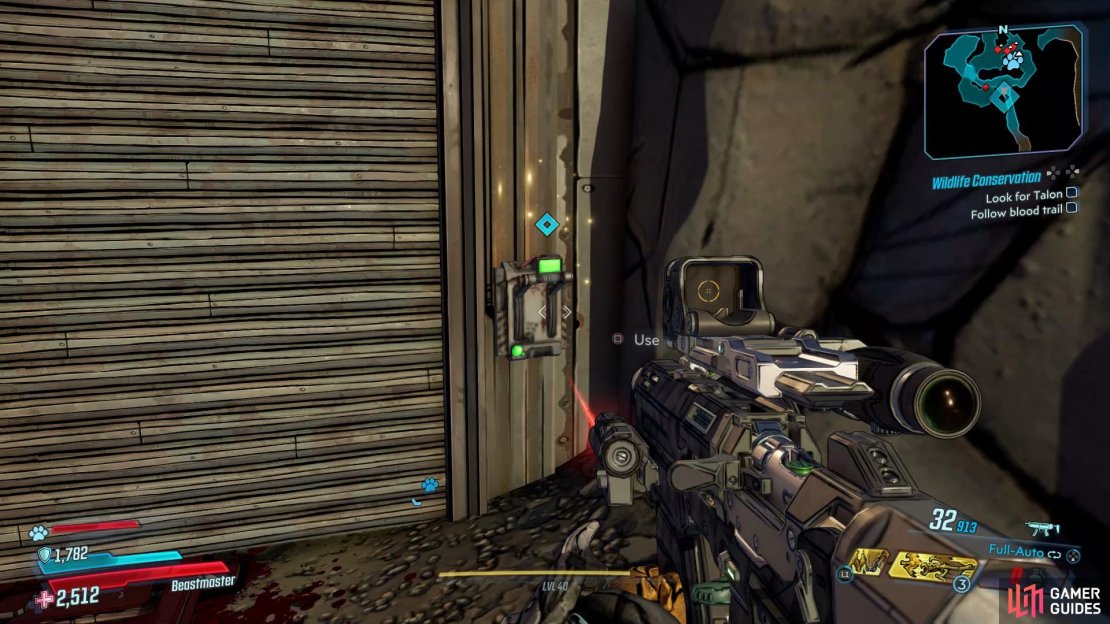
Follow the Blood Trail until you reach the door and pull the switch to attempt to open it.
After you’ve accepted the mission, head over to the waypoint on the map and enter the tunnel. Once you’re inside, follow the blood trail along until you reach a door and then interact with the switch near it.
Collect explosives / Load explosives into cart
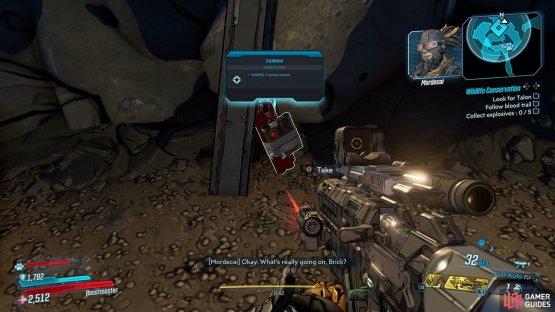
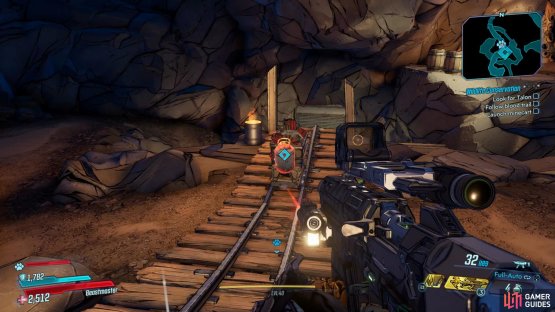
(1 of 2) Collect the five explosives from around the tunnel,
Collect the five explosives from around the tunnel, (left), and then load them into the minecart. (right)
Unfortunately, the door wont open so you’ll need to search around the tunnel for five explosives. You’ll be able to find the first one opposite the door, then take a right to find the second explosive sitting beside a rock, now contine walking up the path to find the third one on the floor next to two barrels.
The fourth explosive can be found by crouching under the door and walking to the end of the tunnel to find it on a table, and then climb over the rocks to the left and into another room with the last explosive sitting by the pillar.
Launch minecart / Follow Talon
(1 of 2) Shoot the back of the minecart to send it into the door to open up the path,
Shoot the back of the minecart to send it into the door to open up the path, (left), and kill any Varkids that try to get in your way. (right)
Once you’ve loaded the mincart with all the explosives, shoot the back of it to send it into the door to open up a path for you. Now proceed deeper into the tunnel and follow Talon until you get ambushed by Varkids, kill them and continue following Talon.
Go to Devil’s Razor / Speak to Brick
Keep following Talon until you exit the tunnel and then teleport over to Devil’s Razor, where you’ll need to grab a vehicle and drive over to the waypoint to speak with Brick.
Speak to Mordecai
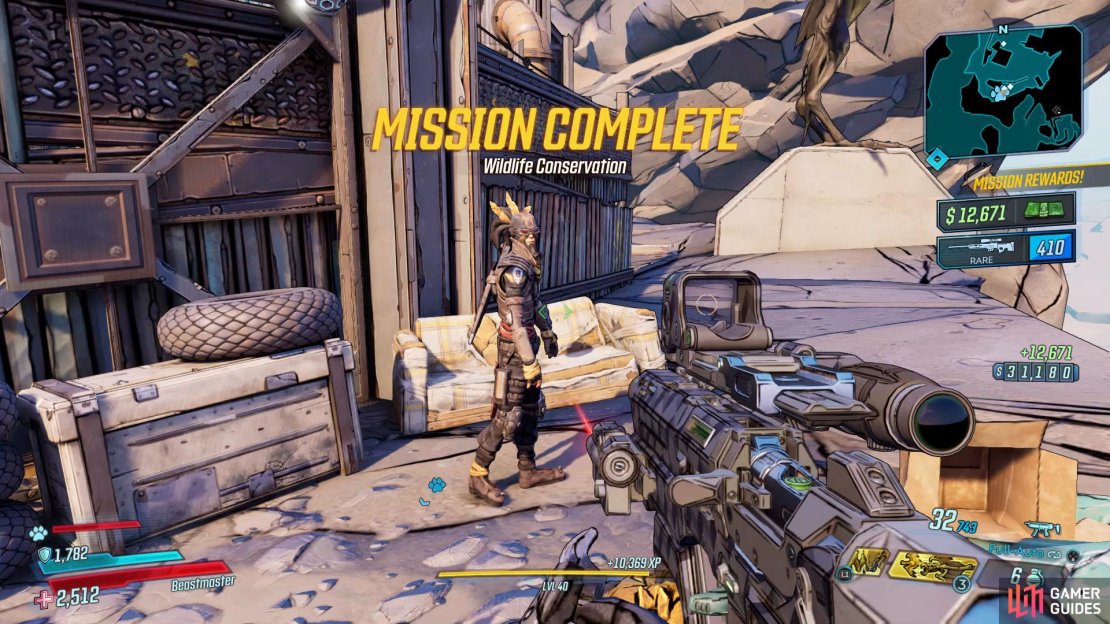
After you’ve spoken with Brick, follow him to speak with Mordecai and complete the mission.




No Comments