| Quest Giver | Reward | Lvl |
|---|---|---|
| Clay - Sanctuary | Cash, Epic Assault Rifle | 29 |
Talk to Clay
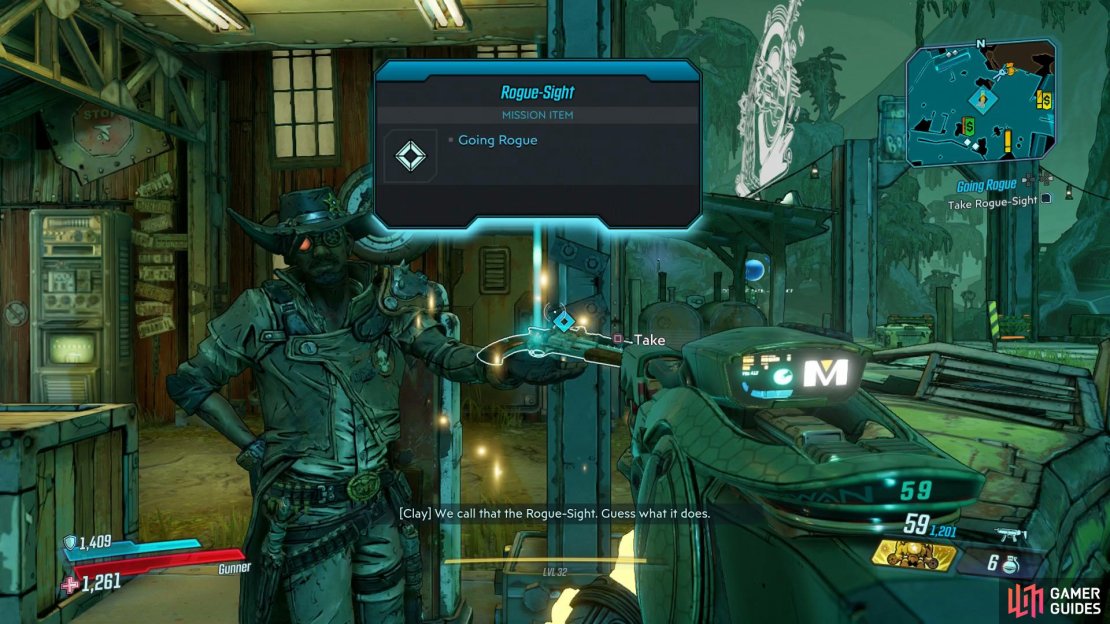
Upon completion of the previous Main Mission, Clay will contact you over Echo and ask to meet him back at Reliance so when you’re ready, head on over. He’ll explain about the group he sent out to track down the Vault Key fragment before handing over the Rogue-Sight, assign this to one of your weapon slots as you’ll need it for this mission.
Shoot Rogue-Sight marks [3] (Optional)
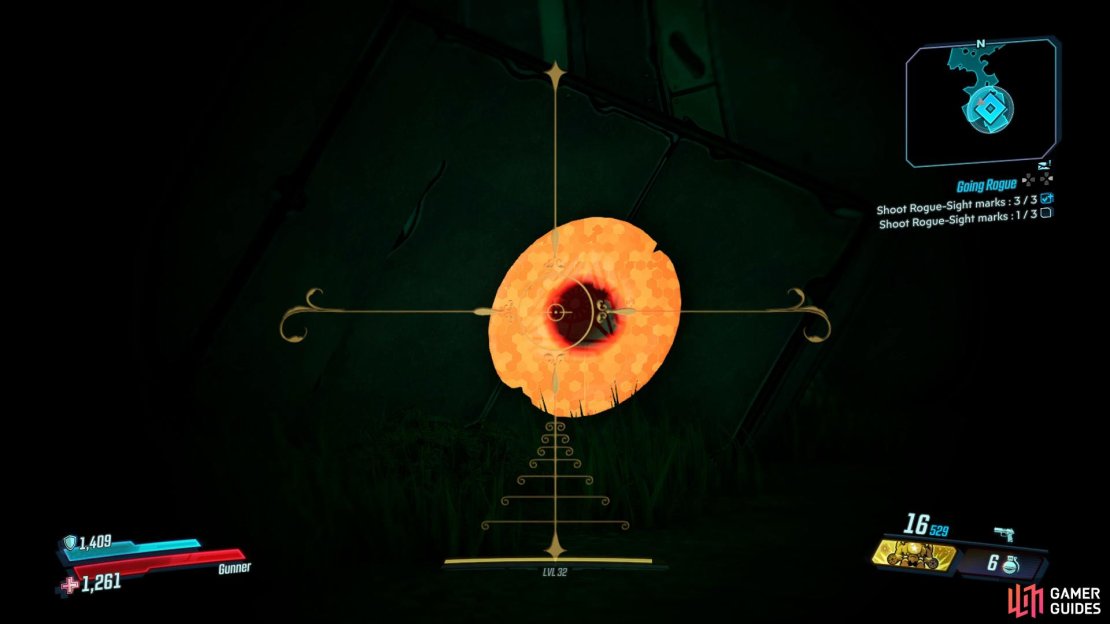
This next task is optional but you’ll gain some loot out of it and learn how the Rogue-Sight works. Head over to the first waypoint nearby and look down the scope of the Rogue-Sight to spot to spot a symbol, shooting this will unlock a White Chest for you to open. There’s two more sights around here as you make your way toward Ambermire, shoot the targets and claim the loot before you reach Hangman’s Garden where a large group of Jabbers will attack you.
Using the Rogue-Sight, you can spot targets to unlock the doors ahead.
Once they’re dead, you’ll reach what seems to be a dead end so equip the Rogue-Sight and look down the sights to spot three marks, one in the center, the bottom left and on the wall to the right. With the door now open, head through the entrance to reach your next Zone, Ambermire.
Head to Rogue’s base
Taking a quick glance at the map here will reveal that Ambermire is a rather large area and the majority of it is used for the Main Mission, check out the Crew Challenges and Zone Completion pages for more information on where you can find everything.
Your first task is to reach the Rogue’s base, begin by making use of the Vending Machines if you need them and then drop down to Ambermire. After clearing out the initial group of Saurians, there are two paths you can take. The northern path will take you towards your objective and you’ll pass a Typhon Log along the way while the southern path will take you towards a [Dead Claptrap](Dead Claptrap). Regardless, you’ll need to visit most areas to complete the challenges for this Zone so for now, take the northern path.
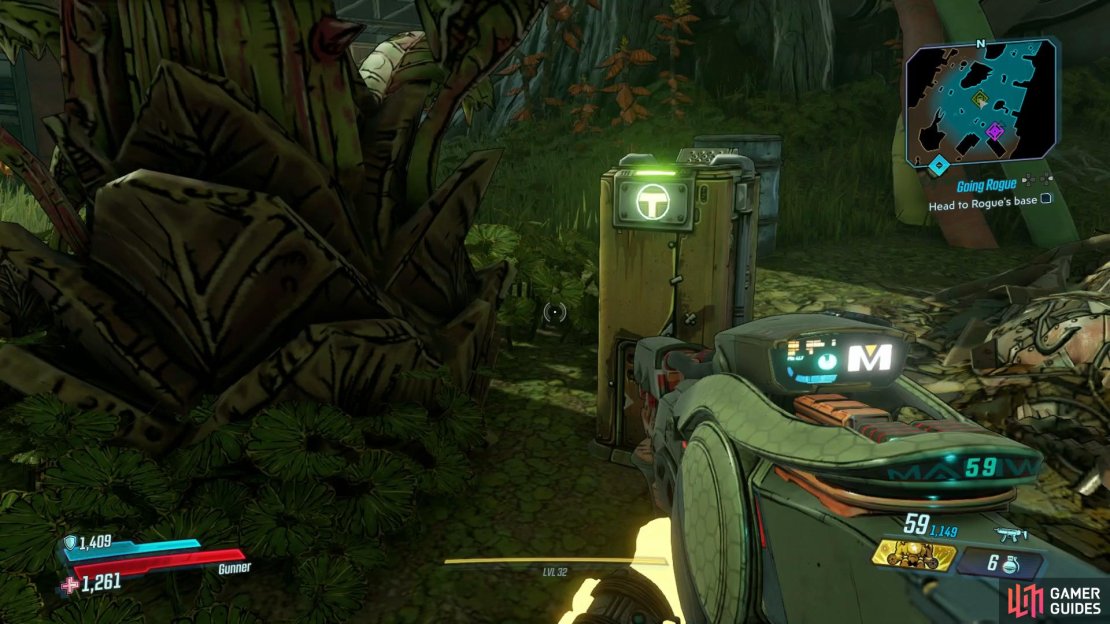
Along the northern path, you’ll spot a Typhon Log as you make your way west.
Continue north at the next fork and take out the Jabbers to the west while hugging the wall to the south and you’ll encounter the previously mentioned Typhon Log. Continue to fight your way to the southwest and you’ll reach another dead end with a large circular door. Equip the Rogue-Sight and shoot the large target on the tree to the right of the door to cause it to open. As you press onwards, you’ll discover the second Fast Travel and the Rogue’s Hollow.
Find Archimedes
Flip the switch to open the shutter’s and you’ll discover a bloody mess has been left for you. Examine each of the bodies and you’ll loot Archimedes’ ID on his corpse before activating the nearby Security Console. Clay suggests to use the Loot Tracker to find where the missing Vault Key fragment is and in order to do that, you’ll need to track down the other agents.
Locate Agent Dee
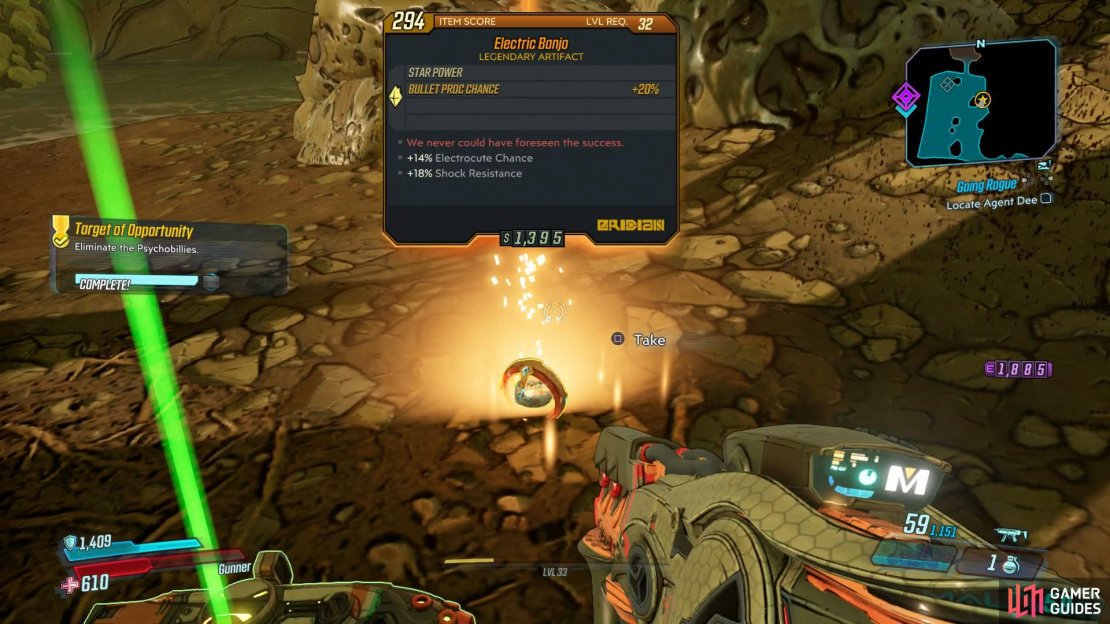
Agent Dee is the first up and you’ll be able to jump out of the broken window nearby. Once you reach the Swamp below, head north under the building you just jumped out of to find the Target of Opportunity, the Psychobillies. You’ll be up against five of them so it’s best to use any weapons with splash damage to make quick work of them, the Psychobillies will have the opportunity to drop the Legendary Artifact, [Electric Banjoy].
The Psychobillies have the possibility of dropping this Legendary Artifact.
Return from here and you’ll find a bounty board with the Side Mission, Sell Out, which is a rather short mission with the ability to reward you with another Legendary weapon. Head around the corner from this bounty board to the north to find Mirefall Rigs. You’ll be ambushed by a group of COV here, focus on the Tinks to prevent them from delpoying any Sentries, the last thing you need is more targets to deal with.
Take the path out of the swamp and you’ll find Agent Dee over to the northwest, pull out the Rogue-Sight and take aim at the mark above his head to reveal her true form. As a Goiliath, Dee will be very useful in the following battle as you’ll be attacked from all sides, stick to cover and assist Dee in clearing out the enemies. Once dead, Dee will hand over her ID for you to claim and proceed to the south to check the Dead Drop of your next target.
Check Dead Drop
Before you head off to the location of the next Dead Drop, consider searching the swamp to the southwest here to locate a Dead Claptrap. Once you’ve claimed it, head back to the east where you’ll find the next Dead Drop close to where the bounty board is.
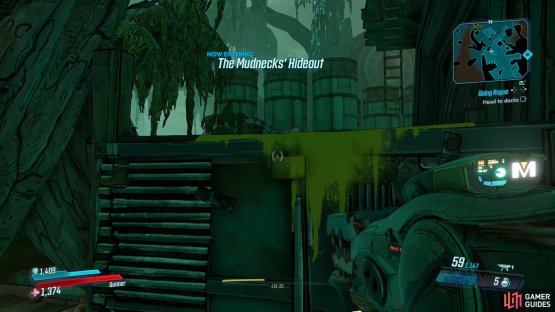
Find Agent Quietfoot, Kill Mud Neck Clan
Your next destination is the settlement to the south, Tig’s Big Rig, where you’ll need to dispatch another large group of COV. The biggest obstcale here is potential Rare Spawn Goliath, The Unstoppable, that will evolve at an alarming rate so focus your firepower on him to begin with. If you manage to defeat it, you have the opportunity to obtain the Legendary Shield, [Band of Sitorak].
(1 of 2) You may encounter the Rare Spawn, Unstoppable along the way to Quietfoot.
You may encounter the Rare Spawn, Unstoppable along the way to Quietfoot. (left), turn around from his cage to spot the path leading to the Crimson Radio. (right)
Once the area is clear, sabotage the nearby Crimson Radio and then head to the southeast to find the agent in the cage. Release him with the nearby switch to to trigger the trap left for you. The Mud Neck Clan are mostly made up of Tinks that will deploy Sentries wheneve they get the chance, should they do so, take them out before killing the rest of the Mud Neck Clan. Once you clear out the enemies, return to the cage where Quietfoot was to claim his ID.
Secure docks
Leave this area to the south and head all the way over to the east now to reach the docks where Domino is located. Domino will assist from range with his Sniper so wade into the docks and dispatch all the COV located there. After the opening group, a Dropship will arrive with another group of COV, take cover and recover your shields until it departs and then look over the edge of the docks to the east to find the well hidden Dead Drop.
Move ship scanner into place, Scan IDs
Look to the large containers to the north and climb up to find a Red Chest and the ladder leading up to the crane. Interact with the console here and then climb up the next ladder to reach the top of the crane. Run across it and then drop down on to the container below and melee the scanner. At this point, you’ll need to deal with the Dropship that drops off yet more COV and once the area is clear again, drop back down to the docks. Domino has stashed his ID in his office, which you’ll find by climbing the ladder to the west and searching the large red toilet.
With all three IDs in your possession, return to the Rogue’s Base by means of Fast Travel and use the Loot Tracker inside to scan the IDs to activate it.
Follow Loot Tracker
The Loot Tracker takes the form of a digitized Jabber and it will lead you to where the traitor is hiding out. It will take you towards the northwest while passing a Typhon Log along the way. You’ll need to deal with COV as you approach the destination but the Loot Tracker will assist you and you’ll make short work of any threat.
The Loot Tracker will lead you to the north of this area, if you ignore him for a moment and head to the east however, you’ll locate yet another Crimson Radio. Once you’re ready, return to the Loot Tracker and take the elevator up to meet the traitor who sold out the Rogues.
Defeat Archimedes
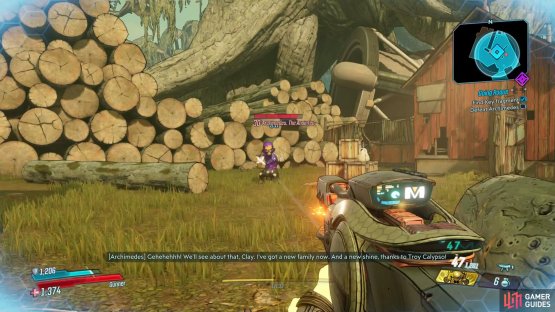
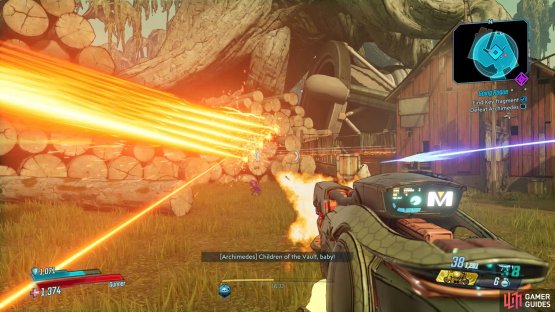
The first thing you’ll notice is that Archimedes is actually an Anointed and that comes with the ability to warp around the arena. He’s also a Tink so he’s small by nature meaning you’ll need to be more accurate with your shots. Other than that and his bloated health, he’s not too much different from regular Tinks save for his ability to get up close and melee you. Archimedes can also change his size at will, shrinking and enlarging so he can be tough to keep track of so pay attention to where you’re being shot at to locate him.
(1 of 2) Archimedes has the ability to grow
Archimedes has the ability to grow (left), or shrink, making him a tough target to aim at. (right)
Once Archimedes falls, head over to and loot the Vault Key fragment and make your way back to Sanctuary to hand the Vault Key over to Tannis and complete the mission.



No Comments