Reward and Responsibility
Aldous will inform you that the duke has taken notice of all your hard work and is going to honor you with… more work. This time you’re to lead an expedition, one of great importance to the realm. He’ll warn you that once you accept, you might be away from Gran Soren for a while… he’s blowing hot air. Don’t let him scare you. It’s true you’re nearing the end of your journey, but you’re not in any danger of having your wanderings restricted. Accept and he’ll lead you to the duke, who wishes to see you before you depart.
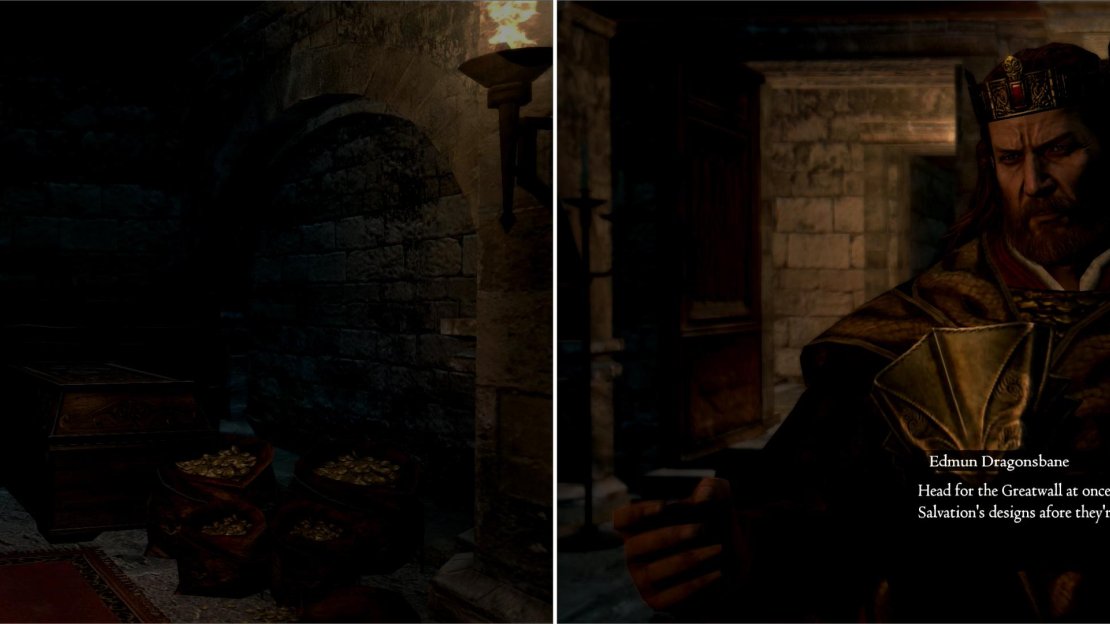
Don’t feel confined by Aldous’ pace-just run up to the Duke’s Solar (upstairs along the western side of the castle). Approach the duke and he’ll recognize your strength… and ambition. Before you set off, he means to reward you for your previous work. Follow him through the castle to the treasury, which he’ll unlock for you now (unlike Aldous you do need to stay close to the duke, walk too far away and he’ll stop moving, so be sure to walk beside him as he takes his sweet as time wandering down to the treasury…) Once he reaches the treasury he’ll go to open an ornate chest in the back, using his ring-if you gave back the real Wyrmking’s Ring, the chest will open. If not, not. The chest contains a Paladin’s Mantle-a unique item, but not a terribly powerful one. Postpone your looting for a moment and head for the door to trigger a cutscene in which a Gran Soren guard will bring the news that Salvation has taken Greatwall. The duke immediately postpones the expedition he planned to send you on and charges you instead of vanquishing Salvation. You’ll get a quest reward for the little work you did, and the achievement/trophy ‘The Message’. Now let’s get to looting the treasury. First, there’s quite a bit of gold stashed around the ornate chest the duke tried to open (53,500 gold or so. In the square chests opposite (north of) the ornate chest you’ll find a Golden Bastard (east chest) and a Badge of Merit (west chest.) In the north-western corner of the room, search near two urns to score a Grand Surcoat.
| Ornate Chest | Rounded Chest | Miscellaneous |
|---|---|---|
| Paladin’s Mantle | Golden Bastard | Grand Surcoat |
| Objective | Reward |
|---|---|
| For receiving the Duke’s commendation | 20,000 XP, 35 Rift Currency |
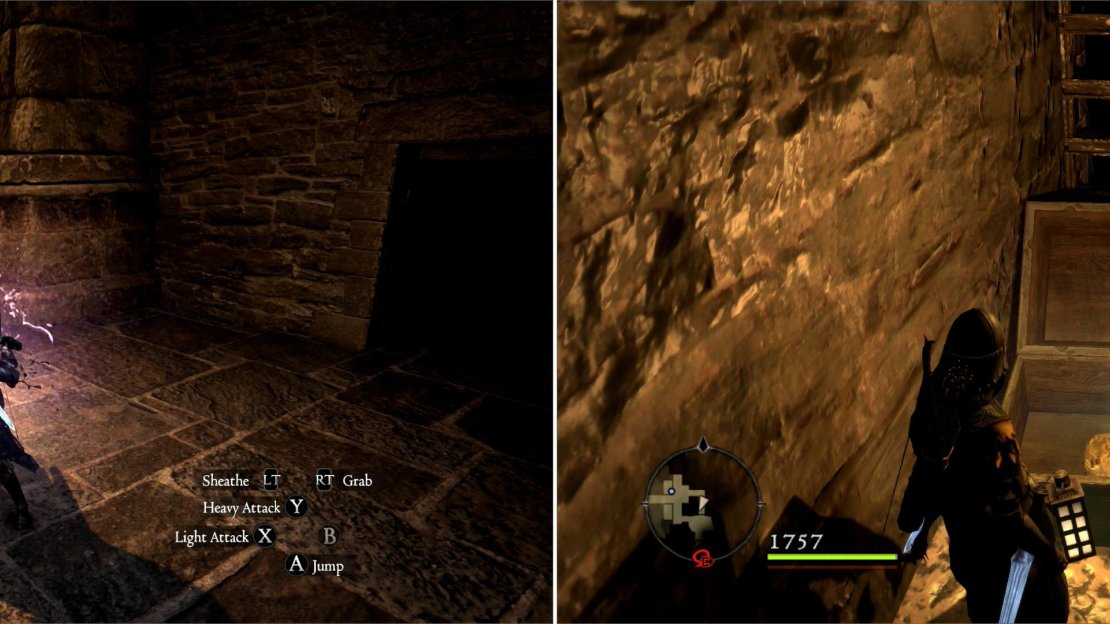
Your services to the duchy is finally going to be rewarded - the Duke will allow you to pillage his treasury (left). Of course, the Arisen can’t rest long, as a new development unfolds in short order (right).
Greatwall has been attacked, and that’s probably pretty bad, and stuff… but you’ve got another quest you can do, so let’s postpone an urgent matter to pursue a trivial one. Leave the castle and, just outside of the castle, along the northern stairs, you’ll find Aelinore’s hand-maiden, Mirabelle. She orchestrated your last scandal, and seeks to guide you to another: Aelinore has apparently been banished to the duke’s northern manse, the Blighted Manse in the Northface Forest. Simply put, Mirabelle fears for Aelinore’s safety, and given the duke’s tempestuous disposition, one can’t blame her. She wants you to help Aelinore escape back to their homeland of Meliore (must be where the French folk live in Dragon’s Dogma… like Orlais in Dragon Age). To affect your infiltration of the Blighted Manse, she’ll give you a ‘Set of Royal Guard Armor’ , with which you can disguise yourself as a soldier. Don the armor and head to the Northface Forest. The bridge leading to the Blighted Manse is north-west of the Traveler’s Rest and south-east of the Healing Spring.
Duchess In Distress
Cross the bridge and talk to one ‘Ser Whitby’, who won’t bother examining you too closely-he’s just happy somebody came, he presumes, to relieve him. Lazy guard! Head past him into the manse, whence you’ll score the achievement/trophy ‘Into the Manse’. From the entrance head up some stairs to the west, go through a doorway, and turn south. Continue until you’re near some stairs to the south-ignore them and turn east, going up a flight of spiral stairs to reach a guard room. Here you’ll find no fewer than three Warrior Remains, a square chest, and various money pouches (one small, three normal, and two Large) totaling 10,100 gold.
| Warrior Remains |
|---|
| Dalmatica |
| Rusted Daggers |
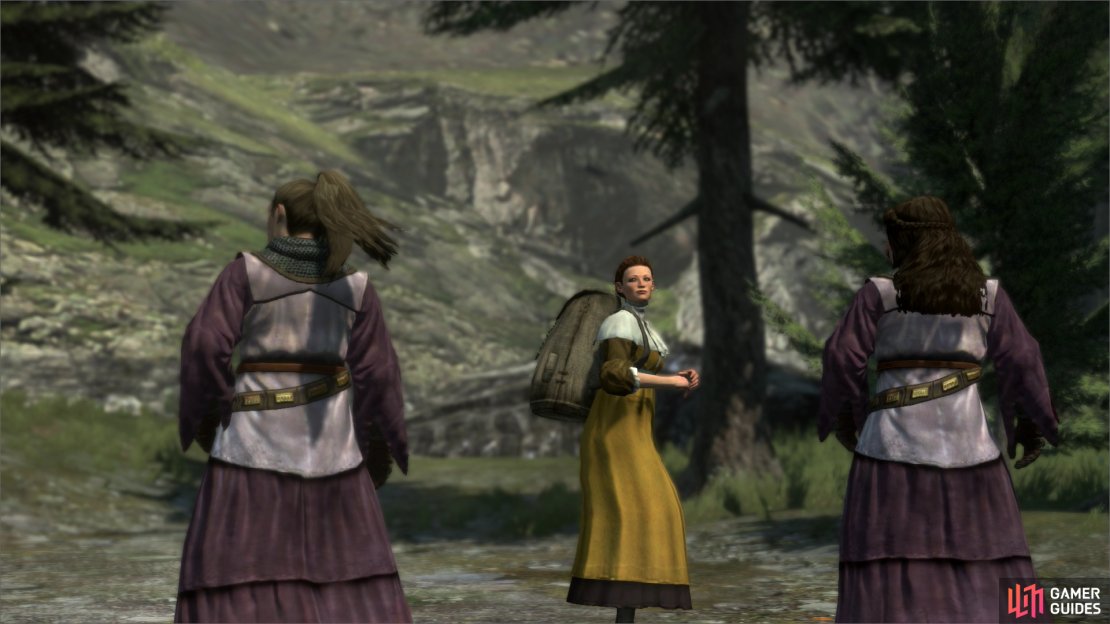
After the discovery of your previous misadventure with Aelinore, she’s found herself in a spot of trouble (left). Disguise yourself as a guard to gain entry to the Duke’s northern manse (right).
Turn south and go up another spiral flight of stairs. When you reach the room atop the stairs, turn east and go through another doorway to the south. Ascend more spiral stairs and go down a short hall to the south, turning east to spot a door, beyond which lies the ‘Receiving Room’. Enter, and Aelinore will exalt at the appearance of her hero, salvation, and by the end of this cutscene, lover. Gross.
When you’re done defiling the duchess, search her bed to score more naughty items. Now all you have to do is escape with your human cargo. Fear not, Aelinore is rather hardy, although you’ll have to make do without your Pawns for a while, if you still rely on them. Leave the Receiving Room, head down the hallway to the north, down the stairs, and when you reach the lower level turn west. The guards here will know the gig is up when they see Aelinore, so spare yourself the bother and just kill any you see. Aelinore will babble about her plans-head down the stairs to the west, then turn north and descend another flight of stairs. Kill all the guards you encounter and Aelinore will suggest an alternate route, as waltzing out the main gate is… probably not well-advised.
| Miscellaneous |
|---|
| Silk Lingerie |
Go through the barred door to the west after Aelinore unlocks it and search the room immediately beyond to find two Warrior Remains and a Square Chest. When done, head down some stairs to the west to reach the room below, which you should proceed through by heading east.
| Warrior Remains | Warrior Remains |
|---|---|
| Gloaming Boots | War Blade |
Eventually the paved floor will yield to raw earth, and a stream will cut the room in half. A feeble bridge makes an abortive attempt to cross this stream and keep your feet dry. Giant Bats and Giant Rats lurk about and should be destroyed for Aelinore’s sake. Speaking of which, she’ll complain like the spoiled noble she is-the water is cold, the gap in the bridge too far to jump… ignore her. She will be able to follow you just fine, just focus on clearing the way. Head into the stream and follow it south to find a gate, along which you’ll find some Harspud Milk and Dose of Strength.
Jump the gap in the bridge to reach the eastern side of the chamber, then go up some stairs. Two passages lie to the east-take whichever you prefer, both shortly lead to the same area. Drop off a ledge or climb down a ladder to reach another stream. Follow it south until you reach an intersection. Continue south and jump on a ledge to score a rounded chest.
| Rounded Chest |
|---|
| Recluse’s Robe |
From the chest turn east and go through a doorway to reach a large chamber with a wooden bridge crossing it. Below the bridge flows water, fed by many sources. It’s not deep enough to attract the Brine, and treasure lies below… but you’d better deal with what lies across the bridge before you worry about what’s under it. On the stone landing across the bridge lurk several Bandits, who vary wildly in power-at the strongest they’re equal to those found in the Pastona Cavern, at the weakest, to those in Manamia Trail. Don’t be surprised if, while crossing the bridge, some more appear behind you to the west. Dispatch all your foes, but spare the bridge as much abuse as possible-it could collapse if struck too much. Once the Bandits are dead feel free to loot the waters below. There are stone platforms under the bridge on each side of the room-on the western side you’ll find a square chest, while the eastern side is noteworthy only because it has ladders for Aelinore to climb. Against a spiked fence in the north-western corner of the chamber you’ll find an Angel’s Periapt, and south of this, on a mound of dirt, lies a Conqueror’s Periapt. On another mound of dirt in the south-eastern corner of the room lies a square chest. Finally, near another spiked fence (the center of three along the southern end of the room) you’ll find two Harspud Milks and some Harspud Juice, as well as two Empty Flasks and a Flask of Oil.
Once you’re done looting, cross the bridge to the eastern side and climb to the top platform, where the Bandits lurked. Again, you’ll find two doors you can explore, but this time, they don’t lead to the same place. Take the northern-most door first and follow the passage beyond to find an ornate chest, behind which lie a Coin Pouch (1000 G), a Large Coin Pouch (3500 G), and a Seeker’s Token.
| Ornate Chest |
|---|
| Lady’s Corset |
| Noblewoman’s Corset |
Guards and bandits will threaten you as you make your escape (left), but there’s also plenty of lady-themed gear to pick up along the way to make it worth your while (right).
Return to the bridge room and head through the southern door and down some stairs. Score some Warrior Remains along the eastern wall, near a ladder. Ignore the ladder, and the water below it, and instead jump across a bridge to the south to reach another chamber. Some stairs to the west lead to a water-side patch of dirt with Droughtshrooms growing off it-not entirely interesting. On the eastern side of the room sits a rounded chest.
Head down some stairs to the south to reach a large chamber with dry stonework and bridges over a watery floor… you know, the usual. It’s festering with Bandits of middling strength, but on the plus side, your Pawns will rejoin you here. First head east to find a rounded chest behind some crates, then turn west until you reach some wooden bridges that run most of the length of this room. The bridges are unreliable, with many gaps in them, and Bandits lurk all about… although to be fair, they’re only of middling potency. Kill them all to ensure Aelinore doesn’t get scuffed up, then go treasure hunting. Turn south and cross a very short wooden bridge to reach some stonework. Hop up and run to the southern end of the stonework to find a rounded chest.
| Rounded Chest | Rounded Chest |
|---|---|
| Bardiche Daggers | Alchemical Hosen |
| Bastard Sword | Brown Laced Leggings |
| Cast Stone |
Return back north, continue past the wooden ramp lead down to the bridgework in the middle of the area to the northern end of this stonework. Once there, turn east to find a square chest. Once done, head across the bridges to the west, staying along the northern part of the bridge work, and ascend to the stonework on the other side before turning south to find an ornate chest. From this chest turn south and climb a ledge to reach a higher part of the stonework. Continue south across the chamber to reach the southern edge of the stonework here, where a rounded chest sits.
| Ornate Chest | Rounded Chest |
|---|---|
| Striker’s Greaves | Summery Cowl |
| Summery Pareo |
Head back to the northern end of the bridgework and drop down into the water. In the water, follow the eastern side of the bridgework while heading south to find a rounded chest under a segment of bridge. Continue to-and past-the bridges in the south and turn west to spot another rounded chest on a mound of dirt. Continue along the dirt to the west to find a Giant Coin Purse (10000 G). Return back to the north, staying along the western side of the bridgework while keeping your eyes to the west. When you find passage through (or under) the stonework to the west, take it. On a mound of dirt you’ll find a square chest. See the stonework ledge above you, to the south? That’s your destination, which you can reach by simply crossing the bridges in the middle of the room.
| Rounded Chest | Rounded Chest |
|---|---|
| Plucked Heart | Maiden’s Camisole |
| Maiden’s Petticoat |
Once on the southern ledge, head to the western end and turn south to find a doorway, which you should head through. Go down some stairs and through two small rooms (the southern-most of which holds a rounded chest) and into another, larger, circular room. This room houses a trio of rather strong Bandits. Dispatch them and loot a table along the western side of the room for some Harspud Milk, Harspud Juice, a Coin Pouch (1000 G), two Festival Pies, and some Sconces. There’s also a square chest nearby.
| Rounded Chest |
|---|
| Red Over-Knee Boots |
Turn east and head through yet another doorway, and into another bridge-over-water room. No Bandits this time, and like the last one of these rooms, all the loot lies below. There are two stone platforms under each end of the bridge-there’s an ornate chest on the western end, and a square chest on the eastern end. There are three other chests, too-two rounded chests on dirt mounds on either side (east/west) of the room (both north of the bridge) and a square chest along the western pylon. Finally, search along the middle fence along the southern side of the room to score five Apples and a Golden Egg. When you’re done here, ascend the ladders to reach the eastern side of the room, go through a doorway to the east, then turn south. You’ll find a rounded chest further south, and a ladder which leads to the exit.
| Ornate Chest | Rounded Chest | Rounded Chest |
|---|---|---|
| Raptor Cuisses | Rooted Gloom | Free-Spoken Earring |
| Objective | Reward |
|---|---|
| For rescuing the duchess | 25,000 XP, 40 Rift Currency, 35,000 Gold |
You’ve been chasing off familiar characters left and right lately, and it’s a trend that will continue. Before you pursue Salvation, let’s finally resolve two quests for two of your oldest merchant contacts: Reynard and Madeleine.


No Comments