
Manamia Trail
Leave the Encampment via the eastern gate. As soon as you’re outside you’ll be bothered by your fellow Cassardite, Elvar. He’ll ask if you’ve seen Quina, who apparently wandered off in search of ‘aught for your wounds’. Yeah, unless she finds you a new heart, she’s not helping much. Talk to him again, and he’ll tell you that the chief is worried about Quina, and mentions some forest she might be messing around in. This is a quest you must pursue somewhat quickly… but it can wait until you’re done making your way to Gran Soren.
Continue north along the road away from the Encampment. It’s a new area, and there are new beasties about, which will be discussed as they’re encountered. Continue along the road until the path splits-one shabby road heads west into the mountains while the other continues north… also into the mountains. Keep going north and be wary. On the ledge to the west are some Bandits. Their strength varies quite a bit, but they’re likely the most dangerous foes you’ve yet faced. You might just want to run past them, as you are, after all, trying to get to Gran Soren by level ten.
Monster Info: Bandits
It almost seems silly to post this section about Bandits, since they vary wildly in power and can assume almost any Vocation in the game. The Bandits here are… moderately powerful. Much more powerful than Goblins, but that’s not saying much. Bandit Striders and Rangers will use Shortbows and Longbows, respectively, Bandit Fighters use a Sword and Shield, Bandit Warriors use either Longswords or Warhammers, while Bandit Mages and Sorcerers… well, they cast spells. Down here they’re relatively tame, but if you followed the fork to the west earlier, you’d have confronted a much more powerful type of Bandit. They grow strongest in the far northern reaches of Gransys, where they are some of the strongest foes you’ll encounter on your journey to reach the Dragon.
The path will swerve to the north-east, then to the north-west, all the while staying relatively close to the coastal cliffs to the south. East of the path, past the Bandits, you’ll encounter packs of Wolves. You may have encountered one or two of these canines along the Seabreeze Trail, but in packs, they’re an entirely different threat. Again, you should probably just avoid them, but if you find your Stamina wanting… well, there are more Bandits ahead, so if you must fight anything, it might as well be Wolves.
Monster Info: Wolves
Wolves. Is there a more cliche video game enemy? Bats? Spiders maybe? Yeah, probably, but Wolves are pretty damn common, too. In Dragon’s Dogma, however, these are stupid little meat-puppets charging blindly into your attacks. In Dragon’s Dogma Wolves will dodge attack, hopping quickly to the side or backwards, or sometimes lunging forward to attack. They also will perform leaping attacks, which may knock you down, after which they’ll swarm and attempt to maul you to pieces. Wolves can be bad news to a low-level character, especially in numbers. Due to their tendency to keep moving, they make elusive targets. Chasing them around is a good way to get detached from your Pawns, which can be troublesome. Get used to fighting them now-there are meaner varieties later on. Knocking a Wolf down at close-to-mid-range with Blink Strike and them finishing them off is a good strategy. Just be sure to watch your Mages. Wolves are quick and numerous, and your Pawns can be awfully dense, easily capable of dispatching a lone low-level Mage Pawn.
It’s pretty easy to reach the Mountain Waycastle from here-the path switchbacks uneconomically… but that’s mountain travel for you. Stick to the path and you’ll be fine. You’ll encounter more Bandits on some rocks to the west, which you should probably just avoid again. If this area’s description seems brief, it’s because it is. The goal here is to try and make it to Gran Soren in a timely, low-level manner. There’s a Cyclops along the coast to the north near a river that this guide is also consciously avoiding… but you have no business fighting it now anyways. Remember, this is a real Cyclops, not the half-dead one you smote outside the Encampment. On the plus side, there aren’t any productive chests here you’re missing, so press on until you reach the Mountain Waycastle.
Mountain Waycastle
Near the gate of the Mountain Waycastle (little more than a gated bridge, really, let’s hope the rest of Gransys isn’t so humble, eh?) you’ll find Mercedes, her soldiers, and your Hydra head, which is being transported by one poor, certainly over-worked Ox. Talk to Mercedes and you’ll be committed-it’s time to escort this wagon to Gran Soren. A few things to note-first, the Ox must survive the trip, and as Mercedes hinted, the smell of a juicy, rotting, Hydra head will draw monsters. Also, you must stay relatively close to the escort, or they’ll stop moving… which is just fine anyways, since most beasties won’t spawn unless the wagon is nearby. Still, it may be advantageous to run on ahead a few times… but that’s what you have this guide for, right?
Your first trial comes immediately on the western side of the bridge, where you’ll be assaulted by some Goblins. The only path to Gran Soren is, so far, plagued by Bandits, Goblins, and wolves, and the water is crawling with the Brine. How does this place survive? Whatever. If the Ox gets injured, you can ‘trick’ your Mage (if you have one) into healing it by pressing “right” or “left” on your controller to get your Mage to heal you. Walk in front of the Ox, and when the healing spell is cast the Ox should walk through it, too. Of course, this is only possible if you are injured, too, but this shouldn’t be too hard to manage.
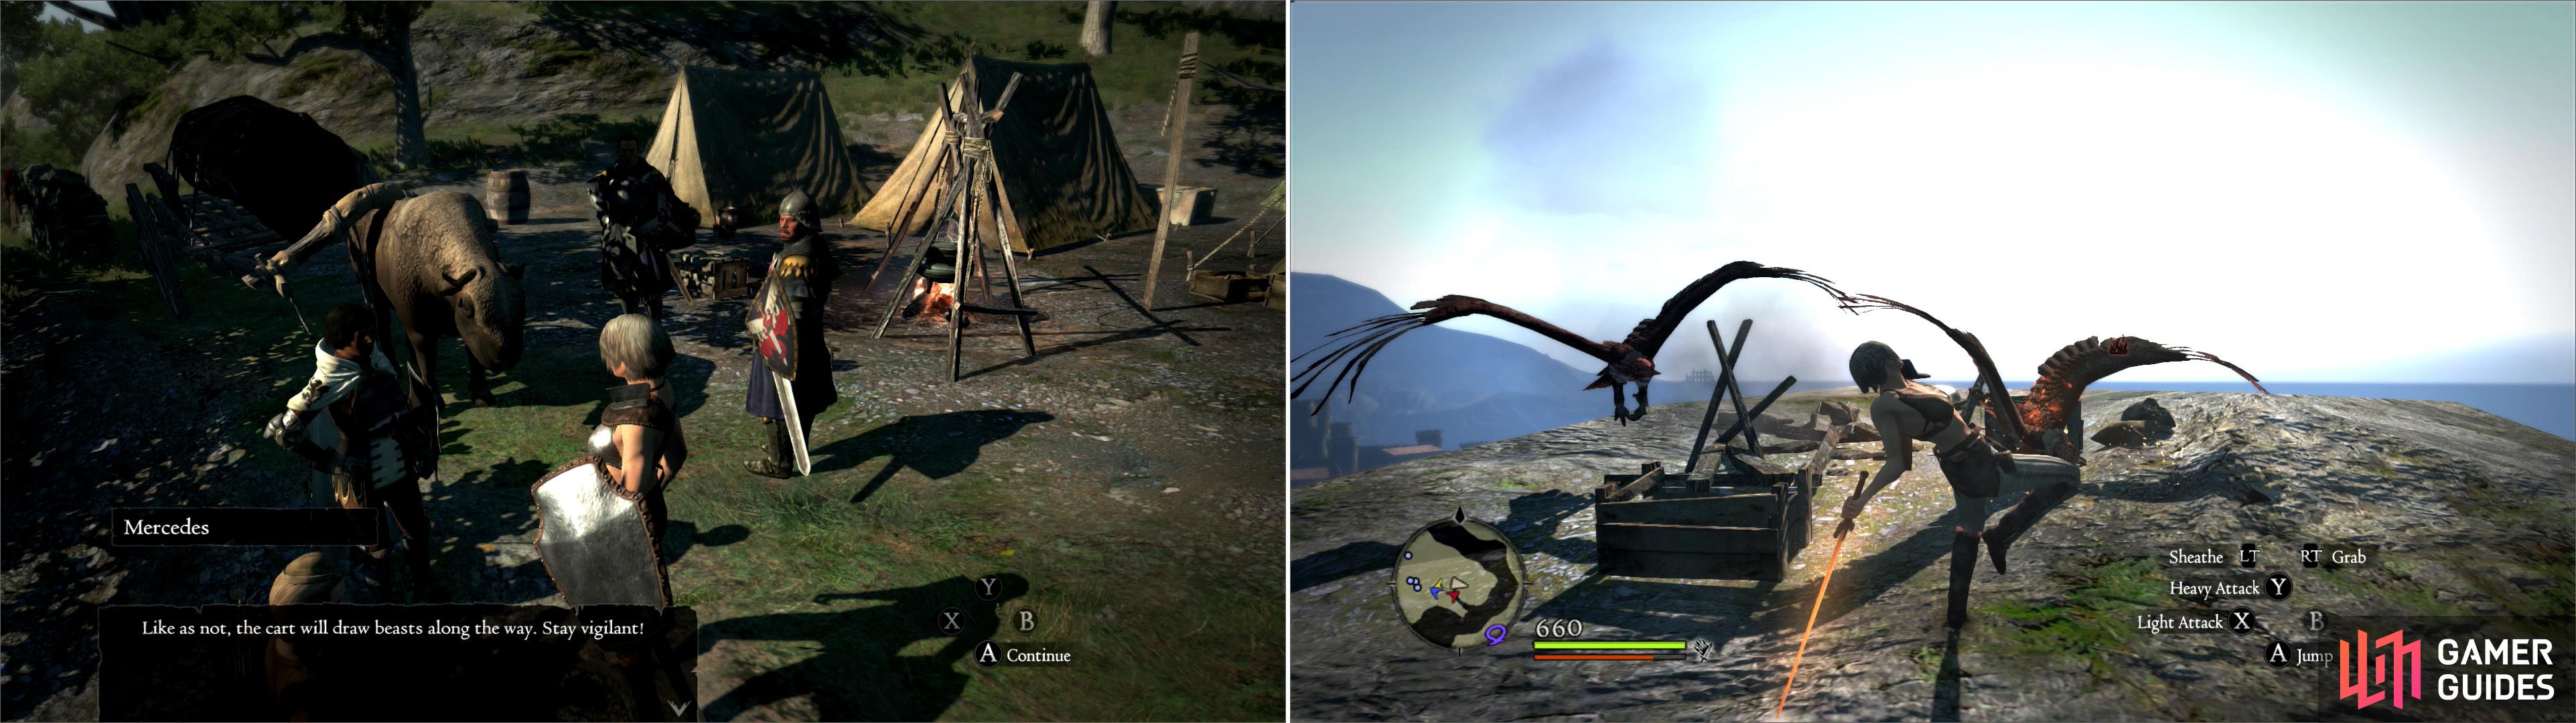
Navigate through Manamia Trail to reach the Mountain Waycastle, where Mercedes and the rest of the escort awaits (left). As Mercedes warns, monsters will be lured to the Hydra head, including the aerial nuisance, Harpies (right).
Moonsbit Pass
Continue north past the vanquished Goblins and Ser Cyrus will inform you that ‘flying beasts’ infest these mountain passes. On the branches of the trees ahead lurk a few examples of these critters-Harpies. You know the drill-new foes, new Monster Info entry.
Monster Info: Harpy
Harpies are flying she-birds with a variety of attacks. Simplest of these is their swooping charge, which can knock a character off their feet. Harpies in this game are also wise enough to grab characters and fly off, during which time you - if you suffer this fate - must wiggle the “Right Analog” stick back and forth to escape. The longer you take, the further they’ll fly. This is especially dangerous if you encounter them on cliffs or ledges, as they can end up dropping characters to their demise. Last of their main attacks is, of course, their ability to sing, which they’ll do while circling overhead. Get caught under their song long enough and a character could fall asleep, which is annoying.
Harpies present a new challenge as well; they fly, so reaching them will become something of an issue. Striders are uniquely capable of shooting them down, while Mages also can blast them with magic, only diminished in usefulness because of the limited range of spells. Fighters, however, must resort to jumping attacks. The ‘Skyward Slash’ skill also works well… if you managed to get it by now. If you’re following this guide, however, you shouldn’t have obtained enough Discipline to do so… so you’ll just have to make do with what you’ve got. Fortunately, however, Harpies are pretty frail. One good hit should ground them, where they are easily dispatched.
Once the Harpies are dispatched, continue north. Along the way you might encounter a barrel with red markings on it-this is nothing less than a gunpowder barrel. Never fear, however-your Arisen and Pawns are magically immune to damage from such things. Your Ox, however, is not. Be safe and destroy all such barrels you find, either by tossing them somewhere, or hitting them (or tossing your Pawns onto them!) Just be sure your Ox is nowhere nearby. Continue north until you reach a more open area with some flag poles overlooking a cliff… on top of which, of course, more Harpies are perched. Destroy them, remove the gunpowder barrels nearby, and continue through the pass downhill to the west. Smite some Wolves along the way (which are much more dangerous to the Ox than Harpies.)
It would be a good idea now to run ahead of the Ox-and-escort a bit. Eventually the path will turn north again, and you’ll be beset by Harpies. When the caravan approaches close enough, Ser Cyrus will prophetically warn you of falling rocks, and he’s got some premonition! Where the path splits, note a large boulder perched precariously in a cubby to the north-west. Uphill to the north-east is a cottage, and downhill to the south-east is the path you must take to reach Gran Soren. The boulder to the north-west is the most dire threat you’re facing right now. If you’re a Strider you can shoot down the boulder and cause it to roll harmlessly away. If not… well… Fight Harpies until the escort catches up, and when it turns down the south-eastern path, take up position behind it. When the boulder dislodges (and it will), be sure your Pawns are between you and the boulder, and you are behind the Ox. The goal? Intercept the rock with the body of one of your Pawns. It’ll probably deal enough damage to mortally wound any Pawn it hits, but it’ll shatter when it does, and you can always just go up to your wounded Pawn and aid them by pressing “B” [XBOX] or “circle” [PS3]. No lasting harm done.
Mop up whatever flying bastards are left and leave your escort behind in the south-eastern pass. Return to the junction and explore the cubby where the boulder was perched to find a stone upon which rests a rounded chest. Loot it, then head uphill to the Mountain Cottage. You’d think a marked area on the map would be somewhat important? It’s really not. From the front of the Mountain Cottage head north-west to find a cubby, within which resides another rounded chest, which contains more useful loot than the last chest. There’s also a square chest inside the cottage, along with two dinks who have nothing interesting to say. While you’re here, you can find some smaller boulders along the cliffs east of the Mountain Cottage, which can be destroyed with a good smack. Getting rid of them now will prevent them from falling on you later.
| Rounded Chest |
|---|
| Faerie Hood |
| Iron Leg Guards |
| Shoulder Cape |
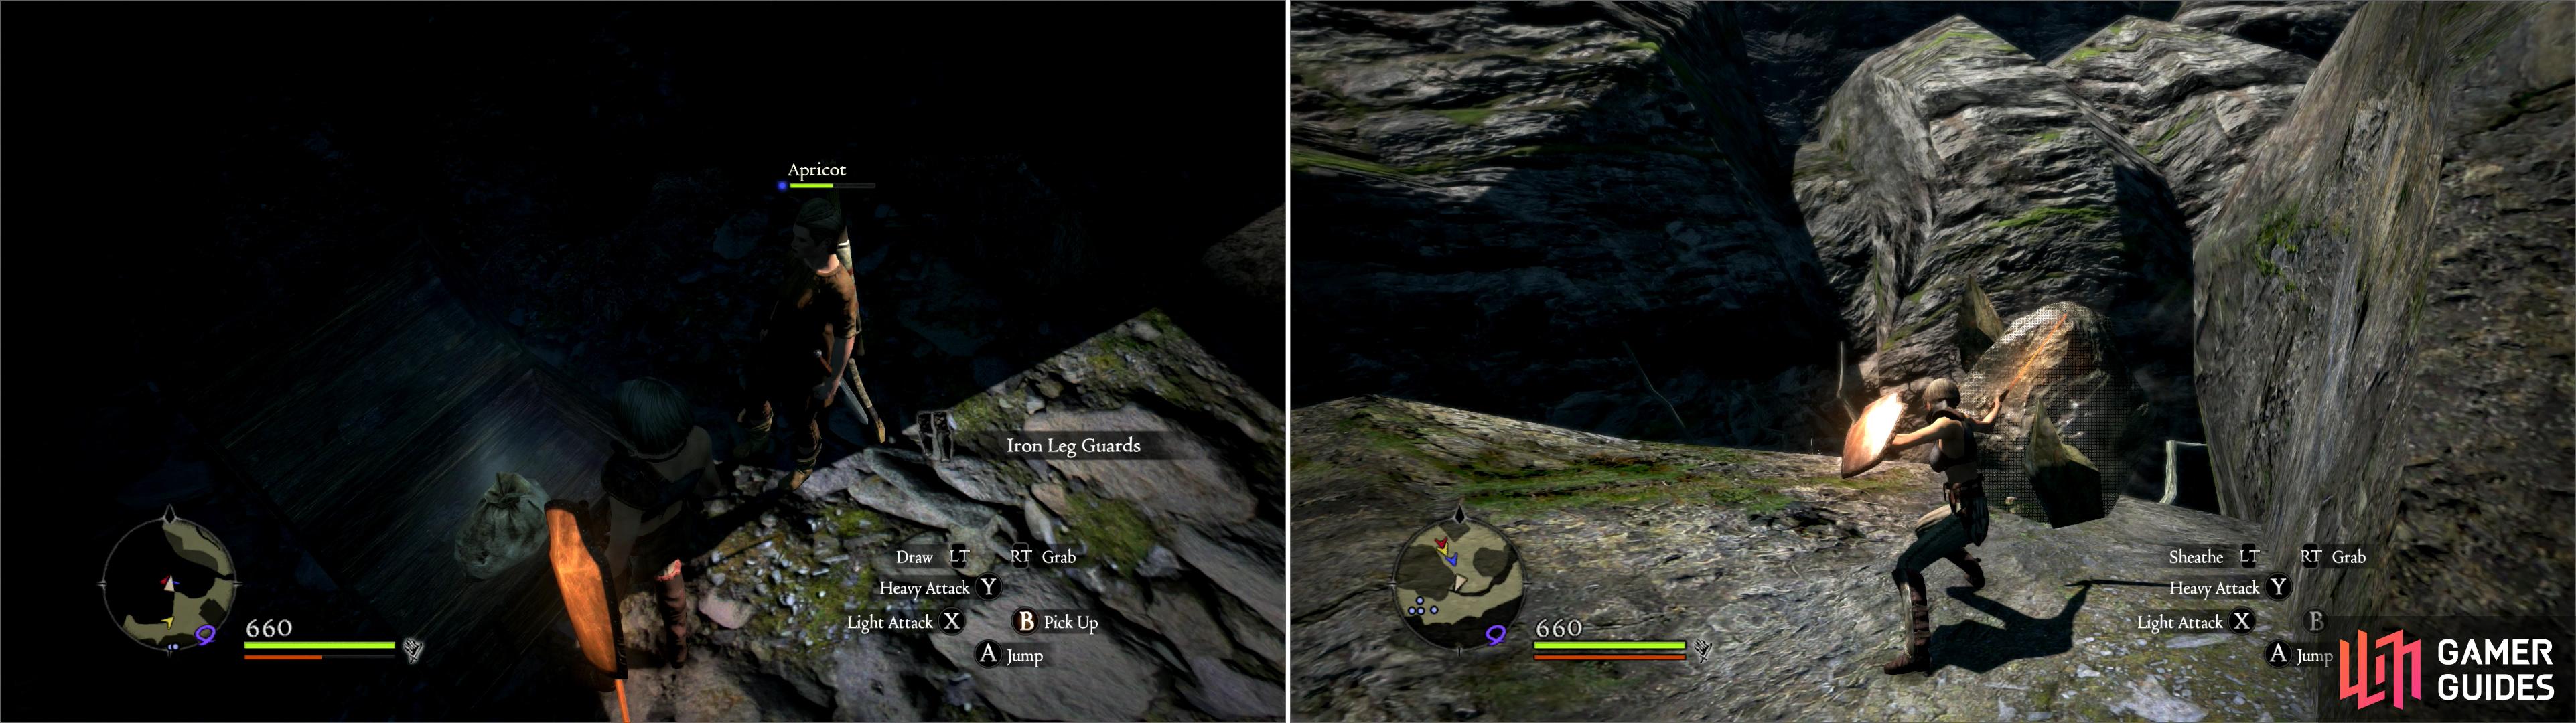
You can find new gear in a handful of chesta found during your trip through Moonsbit Pass (left). Destroy some boulders to prevent them from troubling you later (right).
Now that you’re done exploring here, return to Mercedes and the escort. Everything should get moving again, now that you’re near, and the path will loop around until it’s more open and runs to the north-west. Falling rocks will continue to be a nuisance, but at least there are not more life-threatening mega-boulders. You will, however, have to fight your way through more Wolves, and some Harpies that lurk on and around a tree on a ledge. Near this tree are two Warrior Remains that can be searched with a low chance of yielding some useful loot.
| Warrior Remains |
|---|
| Favored Flower |
Continue on until you reach a lowered portcullis, in front of which are barricades, gunpowder kegs, and Goblins. Don’t be afraid to head on ahead of the escort (provided you’ve cleared the vicinity of Wolves) and smite the Goblins. When you get near the gate, you’ll get a cutscene showing you the obvious lever you’ll need to pull. Don’t get too gung-ho, however, as the Goblins in front of the gate will be joined by more behind when the escort approaches too close. Flip the lever, as the Goblins to the rear will continuously spawn until the escort makes it through. Be on your game, as more Goblins await on the far side of the gate. Protect the Ox and slay the Goblins as you travel through the gate.
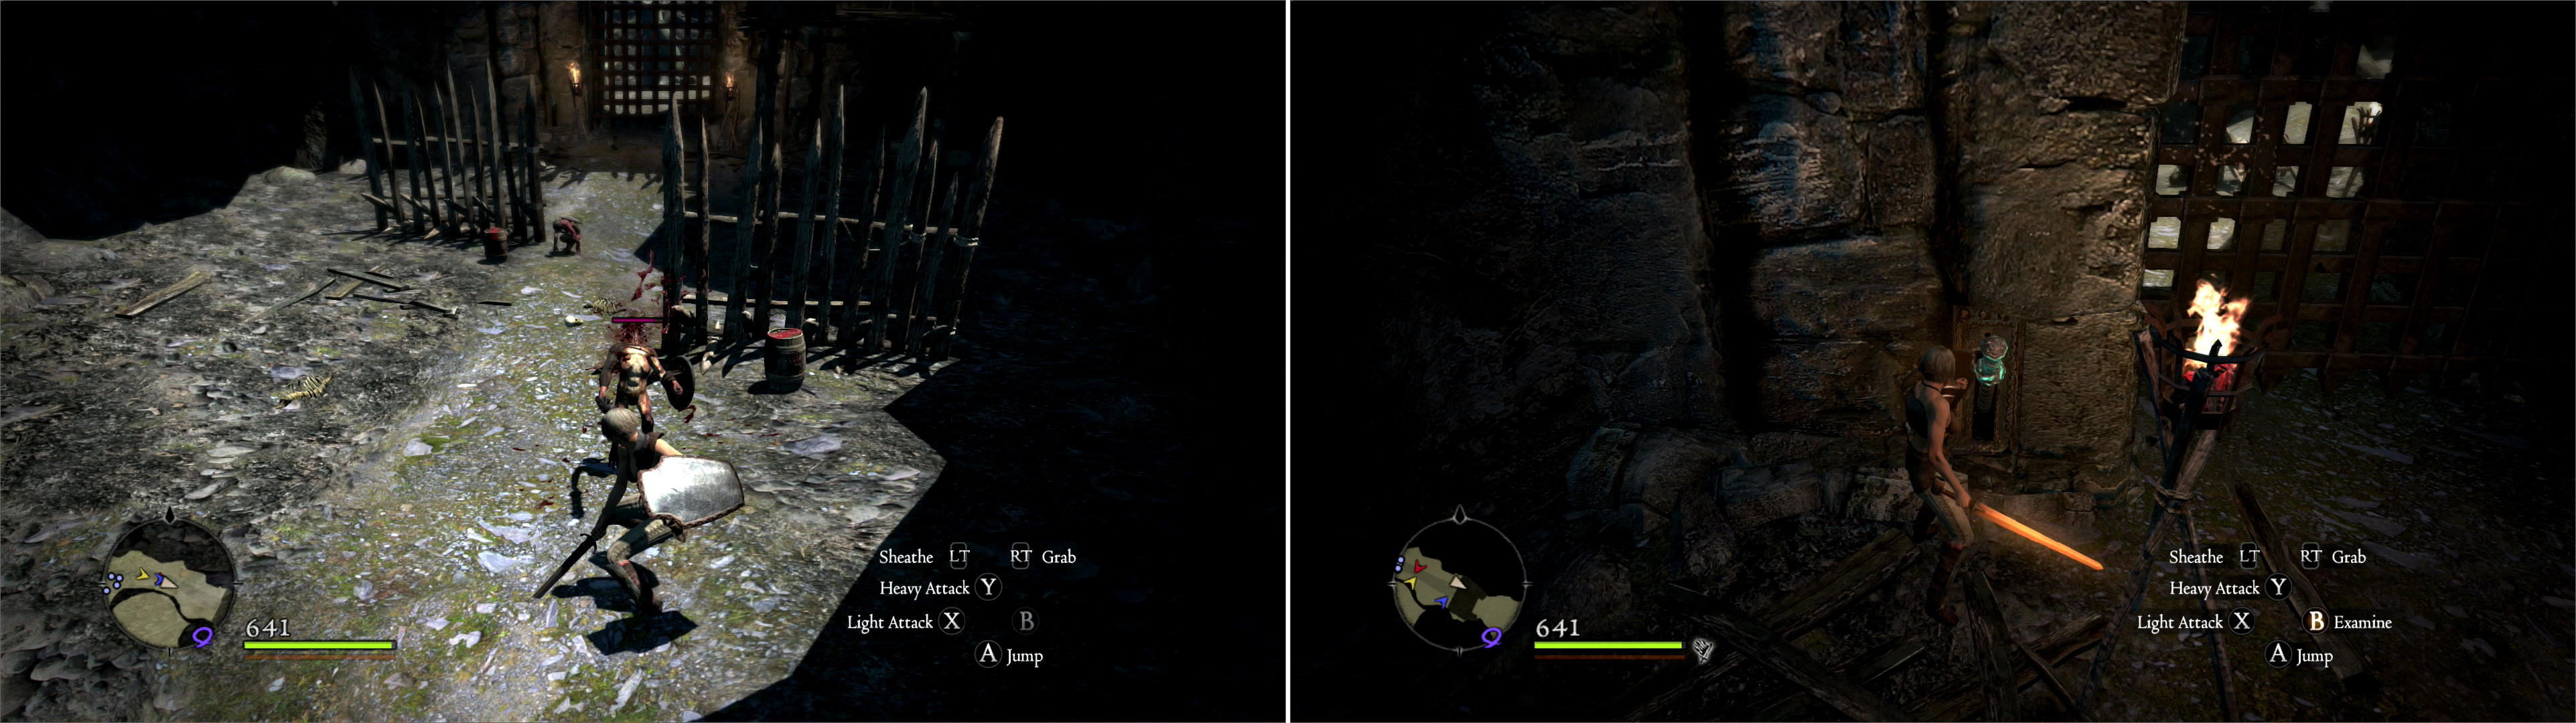
Kill a group of Goblins guarding the gate to the Estan Plains (left) then flip a lever to open the gate and dispatch more Goblins (right).
Estan Plains
Immediately on the eastern side of the gate you’ll find a stack of three gunpowder barrels… which can be very dangerous to your Ox if you or your pawns are foolish enough to destroy them when at a bad time. Follow the Ox-and-escort as you go. More Goblins await, but they’re not as numerous as the group you just killed, and they’re not flanking. Shortly you’ll find yourself heading steeply downhill. The ruins of old walls and aqueducts mark the former glory of Gran Soren, which looms still-majestic in the distance, across the wide-open Gran Soren lea known as the Estan Plains.
Your task is now pretty simple-continue following the Ox-and-escort on your way to Gran Soren, the path to which should be obvious. Along the way you’ll have to fend off some Bandits, but these ones are nothing special. If it’s night time, you may encounter Undead on and along the road leading to Gran Soren… they’re a bit tougher, but also slow enough that they shouldn’t endanger the Ox. You should be in the clear now-just make your way to Gran Soren.
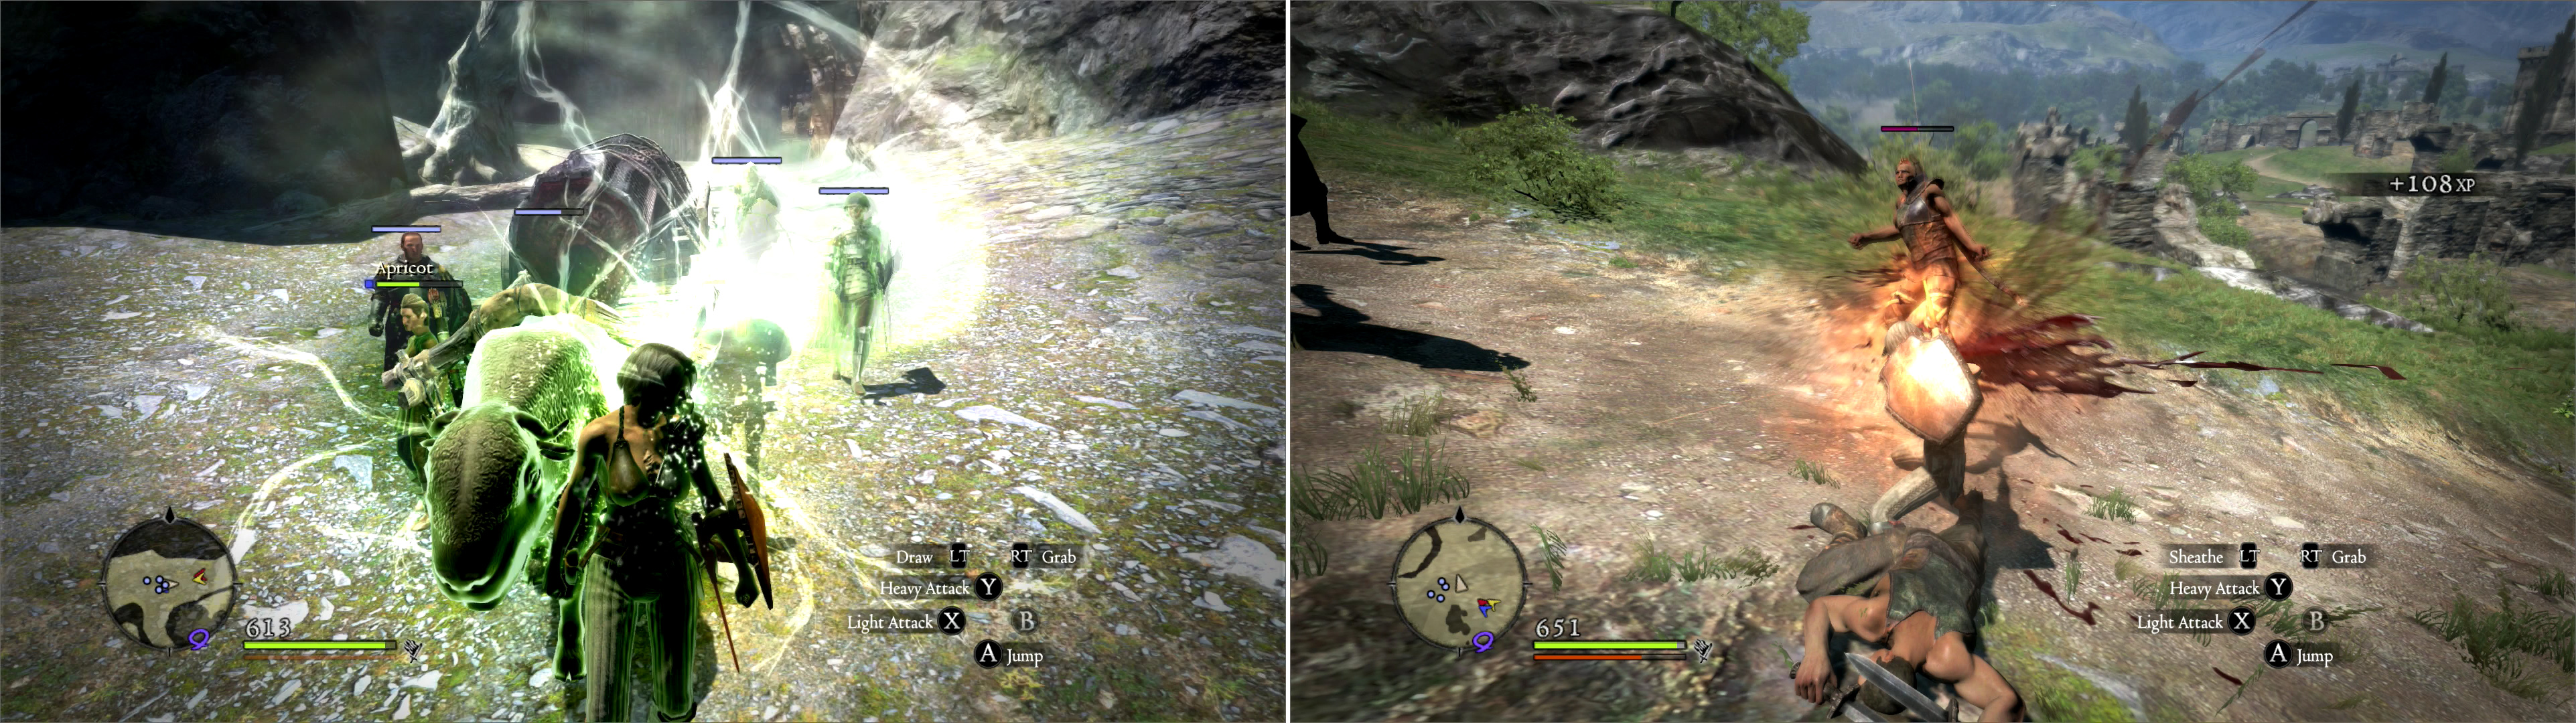
If your poor Oxen takes some bumps and bruises during travel, simply request help from your Pawns and stand in front of it to give it some collateral healing (left). Bandits on the Estan Plains will be your last challenge enroute to Gran Soren (right).
When you get near enough, Mercedes will talk to you-claim a little too much credit for the Hydra, and you’ll all find your way in Gran Soren. Once inside, Mercedes will babble at you again during a cutscene, and a dark-skinned man will eye you during your entrance… talking to you shortly thereafter. This man-named Mason-will suggest you seek out the Pawns. Blah, blah, blah. After everybody is done babbling, you’ll get your reward and another Achievement/Trophy ‘The Courier’.


Monster Info: Undead
Undead in a Capcom game? Perish the thought! Unlike the new-look quick zombies in recent Resident Evil games, these are your more traditional Undead; slow, shambling, stupid zombies in rotting clothes. They’re fairly sturdy… unless one of your Mages enchants your weapons with fire (or unless you are a Mage, yourself.) At this stage in the game, fire spells are the way to go… but there’s no reason you can’t contribute with conventional weapons. Undead are also weak against holy magic, which you probably don’t have access to yet. Their attacks? Barely worth mentioning. They’ll flail around clumsily, or shamble forward and attempt to grapple you-shake them off the same way you shook off Harpies and Wolves.
| Objective | Reward |
|---|---|
| For bringing the Hydra head safely to Gran Soren | 6000 XP, 10 Rift Currency, 6500 Gold |
Changing Vocation
You’re finally in Gran Soren. Lots to do, lots to see, but you should restrain yourself, as you still have quests back in Cassardis to do, some of which will expire if you continue on too far in Gran Soren. That being the case, this initial visit to Gran Soren will be somewhat brief, despite the fact that, yes, there is stuff to do, people to see, and loot to grab.
What you can - and should - do, however, is visit the ‘Gran Soren Union Inn’, which is just north-east of the fountain nearby. Talk to the innkeeper - named Asalam - whom you’ll be getting to know quite well from this point the game on… you know, since he controls the only inn in Gran Soren, which is now and forevermore the hub of your journeys. Asalam will talk about the Pawn Legion, and suggest you find the Pawn Guild west of here. When his innkeeper services pop up, note yet another new option; ‘Change Vocation’. Pick this option and you can change your Vocation into anything you want, at any time… provided you have the Discipline for it (you only have to pay to switch to a new Vocation the first time you select it). The costs are as follows:
| Vocation | Discipline Cost |
|---|---|
| Fighter | 1,000 |
| Strider | 1,000 |
| Mage | 1,000 |
| Warrior | 1,000 |
| Ranger | 1,000 |
| Sorcerer | 1,000 |
| Mystic Knight | 1,500 |
| Assassin | 1,500 |
| Magick Archer | 1,500 |

Visit Asalam in the Gran Soren Union Inn to change your Vocation (left). Also be sure to pick up new quests at the nearby Notice Boards (right).
If you were frugal with your Discipline, you should have plenty to switch classes. If you care about builds and power-gameyness, switch your Arisen to either an Assassin or a Sorcerer, depending upon your desired outcome, and switch your Main Pawn to either a Warrior or Sorcerer, as well. This will net you a pair of Achievements/Trophies ‘Human Resources’ and ‘Inhuman Resources’, respectively. With any luck you’re level ten, or as close as possible. If not, you’ll need to head outside and kill a few things until you hit tenth level. Aside from there, there is one other thing you should keep in mind; these new classes may require new weapons, which can be quite expensive to buy… so, first let’s look at the merchants around here, then a way to grind for gold will be discussed.


Now, because some quest options open up for completing this quest, you might as well finish it up now. When you’re done changing your Vocation at the inn, leave and head north between Caxton’s Armory and Camellia’s Apothecary. Continue north until you reach an open gate, under which stands Ser Camillus, who solely exists to waste your time. Go through the gate and turn south-west and enter the first building to the south.
Pawn Guild
You; Pawn Guild, Pawn Guild; you. Now that you’ve been introduced, talk to Barnaby-the guy with the blue quest symbol over his head-and he’ll babble about the Everfall briefly before he huzzah’s that the Arisen is come. Not a very lively guy, eh? In any event, you’ll get a quest reward just for talking to him. Score for you. Before you bother him again, search the Notice Board here-the Pawn Guild Notice Board tends to have somewhat more lucrative monster hunt quests on it, so it’s good stuff.
Also note there’s a Riftstone in here which is handy, and outside is a Portcrystal… actually several of them, which is what makes this a static Portcrystal location. Note the location by the… five rather obvious, dull crystals jutting out of the ground. The point of this? If you use a Ferrystone (you’ll find one lying on the ground inside the Portcrystal ring, and good news-it respawns!) it’ll instantly teleport you, your gear, your Pawns, and any other companions back to Gran Soren, or to other locations. You should have spotted another of these static rings of Portcrystals outside of Cassardis, if you remember. For now you’re limited to traveling between the two, but you’ll be able to set more destinations as you find more Portcrystals.
| Objective | Reward |
|---|---|
| For reaching the Pawn Guild | 3000 XP, 5 Rift Currency, 3500 Gold |
Next notice that Barnaby still has a quest box above his head. You really do not want to do this quest just yet, as it conflicts with the quest ‘Lost and Found’ which you still need to complete… so, head back to the ‘Fountain Square’ outside of the ‘Gran Soren Union Inn’, where you’ll deal with some updates. Madeleine and Reynard both have now made their way to Gran Soren (Reynard is a bit more unpredictable-he’ll venture all around Gransys, so he may or may not be here presently, but Madeleine is here to stay.)
Shopping in Gran Soren
North-west of the Gran Soren Union Inn you’ll find two shops which you passed by earlier en-route to the Pawn Guild; Caxton’s Armory, and Camellia’s Apothecary. The latter sells curatives and tools, which you don’t really need now. The former is the most interesting, as he sells a great deal of new arms and armor for your new classes. Switched to a Sorcerer and need a new Archistaff? Here’s where you get it… but you’ll pay dearly for it. Most armor at this point in the game is more cosmetic than anything else, and weapons are pretty common sense; if it makes your attack go up, buy it. If not, not.
Be frugal, however, as from Gran Soren you have - in theory - almost all of Gransys at your disposal. You’re capable of simply going out and finding better gear in chests, much of which will exceed what is sold here. Granted, many of the areas with the best loot are well beyond your means presently, but they won’t be for long. At the end of the day, it may just be better to save your money and use only what you find… especially when a single weapon can set you back 20,000 gold. And in case you have no grasp on how things work, the prices for better weapons are only going to get higher. Why pay so much money when the best gear lies waiting for you in a chest somewhere?
Turning Meat into Money
Because buying it is simpler than looting it, duh! Still, the argument above is valid. A few things are easier to buy, most are easier to find. Speaking of money, a way to easily make money was promised earlier, and now’s as good a time as any to discuss it. Leave Gran Soren by heading south-west from the merchant stall and out the gate. Cross the bridge leading from Gran Soren to the south-west, then explore the plains to the east to find some Oxen milling about.
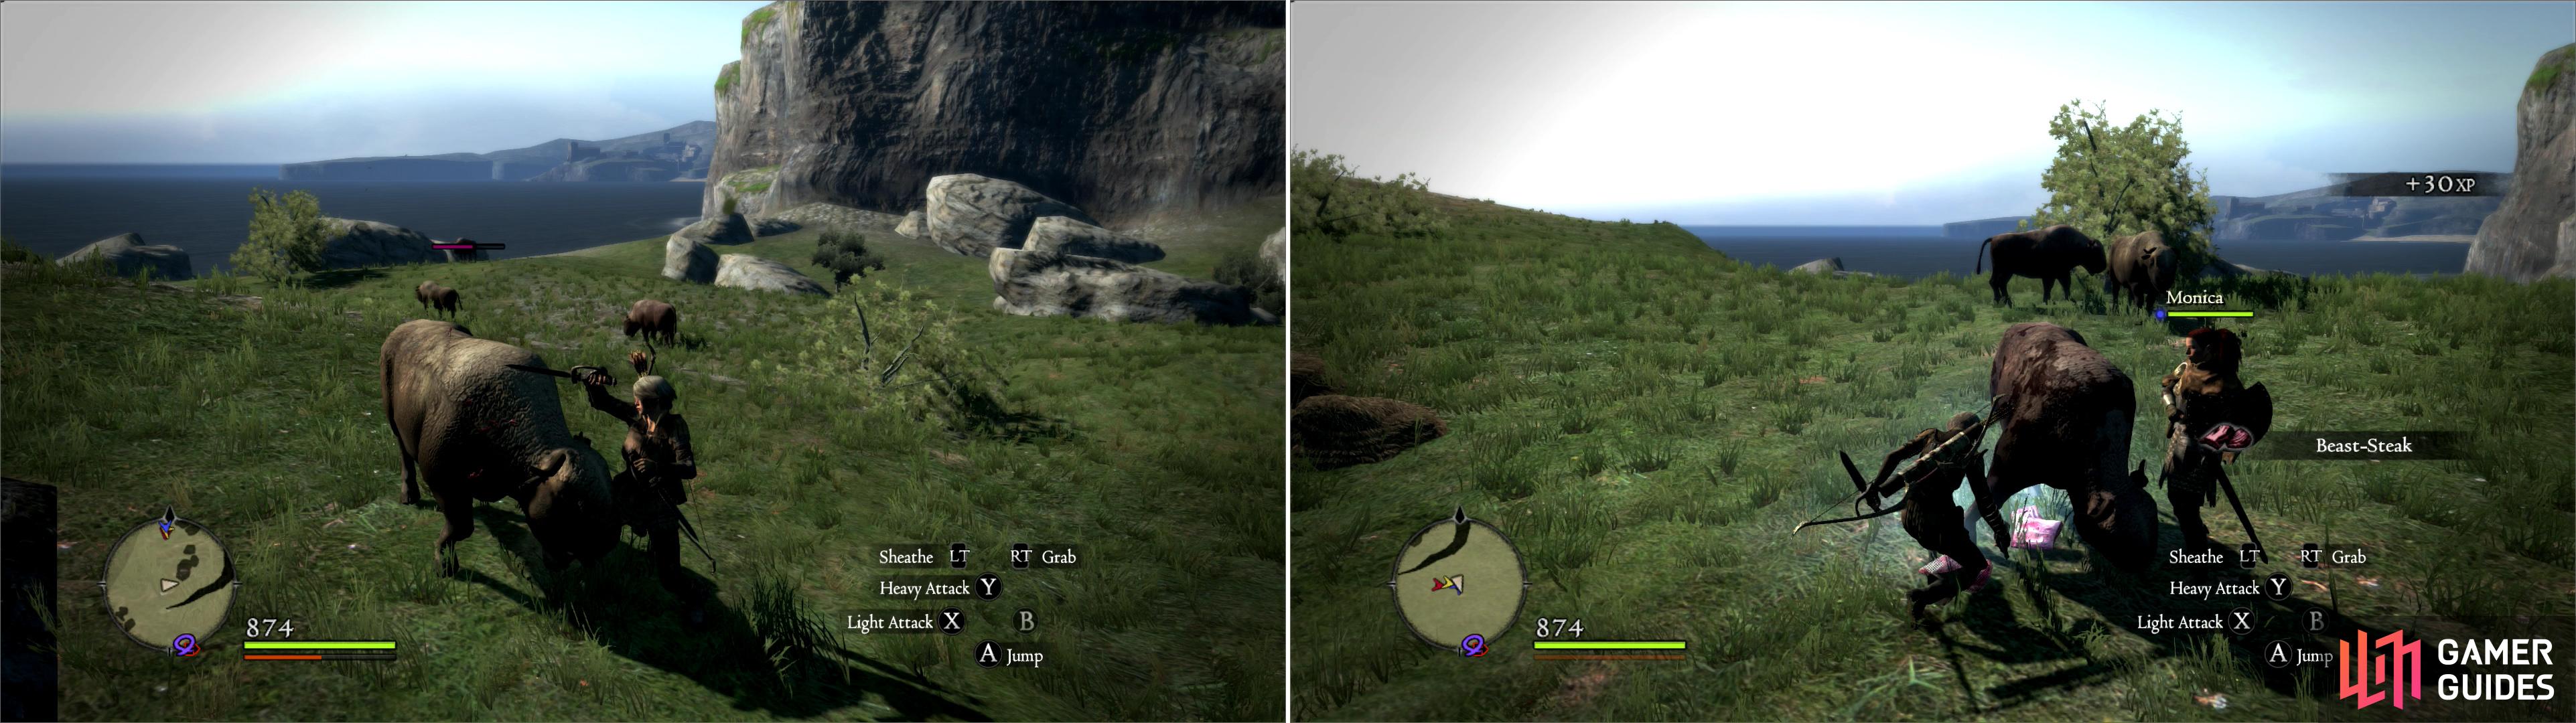
Kill Oxen near the gates of Gran Soren (left), then pick up their delicious flesh, which will sell for considerable cash if left to sour (right).
There are about a half dozen of them in total, and Oxen regularly drop one or two pieces of beast meat-either a Scrag of Beast, a Beast Steak, or Ambrosial Meat, or a combination thereof. Most of the time they’ll drop Beast Steaks, so let’s focus on that as the standard of your grind. Normally, a Beast Steak sells for 300 gold… which isn’t bad, considering that you’ll get one on average from each Oxen. If they turn into Sour Beast Steaks, however, they’ll be worth 1,500 gold. Every time you exit this area and return-say, you enter Gran Soren and come back-the Oxen will respawn.
Surely the gears in your head should be turning. Figuratively, anyways. Hopefully nobody actually has gears in their head. Kill the Oxen, enter Gran Soren, exit Gran Soren, kill more. Repeat until you fill your inventory with Beast Steaks (and the other crap they drop.) Rest until some of the meat turns sour, sell them off. This is the best way to score money at this point in the game. It’s also a decent way to raise your Discipline a bit. Do this for as long as you please, you certainly can’t be hurt by having a few hundred thousand gold in your purse, and padding a few Vocation ranks and levels will help, too. It is, however, tediously boring. If you can’t be bothered to grind for at least a little bit of cash to buy new weapons, never fear, you’ll find a Magick Bow, Magick Buckler, Archistaff, and Longsword shortly… but wandering around without a weapon isn’t a good idea.
Two New Notice Boards
Anyways, when you’re done Ox-farming (if you bothered), buy whatever you might need/want for your new Vocations. Make sure you’ve changed your Vocation to whatever you wish to level as. There are a few things to do in Gran Soren before you head back to Cassardis to finish up some quests.
First, there’s a brand new Notice Board in the Gran Soren Union Inn for you to check. This time, it’s a good idea to grab the quests from the board… unless they say ‘Escort Request’ under the ‘Objectives’ heading. Right now you should have access to ‘The Peddler’s Petition’. Everybody likes alliteration, but avoid this - and any other - escort quests you find unless you’re feeling really frisky. First, you probably don’t know the world very well if you’re new to the game. Any idea where the Greatwall Encampment is? Know what lurks along the way? No? Well… in short, it’s too much for a 10th-level character. Escort quests become easier during the second playthrough, as you’ll be stronger and… well, you’ll have a way to get around the world easier. Anyhow, exit the inn and cross the square to the south-west to reach Arsmith’s Alehouse, where you’ll find yet another Notice Board. This particular Notice Board bestows fetch quests, some of which can be quite lucrative. Again, check the Notice Board Quests section of the guide if you’re having trouble finding whatever item a particular quest demands… that Snakeskin Purse can be a real chore if you don’t know where to look.
Steffens Scholarly Pursuit
Gran Soren isn’t all Notice Boards, however. There are some genuine new quests you can get right now… which you can advance along the way back to Cassardis, no less. Wandering around on the road leading north-east from the fountain square you’ll find a black-and-yellow clad man named Steffen, who wants you to find a tome: Salomet’s Grimoire. This book supposedly grants the reader ‘command of grand arcane magicks’… and everybody knows aspiring Mages are always looking for ways to cheat the process, just like med students and law students. Just like a future politician, he prefers to talk about payment once you’ve found the tome. Not much to go on, eh? Talk to Camellia - the proprietor of Camellia’s Apothecary in the fountain square - to learn that she doesn’t care for tomes one bit-but she will remark that most such objects are useless forgeries, anyways. This apparently useless comment foreshadows a possible solution to the quest, but more on that later…
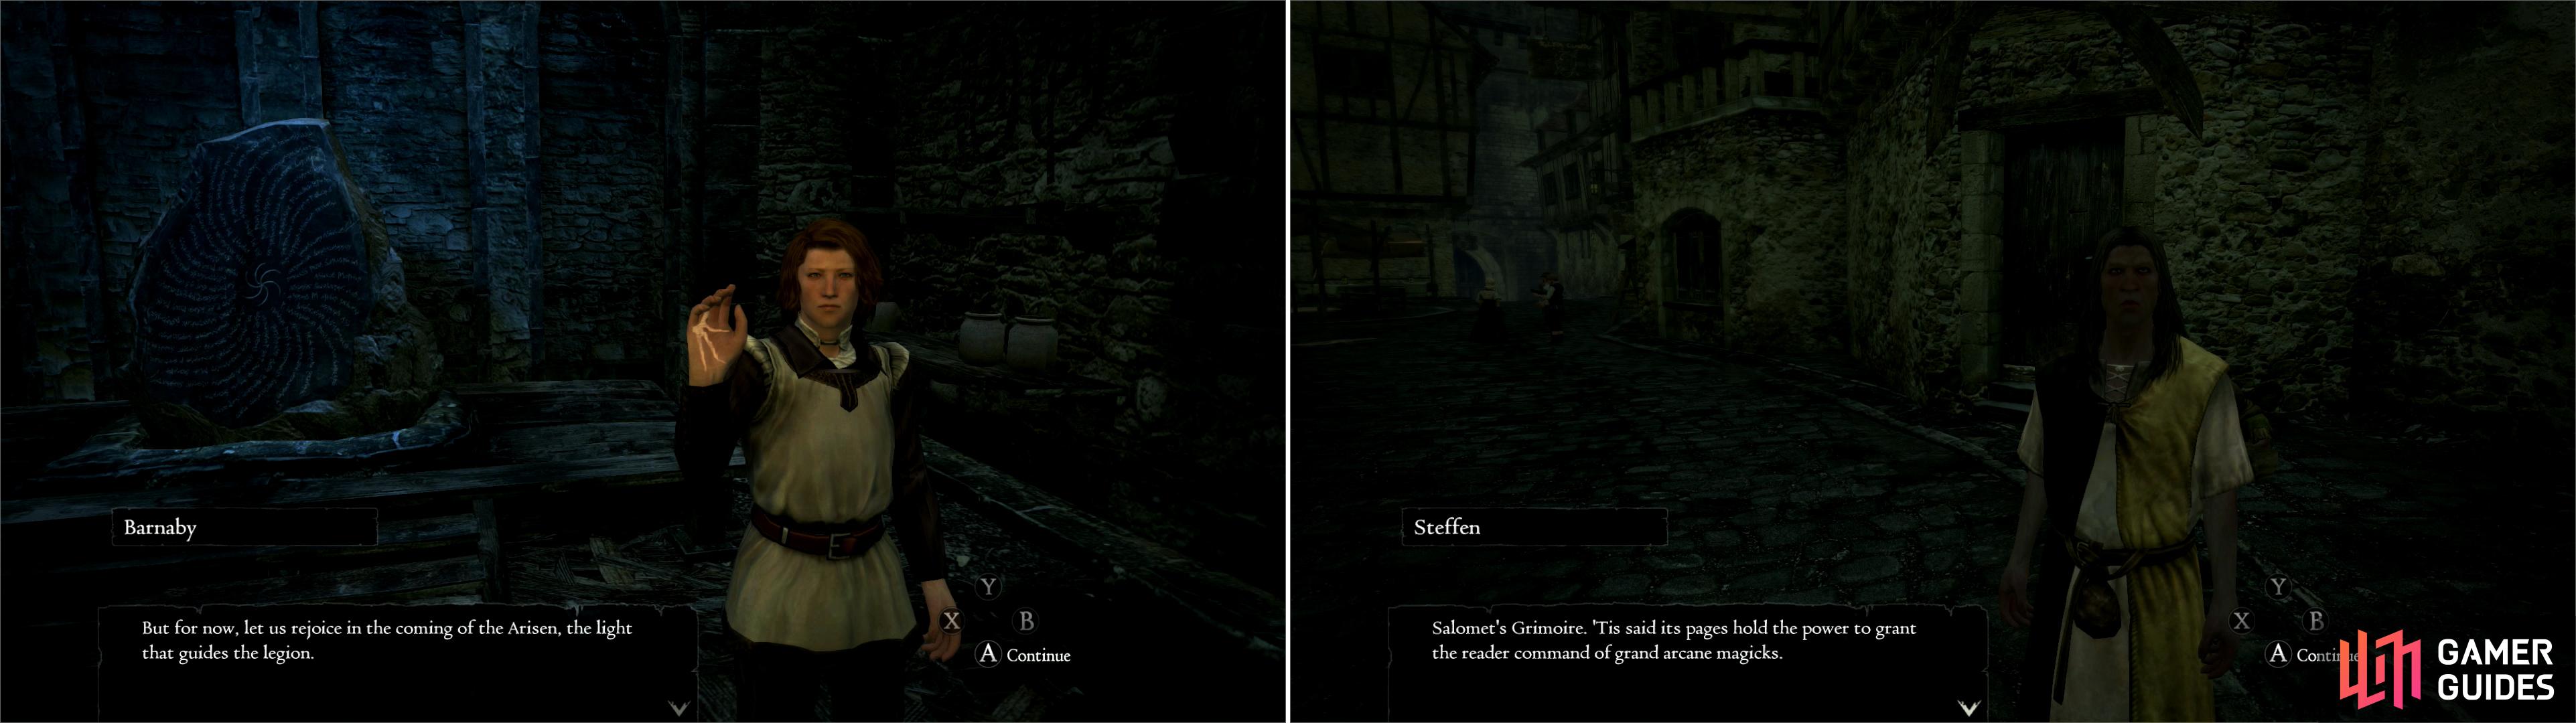
Be sure to visit the Pawn Guild to gain access to its Notice Board, Wakestone and Portcrystal (left). Talk to Steffen and agree to help him find Salomet’s Grimoire (right).
With that, you’re done in Gran Soren. To advance the main story, you need to return to Barnaby in the Pawn Guild and start the quest ‘Lure of the Abyss’… but now’s not the time to advance the main story right now. Instead, you’ll want to leave Gran Soren and head back to Cassardis… and along the way, you’ll explore the Estan Plains. Unless you’ve got serious short term memory, or spent way too much time farming Oxen, you should know the way back to Cassardis just fine.
No Comments