The Rendezvous
Accept this task and Ser Maximilian will give you the details: some member of the Faith were investigating the Dragon, and you have been specifically requested by said researchers to provide an escort to the place of interest. You’ll then be referred to Father Geffrey in the cathedral for further information. You’ll find the guy there during the day-spot him out by his silly robes and hat. The hallmark of any serious religion is the absurdity of the outfits they wear. Apparently the research team already set out, and you’ll be asked to meet up with them at the falls near the Waycastle.
You should know the way to the Waycastle by now, lots of running back and forth, but that’s life. Make your way to Waycastle and cross it to the east (Manamia Trail). Let’s start exploring new ground from here, where directions will actually be helpful. Follow the road south-east, then, as the road turn east at a large, veer off the road and head up a hill to the south-west, where you’ll find an unmarked trail winding through the mountains. As the trail turns west you’ll encounter some Goblins, which by now are little more than pests.
Shortly after turning north-west, the trail ends and the rocky route before you opens up. Continue north-west until you find a fork at a large boulder-time for a detour. Head to the west to find a tribe of Goblins, led by a Hobgoblin. Smite them and continue west until this path terminates. A cave to the north leads to mineral veins you can mine, while to the south lies an elevated rocky shelf you can reach if you have Double Vault or (with some patience and luck) Levitate. On this shelf you’ll find a rounded chest to loot.
| Rounded Chest |
|---|
| Scholar’s Cape |
| Two-Hander |
| Wooden Wall |
Backtrack to the fork and this time take the northern branch, which ultimately leads to a river. A river running through the mountain means falls, so follow the river upstream, which in this case means to the west. Shortly uphill you’ll find some falls-alas, these aren’t the ones you’re looking for. Since the path further west is impassible, jump across the rocks at the mouth of the lower waterfall… or if you’re being snarky, continue west and jump across the river to the path on the northern bank. However you reach the northern bank, continue north-west until you find a monk named Haslett. Unlike wise Haslett, another monk-Jean-went on ahead into the ruins beyond the waterfall. So much for research expedition, apparently this has become a rescue operation. Ah well. Head past cowardly Haslett and through the waterfall (getting soaked is unavoidable) to find a door leading to… the Watergod’s Altar! Dun-dun-duuuuuh!
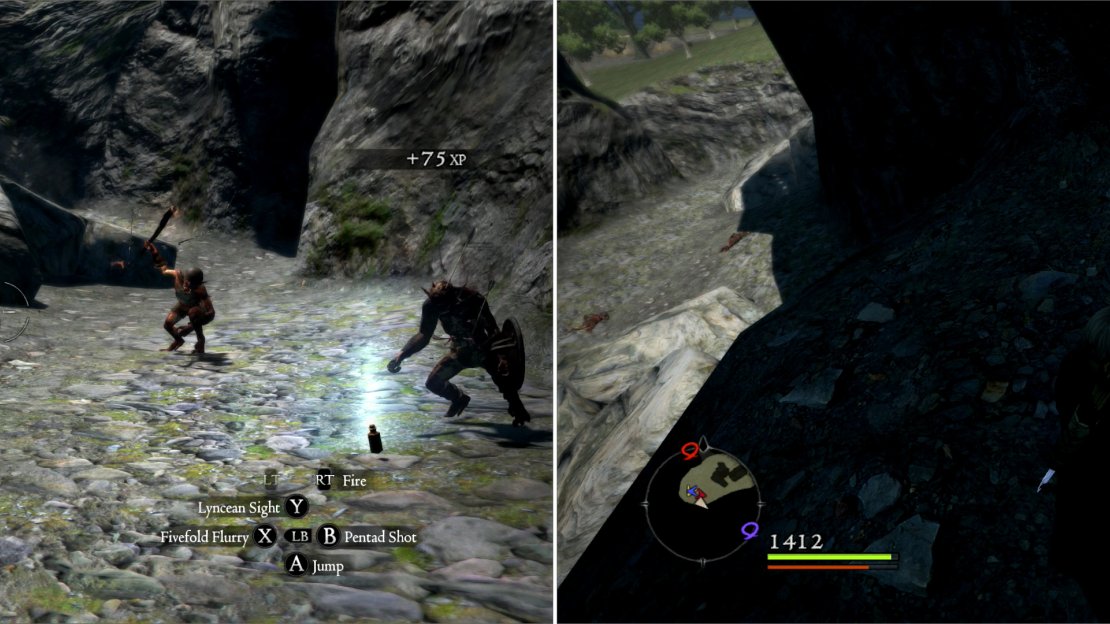
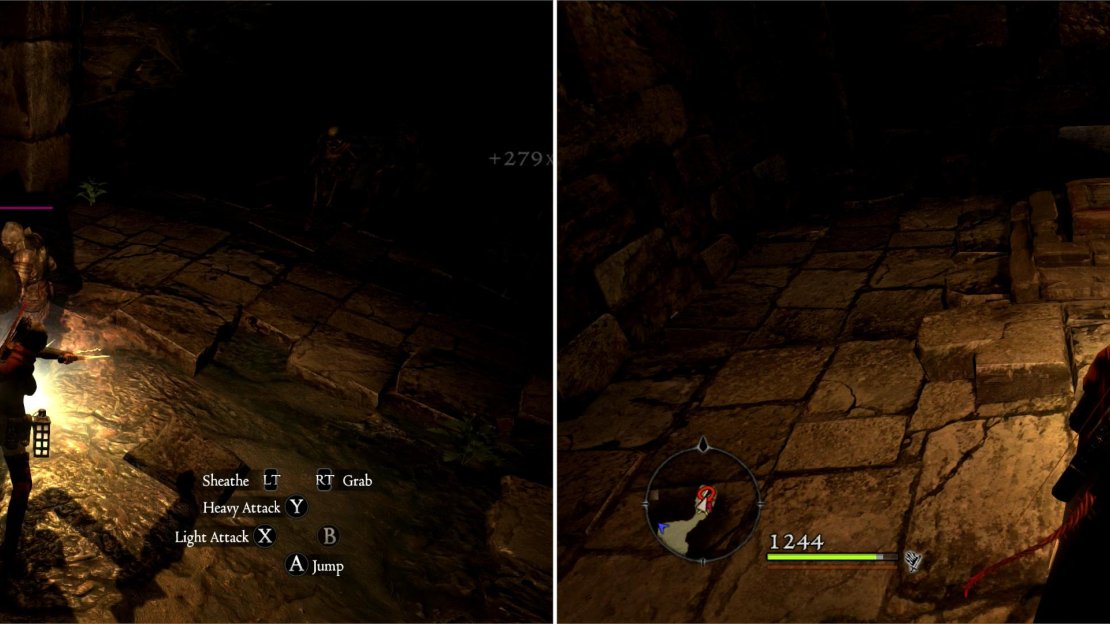
Terrorize some Goblins lurking in some mountain passes leading to the Watergod’s Altar (left), then Double Vault onto a ledge to claim some treasure (right).
Into The Watergods Altar
Head north and exterminate Giant Bats until you reach a fork. Ignore the ramp to the north-east for a second and follow the stream until it terminates at a tiny waterfall, where you can score some Waterfall Gentian Leaf plants. New stuff! Joy! Keep a lookout for goodies, because, as usual, every plant and fishing hole won’t be pointed out here.
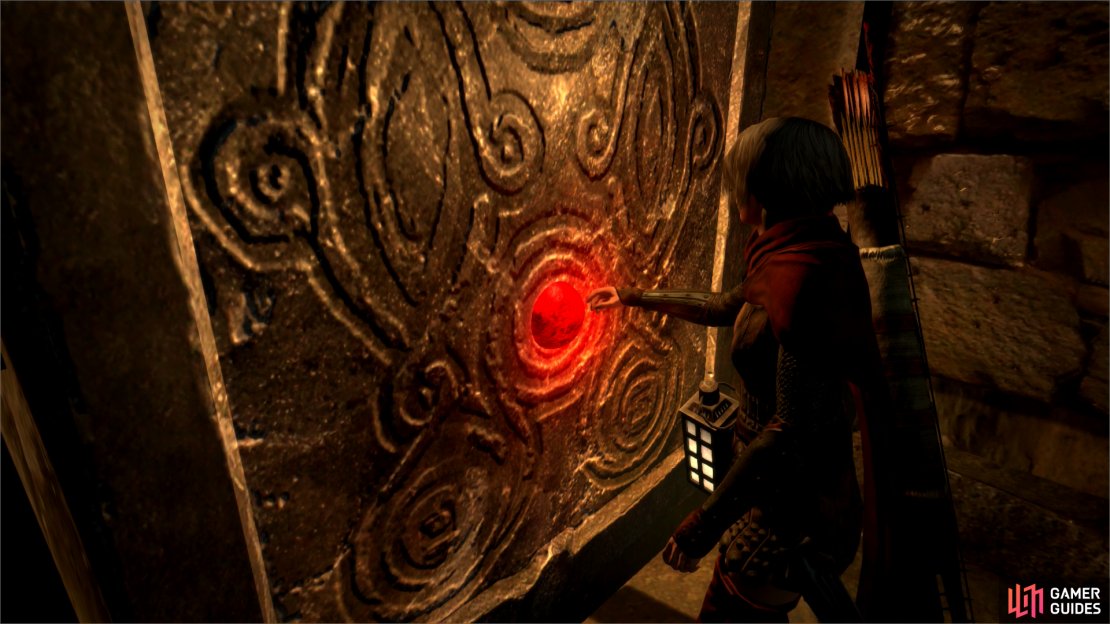
Backtrack to the south and take the ramp to the north-east-but do so cautiously, as there’s a snake lurking around, and you’ve no need to get poisoned before you’ve made any meaningful progress. Continue north-east until the cut stone yields to brickwork. Continue north into the obviously man-made tunnels a short ways to find two side-passages. To the east is a strange door that resists your attempts to open it, only giving the text:
“ Tis shut fast. The door bears a hollow that could fit something… “
Obviously, you’ll need to find some kind of key. Explore the western side-tunnel to find some plants in a box, and in a small terminal room to the north a bunch of Skeletons guarding some money and potions. Not all diversions are worthwhile, it seems.
Watergod Altar Lever
Get back in the main tunnel and continue north until your progress is shortly impeded again by a raised bridge. Note the lever west of the bridge. Seems you’ve got even more work to do before you can get on with your work to do. Head down some stairs to the west (the stairs to the east just lead to Brine-infested waters) and you’ll be rewarded for diligently going the only way you can in the form of a rounded chest. It should be noted before you go on that this place contains treasure that can be of somewhat higher quality than the Witchwood, making it your most lucrative exploration yet. You can easily get screwed out of good loot that would increase your potency by bad luck, so don’t be adverse to save/loading chests that contain superior arms and armor. The least it will do is save you gold.
| Rounded Chest |
|---|
| Eden’s Warden |
| Grievous Horns |
| Thunderclap |
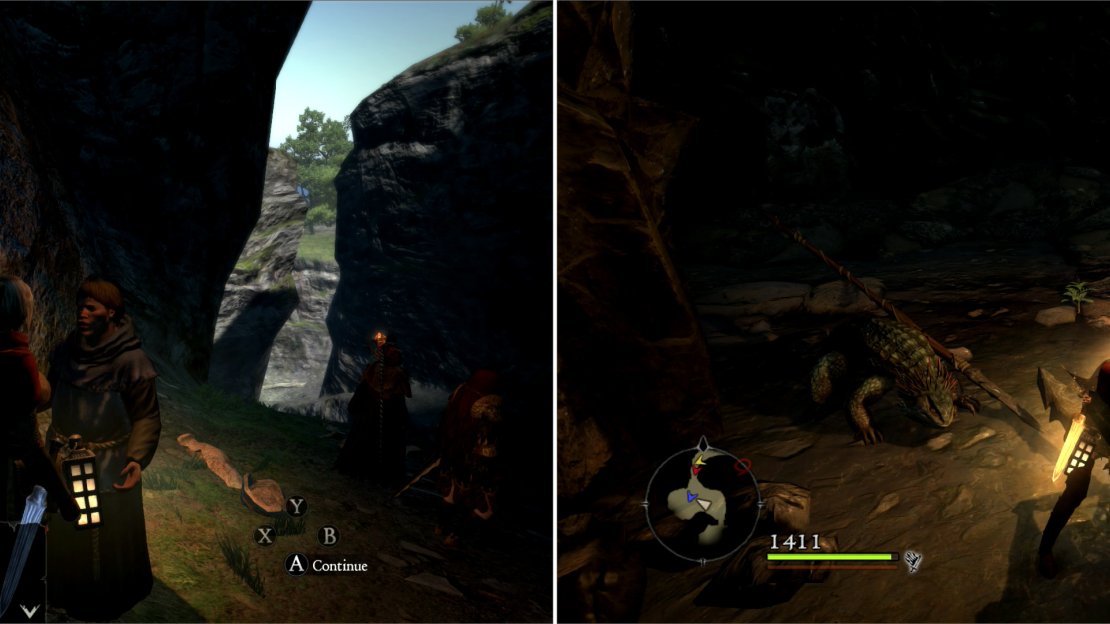
Outside the temple, the Monk Haslett will beseech you to rescue his more daring comrade (left). Clear some Saurians who made the mistake of nesting between you and your objective (right).
Continue west into the unexplored, disposing of a few Giant Bats as you go. Shortly the tunnel will turn south, then open up into a chamber full of… let’s see… subterranean, watery… yep, your old friends, Saurians. They can be somewhat bastardly in these confined quarters, so fight them wisely and cautiously. Using the ladder to gain height on them can be a decent idea. Once the five in this room are slain, a stone door will open to the south, from whence will pour another four Saurians. A well-prepared spell-caster can devastate these creatures with a well-placed Comestion, but a ‘well-prepared’ spell-caster almost exclusively means one you play yourself. Once all opposition is silent, excavate an ore vein in the south-western corner of the northern chamber. Normally such things wouldn’t be worth pointing out, but the mineral veins in the Watergod’s Altar are one of the only places in the game to obtain a Priceless Artifact , a rarely-used Material. Once you have one, you can duplicated it as needed at the Black Cat… but you need to find the initial article, first. The smaller, southern chamber contains three chests. The ornate chest contains the Watergod’s Altar Lever you need to affect the lowering of the drawbridge, above. The southern of the two rounded chests actually contains loot, while the northern contains junk of varying quality. There’s also three Large Coin Pouches near the southern rounded chest, totaling 10,500 gold.
| Rounded Chest |
|---|
| Bronze Gauntlets |
| Silver Bands |
In the Saurian cave you’ll find an ore vein which can yield Priceless Artifacts (left). Pick up the Watergod’s Altar Lever, which is the key to progressing deeper into the temple (right).
Backtrack to the drawbridge. Insert Lever. Lower drawbridge. Huzzah. Cautiously cross the drawbridge to the north and note the camouflaged Saurian clinging to a pillar to the east. You’ll see it if you look long enough-think Predator. Shoot it down, or chuck a Pawn ahead to provoke it. This room bears a bit of explanation-much of the level has fallen into disrepair, and large parts of the floor have now collapsed. What’s left is a discontinuous mess over Brine-filled water. The Saurians that lurk around here have no fear of such things, but are more than willing to knock you-or your Pawns-to their deaths. There are also side-rooms to the east and west of the northern end of the drawbridge which can be jumped into (life is, as usual, easier with Double Vault or Levitate.) There’s really no need to make those jumps, however, as you’ll find less death-defying ways to access those rooms later. To the north is an intact structure occupied by two Skeleton Mages, because this mess wouldn’t be complete without some asshole undead taking pot shots at you.
Explore north and note two paths through this chamber. You can go west, or north-east. Since west is where you want to go, obviously you should head north-east first. If you have ranged attacks, shoot down the Skeleton Mages. If not… well, keep moving. Reach the eastern side of the room and follow a narrow path to the north until you reach a fork-a wooden ramp west to the structure the Skeleton Mages occupy, and some stairs to the north. Another cloaked Saurian lurks on a pillar beyond the few stairs to the north, and the Skeleton Mage threat should be obvious enough. Smite them all-the Skeleton Mages guard an ornate chest, and path beyond the Saurian to the north terminates at a rounded chest. Both contain loot.
| Ornate Chest | Rounded Chest |
|---|---|
| Iris Ring | Bronze Cuirass |
| Ring of Azure | Iron Helm |
Backtrack to the south and take the western path this time. Head through a doorway, score an ore vein and continue through another doorway to the north, beyond which lies a wooden bridge. North of the bridge lies another doorway-over which lurks another hidden Saurian. Exterminate it and continue north. Head up some stairs and spot yet another invisible Saurian on a pillar to the north. Give it a taste of some murder, continue north, then east across a wooden bridge, then up some stairs, first east, then north.
Offering Chamber
Behold, a large chamber lined by pillars. A short ways in you’ll see the gruesome remains of Brother Jean. Talk about overkill, there’s more liquid left of this guy than solid! Search the remains to update the quest, but be wary-what killed Jean is still nearby. To the north lurks a Cyclops, and not an unarmed, half-dead weakling Cyclops like the one you dispatched near the Encampment. This one comes armed with a club, is at peak condition, and you’ve only got yourself (and your Pawns) to rely on. The time has come to take down your first big critter of the game… well, not counting when you were playing Savan fighting the Chimera.
Enemgy Strategy: Cyclops
Cyclops are big, but unsubtle foes. Their attacks consist of flailing away with clubs or their bare hands, or stomping. Despite their lack of finesse, their size is more than enough compensation. Fortunately, they also have plenty of weakness to explore.
Go for the Eye!
Yep. Their eye is their weak spot. Surely everybody here has read the Odyssey, right? Well, you’re going to one-up Odysseus. You will hopefully avoid getting half your men eaten, and you won’t need to rely on trickery and sheep to survive. If you’ve got a bow, the fight is simple-aim for the eye and pour as much death onto this vulnerable spot as possible. There is one fly in the ointment, however-some Cyclopes are armored. A helmet will protect their eye from all direct attacks, so you’ll have to be sneaky. Climb on the Cyclops and go near the head. This will get the beast’s attention, and it’ll look around briefly. You should now jump off, as the Cyclops is going to reach back to pry off whatever is clinging to it-don’t let it be you or it’ll eat your head. Yum. If you aren’t on it when it goes to grab whatever was on it, it’ll sweep off its helmet, instead. Voila. You can also climb atop the Cyclops, hug its face, and stab its eye, but it will try to grab you, limiting the amount of damage you can do, and potentially making such direct attacks very risky.
Spells and Swords
Don’t have a reliable ranged attack? Spells can target the eye just fine, but the proximity of such attacks can sometimes be worrisome. The best magic to use again Cyclopes is Levin/High Levin. It’s got a short casting time, can be aimed, and Cyclopes are weak to lightning. Such attacks are very, very likely to stun a Cyclops, and if used repeatedly, a single low-level spell-caster can potentially keep a Cyclops stun-locked indefinitely. If you lack both magic and missiles, your best bet is to hack at the Cyclops’ legs. Eventually, enough pressure will knock it onto its hands and knees. It’s not defenseless in this state, and it will grab (and bite) foes near its head, but if you stay to the flanks and rear, it’s not agile enough to hit you easily, standing or prone.
’Tis Wroth, Indeed
It should also be noted the Cyclopes have tusks, like all good elephantine beasts would. These can be destroyed by directly hitting them. Doing so guarantees the drop of a Rugged Tusk, but such a cosmetic infraction will send the beast into a fit of rage. While raging, a Cyclops will move more quickly and flail with wild abandon, making them very difficult to attack in melee. During this time, it’s best to simply get away from them, and, if possible head to high ground where they cannot reach you.
Dispatch the beast by whatever means are at your disposal. When it dies it’ll drop the Watergod’s Altar Key , which will open that odd door back before the drawbridge. Also be sure to loot this room. Between some pillars on the eastern end of the room you’ll find an ornate chest, while another pair of ornate chests wait along the northern end of the chamber. All potentially contain loot. There’s also a rounded chest in the north-western corner of the room, but its contents are less interesting. Loot what you will, as you will, but once done, leave the Watergod’s Altar. You should probably inform Haslett of Jean’s demise.
| Ornate Chest | Ornate Chest | Ornate Chest |
|---|---|---|
| Battle Greaves | Chainmail Bracers | Red Leather Cap |
| Padded Armor | Light Outfit | Ring of Purpure |
| Violet Ring |
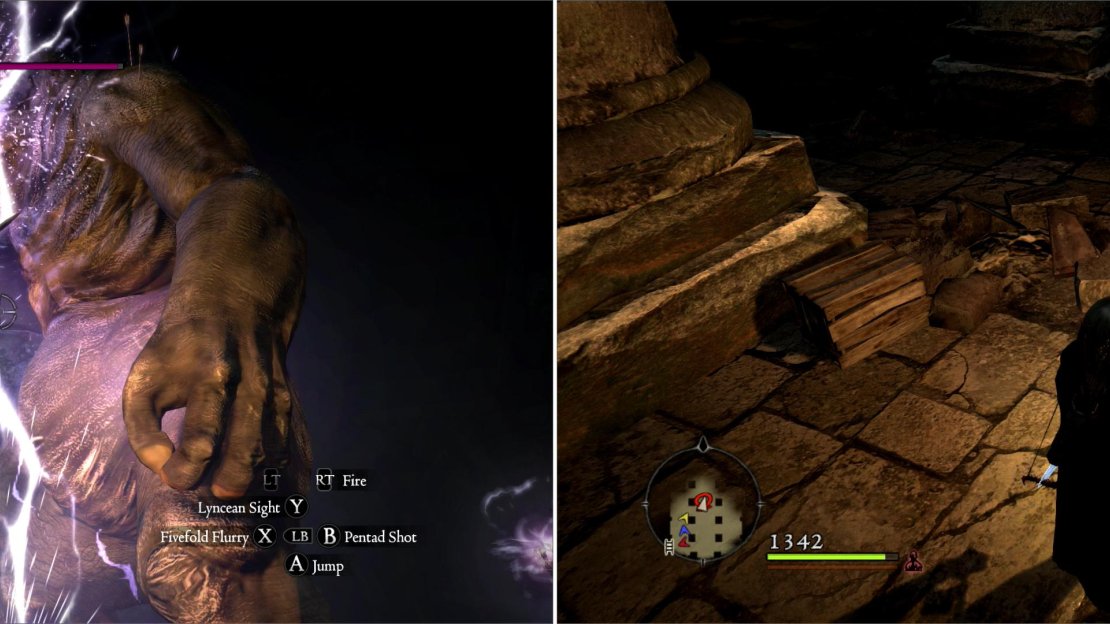
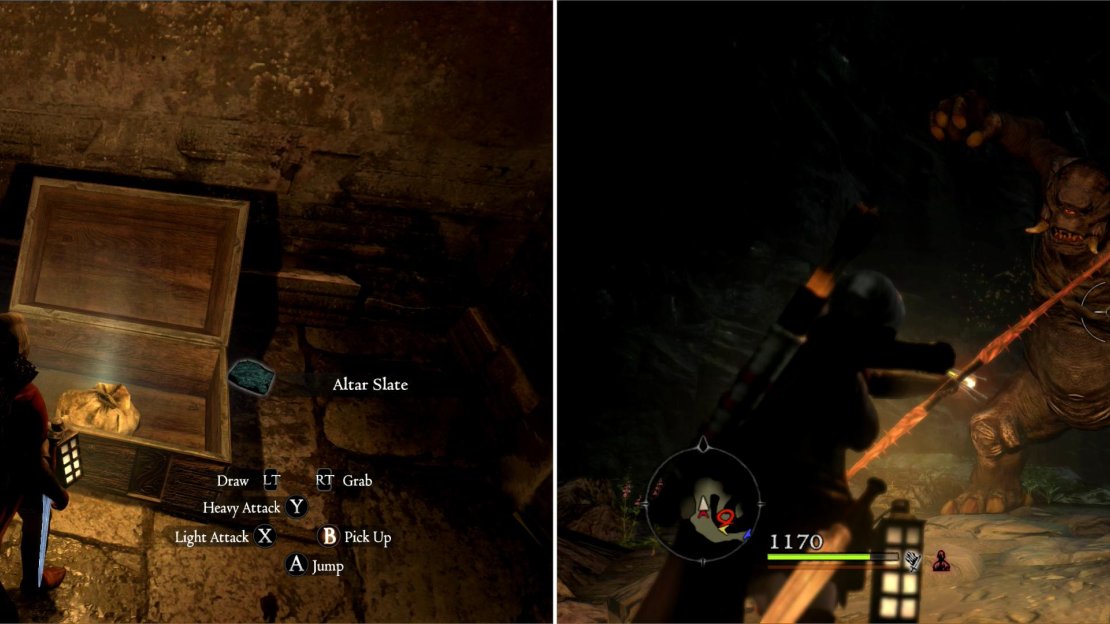
Dispatch a Cyclops in the Offering Chamber (left) then pick up the Watergod’s Altar Key (right).
Talk to Haslett and he’ll mull over the news before eventually asking you to pick up where Jean left off-searching the ruins in his stead, to keep his death from being in vain. Why not? After all, aren’t you itching to see what’s beyond that door you now have the key to? In any event, now is a fine time to run back to town, restock, stash loot, and all that fun stuff. When you’re ready to go again, talk to Haslett one more time and he’ll reveal what you’re really after; some engraved tablets that may have been broken up into several fragments. Be sure to collect them all!
Draining the Lower Levels
Head inside the Watergod’s Altar and return to the locked door you passed earlier. Since you now have the ‘Watergod’s Altar Key’ the door should pop right open when you examine it. Beyond the now-opened door lies a new room for you to explore, but tread carefully. A cloaked Sulfur Saurian clings to the southern wall. Sulfur Saurians are quite a bit stronger than their lesser counterparts, and are more fond of camouflage. Search the room to find some warrior remains and a chest, where loot hides. Also note two passages-one to the north, and one to the east. The northern area is still water-filled and hence, inaccessible, so east it shall be.
| Rounded Chest |
|---|
| Blue Longkilt |
Cautiously head over to the stairs, as yet another invisible Sulfur Saurian lurks on the wall south of the first landing. Detach the creature from its perch and its life and head down the stairs until you reach a chamber sprawling to the north. Although apparently unoccupied, the room is in fact infested with Skeletons, Skeleton Knights and Skeleton Mages. Destroy them, loot a chest in the north-western corner of the room for some loot, mine an ore vein along the eastern wall for another shot at a Priceless Artifact, then head down a short path to the north-east to find a room with a pressure plate in the middle. Once stood upon, the water in the rest of the level drains forever more, opening up further exploration opportunities.
| Square Chest |
|---|
| Direwolf Bow |
| Obliteratrix |
| Surcoat |
Monster Info: Skeleton Knight
Yet another variety of skeleton… and there are still several more you’ve yet to encounter! The Skeleton Knight itself comes in two forms-the Fighter (sword-and-shield) and the Warrior (longsword). Spot Knights out by their superior arms and armor and… well, their three-fold experience superiority over normal Skeletons. Fighter-types tend to rely on their shields more, blocking and countering frequently, but generally refraining from Blink Strike. Warriors are fond of using charge up attacks. Use holy and fire against them if you can.
After opening the sealed door, dispatch some Skeleton Knights (left) then stand on a pressure plate to drain the water in the temple’s depths (right).
Waters Bottom
Backtrack to the room you opened with the Watergod’s Altar Key and take the formerly submerged northern path to find some stairs down. Take them to their conclusion and exit to the west to find a large, damp chamber crawling with Skeleton Mages, Skeleton Knights, and if it’s night-time, Phantasms, The skeletons tend to remain inanimate until you approach any of the loot scattered around here. First direct your attention south, where you’ll spot a ladder at the end of a short tunnel. This just leads back up to the drawbridge room. Just north of the doorway you exited out of, along the eastern wall, stands some scalable stonework, atop of which stands another ladder, which leads to a small room east of the sneaky Saurian chamber you explored earlier. More important here lies a square chest with some loot inside. See? Told you you’d find less death-defying ways to reach these rooms.
| Square Chest |
|---|
| Tiger Bangle |
Monster Info: Phantasm
Like Phantoms, but stronger. They rely on pretty much all the same (limited) attacks, but these ghosts have a flair for electricity. Avoid lightning-based attacks, and stay clear from them when they die to avoid getting shocked for… well, laughably minor damage. Like Phantoms, they are immune to physical damage, but highly susceptible to magic.
Back in the chamber you just drained (marked on your map as ‘Water’s Bottom’), head north from the stonework you climbed to find an ornate chest which contains one of the Altar Slate pieces you’re after. The junk is heavy, so you should probably just toss it on your Main Pawn. There will be more of them, so be sure to have plenty of room. You cannot, unfortunately, hand off Altar Slate pieces to Haslett as you find them, so you’ll need to lug all five of the pieces around-a total weight of 47.50. This really sucks if you’re playing sans Pawns.
Okay, more to do. Head back to the doorway leading to the stairs you came down earlier and cross the room to the west, where in the south-western corner of the room you’ll find some stairs going up to the west. Follow them until they conclude in a small room containing another ornate chest, which itself contains another Altar Slate piece.
Head back downstairs and enter the ‘Water’s Bottom’ chamber again. Standing just outside the doorway leading to the stairs you just climbed turn north to see a rounded chest over some rubble. Loot it and exit the small chamber you’re in to the east, then immediately turn north and head up a small flight of stairs leading to the larger, northern part of the ‘Water’s Bottom’ chamber.
| Rounded Chest |
|---|
| Hunter’s Jacket |
| Missionary Robe |
The Skeletons are quite a bit thicker here, so stay wary. Once you’re the only thing moving in this area, explore the south-western corner of the room to find a third ornate chest, and hence, a third Altar Slate piece. Grab it and turn east to see a ruined wall. Jump on it and explore to the south to find a square chest, which will bestow some loot upon you for exploration savvy.
| Square Chest |
|---|
| Padded Armor |
| Silver Ring |
Now explore along the northern edge of the northern ‘Water’s Bottom’ chamber. There are two passages you can search, one to the north-west, and another to the north-east. In between the two sits a rounded chest wherein lies some loot. As for the passages… let’s explore to the north-east, first.
| Rounded Chest |
|---|
| Cleansing Earring |
Search the drained parts of the temple and collect Altar Slates (left). You need five to complete your objective. Along the way, eradicate a dwarf Cyclops (right). How did it survive being submerged? Oh well…
Up the watery tunnel you go-score a Harspud Sauce on the wall to the north if you spot it (freebie!), then turn south until you reach a ledge with a ladder on it. Loot a rounded chest that’s determined to contain only junk before climbing the ledge, where you’ll discover another, less-junkful, rounded chest. Once you’re done looting, mount the ladder and ascend to reach a room containing another ornate chest, which in turn yields you a fourth Altar Slate piece. Do be sure to grab the Large Coin Purse (3500 G) in the doorway to the west before returning down to the ‘Water’s Bottom’ chamber.
Only one way to go now-time to explore the north-western passage. Follow the watery trail west, then north to confront another Cyclops. This one is smaller, but not any weaker. You know how to take them down by now-the only difference is the scale… and of course, mind the ledge. Past the Cyclops the path will turn west briefly, then split. Take the southern fork to find an ornate chest, which contains the final Altar Slate piece. Follow the northern fork, mine an ore vein, climb a ledge after the passage doubles-back to the south, then find another ledge along the eastern wall to make it back to the ‘Offering Chamber’. You can now leave the Watergod’s Altar at your leisure.
Once back outside, talk to Haslett and-with all five Altar Slate pieces in your possession-you’ll get the option to hand them over. Do so and he’ll promise to work on them tirelessly-for Jean’s sake. He also says he’ll put in a good word with Father Geffery for you, and will tell you to report to Ser Maximilian. He then departs merrily in his wagon, leaving you behind.
The next obvious move is to return to Gran Soren… right? Sure, but since you’re down here - and you don’t get to cutscene ourselves back like Haslett did - you might as well do some things down in southern Gransys. Yeah, this is a weak excuse; you could come back here at any time, but for organization, when you do a Wyrmhunt quest let’s also explore a large geographical area (like the ‘Estan Plains’, as marked on the top-right of the screen while in the ‘Area’ map) around which the quest was located. The other three quests allow you to do this pretty seamlessly, but you’ll stretch a bit to make this scheme fit here, too. There’s another quest to do back in Cassardis, and after that, it’ll finally be time to go looking for Steffen’s book and complete ‘A Troublesome Tome’, which give you an excuse to explore the Vestad Hills, which was very briefly entered en-route to the Witchwood. In any event, the quest experience for ‘The Watergod’s Altar’ is listed below, even though in reality it could be a while before you bother to turn it in. Now, back to Cassardis.
| Objective | Reward |
|---|---|
| For aiding a research team | 15000 XP, 20 Rift Currency, 13000 Gold |

No Comments