Nameless Terror (Part 2)
Now, your stated mission is to check in on Selene, but you will in fact be doing two runs through the Witchwood (one is very brief, and more of a back-track.) You’ll also be checking on the Encampment and Cassardis, where more quests eagerly await a champion. Why not make the most of your trip back there, right?
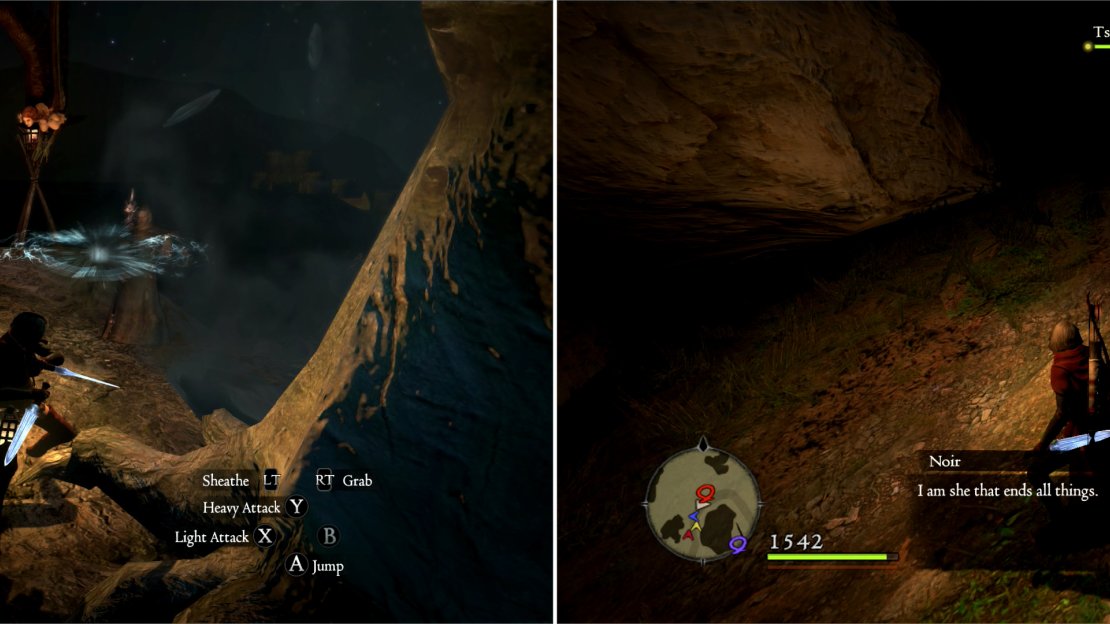
Make your way back through Moonsbit Pass, where you’ll get your third assassin encounter. This time around you’ll find a lone Mage named Darkness. His exact location varies a bit, varying from as far north as the ledge overlooking the gate to the Estan Plains, and as far south as the fork leading to the eastern short-cut.
On Manamia Trail, you’ll get your fourth assassin encounter. This occurs on the road north of the Encampment, at the bend where the road begins to run south-east/north-west. Here you’ll encounter Rouge and Noir, two Strider-types. Dispatch them, and continue on your way.
Since the first half of the Witchwood has been covered once before, it doesn’t deserve the same attention again, so it’ll suffice to simply tell you to return to the Witchwood and make your way back to Selene’s hut. All the loot should have respawned if you haven’t visited since last time, so if you need to scroll back up to find your way back there, and more importantly, back to all the loot within, feel free to do so.
Darkness awaits his fate in Moonsbit Pass (left) and Rouge and Noir prowl along Manamia Trail (right).
Deeper into the Witchwood
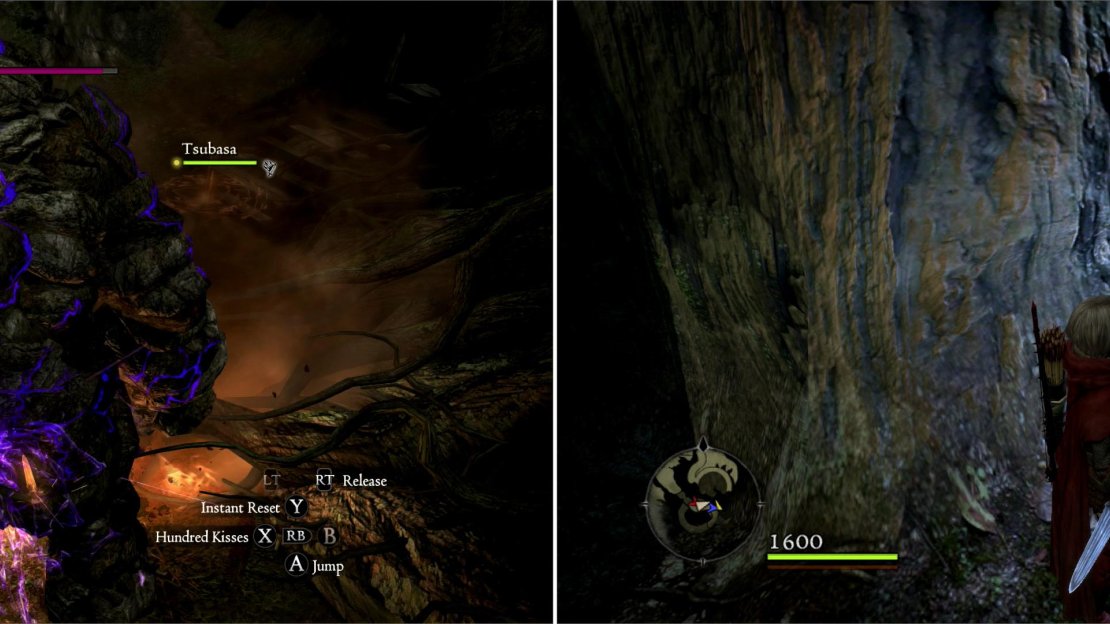
The Golem summoned to deal with the villagers is just as much of a threat to you (left). Once it’s defeated, head into a large, winding tree-cavern to find a Portcrystal (right).
When you approach the ‘Witch’s House’ you’ll see an enlightened mob of soldiers and peasants outside of Selene’s cottage screaming platitudes like “burn her!”, “hang her!” “damnable hexxer!” What a bunch of nice folk. Approach Selene’s house and the strange rock formation nearby - which you should recognize as a Golem by now - will animate and attack. Good thing you got some practice fighting Golems back in the Verda Woodlands, right? You should know how to kill it, but if things aren’t going well, you can always catch your breath in Selene’s house. The peasants, for all their bravado when it came to facing a little girl will run off at the mere sight of the Golem. This beast is no stranger to you, however, and if you killed the one near Bloodwater Beach, you should be able to smite this one as well.
Once the Golem is vanquished, loot it for the Magick Medals and ore it drops, then search the roots of the tree the ‘Witch’s House’ is built upon. You’ll find a door south-west of the house, which leads inside an enormous tree stump, which just happens to contain a spiral ramp leading down into the deeper depths of the Witchwood. Just beyond the door, after the first bend, you’ll find another Portcrystal waiting to be adopted. Head down until you exit a cave back into the forest. You’re now south-east of the valley in which Selene dwelt. More forest, more mist, more exploration. Let’s get on with it.
Continue south-east and keep your eyes on to the south. Follow the trail until-shortly after a tree-you spot a pass leading south through the rocks. Your quest calls you east, but you should know by now that means it’s going to be put it off as long as possible in favor of exploration. Note the pass south, which you’ll be heading down shortly, but first, let’s get rid of a nuisance. Follow the trail east but keep looking south. A very short distance eastward, the short cliff face to the south will become passable on foot. When it does, turn south off the trail and head uphill towards a large tree overlooking a river valley to the south. Search the southern branches of this tree (yes, that means ‘look up’) to spot a mist totem hanging in the branches. Dispose of it to clear a substantial bit of fog away.
Witchwood River
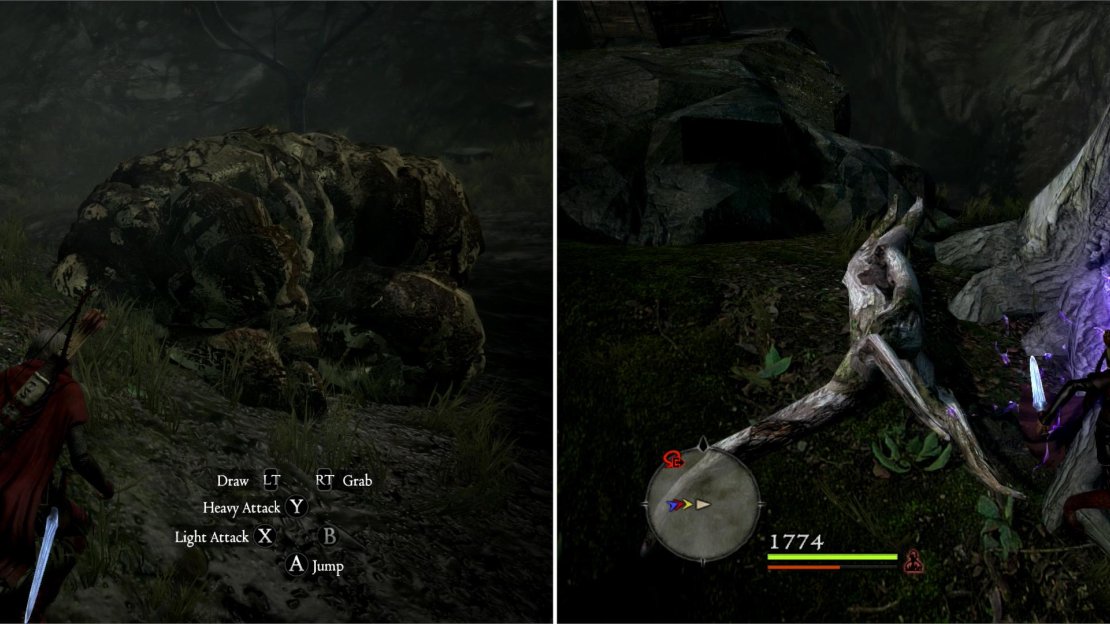
Now that you’ve done yourself a favor, as far as navigation goes, head back north to the trail and backtrack to the west. When you find the pass south again, head down it to reach a river. This place is rich in sylvan materials-keep an eye out for fallen branches and ore veins to exploit. Walk south from the pass to reach the river bank to stand next to a dormant Golem. This place is littered with hibernating Golems, but fear not-they won’t activate at the moment. You should also note a small island to the south-east, in the middle of the river, where another, golden Golem slumbers. Something to remember, surely. Although the place has no official designation, given it’s décor it can safely be referred to as the Golem Graveyard.
You should be standing on the northern beach opposite the pass. Cross the river to the other side (south) and spot a tree that looks like it’s soon to have its perch eroded from underneath it. Search the southern side of this tree to find a mist totem hiding. Smash it and score a square chest to the south, and grab a Small Coin Pouch (100 G) on a nearby stone. Note that this chest can yield a ‘Master’s Merle’, one of the strongest Magick Bows you can currently obtain, if you’re of that persuasion.
| Square Chest |
|---|
| Common Archistaff |
| Fluted Bow |
| Malignance |
| Master’s Merle |
Now continue west-there a bit of stuff to loot, but little of it is exceptional. There’s a crappy fishing spot by the waterfall, and another Small Coin Pouch (100 G) sitting on the rocks nearby. Worth heading down here to reveal on your map, but otherwise, kind of a waste of time.
Head east now, past the mid-river island, then follow the river south-east. Pass a tree to the south that looks like it’s on the verge of taking a bath, and pass the alcove beyond it, as well, heading back into the mist. The river will turn east again, but keep your eyes to the south, where eventually you’ll see a tree on a rocky ledge overlooking the beach below. Along its westward-facing branches is yet another mist totem. Smashing it will buy you precious little visibility.
Continue eastward in the river, which begins to trend north-east. To the south you’ll see another tree clinging stubbornly to the edge of the river bank-the eastern bank. Head onto the eastern beach past the tree and climb a ledge to discover a square chest bearing goodies. This chest contains all kinds of potent staffs, for the aspiring Mage.
| Square Chest |
|---|
| Anchor to Heaven |
| Divine Axis |
| Unspoken Grace |
From the chest, turn north to spot an elevated ledge with a tree on top across the river. Cross the river and ascend to the top of this grassy hill by means of its navigable western side. Atop this hill you’ll find a rounded chest on some rocks, which always contains Archistaff ‘Meniscus’, one of the most powerful Archistaffs one can obtain presently. Sorcerers everywhere, rejoice. Near the tree to the east, Skeleton Knights may spawn, often several of them in lazy succession.
| Rounded Chest |
|---|
| Meniscus |
Continue north along this ledge to find the final mist totem in this area. Smash it, and the entire area should be revealed to you. You can head back into the water to explore the river to it’s extremity, but don’t expect much in the way of loot. Once you’re done fooling around, backtrack to the pass that connects the path to the river. Once back on the path, all you need do is follow it eastward. If you feel like goblin’ some bacon, Wild Boars tend to occupy this part of the forest. Mmmm… Bacon…
Guardians Grave
Eventually the path will end at a gravestone standing in front of a large tree. Here stands Selene and some ghostly figure who looks an awful lot like… Selene. Talk to Selene and she’ll admit to being a Pawn, her ‘Gran’ was nothing short of her Arisen, who apparently gave her part of her soul. Talk to this ghostly ‘Gran’ to straighten things out. Gran-rather, Sofiah, will clarify; she was once Arisen, Selene once her Pawn. Over time her Pawn assumed her Arisen’s form… which explains The Dragonforged and The Fool-Arisen and Pawn from a bygone age. This ‘bestowal of spirit’ between Arisen and Pawn isn’t just cosmetic, according to Sofiah: she hopes Selene will one day become fully human. Sofiah will then ask you to help Selene get away from her past as a Pawn, incapable of doing aught but the Arisen’s will by… allowing her to crash at your house in Cassardis. Makes sense, somebody might as well use it, since you apparently can’t. The two will babble on, and when they’re done, the quest will end. This is a pretty important story point-no fanfare, no warning, in the style of Dragon’s Dogma, important events like this are entirely up to you to discover. Still, remember it. It’ll come up again.
| Objective | Reward |
|---|---|
| For checking up on Selene | 10,000 XP, 30 Rift Currency, 20,000 Gold |
Sofiah - Selene’s Arisen - will reveal some facts abou the Pawn-Arisen pairing (left). Now that you have access to the depths of the Witchwood, you can finally give Selene a King Bay Leaf (right).
Don’t worry about Selene, she’ll find her own way to Cassardis, just as soon as you leave the Witchwood. Villagers will never think to look for her in a village! Whatever. You’ve got stuff to do. First, loot the two chests nearby. The rounded chest contains a one-time drop of a Ferrystone, while the square chest contains random, underwhelming loot… although the Alchemical Cloak looks pretty snappy. Grab the three King Bay Leaves near the gravestone-this is the only place in the game to get them. Search behind the gravestone-tree to find another rounded chest, which contains some lootage.
Mettle Against Metal
With that, you’re done in the Witchwood… well, almost. Okay, not really. Don’t use that Ferrystone you just found, either. Instead, exit the Witchwood via the shortcut to Seabreeze trail and, once you’re out in Seabreeze Trail, turn around and head back into the Witchwood. Return to the depths of the Witchwood, to the Golem graveyard along the river. Approach the island where the gold-colored Golem lies dormant to find… well, that it’s no longer content to slumber. The Metal Golem will activate, and a new quest begins.
An odd quest with no introduction that most people (save the dedicated loot-grinders who return to the Witchwood on their own) likely miss. Hopefully you’re still playing a class that deals physical damage at a range. Seriously, have a Bow or Longbow, or go home.
Enemy Strategy: Metal Golem
Stronger than even the Golem, the Metal Golem is always in a state of rage, making it far more dangerous, still. The Metal Golem is also immune to direct attacks of all kinds. The only way to kill it is by destroying its magical discs which power it. Superficially like the Golem, the Metal Golem’s discs are disembodied, scattered around the battlefield. You must avoid the Metal Golem at all costs while seeking out these discs and destroying them.
A Dangerous Scavenger Hunt
There are no ‘stages’ to a fight with a Metal Golem, it has no soft spots, there is no elaborate take-down strategy. You must merely find all its power discs and destroy them. The discs themselves are immune to magic, and are often out of reach, making the Bow or Longbow the only viable means of destroying them. Simple enough, perhaps, it’s the massive, tireless, aggressive metal behemoth chasing you around everywhere what complicates things. It’ll punch, pound, stomp, and shoot lasers like it’s rocky counterparts-it’ll just do so more often, and hurt more when it hits. You can find the locations of the discs by tracing their energy trails, which periodically flow to the Metal Golem.
Mobility is Key
The Metal Golem can’t be defeated head-on, so keeping away from it is definitely the key to victory. In this particular arena you can do yourself some favors. Get high ground-if it can’t reach you, it must resort to shooting lasers, which can be dodged if you pay attention. Be wary, it’s awfully tenacious, and can sometimes surprise you by following you places you thought it wouldn’t be smart enough to reach… Being lightly encumbered and staying out of water can help you greatly. Water will not slow it down, and it will not tire. Running away from it with a heavy load, through waist-deep water is just a good way to run out of Stamina and get pummeled. Each time you destroy one of its discs, it’ll fall down for a while-keep that in mind. Also, each destroyed disc has a chance to drop a Magick Medal or Electrum.
Not All That’s Dormant Is Dead
As you run around the river bank, trying to stay one step ahead of the Metal Golem, be warned that not all the regular Golems here are fully asleep. Dealing with a Metal Golem can be troublesome enough, but if it has a friend join it… Well, life could start to suck quickly.
| Objective | Reward |
|---|---|
| For slaying the Metal Golem | 30 Rift Currency, 30,000 Gold |
That golden clumb of metal is actually a dormant Metal Golem (left). Defeat this beast by destroying its scattered medallions, which are the source of its power (right).
The Dragons Tongue
Only one more thing to do here in the Witchwood, then you can leave it forever… at least for this playthrough… if you don’t care to grab any more King Bay Leaves or treasure… Anyways, head back to the ‘Guardian’s Grave’ where Sofiah once lurked. Now you’ll find a man named Rowland (if you forgot, he’s the guy who was getting attacked by Southron Bandits along Manamia Trail. He gave you the tip that Salomet’s Grimoire could be found with the Bandits. No?) He claims to be resting… seems like an awfully silly/dangerous place to rest. You’ll also notice an ‘Ancient Tablet’ sitting in front of Sofiah’s grave. Grab the hefty thing, and Rowland will comment on it. He suggests you see a priest about it, as a man of letters might be able to help you make sense of the thing. So starts yet another quest. You’re done in the Witchwood now. Really, truly, and forevermore. If you go there again, it’ll be on your own time. Exit via the Seabreeze Trail shortcut and make your way back to Cassardis.
Nameless Terror (Part 3)
Just outside of Cassardis you’ll encounter the eleventh, final, and most dangerous of the assassins-their leader, Zero. Unlike the other assassins, he’s not a Strider or a Mage, he’s a Warrior, and he can do massive damage if he can catch you… up to nearly 1000 damage to a level 70 character before. Still, he’s slow, and if you have any ranged option at all, you should be able to just avoid him. Take him down and he’ll recognize you for a ‘true Arisen’ before he dies. Reader the ‘Tightly Folded Letter’ you get when he dies, which states “All children of the true god know the Arisen is the end of hope, not its source. See this evil expunged.” Ah, moral relativity, and for every ‘true’ god there are countless ‘false’ ones… Whatever the case, this quest is over.
| Objective | Reward |
|---|---|
| For defeating the assassins | 12,000 XP, 30 Rift Currency, 30,000 Gold, Tightly Folded Letter |
Farewell, Valmiro
Continue on into Cassardis. It’s been a while since you’ve been home, but don’t worry, there aren’t any more quests in the well you need to do, but there are still a few things around town to look into… First, store whatever you need to get rid of at Pablos’ Inn. Once done, be sure to rest until morning, to cure you of any ouchies (and to set the time so you can score some quests.) Finally, grab a few specific items out of your stash-one dose of Potent Greenwarish, one Lantern, one piece of Sour Ambrosial Meat, and one Pilgrim’s Charm. You might just need those soon…
Head over to the eastern side of the ‘Fisherman’s House’ northeast of ‘Your House’ (in which Selene should now reside, if you ever have need of her again.) On a grassy bluff overlooking the sea stands Valmiro, who has another quest for us. Poor Valmiro has been struck by another bout of wanderlust, it seems, and wants you to find him the supplies he’ll need for his perilous journey. Honestly, there’s probably no supplies great enough to keep him safe, considering that he couldn’t even make it to the Encampment in one piece, and Quina made it all the way to the Witchwood. This quest is a just a series of fetch tasks. Strangely enough, you just happened to retrieve everything he wanted all in one go. How odd. Anyways, here’s what he wants in order:
| Valmiro’s Requests | . |
|---|---|
| 1st | Potent Greenwarish x1 |
| 2nd | Lantern x1 |
| 3rd | Sour Ambrosial Meat x1 |
| 4th | Pilgrim’s Charm x1 |
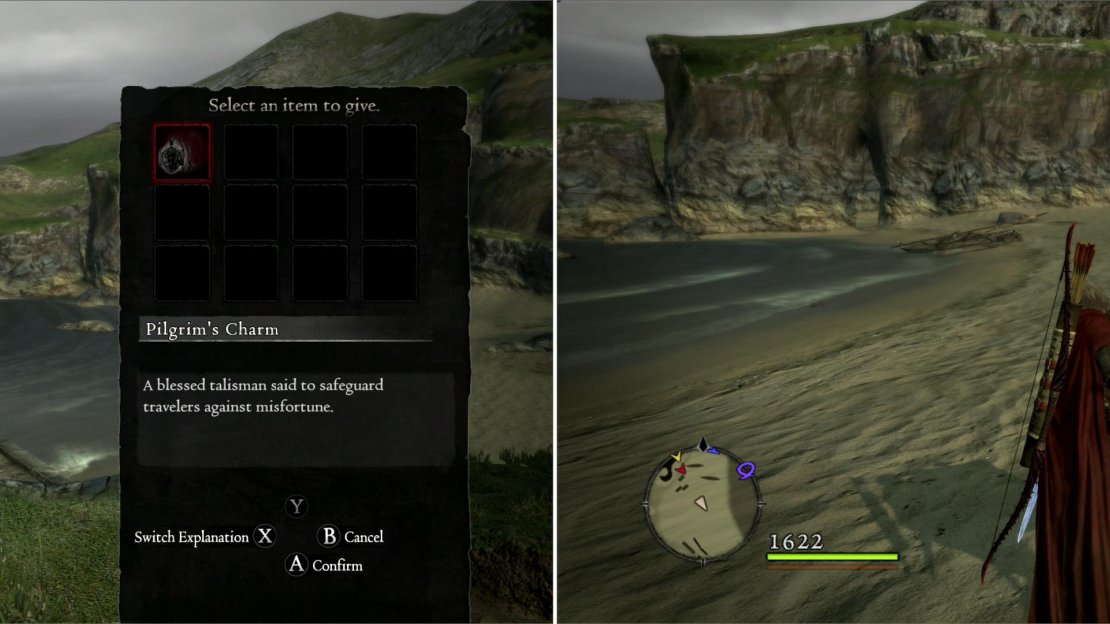
Of all the items there, only the last-the Pilgrim’s Charm-is difficult to get at this point in the game. One way to score such an item is to simply buy it off Fournival… for 70,000 gold. Madeleine-if her stock has expanded enough-can also sell them, at a more reasonable 56,000 gold. With luck they can also be found around, but there’s no guarantee one will have such luck. There are a few places where they always spawn, but you’ve not explored there, yet. So, just buy one if you haven’t been fortunate enough to find one, or wait. Valmiro isn’t going anywhere.
Once you give Valmiro his four items (whenever this may be, you stingy bastard) he’ll decide that saving his life three times and funding his ill-advised meanderings wasn’t quite enough-he wants you to carry his luggage down to the beach. Valmiro will then vanish, and in his place will appear four crates. The goal here is simple, yet tedious. Drag Valmiro’s baggage down to the beach and set it near his boat, which you should see along the shore if you look to the south-east. When you’re done with the task, Valmiro will ask you to join him for a drink… which actually turns out to be one of the nicer cutscenes in the game. Valmiro will bare his heart and explain his wanderlust, playing the both of you off as two humble folk born in a small finishing village destined for greater things. When it’s over, you’ll get your quest reward (including some rather rare materials) and Valmiro will be gone.
| Objective | Reward |
|---|---|
| For sending Valmiro off | 12,000 XP, 25 Rift Currency, 15,000 Gold, Malecryst x1, Black Freakish Scale x1, Hydra Gallstone x1 |
To see Valmiro off on his journey, you’ll need to fetch him several items (left) then drag his luggage to his boat (right).
There’s one more quest to grab while in Cassardis. Early in the morning you should find a little boy running around between ‘Chief Adaro’s House’ and ‘Pablos’ Inn’. During the afternoon he’ll be running around the beach. Wherever you find him, this ‘Tomlin’ will complain about his father, who has gone missing. His father was a gardener at Duke Edmun’s castle, which provides you with an awfully convenient place to look. He’ll give you a ‘Gardener’s Permit’, which you should keep handy. You can’t complete the quest without this item.
Anyways, that’s all there is to see and do in Cassardis - indeed in all of southern Gransys - for now. Make your way back to Gran Soren, where you can start on some of the castle-based quests you picked up.


No Comments