
The Cypher
Return to Gran Soren, stash loot, heal, all that necessary crap, then hoof it to Ser Maximilian and accept your next Wyrmhunt Quest-to ‘Decipher a text’. This is easily the least trying and least involved of all the Wyrmhunt quests, as there are no dungeons to explore, no large monsters holding keys you need to defeat, the only difficulty presented by this quest involves… well, getting to the destination. Let’s get the quest over with so you can move on to bigger and better things. As Maximilian was looking for real work for you, he came across a mysterious slate. What’s so interesting about it? Well, the writing on it is old-anything old has to be interesting. The few words the duke’s men were able to decipher were ‘Dragon“, “scar”, “Arisen”, and “heart”. Subtle. With little more than that, you’ll be handed the moldy old rock with the only outstanding instructions being ‘decipher it, and if there’s anything interesting on it, let us know.’
Well… that’s not much to go on. Fortunately you have magic quest markers that’ll point you in the right direction. Head to the ‘Craftsman’s Quarter’ and find a laborer named Josias. Despite his complaints about his lack of literacy, he knows enough to point you towards a scrivener. Surely somebody who just copied a tome for you might know a thing or two about letters?
Head over to the Black Cat and pay your old friend Mountebank a visit. With but a brief look at the thing he reads out the same words the duke’s men did, but unlike those useless government scholars, Mountebank actually knows what he’s doing. He identifies the rest of the ‘writing’ as just flourish-the ‘text’ isn’t a text at all-it’s a cipher. Of course, as an ‘Arisen’ with a ‘scar’ over your ‘heart’ which was stolen by the ‘Dragon’, you should - according to Mountebank - be able to make some sort of sense out of it, somehow…
Magical quest marker, away! Hunt down the next target-a man named ‘Maurin’ who’ll be wandering around Gran Soren. He’s an annoying punk like Jasper-he won’t show up in the city until later in the morning. When he does show up, he’ll visit Caxton’s Armory before heading down to the Black Cat, after which he heads to the Gran Soren Cathedral and hits on nuns. His final stop of the day is at the Pawn Guild, after which he exits the city via the northern gate in the Craftsman’s Quarter. When you mention the words on the text to him, he’ll venture a guess that it might have something to do with the figure of Hillfigure Knoll, a man drawn on a hill to the north. The figure bears a scar and… well, at least it’s something to go on, right?
By looking at your map, you’ll see that Hillfigure Knoll lies north of your previous explorations of the Deos Hills. Exit Gran Soren via the northern gate, cross the bridge to the Deos Hills, and follow Conquest Road to the north-east to reach Windbluff Tower. Just after the bridge you’ll be attacked by a group of Bandits-one of which bothered to have a name. Lowane and his friends give mediocre experience, and are all Strider types. You can find another named Bandit-Kent-along the road north of Gran Soren’s southern gate. Kent’s experience reward - and high health - indicate that he’s as strong as Lowane and his two pals put together, but you shouldn’t didn’t find either attacks worth worrying about.
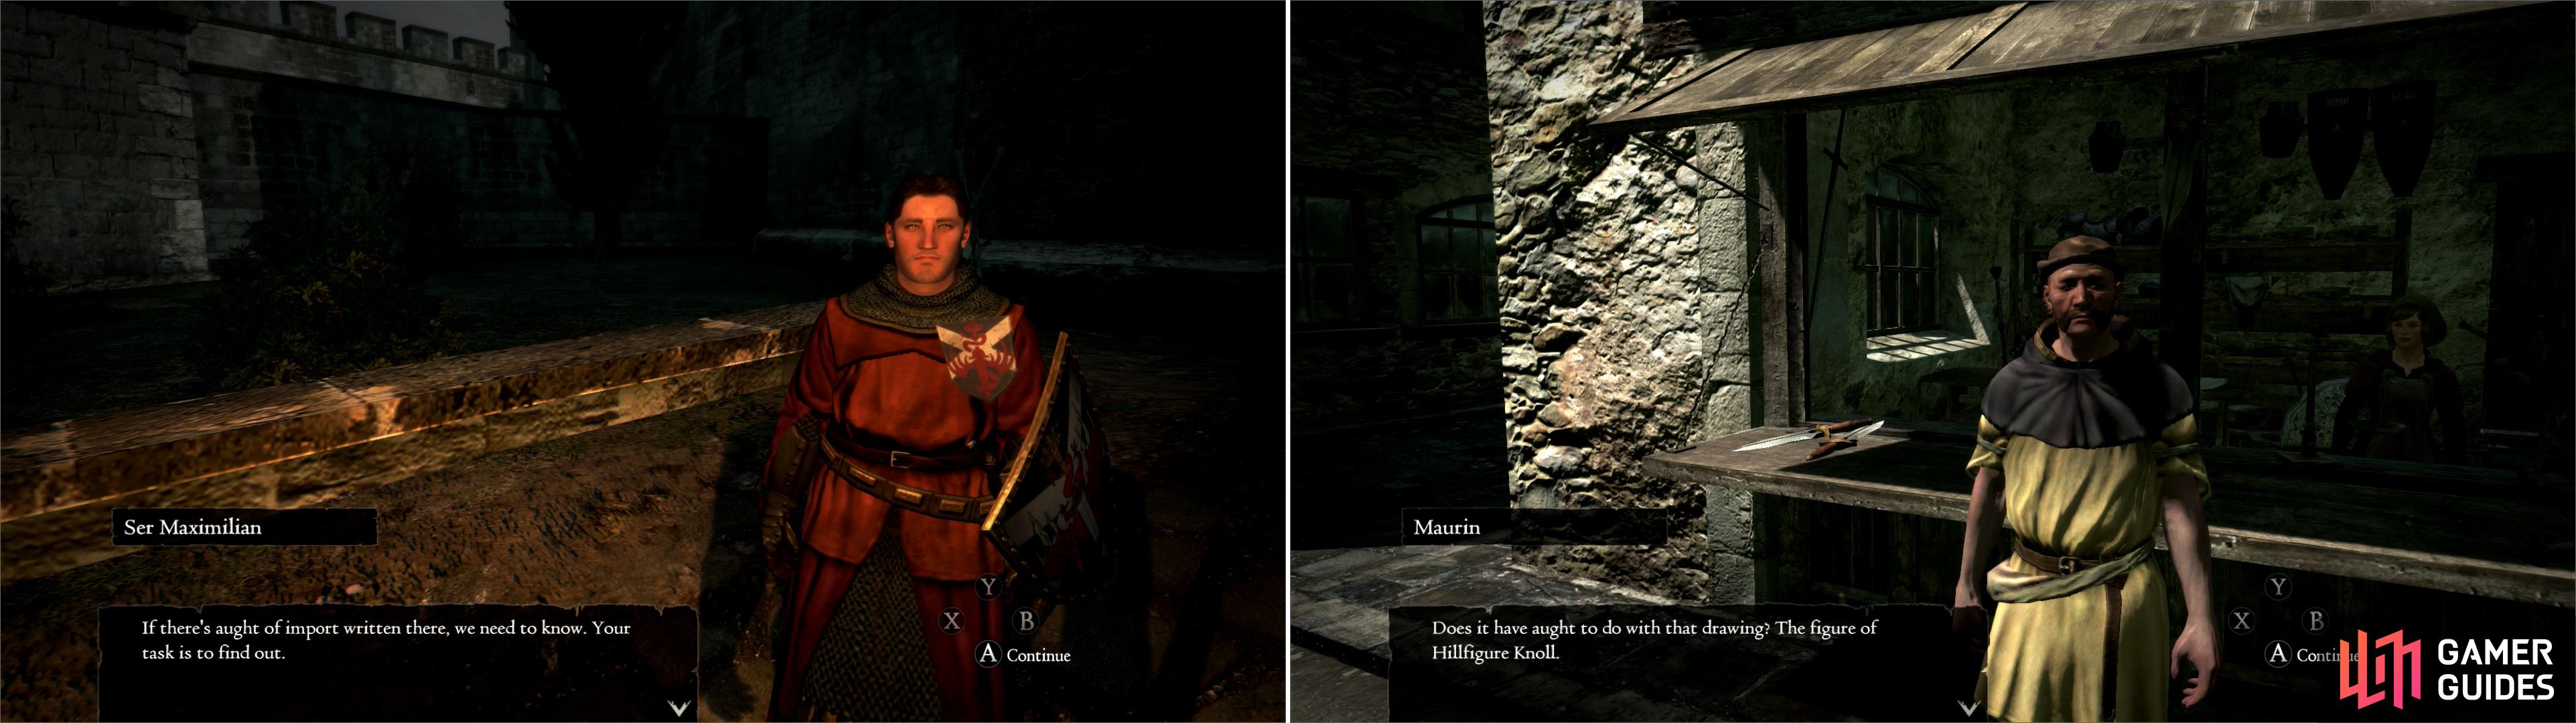
Talk to Ser Maximilian and accept the task of deciphering a text (left) then get a key clue from Maurin about where to find some answers (right).
To Northface Forest
When you reach the gate leading to Windbluff Tower, ignore it, instead continuing north along the road through an arch, and behold, Northface Forest. Your difficulties from here on will be determined less from navigation, and more from wildlife, which include ludicrous numbers of Direwolves and Snow Harpies. The former will particularly make themselves known at night. Sometimes they’ll appear in such numbers that-mixed with the game’s troublesome draw distance-will cause nearly a dozen of them to simply spawn around the player, so stay frosty. While Direwolves are the most likely - and most dangerous threat you’ll encounter - Snow Harpies may be more annoying. There’s also a chance you’ll encounter a Cyclops east of the road, a Chimera to the west, or perhaps even a Griffin flying around. Simply put, there’s all kinds of possible threats, but the Direwolves and Snow Harpies are the most common inhabitants of these hills.
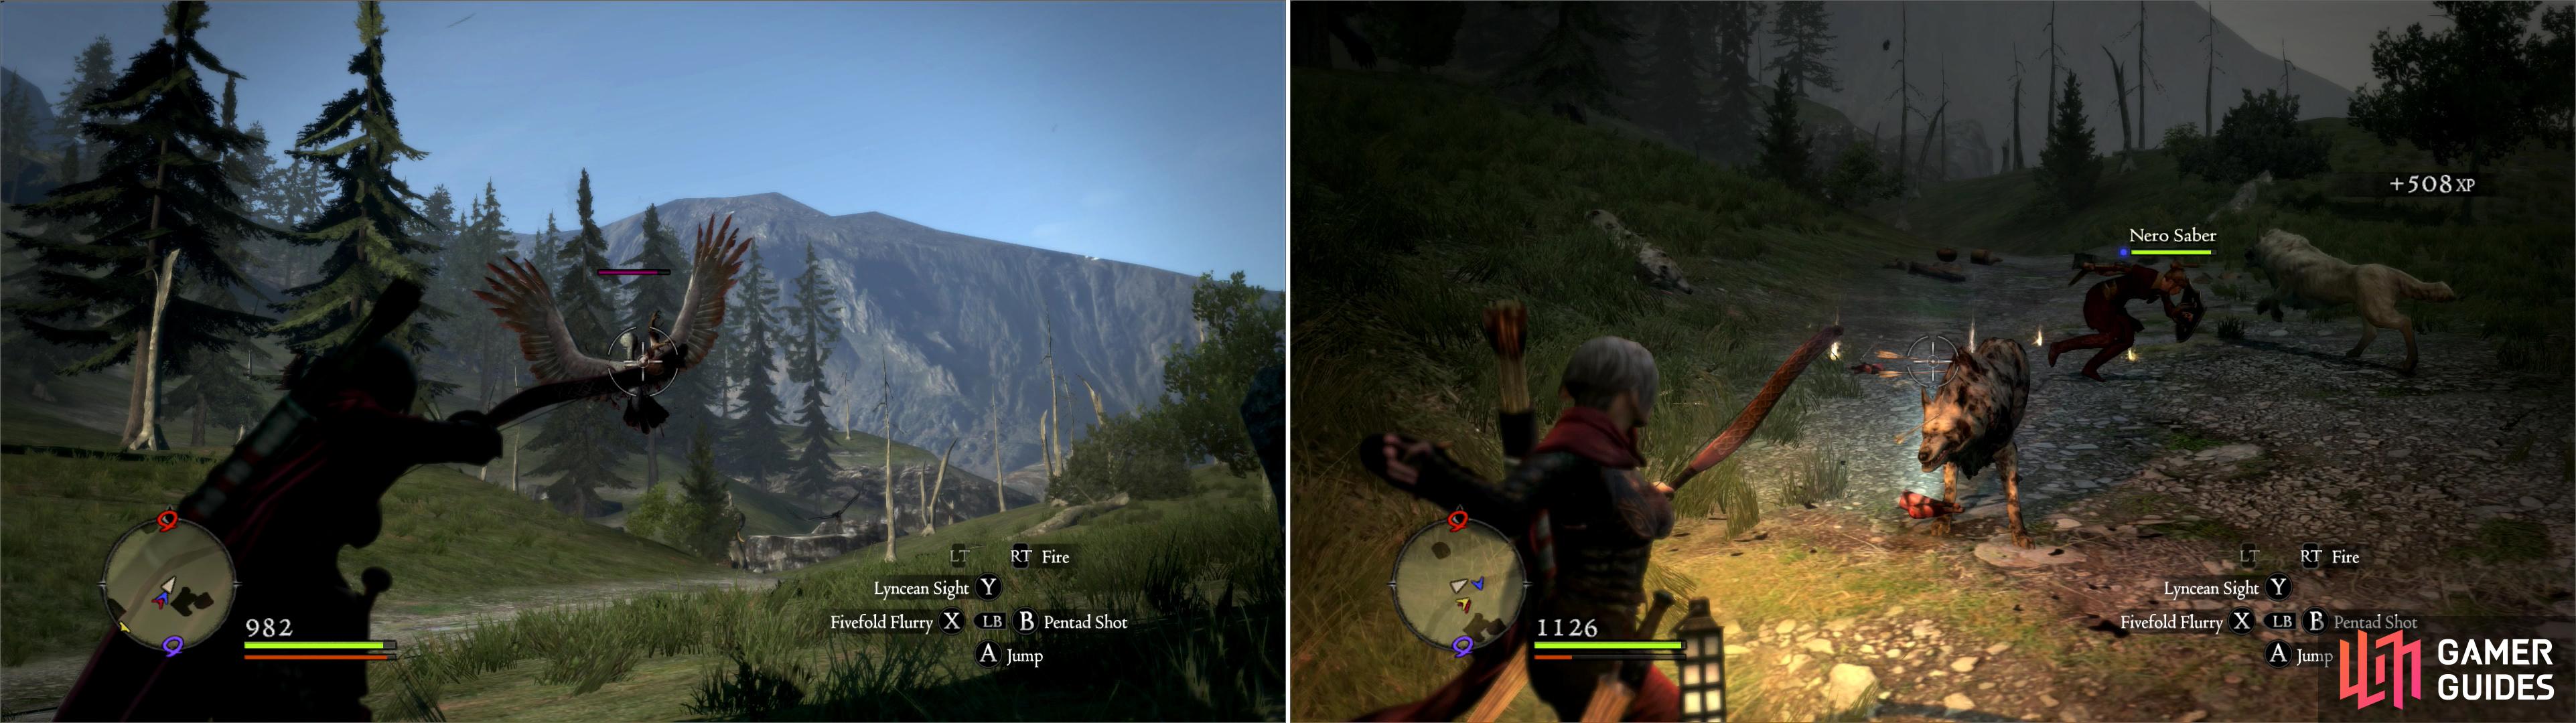
New foes you’ll face in the Northface Forest include Snow Harpies (left) and Dire Wolves (right).
Hillfigure Knoll
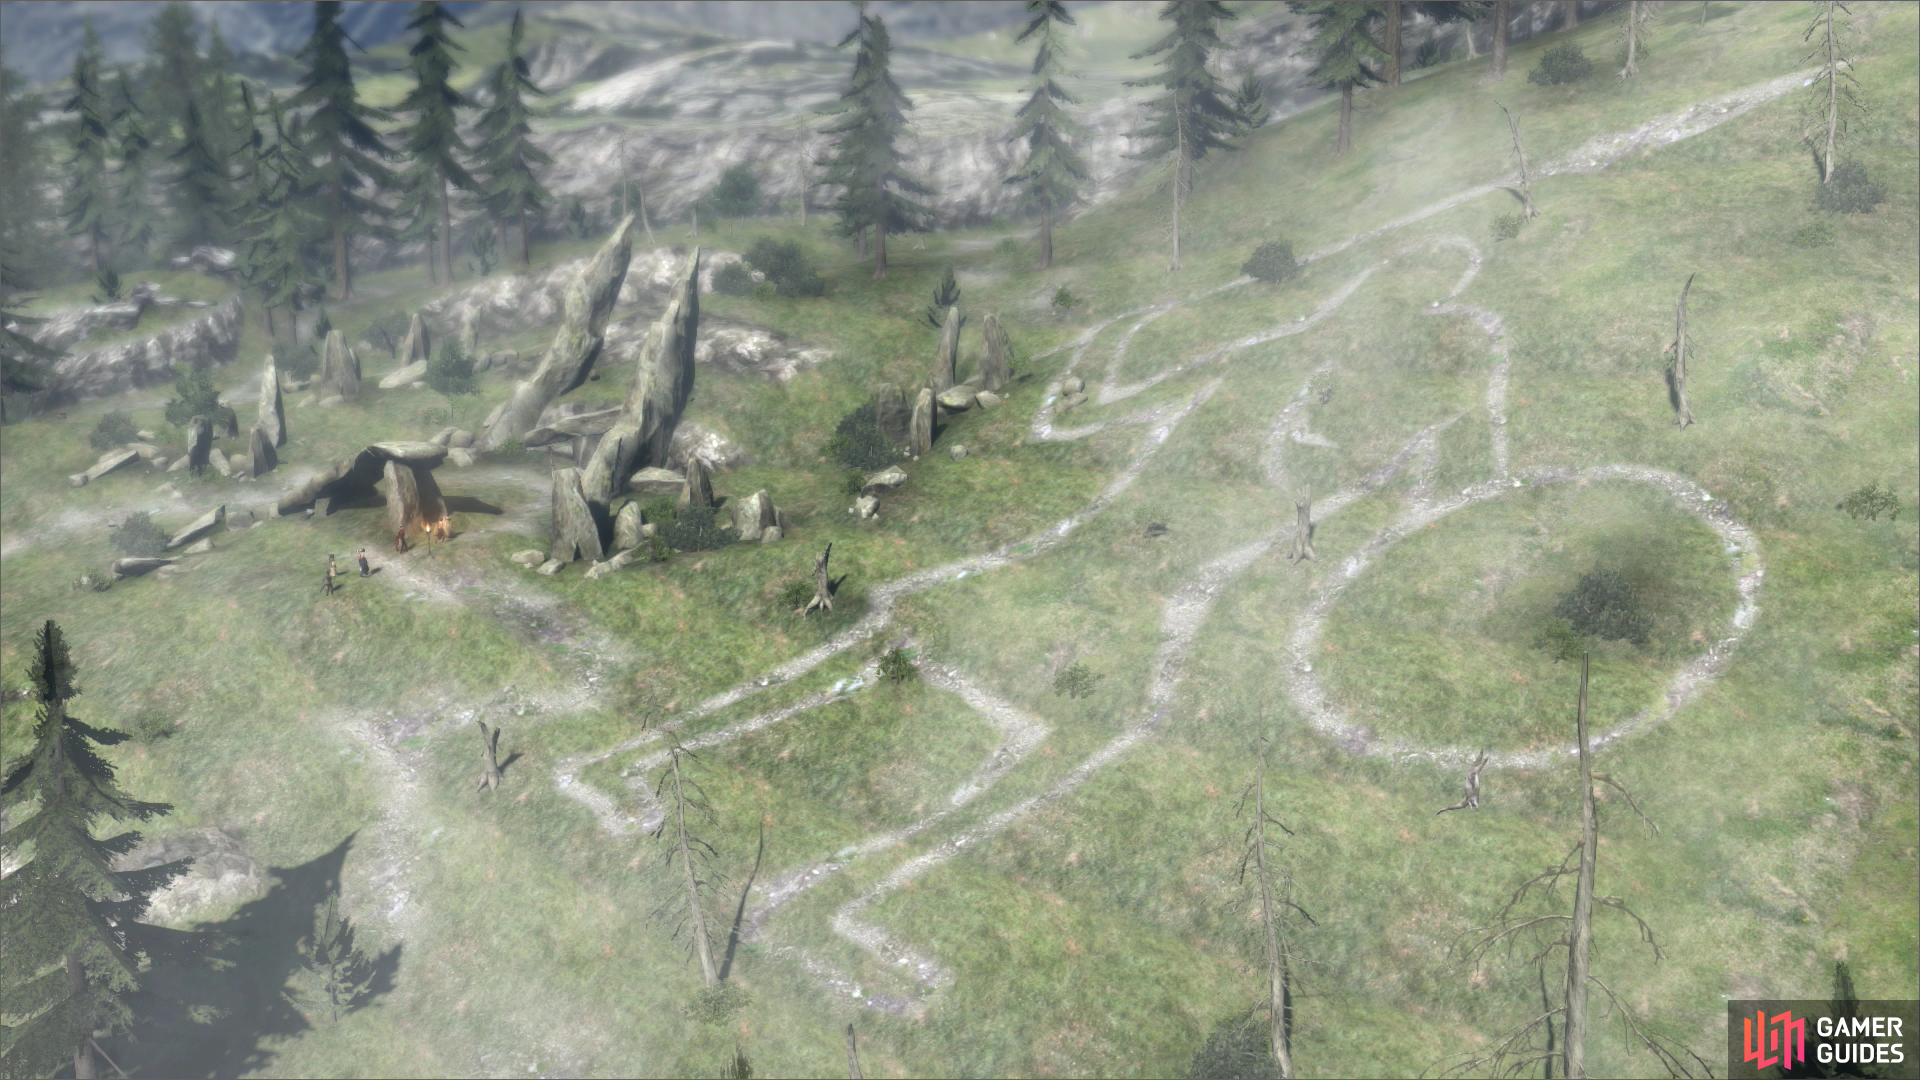
Follow the road north-east and, when it turns eastward, diverge from the road and head uphill to the north-west, where you’ll find Hillfigure Knoll. Unless you’re traveling at night, the distinctive hillfigure should be easy to see-if you’re traveling at night, just look at your ‘Area’ map, where the hillfigure will appear in white. The character is a line drawing of a hoplite. Wearing a toga-like outfit, bearing a round shield and a spear, the warrior displayed is clearly one from antiquity, as the style of warrior presently in Gran Soren has a distinctly more medieval bearing. Search the bottom of the kilt to find… some berries. Heh. Search the scar on the figure’s chest to score a Wakestone Shard, and search the tip of the spear to find a pair of Daggers; Signs of Valor. Talk about obscure loot, eh? Don’t too excited though, these Daggers were soaked in weaksauce. Also note that these weapons only appear once per game, so don’t bother coming back here to look for them again. Smite whatever critters oppose your looting, then, when victorious, follow the shaft of the spear downhill to the south-west to see some rather odd rock formations in the distance…
| Miscellaneous |
|---|
| Signs of Valor |
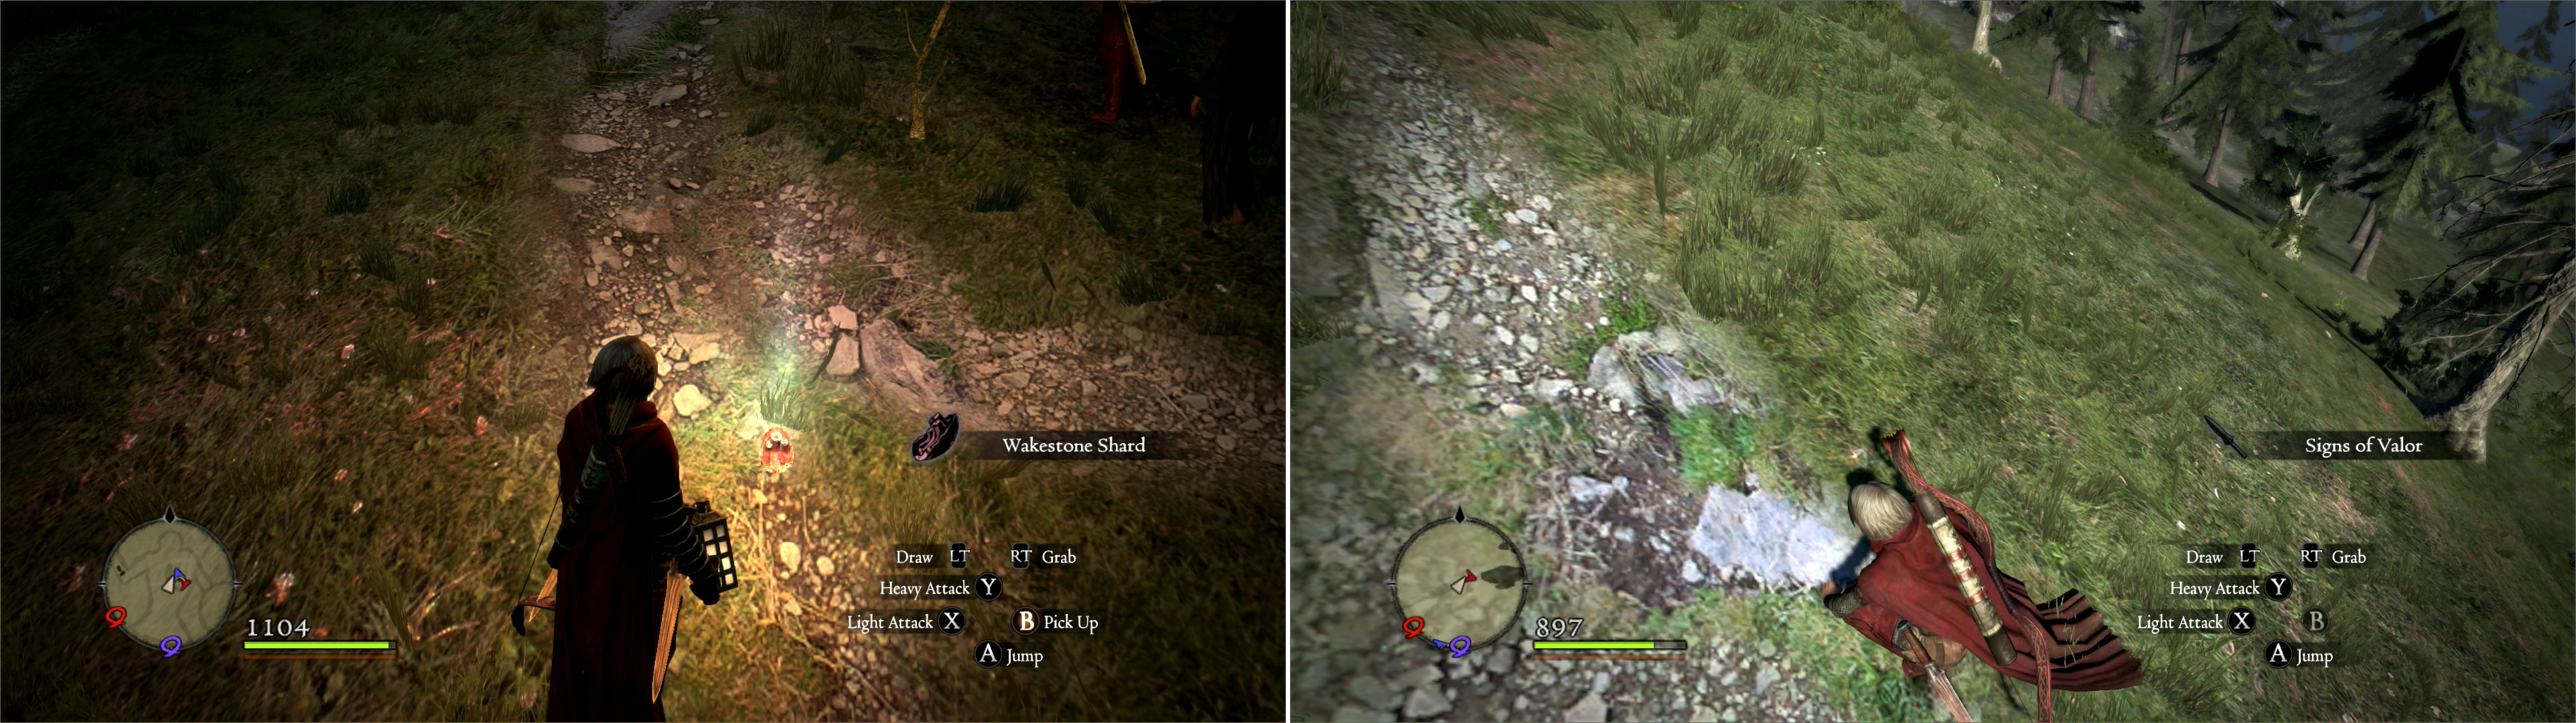
On Hillfigure Knoll, you’ll find a Wakestone Shard near a bush (left). Search the Hillfigure’s spear to obtain Signs of Valor (right).
As you explore the rock formations, an aptly-named dingus named ‘The Fool’ will babble from atop some rocks. Fortunately, your heart will glow, letting you know that something’s up. When you turn, you’ll find a toga-wearing man-the Dragonforged, who seriously needs to wash his hands. He claims to be an Arisen from a bygone age, one forged by the Dragon, and the scar he bears sure seems authentic enough. Even the dullest gamers should realize that the Dragonforged is the warrior represented by the hillfigure, although how he’s survived so long is worth wondering about… when ‘The Fool’ stands near him, you should also notice that The Fool is a younger, scar-less version of the Dragonforged. After the Dragonforged is done speaking, the camera will zoom out in a way as to give you a good view of the Hillfigure Knoll… and also to insinuate that the Dragon is marking your progress…
The Dragonforgeds Sanctum
After the cutscene you’ll find yourself inside the Dragonforged’s lair. Speak to him and he’ll mention some ‘grand chain’, which you are the newest link of. He also kindly informs you that the errand you are on is a fruitless endeavor; there is no meaning to the words on that slate you’ve been carrying around aside for the fact that it led you to the Dragonforged. In turn, however, the usefulness of this meeting can be determined by on the wisdom he imparts, right? Short answer? Not very worthwhile. Only the Arisen can see the Dragonforged, and besides a few incidental (yet enticing) clues - that the Dragonforged is apparently immortal (or at least ages incredibly slowly) and that he got himself a clone somehow - you’ll come out of this quest only slightly more knowledgeable than when you entered it. At the very least, however, you confirmed that you are, in fact, Arisen (was anybody in doubt?) and that other, older Arisen exist. So, if you want to party for a while and ignore this Dragon thing, that’s apparently cool.
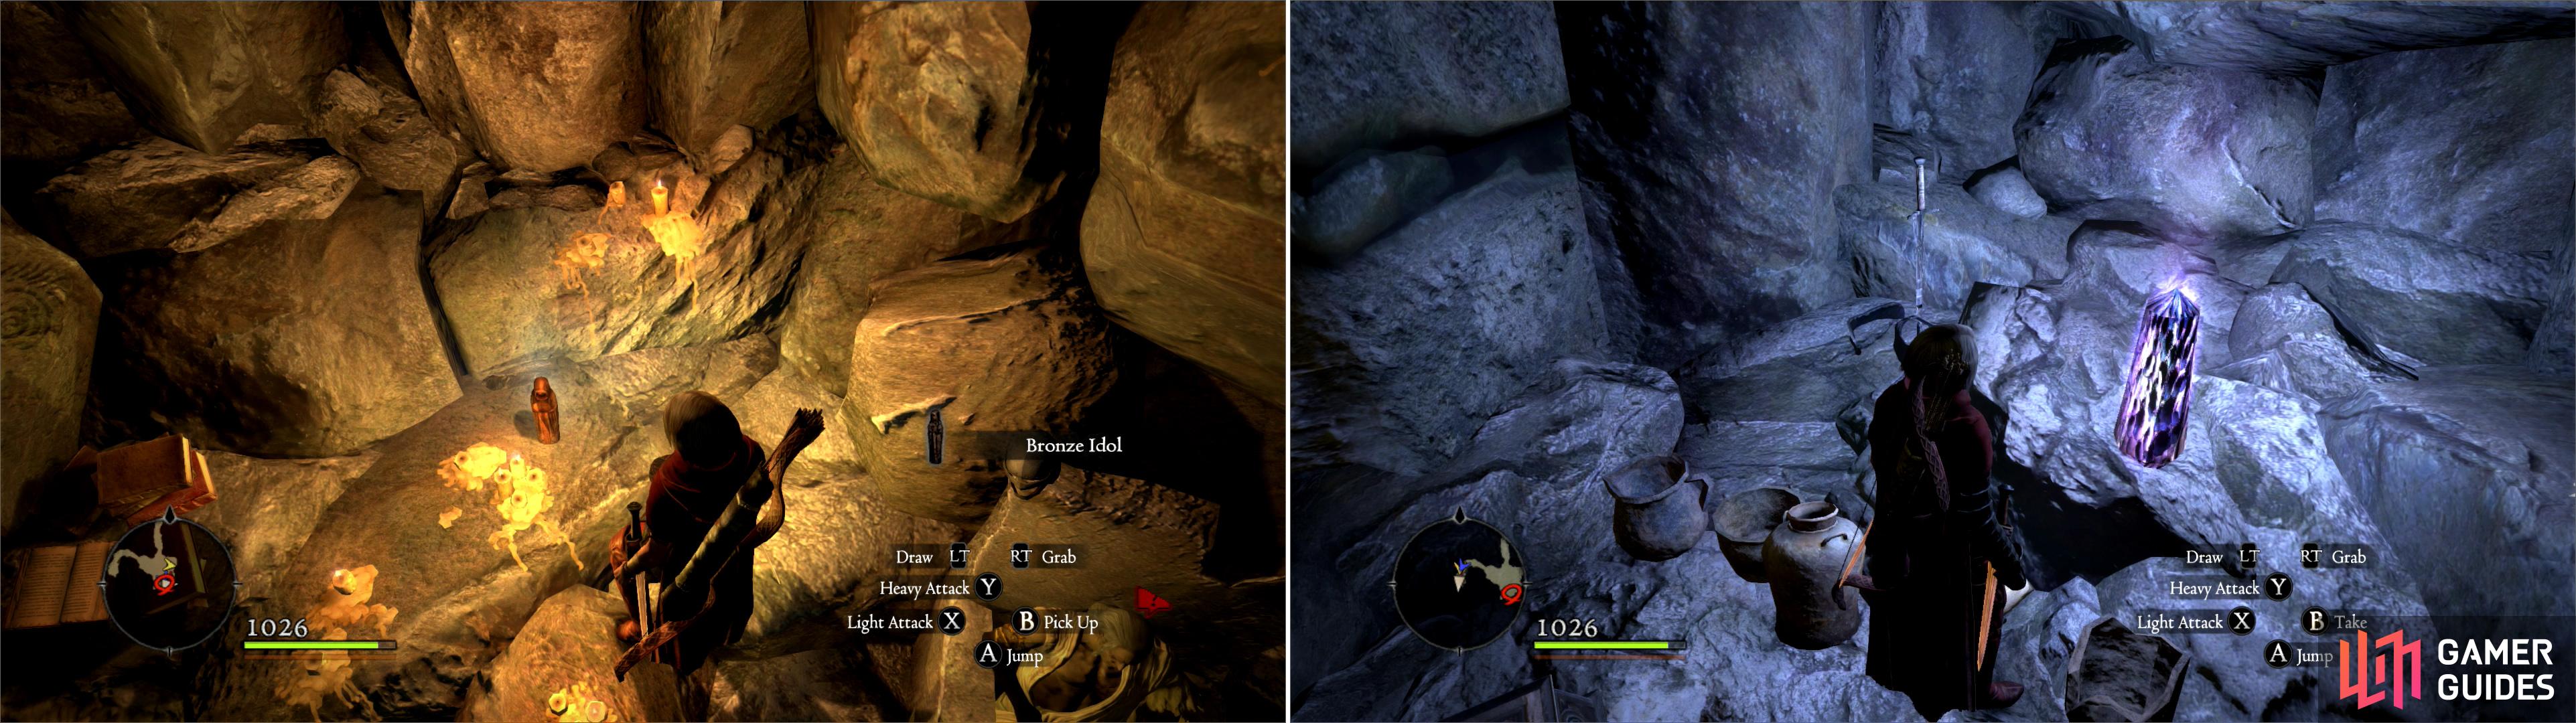
In the Dragonforged’s Sanctum you can pick up another Bronze Idol (left) and a Portcrystal (right).
Before leaving, have a look-see around. Look at the big spear, which is apparently headless (of course it is, the spearhead is in your pocket!) Grab the Bronze Idol and other goodies on the rocks east of the Dragonforged’s throne. Search the candles in the north-eastern corner of this chamber to get the text “the dragon’s soul dwells e’er within the Arisen’s breast.” Sounds like the plot of Dragonheart; as long as the Dragon lives, the Arisen it spawns are immortal. The Dragonforged seems to confirm that, at least, but perhaps you should see the duke, who apparently slew the Dragon before us? It raises all kinds of questions… ones you just don’t have the answers to, yet. Head down a tunnel to the north-west (loot some warrior remains in the main chamber as you go), which bends around to the south and reveals a side-chamber crammed with stuff to pocket-including an ornate chest and another Portcrystal . Search some candles in this room to get the text “Seek the spear aimed at the hilltop sky.” Been there, done that. When you’re done robbing the Dragonforged, head back outside to the Northface Forest and return to Gran Soren to claim your quest reward from Ser Maximilian at your leisure. Up next-exploring Northface Forest.
| Warrior Remains | Ornate Chest | Warrior Remains |
|---|---|---|
| Recluse’s Robe | Feather Cape | Hand Covers |
| Rusted Greatsword | Leather Circlet | |
| Silver Bands |
| Objective | Reward |
|---|---|
| For deciphering a text | 10000 XP, 15 Rift Currency, 10000 Gold |
No Comments