
You’ll surface north of the Encampment, a short stroll away from safety, should you need to rest or drop off loot (if you have started the Notice Board quest ‘Witch’s Brew’ you’d be well served by grabbing a Gransys Herb.) You could also head back to Cassardis and report to Poll… but you’ll be coming back to Cassardis soon enough, no need to rush back now. From the ‘Dripstone Cave Rear Passage’ head uphill to the west. This mountain path connects Manamia Trail to the Vestad Hills, and is crawling with Wolves. Wolves aren’t the only danger, however, as boulders await at the top of the hill, and will decide to tumble down at you when you approach too close. When they do, just run back and get out of the way… and raise whatever Pawn inevitably decides to try and hug the boulder.
Quickly Through the Vestad Hills
Atop the hill the path will turn south. To the west you’ll be able to look off a cliff and see a forest sprawling out below you (if it’s night out, you might not be able to see very much, of course). During the day, the place will be crawling with Bandits, during the day, more Wolves. Both are fairly weak, although the Bandits are a bit stronger, while the Wolves make up for it by being numerous. Damned if you do, damned if you don’t… Your path is fairly simple, however. Follow the road southish, and when you reach a fork to the south-west (the path is split by a boulder upon which Bandits lurk) stay on the eastern fork and continue south. Eventually the path will enter the outskirts of some woods and turn south-east. Keep going and the path ahead will become misty…
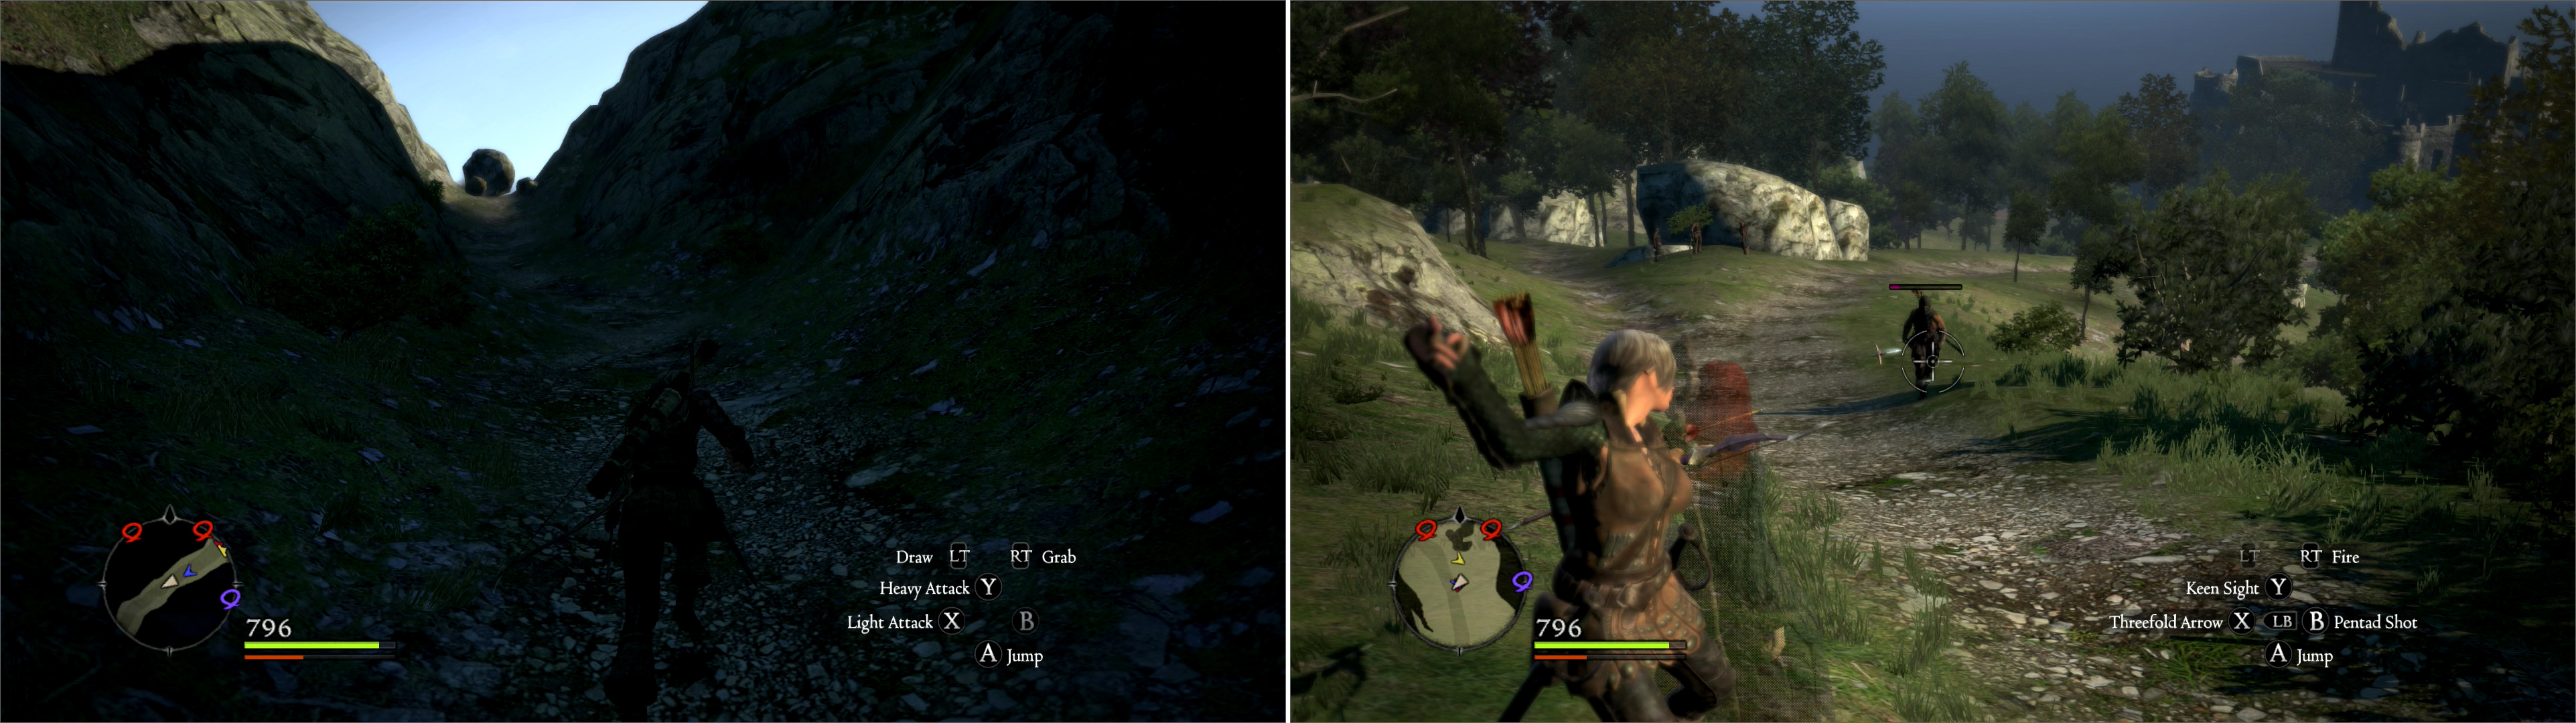
Beware a large falling rock that threatens the pass leading from Manamia Trail to the Vestad Hills (left). The Vestad Hills itself is crawling with powerful Bandits (right).
Cassardites in the Witchwood
Behold, you’ve made it to the Witchwood, wherein Quina should lurk… and possibly some witch. Such is the fare of adventures. You’ll notice immediately that the map is obscured by mist… you’ll have to do something about that, but fortunately for you, you have a guide! Head along the path to the east and shortly you’ll find Valmiro, who made it to the Witchwood only in the most generous sense of the term. Talk to him again and this time hand over three Greenwarish herbs. This time Valmiro promises to stick to the village, where, avoiding another Dragon attack, he should be safe. You’ll return to Merin for your quest reward after plundering the Witchwood, but for now, continue east.
Shortly ahead waits Quina. Couldn’t she have helped Valmiro? Whatever. She had the good sense to bring a lantern, but she’s not much for defending herself. Good thing you came along. Unfortunately, she doesn’t have the good sense to head back-she intends to see the witch who lives here… this witch apparently knows the Dragon’s tongue, and hence, might know more about your condition. She asks you to accompany her, and it’s not a yes-or-no question, it’s a yes-or-fail-the-quest question. Well enough, you might as well try to learn more about this Dragon while you’re at it, and possibly score some loot, eh? A note about Quina, first; she’s relatively sturdy, but has nothing in the way of offense. She can heal, but don’t expect much out of her. Go slow, keep her in sight, and you should do fine.
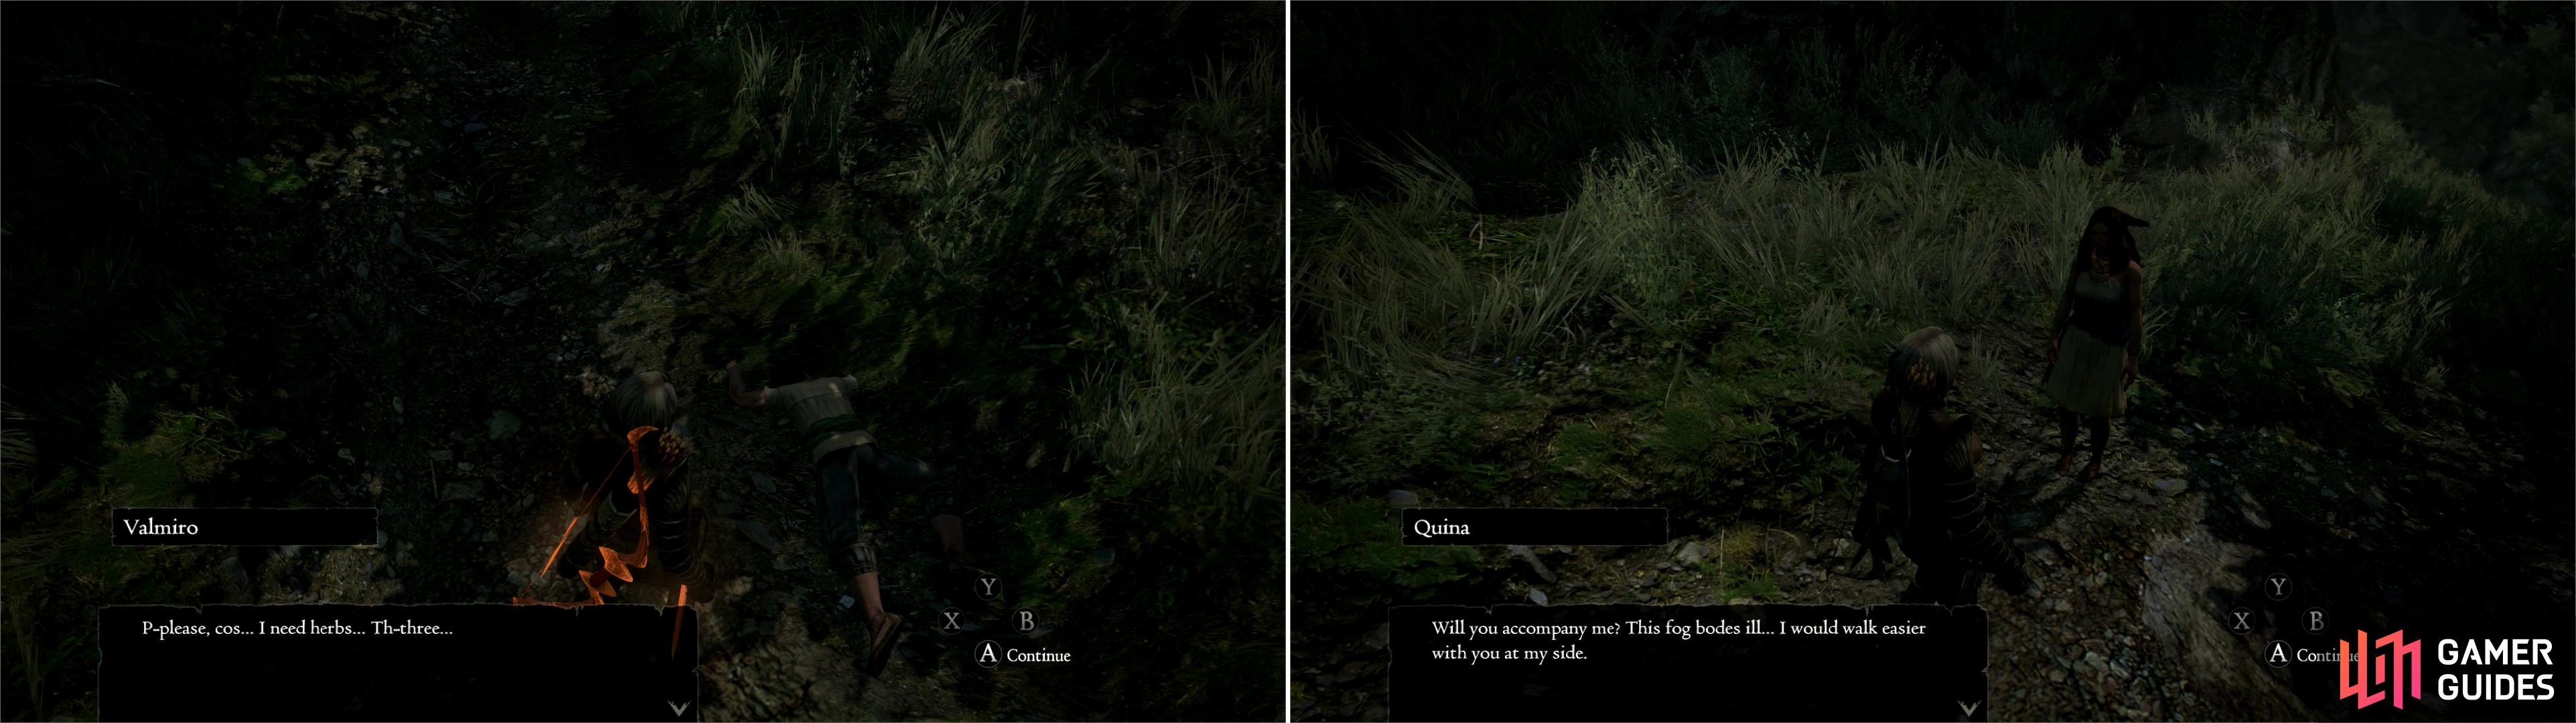
Find Valmiro for a third and final time in the Witchwood (left). Further on you’ll locate Quina, who wisely decides to travel with you through the Witchwood (right).
Exploring the Witchwood
Near the entrance you can find Wild Boars, so you might want to wander around a bit to search for some, if you have the quest to kill them. Continue east to find a stream, which can be easily crossed… but first, turn north to see a ledge running parallel to the path that leads to the stream. Get up there and explore to the eastern edge of the ledge overlooking the stream to find a square chest, within which goodies lie. Now, back to the steam. You might as well cross it, even though you’ll be taking a different route shortly. Beyond the stream lies a mist totem, right in the middle of the path. This fog sure isn’t natural, and smashing it will dispel the mist in this area, allowing you to see the map. Groovy. Too bad these things don’t stay destroyed. They, like chests and monsters, respawn. Ah well. It’ll still be good guidage to point these all out, and let you decide whether it’s worth the bother to smash them on subsequent visits (correct answer: probably not).
| Square Chest |
|---|
| Gossip’s Mask |
| Verdant Hood |
| Wizard’s Helm |
Backtrack to the stream (to the north-west) and follow the stream to the south-west. When the river turns east, explore some land off the elbow of the stream (to the west) to find a square chest, around which many rabbits congregate. This chest can contain some decent goodies for this point in the game, and might be worth save/loading until you get what you want.
| Square Chest |
|---|
| Magick Buckler |
| Lady’s Corset |
| White Stockings |
Get back in the water and follow it further downstream to the east, then south. You’ll have to kill some Goblins on the eastern shore as you go, but your real interest should be to the west. Where the stream stops flowing south and turns south-east, you’ll find a large, rocky beach to the west. Head up a hill to find a square chest, where you might find your first Magick Bow, if you’re lucky. North of the chest you’ll also score a Giant Coin Pouch, worth a whopping 10,000 Gold.
| Square Chest |
|---|
| Magian Crutch |
| Rusted Bow |
Head back into the stream and follow it until it terminates in a waterfall. From the waterfall turn east and head onto land. Stay near the southern cliffs and continue east into a small cubby, wherein you’ll find another mist totem and a square chest, which just might give you a juicy Common Archistaff, should you need one. Oh, and it’s crawling with Wolves. Fun.
| Square Chest |
|---|
| Common Archistaff |
| Silver Ring |

Various totems scattered throughout the Witchwood generate the fog that obscures the map (left). There’s plenty of treasure to be found in scattered chests throughout the Witchwood (right).
North of your Wolf-cubby you’ll find a road heading north, which you should follow until it forks. Upon which, take the western fork. When it shortly forks again, follow the north-western fork-no sense in heading back down to the stream, right? Eventually the path you’re on will bisect another path running east-west, more or less. To the west you’ll find the stream you originally crossed shortly after entering this area, so head east.
Now, the next leg of your journey should be fairly easy; follow the path to the north-east. Simplicity itself. Eventually the path will turn south-east and head into a tunnel… which is not where you want to go. North of the path before this tunnel is an elevated area upon which a giant tree grows. Head up onto that ledge (there’s a path west of the tree) and head south-east of the tree, killing whatever Wolves and Giant Spiders oppose you… or if it’s night, you may well encounter a new foe-the Phantom. Strategy in one word? Magic.
Monster Info: Phantom
Phantoms and their equally incorporeal cousins fight more or less the same. They have very few attacks, but they still manage to be annoying for two reason. First, they can possess you, and if they do, you only have two ways to break free; run far enough away, or take damage. A Pawn will help out by hitting you, which doesn’t hurt you, but hurts the possessor and frees the possessed. Enemies that hit you will also free you… but deal damage normally. Or if you’re lucky you can hit an explosive barrel.
Second, they’re immune to non-magical damage. Spells and enchanted weapons work fine… they’re outright immune to physical damage. As for their attacks, they’ll try to possess you, as discussed above. To do so, they enter ‘possession’ mode, which you can detect by the ghostly little hands streaming off their nebulous forms. They will also very commonly do ‘charge’ attacks, which seem more annoying than damaging. Most ghostly creatures also come in large and small forms-the difference being mostly the damage they deal when possessing. Smaller forms do minor continuous Hit Point drain, while larger ones can suck away hundreds of Hit Points every few seconds.
Once your foes are destroyed, find some rocks south-east of the giant tree. Overhead, to the east, is a toppled rock that forms an arch-which is your goal. Not the path beyond the arch, but the rock itself, which forms a natural bridge of sorts to the higher ground to the north. Jump on the rock on the ground level, then jump up onto the ledge to the east to reach the fallen rock, which can also be scaled. You could also just go under the rock the east, then follow a parallel path to the west… but jumping is more fun. Your goal lies across that rock… okay, not really, but a lot of treasure does, and you can reach your goal just as well that way… but first, let’s get all those mist totems out of the way. While standing in front of the fallen rock that so eagerly wishes you’d climb on it, remind it that patience is a virtue and head south.
Cross a fallen tree that serves as a bridge to the west, and score a Large Coin Pouch (3500 G) along the western end of the log-bridge, then head south again. You should shortly discover a path again (and have to fight off some Wolves/Phantoms/Spiders) which runs to the south-east. Along the lowest branch of a small tree south of the road (due west of a much more impressive tree) you’ll find another mist totem. Jump up and smite it, or be clever and shoot it, if you can, to dispel more of the fog. You’re stupidly close to your objective now, and it would be foolish to ignore it… but you’ve got treasure to score back north, so return to the north, cross the log and return to your collapsed rock-bridge. Quina probably would have been safer going through this place herself, without a bunch of greedy, seedy Pawns provoking every bit of wild life in the forest, but hey, beggars can’t be choosers.
Mercifully reward your patient stone by climbing on it and grab the Small Coin Pouch (100 G) on top. Cross it to the north, and turn north-east to see a rounded chest staring right at us. It knows you want to open it, and it can’t do anything about it. Inside you can find two useless varieties of jewelry, or the very rare - if not any less useless - Direwolf Cape.
| Rounded Chest |
|---|
| Direwolf Cape |
| Restless Earring |
| Silver Ring |
Now head north until you find a cliff preventing further exploration in that direction, at which turn east and follow the cliff. Eventually you’ll come to a ledge with another rounded chest on it. Score. Grab its contents-some leg armor or clothing of some sort-and head back west until you find a way down south to lower ground. Once on lower ground, follow the edge of the ledge you were just on to the east, and turn north-east into a cubby when you get the chance to find a square chest where the path terminates. See? Lots of treasure.
| Rounded Chest | Square Chest |
|---|---|
| Blue Longkilt | Mage’s Shoes |
| Urban Hosen | |
| Yellow Gaiters |
If you head south from here, you should see some dwelling built into the remains of a massive tree. Head west to find a safe way down into the valley which the dwelling overlooks. To the south is evidence of a well-tended garden, making it obvious that something lives here. Before heading up the curling stairs to the humble cottage, search the roots behind (north of) the “Witch’s House” to find a square chest. Once done looting, head into the Witch’s House.
| Square Chest |
|---|
| Circlet |
| Cleansing Earring |
| Direwolf Bow |
| Silver Bands |

Witchs House
Once inside, you’ll be treated to a cutscene. Quina is nice enough to remember your mute status, and hence does all the talking. Essentially you’ll encounter a little girl named Selene, who is the grand-daughter of the witch you’ve come looking for… who is now deceased. As for the truth about the Dragon, the Faith - that vanilla, bland religion which everybody in Gran Soren pays lip-service to - has covered up the truth about the Dragon, whatever it might be, and those who seek truth outside of the Faith are branded heretics, with all the unspoken consequences thereof.
Quina decides that she should look to the Faith for answers, showing her patent lack of intelligence… Quina, people who are hiding knowledge from the rest of the world might not be the best people to turn to in order to gain the knowledge. You know, they wouldn’t hide it unless they had something to hide? Whatever, this trip was a bust, but before you leave, loot the round chest in the Witch’s House and grab the Bronze Idol in the window behind it… amongst other goodies that might somehow accidentally fall into your pockets. Don’t worry, Selene won’t mind.
Speaking of which… talk to Selene a few times and you’ll get an option to give her something. If you brought a Gransys Herb, it would be a good idea to give one to her, in return for which she’ll hand over an Herb Ale, which satisfies the requirement for the Notice Board quest ‘Witch’s Brew’. Why trek all the way back here when you don’t need to? If you didn’t come prepared, you’ll just have to return, preferably after the loot here has respawned.
| Rounded Chest |
|---|
| Ring of Azure |
| Ring of Gules |
| Thunderclap |

Make it to the Witch’s house to learn about the church’s cover-up of sensitive information (left). Be sure to grab the Bronze Idol from the window of the Witch’s House (right).
Leave the Witch’s House and head north along a thus-far unexplored path. The camera will show Quina running along, which is a polite way of saying ‘this way, dumbass!’ Capcom is nice like that. Follow her until an area transition, after which you’ll find yourself on a ledge over-looking Seabreeze Trail. To the west is a square chest, to the east is Cassardis. Talk about convenient! Head down the ledge and back to down, you’ve quests to turn in.
| Square Chest |
|---|
| Scholar’s Cape |
| Two-Hander |
| Wooden Wall |
Back in Cassardis, talk to Poll, who wisely decides not to consider his cowardice a good thing, and promises not to be such a wimp in the future. Sure. Now talk to Adaro, who should be conveniently nearby. He will thank you… no… he’ll thank the Maker… for your work, before going on to apologize for Quina acting like a fool (she’s not acting) before revealing he’s her father. Blind religiousity runs in the family, apparently. Finally, seek out Merin (who should be in his home, in ‘Inez’s Alehouse’, or somewhere in between the two) and report your success in retrieving the wayward Valmiro for a third quest reward. Score.
| Objective | Reward |
|---|---|
| For clearing out the well | 1500 XP, 5 Rift Currency, 2000 Gold |
| For rescuing Quina | 4000 XP, 5 Rift Currency, 3000 Gold |
| For rescuing Valmiro | 5000 XP, 15 Rift Currency, 8000 Gold |
Catching a Thief
Now, one last thing to do… let’s help out poor Pablos, eh? Talk to him and say you’re ready, upon which you’ll get a free rest until night. Be sure to empty your inventory first-it’s not a good idea to carry out a chase while encumbered, right? Pablos will wish you good luck when you wake, and off you go - alone - into Cassardis to chase down this thief.
He tends to run along the main road going through town, but he’s not above slipping down the stairs near Inez’s Alehouse, nor will he refrain from running around the house Benita was treating people in after the Dragon’s attack. Your only goal is to grab the thief, after which you’ll find yourself standing back in Pablos’ inn… this is easier said than done, of course. You can either learn his route, chase him somewhere to a dead end and wait for - and grab - him when he comes back, or just play a Strider or Assassin, and shoot the thief, which will stagger him. Just keep shooting as you close the distance, and grab him when you’re close. Note that spells will not target him, and melee attacks tend to be too slow… it really is best to use a Thief/Assassin, if you plan to hit him to stun him (although this can result in him being frightened of you, later.)
After catching the thief, talk to Pablos, who will mention that the thief said he worked for some bandits in the south who style themselves ‘The Iron Hammer’… or, more commonly, they’re just known as the Southron Bandits. Aren’t these the same guys who have Salomet’s Grimoire? Hmm… Anyways, you can now find the thief - named Pike - wandering around Cassardis. Apparently he’s cleaned up his act, and is now apprenticed to the innkeeper. Yay.
| Objective | Reward |
|---|---|
| For catching the thief | 2000 XP, 10 Rift Currency, 3500 Gold |
With that, you’re done in Cassardis. It was a pretty eventful return home… and it won’t be your last. But, now it’s time to return to Gran Soren so you can explore the Pawn Guild in more detail… and perhaps to explore more of the city, as well.
No Comments