
After You, Arisen
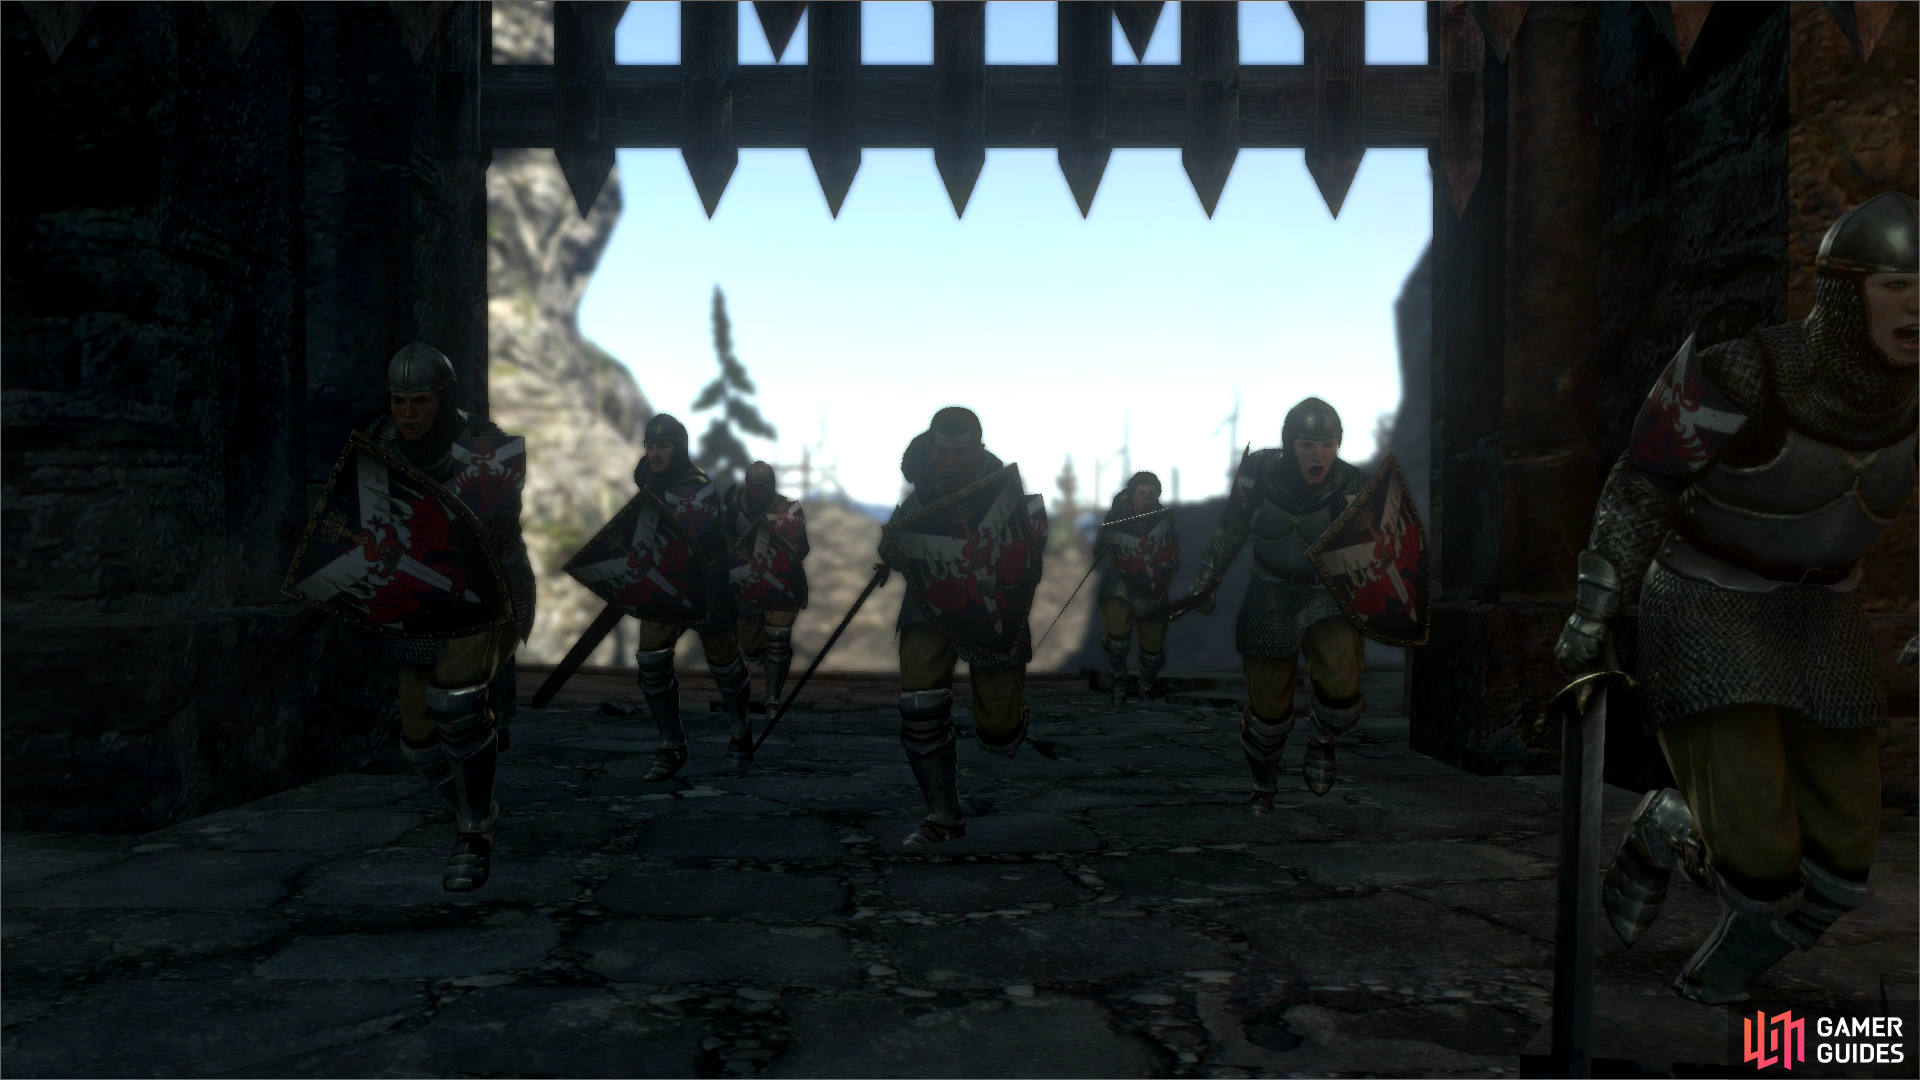
Rest up and stash loot as necessary, and when read head to the Shadow Fort in the north-western corner of Devilfire Grove… you should have no trouble getting there now. Once inside, note some large stairs to the north-west that lead to a massive gate. You won’t be getting in that way, but south of the stairs sits a squad of soldiers, apparently waiting for someone else to do their jobs for them. Before talking to them, you can indulge in some looting; warrior remains lie scattered around, as does the odd fallen tree.
| Warrior Remains | Warrior Remains |
|---|---|
| Grievous Horns | Ring of Purpure |
| Silver Ring | Silver Ring |
After you’re done securing your dubious bounty, talk to the soldier about to suffer from an impending stroke. This Ser Robert will tell you that since his troops lack the materials and time to batter down the front gates, his crack squad of loyal, well-trained, shock troops in service to the benevolent duke are going to launch a dangerous invasion. Oh, no, wait… that’s what they want you to do-head through a hole in the ground to invade a fortress with unknown enemies of unknown quality and quantity inside. But don’t worry, he trusts you’ll prevail. Is everybody in this duchy useless but you? Yes. That’s why you’re the Arisen, see?
So, head on into the tunnel, snag some Fiend’s Perch mushrooms along the way, and dispatch some pesky Giant Bats. Jump up some ledges and you’ll find yourself in a square storage room of sorts. Dispatch a pair of Goblins and Hobgoblins, then loot the room for various bottled goodies, and search a rounded chest that may contain worthwhile loot, if you’re fortunate.
| Rounded Chest |
|---|
| Obliteratrix |
| Ogre Bone |
| Over-Knee Boots |
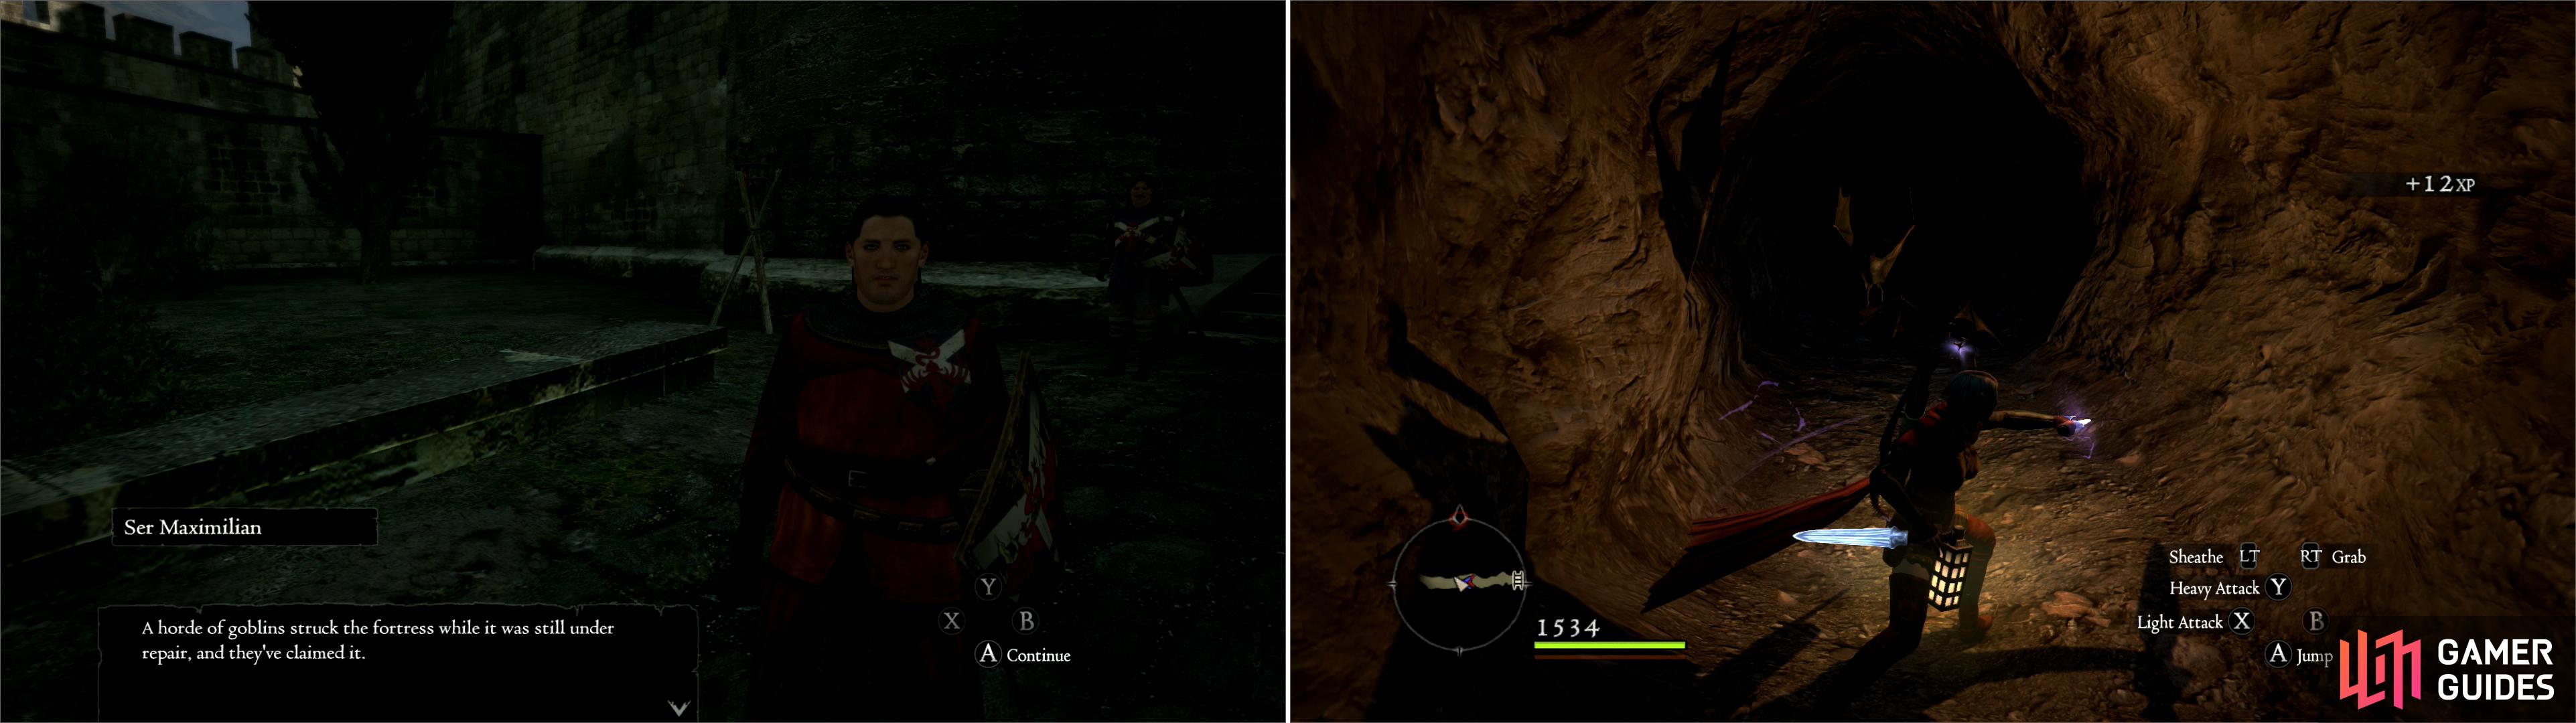
Ser Maximilian will finally give you a task worthy of an Arisen; rout a monster infestation! (left) Unfortunately “Arisen” is code for “you go first”, so sneak through the tunnel that leads into the Shadow Fort (right).
Clearing the Gatehouse Towers
So far so good; the Goblins were smart enough to tunnel under the defenses, but not smart enough to guard against their own tunnels. Find some stairs leading north-east and head up to the first landing. See the pretty door up here? Ignore it and continue up more stairs until you reach the roof, where you’ll be welcomed by some Goblins and Hobgoblins. Once you’re destroyed your foes, look around. To the north-west you’ll find the keep looming in the distance and on the walls of the keep are some ballistae. Unfortunately they’re in the hands of Goblins, who will shoot at your ceaselessly if they catch sight of you. On the sorry wooden planks that count as a roof over the stairs you’ll find a square chest worth looting (you’ll have to jump on some crates to reach the roof, but your Pawns love smashing them.) South-east of the stairs you’ll find an empty lever-slot. You should understand what’s expect of you, by now-we find the lever, put it in, and you can open the main gates. Behind some crates to the south-east you’ll find a square chest that’ll probably just give you junk, unless you considering a strategy scroll worthwhile, which it is, but it’s not wearable. To the north you’ll find a shattered bridge that once connected the two gatehouse towers. If you leap to the northern tower, you can dispatch a group of Goblinoids. This is a good idea, even if it will certainly provoke the ballistae on the keep, as there’s a ballistae on this gate-tower, as well. If you’re going to get fired upon by ballistae - and you will - it might as well be from only one direction.
| Square Chest |
|---|
| Cyclops Veil |
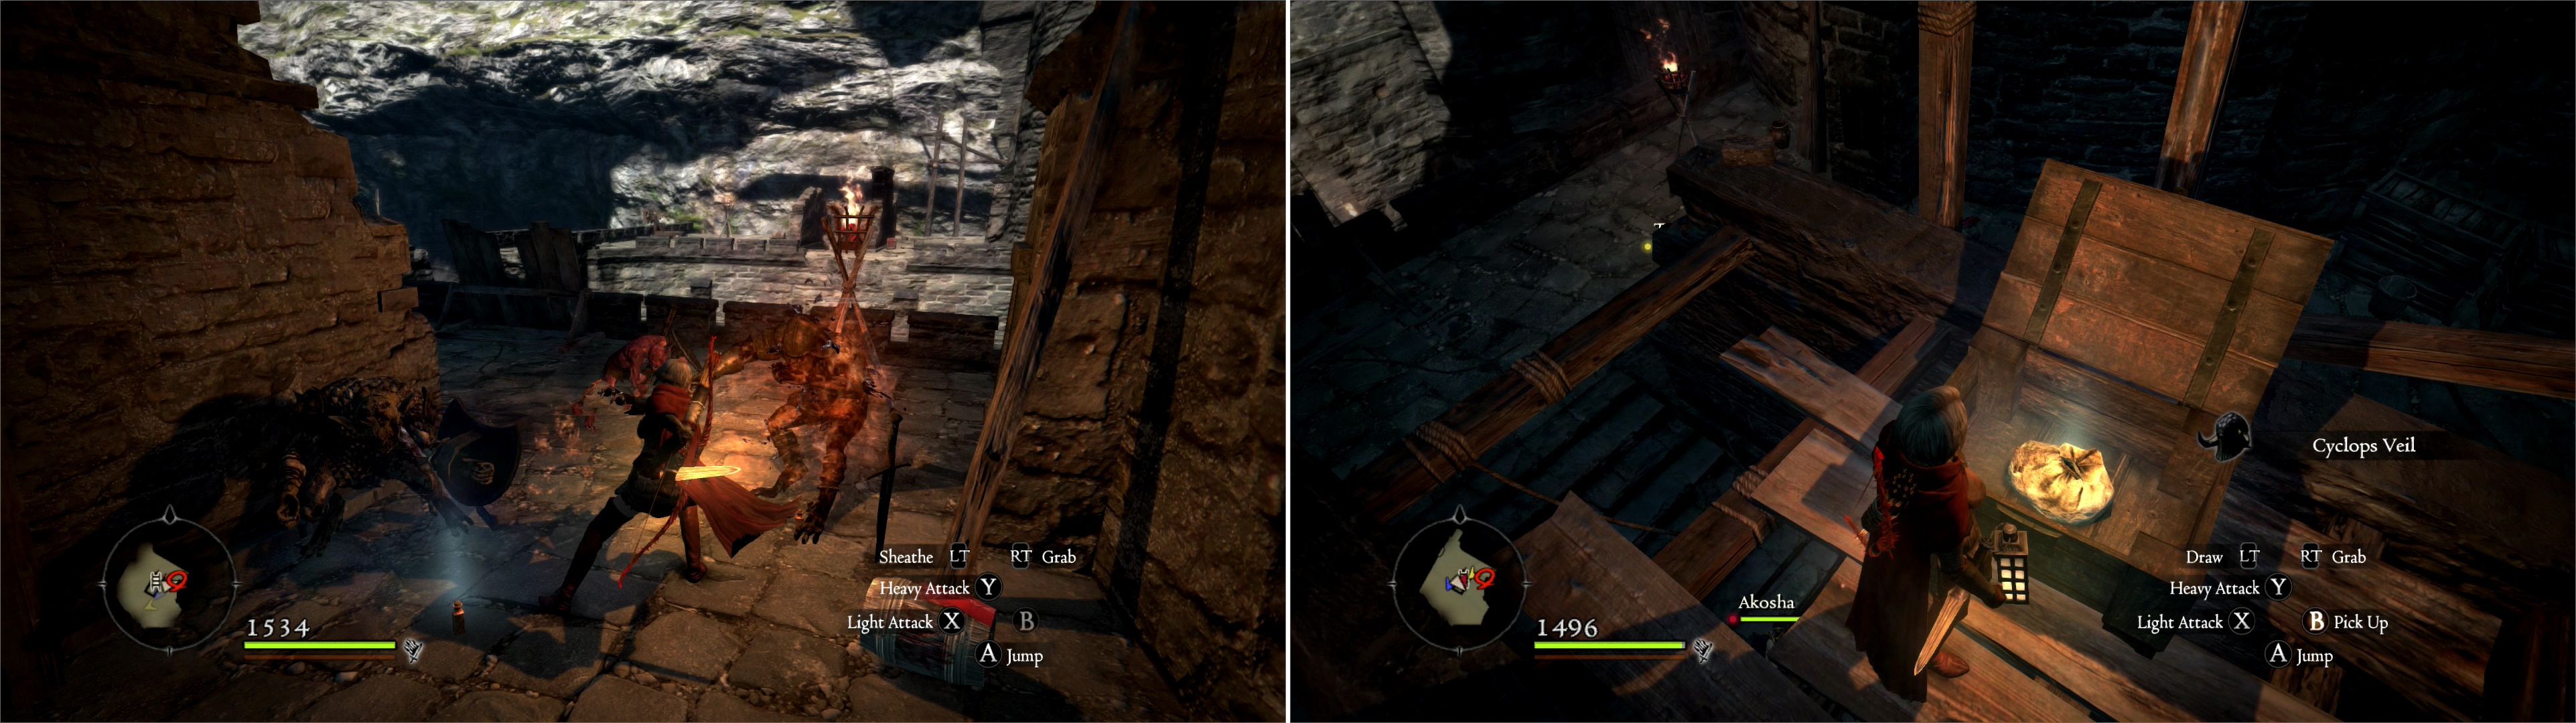
Ascend to the gatehouse tower roof and kill the Goblins and Hobgoblins there (left). If you can climb some boxes to reach the top of the stairwell you’ll find some out-of-the-way treasure (right).
Once you’re done clearing the northern gatehouse tower, search the south-western battlements to find a ladder leading down. Once on the ground again, head north-west under the ruined bridge connecting the two gatehouse towers to reach the interior grounds. A few wooden watch-towers dot the area, but your goal is a shoddy structure north-west of the southern-most gatehouse tower. If you try the front door, like all sensible people, you’ll find that it’s barred. A ladder exists on the north-western wall of the structure, but you’ll have to contend with a pair of Cyclopes (one helmeted, one not), Goblinoids, and, of course, the ballistae. There are two fair ways of dealing with the forces arrayed against us-both involve negating the ballistae.
First, you can run right up to the keep walls (the door is locked, so don’t think about being clever) and fight underneath them, where the ballistae can’t hit you. Second, you can fight south of the structure you need to scale, where the ballistae also can’t hit you. All things considered, it’s probably safest by the keep, where you’ll have the most room to maneuver around the Cyclopes If you’re extra foolhardy, there are warrior remains to loot north-east of the structure you aim to enter.
| Warrior Remains | Rounded Chest |
|---|---|
| Hide Armor | Bandit Stalkers |
| Silver Ring | Barreled Helm |
| Steel Greatsword | Bone Armor |
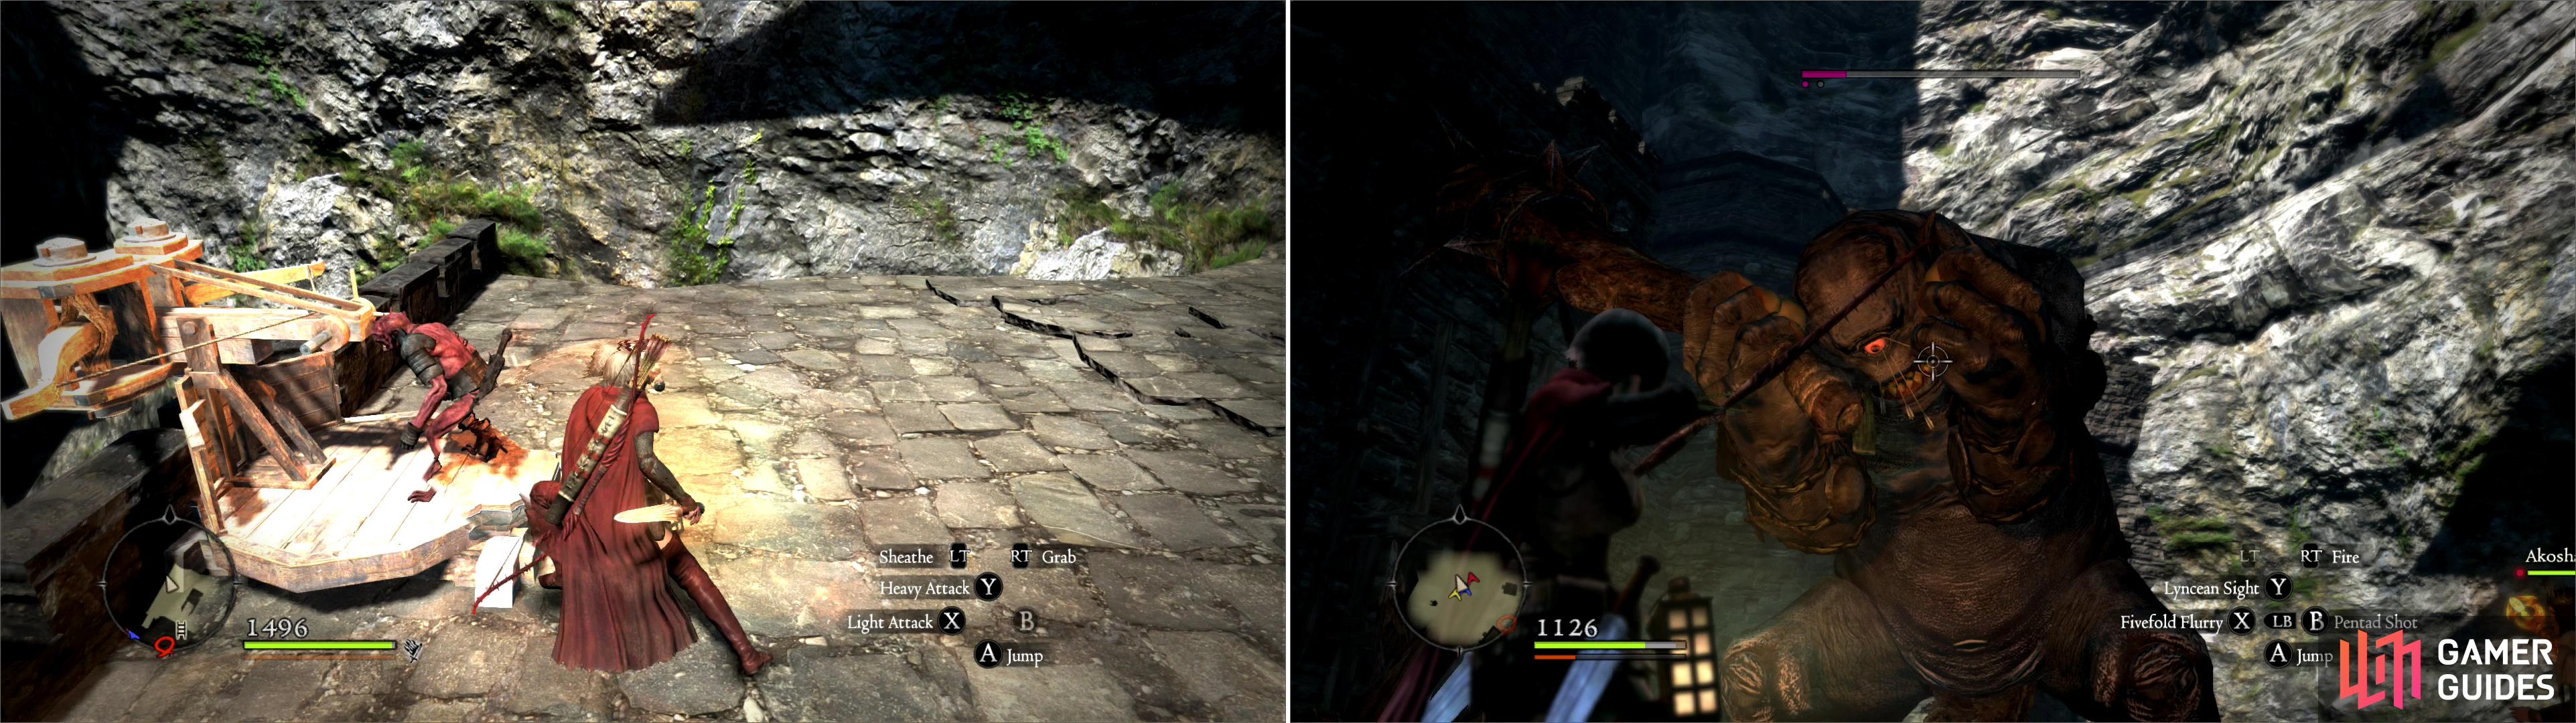
Leap a gap and kill more Goblins, particularly the one manning a ballista (left) then descend into the courtyard and battle a pair of Cyclops (right).
Claiming the Shadow Fort Lever
Kill the beasts and scale the ladder on the north-western wall of the structure. Once you climb the ladder you’ll be on a wooden platform with a square chest on it, which may contain loot. Drop down into the structure and smash the bar holding the door shut. Once done, loot the two rooms that make up this poor excuse of a building for some plants and potions. In the south-eastern room you’ll find an ornate chest, which also contains loot.
| Square Chest | Ornate Chest |
|---|---|
| Chainmail Skirt | Feather Cape |
| Downcuffs & Cuisses | Harpy Cloak |
| Steel Greatsword |
In the northern room of this structure (marked on your ‘Area’ map as the ‘Station Room’) you’ll find a door to the south-west (opposite the barred door leading back out into the courtyard.) Open the door to find a dungeon lurking beyond. Go through another barred door and smite some Goblinoids at the end of a hallway to the south-east. More Goblins lurk in the nearby cell-dispatch them all, then loot the rounded chest in the hallway to find the ‘Shadow Fort Lever’. Before you go, search the southern-most cell to find another rounded chest which contains some loot, and then hit the northern-most cell to find another Portcrystal . Score.
| Rounded Chest |
|---|
| Scale Coat |
| Surcoat |
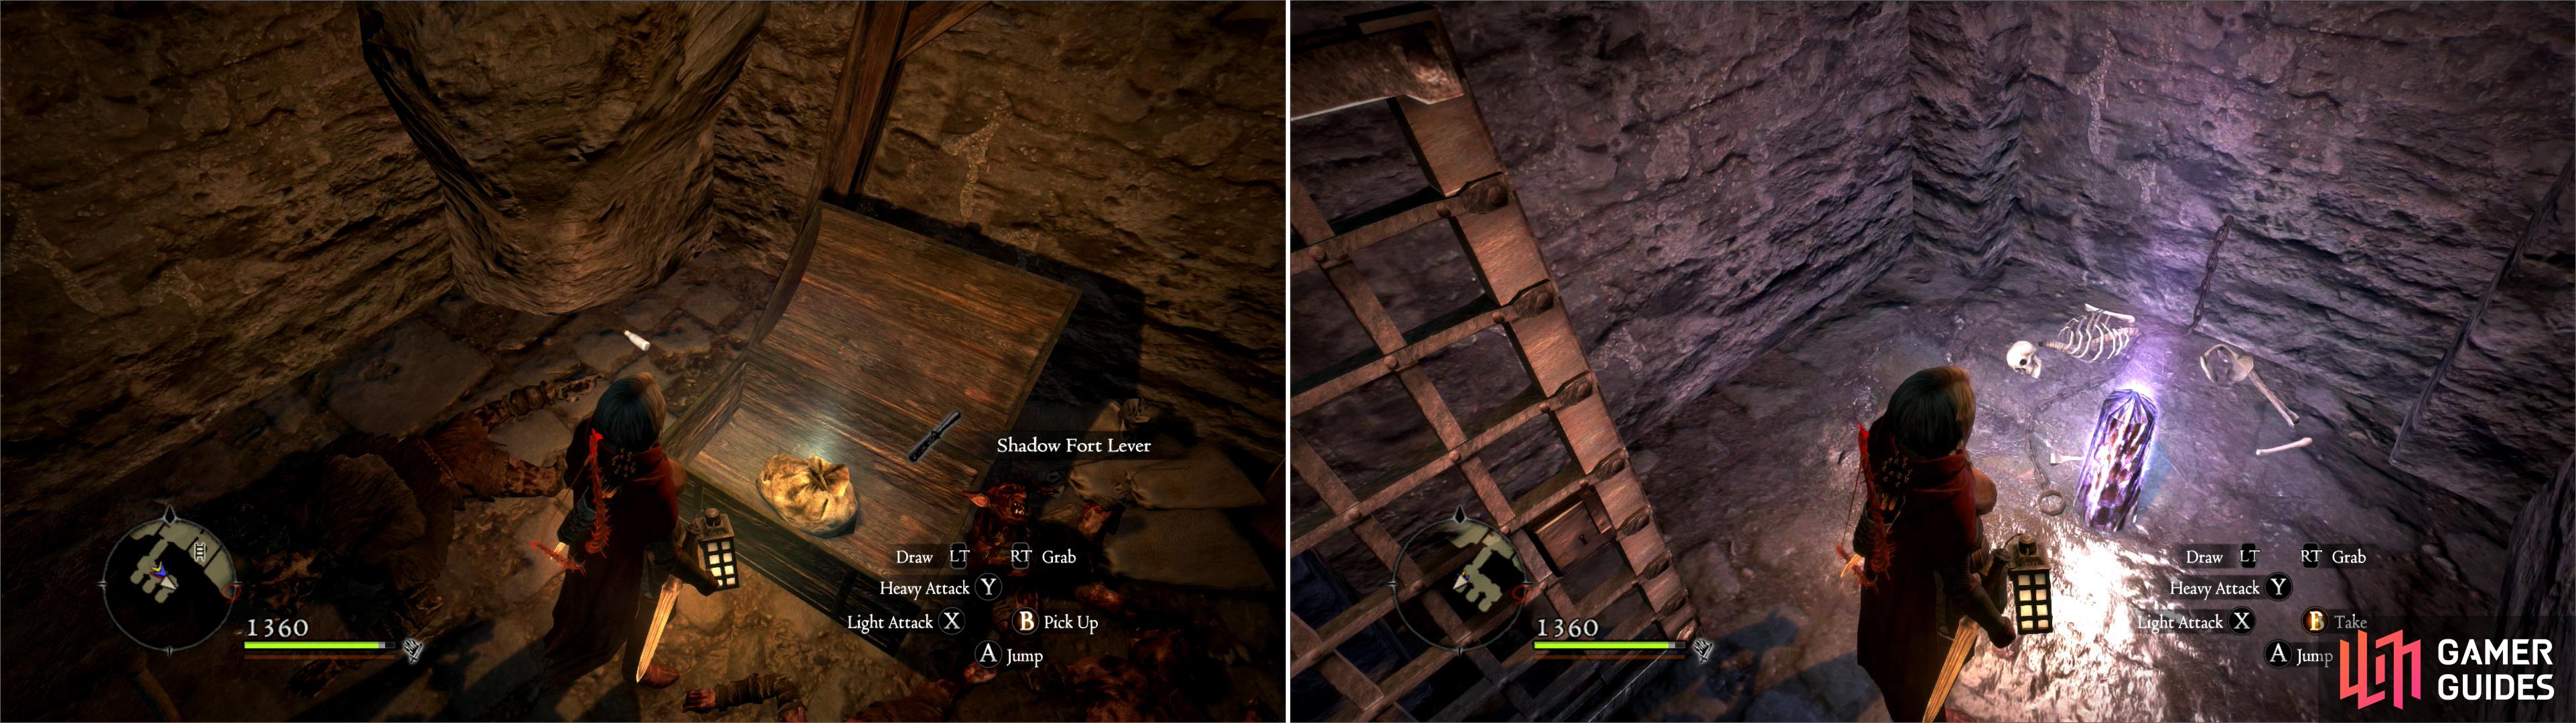
In the Station House structure you’ll find the Shadow Fort Lever (left) and a Portcrystal (right).
Your next move should be pretty obvious-time to head back up to the top of the southern gatehouse tower and use the Shadow Fort Lever you found. Once you do, the Gran Soren soldiers outside will storm the gate and engage a host of Goblinoids outside the keep. Your task now is simple-kill as many Goblins and Hobgoblins as you can. They’ll initially be engaging the soldiers in the middle of the courtyard, but as you thin their ranks, Goblins will continue to come from the tunnels near the keep. Once you’ve killed enough of them, the cowardly creatures will fall back into the keep-giving you an opening to exploit.
Storming the Shadow Fort
Head into the keep and slay whatever Goblinoids you find therein. Grab a square chest up some stairs to the south-west before taking the stairs up to the north-east. Enter a room to the north-east and make use of some more stairs, cross a wooden bridge to the north-west, and then continue up another flight of stairs. Ignore the rounded chest beyond a close gate - you’ll get to it later – and go up some stairs opposite the gate. This time a spiral staircase, wee.
Once atop this tower you’ll find a doorway leading to the battlements of the keep-where you can finally take your revenge on the ballistae Goblins that have been tormenting you. Be wary, though; Hobgoblins and an armored Cyclops also occupy the battlements. The fight against this Cyclops need not be a chore-if you have any sort of ranged attack, you can simply attack the thing from the tower-it should oblige you by coming to the door if you make yourself known to it.
Clear the battlements and you should spot another tower to the south-west, with a doorway opposite another ballistae. This is your destination, but first, some treasure, which requires a bit of running around, and strategic jumping. Or falling, rather. First, head to the north-eastern end of the battlements, and jump on the edge of the wall. Look over and you should see a square chest glowing merrily on a wooden landing. From this platform, drop down off the north-eastern edge to land on another platform, below it. It’s difficult to spot this lower platform from above, but if you creep off the edge of the higher platform, you should be fine. Drop of this lower platform to the north-east to reach the interior of a locked structure along the northern edge of the keep. Inside you’ll find a rounded chest, some Harspud Juice. There’s also a Goblin hole smaller characters could have exploited to reach this area more easily.
| Square Chest | Rounded Chest |
|---|---|
| Bronze Gauntlets | Red Leather Cap |
| Bronze Sabatons | Scale Greaves |
| Direwolf Bow | Silver Ring |
Exit the structure, breaking a bolt to ensure you can always just use the door from now on. Once outside, immediately turn north-west to spot a square chest behind some crates. Continue south-west along the edge of the keep to spot an elevated wooden platform, near which are some crates (if they weren’t destroyed in the fighting) you can climb these to reach the top of the platform, where you’ll find a square chest lurking. If these crates are gone (your Pawns love smashing them from under you), you’ll need to take a more painful route. Mount the battlements of the keep again, and this time head to the edge of the wall near the northern ballistae. There’s a collapsed portion of wall near the ballistae, which you can drop down to reach a wooden platform below that holds another square chest. You’ll take some damage with this approach, so make sure you have a few hundred Hit Points to spare.
| Square Chest |
|---|
| Assembled Sleeves |
| Red Leather Glove |
Head up to the keeps’ battlements again, this time exploring along the south-western walls. You’ll find a breach in the battlements south-west of the southern ballistae, which you can drop down to reach a rocky ledge which houses an ornate chest. This chest always contains a Lupine Veil, for those of you who prefer to look absurd. That was the last bit of loot distracting you from the southern tower. Climb the battlements one last time, and head into the keep via the southern tower.
| Ornate Chest |
|---|
| Lupine Veil |
Go down another flight of spiral stairs, killing whatever Goblinoids dare stand in your way. At the bottom of the stairs head north-west under a raised gate, then turn north-east down a hallway. Continue north-east past a closed door to find the rounded chest beyond the gate that taunted you earlier. Teach it a lesson by robbing it, then head back to the door you just bypassed.
| Rounded Chest |
|---|
| Feather-Light Pelta |
| Grievous Horns |
| Red Leather Hood |
| Scalding Razors |
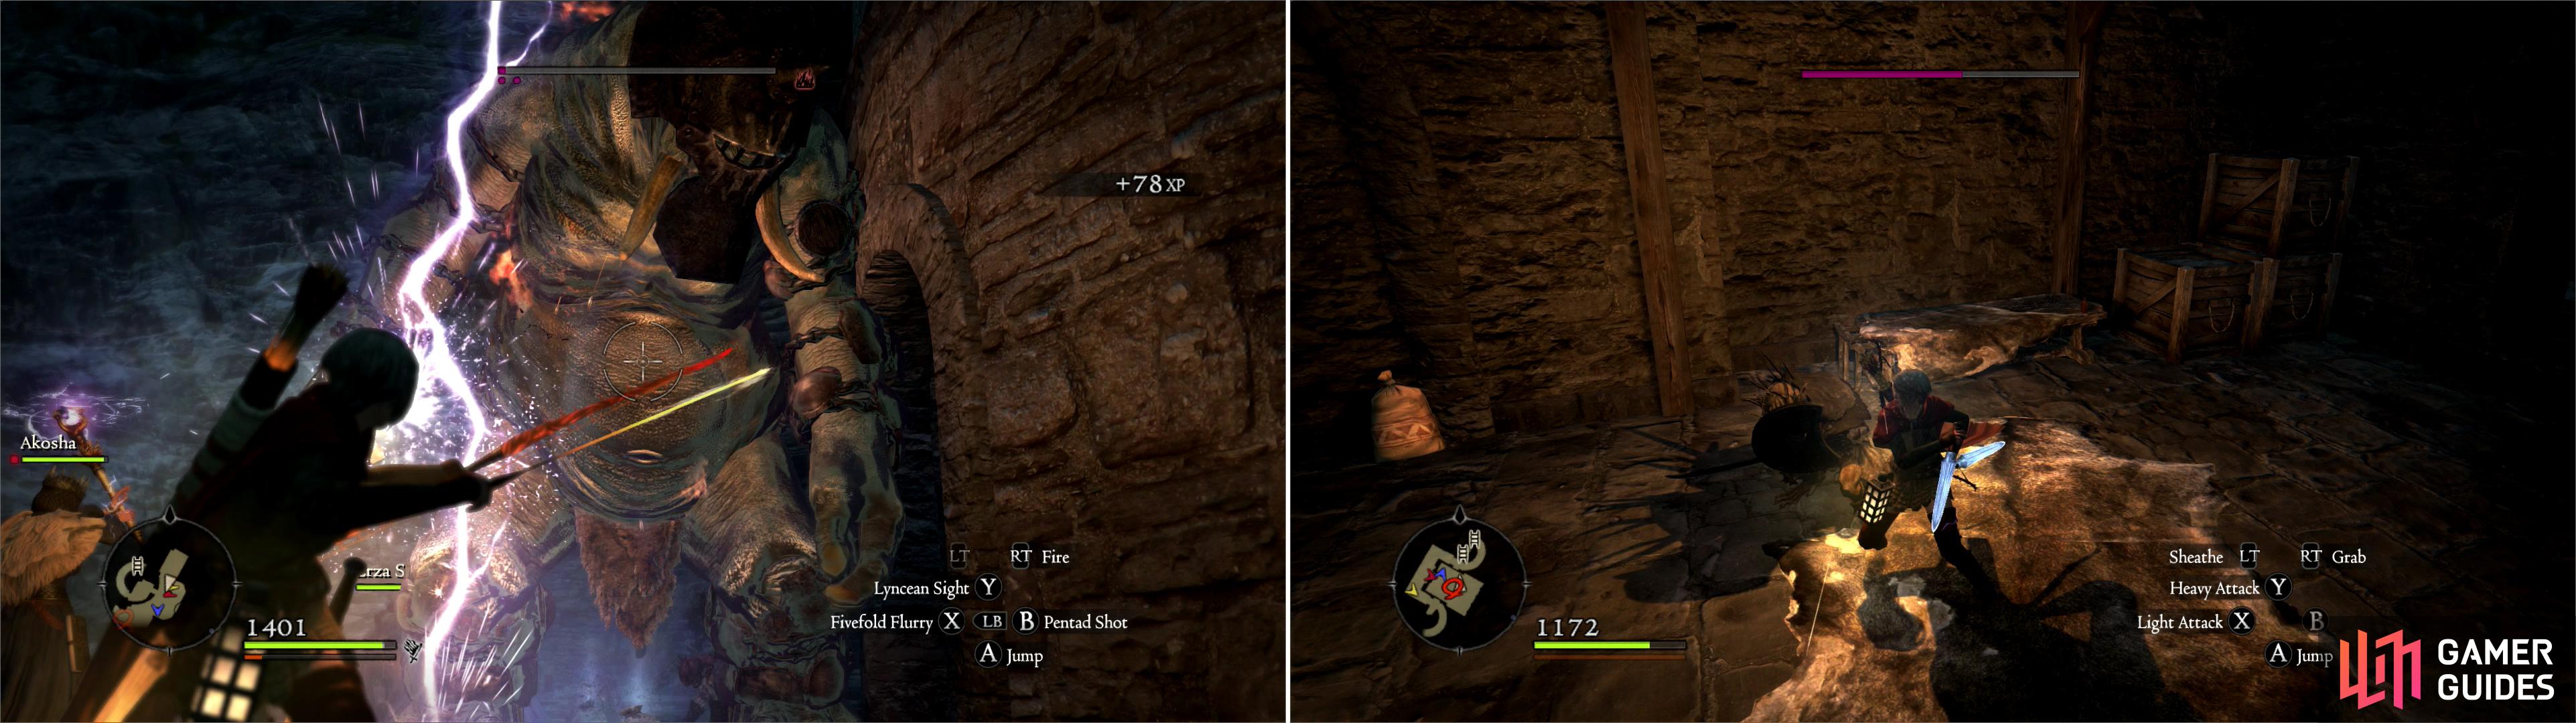
Defeat a Cyclops on the battlements of the keep (left) then do battle with the Hobgoblin King (right).
The Hero Versus the Hobgoblin King
Head through the door to reach the ‘Commander’s Antechamber’, where the ruling Hobgoblin has taken up residence. It’s a bit stronger than its kin, but it should prove no more challenging for it. Thrash it like any other bit of Hobgoblin trash, and when it’s wounded it’ll babble doom and gloom about the Dragon before jumping out the window. Note that if you’re foolhardy enough you can chase it out the window. The drop will set you back a few hundred Hit Points, but you can catch the Hobgoblin commander if you hurry and finish him off. He’s worth 9,766 experience if you’re playing solo, less with Pawns.
Ser Robert will announce your victory shortly after the Hobgoblin flees or dies, whichever you effect. Talk to him and he’ll express concern about the horde of Goblinoids, which bodes ill for the future of Gransys. Your real reward will come from Ser Maximilian, but Ser Robert will hand you a few items for your help: Greenwarish, Mithridate, Interventive, Harspud Milk, Harspud Juice, a Conqueror’s Periapt, a Demon’s Periapt, a Ferrystone, and a Giant Coin Pouch (10,000 G). Not bad.
| Objective | Reward |
|---|---|
| For routing a monster infestation | 20000 XP, 20 Rift Currency, 18000 Gold |
You’ll be back at the Shadow Fort later, which, like all areas, restocks its loot regularly. On subsequent visits, however, the place will function like a ‘civilized’ location-no Stamina consumption… and there will be decidedly fewer Goblinoids inside. Ignore the Goblin holes for now, however; let’s wait until you’ve got a good excuse to bother exploring the Frontier Caverns. Now it’s time to explore the Verda Woodlands. You’ll never get a good excuse to explore Gransys’ south-western most reaches, so consider your current proximity as good enough reason to do so now. Return to the ‘Rest Camp’ in Devilfire Grove and stash your loot, you’ll continue exploring from there.
No Comments