
Head back to Gran Soren, rest at the inn, buy new items, learn new skills, whatever you need to do. When you’re ready, return to the Pawn Guild and talk to Barnaby again. Despite being a robotic, inhuman Pawn, he’s still sly enough to ask for your assistance without actually telling you what he wants, first. Hear him out and he’ll lead you into the bowels of the Pawn Guild before explaining that beyond the door near which he stands is the Everfall. Since the Dragon showed up, some ‘presence’ has been detected therein, and he wants you to go see what’s up. Since you need to do this to advance the story, you’ve got no choice but to accept. Bummer.
Everfall
Despite the name, the area can’t quite live up to it… yet. There is, in fact, a floor at the bottom here, and if you let gravity do its thing… well, don’t. Instead, let’s go down the somewhat less suicidal ramp that spirals down the level to the bottom. Head down a ramp, kill some Giant Spiders, then some Giant Bats. Eventually you’ll find some Undead lying in the middle of the ramp, playing… well, you know. Teach them to stop foolin’, and continue down the ramp, kill more Giant Bats, and eventually you’ll come to a lowered portcullis. Oh nos! There’s a square chest with junk inside near the portcullis, but better yet, there is also a side-tunnel to the east that promises to grant you passage.
Head into the eastern passage, which shortly turns south. Enter a larger chamber and go down some stairs, where you’ll meet a new foe; Skeletons. Once these undead are smote, head west to explore this large chamber further. More Skeletons will rise from the ground, more bones will be violently scattered around. Make sure they’re not yours. In the south-western corner of this room lies a rounded chest, which can bestow goodies upon you, if you ask sweetly enough. There’s also a Large Coin Pouch (3500 G) on an elevated corner nearby.
| Rounded Chest |
|---|
| Leather Circlet |
| Reinforced Longbow |
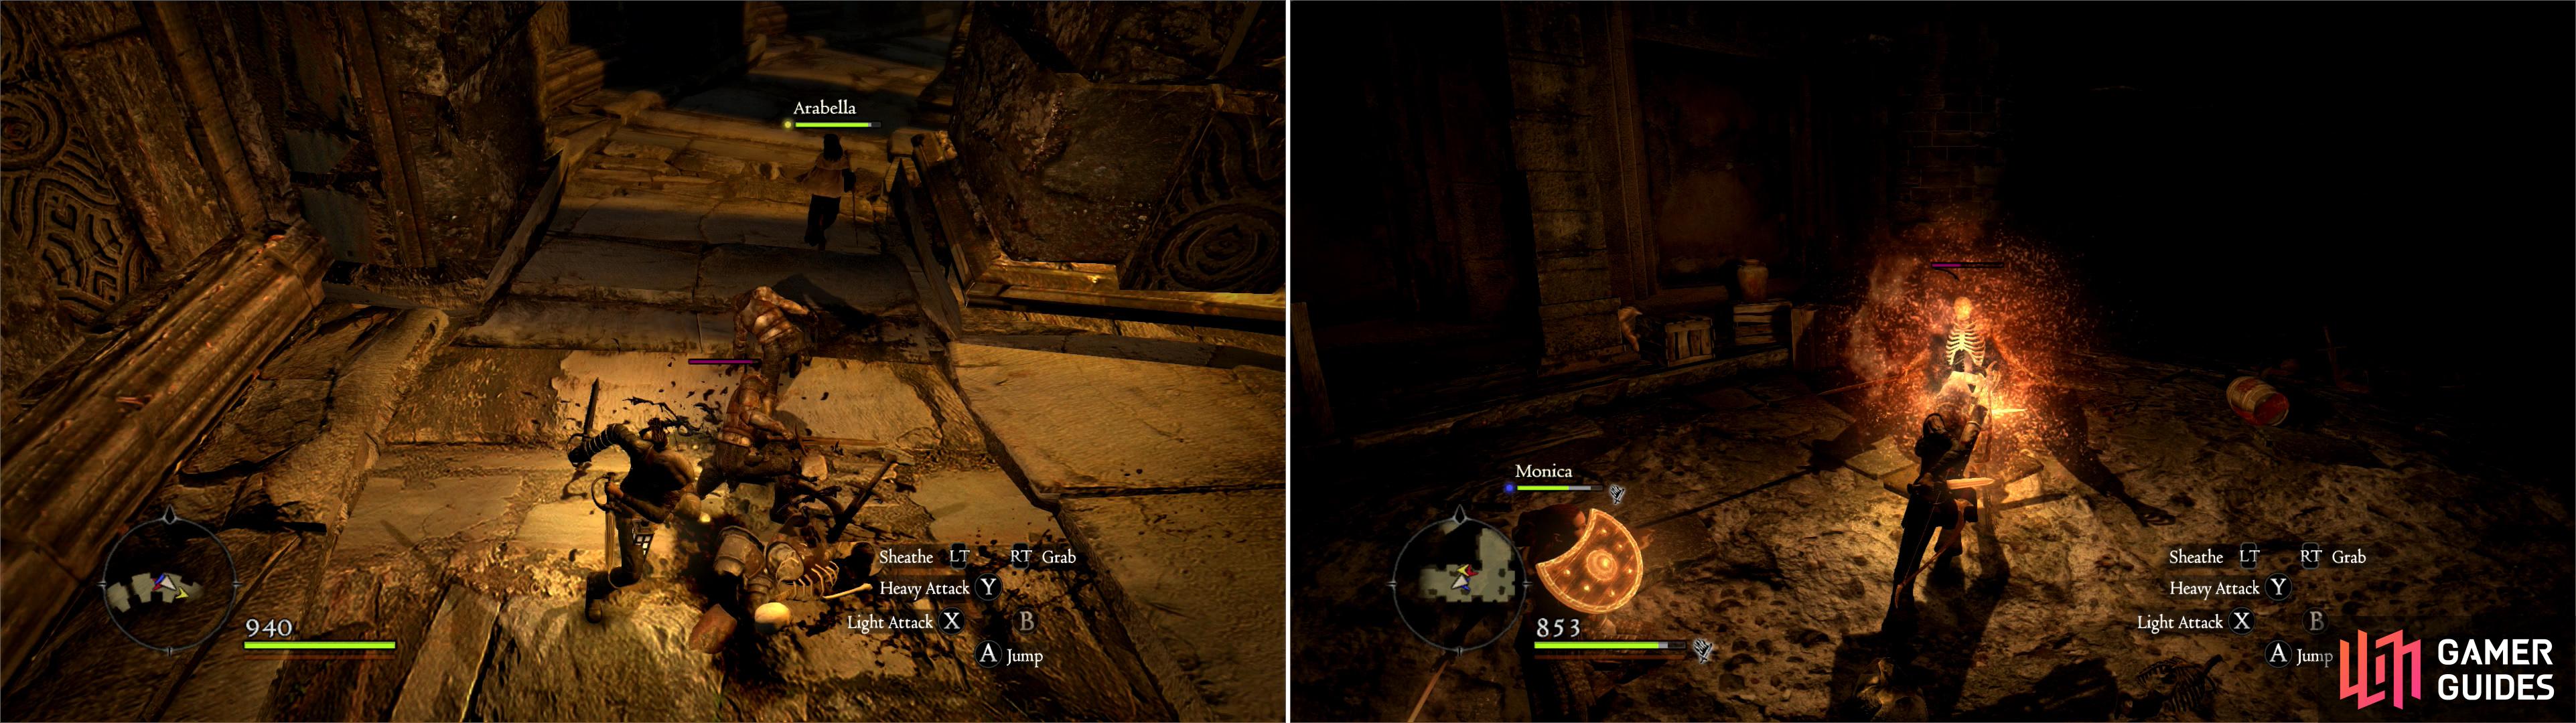
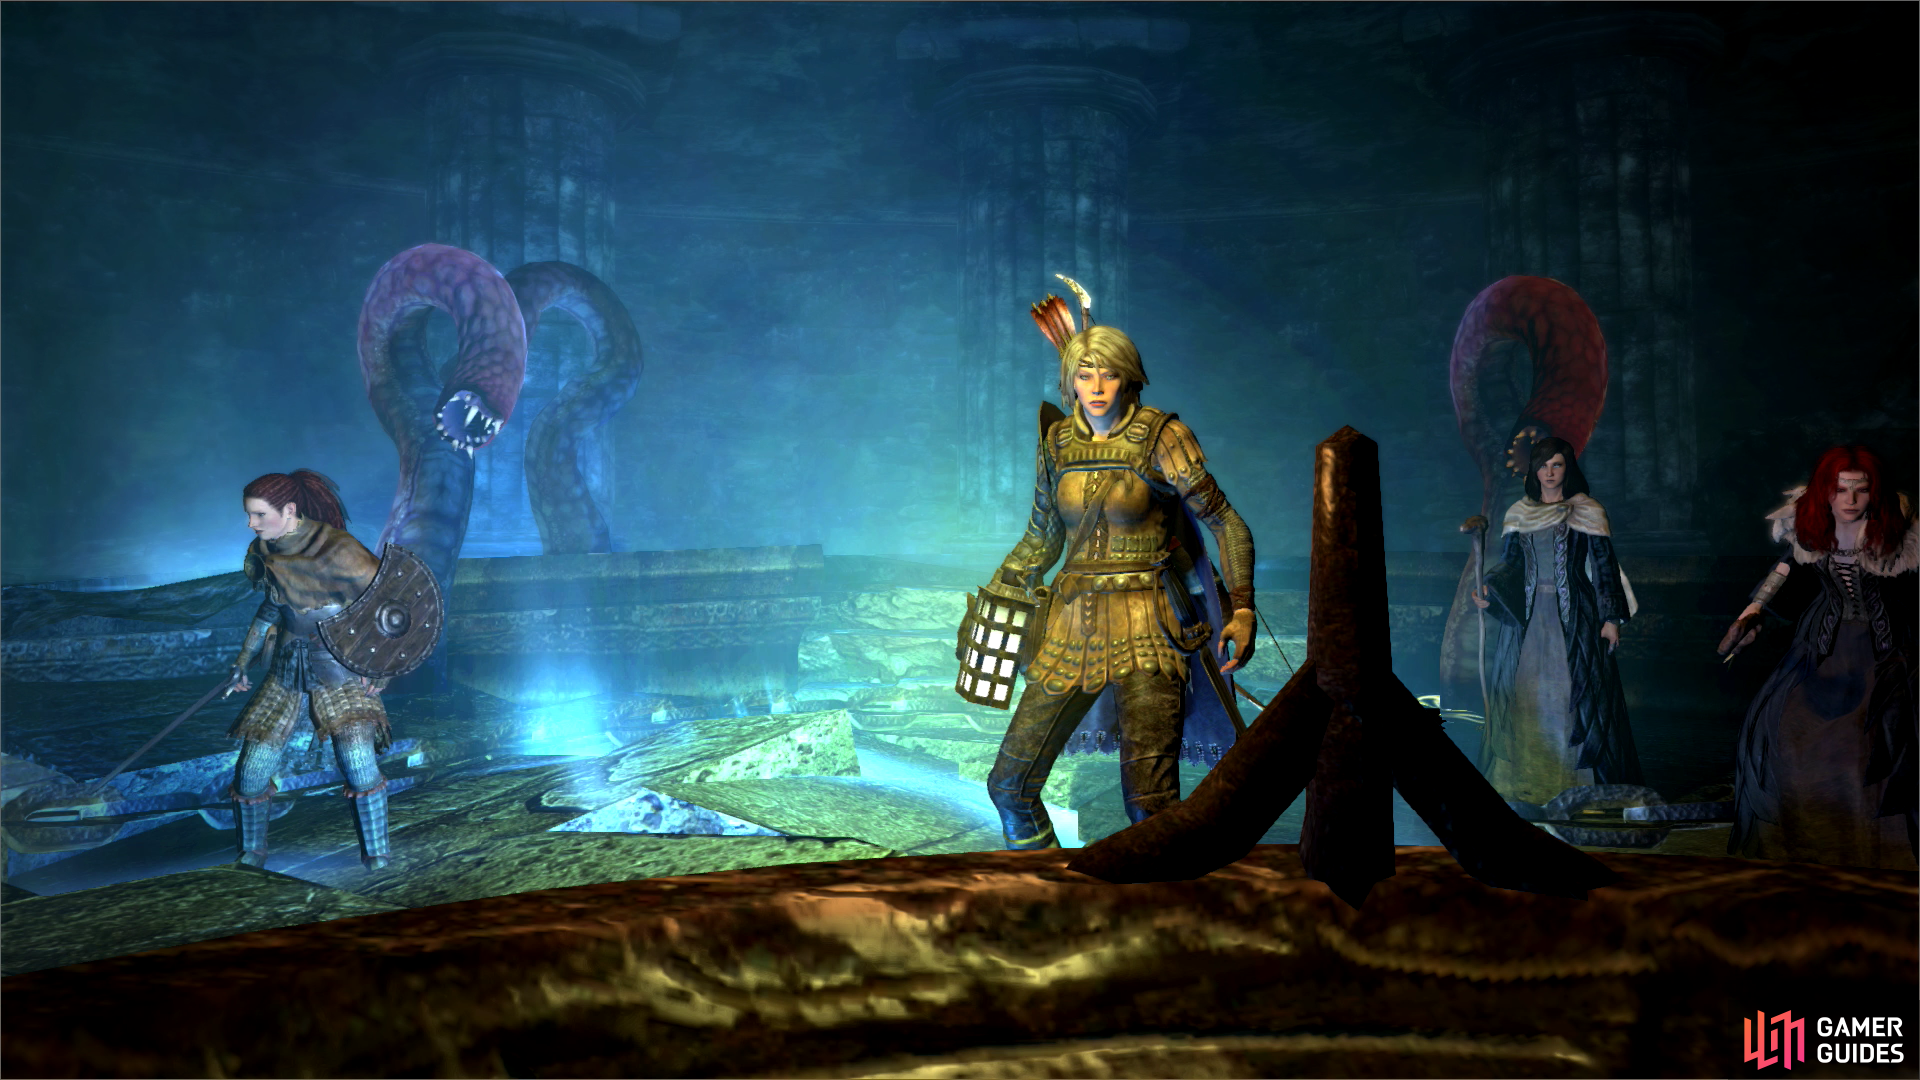
Undead Warriors will by playing possum on the spiraling ramp leading to the depths of the Everfall (left). More undead - in the form of Skeletons - also lurk in the Everfall (right).
Monster Info: Skeleton
Like other Undead, these critters remain inanimate on the ground, only attacking when their prey-you-gets close enough. Unlike Undead, however, Skeletons are less resistant to physical attacks (although they are just as susceptible to fire and holy.) Also, they’re quicker; they’ll perform Blink Strikes and Tusk Toss, both of which can disrupt spells and knock one off one’s feet. Although they’re more mobile foes, they’re not too much stronger than normal Undead. Just keep on your toes, and watch your Mages.
Now turn north to reach the exterior ramps again. If you head uphill a short ways, you’ll find a lever that’ll open all the gates in the level… but that’s no fun. Keep the gates down, you’ll find ways around them all. Head down the ramp and exterminate some Undead playing possum in the middle of the ramp again. More numerous this time, but after fighting Skeletons, this should seem like a turkey shoot. Continue down until you reach another portcullis.
This time your way around lies to the north, but note beyond the portcullis lurks an Ogre. A very powerful foe, and one you do not wish to engage directly. If you go around the portcullis, you’ll avoid it… but still, why leave it skulking around? If you have any character with a ranged attack, you can take advantage of the portcullis that blocks it and take your sweet time killing it. Since you are not in any real definition of the word engaging the Ogre, the monster info for it will not be included in full just yet, save this small bit of advice- aim for its face to deal more damage.
Once the Ogre is dead (or not, if you’re lazy) head into the narrow tunnel to the north, which quickly turns east. In a small side-tunnel wait several Skeletons, and at the eastern end of the tunnel waits a Skeleton Mage. The first fight in the game where the enemy attempts to use tactics? Perhaps. You’ll find that a single Comestion obliterates most of the melee Skeletons in these cramped quarters. If you’re playing a melee type, however, you can just jump on in and go after that damned Skeleton Mage.
Obtain victory however you may, then continue past the Skeleton Mage into some short tunnels that zig-zag south and east, before eventually terminating in a square chamber with a pillar in the middle. Kill some Undead Warriors to the east and search a rounded chest in the south-eastern corner before continuing into another tunnel to the south, which ultimately reaches the ramp again.
| Rounded Chest |
|---|
| Skulker’s Mask |
| Verdan Hood |
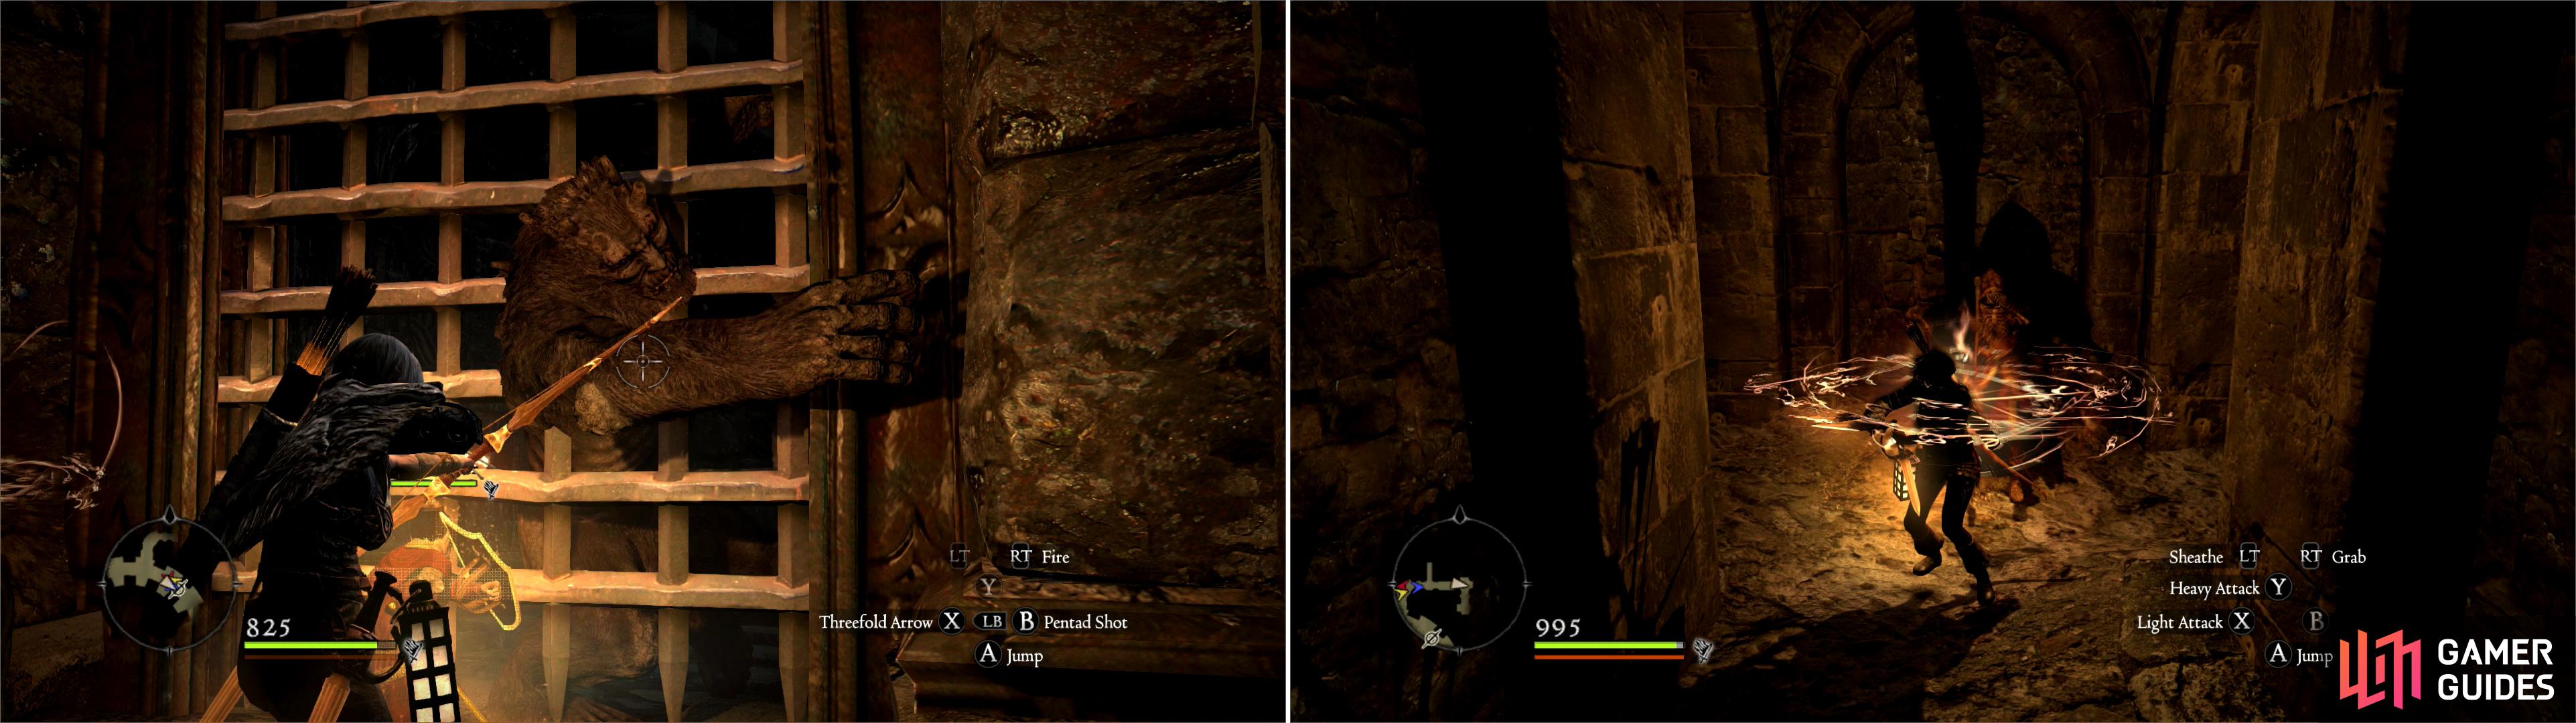
The gate will keep the Ogre beyond at bay, allowing you to kill it with ranged attacks (left). Skeleton Mages, however, are not impeded by range (right).
Monster Info: Skeleton Mage
A skeleton that casts spells… really, what do you people what from me? If only your Pawns were as useful as the enemy spell-casters you’ll be fighting are-they tend to sit back, and spam a variety of spells. These ones favor offensive elemental spells, in particular, the exact type can be determined by noting the color of the spell. Orange and flamey? Probably a fire spell. Bluish white? Ice. Purple? Lightning. Black? Miasma, or some debilitator.
The enemy has slightly different versions of some spells, and you’ll learn what to expect as you fight them. As a general rule of thumb, lightning spells give you a warning reticle where the bolt will strike; don’t be there when it does… but sometimes the enemy will conjure up a globe of lightning that probably moves to slow to hit you. Ice also has two forms; either an ice spike from the ground (which gives a reticle) or a series of spikes that fly straight at you. Fire is always a direct-damage affair, consisting of between one and three bolts of fire. When fighting mages, skeletal or otherwise, just keep in mind that a character with a bow can win the range war against them. If you’re a spell-caster yourself, don’t get fancy-stick to basic spells and out-cast them. Warriors and Fighters should just try and blitz them, as magick attacks are not your strong suit.
Down, down, down you go, until you reach another portcullis, before which is another side-tunnel to the west. You know how this goes by now. The tunnel turns north, and mid-way up the tunnel is a short tunnel to the west, occupied by Undead warriors, and terminating in another rounded chest with goodies inside. Once you’re done looting and killing, continue north, then smite some Undead in a tunnel to the east, then turn north again to reach a large chamber.
| Rounded Chest |
|---|
| Bronze Bangles |
| Hand Covers |
This room can be a pain. It’s ringed by elevated ground to walk on, but the middle of the chamber is a hole, crossed by precarious walk-ways connected to pillars. Undead lurk near the southern end of the room, Harpies skulk around, and Undead Mages occupy the walk-ways. Ranged attacks make this much easier, as you can then just pick off the Harpies and Skeleton Mages without having to risk the heights. However you go about it, dispatch your foes, then switch to loot mode. Behind the south-western most pillar in this room are two Large Coin Pouches (7500G), and along the north-central walk-way you’ll find a Giant Coin Pouch and a Large Coin Pouch (13,500G). Your way will ultimately lead you down, but first, cross the room to the north, where you’ll find a small chamber housing a lever. This one you should act upon, as it’ll clear your way back out.
Some stairs await in the south-eastern corner of the room. Descend them to reach the bottom level of this room, where a few trash chests await your greed. Marvel at the garbage they contain, then head to the south-eastern corner of the room to find an open gate leading to some stair, which themselves will take you down and to the east. Ignore a side-tunnel to the south, and continue up some stairs to the east to reach a room with three sarcophagi waiting to be looted. Give them the release they want, if you must, and continue up some more stairs to the east to reach the room marked as the ‘Ceremonial Cage’.
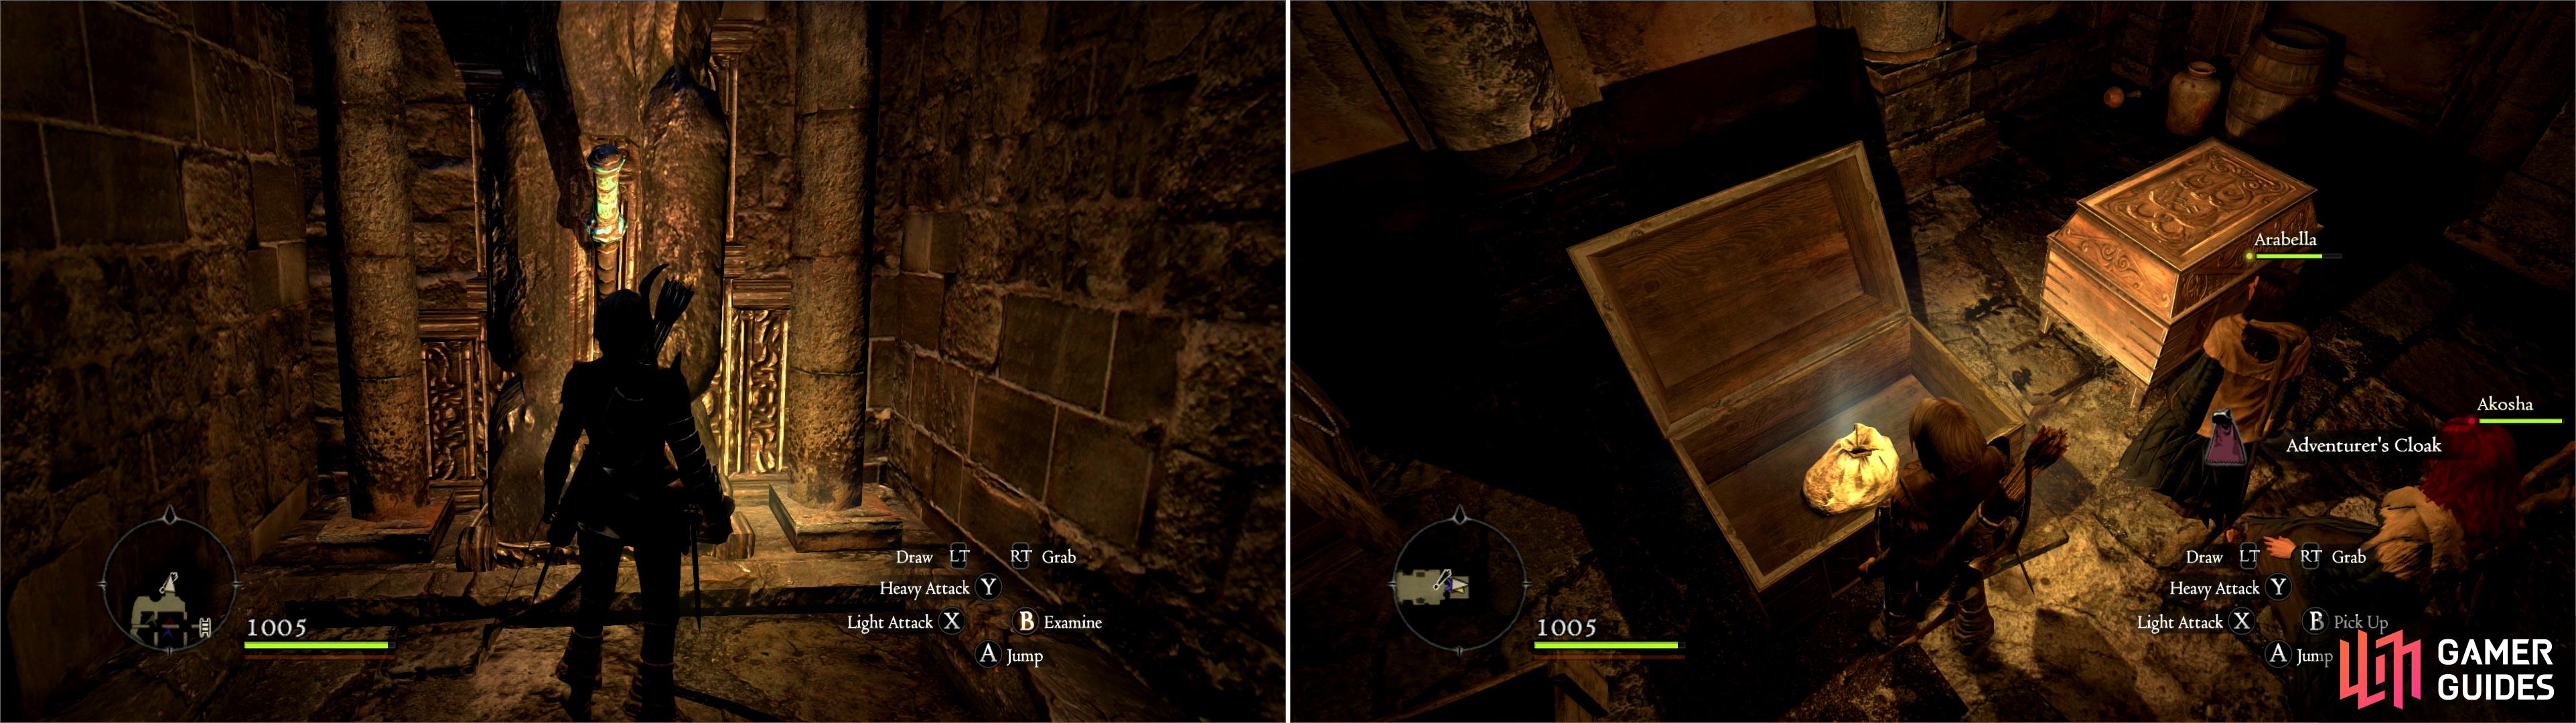
After defeating the Skeleton Knight, recover, place and pull the lever in its sarcophagus (left). Doing so will allow you to reach two chests containing goodies (right).
Further east you’ll find a locked gate, and along the northern side of the room, yet another sarcophagus near some warrior remains. Open it and watch a cutscene; this sarcophagus’ inhabitant is none too pleased about being disturbed. Teach him the old adage ‘might makes right’ and put him back to rest. Loot the now-empty sarcophagus for an ‘Engraved Lever’, then take said lever to the locked door to the east, north of which is a slot just waiting to be filled by your lever. Get your mind out of the gutter, place the lever, and open the door, beyond which lies two chests for your looting pleasure. The point of this whole step? Yeah, just getting some useless loot-but that’s the name of the game.
| Ornate Chest | Ornate Chest |
|---|---|
| Bone Armor | Adventurer’s Cloak |
| Scale Coat | Bliaut |
| Feather Cape |
Power of the Portcrystal
Return into the western tunnels and go south down the fork you ignored earlier to reach a large circular chamber marked as the ‘Flameservant’s Throne’ on your map. Loot around the room, as there are plenty of goodies to be found-namely a some potions, a rounded chest along the western end of the room, a Wakestone Shard near a large, ominously glowing metal disc on the ground, and on said disc, a Portcrystal.
The Wakestone Shard will be used in resolving an upcoming quest, and the Portcrystal is, essentially, a portable, placeable fast-travel hub. You use a Ferrystone and you can travel from where you are to any location where a Portcrystal has been placed, obviously including the two static locations outside of the Pawn Guild in Gran Soren and outside of Cassardis. Simply put, place a Portcrystal somewhere and you can warp to it by using a Ferrystone as necessity demands. On your first playthrough, you may want to make scant use of them, as it’ll deprive you of the experience and materials you’d otherwise gain by killing foes along the way, but a few properly placed Portcrystals do make escort missions much easier.
Right now you’re rather low on Ferrystones (unless you bought the PC version of the game, or upgraded from the vanilla version to Dark Arisen on consoles, in which case you’ll have an Eternal Ferrystone), but it’s something you’ll soon be able to remedy. It will be noted where to place the Portcrystal when you actually travel somewhere worth putting it, but in the meantime, let it take up space in a Pawn’s inventory. If you’re impatient and want to read up about good spots to place Portcrystals, check out the ‘Placing Portcrystals’ section of the guide.
| Rounded Chest |
|---|
| Bronze Bangles |
| Hand Covers |
| Steel-Toed Boots |

At the bottom of the Everfall you’ll be able to score a Wakestone Shard (left), and a Portcrystal (right).
Tentacles Terrors
When you’re done searching around, let your Stamina regenerate fully, then search a metal disc in the middle of the room. watch a cutscene and get rewarded by being attacked by a host of tentacles. These aren’t technically monsters by themselves (or rather, they’re part of another monster), so they don’t get their own entry. Still, they cast spells, can bite and grapple, and at this point in the game fighting them is more trouble than it’s worth, as they give no experience whatsoever. They do, however, drop Malecryst and Malecryst Shards, forging components which will not be available again for a long, long time… still, nothing you’ll find before you can get more Malecrysts are really worth upgrading anyways.
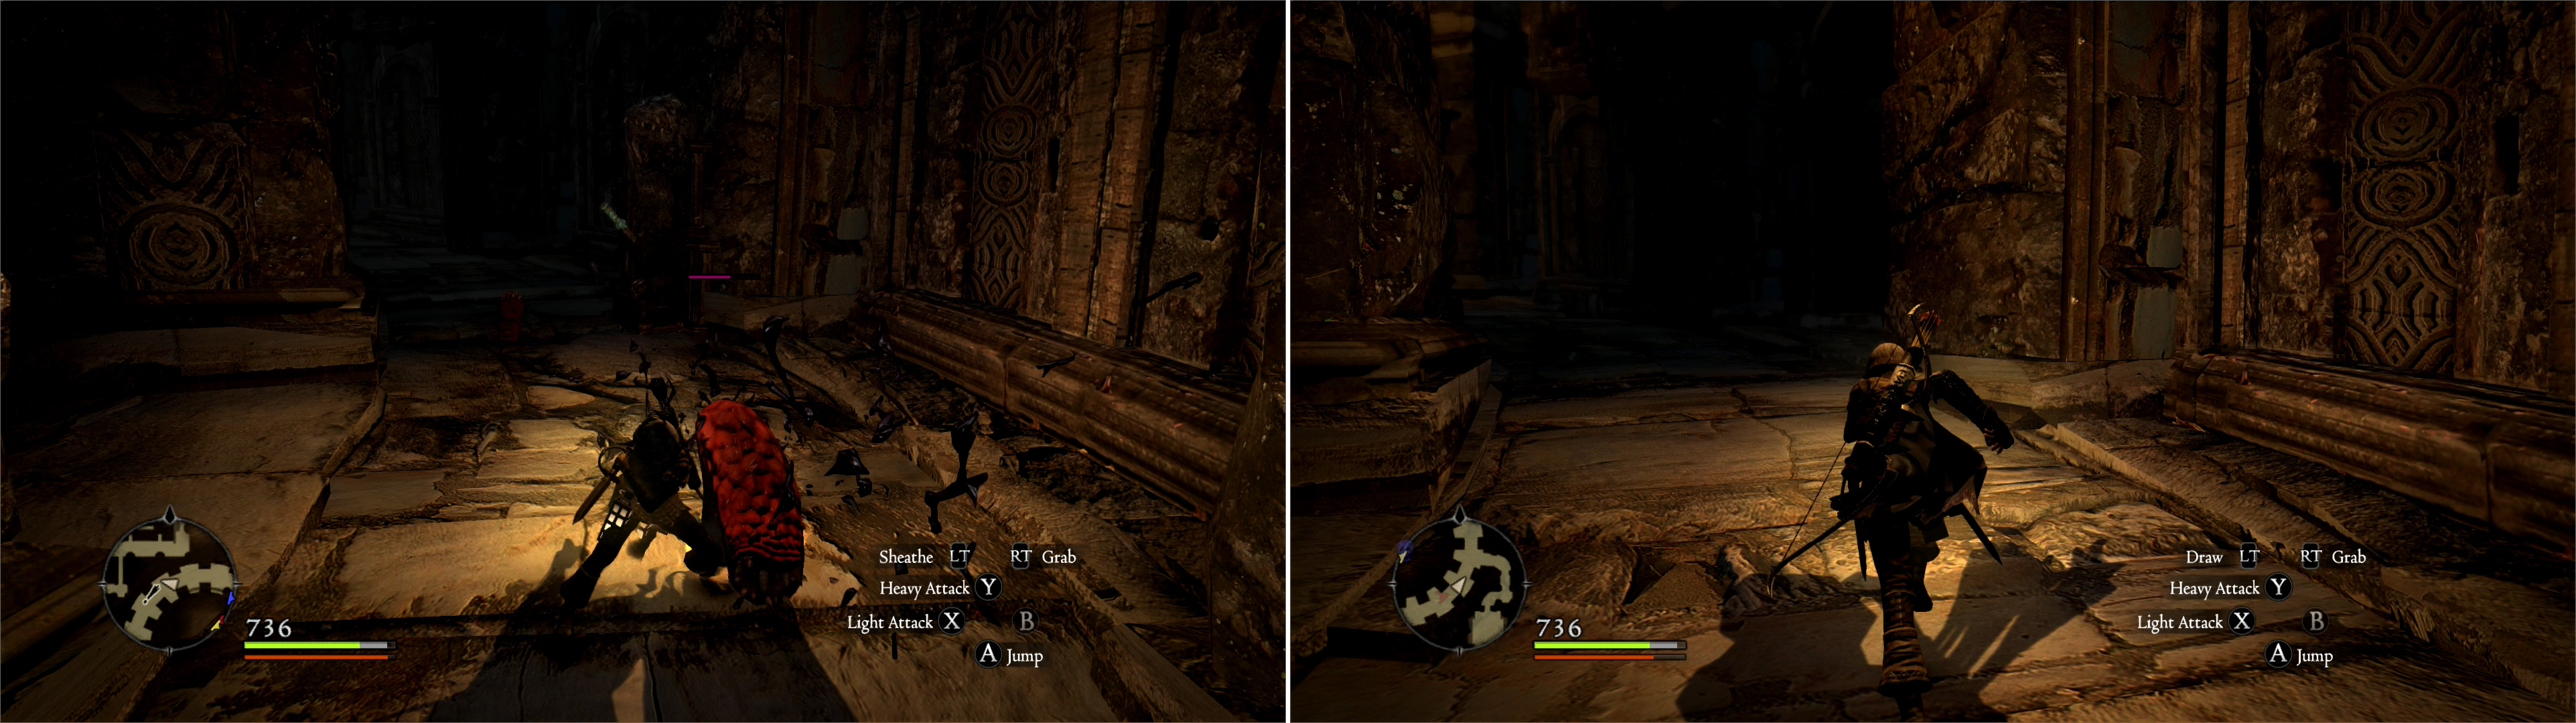
You can fight the tentacles that harrass you, but they’ll continue to spawn endlessly (left). The only way to be rid of the tentacle scourge is to flee the Everfall (right).
The game wants you to run away, which shouldn’t be too hard, considering you killed the Ogre above… right? Even if you didn’t, you should run. Unless you’ve been leveling quite a bit, there’s a good chance you can’t really do much damage to these tentacles, making running the only option worth considering. Manage your Stamina, run when you can, and use the pillars along the ramp to shield you from spells and you’ll escape this mess. Oh, was it mentioned that the tentacles are endless? Probably should point that out. If you can kill any, you’ll buy yourself a time (making subsequent runs a breeze) but this quest doesn’t end until you scamper to the exit.
As you near the exit, a cutscene will take over, showing your characters fleeing mortal peril… and for some reason, running rather stiffly, perhaps to taunt the tentacles? Back in the Pawn Guild, track down Barnaby and talk to him to complete this quest.
| Objective | Reward |
|---|---|
| For discovering the source of evil in the Everfall | 8000 XP, 10 Rift Currency, 12000 Gold |
Invited to the Wyrm Hunt
Leave the Pawn Guild and you’ll be harassed by a guard named Ser Duncan. The Duke-himself a former Arisen-has taken notice of you, you know, because of that Hydra head you gave him? Looks like Mercedes came through, after all. In order to reward you for killing a big giant reptile, you get to participate in the Wyrm Hunt, which… seems like less of a reward and more work, but… well, feudalism. Anyways, you now have the privilege of taking orders from Ser Maximilian, Captain of the Wyrm Hunt. You’ll be given a ‘Wyrm Hunt License’ without which you cannot accept any of these new quests, which need to be completed before you can advance the story. Also note that at this time the quest ‘Lost and Found’ will expire if you haven’t already completed it, and forever more Quina and Selene-related quests will be inaccessible. You should also get the Achievement/Trophy ‘Writ Large’.


For the guide, however, this is an even more significant development. You’re finally free to pursue your main quest advancement with all of Gran Soren, and Gransys, open to us. Well… not all of it, but enough of it, anyways. You could have (and to some extent, did) pursue your own ends before visiting the Pawn Guild, but you can now freely enter the northern gate to Gran Soren and the Noble Quarter without some butthole guard yelling at us. So, before you do any Wyrm Hunt quests, lets explore Gran Soren and find - and complete - some new quests.
No Comments