Deeper Trouble
When you enter Cassardis again, you’ll hear shouting from the well. That place is nothing but trouble, it seems… well, better go down and see what the ruckus is about. Once down, you’ll find Rorric. Talk to him to find out that he was… well, using the well as a convenient spot to be delinquent. While down here, however… well, you know. More monsters in the well. Seems like you need to go deeper and get rid of their nests once and for all. Rorric, being the nice drunk that he is will even give you some Throwblasts to help out. Yay…
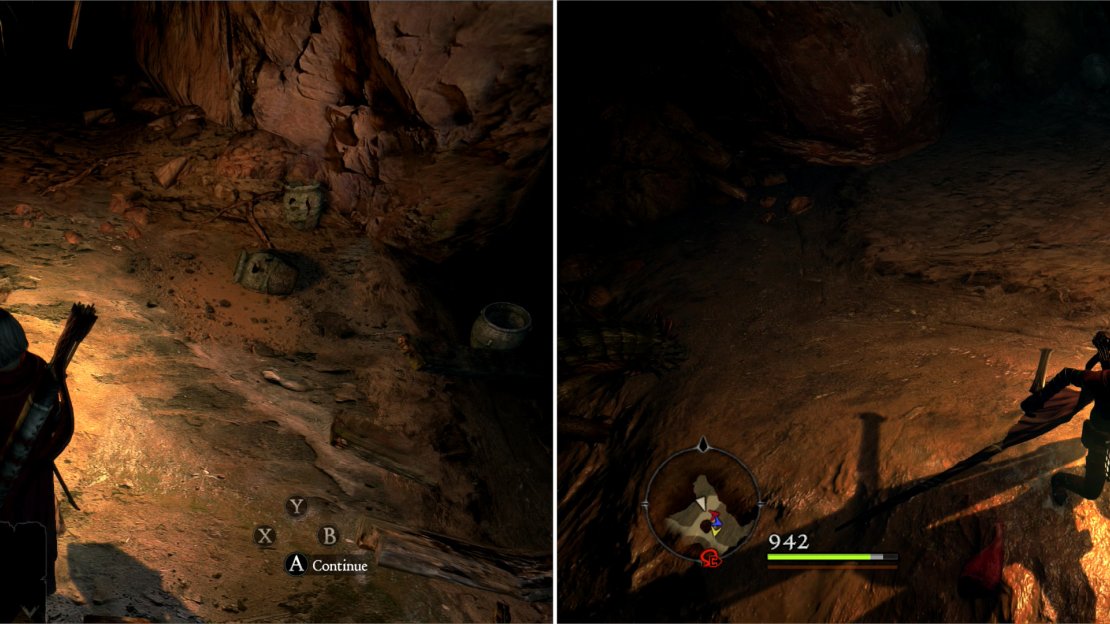
Climb down the well to find Rorric, who will inform you that the well needs to be cleared of beasts again (left). More Saurians lurk in a previously-blocked chamber (right).
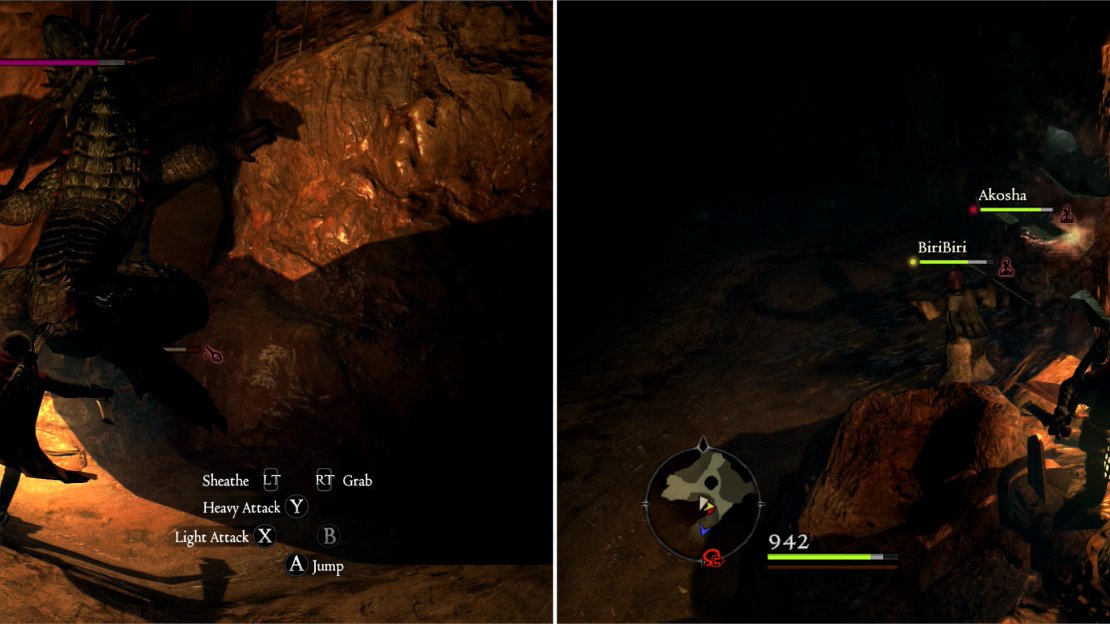
No use in guiding you through the place again-you should know the way. Head back to the chamber with the ‘Emperor’s Pillar’ in the middle of it, south from the entrance. Once there, head west through some water to reach a chamber that… well, was blocked by a giant boulder earlier. Earlier, but no longer, this chamber is marked on your map as ‘Brightwater Cove’, inside of which you’ll find plenty of Saurians. Your goal here is simple: kill them, and kill their babies, just like in the Bible stories. After smashing a few nests, a big ass queen Saurian will show up. Don’t let her intimidate you, though-she’s stronger, but nothing you can’t handle. Once these reinforcements are dealt with, continue with your genocidal ambitions. Before you go tell Rorric the good news, however, head into a watery tunnel to the south-west to find a square chest to loot. Once looted, head back to the entrance, report the news of your victory to Rorric, and collect your quest reward.
| Square Chest |
|---|
| Bone Plate Armor |
| Hand Covers |
| Objective | Reward |
|---|---|
| For clearing out the well… again | 6000 XP, 15 Rift Currency, 8000 Gold |
After slaying enough lesser Saurian, the Saurian queen will show up to challenge you! (left) Kill the Saurians, their queen, and their babies to end the threat to Cassardis for good (right).
To the Vestad Hills
Now it’s time to explore the Vestad Hills. In case you don’t remember the way, head to the Encampment, and from there, continue north until you reach a fork in the road-instead of continuing north to the Waycastle, turn south-west and head uphill through a narrow pass through the mountains… if you go through Dripstone Cave to reach the ‘Dripstone Cave Rear Passage’ you’ll be at the foot of this mountain pass, but either way is fine, as you prefer. Remember the Wolves, which should now be more tolerable, and the boulders that fall down the pass, all that fun stuff.
At the top of the pass the Vestad Hills will open up before you. If you follow the road south and do not deviate, you’ll reach the Witchwood again. Wolves and weaker Bandits lie along the way. You should be much stronger now, especially if you’ve been making a Strength-build (Assassin) or Magick-build (Sorcerer) character. If you’ve done everything in the guide thus far, including non-escort Notice Board quests, you should be around level 25-30, depending on your killing habits. Still, this next area can be pretty rough. If you’re having trouble, head back to safer lands. Do runs on dungeons for loot (Witchwood, Everfall, Watergod’s Altar) and experience, and start leveling Vocations to gain power-boosting augments. Warrior for Clout, Fighter for Vehemence, Mage for Attunement, Sorcerer for Acuity, and most of all, Assassin for Bloodlust and Clout.
Bandits Around Aernst Castle
With that warning out of the way… let’s start exploring. From the top of the mountain pass that connect Manamia Trail to the Vestad Hills, go downhill to the south-east, smiting whatever low-level Bandit or Wolf dares show itself. There are chests to loot on the eastern side of the road, but they contain garbage, so aren’t worth describing in detail. Continue until the path forks in front of a large boulder that is crawling with a variety of Bandits during the day-of widely varying power. The eastern fork leads to the Witchwood, as you already know, so take the western-most fork.
The road will turn decisively south-west and run to a castle off in the distance. This road is absolutely crawling with Bandits, which are much stronger than the ones you are used to. These Bandits are a good measure of how difficult this area will be-so fight well. Once they’re dead and the way to the castle lies open (how’s that for a vote of confidence?) ignore the castle and turn south into the hills. It’s time to discuss the enemy-packed area east of the castle.
To the far north of the area east of the castle lies the road leading to the Witchwood, marking this section’s northern boundary. In the far south lies the sea. Even with the northern side of the castle lies a small Bandit camp, occupied by more of the same high-quality Bandits you fought earlier. This small camp is bounded by a boulder to the north, against which sits a square chest, a small ridge to the south. The chest contains junk, and in general, superior treasure and foes lie south.
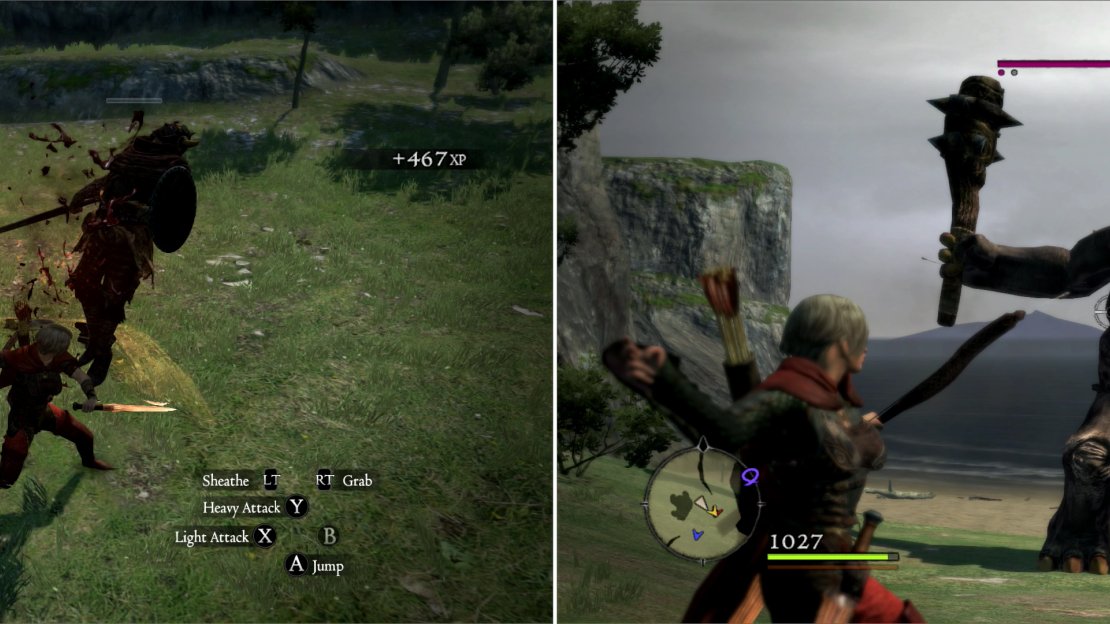
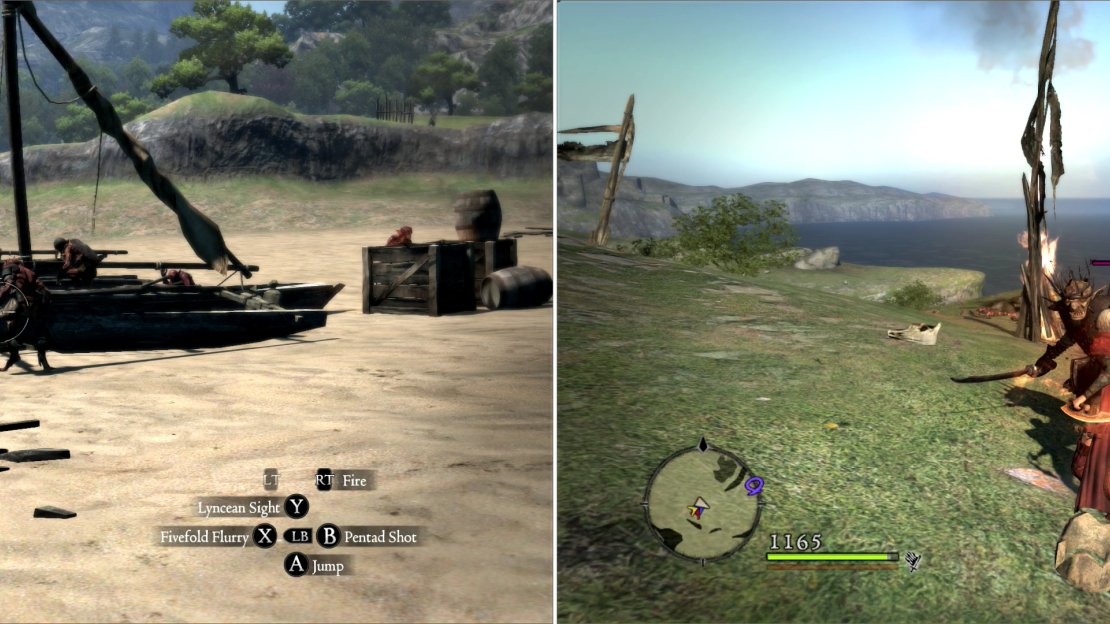
Kill the Bandits lurking near Aerst Castle (left) then dispose of their pet Cyclops (right).
So… south it is. Here you’ll find more powerful Bandits based around a shelter (poles with a fabric ‘roof’, you could call it a tent, but any tent worthy of the name has sides, dammit!) These Bandits even come with their own pet Cyclops, and this one tends to be armored, at least sporting a helmet. It’s a wise move to try and kill off as many Bandits as possible before engaging the Cyclops-but be warned more lurk on nearby boulders to the south (typically annoying dagger-and-archer types). Once alone, however the Cyclops should be little trouble. When everything is dead, the looting can begin. A square chest lies just north of the shelter, near a tree, and on the beach you can find several warrior remains worth looting, and a square chest along the eastern end that’s… well, there. You should also bother to loot the fishing spots along the beach, as these particular spots (in fact, every fishing spot along the obviously less-civilized western coast of Gransys) can yield Large and Giant Fish.
| Square Chest | Warrior Remains | Warrior Remains |
|---|---|---|
| Ogre Bone | Leather Belts | Chestguard |
| Verdant Hood | Rusted Daggers |
It’s time to explore the castle. There are some stairs along the beach that can be used to gain access, but the front door works just as well. So, run your little self north along the eastern edge of the castle, past a bridge and up a hill until you reach the road again. Kill whatever Bandit stragglers are around, then cross the bridge into the castle.
A host of high-level Bandits prowl the road running through the Vestad Hills (left). If you can fight your way through, you’ll be able to work for their leader, Maul (right).
The Ruins of Aernst Castle
Behold, the ruins of Aernst Castle, an area within an area! Yeah, you’re being productive with this trip. This place is also crawling with Bandits, but they’re non-hostile, so leave them be. From the gateway turn south-west to spot a cluster of tents-which mark your destination. One bandit, a massive mountain of a man named Maul, will be sitting around the campfire, or sulking in his tent, depending upon the time of day. Talk to him and he’ll challenge you to prove himself to the gang. Typical Japanese drama-these aren’t bloodthirsty Bandits as much as they’re just rugged individualists… okay, so they’re both. In any event, hear him out and he’ll give you two options to prove yourself to the gang-either kill ten rival (female) Bandits or find and punish a traitor who went AWOL.
Two notes are relevant here; first, if you are tracking the quest ‘A Troublesome Tome’ Maul will be defiant and all but challenge you to a fight over the tome. Just don’t be tracking this quest to get the previously-mentioned dialogue. Second, you should have already met this ‘traitor’ Maul wants you to find; it is none other than Pike, the thief running amok in Cassardis. But let this matter rest for now, at least until you encounter female Bandits, and hence have all the solutions at your disposal.
Quests are good and all, but what’s even better? Treasure, of course! So let’s get some. From the tents turn east to find a ruined structure you can enter. Head through a doorway and go up some stairs to reach the wall. Once atop the wall, head north and jump up onto a tower, then turn west, cross over the gate, and find a square chest.
| Square Chest |
|---|
| Chainmail Bracers |
| Hunter’s Jacket |
| Weak Guard |
Backtrack to the wall, head back down the stairs, and re-enter the ruined building. From the side of the staircase head south through another ruined doorway then turn east to enter a surprisingly intact room, wherein lies a rounded chest.
| Rounded Chest |
|---|
| Bandit’s Glove |
| Red Leather Armor |
| Ring of Gules |
| Rose Ring |
Return to the bandit camp in the courtyard and turn south to see some stairs running up around the eastern side of the citadel-our next destination. Once at the landing atop the stairs turn west and score a square chest behind some crate. This chest always contains a bottle of Wyrmward Perfume , something that will be requested via Notice Board post at Arsmith’s Alehouse in the future.
Continue down a ramp to the west, then down another to the east, then down some stairs to the east, then to the west, then east again until you reach a small dock. If you are courageous and jump onto the moored boat, you can score a free Ferrystone at, uh… the front. Bow? Stern? Whatever. One of the pointy ends of the ship.
Now backtrack to the area where you found the Wyrmward Perfume and continue west past the stairs you were just playing down. Pass an awfully out-of-place tree and head south-west across a stone bridge to a ruined tower, where you’ll find a glowing reddish stone… a Wakestone Shard, in fact. Pick it up and, if you still have the other two shards in your inventory, they’ll merge to form a full Wakestone. Yet another quest you can complete.
Head back across the bridge to the north-east, and continue north-east to spot a doorway leading to a roofless building. Once inside, search the north-eastern corner to score a square chest which can contain some loot. Once satiated, head through a doorway to the south-east, turn south-west, and go through another doorway to the south-east. You should spot some stairs and a rounded chest-loot and head up the stairs.
| Square Chest | Rounded Chest |
|---|---|
| Incognito Mask | Bandit’s Mask |
| Dusk Shoes | |
| Ebon Neck Wrap | |
| Gossip’s Mask |
Follow the stairs around until they terminate at a landing. Go to the edge of the landing to notice that the stairs in fact continue after a short gap-an easily made jump. Continue upstairs until the stairs end again. This time, you’ll need to be a bit more creative with your monkey-power. Turn north to see a ruined - and scalable - wall that connects to the roof of the tower. Jump up to the lower ledge, then to the higher one, then walk around the edge of the battlements to find an ornate chest, inside of which lies Salomet’s Grimoire . Don’t worry hurting Maul’s feelings. He’ll never miss it.
Atop a seaside tower you’ll find a Wakestone Shard (left). While you’ll find Salomet’s Grimoire in a chest on the keep’s tallest tower (right).
Goblin Beach
It’s been fun playing around in Aernst Castle, but now it’s time to leave. Head back to the camp in the castle courtyard and explore to the west, where you’ll find no less than two sets of stairs leading down to a walkway. Follow the walkway north, then down three flights of stairs, and you’ll find yourself outside of Aernst Castle. Head west from the stairs, past some boulders, to find a ruined structure upon which perches a junk-filled square chest. At night, this place will be swarming with Goblins, but during the day… not so much.
From the structure head south a short ways, past more ruins and across a stream, until you find the sea again. The beach is absolutely infested with Goblins, and while there are a pair of square chests and some Warrior Remains to loot, you won’t get much in the way of treasure from them. There is also plenty of fishing to do in the water. Explore to the west until the beach ends at a cliff. The grassy hills further westward are part of the Varda Woodlands, and hence, the subject of another part of the walkthrough.
| Warrior Remains |
|---|
| Scholar’s Boots |
Head north, instead, along the edge of the cliff and you’ll pass through a field full of Oxen. Another spot to harvest meat, but so far from any rest spot that it’s really useless compared to the bounty provided by the Estan Plains. If you continue north you’ll eventually reach a road that runs east-west. North of this road, up some hills, are woodlands crawling with Goblins and Hobgoblins. In between the beach and the road are plains littered with the signs of battle, marked on your map as the ‘Eradication Site’. What struggle took place here, one can only guess, but considering the uncivilized nature of the area, you can guess that humanity didn’t get much out of the fight. This area is also crawling with Goblins and Hobgoblins-further sign that southern Gransys is Gransys only geographically. If the Duke’s authority extends here, you’ve yet to see any sign of it.
Nightfall Crevasse
Fight your way through the horde of Goblinoids as you see fit, do whatever sight-seeing you care to do, this area is intriguing, but ultimately barren. Continue east until you reach a water-way, the stream you crossed earlier en-route to the beach. Along the southern end it’s little more than water coiling through the sand, but as you follow it north it gains stone retaining walls. What its original purpose was - a irrigation ditch? - one can only guess at. Eventually it leads to a small Saurian-infested pond (the east-west running road that bounded your northern exploration in the last Step ultimately terminates here, as well.) Saurians by now should be little more than scaly experience cows. Dispose of them and wade into the pond, where a few unimpressive fishing spots can be found. More interesting-but only due to the fact that it’s named-is a cave leading north, terminating in a chamber called the ‘Nightfall Crevasse’. Here you can find some fishing spots and an ore vein.
Forests North of Aernst Castle
Goblins lurk along the beach near Aerst Castle (left) while stronger Hobgoblins have set up camp in the nearby hills (right).
As enthralling as this all is, once you’re done collecting fish and rocks, leave the cave and cross to the eastern side of the pond. Continue east along some rocky cliffs until you can venture north, whereupon you should endeavor to head uphill in that direction. Shortly you’ll reach a Saurian-infested forest. Seriously, this place is crawling with the damn lizards, so keep an eye out. Explore the eastern end of this forest-the road leading to the castle bounds it to the east, while impassible cliffs mark the northern extent of your current zone of interest. Cautiously explore to the west, exterminating Saurians as you go, and saving when the immediate area is clear.
The toughest fight yet lies further ahead, and it’s quite possible that you’ll find that your characters are not up to the challenge, especially if you’re new to the game. In the heart of the forest (due north of the map marker for the ‘Nightfall Crevasse’ lurks a Chimera. No need to go into tactics too much-we already fought one as Savan and company, but now you can play other Vocations, so a few words on that; spell-casters and archers have a great advantage in range that Savan did not have-you should use it as much as possible here. Also taking advantage of elevation can protect you somewhat. In both cases, however, be warned; a Chimera can leap quite far, run quite fast, and can usually jump onto whatever ledge you’re on. Range at best buys you time-it’s not usually a way for you to cheap-shot a Chimera. Although you’re likely higher level, Savan certainly had better gear, and most of all, he didn’t have to contend with a brood of Saurians. If at all possible, lure the Chimera eastward, to you, without alerting any Saurians. It’ll make this fight much easier.
If victory is yours, you’ll get the pleasure of laying claim to some loot that is rather paltry compared to the effort taking down the Chimera probably involved. On a rock formation just south of where the Chimera prowled (due north of the ‘Nightfall Crevasse’ marker on the ‘Area’ map) you’ll find a rounded chest with some post-Witchwood quality gear. Further west, on another, higher rock formation is a square chest with even more paltry gear. If victory remained elusive, but you want to see the rest of this place out (don’t worry about the loot, you’re not missing much), just stay south and continue west past the Chimera.
| Rounded Chest | Square Chest |
|---|---|
| Scholar’s Cape | Hide Armor |
| Two-Handed Sword | Shoulder Cape |
| Wooden Wall |
Continue west and you’ll be faced with a choice of two paths; both will get you to the terminus of the Vestad Hills, but present different obstacles. There’s a narrow northern path that winds along the base of the cliffs. Here you’ll be entirely unimpeded by monsters, but falling rocks pose an even more severe threat. Archers can dislodge or destroy them before they fall, but everybody else will need to keep a lookout for them if they wish to keep their heads-getting clipped by a boulder here can include the extra unpleasantness of being knocked off the cliff, which will likely be fatal to most low-to-mid level characters. The bottom route, however, heads downhill through more forest. Here you’ll likely find Hobgoblins (especially at night) although a lucky few may pass without encountering anything more belligerent than some Wild Boars. Either way, this area is bound in the west by a mostly north-south running road. In the north, you’ll have to pass through an elevated, wooded ledge overlooking the Vestad Hills and Verda Woodlands to reach this road. Scenic as it is, it also can be occupied by a tribe of Hobgoblins with an armored Cyclops in tow. However you proceed, once you reach the road follow it north.
Rest Camp
The previous Step technically took you out of the Vestad Hills and into the Verda Woodlands, and this one will see you depart the latter and head into yet another new area: Devilfire Grove. Still, it’s simpler to structure the guide around easily identified geographic features than unnecessarily constrain exploration due to flimsy and often ill-defined area names. Broad strokes, folks, broad strokes. Follow the road north until you find a Rest Camp, which comes complete with a friendly soldier ready to help you learn/set skills, store (but not retrieve) items, and rest-for 100 gold per night. There’s also a merchant – Jayce - who sells some goodies… mostly junk arms and armor, but for those of you who are in the Strider-family of Vocations, Red Leather gear is fairly sturdy. There’s also a Rift Stone, in case any of your Pawns kissed a boulder earlier (or made themselves an unrecoverable liability while fighting the Chimera) and a Knowledge Chair. All in all, it’s a fitting end for your explorations. Here you can get back to full strength for the trip back, empty your inventory, and… well, the trip back to Gran Soren will be left to you.
Cashing in Quests in Gran Soren
Once back in Gran Soren, you’ve got a few quests to turn in. First, because it doesn’t advance the story and is the least involved, should be ‘Reaper’s Scorn’. Head back to the Craftsman’s Quarter, into the ‘Craftsman’s House’, and hand over your Wakestone to Austine, who then asks you to use it to bring his son back to life. Go over to the stiff and interact with him to use the Wakestone. Tears, joy, everybody is happy again. Hopefully the stone cured Wilhem’s heart condition while it was at it, otherwise the stiff’ll be needing more stones to keep him going. In any event, a quest reward will be yours, as well as the achievement/trophy ‘The Savior’.
| Objective | Reward |
|---|---|
| For giving the gift of life | 6000 XP, 10 Rift Currency, 10000 Gold |
Now, the quest ‘A Troublesome Tome’ seems pretty straight-forward, but you’ve actually got two options for completing it. First, simplest, and probably the best way is to just walk up to Steffen and give him the damn book. Quest reward obtained, life is good. On the other hand, you also have the option to be a deceitful prick, which can be fun from time to time. Head over to the Black Cat and talk to Mountebank. Pick the option ‘About your Forgeries…’ and give him Salomet’s Grimoire, which will cost 37,500 gold to make a forgery. Rest at the Gran Soren Union Inn for a day (rest twice to be sure) and collect both the original Salomet’s Grimoire, and the bogus one. Now go talk to Steffen and either give him the original Salomet’s Grimoire, or give him the ‘Salomet’s Grimoire Forgery’, hence allowing you to retain the original. Although the quest reward is the same either way, your honesty (or lack thereof) will impact another quest later on. As for Salomet’s Grimoire, it can be used once - and only once - to cast Bolide.
| Objective | Reward |
|---|---|
| For expediting Steffen’s sorcerous studies | 8000 XP, 20 Rift Currency, 15000 Gold |
Last, of course, is to return to Ser Maximilian with news of your glorious victory in… well, getting some slabs with ancient gibberish carved into them. At least you kept one of the monks alive, right? Granted, it was the sissy one who wasn’t in any real danger, but still. The quest reward for this has already been noted above, back before you wasted your time exploring the Vestad Hills (right after you actually completed said quest).




No Comments