Soulflayer Canyon
Leave Greatwall and head to the ‘Soulflayer Canyon West Entrance’. You’ve teased Soulflayer Canyon enough, time to explore its depths. Anyways, you’ll get the achievement/trophy ‘Into Soulflayer Canyon’ when you enter. Soulflayer Canyon is one of those obnoxious, multi-level, vertical dungeons. Death by falling is not uncommon here, especially since Snow Harpies lurk about the upper reaches, and love grabbing silly little bipeds that invade their home. It’s also the most lucrative dungeon you’ve yet set foot in, so keep the idea of save/loading for premium loot in mind… or plan to run through multiple times (after resting for about a week in between runs to respawn goodies). There are, of course, various plants to grab and ore veins aplenty scattered throughout Soulflayer Canyon.
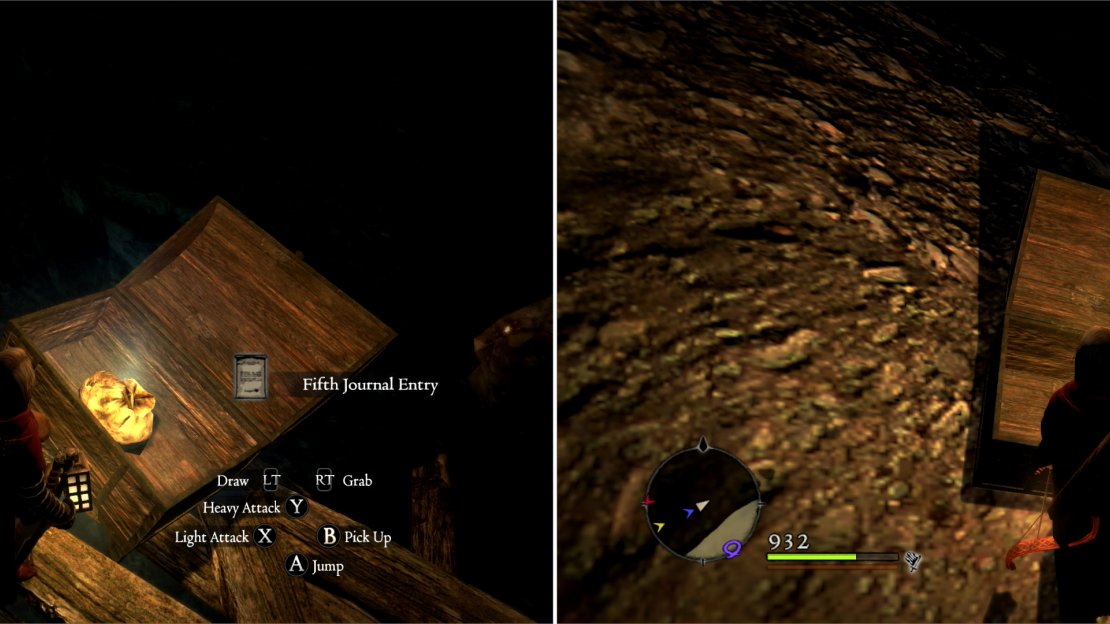
From the entrance head north-east until you come to a fork in the tunnel. Ignore the northern path for now… you’ll get there shortly. Instead, head east to reach a ledge overlooking the canyon. You should get a cutscene showing the sneaky letter-stealing Gargoyle lurking around. You’ll get there shortly. A ruined bridge extends a short ways to the east and holds a rounded chest which contains the Fifth Journal Entry; the final one. Hobgoblins prowl around, but more dangerous are the flocks of Snow Harpies that roost around. One of them can grab a character and drop them into the abyss, making them the most dangerous foes here… and don’t think they won’t try if you let them. To the south extends an intact, Spider-infested bridge that terminates at a smaller rocky ledge. Loot the square chest here, and grab a ‘Pilgrim’s Charm’. You needed one of these for the quest ‘Farewell Valmiro’, and if you were being cheap… well, this is a way to get one for free.
| Square Chest |
|---|
| Arm Crest |
| Chimeric Armet |
Search the north-eastern side of the ledge to find a ladder leading down. Mount and descent to reach another bridge. Loot a square chest near the bottom of the ladder. Now, you can turn north and head along the bridge, eventually working your way to the bottom of the canyon… but there’s a more practical way to go about exploring Soulflayer Canyon. So, backtrack up the ladder, head north back across the Spider bridge, and return west back to the fork. This time, explore up the northern fork.
| Square Chest |
|---|
| Bastard Sword |
| Crowned Hood |
| Plain Longbow |
The Cyclops Bridge
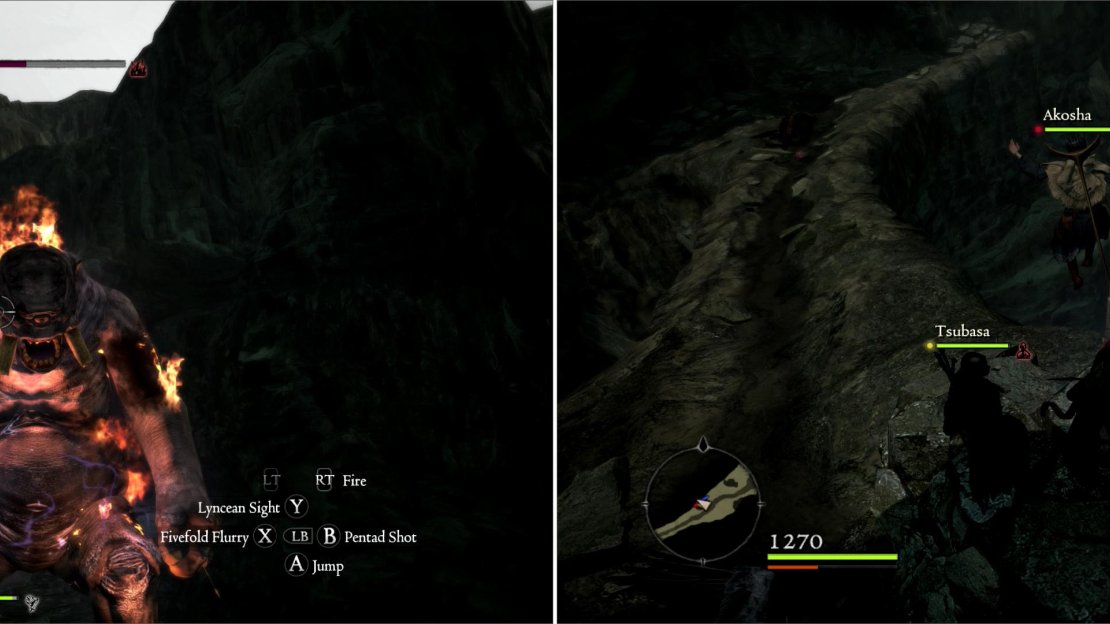
Smite whatever Hobgoblins lurk along the way and follow the tunnel when it turns north-east. You’ll find a long, watery, natural stone bridge running across the canyon to the north-east. Along this bridge skulks a Cyclops, and if you set out on the bridge to engage it, Snow Harpies will also join the fray. This entire situation serves one purpose-to increase the odds that you’ll be knocked off the bridge and into oblivion. The Cyclops certainly has no problem knocking you off with its attacks, and Snow Harpies can, of course, grab and carry you or your Pawns to their demise. The safe course here is to run up and provoke the Cyclops on the bridge, then run back to the relatively safe covered tunnel back south-west (using missile fire or spells to get the attention of the Cyclops is, obviously, the best option.) If you’re clever, you might also be able to trick the Cyclops into falling off the cliff itself
Once the Cyclops is removed, the safest thing to do is just run across the bridge without stopping. The Snow Harpies will spawn and move to attack, but running into the safe tunnels at the north-eastern end of the bridge will prevent them from dropping you from any dangerous height, hence turning them from a legitimate threat into a mere nuisance. Once the Snow Harpies are dead, search the bridge to find a square chest.
| Square Chest |
|---|
| Rex Lion Padding |
| Sage’s Robe |
A narrow causeway is occupied by a clumsy Cyclops (left), which once is felled (or falls) holds some treasure (right).
Leave the bridge again and head into the tunnels to the north-east. Here you’ll find a square chest along the northern wall. Opposite of it to the south you’ll find a watery ramp you can (and should) slide down. Once on a small ledge between two watery ramps, creep to the south and look down over the next watery ramp, which descends much further than the first. You’ll notice that the watery ramp leads to two ledges-one to the east, and one to the west. For now, take the shorter slide down south while sticking to the east. Once on the ledge here, turn east and slide down another short ramp, then finally turn north and descend down a longer ramp.
| Square Chest |
|---|
| Bespoke Longbow |
| Fluted Bow |
| Master’s Merle |
Slopes and Ledges
You’re now on an east/west running watery platform, where a few Snakes may lurk. Along the southern wall in the middle of this platform you can find some potions, sconces to loot, and a Coin Pouch (1000 G) as well as an ore vein… but other than that, there’s not much of interest up here. Head to the western end of this platform and turn south to find another long ramp that leads two two ledge. This time stick west to reach the watery ledge upon which your wayward Gargoyle lurks.
Monster Info: Gargoyle
Gargoyles are superficially similar to Harpies… because, well… they fly. They’ll do swooping fly-by attacks, but their most dangerous attack is a flying-charge grapple, by which they employ their tail sting, which can cause petrification, a fatal infliction unless you have Cockatrice Liquor, Secret Softener, or a Sorcerer with High Voidspell. As with Harpies, the best way to take down a Gargoyle is with ranged attacks or spells. They’re quite a bit sturdier than Harpies, though, so don’t expect to put them down so easily.
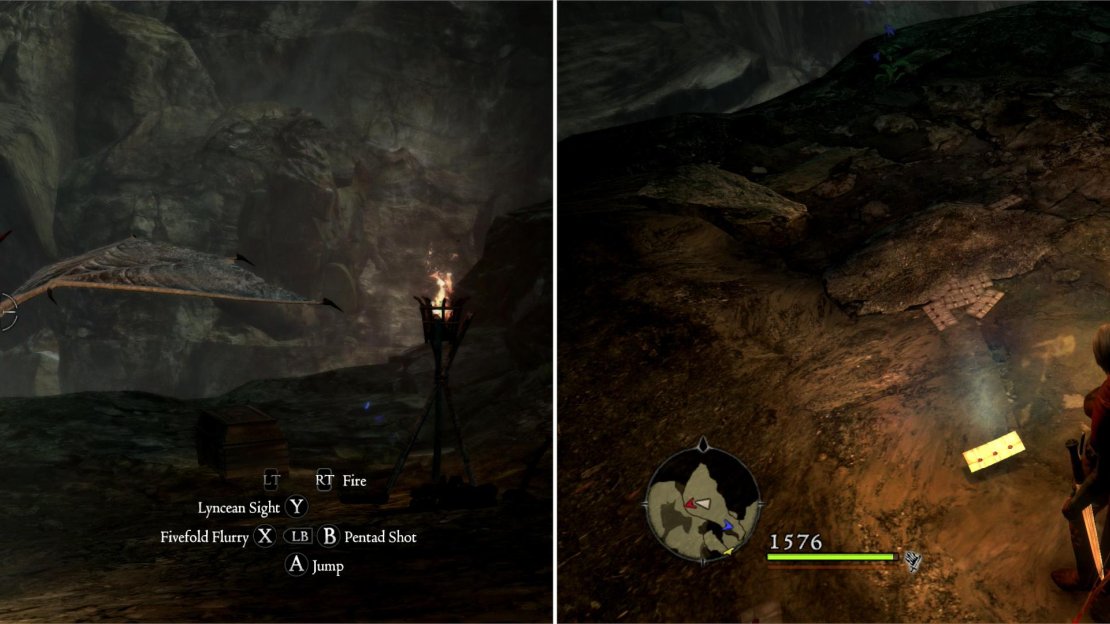
Once the Gargoyle is defeated, loot the ledge upon which it nested, as goodies abound. First, obviously, are the Parcels and the ‘Confidential Letter’ that Fedel wants. Once you have them all - the letter and at least ten (of a possible twelve) Parcels - loot the nearby ornate chest before heading back to the south-east, where, along the southern cliff near the ramp you’ll find one of each type of money pouch (Small, normal, Large, and Giant) worth a total of 14,600 gold. When ready, slide down the watery ramp to reach a ledge, then turn north-west and slide down a final ramp to reach the watery bottom of Soulflayer Canyon.
| Ornate Chest |
|---|
| Steel Beak |
Confront the kleptomaniac Gargoyle on its watery legdge (left) then pick up the Confidential Letter Fedel lost (right).
Phantasms in the Depths
This watery platform is occupied by Phantasm at all times-day or night. To the south you’ll find a square chest, to the north you’ll find a rounded chest, and between them, in the eastern cliffs, you’ll find a Hobgoblin-filled interior chamber. First, however, head up a ramp to the southwest, down which flows a small stream. On some raised rocks along the way sits a square chest. Loot it and continue south-west until you spot a ladder. This leads back to the western entrance, which you’ve already explored and have no need to explore again. At the ladder turn south, then head west between two rocky ledge to find a large ramp leading down. Great treasure lies beyond, so slide down this ramp to read the ‘Leaper’s Ledge’.
| Rounded Chest |
|---|
| Fine Over-Knee Boots |
| Raptor Cuisses |
| Red Longkilt |
If you get snatched by a Snow Harpy, you’ll regret the fall (left). Smack possessed Pawns before Phantasms can drain their souls (right).
Leapers Ledge
This ledge is absolutely overflowing with loot, making it a worthwhile endeavor to describe where it all lies… although for simplicity, you could just loot everything here. South-east of the ramp are some warrior remains which can yield Kunai. From these remains turn south-west and walk to an animal corpse near three piles of hay. Past this corpse are two more warrior remains-the ones north-west of the corpse may contain Master’s Bracers, and the ones to the south can give up a Plucked Heart (the most potent Archistaff you can find at the point in the game.) On a ledge to the north sits an ornate chest.
| Warrior Remains | Warrior Remains | Warrior Remains | Ornate Chest |
|---|---|---|---|
| Kunai | Master’s Merle | Plucked Heart | Almace |
| Animistic Robe | |||
| Terminal Gyre |
From the animal corpse between the warrior remains, head south-east across a stream. Here you’ll find some more warrior remains near another pair of animal corpses and a hay pile. These warrior remains can be searched twice-and always gives up a Misshapen Eye the second time it’s searched, and can also drop either Alchemical Hosen or an Alchemical Vest. Head south-west from here and score some more Warrior Remains near the edge of the ledge. Now turn south-east to find a ledge upon which sits a rounded chest. Along the south-western face of this ledge sits another collection of Warrior Remains, which might give up a Crowned Hood and Pleached Limbs-the strongest Bow available currently.
| Warrior Remains | Rounded Chest | Warrior Remains |
|---|---|---|
| Alchemical Hosen | Triple Tooth | Crowned Hood |
| Alchemical Vest | Pleached Limbs | |
West of the ledge upon which sat the rounded chest you’ll find a series of scalable rocks to the north. Upon the eastern-most low rock sits some Warrior Remains. Continue scaling the rocks until you reach a ledge upon which sits a square chest. Loot it and turn north. Slide down a very short ramp to reach the area above Leaper’s Ledge again. It’s now time to head back north and enter the Hobgoblin-infested tunnels you ignored earlier.
| Square Chest |
|---|
| Chimeric Gauntlets |
| Knight’s Mantle |
Looping, Looting and Leaving Soulflayer Canyon
This cavern runs north/south and, like was said earlier, is occupied by Hobgoblins. Exterminate them and get to looting. Along the northern end of the cavern are a pair of Warrior Remains, the northern-most of which can be looted multiple times, and only yields mundane items. Along the eastern wall you’ll find a box full of potions, and in the south-eastern corner sits a square chest. Once done, head to the southern end of the cavern and turn west to find another passage out.
| Warrior Remains | Square Chest |
|---|---|
| Ingot Club | Free-Spoken Earring |
| Rusted Magick Shield | Iris Ring |
| Ring of Sable |
Here you’ll find another large, watery platform occupied by Phantasms. Smite them and continue south past a watery ramp to reach the dry, elevated southern end of this ledge. Be wary of the several camouflaged Sulfur Saurians that lurk around here. Dispatch them and loot some Warrior Remains at the edge of the water, then head up to where the Sulfur Saurians lurked and turn east to find a ledge you can climb. Before you climb it, score a square chest south of this ledge for some goodies.
| Warrior Remains | Square Chest |
|---|---|
| Silver Vest | Caladbolg |
| Malignance |
Once on the ledge turn north-east and head across the fallen ruins of a wooden bridge. Climb up to another ledge upon which stand the feeble remains of the bridge littering the ledge below. Continue north to find yet another ruined bridge above you, crawling with Giant Spiders. Before climbing on this next ruined bridge turn east to score an Angel’s Periapt sitting along the cliff. Scale the bridge and follow it north until you find a ladder. Head around the ladder to the north to find a square chest hiding.
| Square Chest |
|---|
| Chimeric Half Plate |
| Crowned Hood |
| Scarlet Cape |
| Thousand Stings |
Now, you can climb the ladder to reach the eastern exit of Soulflayer Canyon and be quit of this place… but there’s one last bit of loot to be gained if you’re willing to backtrack to the western entrance of the canyon. Backtrack down to the southern Phantasm-haunted watery platform, head through the Hobgoblin cavern, then travel south-west up through the northern watery platform. Scale three ladders, turn north, and recross the Spider-infested bridge. Follow the stream west until you reach the fork, then head north, cross the Cyclops-occupied natural stone bridge and return to the watery ramps. Drop down the short, first ramp, and when faced with the second, larger watery ramp, descend while sticking to the west this time. After a long slide you’ll find yourself on a ledge with a square chest. Score a Light Cure behind the chest, and a Seeker’s Token to the south before sliding down another ledge to the west. Not a terribly rewarding detour, but at least you’ve seen all there is to see. Head south along the open-air ledge and note a collapsed wooden bridge to the west. There’s a ladder down nearby-but you have no need to descend deeper into the canyon again. Instead, turn south-east and follow a stream until you reach the exit.
| Square Chest |
|---|
| Free-Spoken Earring |
| Golden Ring |
Returning to Gran Soren
You’re now back in Cursewood, just outside of the ‘Soulflayer Canyon East Entrance’. If you’ve been gone a while, expect foes to have respawned. Head south-east and loot a square chest for some junk loot, then turn south-west and search some Warrior Remains. Now turn east and walk amidst some apple trees (yummy healing, if you were hurt in Soulflayer Canyon). Head to the eastern ledge of this platform and head to the northern tip to score a Coin Pouch (1000 G) hidden amidst some trees. Grab it and walk off the ledge to the east and onto the rocky slope. Head south along the slopes until you reach a ledge with a bird’s nest along the sheer cliff to the west. Turn north-east and walk along the ledge to find a rounded chest, which bestows goodies upon those who loot. Continue past the chest to the north-east until the walkable ground ends, then slide down the cliffs to the south. You’re now west of the Catacombs entrance, and should have no trouble finding your way back to Gran Soren from here… you have a letter to turn in, after all.
| Warrior Remains | Square Chest |
|---|---|
| Leather Gloves | Iron Headgear |
| Sectional Iron Plate | |
| Unspoken Grace |
On a ledge overlooking Soulflayer Canyon you can find the Fifth Journal Entry (left). After plundering Soulflayer Canyon, find a chest on some cliffs for some parting treasure (right).
Counterfeit and Conspiracy
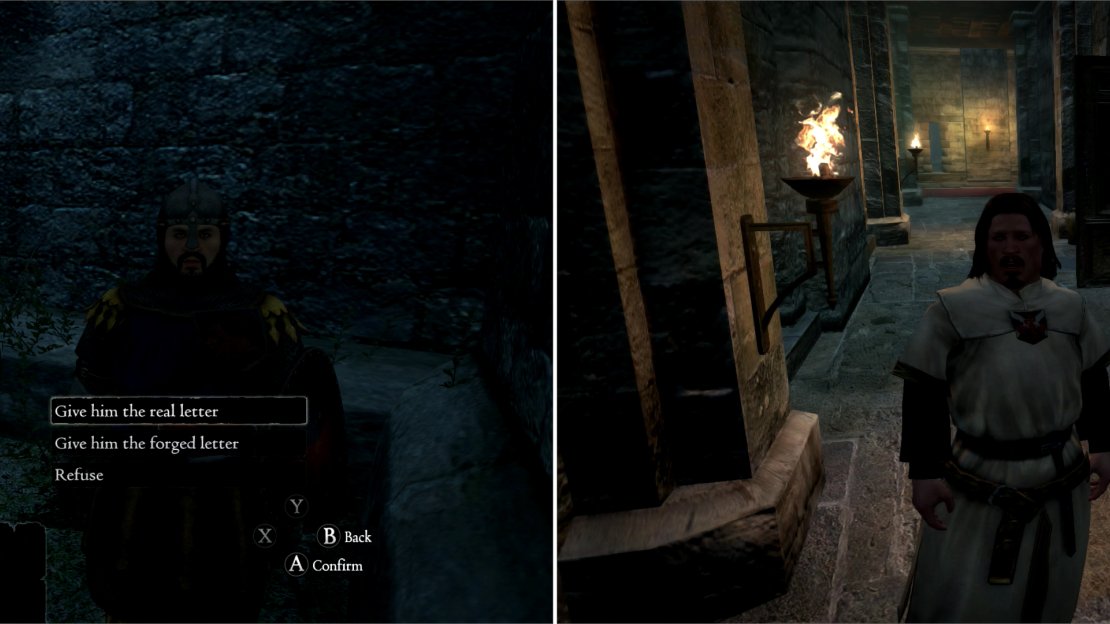
Return to Gran Soren, stash loot, and rest until morning, if necessary. Once done, head back to the castle, letter in hand… err… inventory. Walk towards the castle and you’ll see a cutscene of a Gran Soren soldier very awkwardly spying on you. Either head into the palace or go talk to the chap-if you do the latter, he’ll intercept you, so… you’ll be talking to him either way. This Ser Gabrian, a soldier of Ser Daerio, captain at the Stone of the North (Windbluff Tower) knows an awful lot about your dealings with Fedel, and intimates that Fedel is a snake in the grass, preying upon sympathies towards the health of the duke that… well, you probably don’t possess. Of course, his company is the squad being investigated by the court for potentially readying a coup, so, his story smacks of self-interest. If you give Ser Gabrian the letter, Fedel will still have a quest marker, and will still babble about the quest, but it’s a legitimate way to complete the quest. On the other hand, if you refuse Ser Gabrian will suggest that you might encounter some ill fortune in the future. The reward is the same for giving the letter to Fedel, so there’s no objective reason to favor one side over the other… and honestly, it seems stupid to get overly concerned over who owns the duchy while the Dragon is out there trying to burn in down.
There is, of course, a third option; visit Mountebank at the Black Cat and have him forge the letter for 34,500 gold. The fake is marked as such in your inventory, usually a sign that it won’t substitute for the original… but that’s not the case in this instance. You can give one of them the forgery, and the other the real letter, and score double the quest reward… which pays for the cost of the forgery, and a bit extra.
| Objective | Reward |
|---|---|
| For giving the letter to Ser Gabrian | 18,000 XP, 35 Rift Currency, 35,000 Gold |
| For giving the letter to Fedel | 18,000 XP, 35 Rift Currency, 35,000 Gold |
With the Confidential Letter (and perhaps its forgery) in hand, return to the castle, where you can give the letter to either Ser Gabrian (left) Fedel (right) or both.
When you turn over the letter, you’re done with this section of the guide. Still, don’t be afraid to head back to Soulflayer Canyon on your own time and loot it again, as there’s little chance you’ve found most of the loot in only one run, even if you save/loaded a lot. As for your next move, you still have a few things to do up in the Northface Forest… but thankfully there’s a quest you can get from Aldous that’ll take you up to that area… two birds, and all that. Actually three in this case, and it’s one hell of a bird…


No Comments