Come to Court
Talk to Ser Maximilian and select the option ‘Hear the Duke’s Directive’. If you’re following the guide, by now you’ve done all four Wyrmhunt quests and have explored all of northern and southern Gransys, only leaving the eastern and western-most extremes. It’s time to move on. Anyways, the duke wants to commend you for your valor, since you’re apparently the only competent person in this entire duchy. You will, however, have to give up your Wyrm Hunt License when you meet the duke, as such tasks will presumably thereafter be beneath us. Click through Ser Maximilian’s conversation where Capcom does everything in its power to inform you that there’s no going back, then, when your Wyrm Hunt License is gone, head through the gate to the castle.
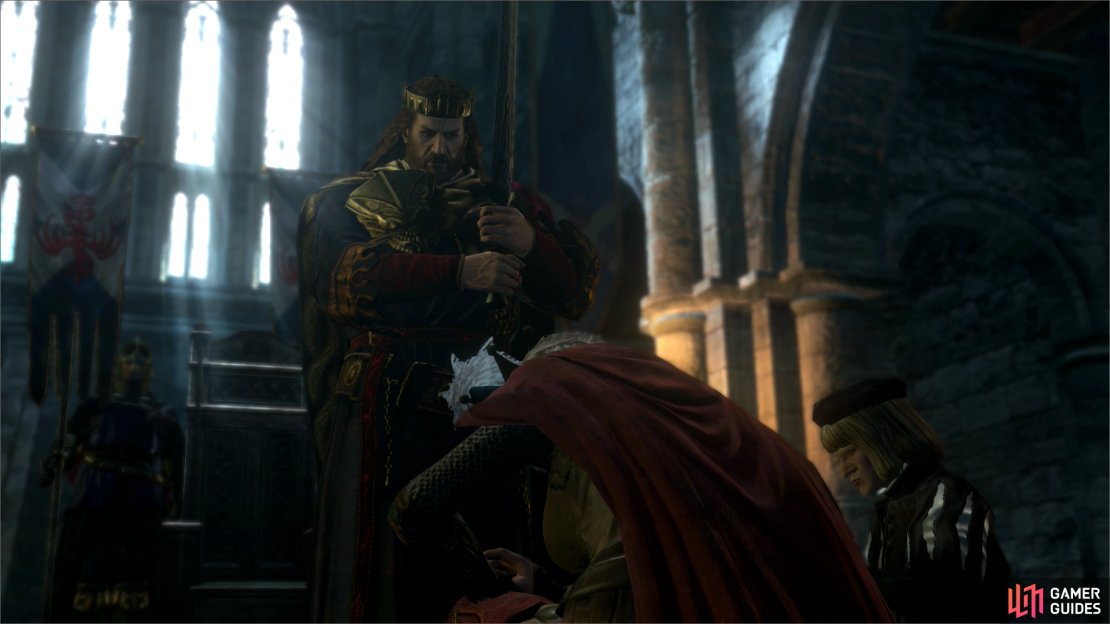
For some reason, the good duke doesn’t allow Pawns on the castle grounds. Odd, for a former Arisen to shun the company of Pawns, but perhaps the old man has his reason, eh? Head up the stairs to the east and enter the large wooden double-doors to enter the castle. Across] the antechamber to the east you’ll see a red-and-yellow clad dwarf jester named Feste, who will harass you as you approach, make some fish puns, and end up embarrassing you in front of the duke’s court. Ignore the stupid hat (there’s nothing you can do about it) and when the cutscene ends stride boldly forward to confront the duke. If he’s Iola’s age, he certainly doesn’t look it, lending further credit to the Arisen = immortal idea. When you get near the duke, he’ll make a pun that elicits a phony laugh from his sycophantic court before standing and knighting you. Afterwards, your official business with the duke is done. Reflect on the underwhelming affair as you score the achievement/trophy ‘Come Courting’.
Exit the throne room via the doors you came through, then continue westward and return to the castle’s porch. As you go to head down the stairs your attention will be drawn to the gardens to the north, where the duchess Aelinore tends her gardens. Ignore the peril of mingling with the spouse of your betters and head over there. She’ll comment on your ‘crown’ and compliment your plain appearance. Your character will make stupid faces, because they can’t talk. Fun.
Now head over to the gate leaving the castle grounds to initiate another conversation, this time with Ser Alvert and the duke’s chamberlain, Aldous. The former will tell you that you now have access to the castle-and you’d better behave yourself therein. So… don’t hit anybody, and don’t come here after night, essentially. Aldous comments on the duke’s erratic behavior before catching himself, and tells you that he’ll be dispensing royal orders (quests) as you come to undertake them. Essentially, instead of Ser Maximilian, now you have to go to Aldous for the story-advancing quests. You’ll get a quest reward for sitting through this exercise in social advancement and courtly excess.
| Objective | Reward |
|---|---|
| For hearing the duke’s directive | 10,000 XP, 20 Rift Currency, 20,000 Gold |
Exploring the Castle
There’s more exploration to be done here, which you’ll get to immediately. You should, however, understand how this guide works by now; let’s ignore main story advancement in order to do as many side-quests as possible, and do them economically. In order to pick some of these quests up, you’ll need to leave the castle and return, whereupon some members of the court will be more talkative. If it’s night-time, be sure to rest at the Gran Soren Union Inn until morning before returning to the castle. No sense in getting thrown in jail… yet.
After leaving and returning to the castle, head back up the stairs and through the wooden doors to reach the antechamber. Standing in the south-eastern corner, you should spot a lady with a quest for you. Talk to her, this Mirabelle, and she’ll tell you that her lady – Aelinore - wants to ‘speak’ to you, in private. Must have made an impression. She mentions that some might considering such a ‘meeting’ unseemly, considering her vows to the duke, and will ask you to meet her in the gardens, at night.
Now to paint with broad strokes. Ignore the throne room for now and turn your attentions north. Through a doorway you’ll find a small mess for the servants, where you can snatch a bit of food, smash some crates, and loot a junky square chest in the south-western corner of the small chamber. Continue east down a tunnel and you’ll pass through a perpendicular tunnel which, if you turn north will take you out to the northern gardens, and if you turn south will take you to the throne room. If you continue east you’ll find a larger mess with more mundane lootables, including another square chest in the south-eastern corner of the room.
Backtrack to the antechamber and explore down a tunnel to the south this time. You’ll shortly reach a chamber, otherwise barren save for a few crates lying around. If you head east you’ll reach another perpendicular tunnel. Going north here will take you to the throne room, south leads to the southern grounds, and to the east lies the treasury, locked and guarded. Back in the square chamber south of the antechamber you can find another tunnel in the south-western corner of the room, which will lead down to the dungeons. Here Ser Jakob keeps watch. Talk to him and you’ll get a grasp of his scruples, or lack thereof. In the south-eastern corner of the room preceding the cells you can find another square chest, hidden behind some crates. This chest always contains a Skeleton Key, which is worth grabbing.
Return to the antechamber again, and proceed into the throne room, marked on your map as the ‘Audience Chamber.’ Depending on the time of day, you’ll likely find Feste, the duke, and Aldous here. The former two have little to say to you, and you need not start any of the latter’s quests. Head up the stairs east of the throne to reach the balconies overlooking the Audience Chamber. Head south and turn west.
The south-eastern-most room up here is marked as the ‘Visitor’s Chamber’, and it’s where you’ll find Julien - the suspicious person you tracked for Mason earlier - whom you also spotted in the Catacombs during your investigation of Salvation. At least, he’ll be here when he’s not conspiring in a tower north of the castle. Anyways, search this room for some goodies, including a ‘Set of Salvation Robes’ that can always be found under some drawers along the northern side of the room. They’re not really being subtle, are they?
| Miscellaneous |
|---|
| Set of Salvation Robes |
The room to the west of the ‘Visitor’s Chamber’ is marked on your map as the ‘Gathering Hall’. It’s where the high-rollers eat. You can grab a junky rounded chest in the south-western corner of the room, but otherwise, it’s not a very interesting place.
Exit the ‘Gathering Hall’ and continue west. There’s a small chamber in the south-western corner which contains nothing of value, so turn north and continue walking around the balcony that surrounds the throne room. Go through a doorway to the west to find the ‘Duke’s Solar’, where the duke hangs out early in the morning. You can grab a few trinkets from the tables, and if you search around the chair behind the duke’s desk, you’ll find approximately eight ‘Tufts of Hair’. Either the duke has a really frustrating job, or he’s going bald.
Exit the ‘Duke’s Solar’ and continue north. The chamber in the north-western corner of this level has some meager lootables. Turn east and continue along the northern balcony. The first room you’ll come across here is marked as the ‘Chamberlain’s Office’, which looks like less of an office and more of a dining room.
Finally, it’s time to enter the last room up here-the north-eastern most room is marked as the ‘Storehouse’ on your map. There are some potions to grab, a Coin Pouch (1000 G) lies in the south-western corner, and two junky rounded chests lurk behind some crates. Better than nothing.
Leave the ‘Storehouse’ and continue east, down some stairs, at the first landing turn north to spot a doorway. Enter the tower beyond and head upstairs, going through another doorway after ascending three flights. You’ll now stand before a large stone bridge leading to a tower in the distance. This is the duchess’ prison… err… quarters. Something to keep in mind for later indiscretions.
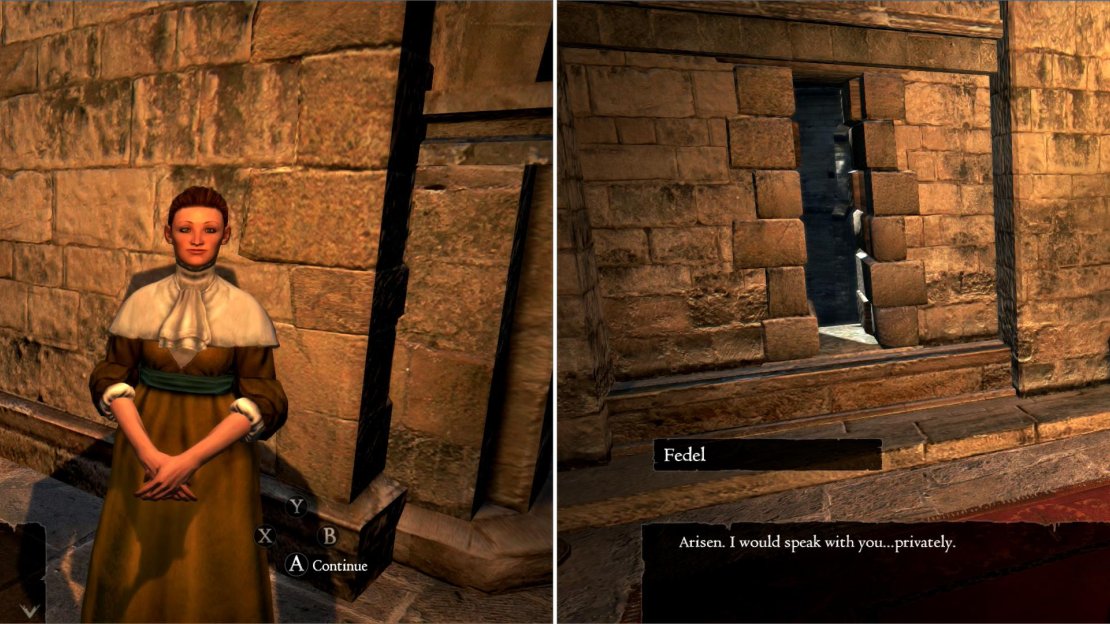
Now that you’ve covered all the ground inside, let’s look for somebody specific. You’re looking for a white-clad, somewhat chubby man named Fedel, whom you might have see wandering around the throne room or, more likely, its upper levels. Talk to him and he’ll say he needs to talk to you privately, after dark, in the courtyard. Seems like you made all kinds of impressions last time you were here. Must have been the hat.
Mirabelle will pass on a scandalous request from Aelinore (left) and Fedel will ask you to visit him at night to discuss some clandestine work (right).
Exploring the Courtyard
Leave the castle and follow the walls surrounding it to the north, then east. You’ll find two places worth exploring. First is a doorway that leads to a tower that is marked on your map as an ‘Observation Room’. Here you might just observe Julien talking to a Gran Soren guard. Probably about the weather. Head to the top of this tower to reach the walls-you can find a junk-filled square chest atop the tower, and precious little on the walls.
Exit the tower and continue east to find a door, which leads to a small chamber filled with treasure chests-three ornate chests, to be exact. All three of these chests can contain low-level gear, or junk. Still, better than nothing. Back to the west there is a stone pavilion, in which you’ll find another ornate chest, which tends to contain a periapt of some sort.
| Ornate Chest | Ornate Chest | Ornate Chest |
|---|---|---|
| Broad Sword | Iron Shield | Short Bow |
| Trusty Sword | Pelta | Sylvan Bow |
Finally, let’s finish up by exploring the courtyard south of the castle. Here you’ll find another tower marked as an ‘Observation Room’, which also leads to the walls around the castle if you follow it… but, as there’s no treasure to be had, there’s really no reason to bother. There’s also another stone pavilion which hides an ornate chest, containing another periapt.
With that, it’s time to leave the castle… you can deal with the castle quests later. For now, return to Gran Soren. You’ve only just scratched the surface of the new quests available to you.


No Comments