
After the break from the collectibles in the previous two missions, it’s time to return to the regular scheduled program with this one. The journey, this time, looks to take us inside of the giant tree that’s taken over the city. Run forward at the beginning and when you get to the open area, some Empusas will appear. Feel free to make short work of them and continue along, until you come to another open area that gets sealed off by some barriers. Here, you will fight some Riots, with a Green Empusa showing up a little later. You should have a good idea how to fight the Riots now, so they won’t be giving you trouble at this point.
As you head past where the barrier was located, you will happen up a lava elevator. Before jumping on for a ride, grab the Red Orbs in the little alcove to the left, then hop up the platforms to come face-to-face with the elevator. Wait until the rock ledge is all the way out before jumping on, though, as you will just fall to the ground. About halfway up, you should spot a ledge on your left, so jump to it to find some Red Orbs at the end. Return to the elevator and get off at the very top, breaking the Red Orbs Cluster right there.
Continue along a little bit and grab the Red Orbs on the side of the building, but stop in this area real quick. There is a Grim Grip point just ahead, but you have to shoot it in order to swing from it. Do this not once, but twice (second is in mid-air), to get to a ledge with some more Red Orbs. Some tentacles try to impede your progress just ahead, but cut them down and carry on to the end, where there is some strange structure. This is a Bloodstream and it will carry you to a new place, so just walk up to it and enter the thing. As soon as you come out of the Bloodstream, you’ll see a welcoming party of a few Empusas.
Knock some sense into them and continue along the path ahead of you. You will eventually reach a pit to drop into, but if you have Air Hike and Gerbera equipped, it’s possible to skip it. From the edge, double jump while holding forward, then spam the Gerbera air dodge repeatedly. This lets you access the giant Red Orbs Cluster on the other side without having to fight some enemies first. Either way, this guide will be fighting the enemies, mainly some Hell Cainas at first. After defeating a few of these, some Hell Antenoras will join the party.

(1 of 2) Air Hike (double jump) is one of two necessary components needed to skip this fight
Air Hike (double jump) is one of two necessary components needed to skip this fight (left), with the other one being the Gerbera Devil Breaker (right)
Note that the arena will be rising up and down during this battle, so your mid-air combos might be a bit wonky at times. Defeat all of the demons, then jump to where the giant cluster is (help yourself if you fell in while trying to skip across). Continue along, dropping down the next big pit and you’ll come to a room that introduces a new enemy, the Baphomet.
At first, you only have to fight a single Baphomet, but upon killing it, another will spawn, along with two Riots. It might be a good idea to chase after the Baphomet, as to avoid any unnecessary projectiles or ice pillars thrown your way. When you’re finished, journey to the end for another Bloodstream, but look behind it for some Red Orbs first. Take the Bloodstream now to be transported to a new area, where you will catch your first glimpse of a Divinity Statue. These things are sometimes found during missions, where Nico might not be able to reach you. Other than some visuals, the Divinity Statue functions the same as Nico, so you can purchase new skills, change up your Devil Breakers or purchase some new ones.
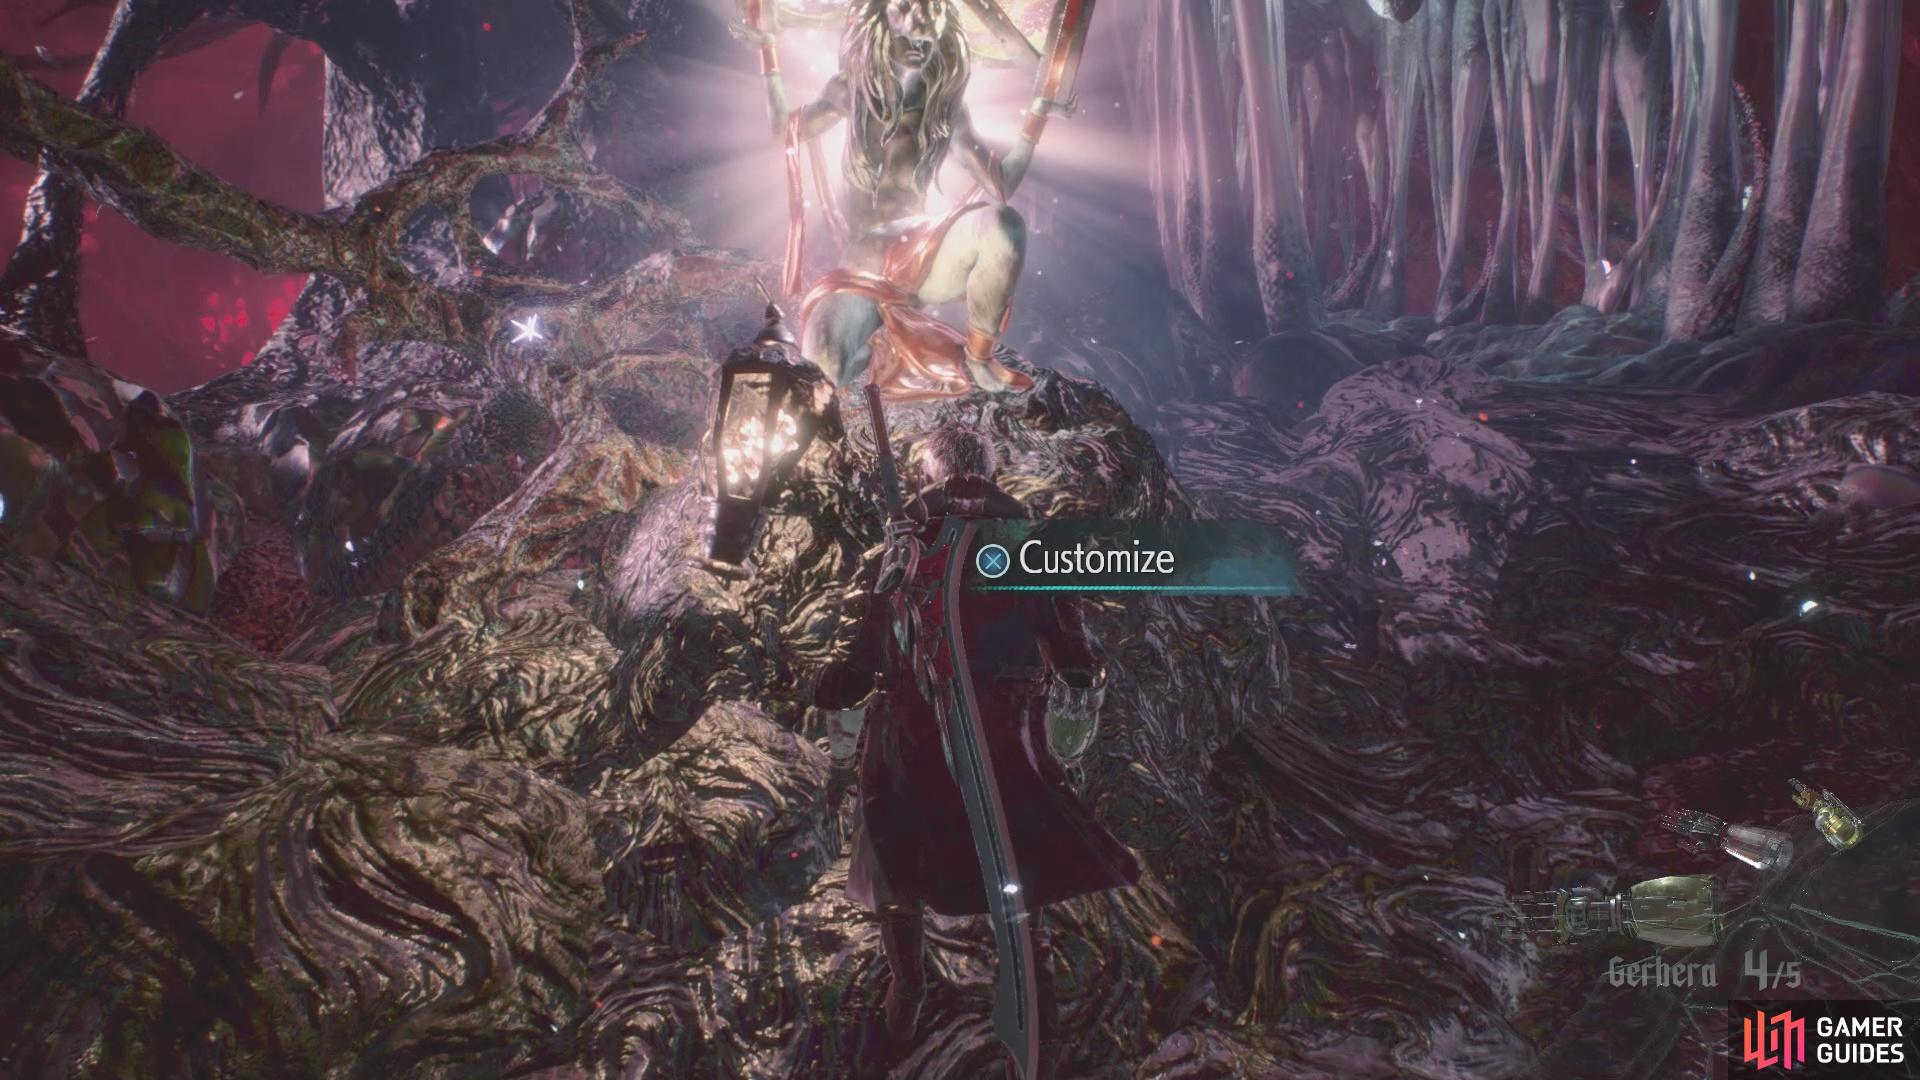
The Divinity Statue functions the same as Nico, so you can purchase new skills here if necessary
Follow the trail past the statue and when you get to another pit, stop right there and don’t jump down just yet. Here is where that Gerbera will be used, so switch to it if it’s not in the first slot. You will see a Blue Orb Fragment on the other side of the pit, but unlike the huge Red Orbs Cluster from earlier, you won’t be able to get it after dropping into the pit. So, you will need to jump out over the pit, then perform the double jump and spam the Gerbera dodge repeatedly to try and reach the ledge with the Blue Orb Fragment. Once you have gotten it, you have a choice of whether you want to fight some enemies in the pit, or to skip them entirely by taking the path past the orb.
Should you decide to fight the demons, you will continually fight Scudo Angelos, which are the ones with the shields. You can simply jump over them and quickly snatch them into the air, where you can proceed to slice and dice them. Eventually, the platform you’re on will fall and the Scudo Angelos will disappear. However, more will appear, along with a Proto Angelo. This is similar to the fight at the end of the previous mission, but you’re alone, so you won’t have help. Take out the Scudo Angelos first, since they are easy and can be brought into the air, then focus on the Proto Angelo last. Now’s a good time to go over Proto Angelo, since you’re actually doing a battle against it.
After winning that battle, it might look like you’re stuck in the arena, but there is a lip you can jump over to exit. You will come to a split, with the right path leading to a dead end with some Red Orbs. The other way will bring you to another Bloodstream, with some Red Orbs tucked away behind it. Upon exiting from the Bloodstream, the first open area will have you doing battle against some Riots and Baphomets. You will come to another elevator after the battle, so get on and halfway up, you can see the camera panning over to a platform. Double jump and use Gerbera to reach it and earn some Red Orbs.


(1 of 2) Halfway up, you can double jump and boost to the ledge shown

Halfway up, you can double jump and boost to the ledge shown (left), where you can use the Grim Grip points to launch yourself to the ledge for the Secret Mission (right)
While standing on this, you should notice some Grim Grip points floating up and down near you. Use the first two to reach a ledge, which opens up to another pit. There are no enemies here, though, but you’ll know you’re in the right spot if there’s one of those platforms with flames around it. You don’t need that right now, though, so drop down and look for the glowing red spot to stand on to begin the Secret Mission. You need to look back up where you dropped in at to actually begin it.
Secret Mission 05
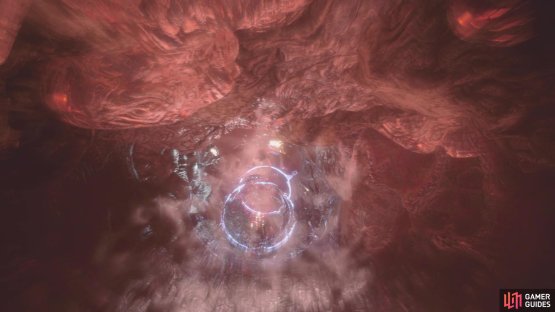
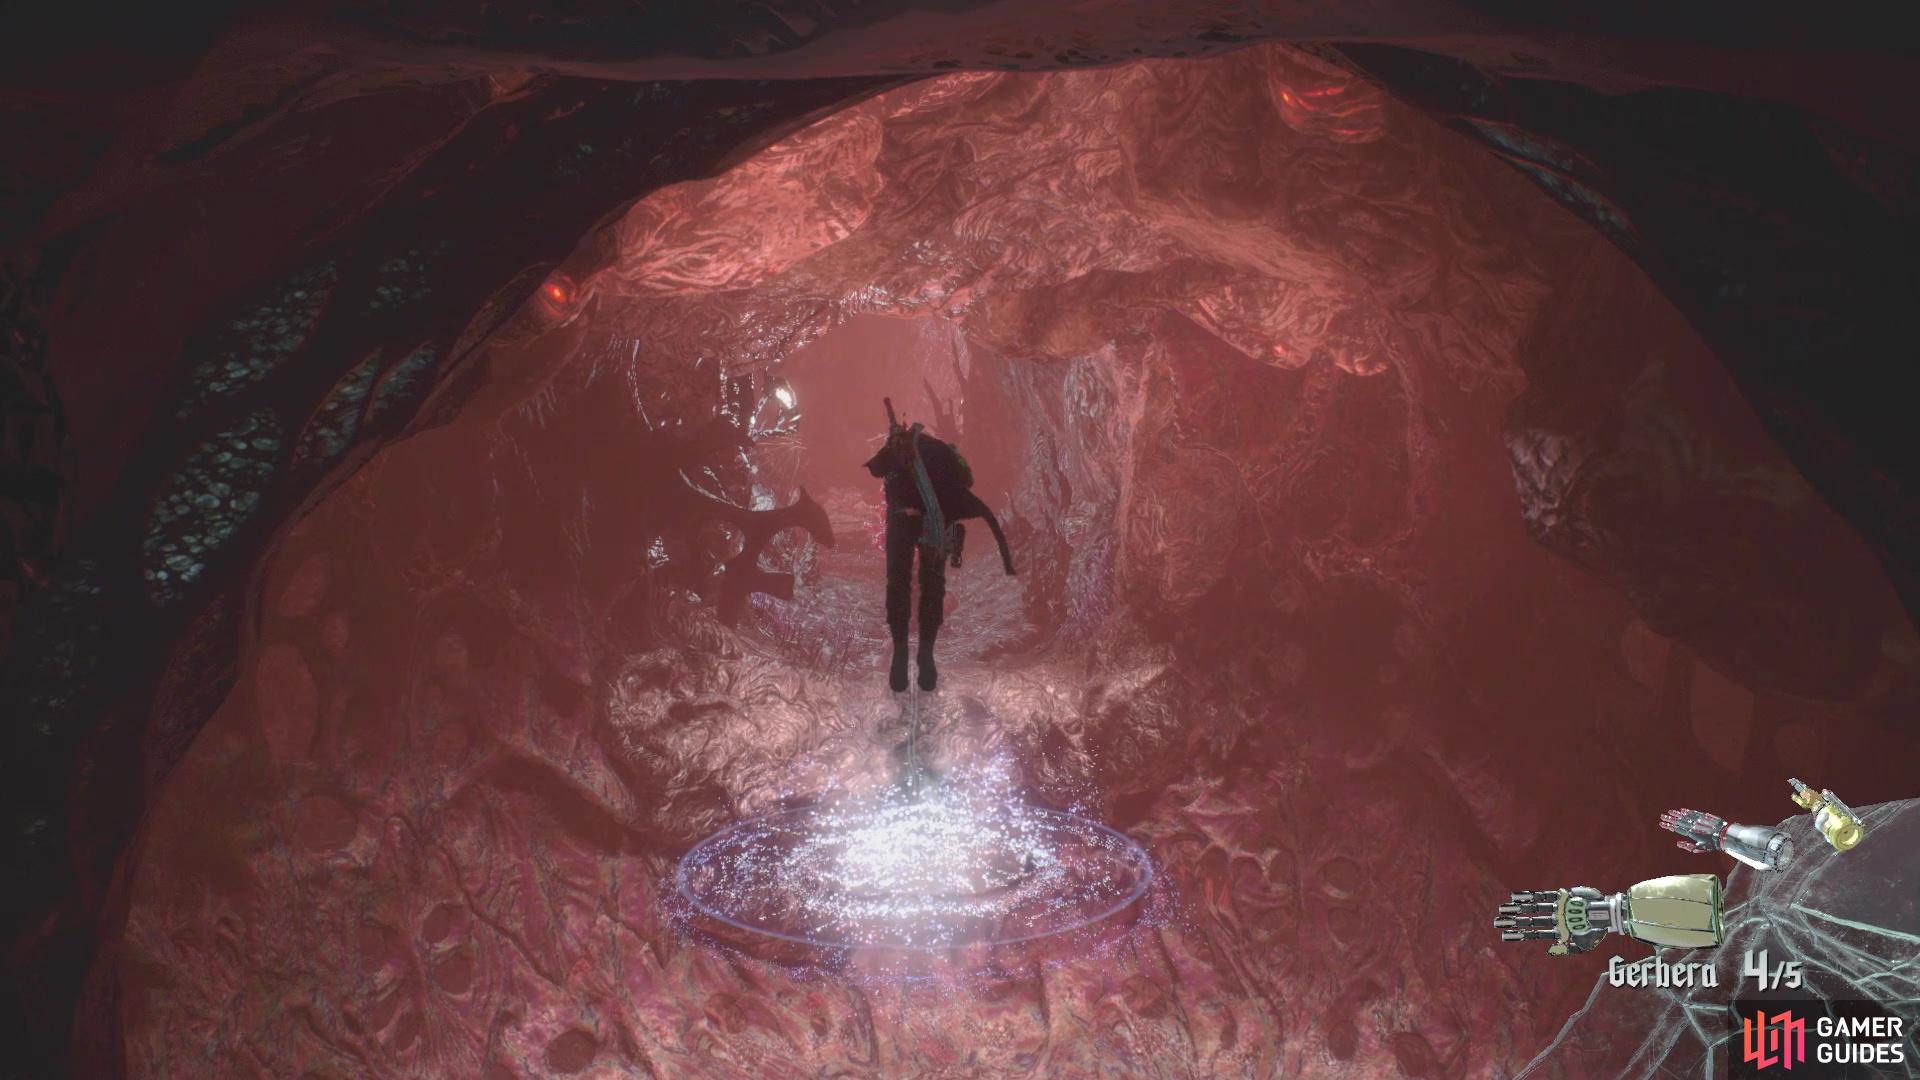
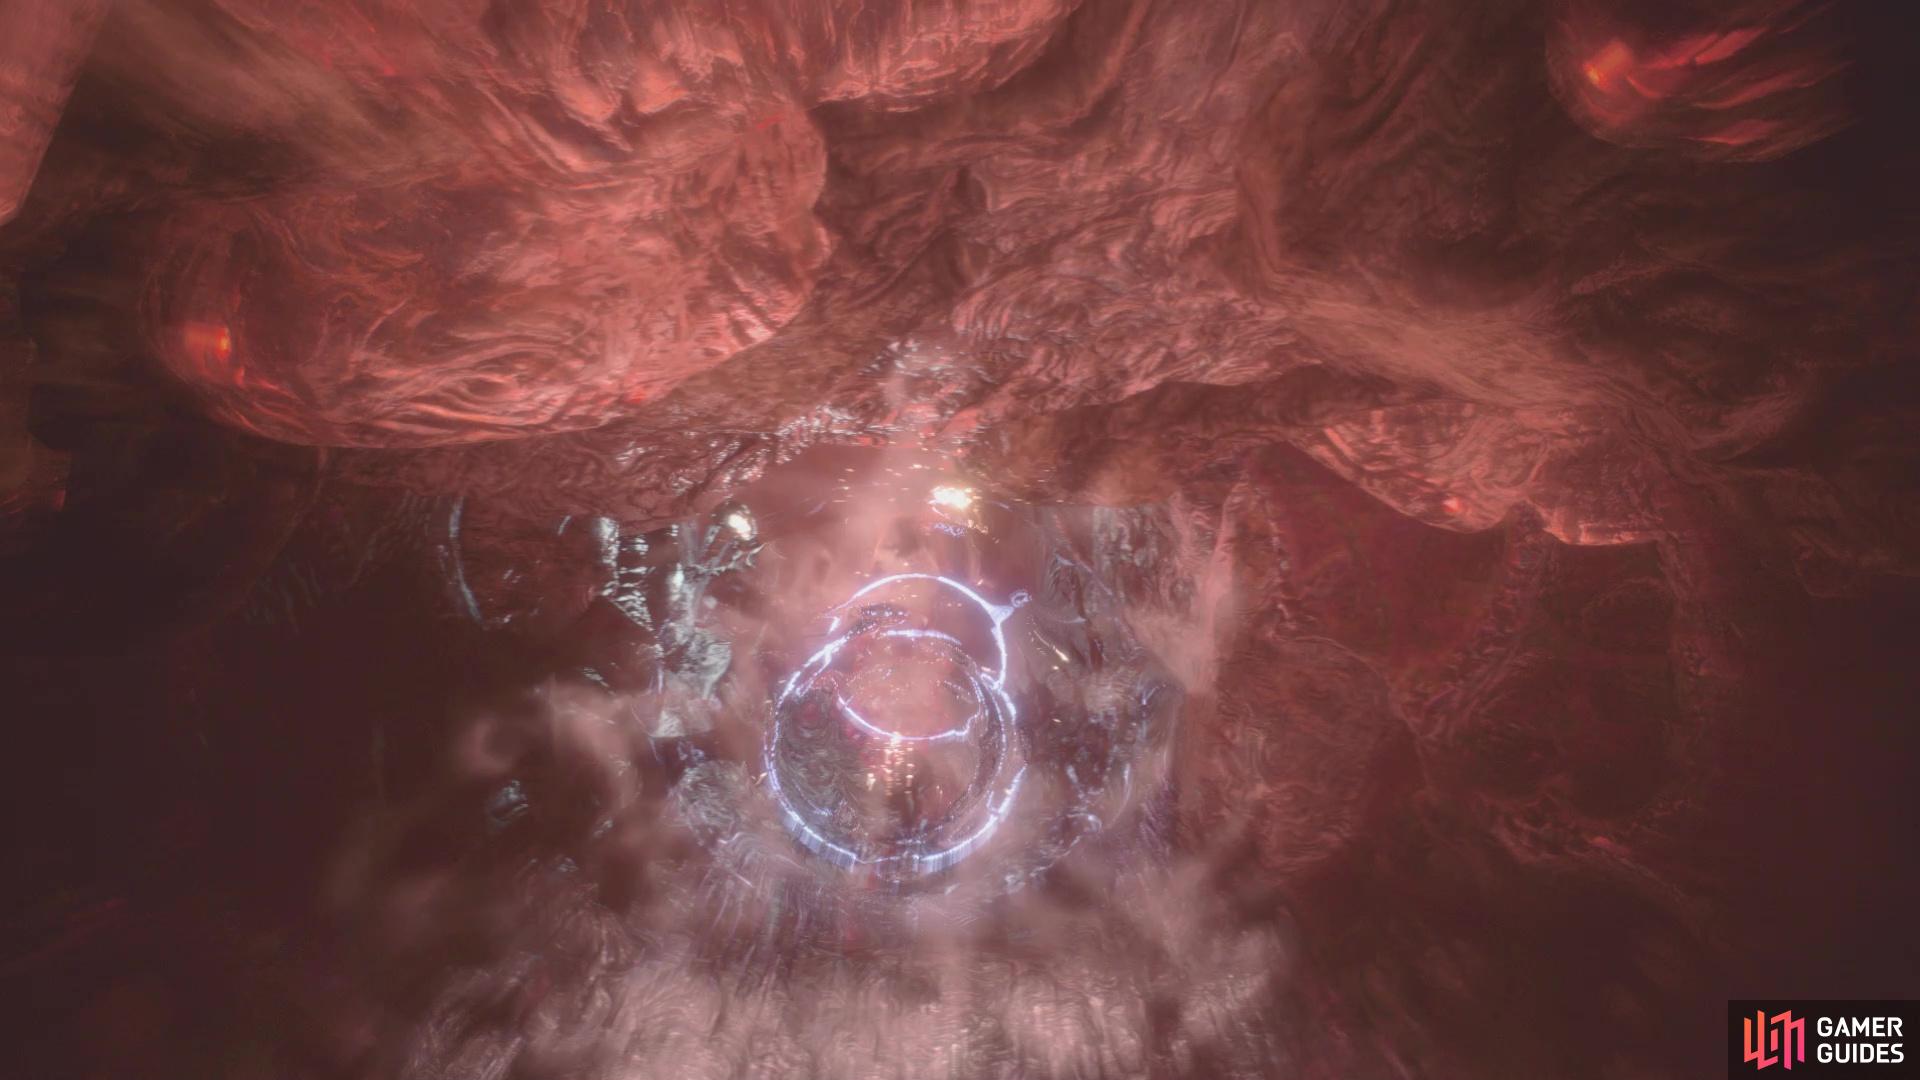
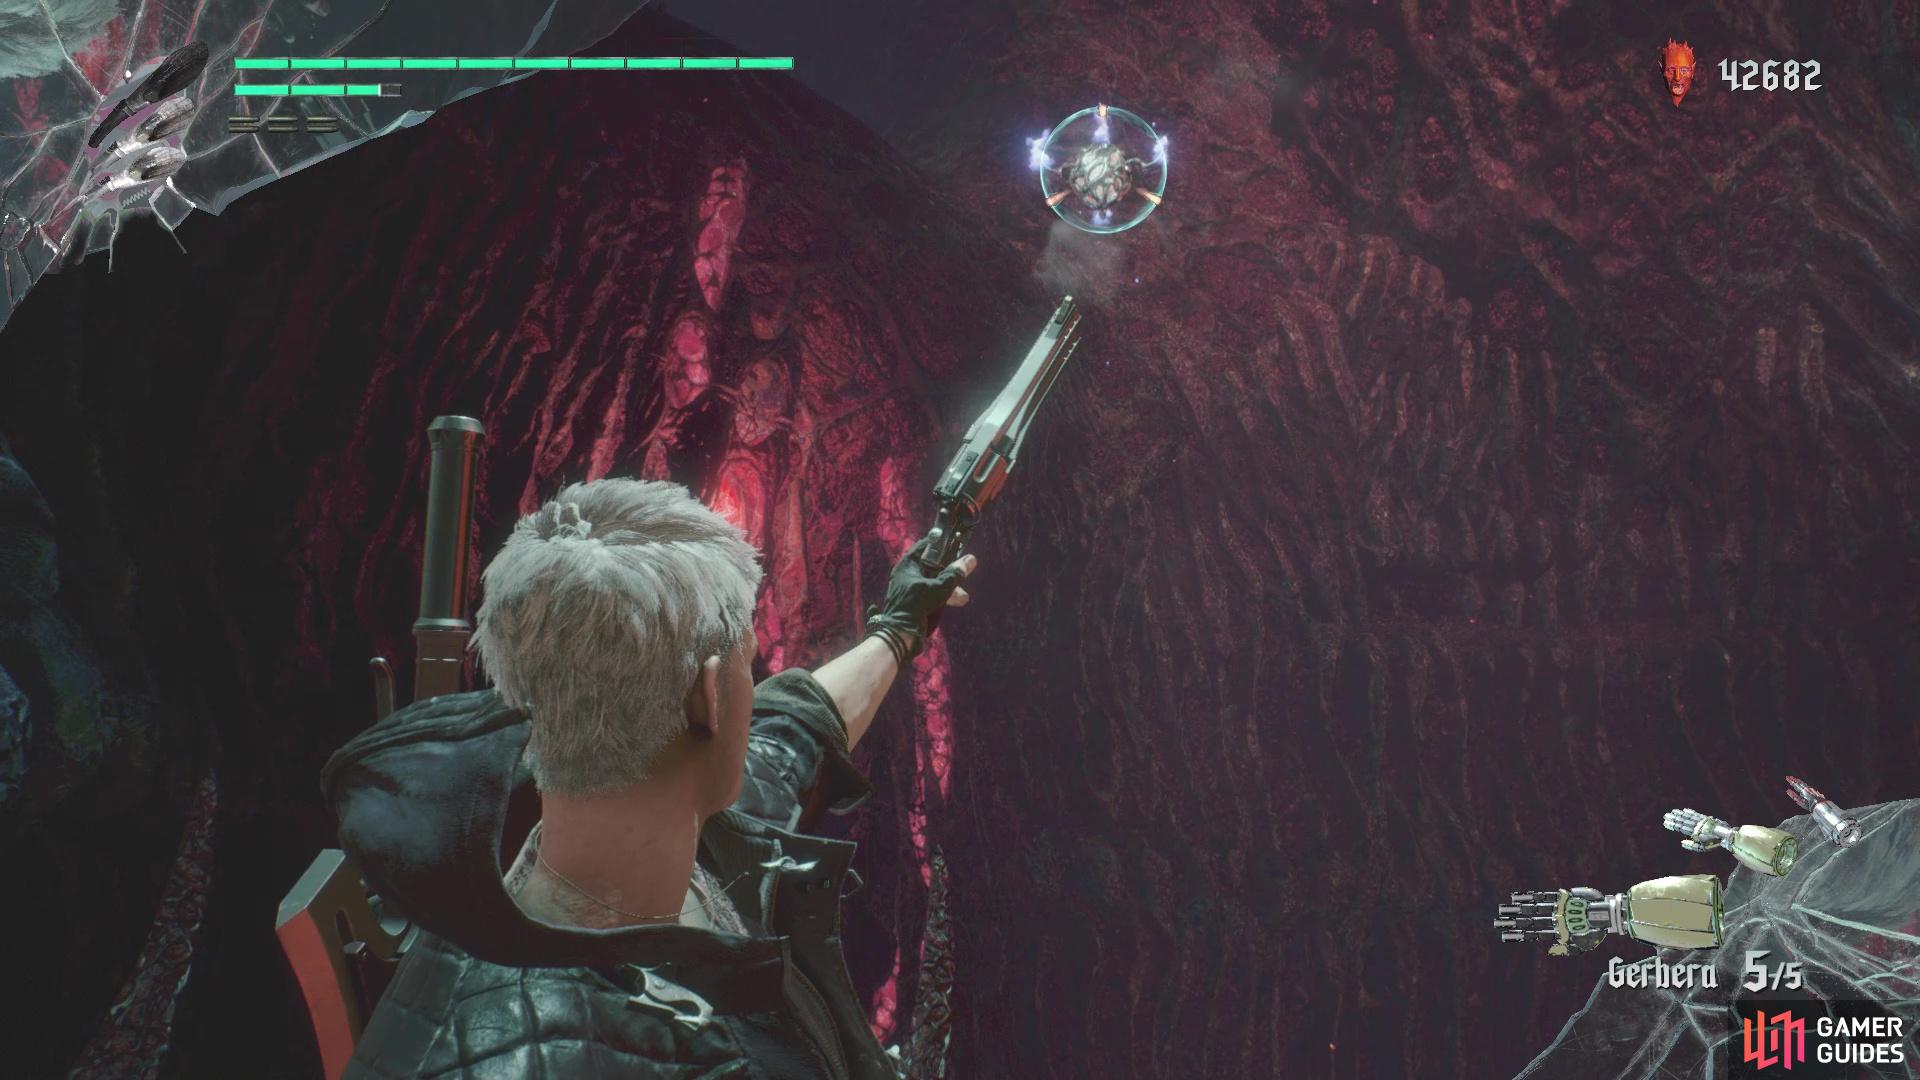
This could potentially be one of the more annoying Secret Missions in the game, as you have to make it to the goal without touching the ground. You will be doing this by utilizing a bunch of Grim Grip points that are floating in the air. So, you will have to shoot the next Grim Grip point while in the air, then manage to grapple to it before you hit the ground. The first one is already open, but you will have to shoot the rest of them to open them up for grapple. If you have the Air Hike skill, you can only use it once during the whole sequence, so you should save it when it’s necessary (it shouldn’t be, if done right). When you get to the open area, don’t be alarmed when you get shot up high into the air. Also, you shouldn’t need to adjust anything at the end and will land on the Blue Orb Fragment automatically from the momentum.
Back in the main mission, use the platform with the flames to get back to the normal area, then wait for the moving Grim Grip point to be in a high position to get to the ledge you see above you. This is the top, but you can nab a Gold Orb by jumping at the top of the elevator. Hop up to the top and you will find yourself at another Bloodstream. Don’t use it just yet, but go behind it to happen upon a tentacle. Destroy it and a Blue Orb Fragment will now appear in front of the Bloodstream.
(1 of 2) Head behind the final Bloodstream to find a stray tentacle


Head behind the final Bloodstream to find a stray tentacle (left), Destroy the tentacle to spawn a Blue Orb Fragment on front of the Bloodstream (right)
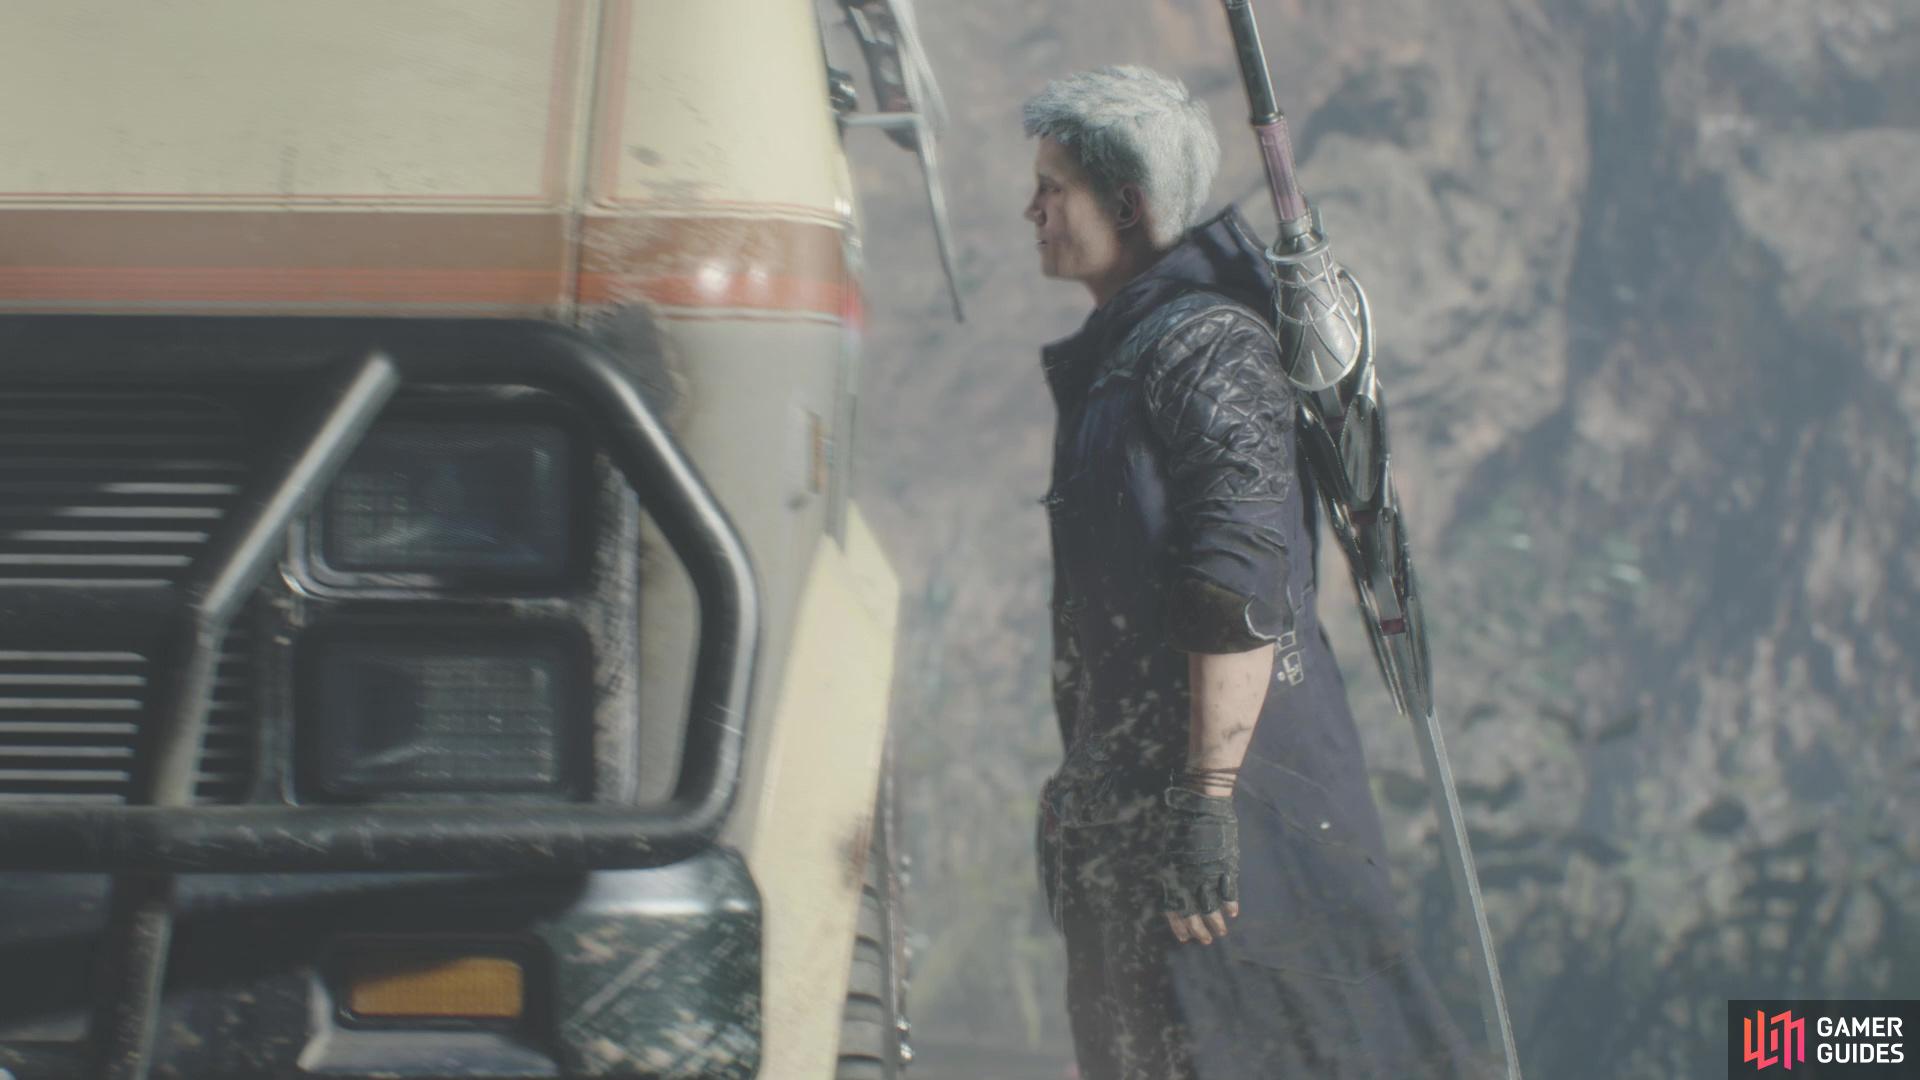
There’s not much left now between you and the boss, other than a phone to call in Nico, who somehow manages to get to you. There is, however, a dead end near Nico that has some Red Orbs, so it’s a good idea to grab those now. Take the incline by Nico’s van and you’ll have to kill some Empusas in the way, as well as a Green Empusa that spawns by the cliff’s edge. Continue up the familiar path and when you reach the end, it’s time for a rematch against Urizen.
BOSS - Urizen
This fight takes place in two phases and unlike the Prologue, you’re actually meant to win, at least for now. The first phase of the battle is the exact same as in the Prologue, completely down to Urizen having the same moveset. So, since you’re expected to win, the best course of action is to take things slow and keep your distance. Use charged up shots with the Blue Rose on the crystal protecting Urizen and dodge the attacks as they come. If you happen to have a Gerbera equipped, use that for the extra dodges, plus properly timed dodges with it can send back the fireballs he shoots at you.
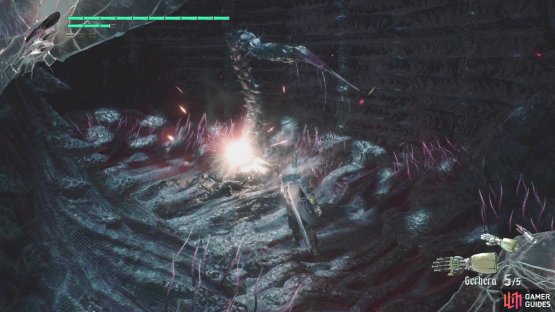
Destroy the crystal protecting Urizen and approach him for a cutscene, which will trigger the beginning of the second phase. You’re supposed to lose here, but you can try and win, if you want. The fight is pretty much the same as the first phase, but Urizen will be standing in the center of the arena. Also, he can spawn some tentacles, so destroy them if they’re in your way (plus they drop some health, should you need it). The only new attack that Urizen will have in this phase is sending out a tentacle from his body that homes in on your for a few seconds.
This is an especially annoying attack, too, as you will need to dodge for a few seconds to try and avoid it. Even then, sometimes you will get hit by it, so having a Gerbera here is extremely useful (there’s even one on the ground somewhere, in case). Dodge forward to avoid the initial tentacle and as it circles around to try and hit you again, you can dodge to the left or right, depending on your position. Of course, this might be a bit problematic, as Urizen seems more aggressive here with his other attacks, but they are all the same as in his first phase.


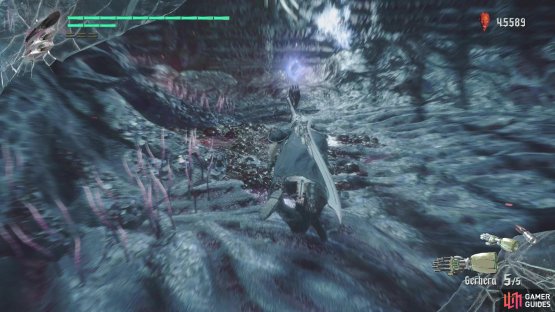
(1 of 2) The tentacle Urizen shoots out can be hard to dodge sometimes
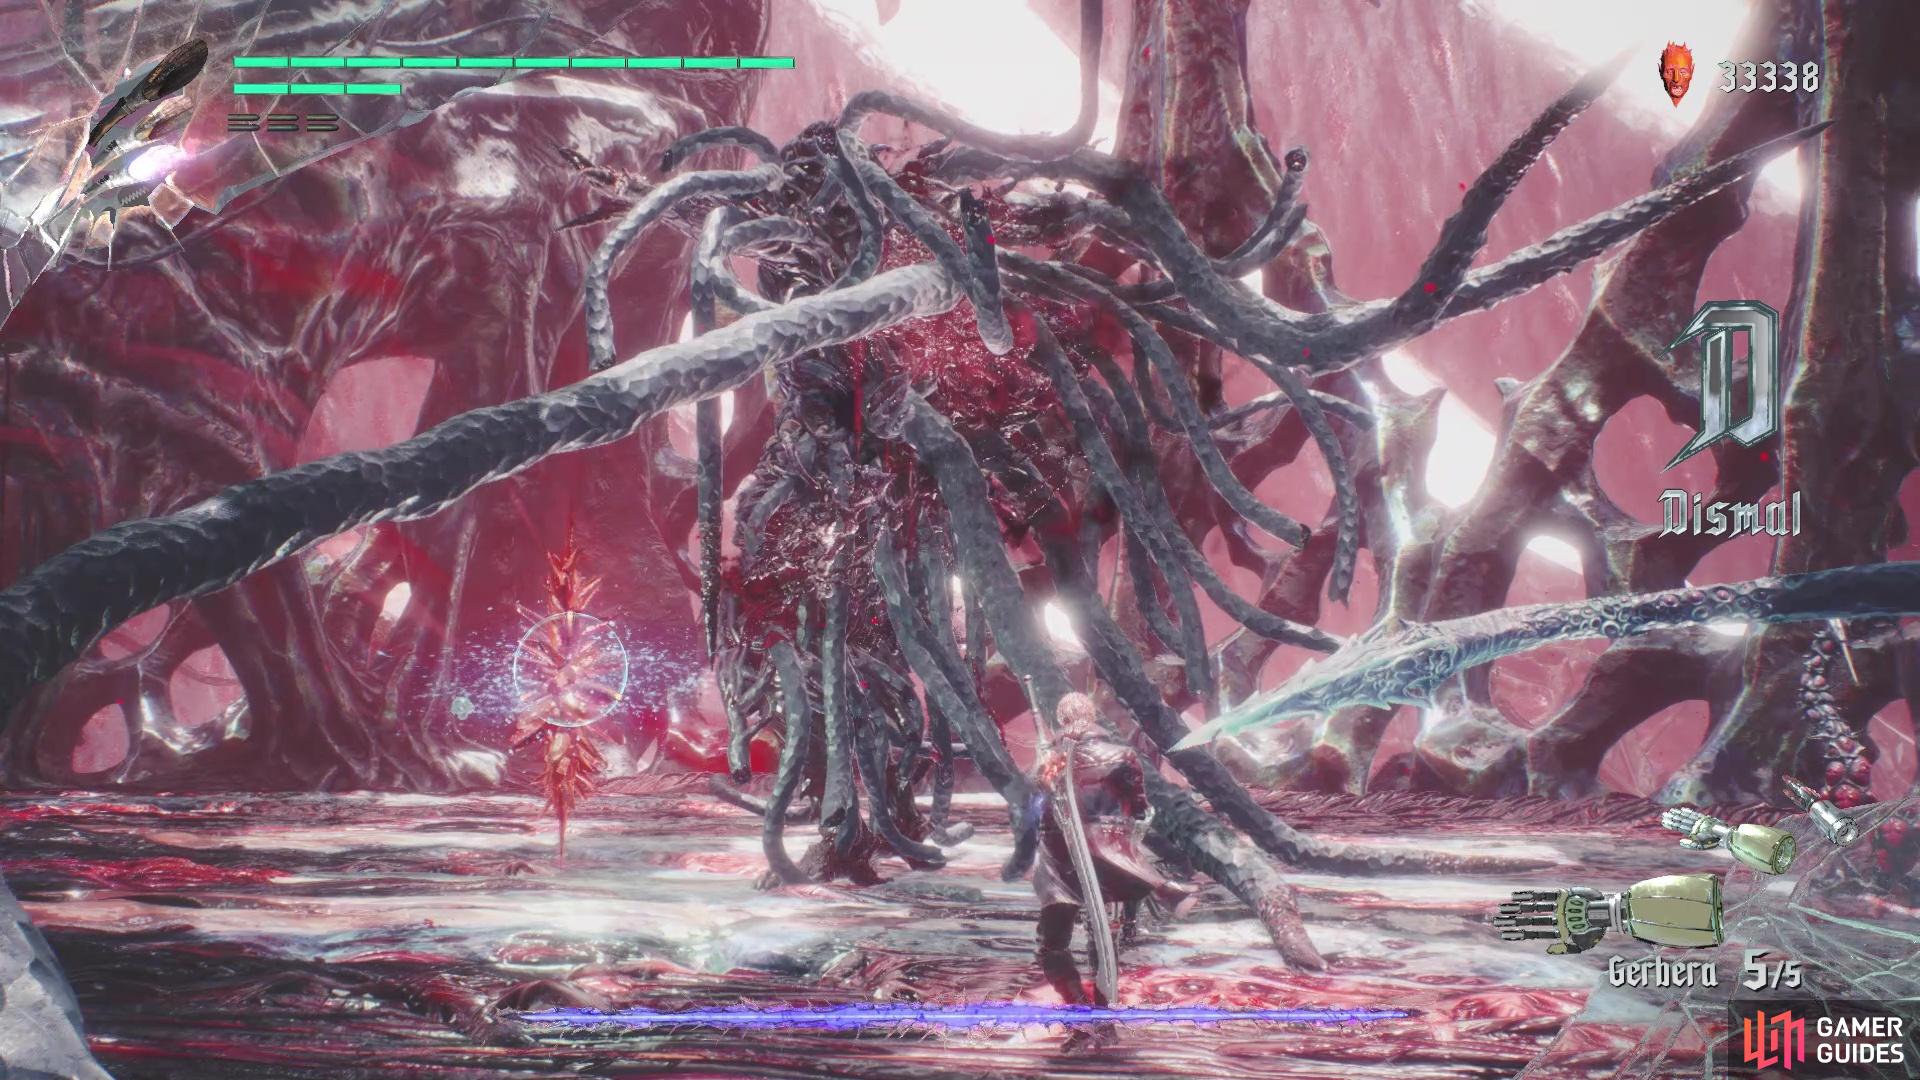
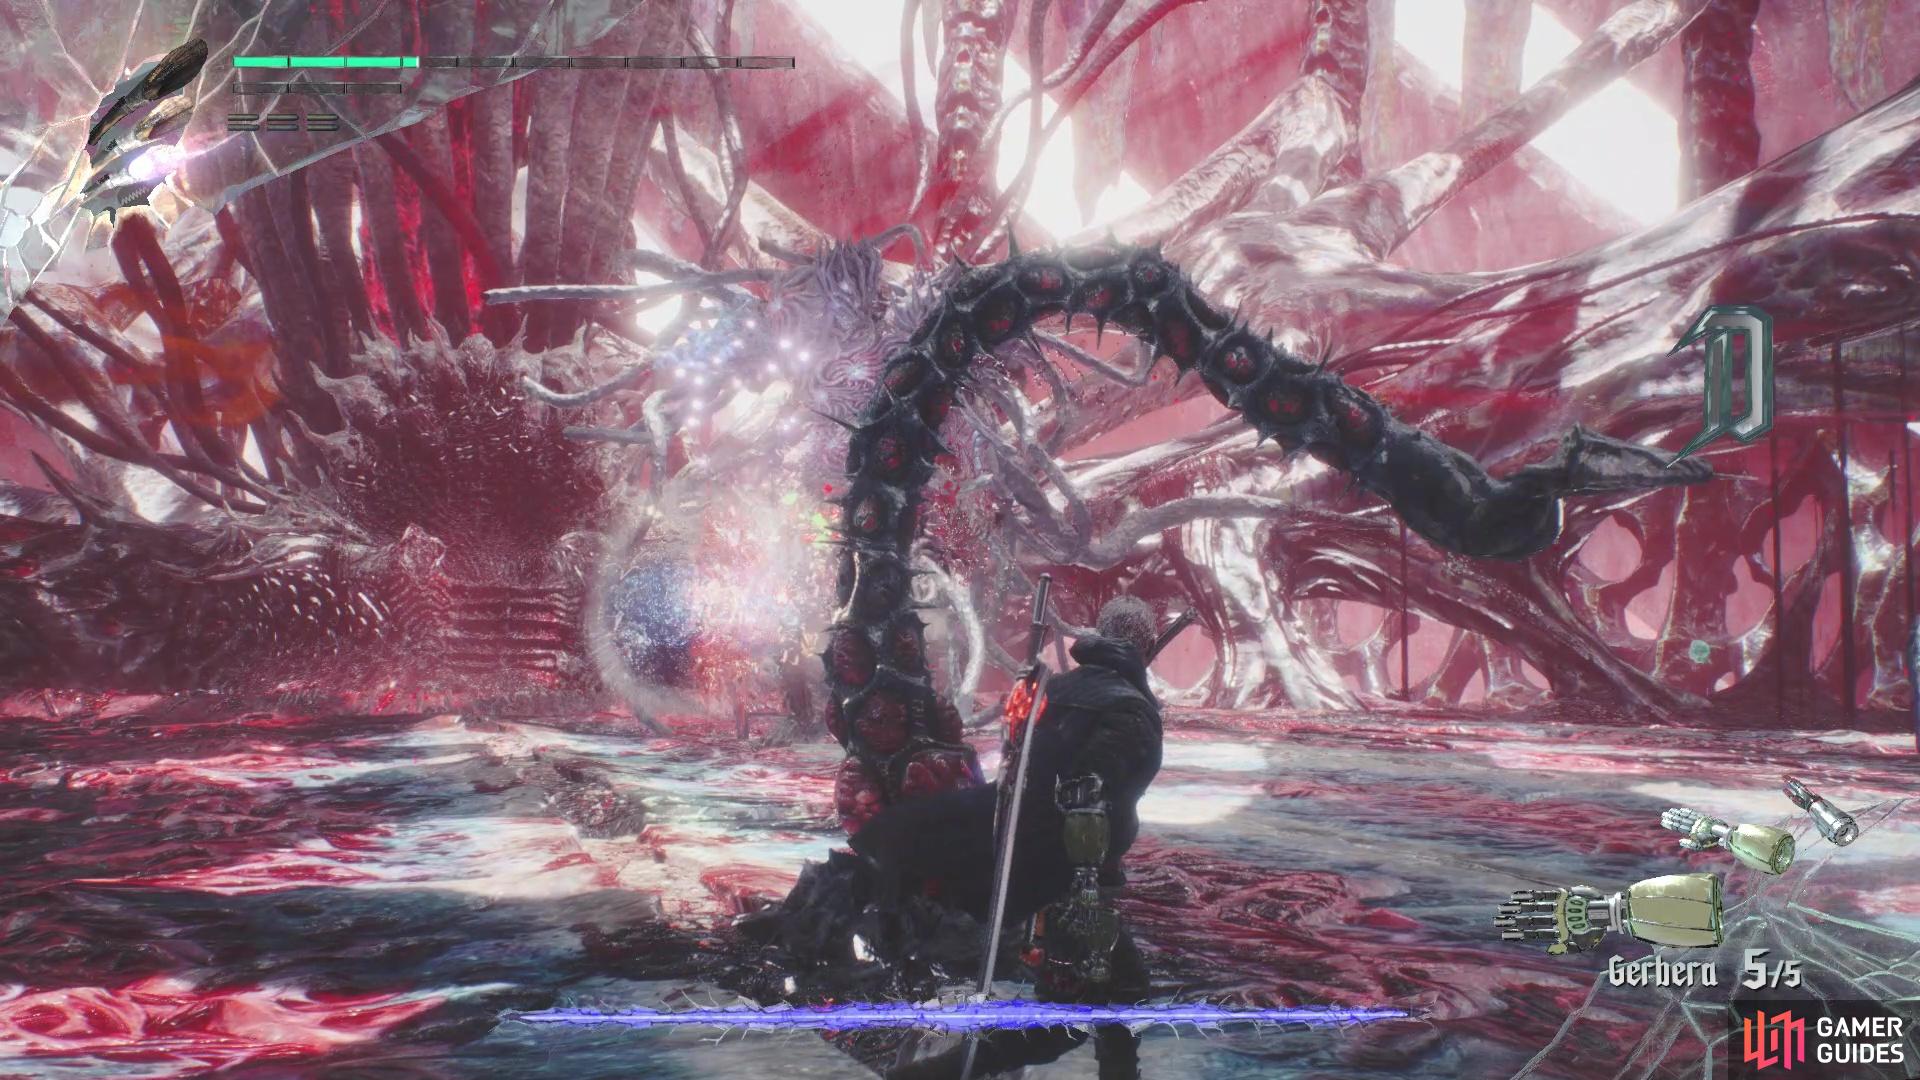
The tentacle Urizen shoots out can be hard to dodge sometimes (left), The normal tentacles drop some health, if you need it (right)
Should you want to defeat Urizen here, you might be better off waiting until you’ve acquired a post-game ability. The reasoning for this is that even if you break the crystal, you have a very brief period where you can actually damage Urizen. While he doesn’t have as much health as when he’s sitting down on the throne, Urizen can actually still attack during this phase. Of course, Urizen can pretty much erect a new crystal mere moments after you destroy the previous one, which doesn’t give you much time to deal damage. If you lose, you will carry on to the next mission, but if you manage to beat Urizen, then you will get an ending similar to the one you get in the Prologue.


No Comments