
On the surface, Nero might seem a little underwhelming, as he doesn’t have the plethora of weapons Dante has, nor does he have the pets that V has under his control. However, under the surface, Nero has a lot to use in his arsenal with his Devil Breakers, the mechanical arms he can equip, as well as a variety of moves with both Red Queen and Blue Rose, his sword and gun, respectively. Depending on the Devil Breaker equipped, Nero has pretty good mobility in combat, plus his Wire Snatch is extremely useful in bringing smaller enemies to him or himself to the larger foes.
Red Queen
Let’s delve into the Red Queen first, then move onto the Blue Rose, before going into specifics with each Devil Bringer. The basic combo, Combo A, is just four hits that can knock enemies back a little bit. Moving onto the combos that involve delayed hits, Combo B can lead to multiple hits if you keep hitting the button after delaying the second hit. Delaying the third hit will lead to Combo C, where Nero will perform a some wider swings that may catch more enemies in its attacks. Lastly, of the basic combos, Combo D isn’t too much different than the normal one, except delaying the fourth hit will deliver a vertical hit that does some damage. Streak should be gotten immediately, as it is similar to Dante’s Stinger, allowing you to close in on an enemy.
(1 of 2) Wire Snatch will help in bringing an enemy to you or yourself to the enemy

Wire Snatch will help in bringing an enemy to you or yourself to the enemy (left), Streak is one of the better moves in Nero’s arsenal, helping to close the distance on enemies (right)
One of the biggest moves that you will be using a lot with Nero is High Roller, the one that can pop enemies into the air. Holding the attack will cause Nero to pop up into the air with the enemy, where you can do the basic aerial combo to smack them back to the ground. One of the better aerial attacks is Roulette Spin, which involves delaying the third hit of the aerial combo. The reason for this is because it pushes the enemy higher into the air, as well as yourself. Other mid-air moves include Calibur, knocking the enemy back a little bit, as well as Payline, which is used more for darting to an enemy back on the ground. Split can also be used to bring a mid-air enemy to the ground.
One of the biggest mechanics with Red Queen is called Exceed. Pressing the L2/LT button will rev up the Red Queen, with the meter for this appearing in the upper left. You start with only one bar for the Ex-Gauge, but can get more through the shop. Of course, revving up the Red Queen manually can take a lot of time during a fight, but luckily you can use the Exceed mechanic during battle by timing the same button after an attack. The next attack will use some of the Ex-Gauge to make it stronger, although some attacks gain extra properties with using the Ex-Gauge. With proper timing and MAX-Act, it’s possible to completely fill the three bars of the gauge.
Blue Rose
There’s really not much to say about the Blue Rose, as it’s a simple point and shoot weapon for Nero. With the upgrades for this weapon, though, you can charge up shots, of which you get three shots, that deal more damage and could possibly stun the enemy. You should always be charging the Blue Rose, as its shot can be pretty helpful and powerful.
Devil Breakers
Devil Breakers are the mechanical arms that Nero can equip on his right arm, all of which have different functions. Every Devil Breaker has a normal action, as well as another that requires you to hold down the Circle/B button until the arm starts sparking. The normal actions can be used repeatedly, with no downside, although getting hit while using one will cause the breaker to be destroyed. The charged moves, however, will cause the Devil Breaker to self destruct after the move is finished. You can also manually destroy the currently equipped Devil Breaker by pressing L1/LB. This causes a small explosion and can actually do damage to enemies.
Break Away will destroy your current Devil Breaker, while also harming the enemy
Overture
One of the two default Devil Breakers, the Overture is a purely offensive breaker that shoots out an electric blast as the normal attack. The charged up attack, called Exploder, will have Nero try and connect the end of the Overture breaker to an enemy. If it connects, then it will become a bomb that sticks to them until it explodes. You can stack these bombs on enemies with multiple Overtures, and you can manually detonate them by shooting the enemy.
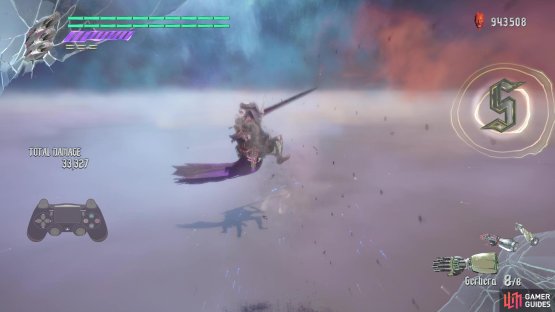
Gerbera
The Gerbera is one of the more useful Devil Breakers in the game, as its evasive capabilities add extra defensive measures. Its basic action, with the Circle/B button, sends out what looks like an attack similar to Overture’s, but its damage is really low. However, this has an extra attribute to it, as it can reflect projectiles back at enemies that shoot them. Besides that, there is another basic action for the Gerbera, which is a lot more useful than the above one. By pressing the left analog stick in any direction, in conjunction with the Circle/B button, Nero will use the propulsion from the Gerbera to “dash” in that direction. This has some invincibility frames to it, plus you can spam it to get a lot of dodging under your belt.
Moving on to the Break Ages (the charged attacks), you will find that the Gerbera has two of these, as well, one on the ground and another in the air. The ground Break Age, Stamen Ray, will have Nero fire a continuous laser beam at enemies, which can be manually moved around with the left stick. He is stationary while doing this, so make sure there are no enemies behind you. The mid-air one, Petal Ray, will unleash a bunch of smaller lasers that can bounce off of enemies and walls. It is best to use this in smaller rooms and enclosures, for maximum effect.
Punch Line
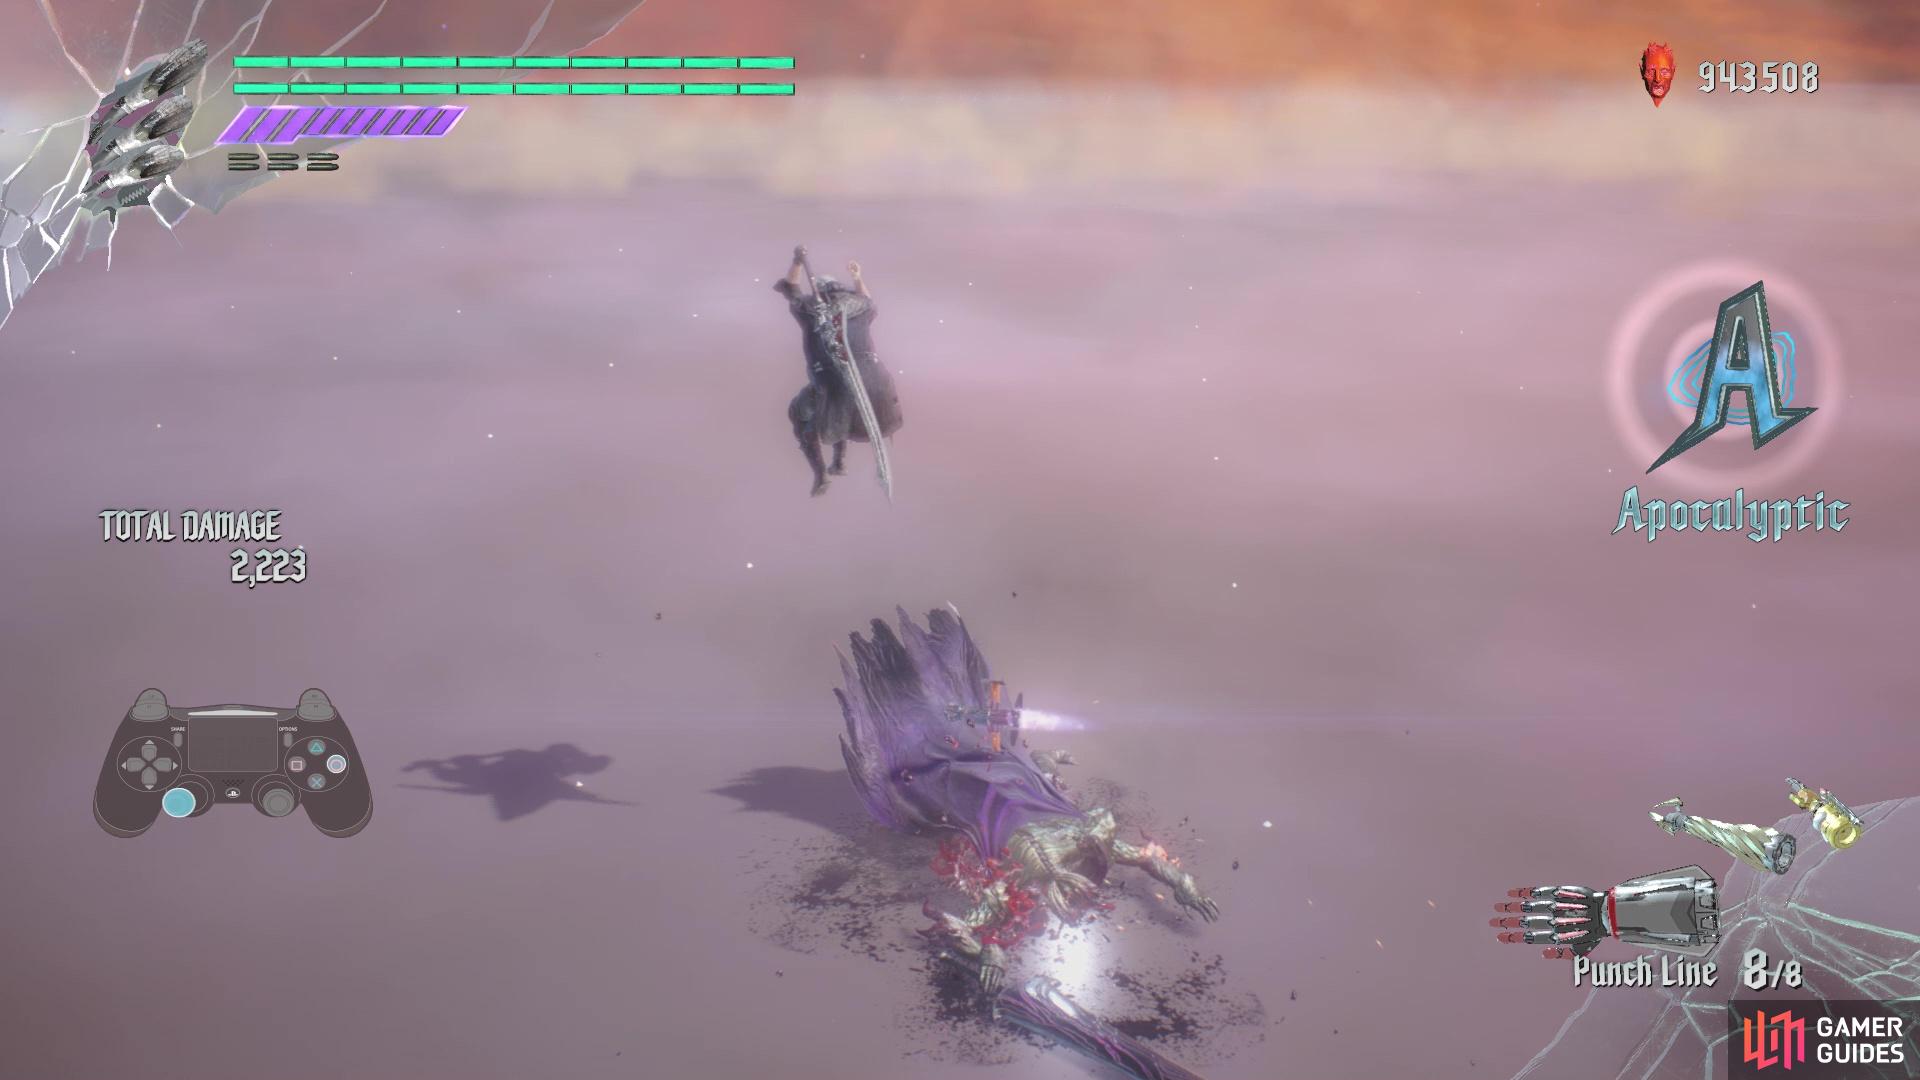
Unlocked at the beginning of Mission 03, the Punch Line is not a strong offensive option, but it does help in controlling crowds of enemies a little bit. The basic action for the Punch Line has it shooting off of Nero’s arm, with it circling and hitting an enemy. While it’s doing this, you are free to attack normally with your other weapons. Should you want the Punch Line to come back to you, double tap Circle/B. After sending out the Punch Line, hold down the Circle/B button and Nero will hop on it when it returns to him. Riding the Punch Line is not infinite, as if you stay on it too long, then it will start beeping. Not too long after that and it will explode, which doesn’t actually deal damage to Nero, but it does destroy the Devil Breaker.

(1 of 2) Gerbera’s “dodge” maneuver can also push enemies away

Gerbera’s “dodge” maneuver can also push enemies away (left), Punch Line can keep some enemies occupied while you concentrate on others (right)
While riding the Punch Line, there are a variety of things you can do and if you ever want to get off of it, press the X/A button. Pressing the Triangle/Y button will cause Nero to perform a flip that can launch enemies; Square/X does a similar thing. The Circle/B button, while riding, will cause Nero to jump, where you can press Triangle/Y with a direction on the left analog to do more stuff. The charged attack has two variations, with the first being on the ground, where Nero does an uppercut. The other has Nero thrusting the arm into the ground, causing a huge explosion.
Helter Skelter
The Helter Skelter is unlocked at the beginning of Mission 03 and is used to pretty much drill enemies. The basic attack does just that and can stagger some enemies a little bit. If you spam the Circle/B button, you can do a combo, where the arm will slightly open up to deal more damage. The charged attack will basically turn Nero into a huge drill, where he shoots forward and rises into the air. It can hit multiple enemies and does pretty good damage.
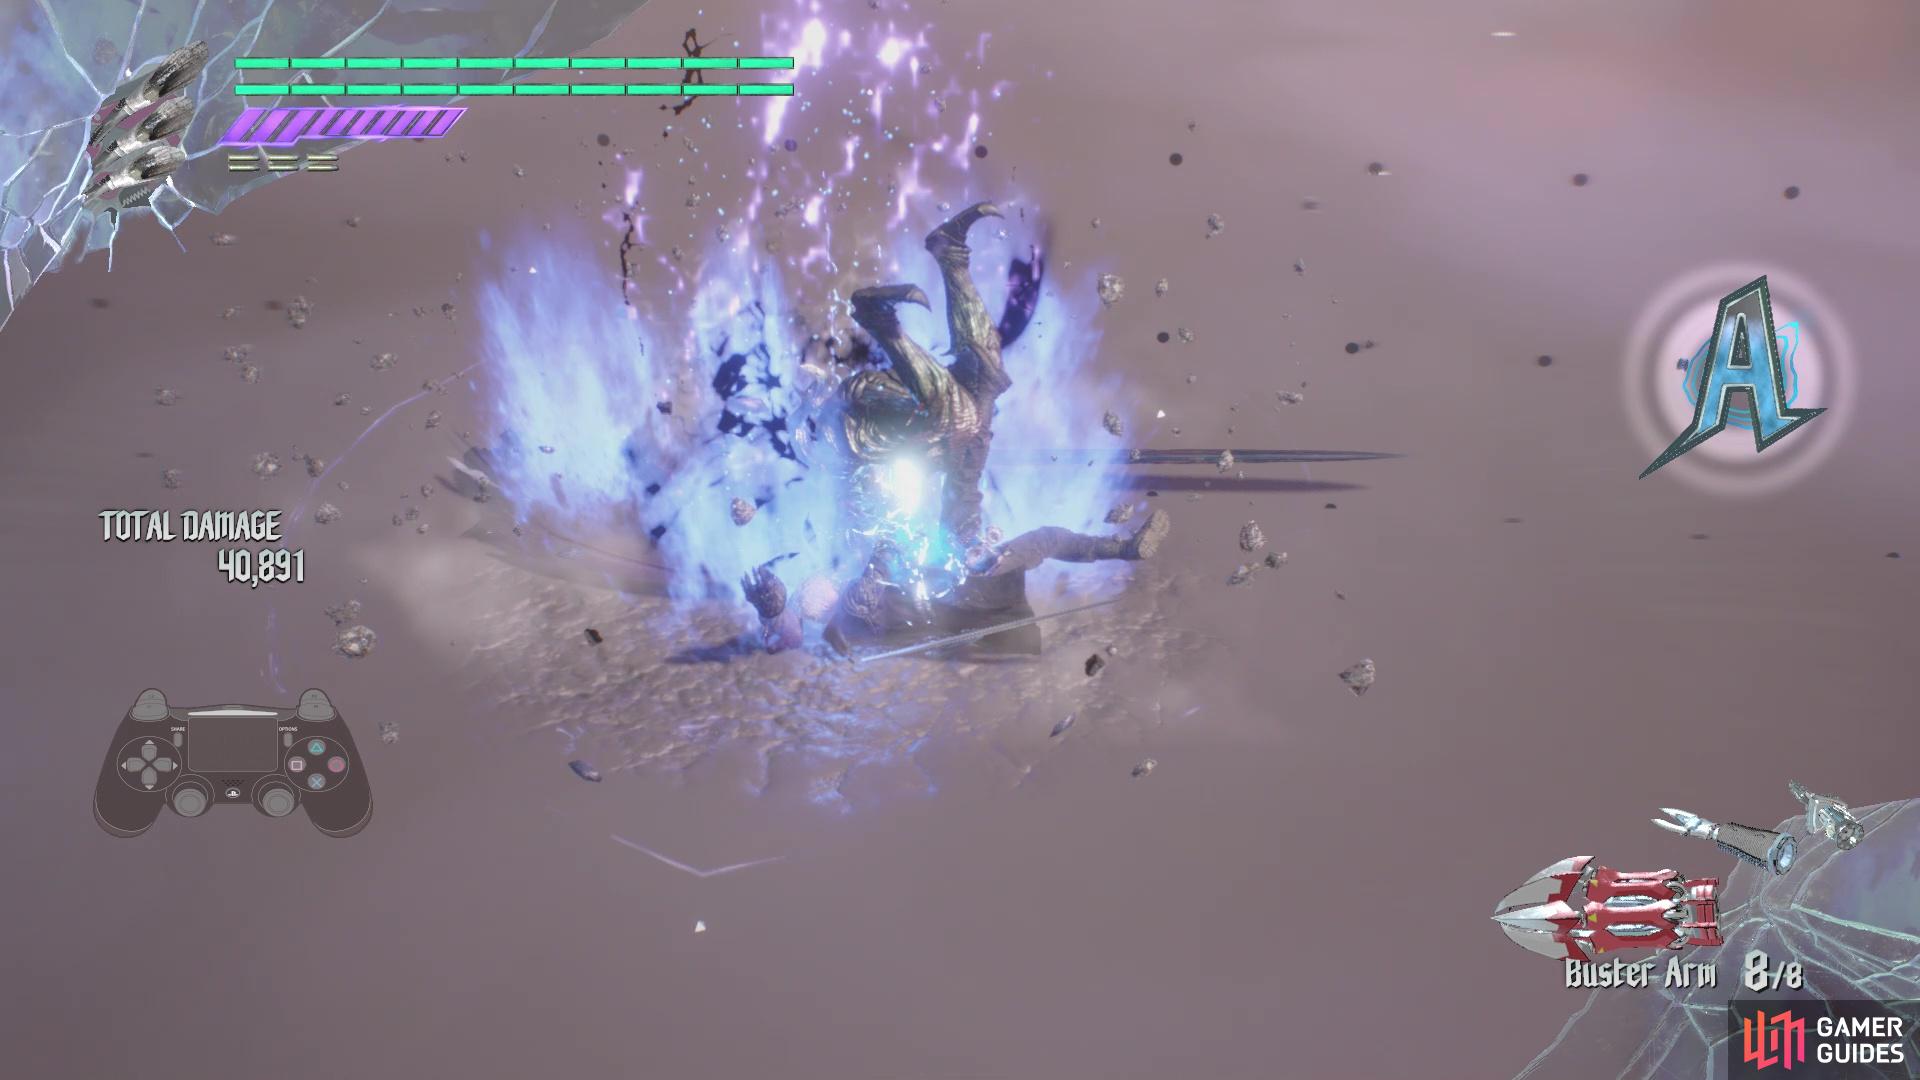
Buster Arm
Unlocked after finishing up Mission 03, the Buster Arm is meant to mimic the Devil Bringer Nero lost. Its primary use will grab a demon and throw it, with the throw depending on the demon it’s used on. As an example, whenever the Buster Arm is used on a Riot, Nero will swing them around by their tail before tossing them away. The charged attack is a much stronger version of the normal attack, with Nero throwing his foe in some manner. It is probably one of the stronger, if not the strongest, attacks in the game. Note that not all enemies can be thrown using the Buster Arm, although some need to be stunned first.
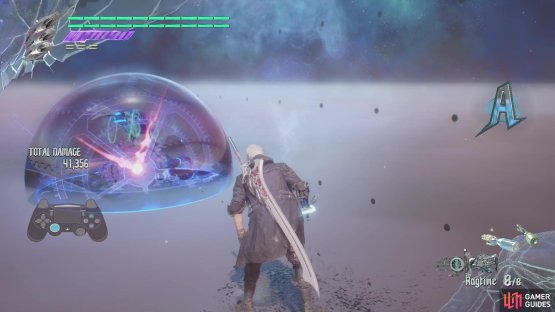
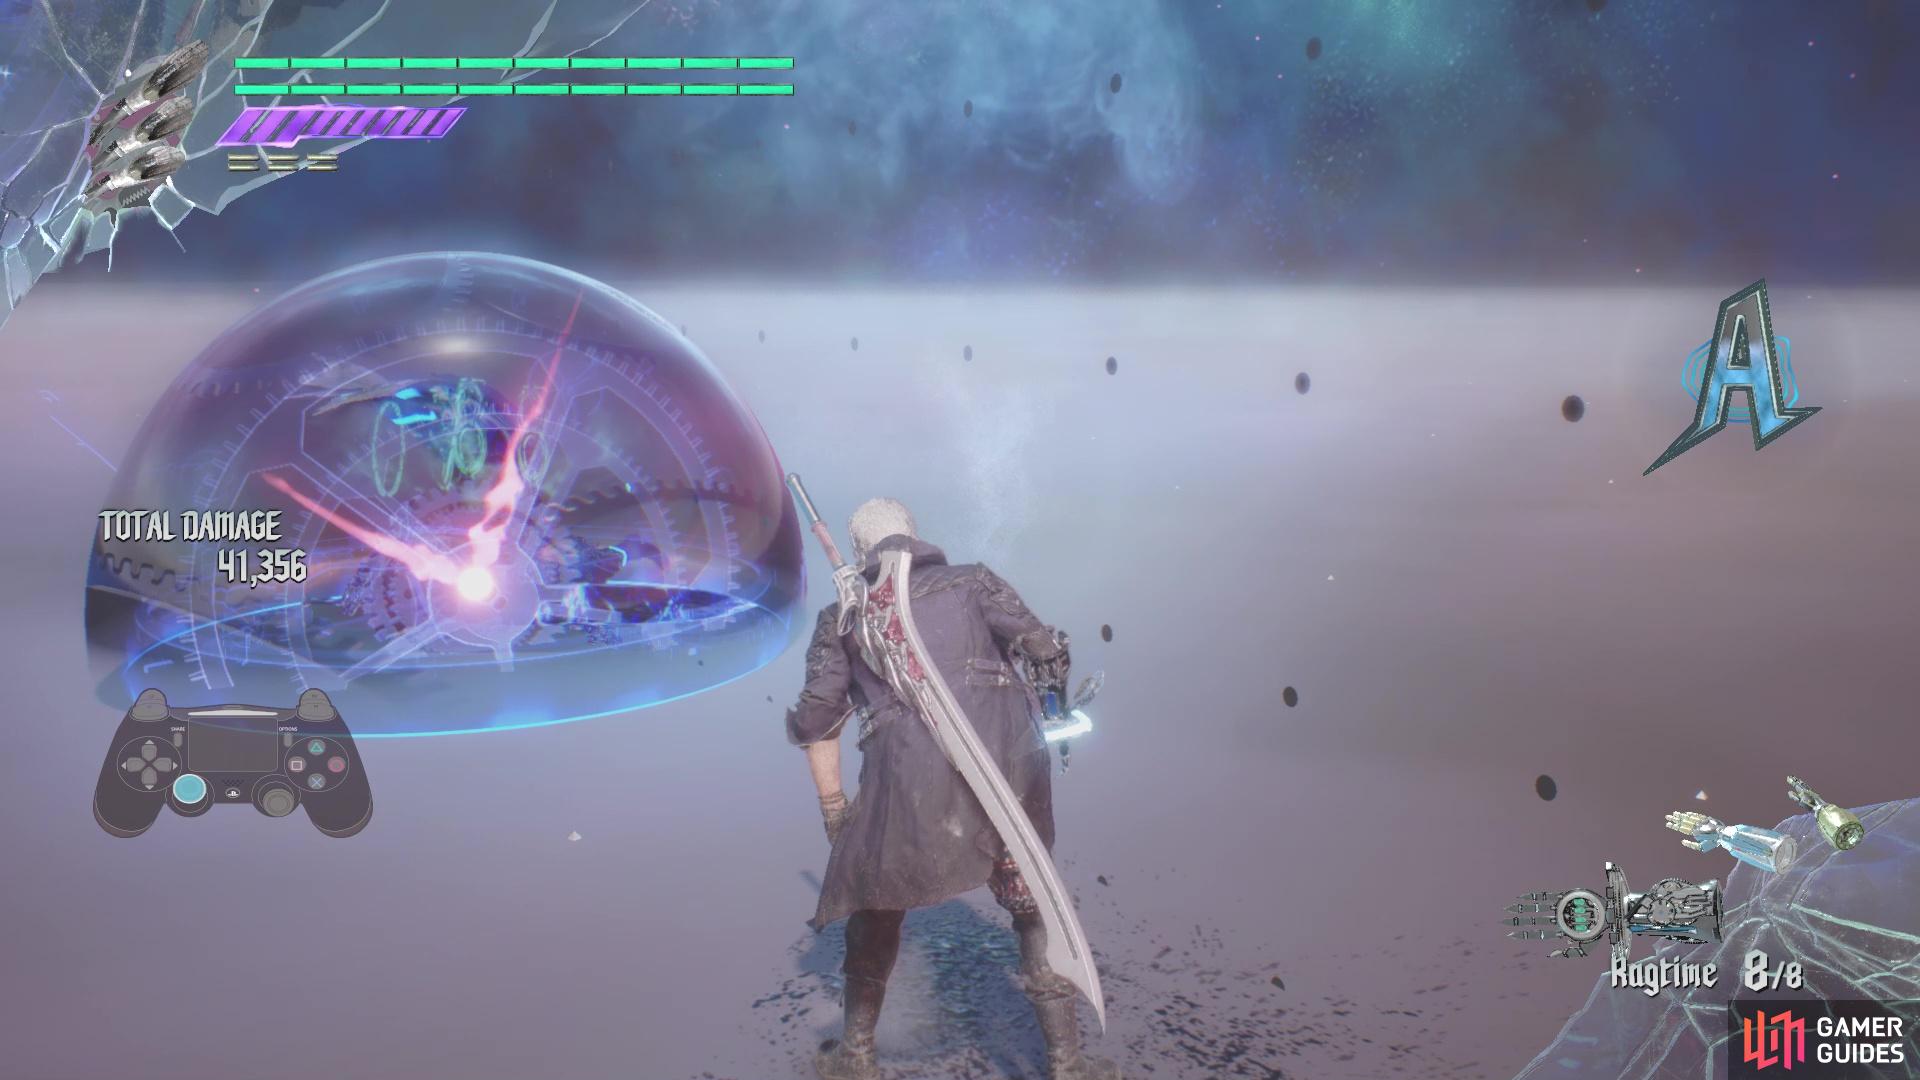
Ragtime
You will gain access to this Devil Breaker at the beginning of Mission 06. It is more of a utility breaker, as it does absolutely no damage at all. The normal use of Ragtime will shoot out a small time bubble that slows down everything within its radius, including obstacles, enemies and even Nero. This includes attacks and even if an enemy was falling, as an example. Its Break Age maneuver, Slow World, slows down everything around Nero. He has full functionality, so you can actually move freely. This is one of the better Devil Breakers to have on higher difficulties, as it basically gives you free attacks against some of the harder enemies.

(1 of 2) Buster Arm’s Break Age attack can do loads of damage
Buster Arm’s Break Age attack can do loads of damage (left), Ragtime’s time sphere will slow down enemies within it (right)
Tomboy
Unlocked after completing Mission 06, the Tomboy will augment both your Red Queen and Blue Rose. You activate the Tomboy by pressing the Circle/B button, and deactivate it by pressing the button once more. First and foremost, you cannot lock on while the Tomboy is active, so you will need to manually aim all attacks. For the Blue Rose, tapping the shoot button will put you in free aim mode, where one tap of the button will shoot an explosive projectile. Holding down the button, however, will charge up a powerful shot.
For the Red Queen, you have the option to use the melee button to unleash a flurry of attacks that end with a launcher. In mid-air, Nero will perform a downward swing and if you press it again, he’ll crash into the ground with another swing of the Red Queen. That’s not all to the Tomboy, though, as holding down the R1/RB button will give you some different attacks. The ground attack has Nero zipping diagonally into the air, launching the enemy. You can do this repeatedly, but you will need to manually aim it. The mid-air attack with the R1/RB button has Nero performing a spinning sword combo that crashes the enemy into the ground and bouncing them back into the air. The Break Age version of the Tomboy is the same thing, except attacks are stronger, there’s a time limit and you can’t cancel out of it.
Rawhide
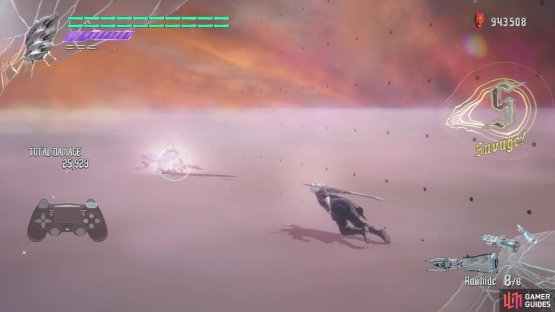
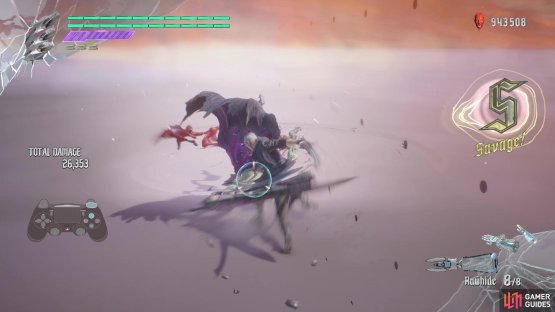
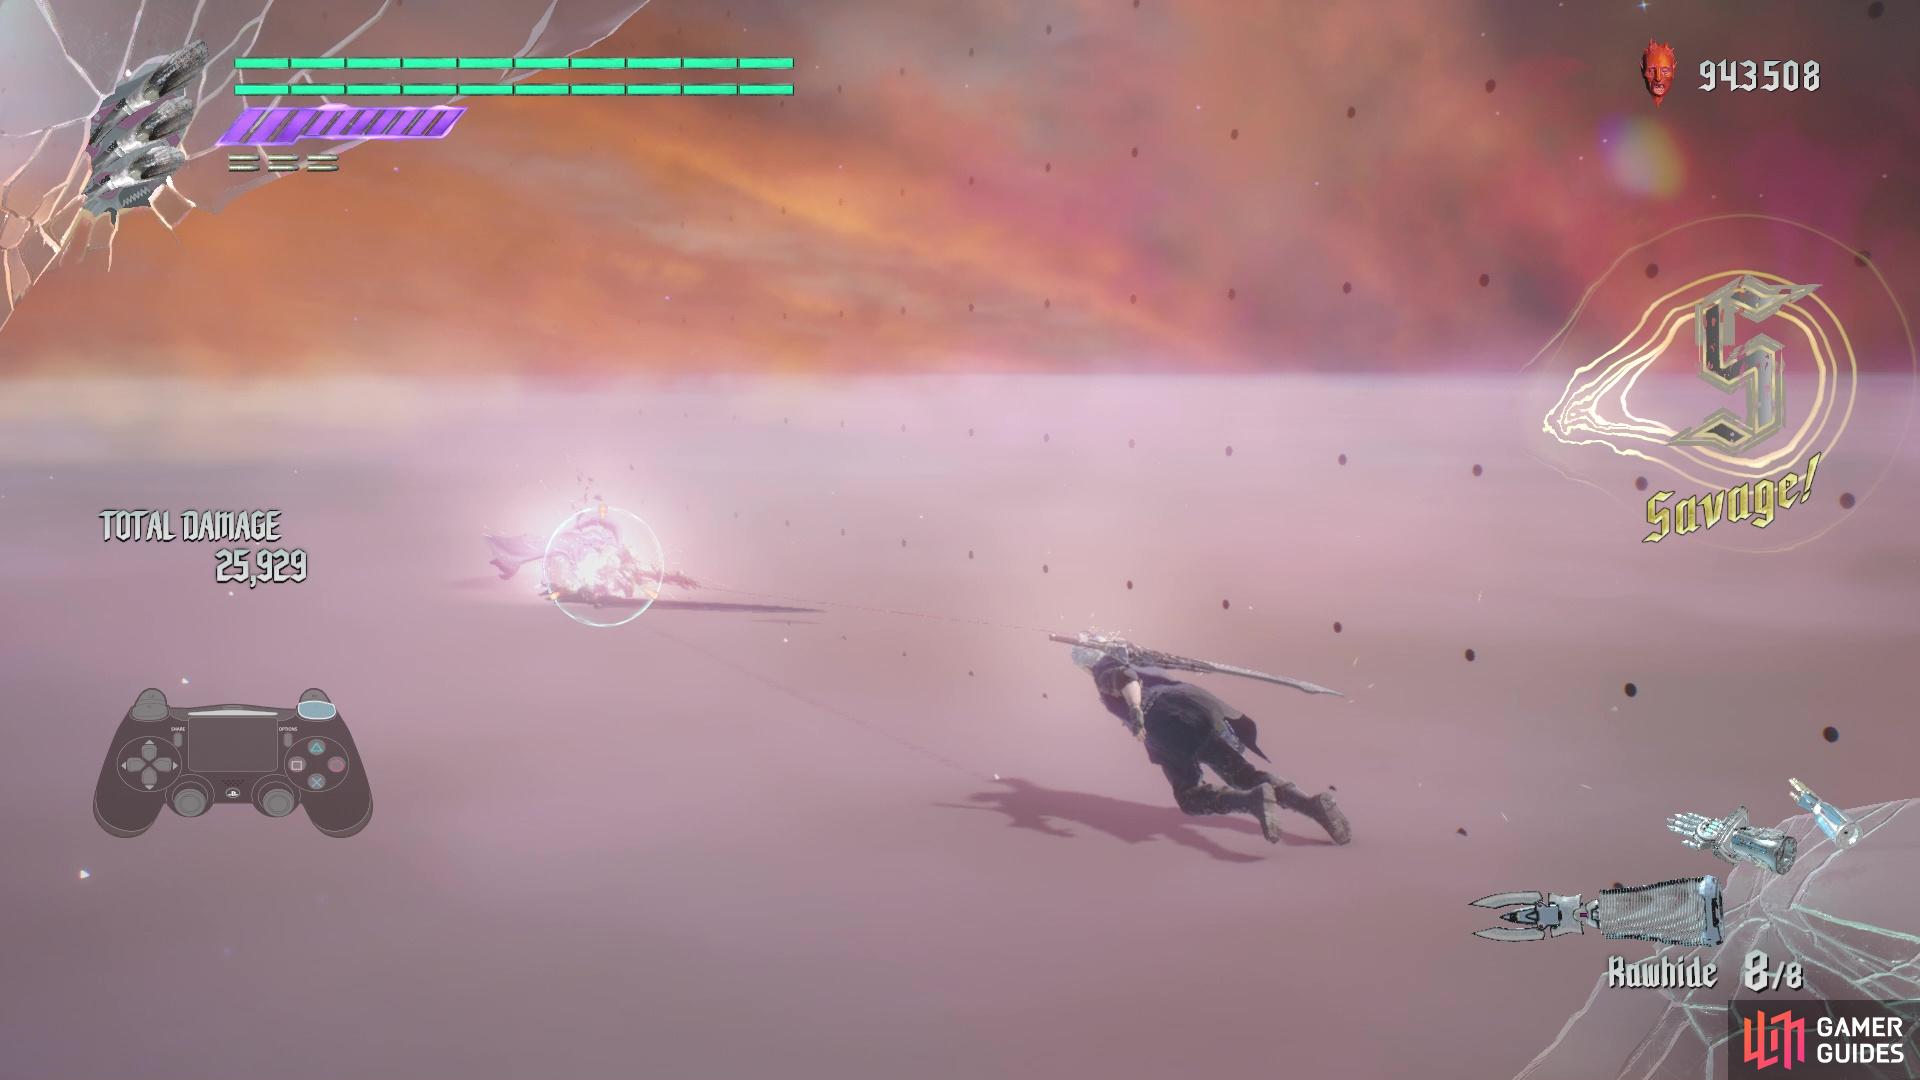
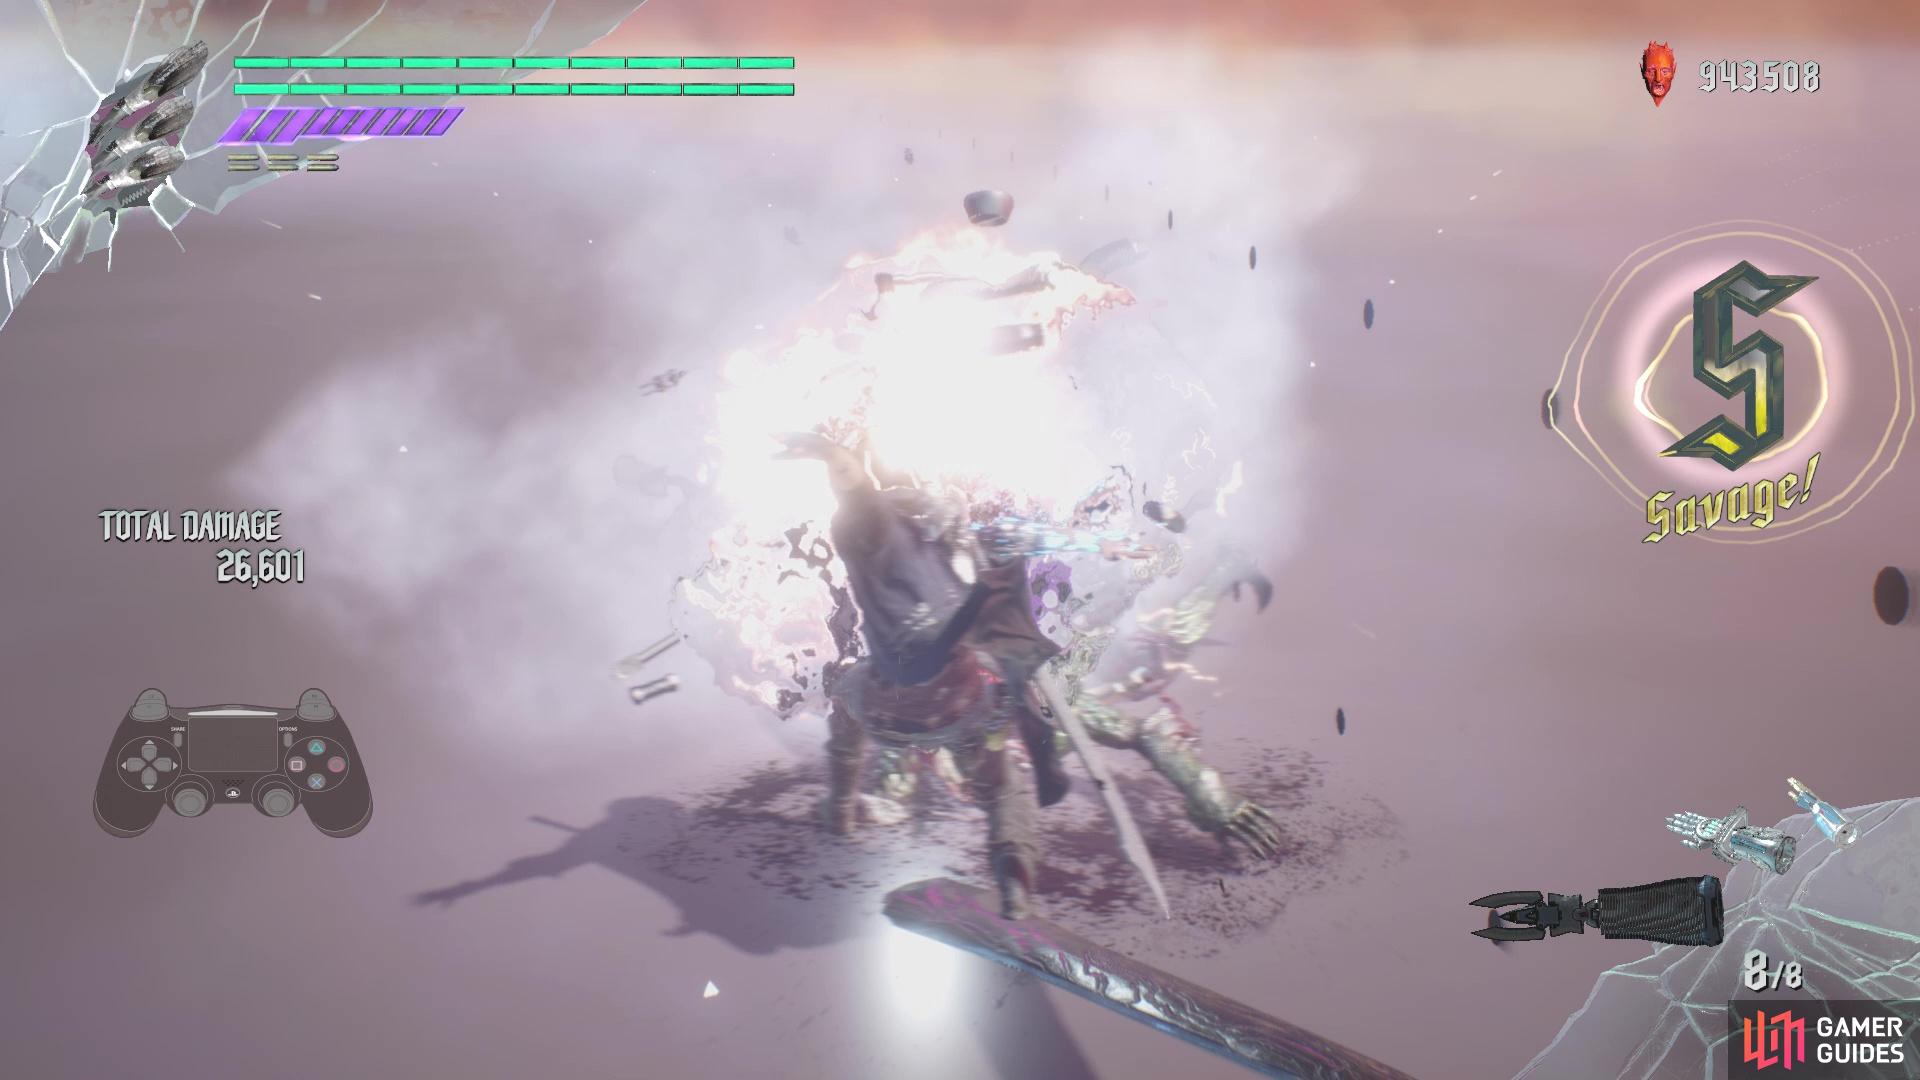
Unlocked after completing Mission 06, the Rawhide is a purely offensive Devil Breaker. Its normal attack can hit multiple enemies, as the Rawhide flings around a whip-like weapon. Mashing the button will get you a three-hit combo, while timing the button presses just as the previous attack lands, will get you a longer combo. These same combos can also be used in the air, so it has a lot of versatility. The charged attack will do a quick whip, then latch onto the enemy, swing them around and toss them into the ground, bouncing them into the air. As with the normal attacks, more than one enemy can be caught with this, although only a single enemy can be thrown.
No Comments