
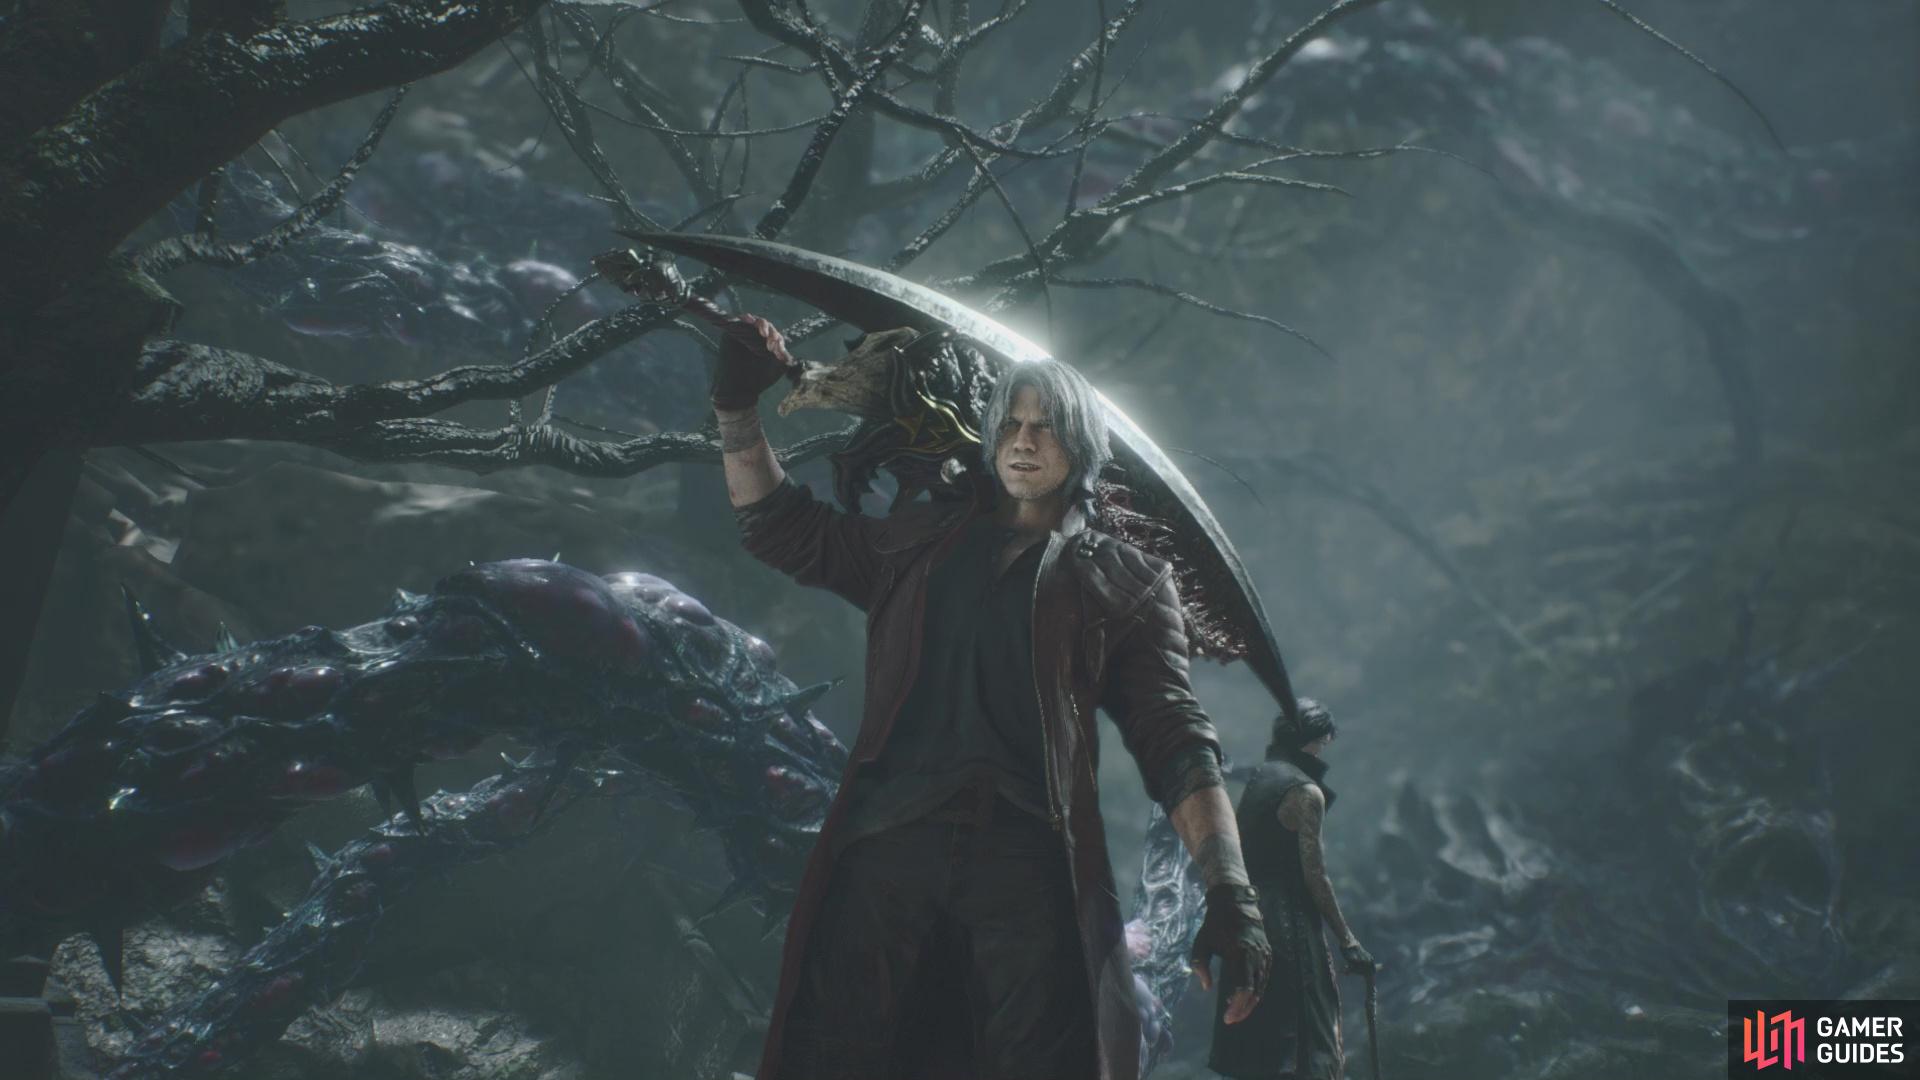
You will continue with Dante for Main Mission 11, so feel free to purchase any new skills for him in the shop before properly beginning the mission. Before getting on with the walkthrough, it should be noted that the Rebellion sword has been replaced with the demon sword, Sparda. There is almost no difference over the Rebellion, except that Sparda does more damage and seemingly has more reach. You don’t have to worry about a different moveset here, as you can do everything with Sparda just like with Rebellion. Feel free to browse the shop for any moves you wish to purchase, then begin the actual mission.
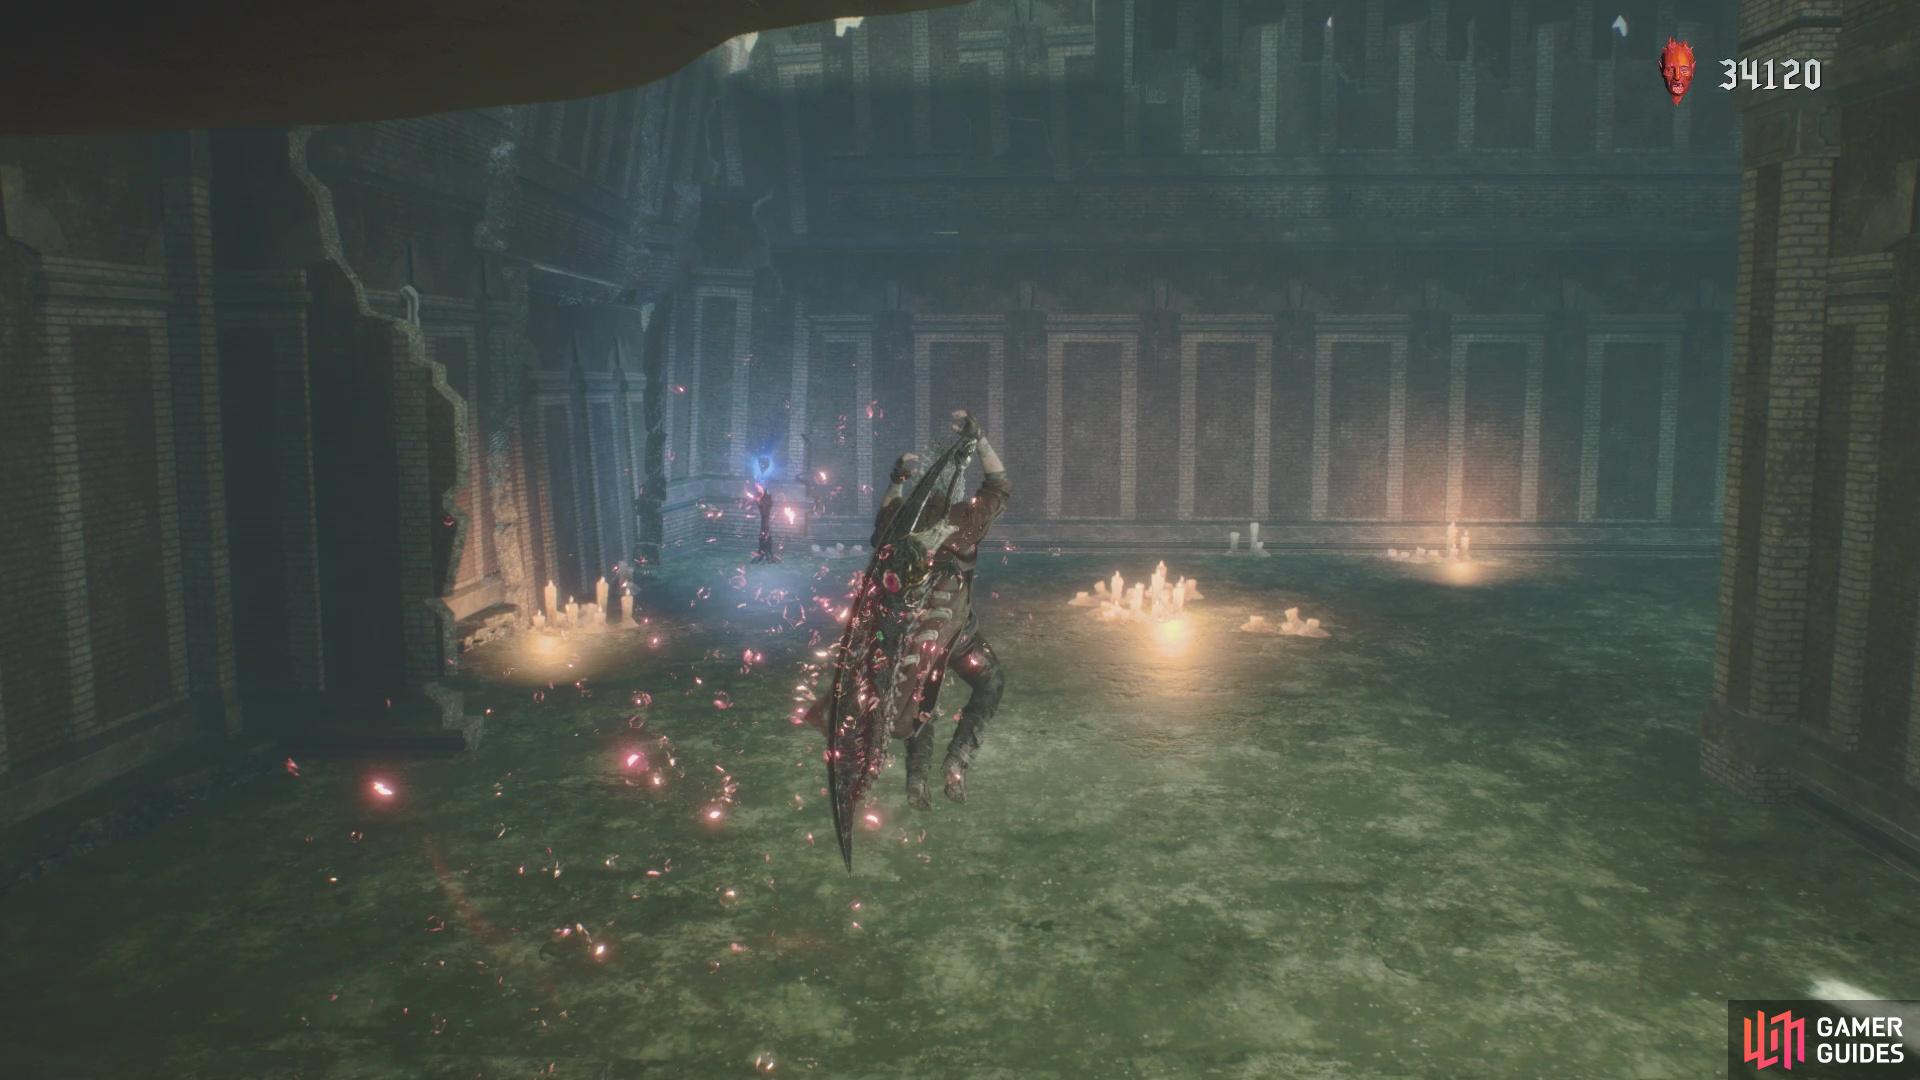
Run forward at the beginning, until you encounter some enemies, which includes two Hell Cainas and two tentacles. Continue along and jump up to the next section, then go to the dead end through the arches, where the camera will pan automatically to show you a blood clot. Destroying this will cause part of the building to collapse, forming a ramp that allows you to reach the gate that will lead inside of a large, ruined building. However, before you can pass through the gate, you’ll have a fight on your hands. First up will be three Hell Cainas, then after they’re dead, it will be two Riots and a Chaos. Keep an eye on the former and try to get rid of the Riots first, simply because they are easier to handle.
With them out of the way, head into the ruined building and drop down in the first room to find a large Red Orb Cluster. Jump back up to the entrance and then use the fallen parts as stairs to reach the next ledge. Drop down into the next section and look around for a Red Empusa, as there should be one scurrying about in the area. Harvest it for its delicious Red Orbs, then drop into the hole nearby and destroy the blood clot there. This will cause the one building to sink a little bit, letting you gain access to a few things. The opening where you first came into this place is where it sunk, so you can jump into the opening above it now. Do this and look towards the one corner for a familiar red glow, letting you gain access to the Secret Mission.
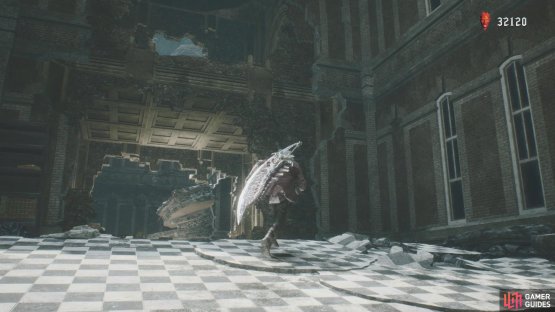

(1 of 2) After the building falls once, double jump to the upper section

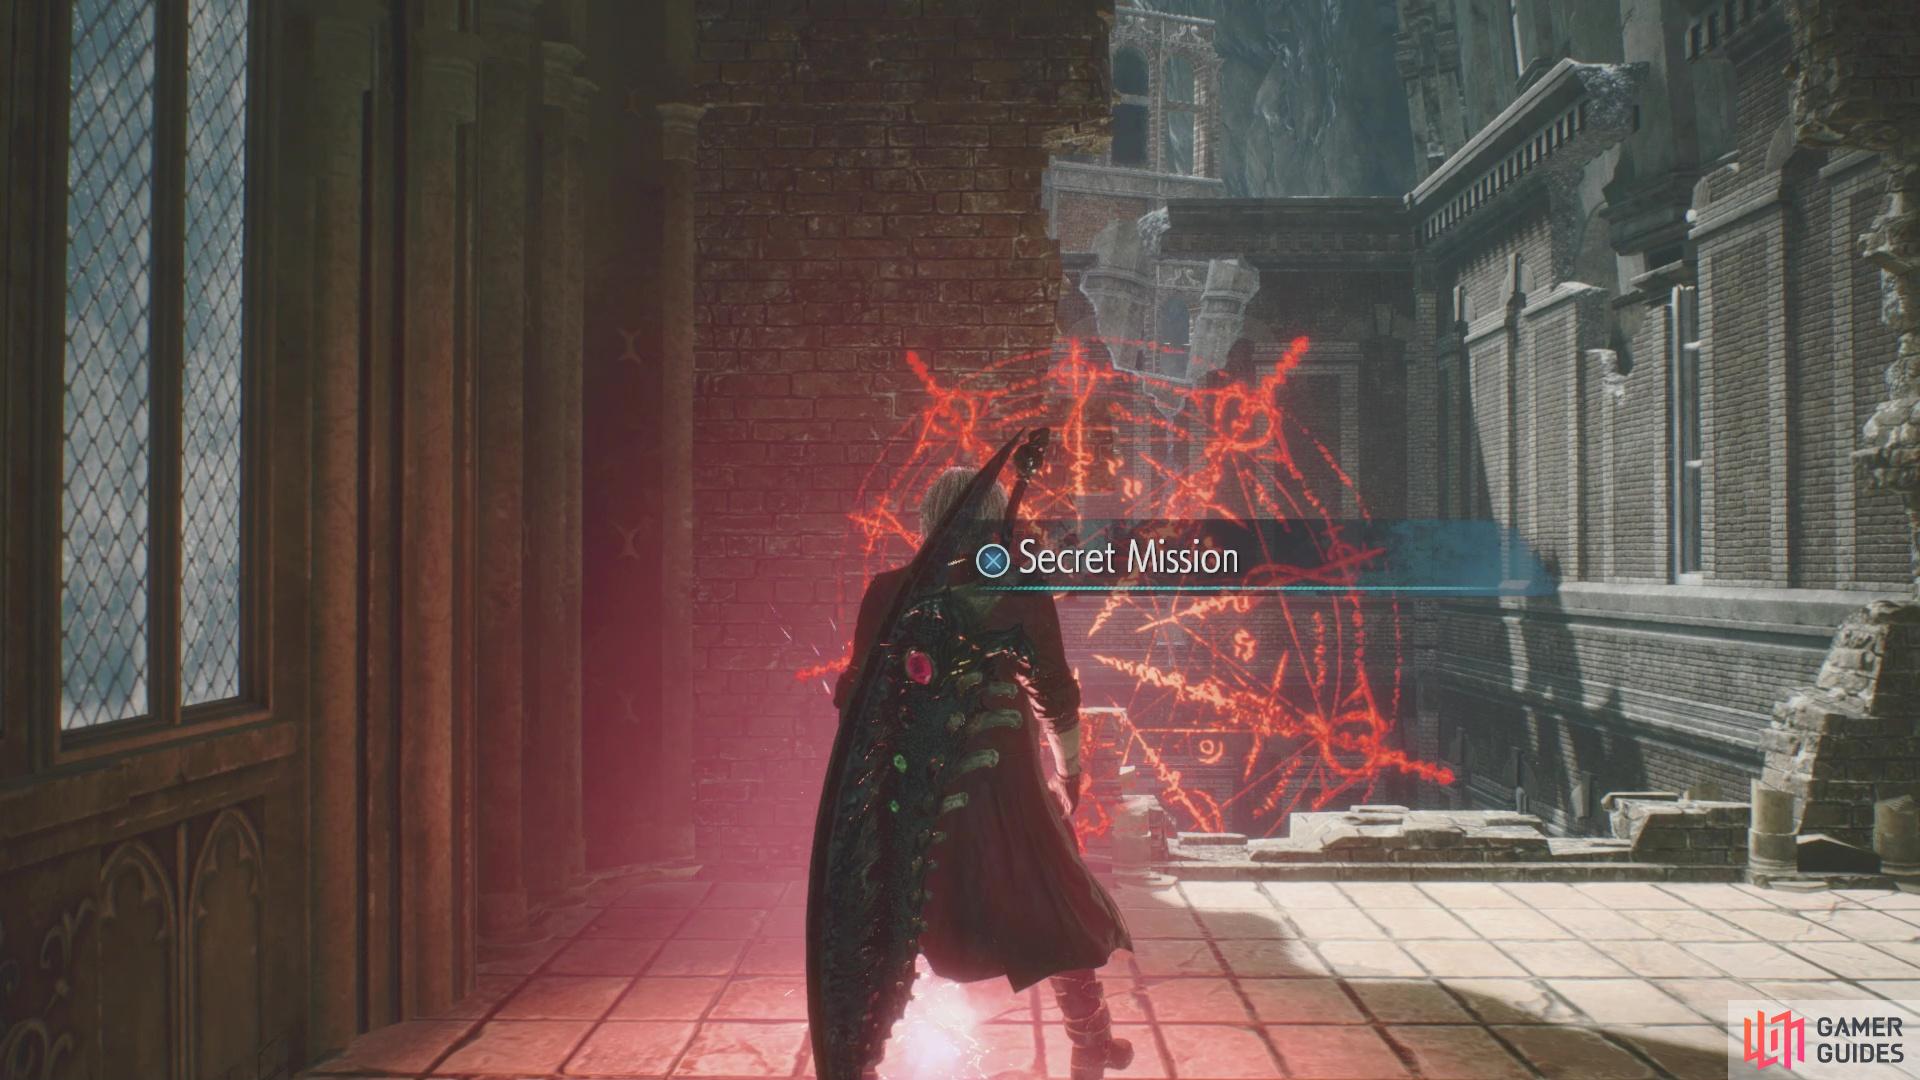
After the building falls once, double jump to the upper section (left), where you’ll find the red glow for the Secret Mission (right)
Secret Mission 08
This could potentially be a challenging one, as you have to maintain a S Stylish Rank for a whole 50 seconds. You don’t have to defeat all of the enemies, but you will need to continually attack them with a variation of attacks in order to keep the Stylish Rank up high. The Balrog can be one of the better weapons for this, but don’t forget about your sword combos, too. The biggest rule for this challenge is to not get hit at all, as that will automatically result in a failure because it almost always drops you two ranks. You will be fighting three Hell Cainas and two Hell Antenoras and depending on how things go, you will want to be careful not to kill them all too quickly.
This is because you won’t get anymore enemies and you have to last 50 seconds, while your Stylish Rank will steadily decrease. Depending on what your Stylish Rank at the end of defeating all enemies is, it could spell trouble and make your fail, should it fall below S Rank. If you wish to wait until later, Dante earns a new weapon at the end of this mission, which will help in giving variety to your attacks. As usual, your reward will be a Blue Orb Fragment for finishing this Secret Mission.
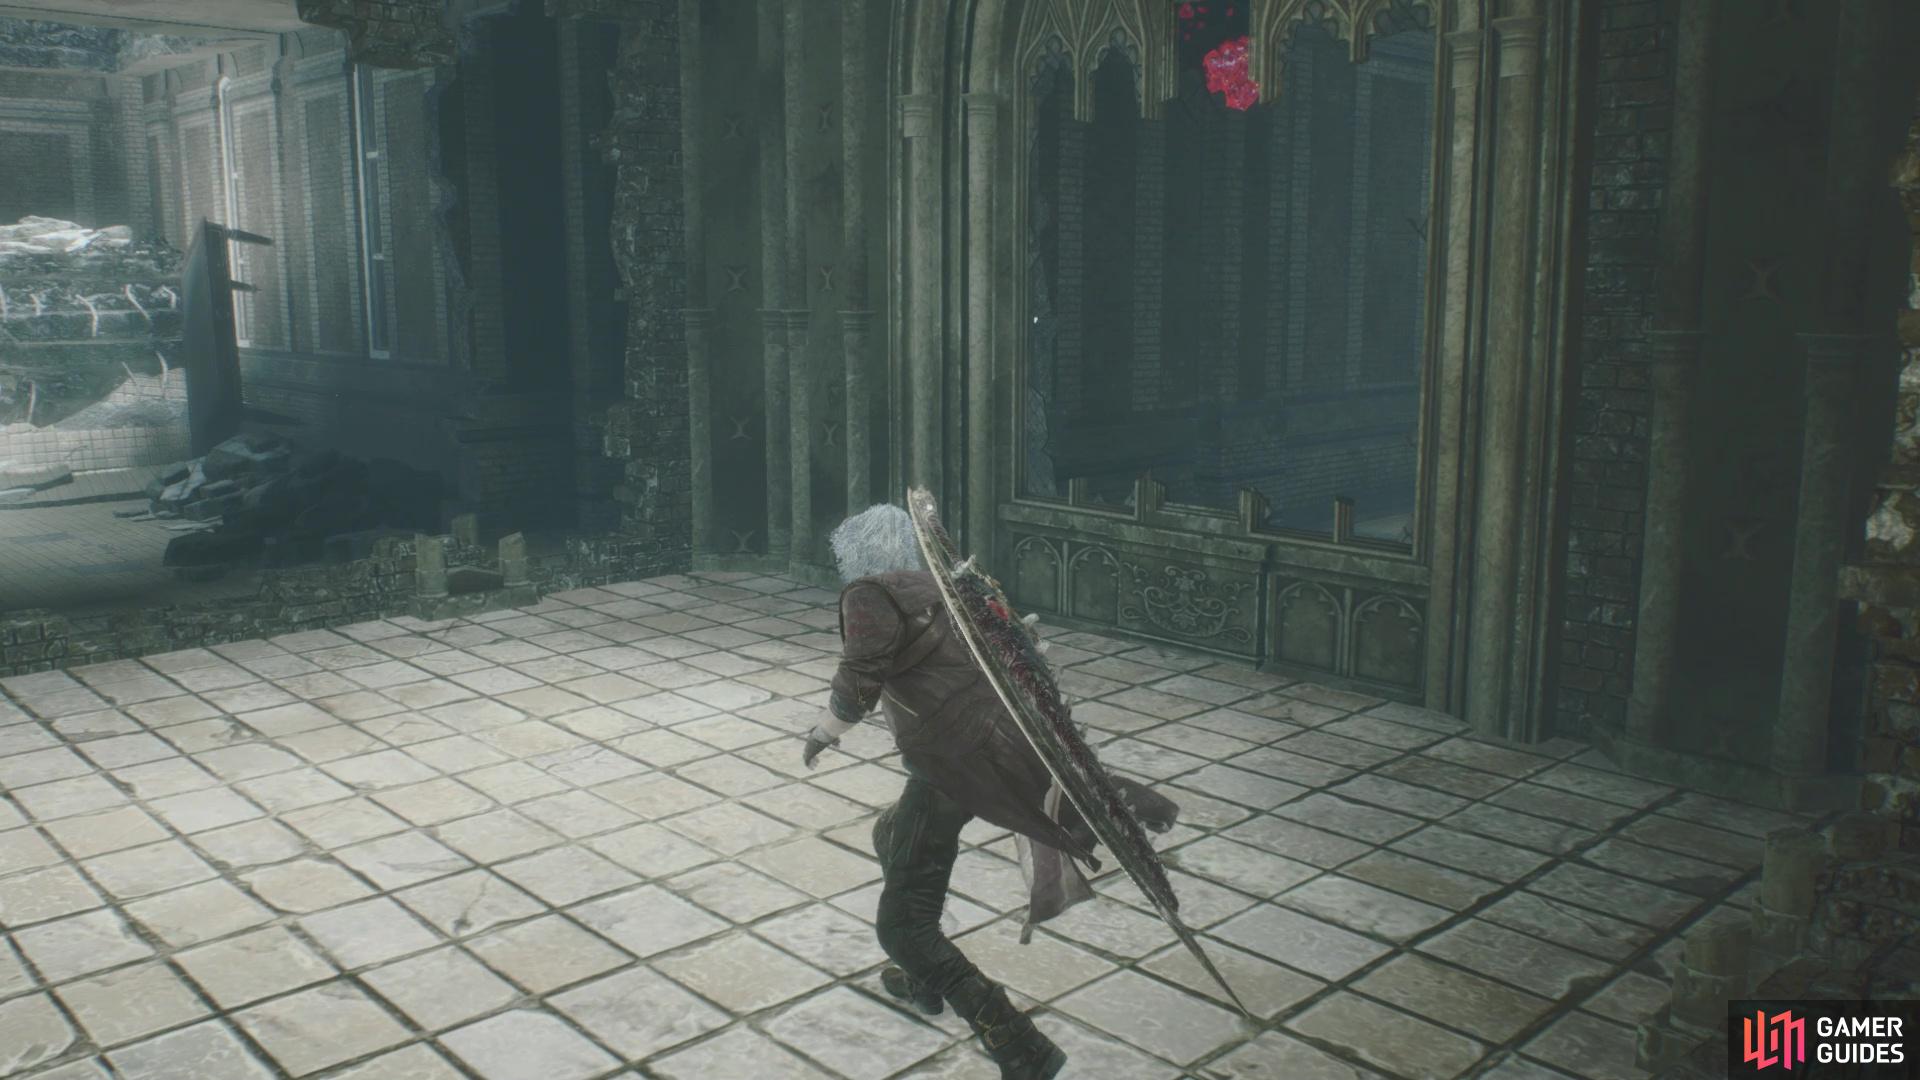
Back to the main mission, drop back down to where you broke the one blood clot and there will be a place where you can drop down further. There are two more blood clots down here, so destroy them both and you’ll find another Blue Orb Fragment in the large opening that appears. As soon as you grab it, though, two Nobodies will spawn. In this tight space, things can get a little dicey, but concentrate on one and keep an eye on the other for any attacks it might do. When you’re done with them, you can use the platforms in the middle of the room to return to the previous section.

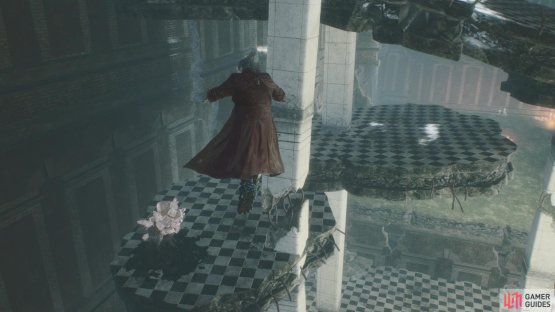
(1 of 2) After breaking all of the blood clots, you can find an easy Blue Orb Fragment

After breaking all of the blood clots, you can find an easy Blue Orb Fragment (left), Use the platforms in the middle to get back to the top section (right)
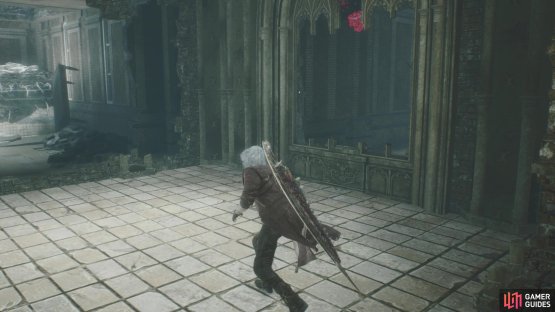
A path should now be open opposite of where you first entered this whole section, with some enemies spawning in the open area. It will be just two Hell Cainas and a Hell Antenora, so it’s nothing special. Don’t fall down into the area with the tentacles just yet (you can get back up if you do), though, as there are more secrets. Backtrack to the tower where the Secret Mission was located and there will be a Gold Orb floating in the air; you can double jump to grab it. Remember the first hole you dropped down into, where the giant Red Orb Cluster was located?
Drop back down here and look for a window you can jump through, which leads to a bunch of Red Orbs, as well as something else. At the end of the path, you will notice “???” pop up on your screen. If you look very closely on the broken table, there is a weapon there, the Kalina Ann. This is one of Dante’s ranged weapons and is a rocket launcher; it will be especially useful at the end of this mission. Double back to the tentacles mentioned earlier and keep moving forward, until you get introduced to a new enemy, the Hell Judecca.
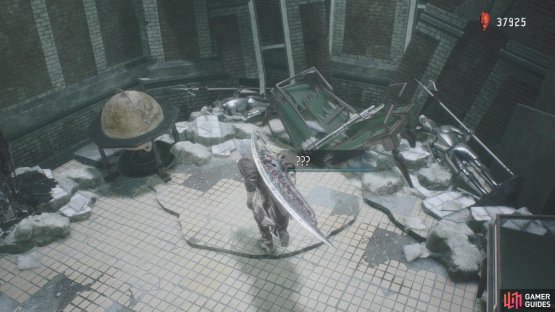
(1 of 2) Look for the busted open window after destroying all blood clots
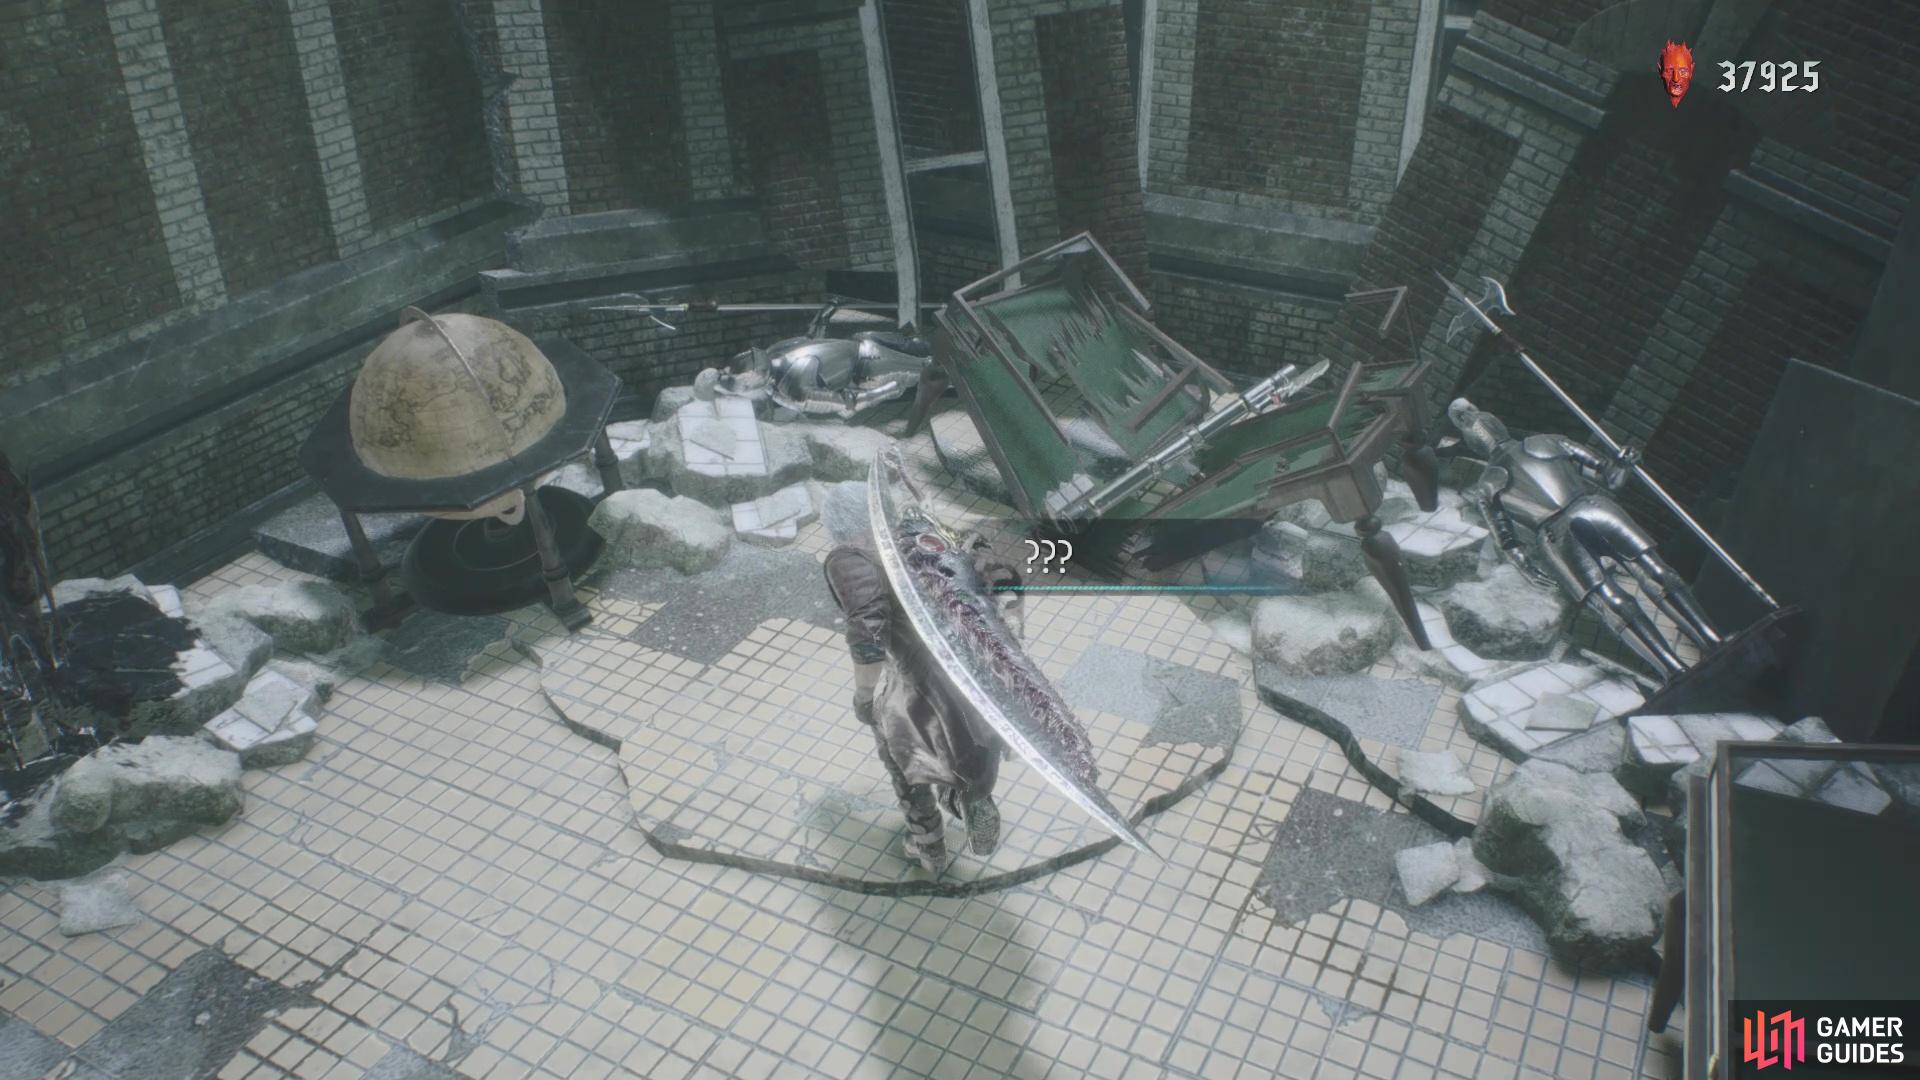
Look for the busted open window after destroying all blood clots (left), This will lead to the rocket launcher, Kalina Ann (right)
This particular Hell Judecca will be accompanied by two Hell Cainas, so take care of them before turning your attention to the new foe. Since it usually keeps away from you, this would be a good opportunity to test out the Kalina Ann. A single rocket does some decent damage, but when paired with the Gunslinger style, you will get more from the volley of rockets it fires on the ground. When you’re done with it, continue along and jump up the building, until you reach a circular arena at the top. You will face off against two waves of enemies here, with the first consisting of two Scudo Angelos and a Hellbat.
Upon defeating all of those, you will do battle with a Proto Angelo and two Hellbats. One Hellbat is fine to leave alone, but two will be a nuisance, so trim their wings and take them both out before concentrating on the Proto Angelo. Upon defeating all enemies, the barrier will be gone and the camera will pan to a Purple Orb Fragment. Jump up to grab it, then drop through the holes behind it to collect some Red Orbs. At the bottom, follow the path, being mindful that some tentacles will appear, then hop up the ledges on the other side. Do any shopping you need to do at the Divinity Statue, then hop to the top, where you will be facing off against the boss.
BOSS - Cavaliere Angelo
As far as bosses go, Cavaliere Angelo can be one of the more challenging ones. Not only does Angelo have ranged attacks, but he can also get in there and deal some good melee damage. The boss will likely start off by shooting electric projectiles at you, which are easy enough to dodge. Always keep a lookout for these whenever the boss is far away from you. You could try to counter this range with Kalina Ann, but Angelo can use his wing as a shield, blocking the damage. Tbe boss will likely just close the distance by walking towards you after starting with the projectiles.


(1 of 2) Royalguard can make for a good counter to the sword combos
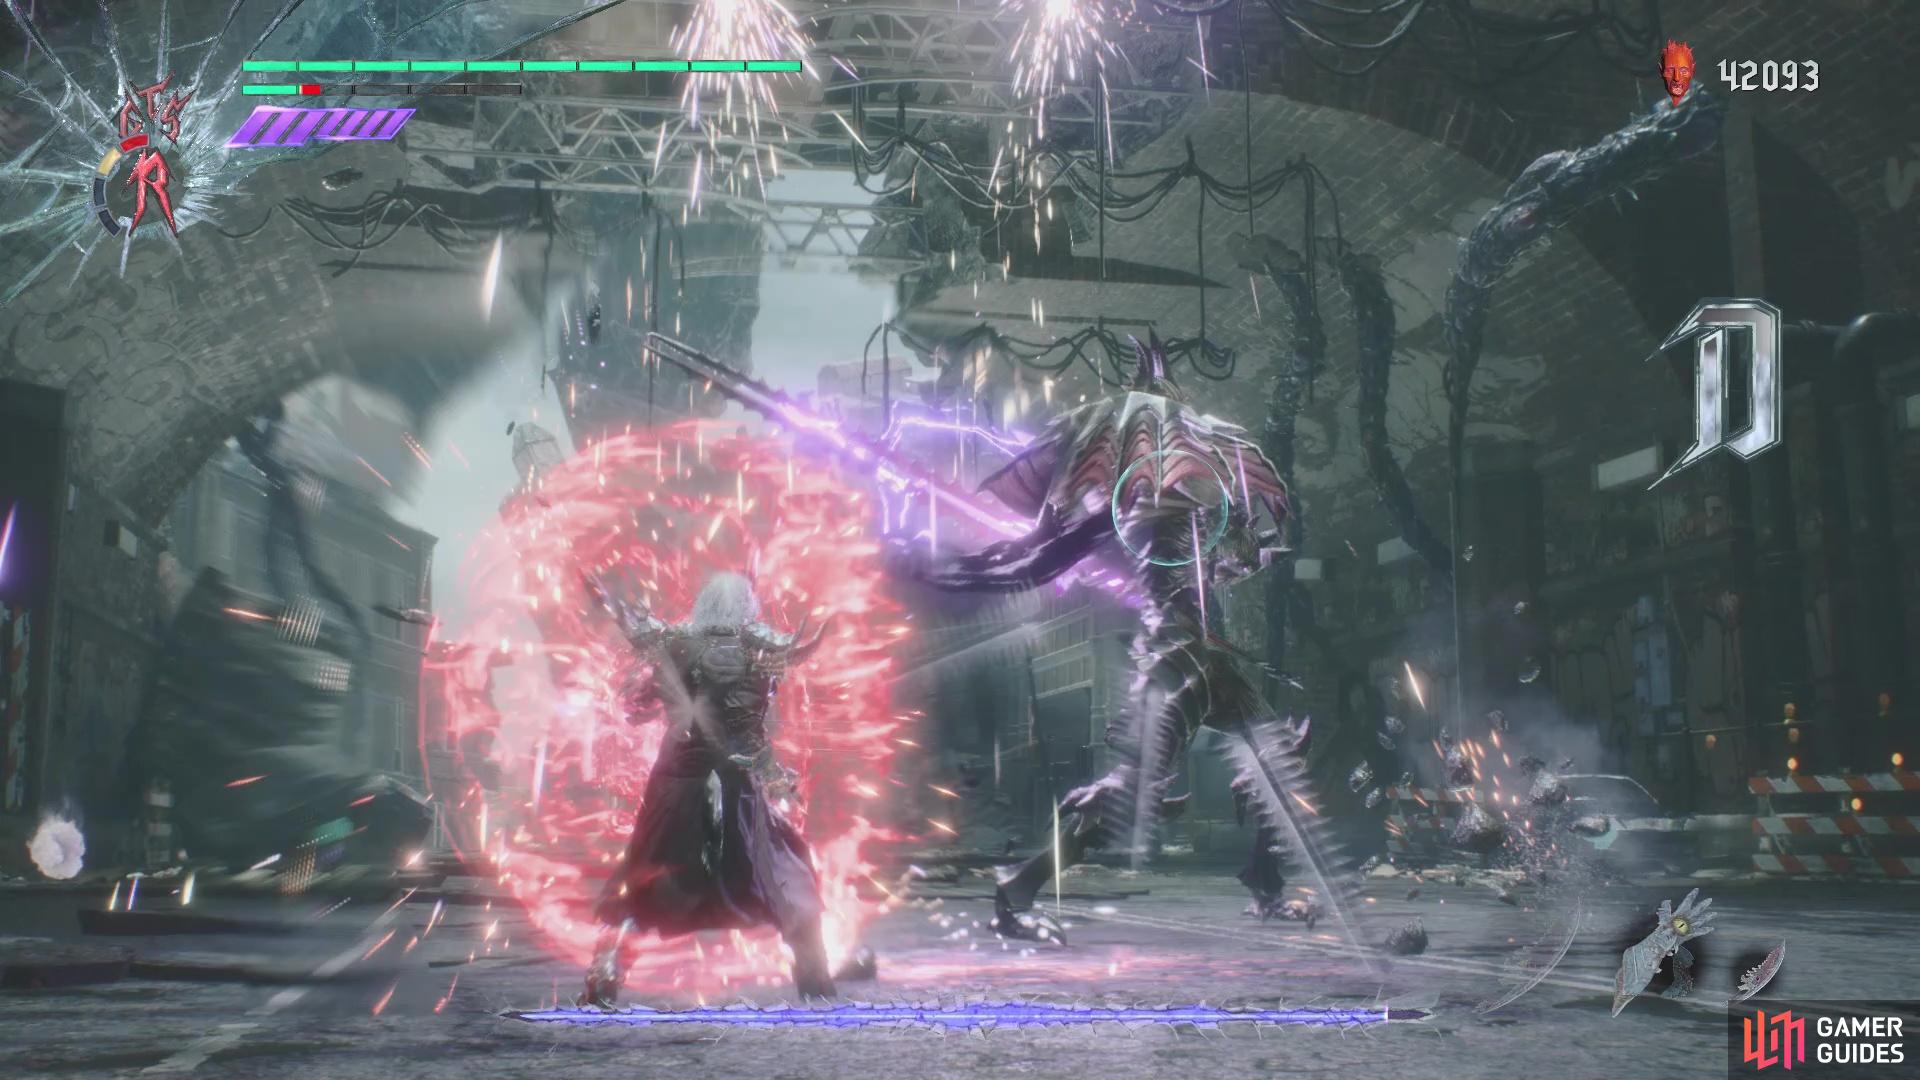
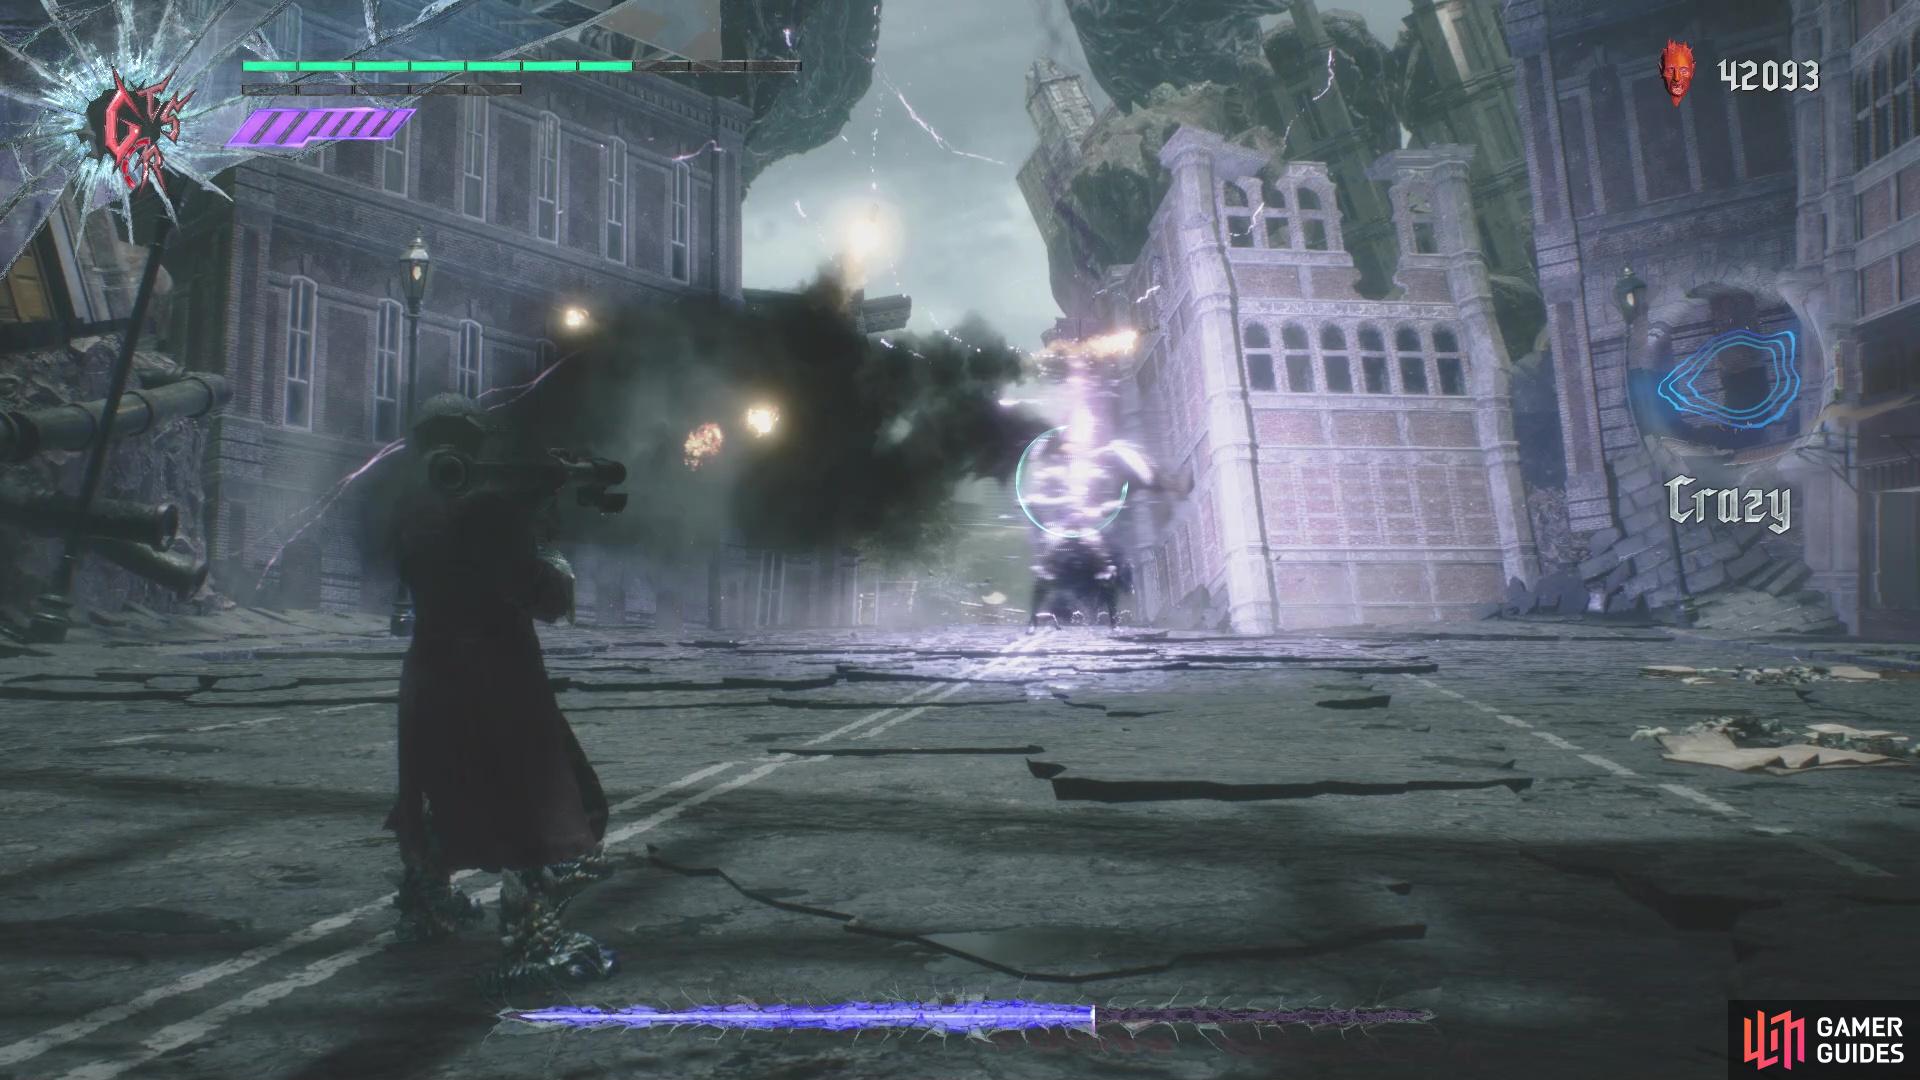
Royalguard can make for a good counter to the sword combos (left), When Angelo is charging his electric attack, pelt him with some rockets from Kalina Ann (right)
Up close, Angelo can perform a combo of melee attacks, up to four strikes with his sword. The first three strikes come in quick succession, then the fourth will be an overhead one. It is possible to block all of these with Royalguard, should you wish, but the timing on perfect blocks can be a little tricky, especially with the final hit. Alternatively, if you can time things, you can actually clash swords with Angelo. Doing this will earn you the Don’t Mess With the Best trophy/achievement, although you can also do the Swordmaster action (Circle/B) to do the same thing. As the battle goes on and you start draining his health, Angelo’s combos will start to vary.
He’ll usually still do the first three slashes, but the ender will be a vertical slice from the bottom, followed by an overhead one. Clashing swords with him a couple of times will make Angelo lose the electricity around his body. At this point, you will want to be aggressive against him, dodging any blows and continually attacking him. You can actually destroy Angelo’s guard in this state, which will stagger him for a few seconds, meaning you can unleash a combo of your own. Once he recovers, Angelo will usually teleport away and begin charging up by holding his sword in the air. This is the perfect opportunity for you to use Kalina Ann, with the volley of missibles (Gunslinger action on the ground) doing some good damage.
The boss will usually unleash the electricity around him, so don’t get too close. It is at this point that you will typically see the deviations in his sword combos, as mentioned above, as well as some other attacks. When far away, Angelo will call bolts of lightning to strike down on your position. At some point in the fight, Cavaliere Angelo will actually teleport to you and perform a quick sword slash, which hurts a bit and comes out fast. Luckily, you can double jump to avoid it and the tell is pretty obvious for when he does it. Lastly, don’t forget about using your Devil Trigger, as you can deal some major damage with it.

Don't Mess with the Best
Use proper timing to get a leg up in a close-quarters battle against the boss in Mission 11.

10
No Comments