
Upon completion of the previous mission, you will have unlocked a new melee weapon for Dante, called the Cavaliere. This is basically a motorcycle infused with the power from Cavaliere Angelo, and is split into two pieces. The special ability for the Cavaliere is that you can hold down the attack button to have the weapon “stick” to the enemy, meaning it will keep them staggered (if they can be) and the damage will increase (think of it like a chainsaw). The backside to this is that you are highly vulnerable while being fixated on an enemy, so you will want to be extremely careful when around multiple enemies.
As soon as you begin the actual mission, you will have three Hell Cainas in front of you. Use this as an opportunity to test out the Cavaliere and see how its attacks are, then destroy those demons and the extra Cainas that spawn after the initial three are destroyed. Carry on and you will find some kind of pillar pop up in front of you, with an enemy inside of it (a Baphomet). While it can still attack you while inside this pillar, it cannot move and you can easily stun it with your initial attacks. You’ll come to some more pillars a little further ahead, some of which have Red Orbs trapped inside.
Note that you can attack them a few times to break the pillar, but they can actually regrow back should you happen to step on the central area where they first were. In this room with a bunch of pillars, a single Chaos will spawn, so it’s not particularly difficult to fight it. After getting rid of it, another Chaos will appear and will be accompanied by two Riots, making things a little more hectic. Thankfully, you can actually use the erect pillars as protection against some of their attacks.


(1 of 2) Not only can enemies get stuck in the pillar cages
Not only can enemies get stuck in the pillar cages (left), but you can get stuck in them as well (right)
Continue on the path after the battle, securing the Red Orbs along the way, and you will come to a courtyard, with a fountain in the middle of it. While it looks like a puzzle, it’s not an intense one and something that can be solved easily, although it will take a little time.
Bloody Fountain Puzzle
Facing the fountain, there is a weakened Qliphoth root to the left and despite you not knowing, you begin the mission with a Nidhogg Hatchling. The only other normal exit in this room is on the far ahead, up some broken stairs, again guarded by a weakened root. However, if you look above the first weakened root, you should see a ledge and there’s a stepping stone off to the side of this ledge. Hop up to this, grab the Red Orbs in front and pass through the small hole to find the second Nidhogg Hatchling. Return to the main room and use a Hatchling on the roots at the top of the stairs.
The very first room you enter will close off, pitting you against two Hell Antenoras and a Hell Caina, as well as some of the pillars from earlier. A few more Caina will join in later, so be aware of that. After clearing them all out, you’ll happen upon a Purple Orb Fragment a little further up the path, just waiting in the open. Beyond that, there will be some broken roads, more Red Orbs and eventually, a wide open area that will introduce another new enemy, the Fury.
The Fury will usually open up by teleport attacking you once, then doing it again with an overhead strike. If you can time the block on this twice, then it will be open to a few attacks before retreating again. Its other moves involve teleporting around the arena, closing in for a strike, then appearing in the air and charging with a finisher. This finisher will knock you down, so be aware of that, although the Fury likely won’t follow up with anything. So, as mentioned above, if you can time the blocks, Royalguard is a helpful style, but Balrog can also make things very handy.

(1 of 2) The Fury’s teleport attacks can be hard to deal with at first

The Fury’s teleport attacks can be hard to deal with at first (left), but you can use Royalguard to block them (right)
If using Balrog, switch to Kick Mode and hold down the attack button to start Ignition (weapon on fire), then switch back to Blow Mode. While locked on to the Fury and dishing out the machine gun punches with Ignition active, you will have a pretty good chance of parrying the attacks from the Fury. Luckily, the Fury doesn’t have a whole lot of health, but its constant dancing and prancing will make it extremely difficult to keep your Stylish Rank high. You’ll just have to continue to take pot shots at it until you finally bring it down for good.
With that battle under your belt, you can continue on into the next area, where some tentacles will pop up from the ground. It looks like you have two ways to go here, but one just leads out into the main room with the fountain, so head in the other direction. This room has an enemy Spawner and when you enter, a Behemoth will pop out of nowhere. Take care of the Spawner first, as you don’t want Antenoras interfering with your big friend, then what you want to do next is up to you. Keeping the Behemoth chained might be a good idea to get rid of the other riffraff, or you could go after the Behemoth first.
There’s only one exit in this room, so head in that direction until you spot the blood clot on your left. Smack it until it breaks, which makes the blood flow all the way to the fountain in the main room, activating some mechanism. The blood clot also left a hole in the wall, so pass through it to find some smaller Red Orbs and a large Red Orb Cluster. Return to the hole you just passed through and look above it to spot a ledge you can jump to, on the non-blood clot side. There’s some Red Orbs up in this hidden area, as well as a Blue Orb Fragment.

(1 of 2) After passing through the one hole left behind by the blood clot
After passing through the one hole left behind by the blood clot (left), there is a ledge you can jump to that houses a Blue Orb Fragment (right)
Drop back down and look for an entrance to another large room, which will close off and spawn a Chaos and Baphomet. Be careful of the pillar cages here, but you might get lucky and have one of the enemies get caught in them. Kill both sets of enemies (more of the same) and move past the barrier that disappears to find a second blood clot. Do the same as before to have the blood flow into the fountain and activate some mechanism, then head through the hole to find another Nidhogg Hatchling. Backtrack a little and go out onto the balcony overlooking the main room to find a Gold Orb.
Jump off all the way to the ground and use a Hatchling on the weakened root on the ground. As you as you enter the first room, it will close off and a bunch of Empusa will appear. Continue taking them out as they show up and at the end, an Empusa Queen will join in the fun. At this point, you should be familiar enough with this creature that you can defeat it easily. Continue along after the battle and opt for the dead end, with some pillar cages popping up behind you to lock you in. Quickly grab the Red Orbs, break the cages and go after the two Baphomets that are sniping you from behind them.
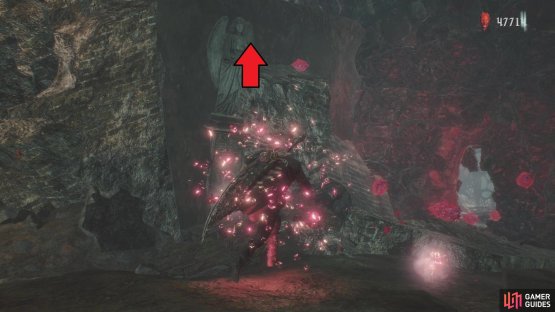
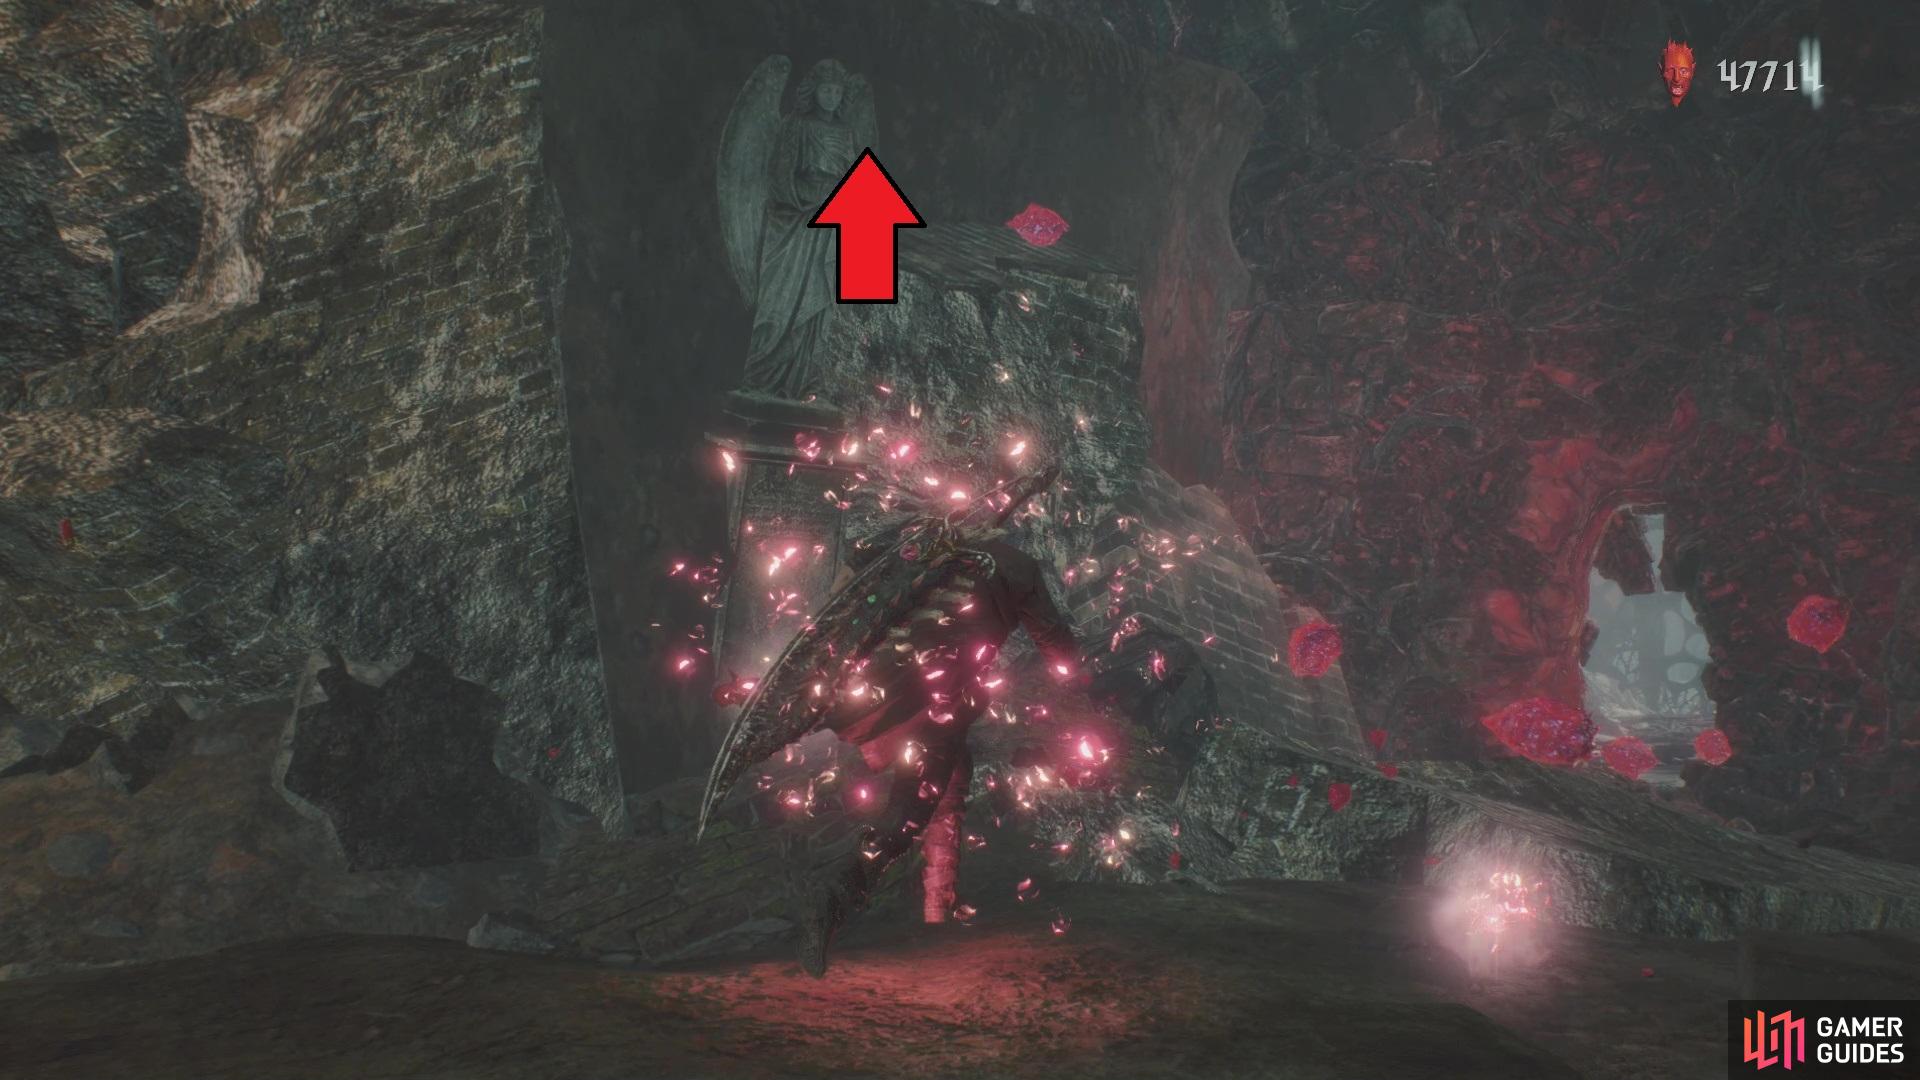
As you head backwards, go up the hill, destroying the tentacles along the way, and when you get to the end, you can either go out on the balcony or head the other direction. Do the latter to find the final blood clot, which will finally open the way in the main room, so drop off the balcony now. The statue has moved enough for you to head into the hole underneath it, leading into some kind of underground cavern. Just follow the path until you have to hop up some “stairs,” but stop at the top. Turn around and you will see another ledge there, but you’re going to need the double jump and the Trickster dash. Once you get over there, look for the red glow and find the markings to start the Secret Mission.
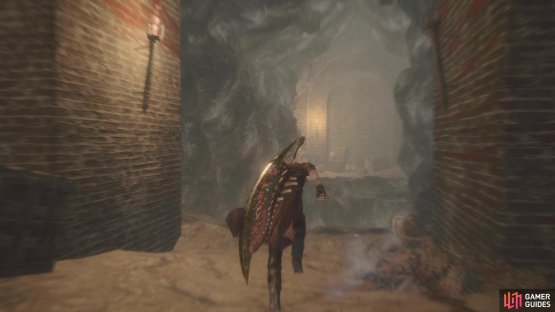

(1 of 2) Look behind you after jumping up some “stairs” to find a ledge with the red glow for the Secret Mission
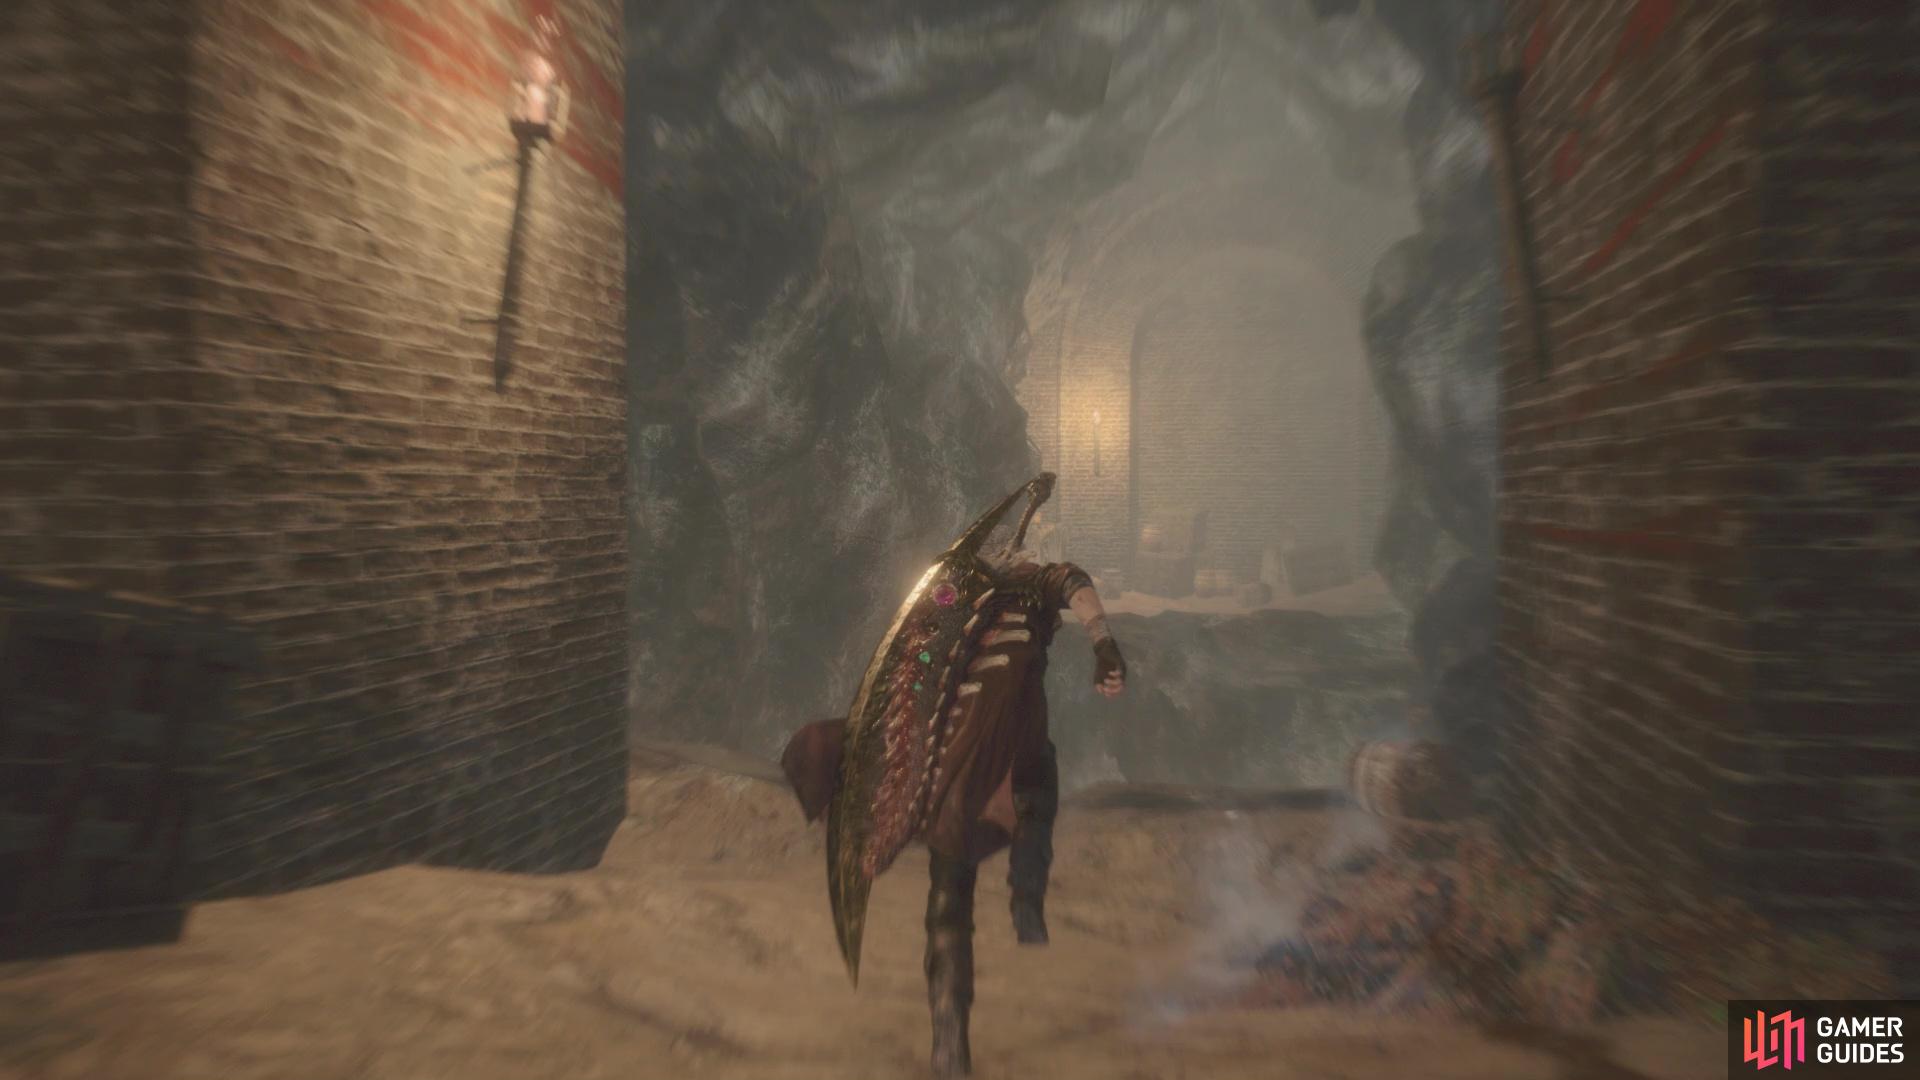
Look behind you after jumping up some “stairs” to find a ledge with the red glow for the Secret Mission (left), The Cavaliere’s Highside skill works wonders in keeping yourself in the air (right)
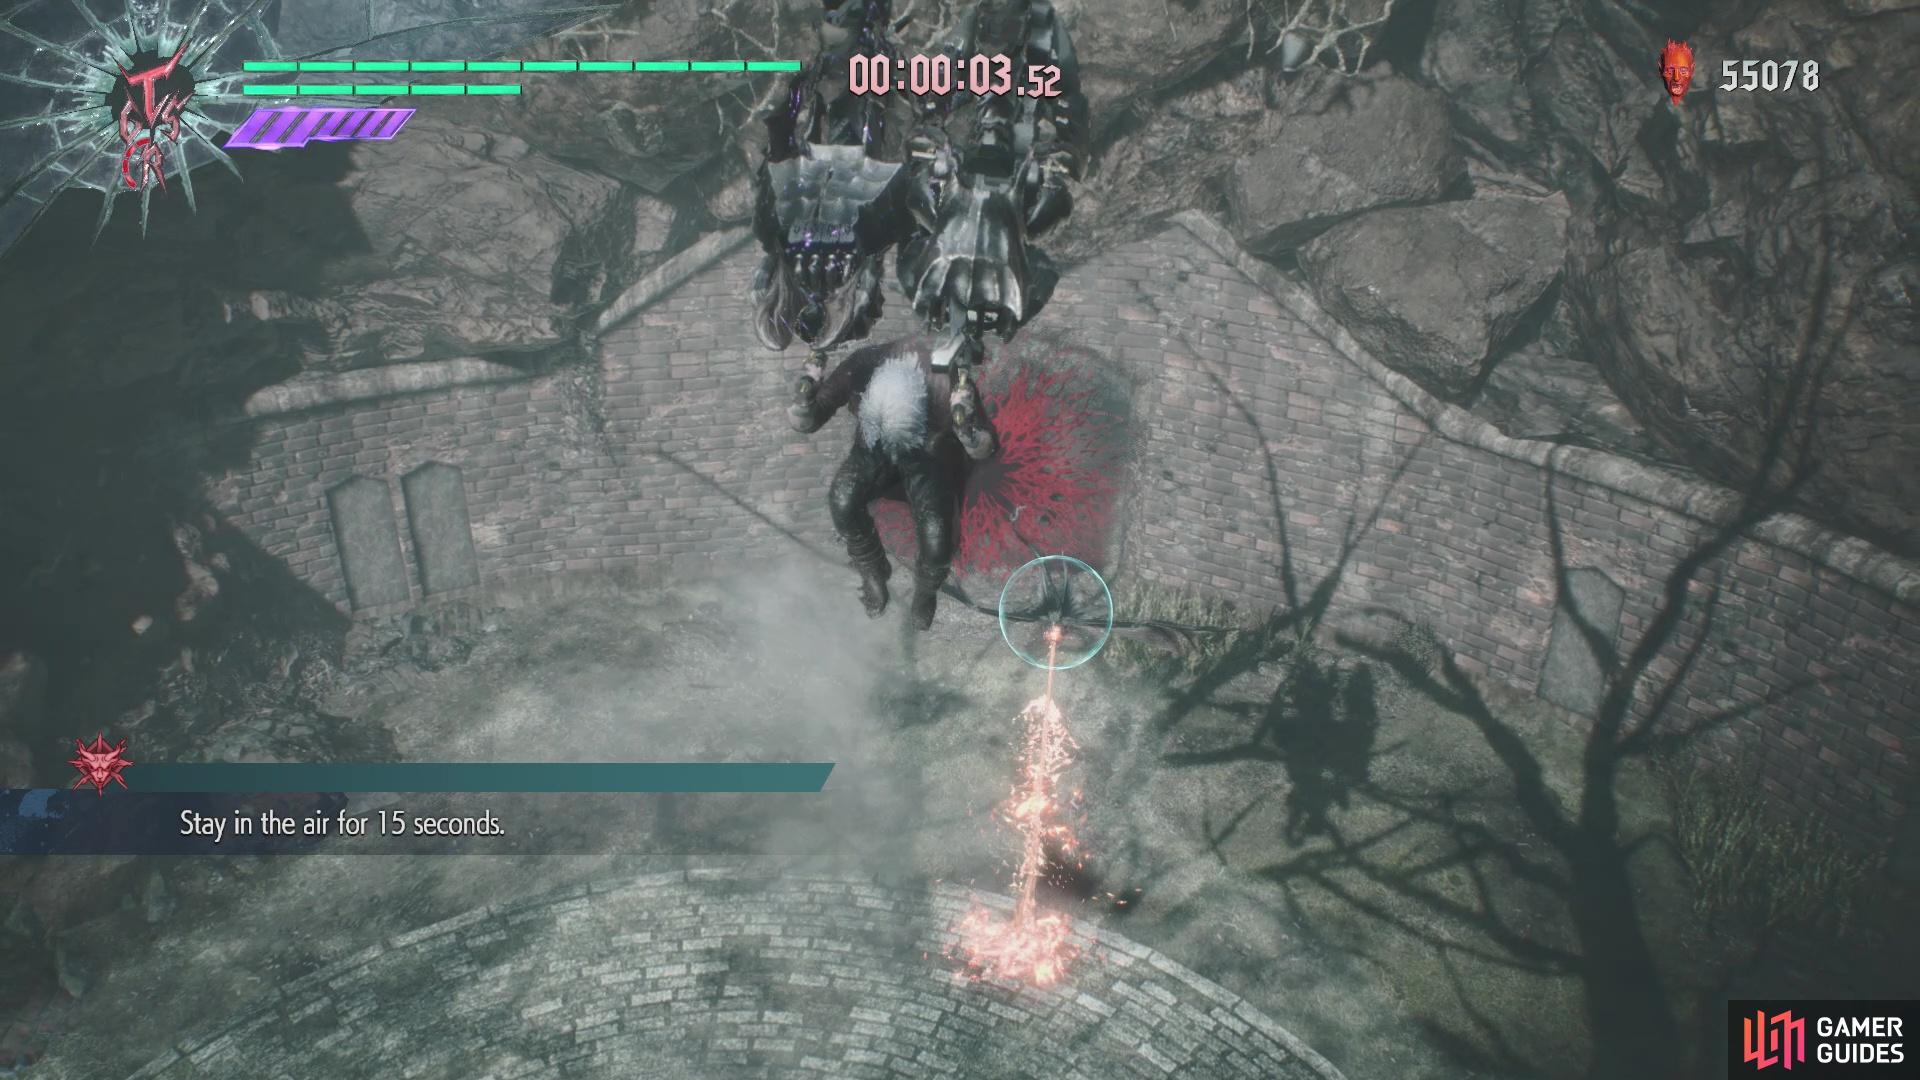
Secret Mission 09
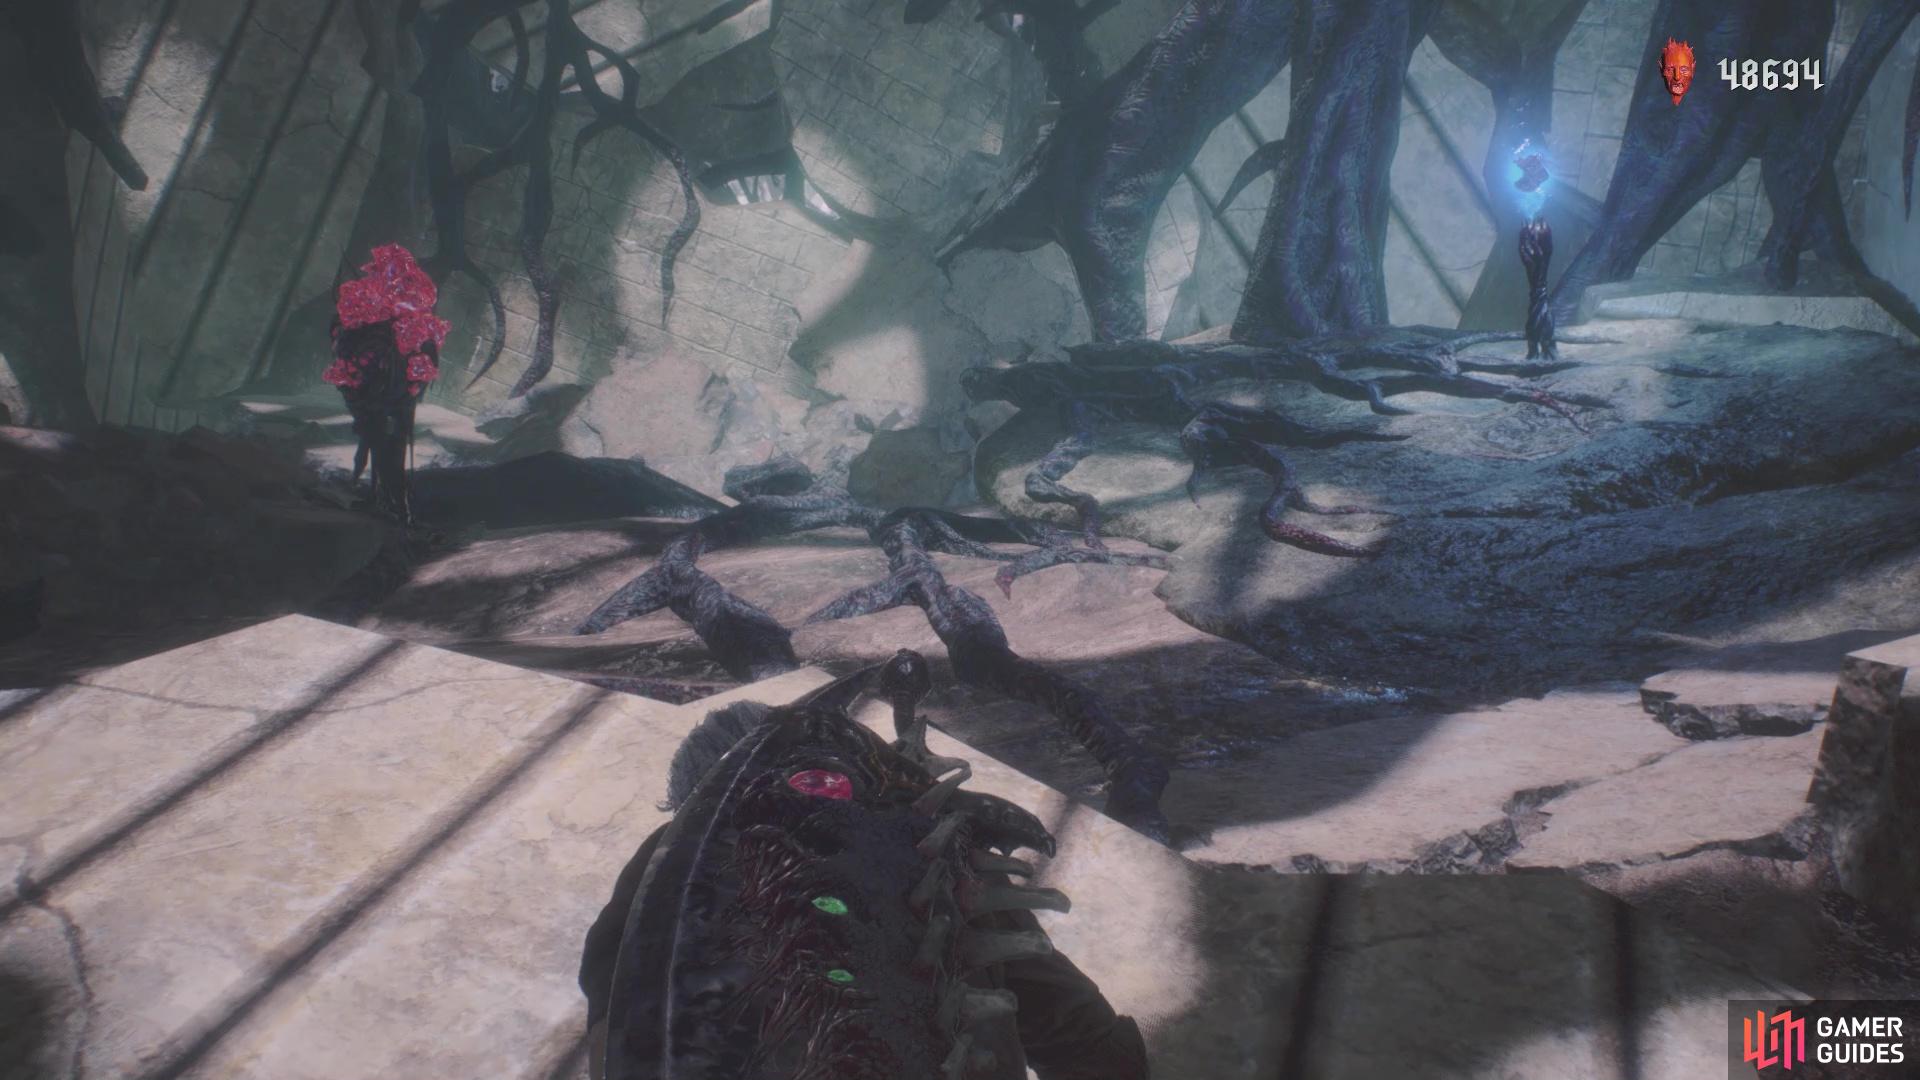
This Secret Mission can be frustrating, as there is actually no real combat involved in it. You need to stay in the air for a total of 15 seconds, with the timer beginning as soon as your feet leave the ground. There are two enemies in the Secret Mission, a Hell Antenora and a Pyrobat, but those aren’t too important. Hopefully, you heeded the tip at the beginning of this mission and purchased the Highside skill for the Cavalier, as you will be mostly using this to keep yourself afloat. Lock on to the Pyrobat and spam Highside as much as you can (hold R1/RB, then press back on the left analog with Triangle/Y), until you start falling down. This should keep you in the air for the majority of the time, but you are going to want to save your double jump for later on, plus you can always add in Trickster’s Circle/B dash while in the air to add in that extra second. If you happen to snag one of the two enemies, then hold the attack button down to keep it going.
Grab the Blue Orb Fragment for completing the challenge and you’ll return to the main mission. Follow the main path to a Divinity Statue, opting to purchase anything new if you want, then keep going until the end. Enter the building for a cutscene and you will be in the boss battle right after it ends.
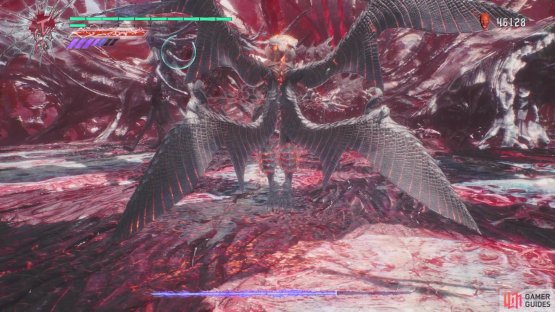
BOSS - Urizen (Yet Again)
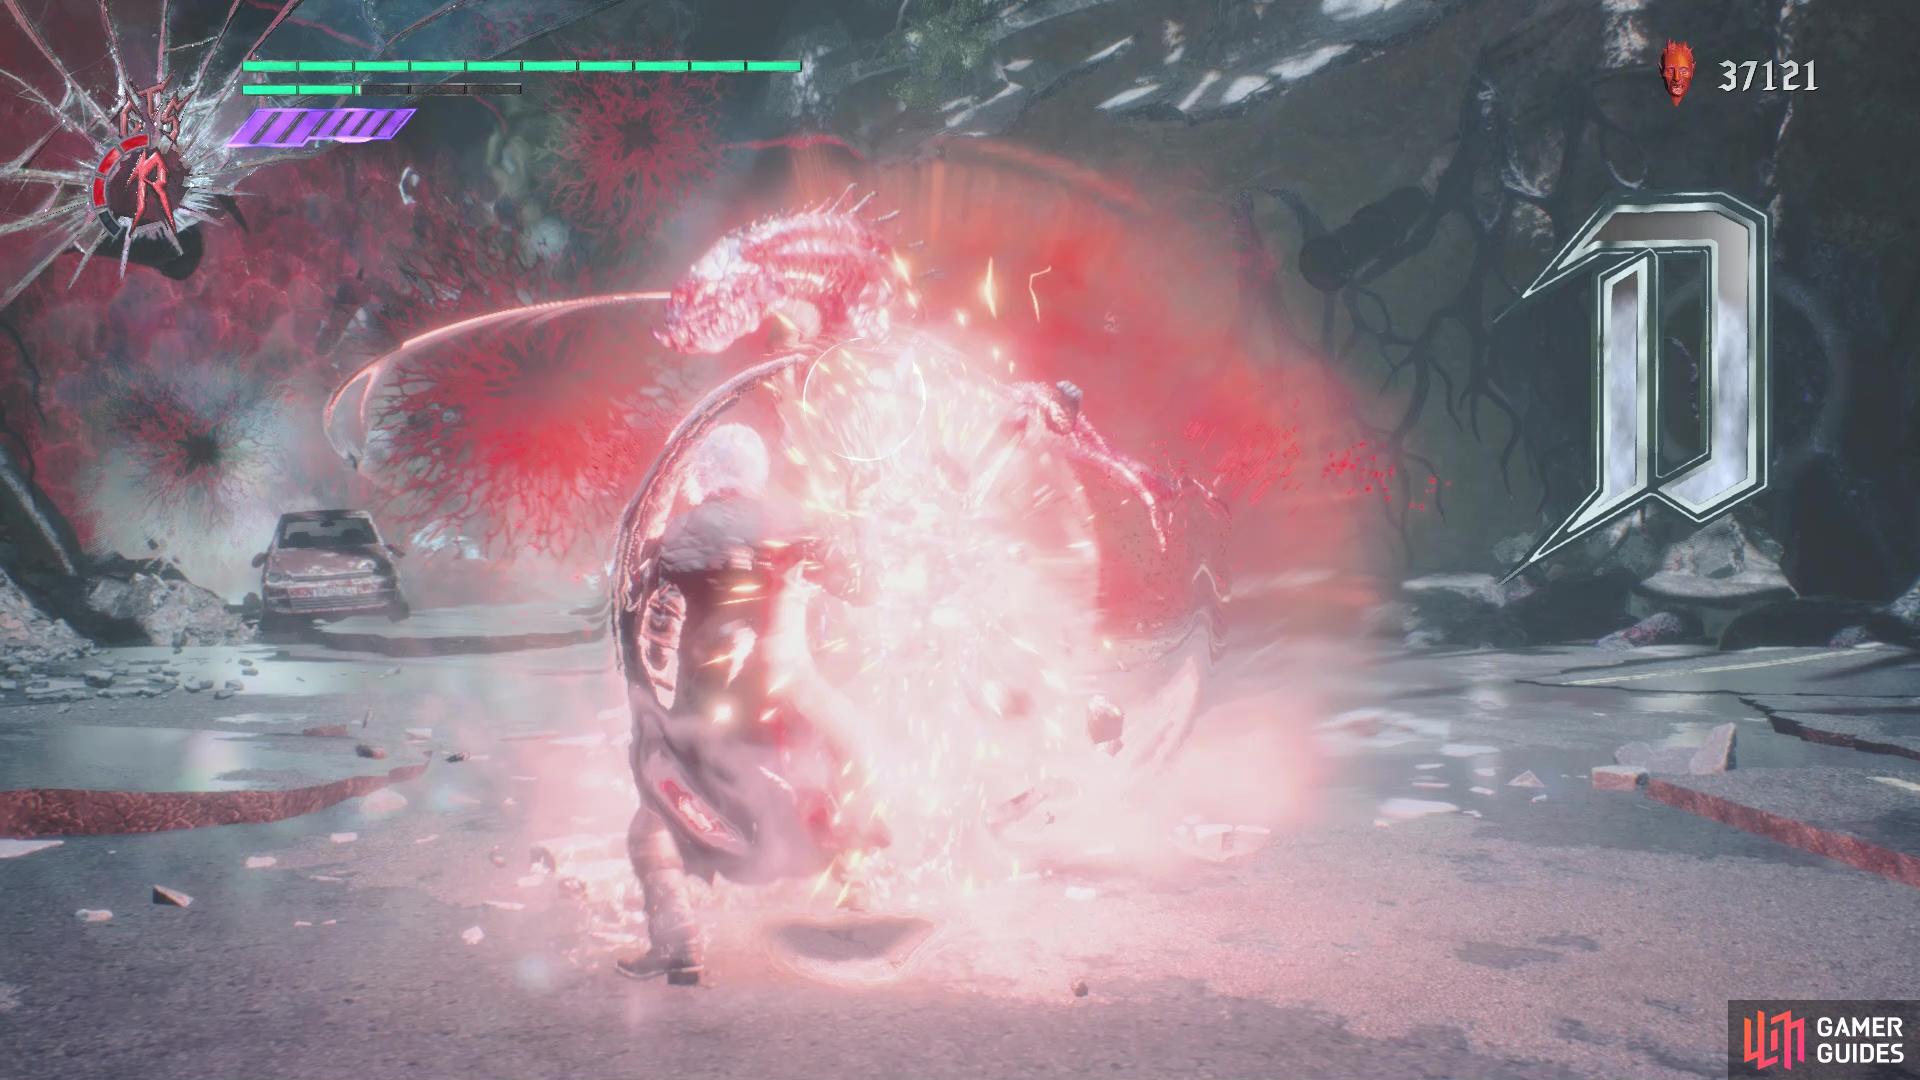
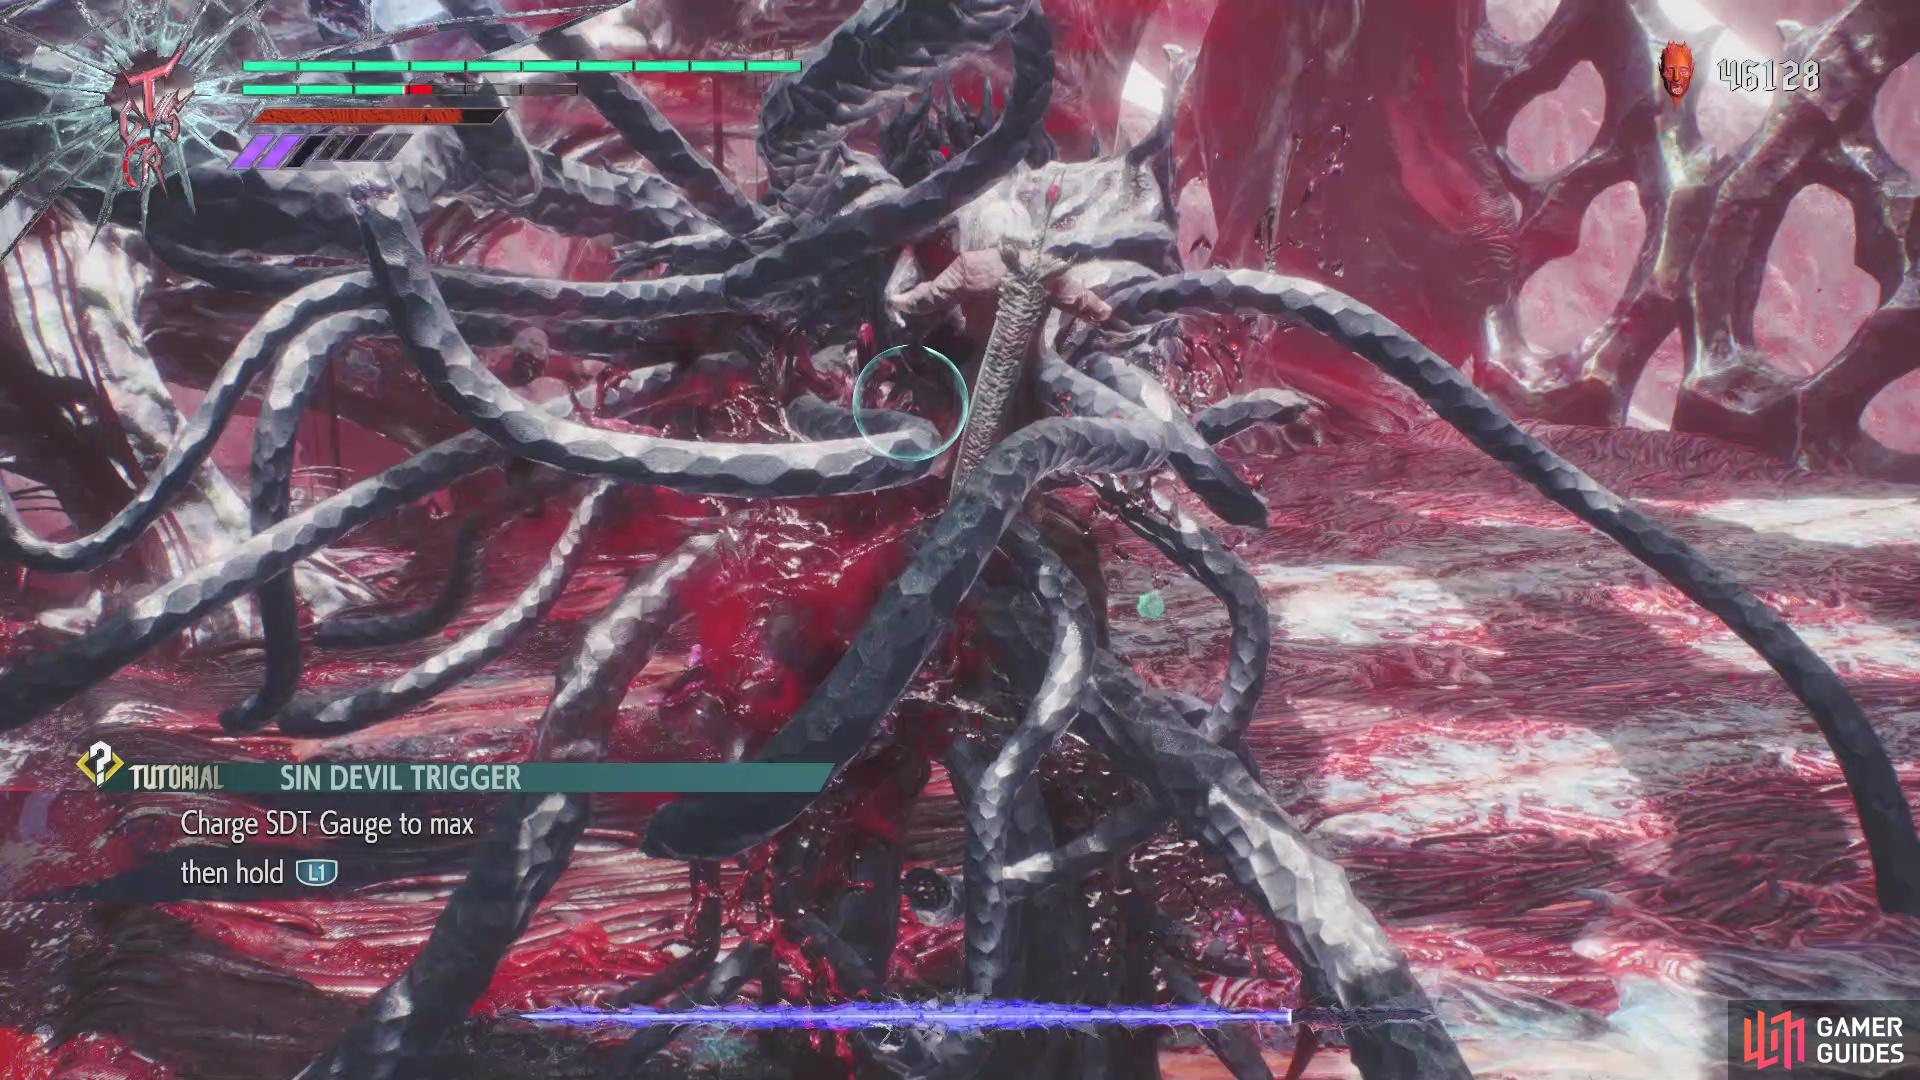
Hey look, it’s another boss battle against Urizen, although you have a few more tools in your disposal to help fight him this time. As shown in the cutscene, you have a new sword, the Devil Sword Dante. While it has a lot of similarities to the previous two swords, DSD has some changes to it. Its Swordmaster action will conjure up some red swords instead of doing the spinning thing, which is now a part of a regular combo chain. In addition to this, you also have a new type of Devil Trigger, Sin Devil Trigger, which will have its own gauge and everything.
Whenever you have normal Devil Trigger gauge, hold down L1/LB to transfer it to the SDT gauge. Once it’s filled completely, hold down L1/LB again to transform into the Sin Devil Trigger. Unlike your normal Devil Trigger, though, SDT does not recover health while in it and you cannot manually deactivate this form. However, you gain a massive power boost and your mobility will also increase while using it.

(1 of 2) You’ll have to charge the SDT gauge with the normal DT gauge

You’ll have to charge the SDT gauge with the normal DT gauge (left), Once it’s full, unleash the SDT form to gain a huge boost in attack power (right)
You’ll begin the battle in SDT, so rush into Urizen’s personal space and begin attacking. Whenever your form runs out of juice, you’ll have to building it back by getting your normal DT gauge filled. If you remember Urizen’s moveset from Mission 08, then he has the same moves here, including that annoying homing tentacle attack. Whenever you’re back in human form, you will want to use Trickster to help dodge it. Get in close to do some melee and hopefully build up enough DT gauge to transfer it to your SDT gauge. Once you fill it back up, then unleash it and go ham on Urizen’s face. On lower difficulties, it shouldn’t matter if you eat some attacks, as you should be able to deal enough damage to deplete most of his health.
On higher difficulties, though, you’ll want to be more careful, as Urizen will have more health himself and his attacks will deal more damage. You’ll need to watch out for his attacks in melee range, too, but the tells are pretty obvious and Trickster’s dodge will help immensely in getting away. The battle will last a lot longer on the harder difficulties, too, so keep that in mind. Once you deplete his health all the way to zero, the mission will finally end.


No Comments