
Dante, for those that played the previous two entries in the series, is definitely not an easy character to play. Not only does he have multiple weapons, both melee and ranged, in his arsenal, but the various styles he has access to makes him rather complicated to use. Of course, you can always stick to the tried and true Swordmaster style, coupled with his melee weapons, but that’s limiting his potential. It might feel overwhelming at first, especially since you have a lot of options from the beginning with Dante, but he is the character with the most freedom in the game.


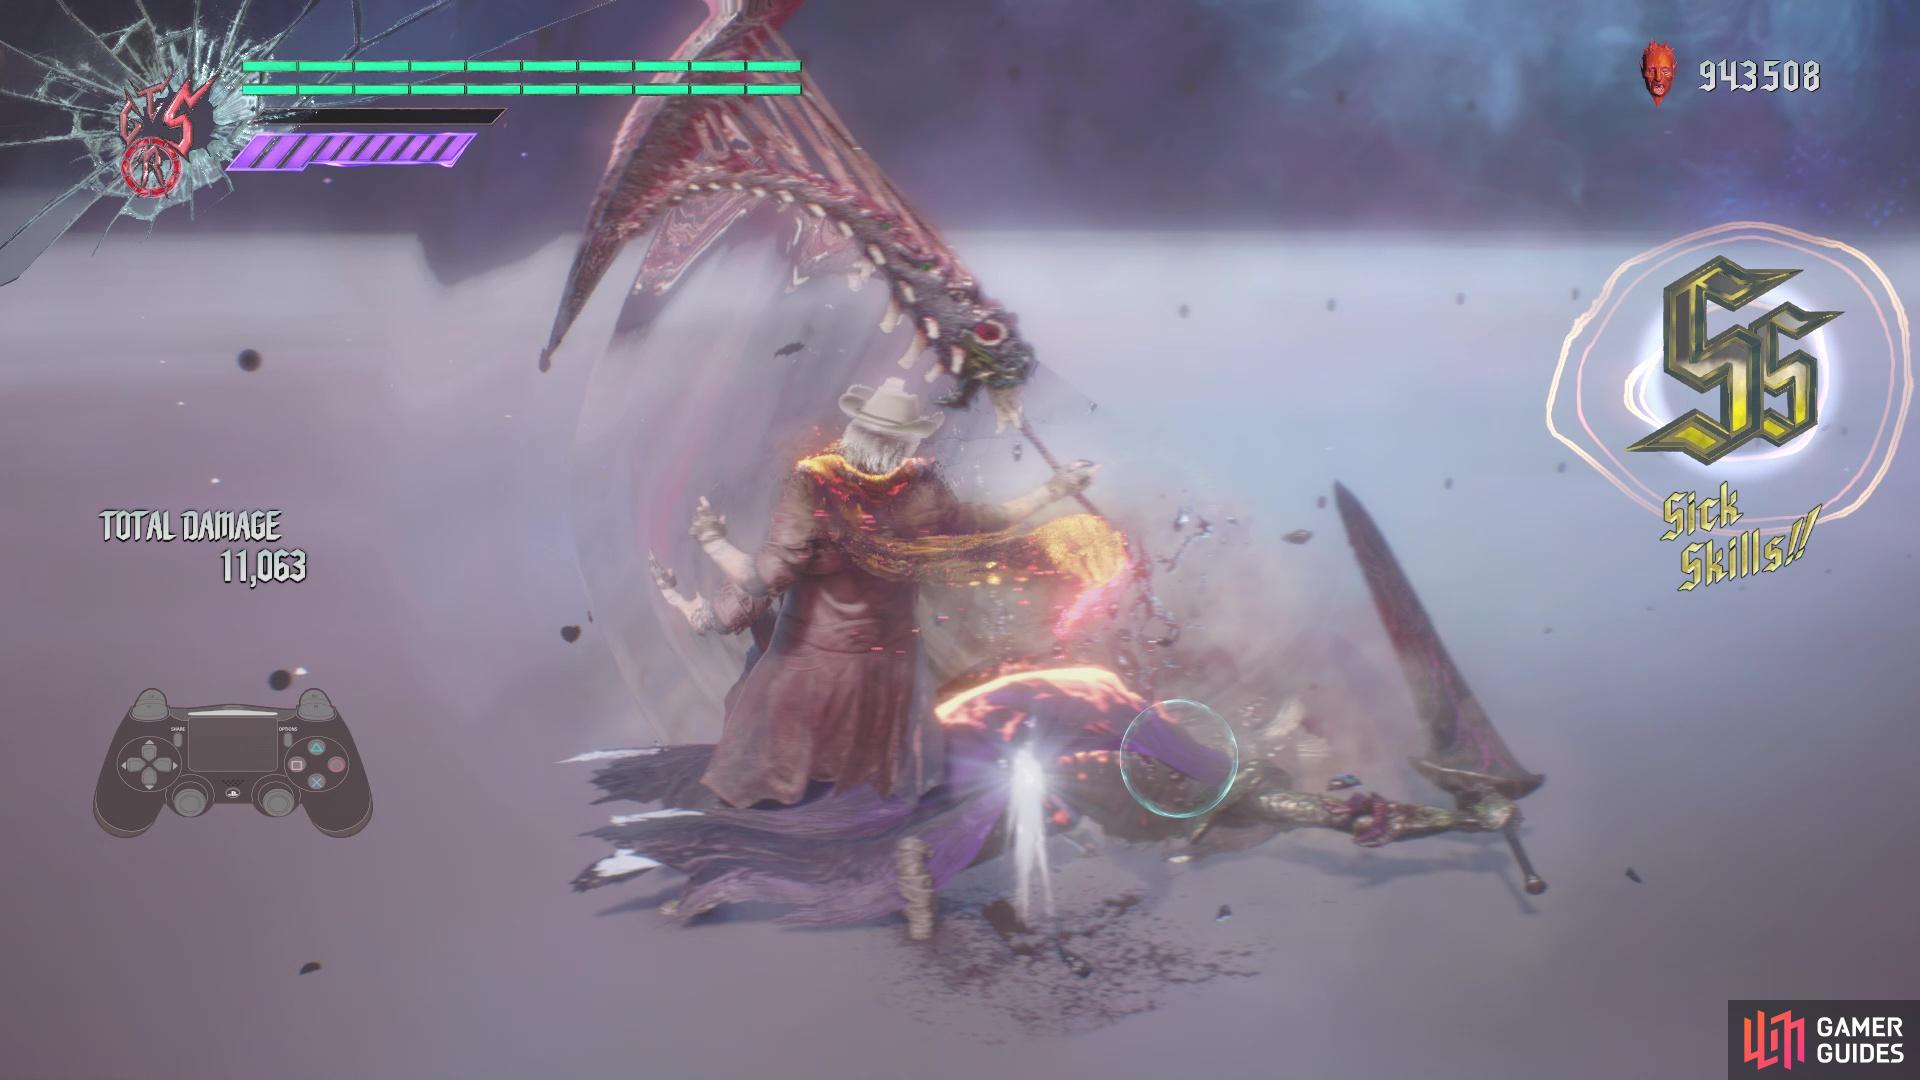
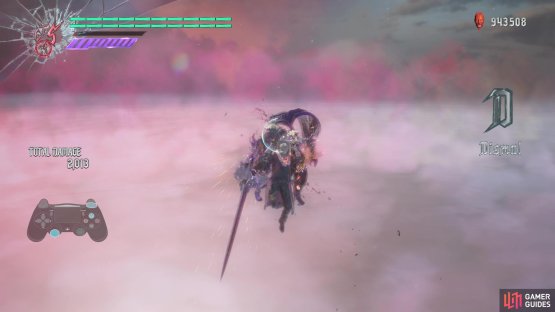
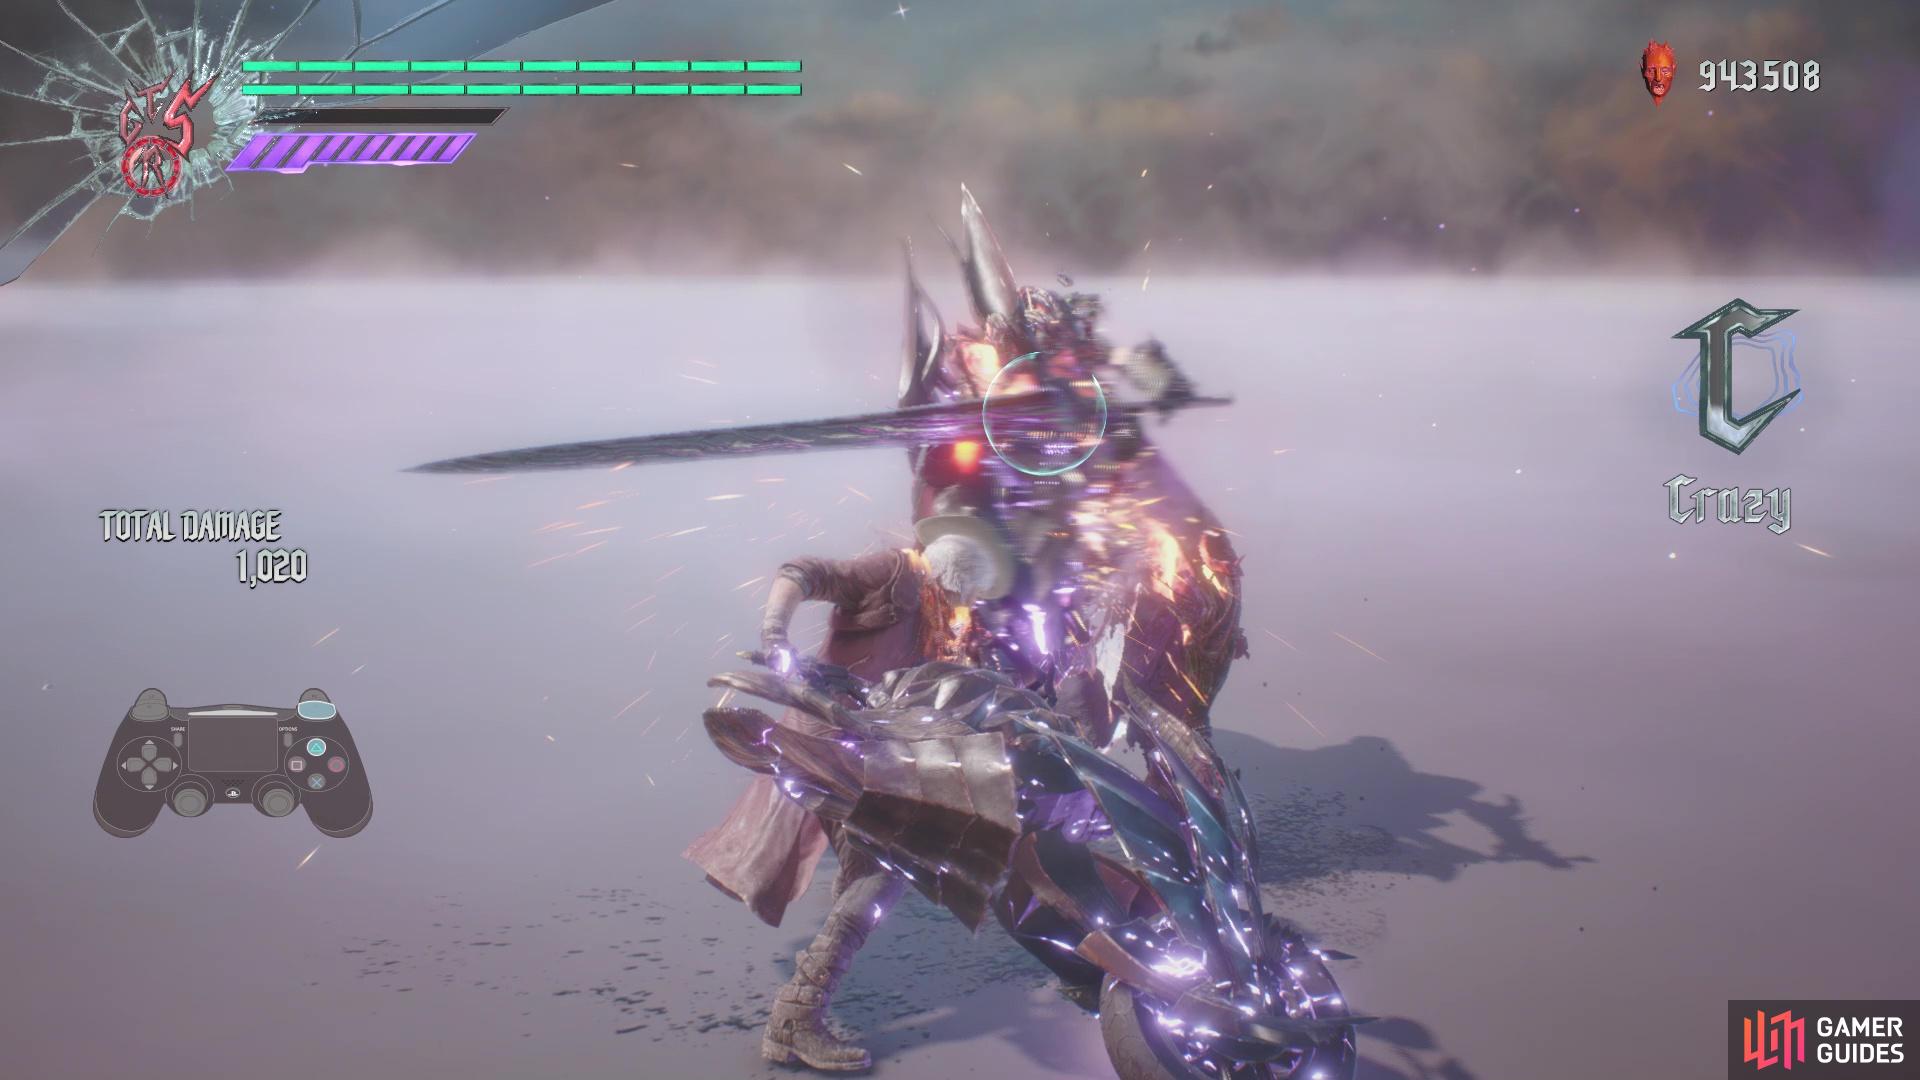
(1 of 2) Dante’s styles will play a large part in his gameplay
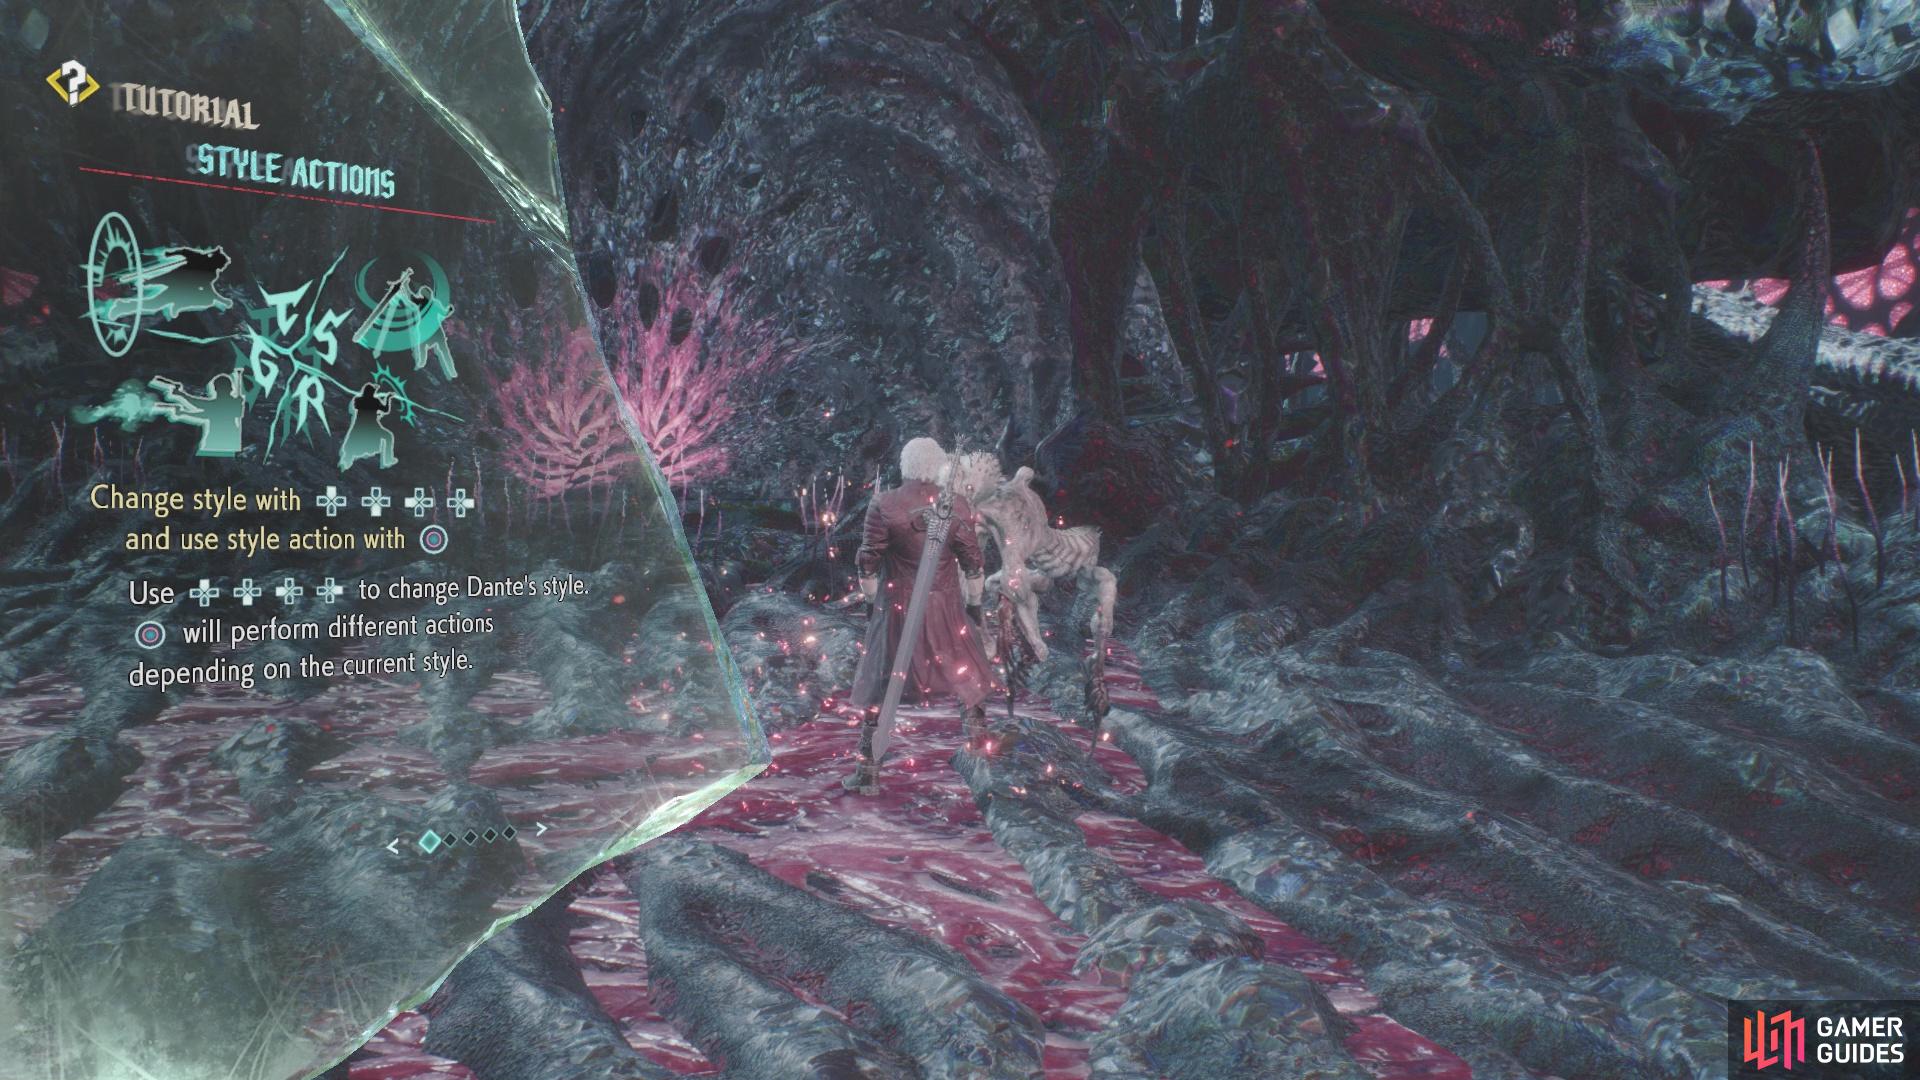
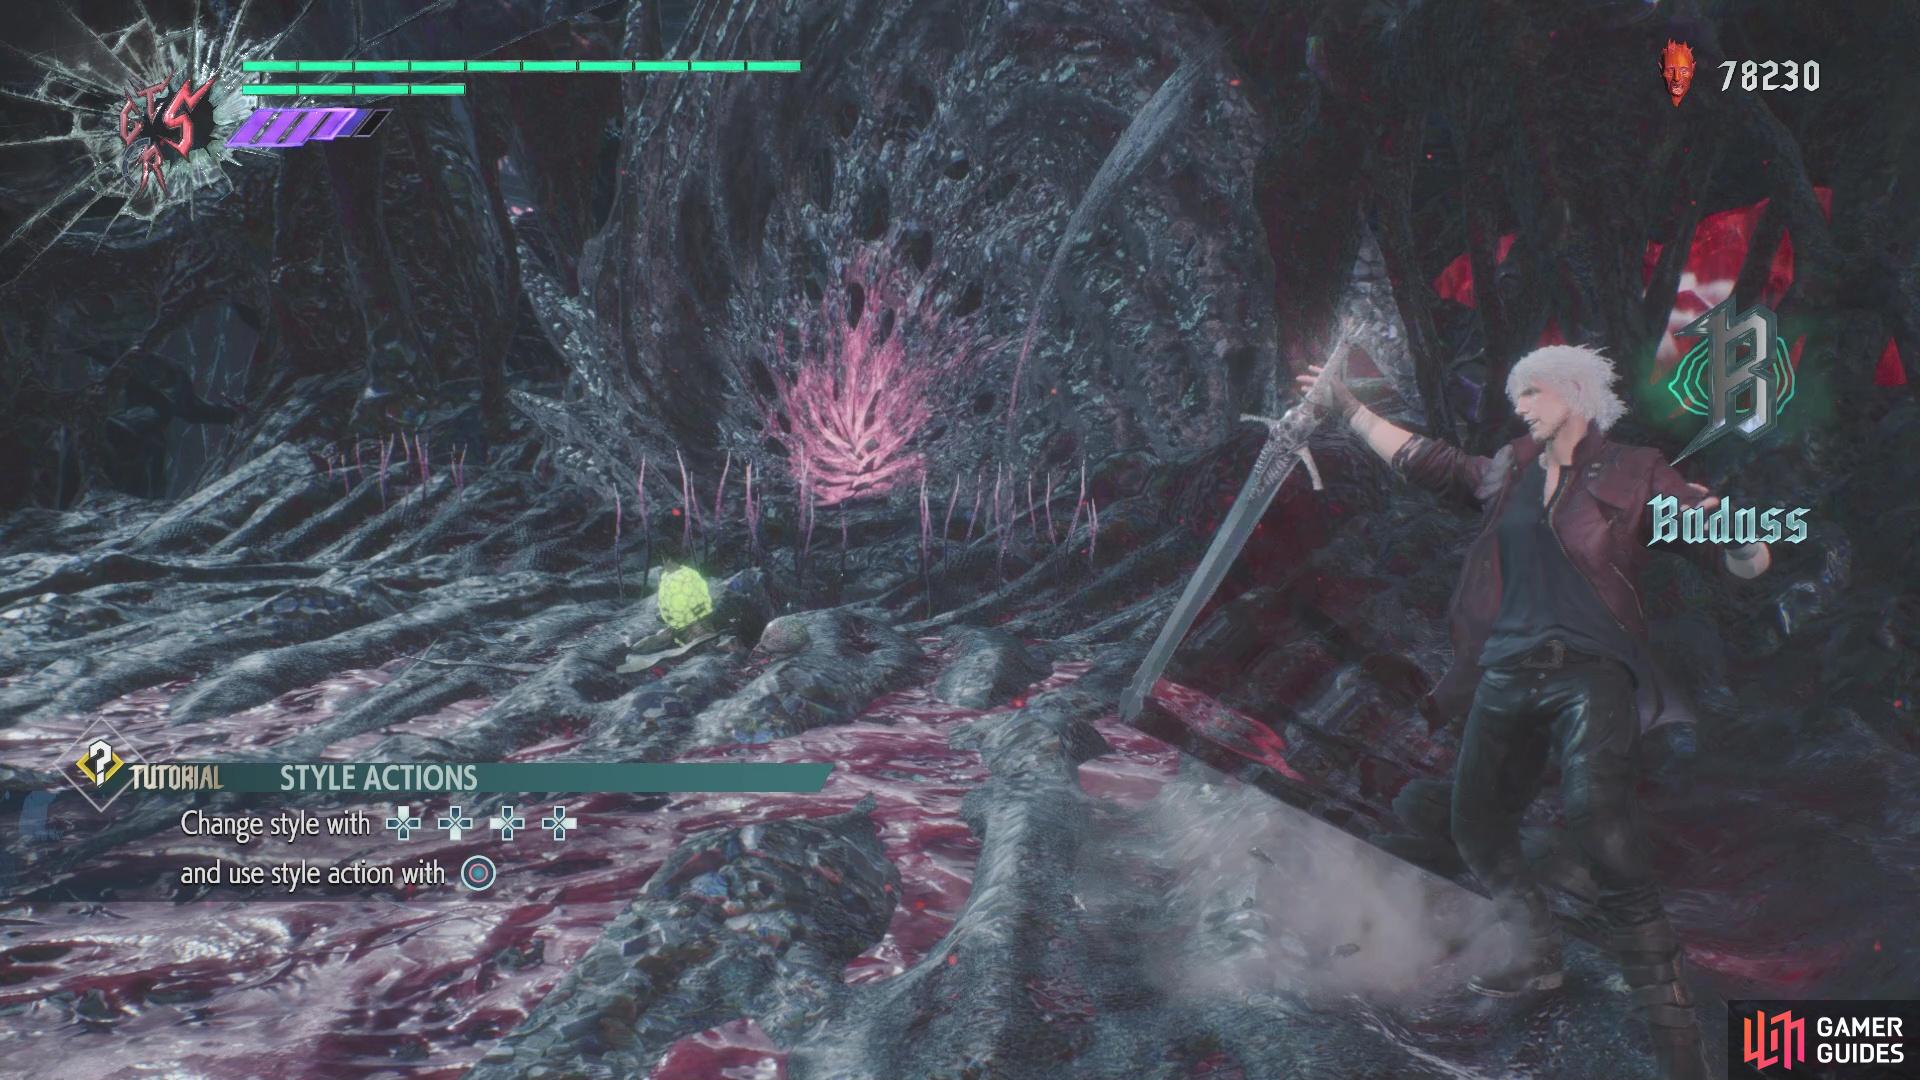
Dante’s styles will play a large part in his gameplay (left), with each style having an action mapped to the Circle/B button (right)
Trickster
The Trickster style is not exactly combat heavy, as its main use is for dodging and traversing. The main action for this style is a dash that goes in the direction you press on the left analog stick. You have invincibility frames while doing this, so it’s great for evading a move or to avoid damage. Leveling this style up will grant you more movement options, like Sky Star, which is just the basic dash in the air. Air Trick is extremely useful for closing in on a far away enemy. Hold down R1/RB to lock onto an enemy, then press forward and the style button to perform a teleport towards the enemy. Note that Air Trick will put you in the air, slightly above the enemy, so it can be used to extend combos if needed.
With Flipper, you can recover from being knocked back by an enemy, and Mustang will give you a little aerial boost if you dash into an enemy. The opposite of the Air Trick is Ground Trick, which allows you to teleport towards an enemy, but you will remain on the ground. This is done by pressing backward and Circle/B, instead of forward like with Air Trick.
Royalguard
A defensive style, Royalguard is all about blocking attacks to store up power, then releasing it as just punishment against your foes. Holding down the action button for this will deplete your Devil Trigger gauge when blocking attacks, but timing the blocks will actually give you DT gauge and fill up the Royalguard meter. By locking onto an enemy and pressing forward plus Circle/B, you will release the energy built up by guarding with Royalguard. Note that this energy is represented by the little gauge surrounding the “R” in the upper left. You can gain an additional six bars by upgrading the style in the shop.
The biggest problem with using Royalguard is that you’ll need to know the enemy you’re fighting. While you can battle normal enemies in The Void, you won’t get any practice against bosses until you fight them during the missions themselves. Similar to Royal Block, which is blocking just as an enemy’s attack lands, you can also do Royal Release. This is releasing the energy built up just as an enemy attacks, so it will do a little more damage. Lastly, Royal Revenge is the last skill unlocked and uses one bar of pent up energy to essentially use a counter against an enemy. While not as powerful as Royal Release, the counter gives a lot more leeway in blocking the attack and delivering some damage to an enemy.


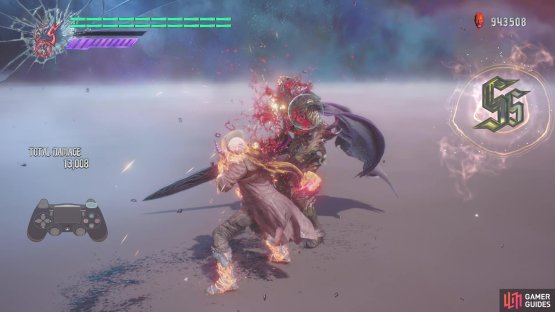
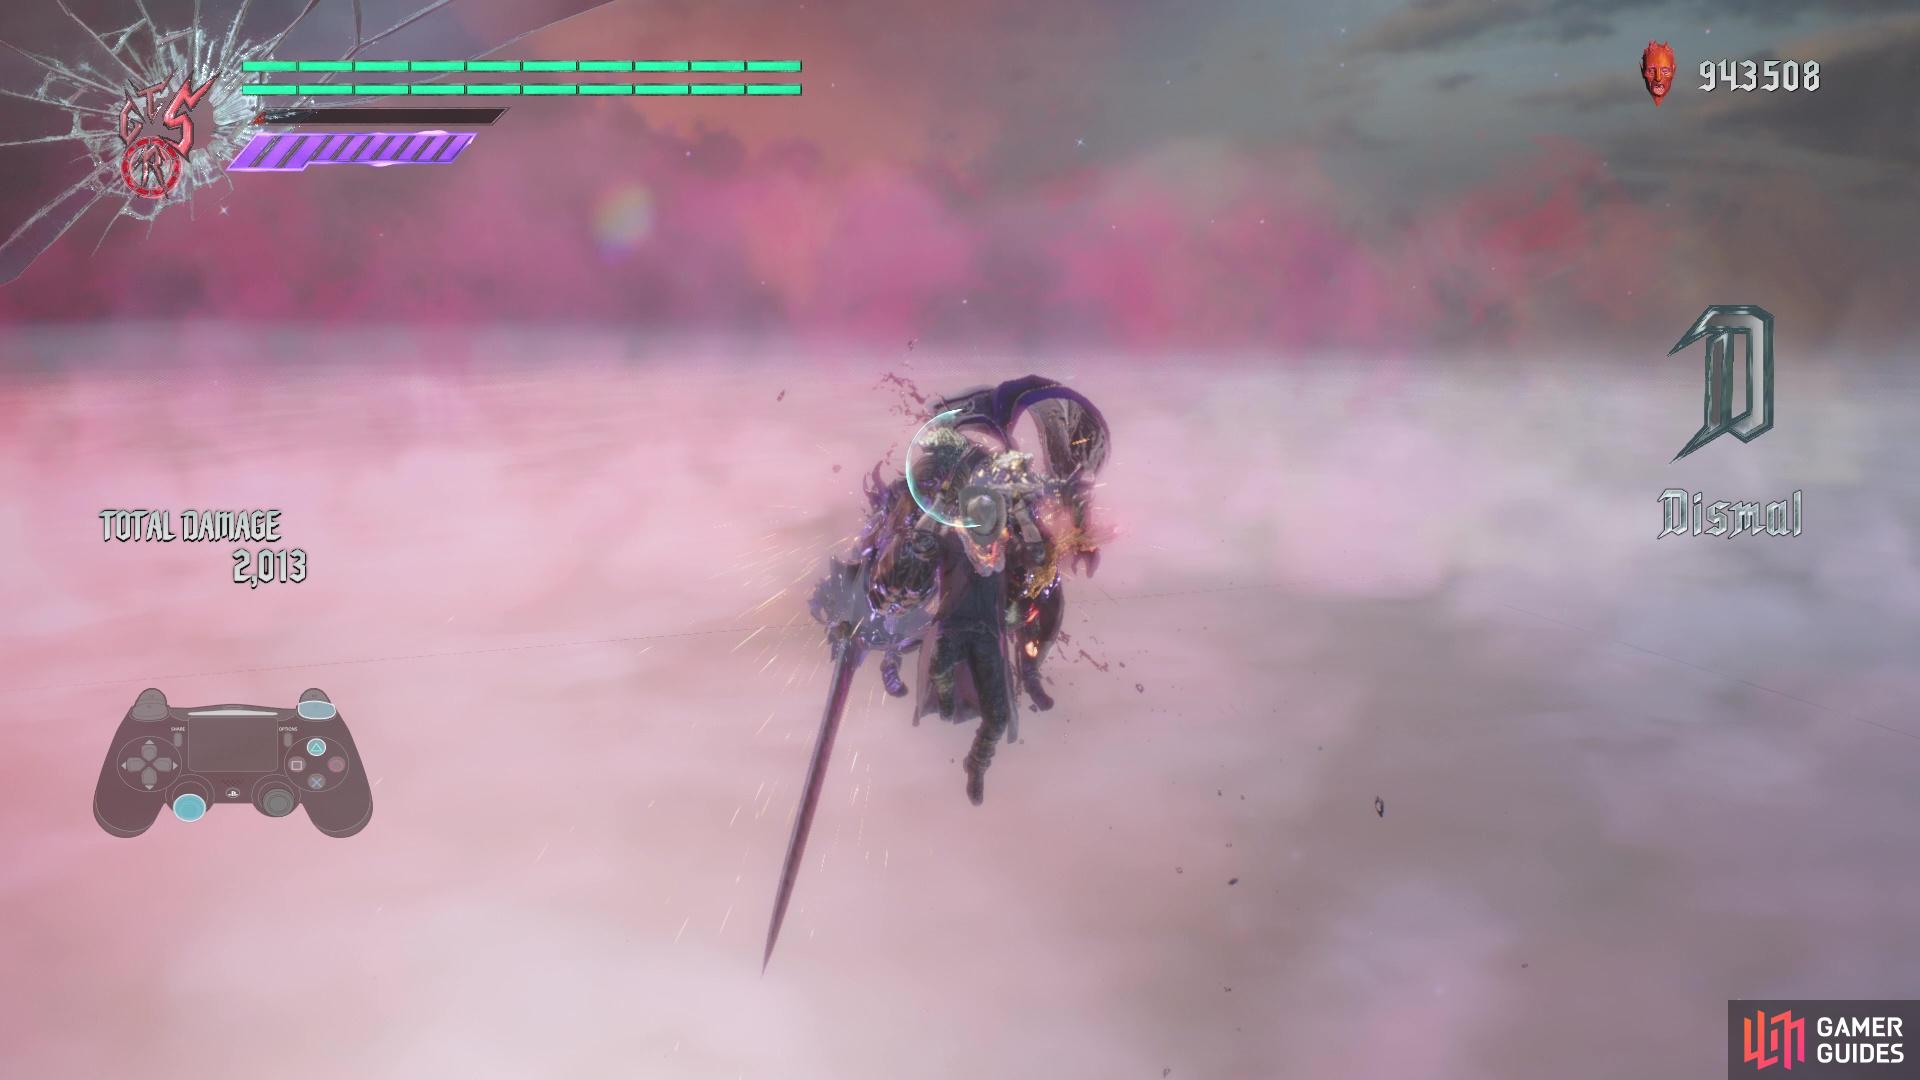
(1 of 2) Learning to time a block with Royalguard will take some time
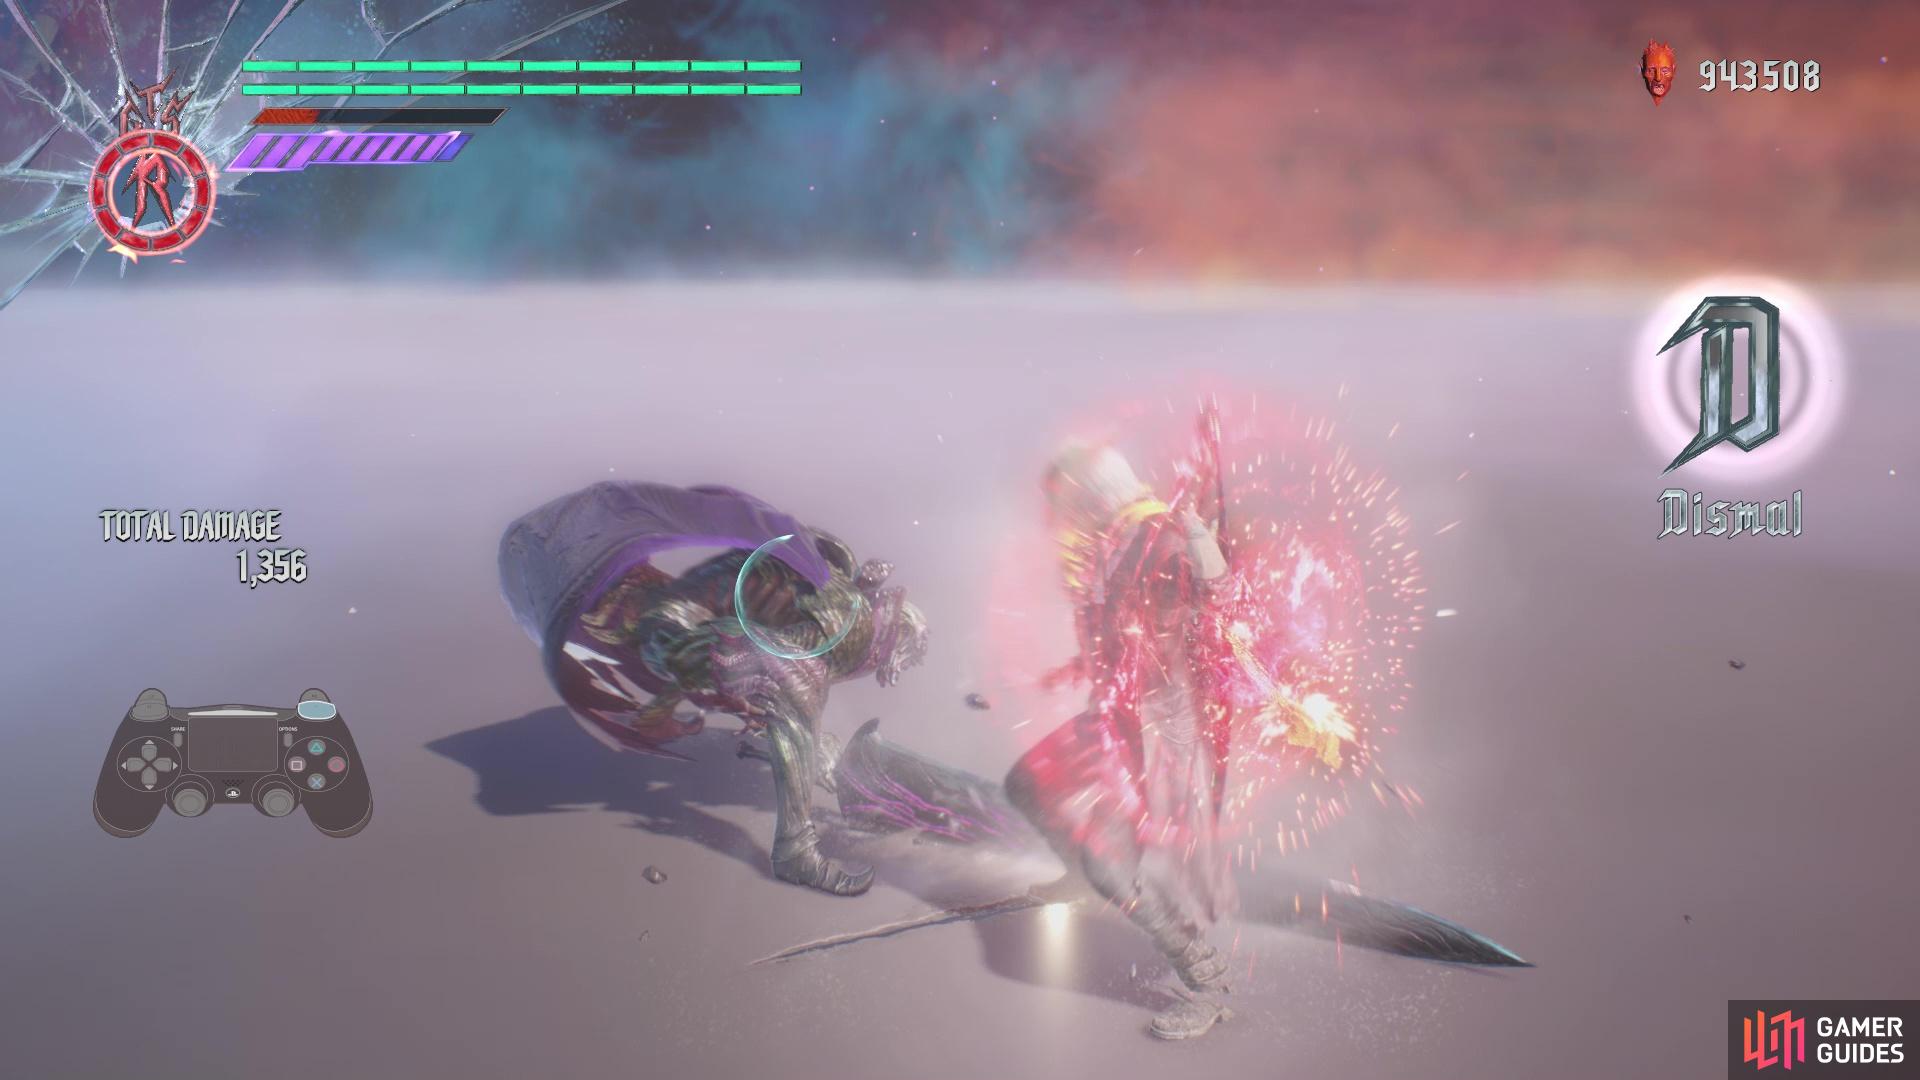
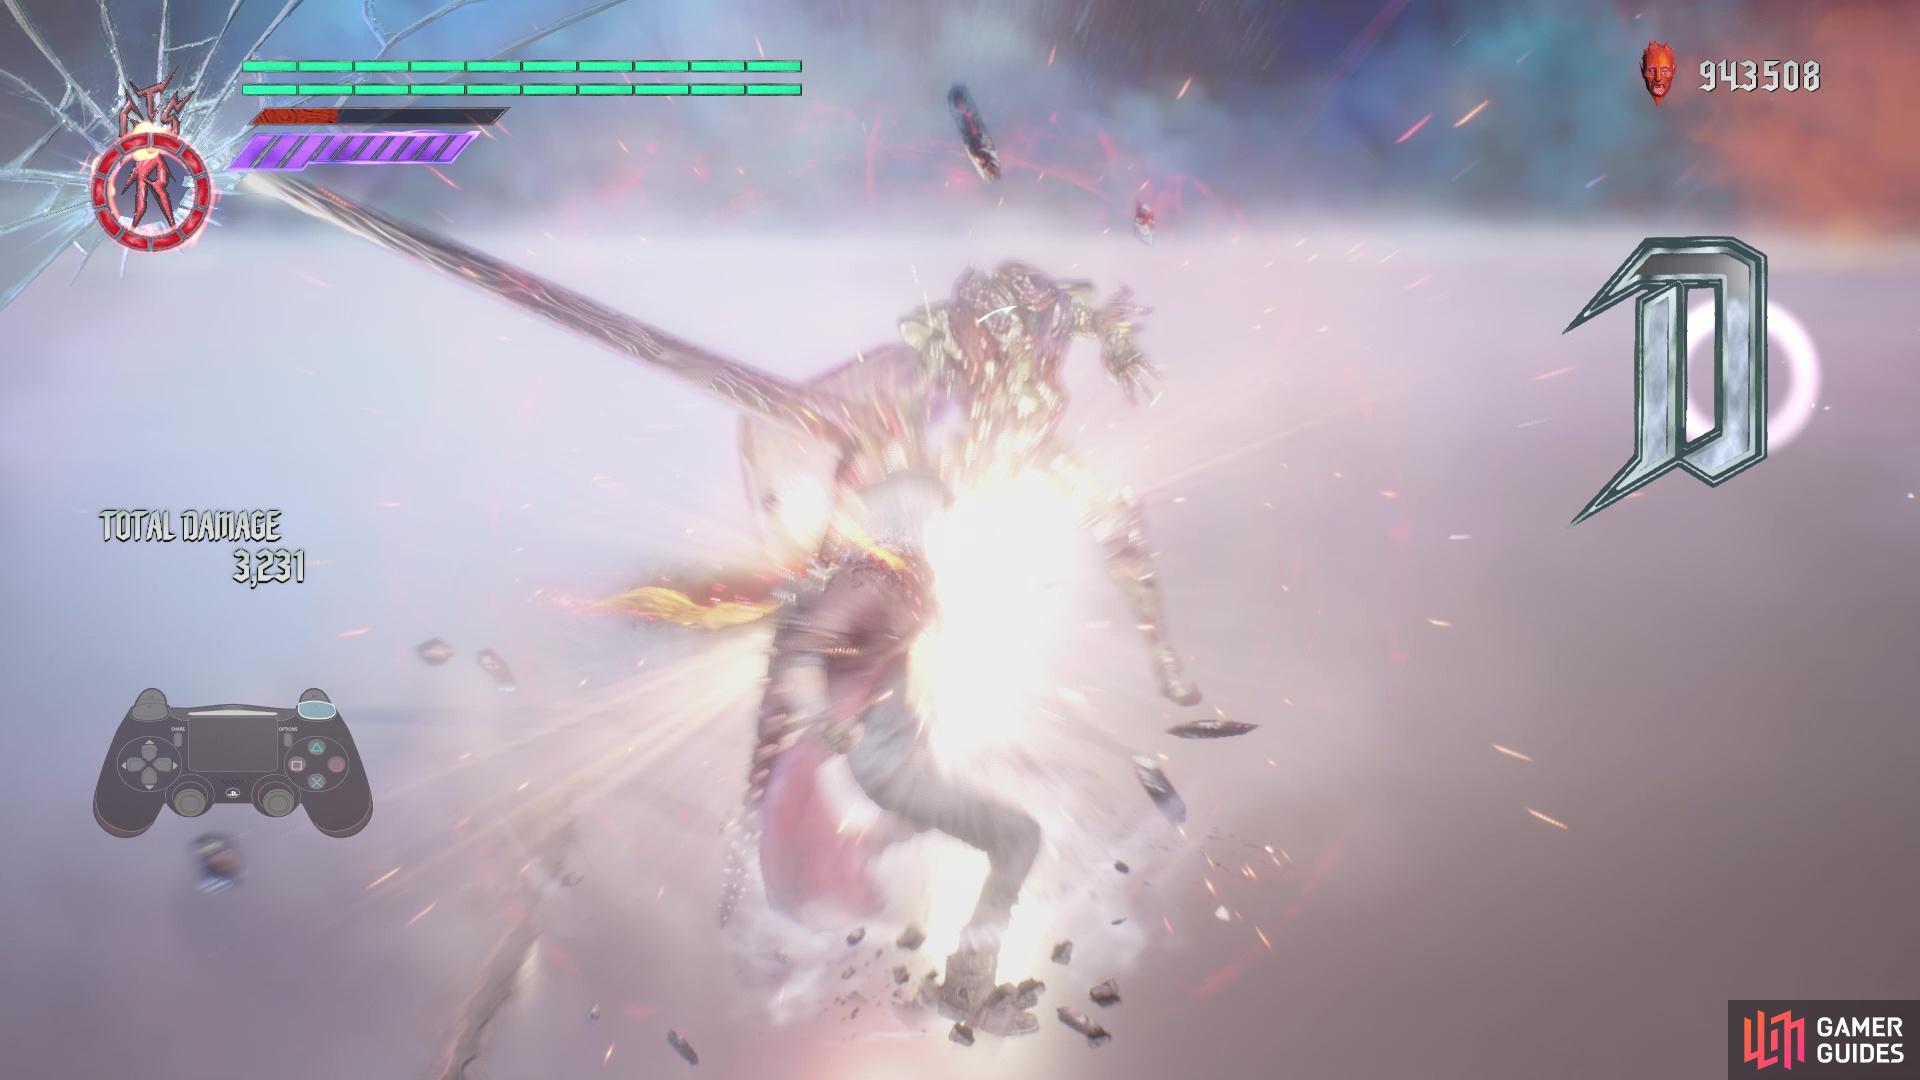
Learning to time a block with Royalguard will take some time (left), Royal Release is a great tool to counter enemy attacks (right)
Gunslinger
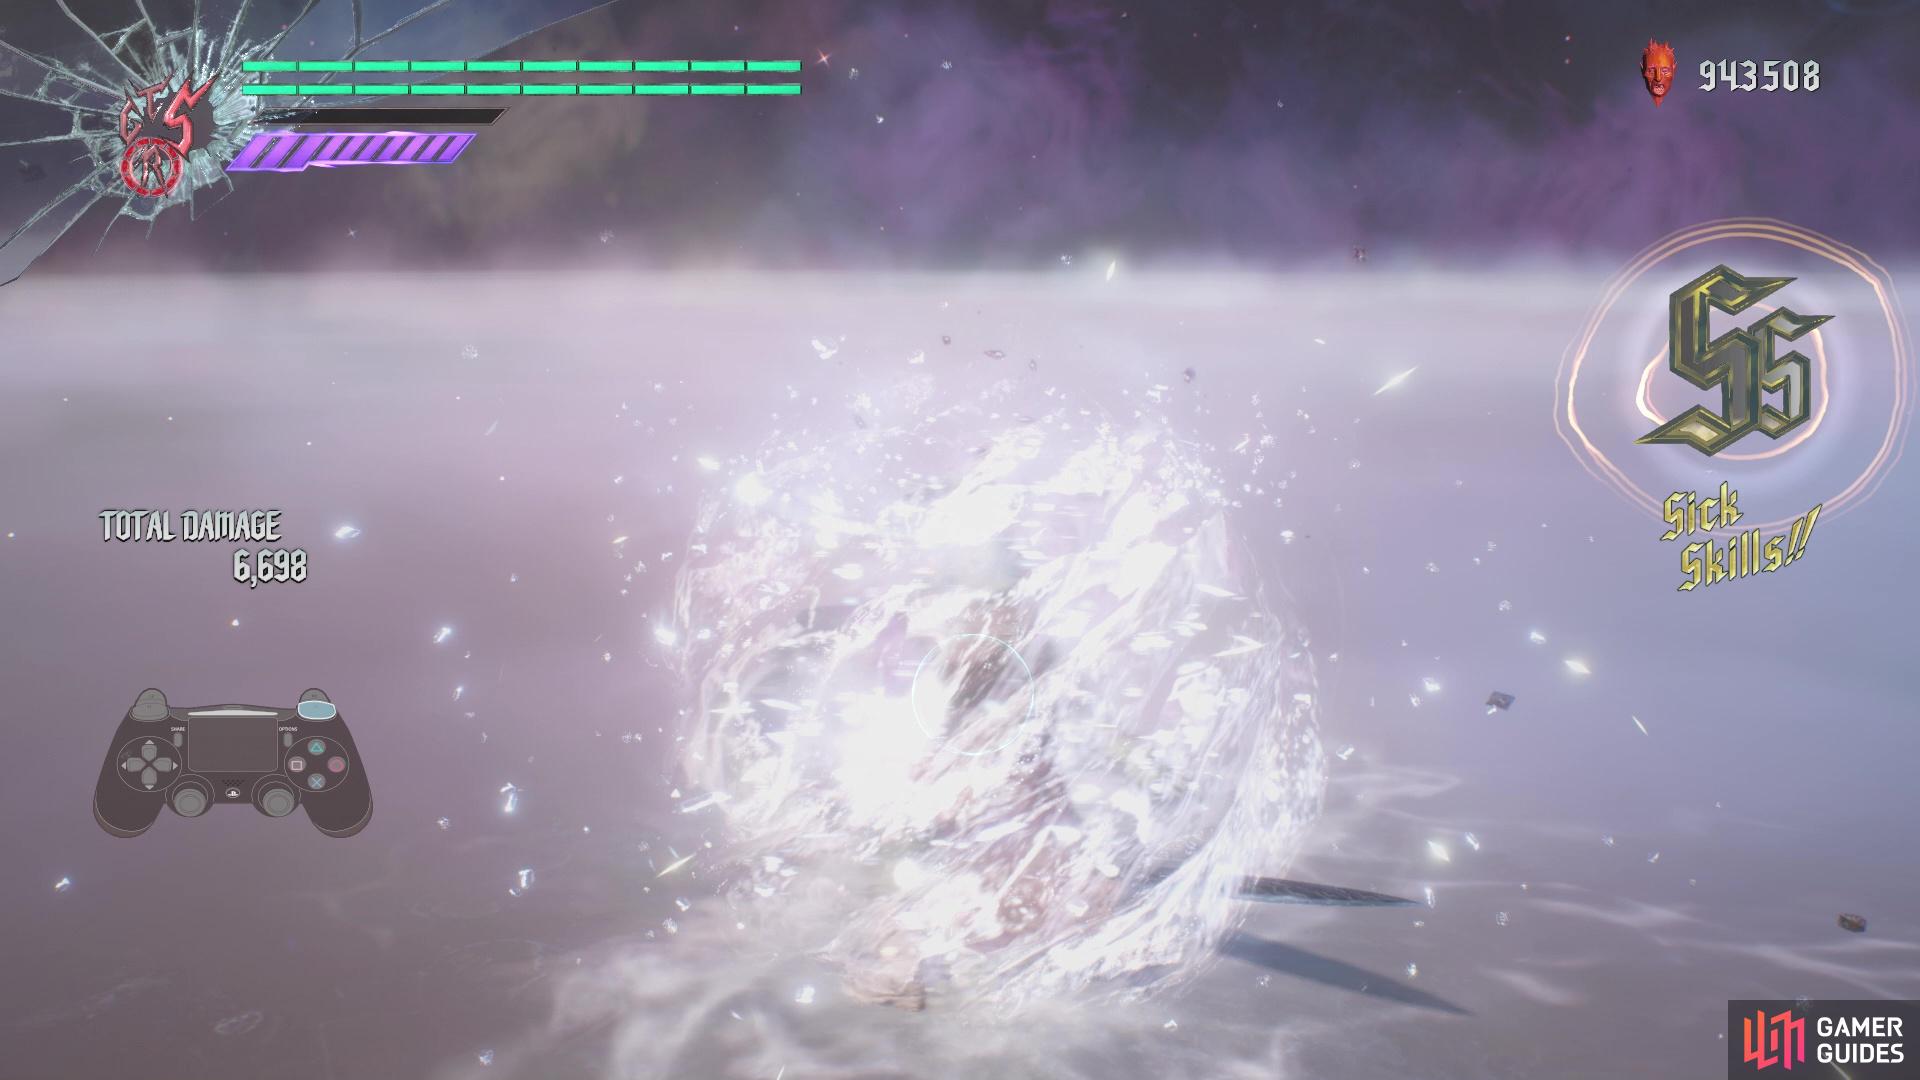
Gunslinger, as the name implies, focuses on enhancing the ranged aspect of Dante’s gameplay. Since he acquires two more ranged options throughout the game, over the initial two, each weapon will gain new maneuvers as you purchase new levels for this style. Some highlights on the upgrades include Gun Stinger for the Coyote, which is like the normal Stinger for Dante, but with the shotgun. This also combos into the Cut-In moves, so you can adjust your attack on the fly, in case of any dangers. The other big upgrades are for Dr. Faust, with Red Hot Night being the star. While locked on and pressing forward + Circle/B, you can charge up and deliver what are essentially meteors on an enemy. This move does major damage, despite the charge time, so it can bring a lot of pain to bosses. Note that you can hold down Circle/B to charge Red Hot Night to deal even more damage; a fully charged one can deal 5,000+ damage.
Swordmaster
Similar to Gunslinger, the Swordmaster style is focused on your melee weapons, giving them more skills. For the swords, you got a nice skill to pop enemies into the air, but once you get Devil Sword Dante, that changes the action. Instead, Dante conjures up swords that do different actions depending on the button input (once you purchase the upgrades). Dance Macabre might seem like a normal combo, but it’s a long one and ends up with some strong strikes at the end. For Balrog, you have to worry about whether you’re in Blow Mode or Kick Mode, as they each have different moves. One move that extends a combo and does some damage is Pyromania, which requires you to be in Kick Mode and Ignition has to be active.
Swordmaster also gives way for more combos with Cavaliere, both on the ground and in the air. Wheelie Jump is a great way to launch enemies into the air with the Cavaliere weapon, with the upgrade for it making them go even higher. For King Cerberus, you will gain access to the fire-elemental attacks, with some of them proving to be quite useful. Role Play can be comboed into one of the electric attacks and Hot Stuff can be used as a combo ender, since the last hit can knock smaller enemies away. For the lightning ones, all of them are actually good, with Revolution and Regicide contributing to combos. If you’re surrounded by enemies, then Percussion is a great way to hit a lot of enemies.
With all of the styles out of the way, let’s delve into the individual weapons for Dante. He will start out with the Rebellion (sword), Balrog (gauntlets), Ebony & Ivory (pistols) and the Coyote-A (shotgun). All other weapons will come after you progress in the main story, although you can get an extra Kalina Ann in Mission 11.
Prop and Shredder are a great action when you have access to both Rebellion and Sparda
Swords
These two are pretty much the same weapon, although the Sparda will replace the Rebellion at the beginning of Mission 11. Any skills you have bought for the Rebellion carry over to the Sparda and considering they will have the same moveset, then you don’t have to worry about learning a new one. The Sparda has a longer reach and a little extra power over the Rebellion, so you won’t miss the former sword. One of the first skills you should get is Stinger, as not only is this good for knocking down smaller enemies, it also lets you close the distance between enemies quicker.
Towards the end of Mission 12, the Sparda will be replaced with the Devil Sword Dante. While they have some similarities, DSD will change up your moveset some. For example, the normal Swordmaster action, Prop Shredder (Circle/B), from Rebellion/Sparda is now part of a combo for DSD. The Swordmaster is now replaced by some conjured swords that strike the enemy independently of your own attacks, so it can be used to boost your Stylish Rank in combat. You can combine this with directional inputs to perform different moves, such as back + Circle/B possibly launching lesser enemies into the air.
With Swords Formation, you can hold down Triangle/Y until DSD glows to summon four swords that act autonomously from Dante. Combine this with the various styles and Devil Trigger, and you’ll have even more variations. For example, activating Swords Formation and DT with Swordmaster will have the swords follow up your own attacks, while with Gunslinger, the swords act as projectiles. In Trickster, you will gain more maneuverability and evasion, as you’ll be able to dash a second time, perform a triple jump and even use Sky Star and Air Trick more. Lastly, with Royalguard, the swords will act as a shield, reducing the damage you take and also increasing the Royalguard gauge.
Balrog
This is probably one of the stronger melee weapons in the game, due to its versatility and the fact that it has two different modes, Blow Mode and Kick Mode. You can switch between them by holding down R1/RB, then pressing back and Triangle/Y. In Blow Mode, Count to Ten is basically a series of punches that if you connect ten of them, you will activate Ignition. This will make your attacks stronger, so make sure you almost always have this active when using Balrog. There is also a dash-in move called Heavy Jolt, which can be followed by Fly Dragon, an uppercut that can knock back some enemies.
For Swordmaster moves in Blow Mode, Middle Break is a devastating punch that can be even more deadly when Ignition is active. While in the air, press Circle/B to do Cruiser Dive, which is basically a ground pound move that can knock back some enemies. The star of the Swordmaster moves in Blow Mode requires Ignition to be active, and is called Real Impact. This is a big uppercut that deals a lot of damage, although there is a slight charge up to it, so be careful when using it.
(1 of 2) Blow Mode’s quick attacks will help with pressuring enemies


Blow Mode’s quick attacks will help with pressuring enemies (left), Kick Mode is definitely the more mobile of the two modes (right)
Kick Mode, as its name suggests, is centered around various kicks and has more movement to the weapon than with Blow Mode. The basic combo is a series of kicks, but delaying the third hit will perform a different combo. One of the better moves is Friction, which is a dive kick that is performed while in the air. Combine this with Updraft, the kick equivalent to an uppercut, to zip around the battlefield. You can also trigger Ignition from Kick Mode, by holding down Triangle/Y after an attack.
As for Swordmaster in conjunction with Kick Mode, the normal attack looks like a breakdancing move, as Dante spins around on the floor. You can keep spinning by pressing Circle/B, as well as move around while doing this; the final hit can knock lesser enemies into the air. Flint Wheel can be used as an evasive maneuver, as Dante will backflip away from enemies while also attacking. The final move, Pyromania, is a series of kicks that ends with a powerful strike that knocks back enemies pretty well.
Cavaliere
Acquired after defeating the boss of Mission 11, the Cavaliere might look like a weapon you might not use much, since its attacks can be rather slow, despite being powerful. One of the biggest challenges with using the Cavaliere is to not get hit while you’re attacking enemies, as the Gear Wheel ability will make the Cavaliere stick to enemies, dealing a ton of damage. You’re vulnerable while doing this, which makes this weapon a harder one to use effectively on harder difficulties. One-on-one, though, especially against a lesser demon, the Cavaliere can be one of the better weapons, although it isn’t very stylish.
Another upside of the Cavaliere is that a lot of the moves combo into one another. For example, Combo A can link into Combo B, if you’re in Swordmaster style. Both Cross Line and Slipstream are nice moves to weave into combos, while Highside is absolutely a blast to keep enemies in the air. The latter is also almost mandatory in easily completing a Secret Mission later on in the game, so it should be one of the first skills you acquire. If you wish to bring an enemy back to the ground, Braking will be your go-to move, while Idling will knock enemies away from you.
(1 of 2) Holding the attack button when using the Cavaliere will keep the weapon fixated on the enemy
Holding the attack button when using the Cavaliere will keep the weapon fixated on the enemy (left), Highside is a great skill to keep an enemy in the air (right)
The Swordmaster moves, while not plenty, will have Dante actually riding the motorcyle for them. Combo B can be linked to Combo A, and vice versa, and this also holds true for the Air Combos, too. Full Throttle will ride forward on Cavaliere, running down any enemies in your way. Doing this while Devil Trigger is active will make it more powerful, at the expense of some DT gauge. Finally, Back Style launches enemies into the air and is great to pair with Highside; in fact, you can get some incredible air time with that combo.
King Cerberus
Available from the end of Mission 16, Cerberus is a weapon that has access to ice, fire and lightning. The ice attacks are mapped to the Triangle/Y button and they focus on quick strikes. The fire attacks can only be done with the Circle/B button when you have Swordmaster style active. For lightning, they can be done with either button, but they require you to hold the buttons down to charge up the moves. While it might sound complicated, the King Cerberus is not too difficult to use and can be one of the better melee weapons in the game, due to its versatility.
The biggest advantage of the ice attacks are they are very quick in execution. One of the better moves is Revolver, where Dante will spin towards the enemy while spinning the Cerberus. With the upgrade, this move can counter a lot of melee strikes, due to how fast it moves, plus it can be done in the air. Although it has a little bit of range, Crystal can be nice to pop some enemies into the air. By far, the best ice move is called Ice Age, which basically acts like a shield, blocking all incoming attacks. This is one of the best things to use when fighting Furies, as their attacks will be reflected, leaving them vulnerable for a few seconds.
Moving onto the fire abilities, Role Play is a nice ability, as it can be used to combo into one of the lightning attacks. Rock Back can be used to close the distance to enemies, similar to the sword’s Stinger, although it won’t knock back enemies. Probably the most useful skill, at least in a one-on-one, is Hot Stuff. Similar to a lot of finishing moves, it’s a series of attacks with the bo staff, resulting in a great knockback strike. That brings up the final set of moves, the lightning ones.

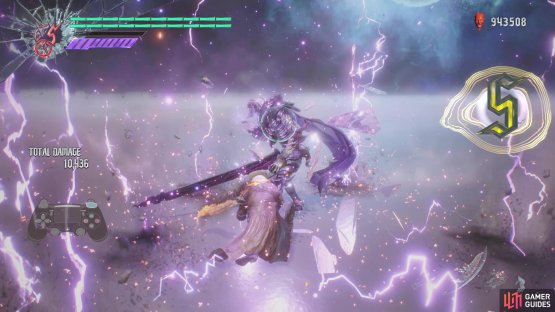
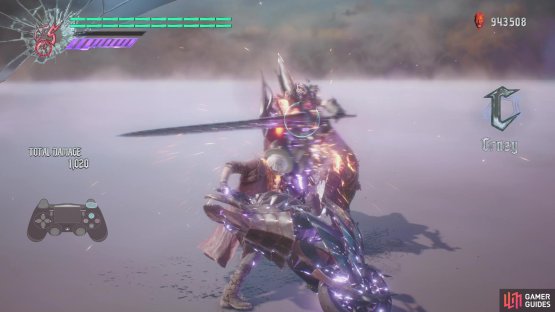
(1 of 2) Ice Age is one of the best defensive options in the game

Ice Age is one of the best defensive options in the game (left), Percussion can be used to deal some nice AoE damage (right)
Since there are two sets here, depending on the button being held, let’s go over the Triangle/Y ones first. Long Barrel will extend the weapon to hit an enemy at a distance, making it great at mid-range; it can also be used in the air. Long Revolver is the lightning variant of the ice Revolver, although you will need to hold the button down for it. Thunder Clap will release four lightning orbs that slowly chase down the enemy, making it another great mid-range option. All of the Swordmaster skills for the lightning attacks are great for dealing area-of-effect damage, so keep that in mind when facing multiple opponents.
Ranged Weapons
Rather than give all of the ranged options, other than Dr. Faust, their own category, they will be bundled into a single one, as they aren’t anything special. Ebony & Ivory, Dante’s trusted twin pistols, have a higher firing rate than in previous games, plus you can also charge them to deal a little more damage. While in Gunslinger style, each gun actually has different properties. Ivory will fire three shots with the normal button, while Ebony shoots a single bullet with the Gunslinger button. While in Gunslinger, you can effectively use the pistols as a way to keep your Stylish Rank up on far away enemies, until you can get close enough to continue your assault.
The Coyote-A, also known as the shotgun, is an effective firearm that does more damage up close and loses its effectiveness as you get further away. Similar to Ebony and Ivory, you can purchase upgrades to charge the shotgun to deal some more damage. In Gunslinger style, you can use the basic action to swing the shotgun around like nunchaku, which can also be done in the air. Backslide can be used to attack an enemy approaching from behind, but it has its limited uses. Gun Stinger is similar to the normal Stinger, but it also has some variations for it, as long as you have hit the enemy yet with it.
The final ranged weapon, the Kalina Ann, is a rocket launcher and you can find it in Mission 11. However, at the beginning of Mission 18, you will automatically be given one. Should you happen to have both, then you will be able to use the Double Kalina Ann, which actually has some of its own abilities. On its own, the Kalina Ann is pretty basic, as it shoots a rocket at an enemy and with High Explosive, you can charge it up to deal more damage. With Gunslinger style, you have a few more moves, like firing a volley of rockets at enemies with the basic action.
Paranoia does the same thing, but it locks onto a single enemy. Lastly, Hysteric launches a bunch of small missiles in an arc in front of Dante. The Double Kalina Ann functions similar to the normal one, except charging it up will combine the two and fire a laser. This also extends to Gunslinger style, with a more powerful version of the laser attack.
Dr. Faust

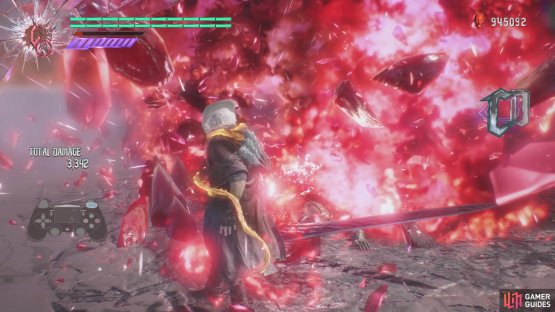
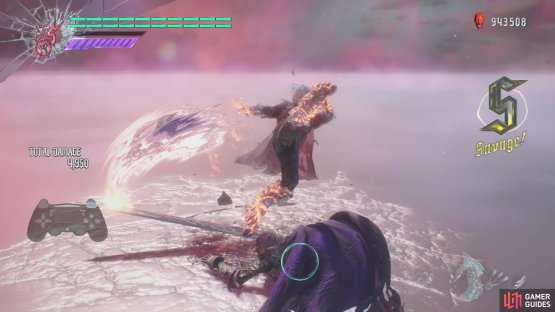
(1 of 2) With the right attacks, Faust can rake in the Red Orbs


With the right attacks, Faust can rake in the Red Orbs (left), Red Hot Night can be one of the biggest damage dealers in the game (right)
Faust is a hat you will receive at the beginning of Mission 13, and uses your own Red Orbs to deal damage to enemies, with you gaining some back in the process. This can be one of the most powerful weapons in the game, not just because it’s the best farming tool, but because it can decimate bosses with one particular move. The two moves you might find yourself using a lot are Set Hat and Mad Hatter. When hit with these, enemies will have a hat placed on their heads and any attacks from other weapons will cause them to spit up Red Orbs. The downside to this is that if those same enemies hit you, then you will lose Red Orbs instead.
Man In The Red will cause Red Orbs to move around your body and should they come into contact with enemies, then they will get hurt. Doing the same move after they have been summoned will shoot the orbs at the enemy. In Gunslinger style, Magic Hat will use the hat like a turret, with its attack shooting out Red Orbs, similar to the basic attack. By far, one of the most damaging moves in the entire game, Red Hot Night basically summons meteors to drop on the enemy. While it’s expensive, in terms of spending your Red Orbs, the damage it can cause to bosses is worth it, plus it can be charged up by holding the button down for even more damage.
No Comments