If the Prologue was a simple way to learn the controls of the game, then this mission is a culmination of the tutorials to help you put everything together, as well as introducing you to the finer mechanics of the game. You’ll get to witness some impressive driving skills from Nico, as well as some acrobatics from Nero during the opening sequence, then the game will eventually let you gain control after one more scene. It is this mission where you’ll gain access to Nero’s Devil Breaker, which are the special arms that have a variety of special attacks. Each one has a basic attack by pressing Circle/B, as well as another by holding the same button and releasing it (Break Age).
There is a downside to Break Age, though, as it will destroy the Devil Breaker you have currently equipped. Also, if you happen to take damage while you’re using a Devil Breaker, then it will break. Take out the two Empusa, then you’ll learn about a new mechanic, which is probably one of the more important ones, Wire Snatch. By holding R1/RB and pressing Circle/B, you can pull in enemies you’ve locked on to, but this doesn’t work on every enemy. The heavier enemies won’t be pulled in, but you will be pulled in closer to them. This works in the air, too, so you can control the flow of battle by pulling the smaller enemies into the air to make them incapacitated for a moment or two.
Let’s say you’re surrounded by enemies or are trapped by an enemy’s attack, and you need some breathing room. You can do this by pressing L1/LB to forcefully sever your Devil Breaker to generate an explosion. Of course, this will destroy that equipped Devil Breaker, so you will want to save this for emergencies only. With those tutorials out of the way, you get the fun of beating the crap out of more Empusas. Use what you’ve learned so far to help boost your style, which is the letter rank on the right hand side of the screen. Continually attack enemies with your attacks, while trying to vary them without getting hit to increase your style ranking. This will increase your Stylish Points at the end of a fight, which will help increase your score at the end of a mission.
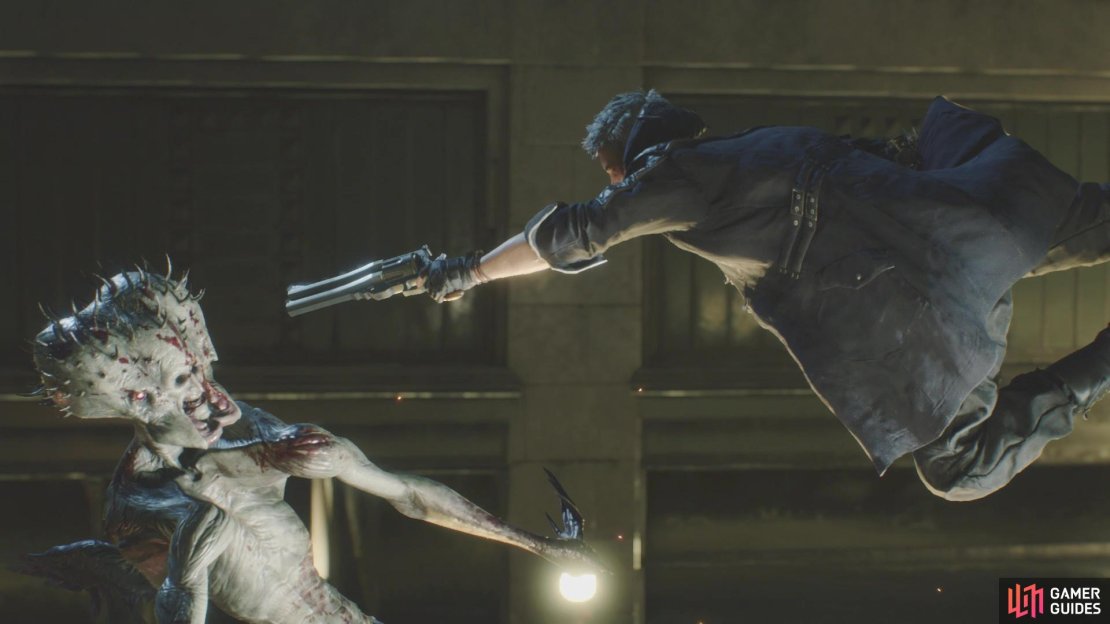
Continue along after taking care of the Empusas and some tentacles will pop out of the ground. Since you need to defeat all enemies for a trophy/achievement, take them out easily using Blue Rose, since there is nothing they can do to hurt you at a distance. At the end of the broken bridge, you will witness a scene that introduces you to a new enemy, the Red Empusa.
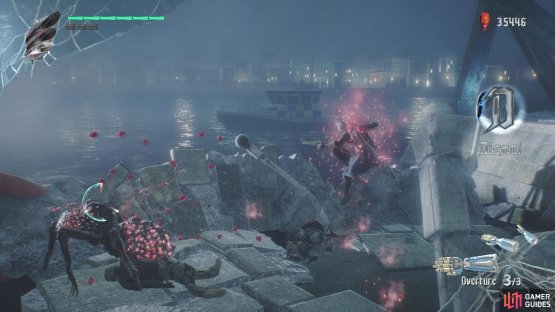
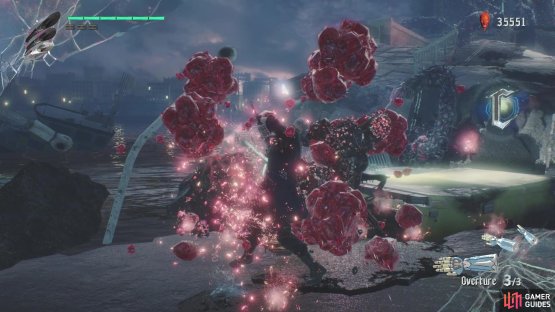
(1 of 2) Red Empusa tend to run away from you
Red Empusa tend to run away from you (left), but defeating them will yield a lot of Red Orbs (right)
Jump down and look behind you to find that Red Empusa, so start attacking it, noting that you can’t launch it into the air with High Roller. That means you want to avoid using this move, as you give the demon time to run away. Hopefully, you can get it stuck against the lower wall there, so it won’t be running around a lot. This is the only possible missable enemy in this mission, so make sure you kill it. Once you do, you should have noticed a blue thing on the ledge behind it. This is a Blue Orb Fragment, and when you collect four of these, your overall health will increase by one bar.
Some Green Empusa might appear behind you at this point, so keep a lookout for them as you get back on the main path. There will be a few more tentacles along the way (keep looking around and pressing the lock-on button to find any stray ones), then another wave of tentacles before the boss at the end.
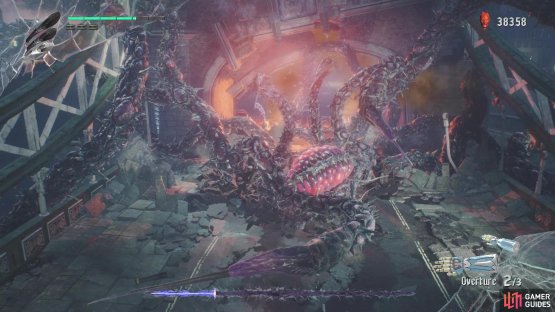
BOSS - Qliphoth Roots
While not technically an actual boss, the Roots are more of a mini-boss. Before you can do anything, you will receive a mini-tutorial about Exceed, which is charging up the Red Queen sword. Press L2/LT to charge your Ex-Gauge and power up the sword, allowing your attacks to deal more damage. Normally, you’d want to use Exceed when not in combat, but you can actually time your L2/LT button press after a hit connects to charge up your gauge in the middle of a combo. You also learn about dodging briefly in this fight, which is extremely useful. Hold down R1/RB, then press the left stick either to the right or left, plus the X/A button to perform a dodge. You have some invincibility frames during this dodge roll, so you want to become accustomed to using it often.
Onto the boss, there isn’t really much it can do to damage you. Focus solely on the main body and don’t worry about attacking the tentacles. It can use a tentacle to stab the ground where you’re standing, which comes out pretty fast, so you’ll want to be ready to dodge roll at any time. The other attack happens when you see the boss pound the ground with the tentacles, which means a sweep attack will happen soon after. Sometimes it will do this with one tentacle, other times it will do it with two tentacles. There is one more attack where it will stab the ground, then tentacles will pop up, but these are telegraphed before they show up, so they are easy to avoid.
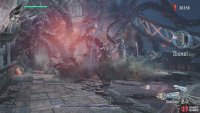
(1 of 2) Jump to avoid the sweeping attack
Jump to avoid the sweeping attack (left), As long as you keep moving, you shouldn’t get hit by the tentacles coming from the ground (right)
If you’ve managed to defeat all other enemies in the mission, then delivering the fatal blow to the Roots will net you the Protect the People trophy/achievement. That’ll also bring an end to the mission, after a few cutscenes.



No Comments