Mission 10 will give you the opportunity to play as Dante and if you’ve ever played the previous two entries in the series, then you know Dante is definitely a hard character to master. The reasoning for this is that not only does he have a variety of weapons in his arsenal, which can be switched between during combat, but Dante has various styles that he can use, as well. While you could theoretically use him as another Nero-like character, you’re not going to get the style and full depth without trying out some of his other styles.
Dante begins with the Rebellion sword and Balrog gauntlets, as well as his trusted Ebony & Ivory and Coyote-A (shotgun). You can change styles by pressing the corresponding direction on the directional pad, with up being Trickster, right being Swordmaster, down being Royalguard, and left being Gunslinger. Each one of those has a special action assigned to the Circle/B button, as well as their own quirks. Trickster allows you to enhance your movement by giving you a dash, Gunslinger focuses on long-range combat, Swordmaster is geared towards melee combat, and Royalguard focuses on defense.
Awaken
At the beginning of the mission, you have the option to Customize Dante, but you can’t purchase any skills right now and your weapons are already set, so just begin the mission. Run forward until you get to a big room, where you’ll find Trish fighting with an Empusa. As you enter the arena, Trish goes away and leaves you fend for yourself. Some more Empusas will spawn, so use this opportunity to learn about Dante’s combat options a little bit. Destroying the Empusa will make some Green Empusa appear, then there will be another set of Empusa to finish it off.
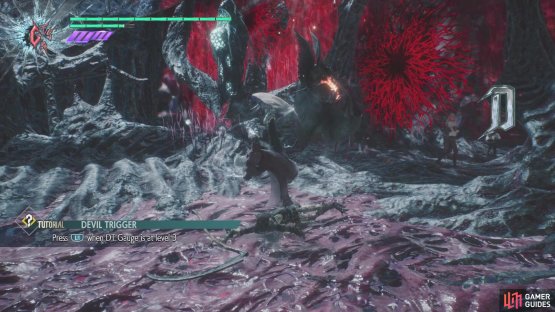
Upon reaching the next open area, you will learn about Dante’s Devil Trigger. Activate it with the L1/LB button to boost your attack, defense and speed, as well as help slowly recover some health; you can always deactivate it by pressing the same button. Note that you need at least three bars on the Devil Trigger gauge in order to activate it. You’ll get to test it out, if you want, on some Hell Cainas and a Pyrobat, as they will spawn in this area. Later, some more Hell Cainas and a Hell Antenora will also show up. Since these are meatier enemies, in terms of health, use this opportunity to do some weapon switching, particularly between the Rebellion and Balrog.
(1 of 2) One of the biggest draws for Dante is being able to switch weapons during combat
One of the biggest draws for Dante is being able to switch weapons during combat (left), which can greatly improve your Stylish Rank (right)
Move along after that fight and beyond the orangish tunnel, you will find a Divinity Statue, where you can finally purchase some new skills for Dante. Depending on your Red Orbs, you definitely want to pick up Speed and possibly Trigger Heart in the Abilities section. Rebellion has a very important skill in Stinger, which is similar to Nero’s Streak, as it will close the distance between you and an enemy. Updraft for Balrog is another skill that can be useful, as it allows you to knock enemies into the air with the gauntlets (when in Kick mode).
You should also get the Charge Shot for Ebony & Ivory, and Charge Shell for the Coyote-A. If you still have a fair amount of Red Orbs left over, then upgrade each of the styles once, starting with the Swordmaster. Lastly, you will want to start saving up for Air Hike, the double jump skill, unless you can purchase it now. Unlike Nero, who has the wire snatch arm, Dante can’t reach enemies as quickly in combat and Air Hike does help in doing that (and for getting away from attacks). Once you’re done, head into the next room to meet a new enemy, the Chaos.
Attack the Chaos enough and its shell will be broken, making the battle against them a little easier, as they can be stunned a little more. If you can time the block with Royalguard’s action, then you’ll stop their rolling and be right next to them. Defeat the first Chaos and a second one will appear, so take it out in a similar manner to the first. The next room you come to will have a doorway with some kind of spikes surrounding it. These doorways will close after a short time, so you will need to get through them quickly. Of course, this means killing all of the demons in the room in a timely manner. Your opponents this time are two Death Scissors, which you should already know how to dispose.
(1 of 2) The spiked doorways are timed, so you will need to hurry up
The spiked doorways are timed, so you will need to hurry up (left), as they will eventually close, leaving the goodies behind them lost (right)
Hopefully you can one-shot them by clashing with them, as that is the quickest way to take them down. Once you do, look for the spike doorway and quickly run through it to find a large Red Orb Cluster. There is a ramp next to this that leads upwards and back into the previous room. Continue forth until you come to an Empusa at the bottom of another ramp (don’t forget the Red Orbs hanging from the ceiling on the way). Take care of any Empusas here, then look in the little alcove next to the ramp for some more Red Orbs. Take out the Red Empusa a little further ahead, then keep going until you can drop into another room with a spiked doorway.
Unlike the previous one, this one is important, so you’ll have to concentrate on finishing the enemies here in a swift manner. Things start out with two Riots, then they’ll move onto two Hell Cainas and a Hell Antenora. It should be noted that the Balrog gauntlets seem to take care of the Antenora quite well, so use those on it. Hopefully you killed the enemies quickly, so head through the spiked doorway and follow the tunnel all the way to a ledge that overlooks the room you were just in. Don’t jump down hastily though, as if you look off to the left, you should spot another ledge with a Blue Orb Fragment on it.
Drop down and follow the tunnel deeper into the place, but stop when you find a white orb not too much further along from the previous spot. Pan your camera up and to the right from the tunnel you were just in to spy some Red Orbs hiding the entrance of another tunnel. It will lead you to a room with some Empusa and Red Empusa. Defeat all of those and an Empusa Queen will appear. Rush her down, dodging when necessary, and a Purple Orb Fragment will be your reward for killing all of the enemies.
(1 of 2) The hidden entrance to the tunnel is marked by a Red Orb
The hidden entrance to the tunnel is marked by a Red Orb (left), Defeat all of the enemies in the room to earn yourself a Purple Orb Fragment (right)
Return to the big tunnel and follow it to the end, where you’ll trigger another fight. As usual, you’ll have two waves of enemies, with the first consisting of a Chaos and two Scudo Angelos. Keep an eye on the Chaos and get behind the Scudo Angelos to launch them into the air, where they’ll be defenseless to your attacks. After finishing all three of those, the second wave will be brought in, which will be two Chaos. Focus on one, making sure the second isn’t winding up a rolling charge, then you can go after the second. The barrier blocking the way forward will be gone and you can continue to eventually reach another big room, with this one containing two spiked doorways.
It’s important to know that only one of these is important, as the other just contains some Red Orbs and a Gold Orb; the important one contains a Secret Mission. Things get a tiny bit complicated here, as you’ll be facing off against a new enemy, the Hellbat.
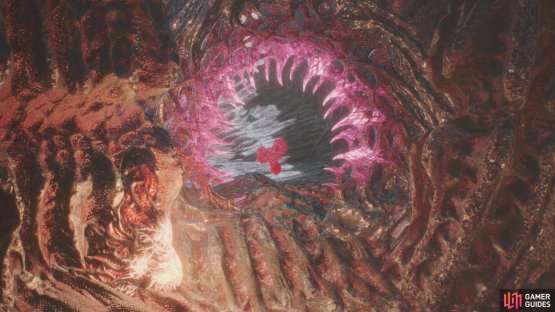
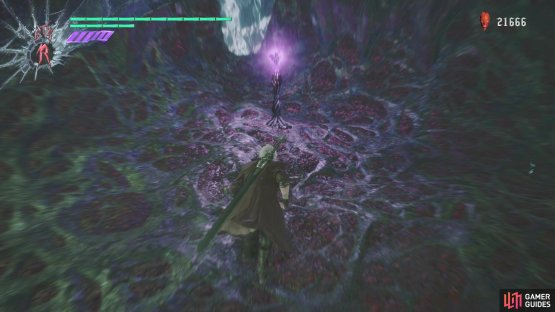
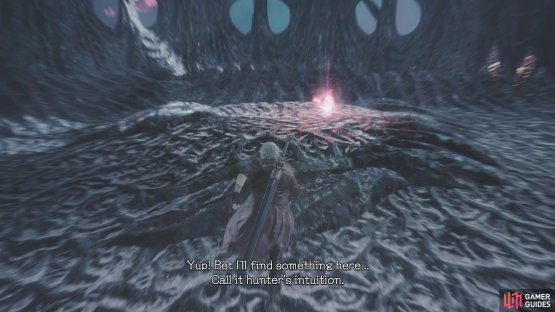
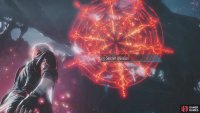
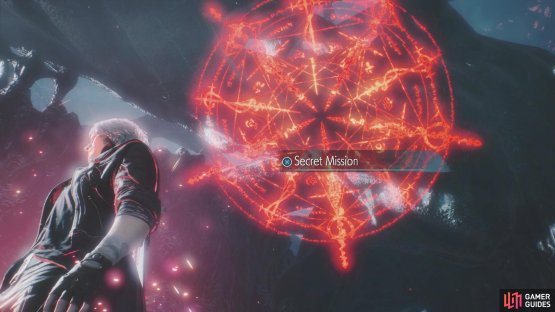
The Hellbat will be accompanied by two Pyrobats, so your strategy is pretty simple. You just want to knock them to the ground, where they are all pretty defenseless. With those taken care of, you will face off against two Empusas and an Empusa Queen next. The former are pushovers, but the Queen can be annoying. Luckily, you should have a little experience fighting them with Dante from earlier in the level. Stick close, dodge when necessary, and the beast will go down in no time. Finish all of these enemies quickly, then when the barrier goes down (the camera will focus on it), turn to the right and head through that spiked doorway. Head all the way to the top, jumping when needed. In the open room, you’ll find the familiar red light on the raised platform. Look above to find the sigil that will begin the Secret Mission.
(1 of 2) Just stand on the central raised platform for the Secret Mission
Just stand on the central raised platform for the Secret Mission (left), The markings for the Secret Mission will be above you (right)
Secret Mission 07
This can be the easiest Secret Mission in the game, as you have to take down a Death Scissors with a single bullet, as per the in-game description. If you deal damage to the enemy at all, then you will fail and have to start over from the beginning. The focus is on waiting for the cutting attack animation to begin, then you can swing your sword at that time. If done right, the blades will clash and you should see some red mist coming from the Death Scissors. This is your cue to shoot it, which will instantly kill the demon. Collect the Blue Orb Fragment and return to the main mission.
Head back to the main room and if the other spiked doorway is still open, go in to collect the goodies. When you’re done with that, get back on the main path until you finally arrive at some platforms coming out from the wall. There are the stationary ones, as well as others that will retract from time to time. Time your jumps to the top, opting for a small diversion to another ledge that houses some Red Orbs. Once you’ve reached the summit here, you will eventually arrive at more platforms that go in and out.
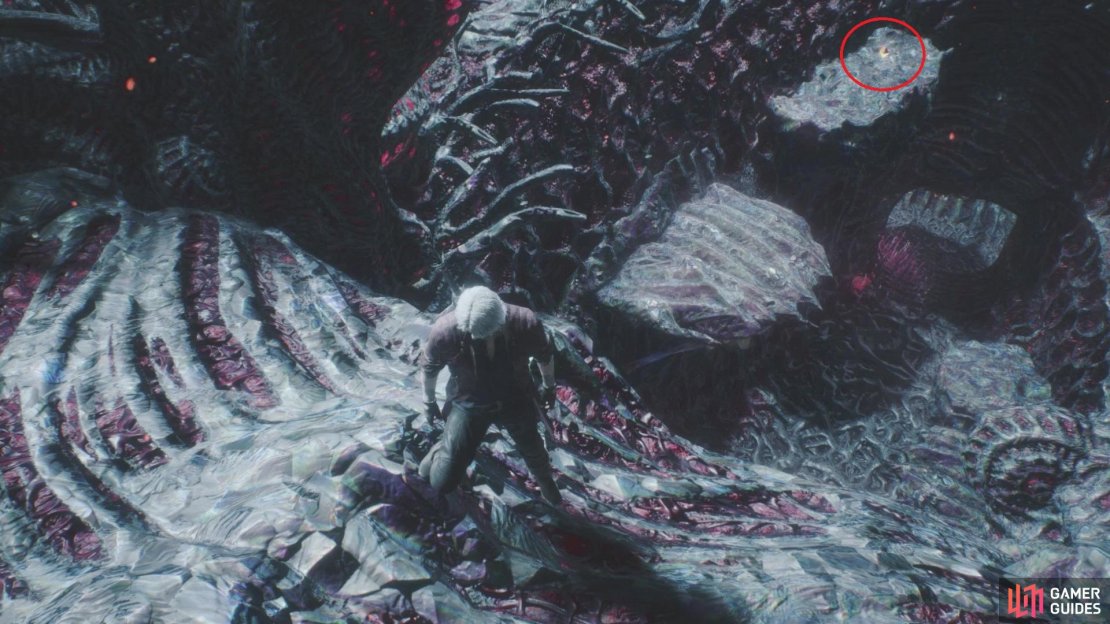
These follow a clockwise pattern, so you should have an easier time navigating them. Plus, you only need to reach the third one and jump from there to get to the required path. However, there is a secret Gold Orb that’s on a statonary ledge past the final moving platform. From the main path up top, you can jump down to the last moving platform, then hop to the Gold Orb. Double back to the top and this path will lead to one final enemy encounter, against three Scudo Angelos and a Proto Angelo. Focus on the former first and leave the Proto Angelo for last. There will be a Divinity Statue just past this, in case you need to get any new skills, and at the end, you will find a familiar opening.
From the top of the room, you can see the ledge with the Gold Orb
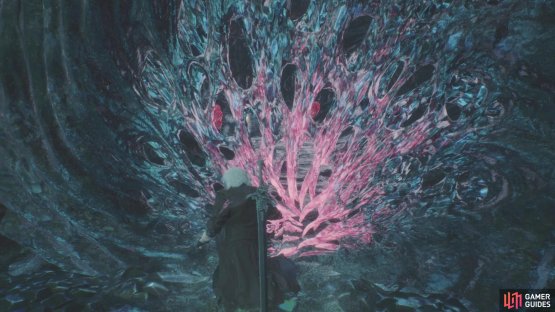
Yep, it’s time for another bout with Urizen, only this isn’t really a fight. It’s the same fight from the Prologue, so keep shooting at the crystal until the battle just abruptly ends, bringing this mission to a close.





No Comments