
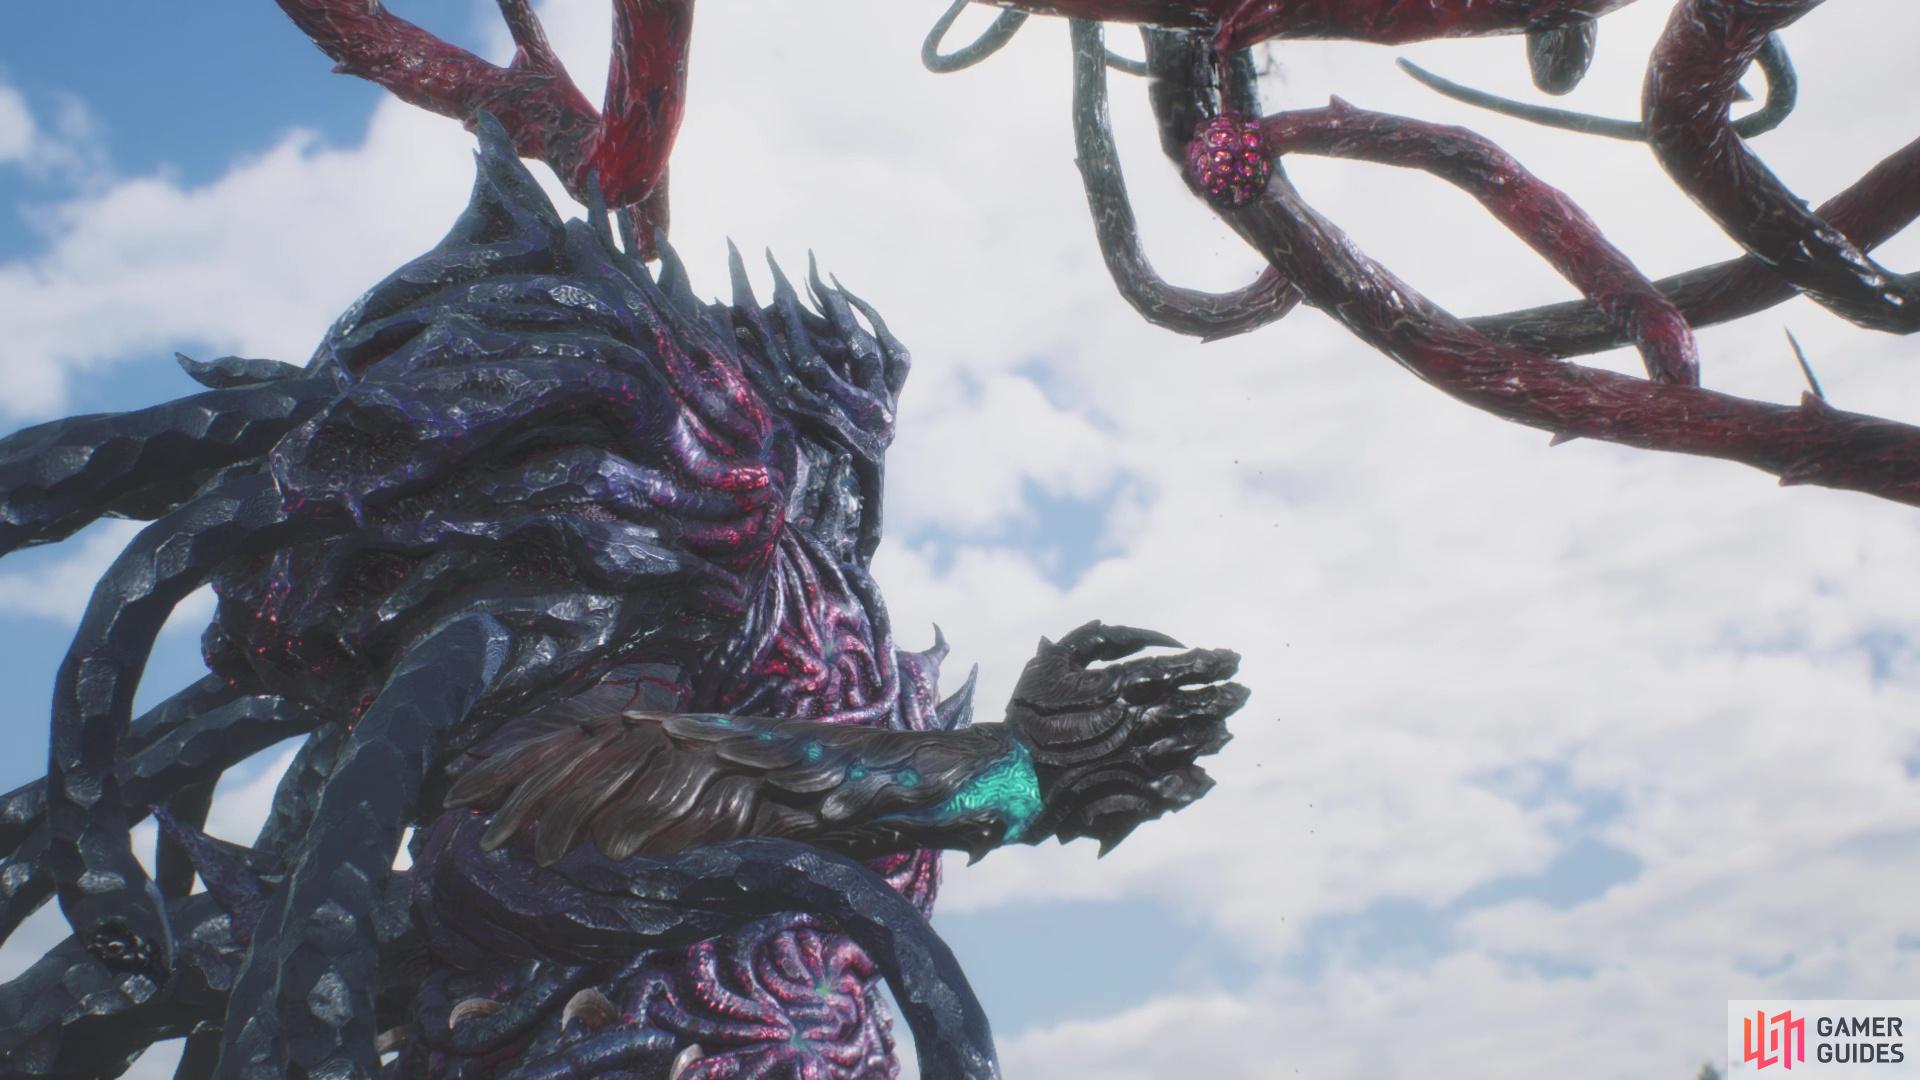
From here on out, the missions will be scarce, starting with this one, pitting you against Urizen in his final form. He will be mobile in this battle and won’t have that stupid crystal guarding him, so you will be able to directly damage him. He will have three phases, with the first one consisting of a lot of moves you might be familiar with from the previous battles with Urizen. He will probably start out by sending out a shockwave that doesn’t damage you, but it will knock you back; it’s possible to dodge through this so you don’t get knocked away from the boss.
Other attacks include the lasers he’ll shoot into the sky that come crashing down on you, as well as the eruptions from the ground. That about does it for the ranged attacks during the first phase, but Urizen has some melee options should you get in too close. He will pound the ground with his one fist quite often, plus he can also do a kick. Although it might seem a little rare, compared to the other melee attacks, Urizen can also do a backhand. He also has a couple of movement options, such as a dash similar to Trickster, as well as moving through a portal, like Malphas.
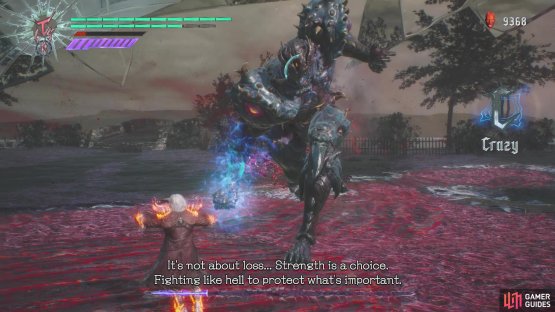
One of the safest places to attack Urizen is up by his head, as his kick, fist ground pound and sometimes his backhand will all miss. You want to make sure you have Trickster equipped to have a dash available in case you need a quick dodge. At around 50% health or so, the sky will start crumbling and Urizen will enter the second phase of the fight. He retains all of the same moves as the first phase, plus he’ll add a few new skills to pester you even more. Remember that blue sphere Urizen shot in previous battles that created an area in which you had slow movement? He’ll start doing that again in the second phase.
An actual new move will have Urizen summoning a bunch of purple swords that delay for a second, before congregating on your position. These can be a little challenging to avoid, since there are five or six of them and they will come towards you one at a time. If you’re on the ground, you can simply just spam the Trickster dash, but him doing this while in the air might have you taking a hit or two. Lastly, Urizen can also send out those giant fireballs, so make sure you dodge them to avoid taking the damage, as they can come out quick.

(1 of 2) The purple swords can be a little hard to dodge if you’re up close
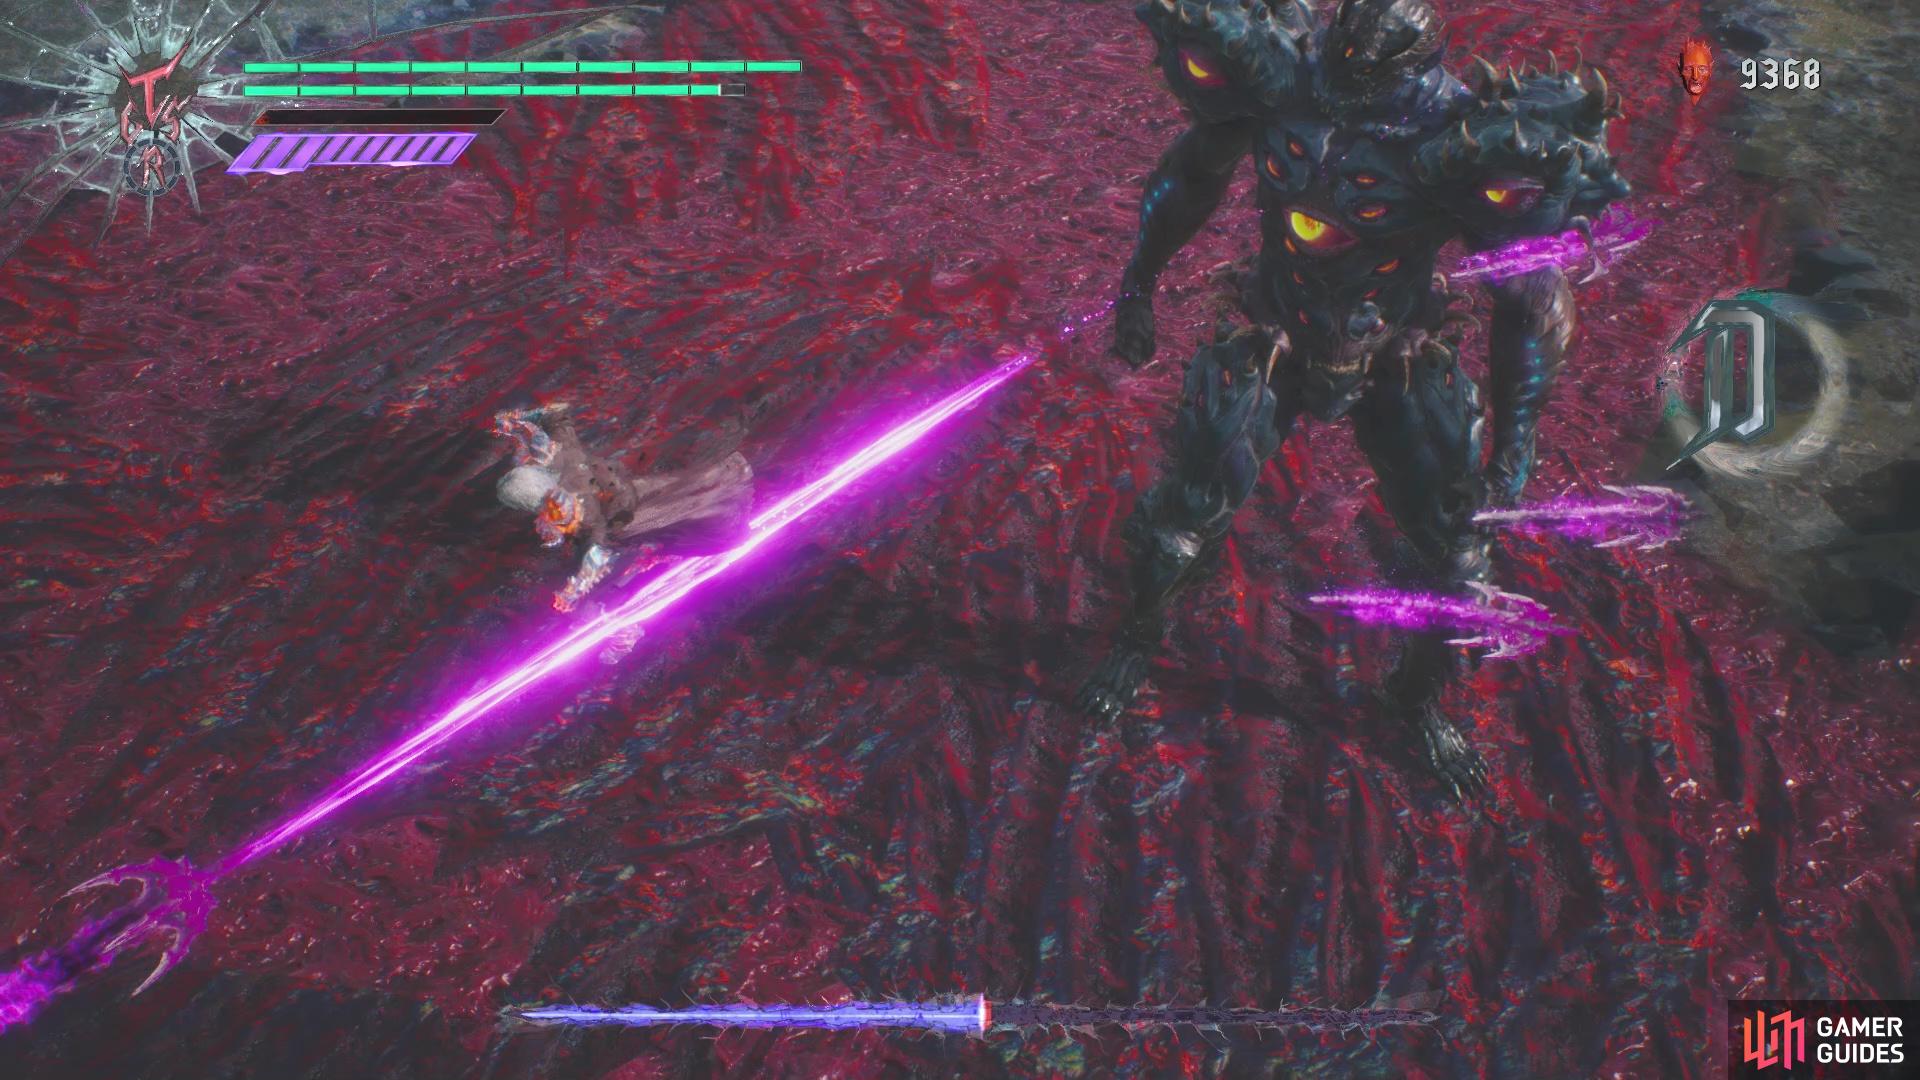

The purple swords can be a little hard to dodge if you’re up close (left), In the last phase, watch out for Urizen’s uppercut (right)
At 30% health or so remaining, the sky will shatter a little more and it’s time for the tough part of the boss fight. He can follow up the kick attack with a sweep, so be mindful that it can be a one-two attack. Another new attack that can follow a previous one is an dashing uppercut from the ground pound. While it’s not a very fast attack, the unexpectedness of the uppercut can catch you off guard. When it looks like Urizen is charging, he will unleash a field of spikes from the ground that covers a wide area, so it’s extremely difficult to not get hit.
However, if you’re in the air, you could probably use your weapons’ attacks to keep yourself afloat. An attack that reappears from the previous battles is the big laser that sweeps itself across the arena. He seems to summon two of the lasers at a time, both separate from one another. Similar to the other phases, the best place to still attack from is up by Urizen’s head. Keeping Trickster at the ready is the ideal style, since you will want to have an extra dodge ready at all times. Once you finish off Urizen, the mission will be brought to an end.


No Comments