At the beginning of the mission, you will unlock two new Devil Breakers, which are Punch Line and Helter Skelter. The former is a long-range one, with the basic attack being to . Helter Skelter, on the other hand, lacks range but makes up for it with superior piercing power. Think of it like a drill, as its basic attack will basically drill into a single enemy. Its charged attack, the one that breaks the Devil Breaker, is a large drill that can hit multiple enemies.
Flying Hunter
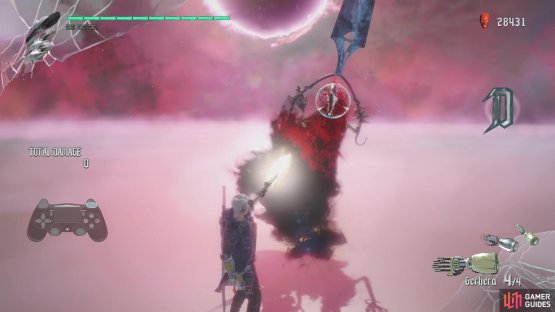
As soon as it looks like you’ll gain control of Nero, there will be a short tutorial about Grim Grip points. Whenever you see platforms with red flames, you can stand on them and have the flames turn blue, but only when no enemies are around. This will cause Grim Grip points to appear in the air, so lock on with the R1/RB button, then press Circle/B to pull yourself towards them, which will usually launch you to a new area. Do this on the first platform with flames to pull yourself to another roof, where you’ll be introduced to a new enemy, the Pyrobat.
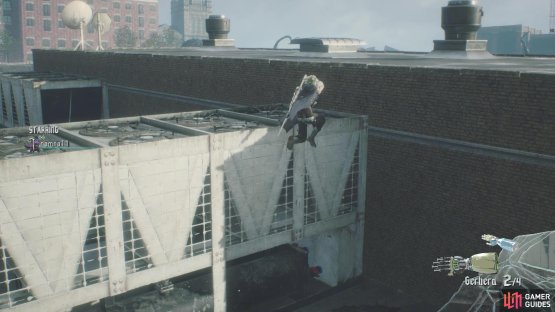
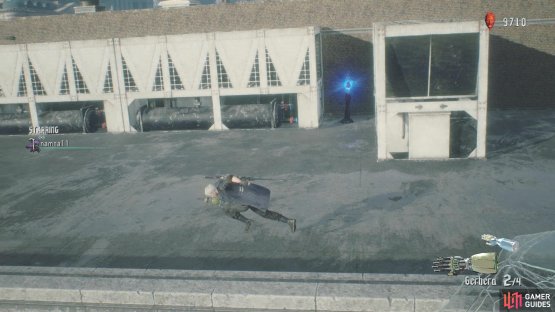
There are only three Pyrobats to contend with here, so the battle shouldn’t last long at all. Launch to the next rooftop with the Grim Grip point, where Nero will take a gander at the large root structure in the distance. There will be some Red Orbs off to the side, next to the air conditioner on the same side you land. Jump up to the higher part of the roof here, then back down on the other side, looking in between the air conditioners on this side for a Blue Orb Fragment. Return to the side you first landed on and use the Grim Grip point to launch over to the next building.
(1 of 2) Jump up onto the higher rooftop
Jump up onto the higher rooftop (left), and down to the other side to find the Blue Orb Fragment (right)
As soon as you land, some Hell Cainas and Pyrobats will spawn. Concentrate on the Pyrobats first, as their projectiles can be annoying, then take out the Hell Cainas next. Once the coast is clear, you can actually drop to the floor below on the one side, where you can find some Red Orbs and even a Gold Orb. Return topside and get to the next roof, where you’ll find two platforms with flames. The first one you will see on the way to the rooftop will carry you further into the mission, while the other one will take you back to a previous rooftop, so avoid that second one. Get to the next rooftop, where a quick scene points out the sewer tunnel, which is where you will be going in a bit.
For now, look around on this building for some Red Orbs that are on some dirt off of it. When you approach this, you get a short tutorial about revealing Grim Grip points by attacking certain spots. After collecting the Red Orbs, head to the edge of the rooftop again and lock on to the thing floating in the air. Quickly, in sequence, shoot it then latch onto it to get to the rooftop above you. A single Red Empusa is up here, as well as a Gold Orb in the center. Kill the Red Empusa to have two more spawn, so quickly get one down to get to the other. There will be another platform with flames, which shoots you to the building with the very large cluster of Red Orbs.
Keep smacking it with your sword to reap the benefits of all the Red Orbs spilling out. Once it stops pouring out the goods, take the Grim Grip point and return back to where you had to attack the Grim Grip. The normal path here also leads to another rooftop, where some tentacles pop out of the ground. Destroy them, then bust open the clusters on the back, then continue on the main path. You’ll find a Gold Orb out in the open, and when you reach the end, you can finally launch yourself into the sewer tunnels.
Sewer Tunnels
Follow the tunnel until you learn of the demon tree blood clots. You can destroy these to not only earn Red Orbs, but doing so will also open up new paths sometimes. Ignore the first one for a second and go to the end of the tunnel here for some Red Orbs, then return and destroy the blood clot to open up a new path. As you pass through into the next tunnel, some Empusa and demon tree tentacles will spawn, so get rid of them all. Continue down this tunnel, taking note of the roots across the tunnel, and you’ll get to a second blood clot. Destroying this will get rid of some of the previously mentioned roots, but it doesn’t clear the entire thing just yet.
(1 of 2) That wall right there looks mighty suspicious
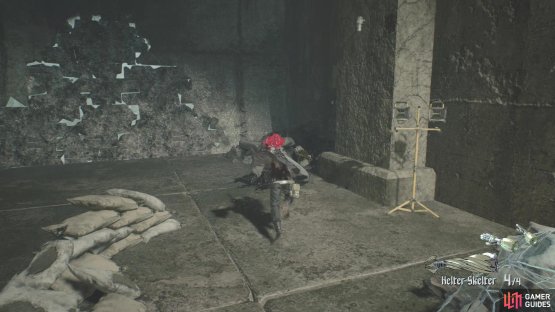
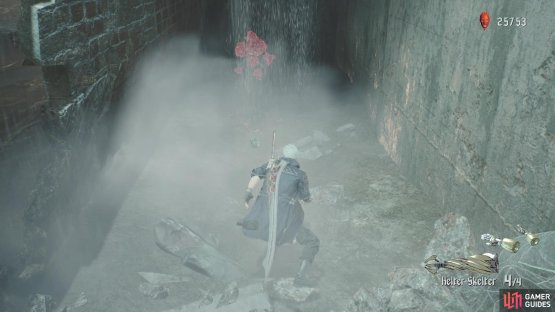
That wall right there looks mighty suspicious (left), Bust it open to find some Red Orbs behind it (right)
Some more demons, specifically a few Hell Caina, will appear after getting rid of the second blood clot. Continue all the way to the end of the tunnel, where there will be some Red Orbs. If you happen to glance at the wall on the one side, you will notice something odd with it. That’s because it can be broken, so hit it a few times to bust it open, letting you gather some more Red Orbs. As you attempt to backtrack, some Pyrobats and Hell Cainas will appear to annoy you. Strike them down and head through the doorway nearby, where you will find a third blood clot. Of course, destroying it will make some more enemies spawn, this case being some Hell Antenoras, Hell Cainas and a Green Empusa.
Try and get rid of the Green Empusa first, then the Antenora and leave the Caina for last. Note that there is an explosive canister close to where some of the enemies spawn, so you can hit this with your gun or wire arm to thin out the numbers a little bit. After the battle is over, you can take the small doorway that is shown, or backtrack to the previous tunnel, where the roots are now gone, meaning you can take the one exit with the green sign. This will put you in a large stairwell, which is going to house a few secrets of its own.
Secret Mission 2
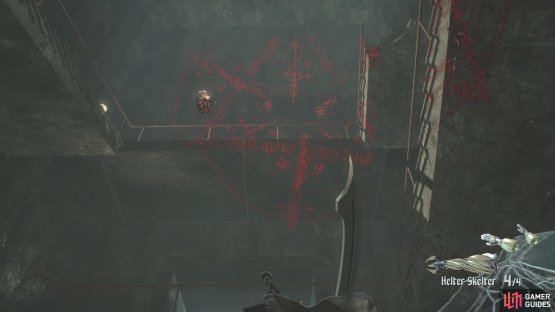
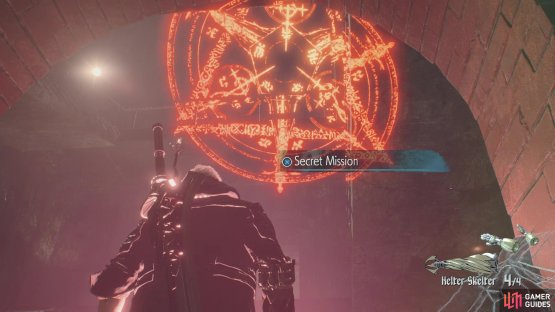
Once in the large staircase, drop down to the bottom and look upward until you spot the familiar writing and circle that indicates a Secret Mission. The doorway there is where you need to stand in order to activate the mission. The goal of this Secret Mission is to defeat all of the Red Empusa without letting a single one escape. At first, only one will spawn, which is easy, but after defeating that one, two will spawn a few seconds apart but at the same time. There are two moves that are good against Red Empusas, which are Overture’s normal attack and Red Queen’s Streak (the forward and attack button combination). Once the pair is dead, three more will spawn, but they will start out in a corner. You can use this to your advantage and just spam either of the two moves above to quickly down them. Your reward to completing this Secret Mission will be a Blue Orb Fragment.
(1 of 2) Look up at the bottom of the large stairwell to find some familiar markings
Look up at the bottom of the large stairwell to find some familiar markings (left), The doorway near there is where you’ll need to stand to start the mission (right)
Upon finishing the Secret Mission, you can begin climbing the stairs, but stop once you reach the hole in the wall. There’s one more set of stairs leading up, but it’s broken. However, there is a section above you that requires jumping off of the wall to reach, although it may take a few tries to get up there. When you reach it, there will be another landing you can wall jump to, where you’ll find one of those platforms with the flames. Stand on it, lock on to the Grim Grip point, then launch yourself through a whole in the ceiling, where a Blue Orb Fragment will be waiting for you.
Double back down and pass through the hole in the wall, when a new enemy type shows up, although you’re not fighting it in this room. When you enter the huge library is when you’ll be battling the Death Scissors.
They don’t seem to attack too often, other than trying to slice you with their clippers. Attack them enough when they are blocking and when you see them flinch back a bit, make sure you dodge out of the way, as they will do a spinning attack. You will be fighting two Death Scissors, although one after another and not at the same time. There is an easy way to one-hit kill the Death Scissors, although you need to be a little patient. Should you managed to attack at the same time with your sword as they attack, you can parry them. Immediately after parrying them, you should notice a red mist on them and if you shoot them when this is happened, it should one-hit kill them. It might take some timing to get it down, but this is the easiest way to get rid of them.
(1 of 2) Use a sword attack right as the Death Scissors begins its attack
Use a sword attack right as the Death Scissors begins its attack (left), As soon as you clash, shoot your gun when the red mist appears to instantly kill them (right)
When you’ve finally rid yourself of the Death Scissors, jump to the next floor and check out either side to find some Red Orbs, with more being found on the chandeliers in the middle of the room, in the air. There’s nothing left between you and the boss of this mission now, so just continue until you reach a conveniently placed phone, where you can call in Nico to do any upgrading or restock on Devil Bringers. Once you’re finally ready, head into the next room to start the boss fight.
BOSS - Artemis
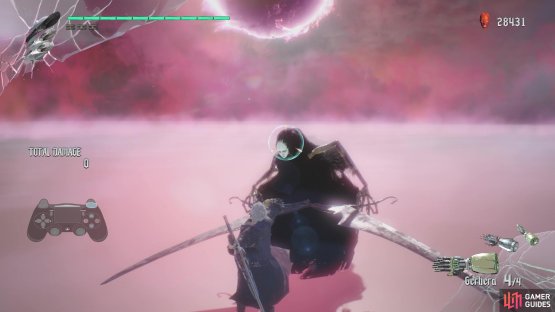
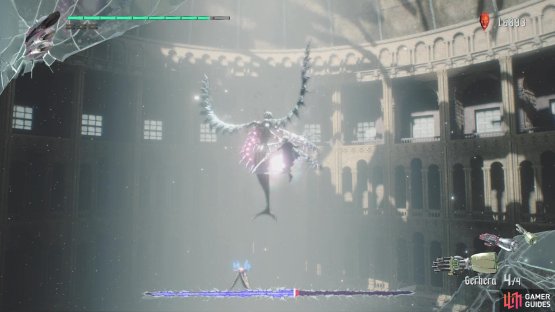
Artemis can be an annoying boss, simply because it will move around a lot, so you will have to chase the thing down. However, if you attempted to beat Urizen in the Prologue, then you should be used to one of Artemis’ moves. It will fire a bunch of laser beams into the air, which will fall down on your position, so keep moving whenever you see this happening. It also has two other laser attacks, which are a bit more structured compared to the one previously mentioned. It will shoot lasers in one of two patterns, either straight down its body or along the ground, in a fan pattern.
The former can be dodged by either dodging to the left or right, while the latter requires you to be in the air for a little bit. You can extend your airtime by repeatedly shooting your gun, but you can also use the Gerbera to have an extra dodge while in the air. One last thing you will see it do, prior to the phase change, is send out two little drones. These things can shoot projectiles at you, but destroying them will change them into grappling points. Wire latch onto them and they will send you closer to the boss, so use these (if they’re present) to zipline right to the boss when it’s far away. Note that when Artemis refreshes these drones, the old ones will be sent your way as projectiles.
(1 of 2) Latch onto the drones to get to Artemis when it’s in the air
Latch onto the drones to get to Artemis when it’s in the air (left), Smack it enough to make it crash down before it can use its big move (right)
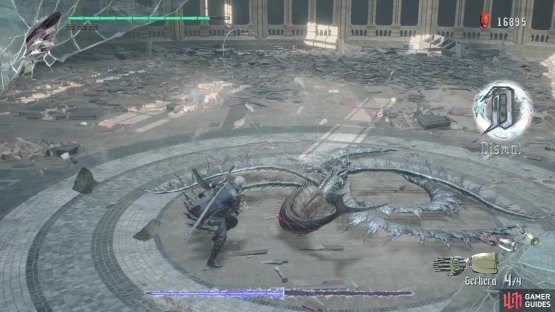
At around half health, Artemis will rise up into the air in the center of the arena and begin charging a super attack. Quickly kill the drones and they will allow you to reach it in the air. While up there, continually attack Artemis and with luck, you will break it out of its super attack before it has a chance to unleash it. Artemis will crash to the ground should you stop the attack, giving you an ample chance to deal some good damage without having to worry about attacks.
Upon recovering, the second phase of the fight will begin, which adds two new attacks to Artemis’ arsenal. The first is Artemis just doing a very fast charge across the arena, which can range from a single time doing it to up to three times. Staying locked onto the boss is ideal to dodge the charges, so make sure you do that. The other new move is a large laser that Artemis will sweep across the arena, but if you can manage to get behind the demon, you should be able to get some free hits on it while it’s doing this move. That’s about all there is to the fight, so remember to use the grapplable points to close in on the boss to really lay into it.












No Comments