
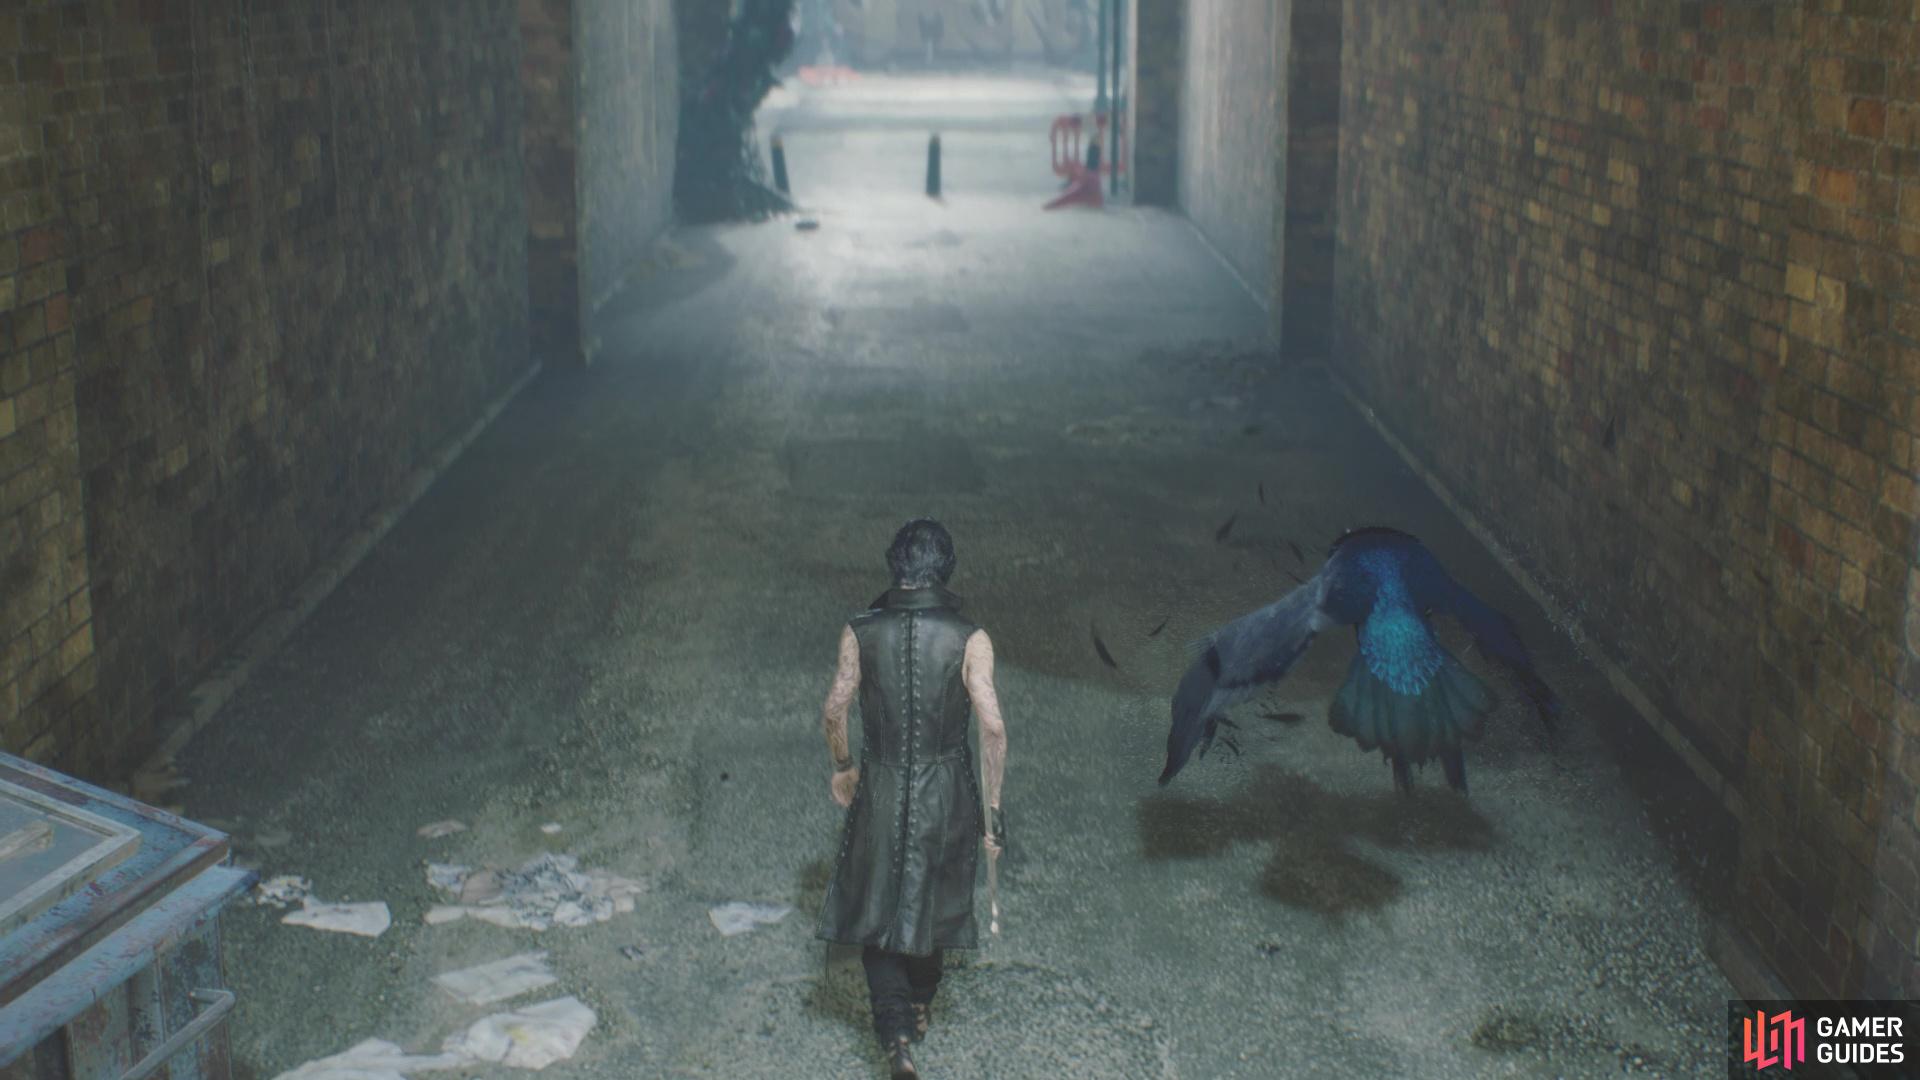
This mission changes things up a little bit, as you will now be in control of V, instead of Nero. V plays a lot differently than the other characters, as he cannot attack directly himself. Instead, V uses some pets to do the damage, with there being three in total. The first two are normal pets, Griffon and Shadow, who are the bird and panther, respectively. Shadow is the melee pet, while Griffon is the ranged attacker. A little ways into the mission, you will unlock Nightmare, a giant colossus that can be summoned by using your Devil Trigger (L1/LB). He’ll act on his own, unlike the other two pets, which can be controlled using buttons. The one catch with V is that his pets can’t kill enemies, so you’ll have to walk up to them and press Circle/B to use your cane to deliver the final blow.
V
As you begin the mission, you have the option to customize V, but unfortunately, there are no skills to purchase right now. However, slide over to the items tab to see a new purchase there, Purple Orbs. These handy little things function similar to Blue Orbs, except they increase the maximum capacity for your Devil Trigger. If you have the Red Orbs, go ahead and purchase at least one of these (possibly two), then save any other orbs for later. Start the mission and when you have control, run forward into the open area, where you will get into your first fight with V. You’ll learn about Shadow, V’s melee option, during the first phase of the battle.
The meatier of the two basic pets, Shadow has a basic combo similar to Nero with Red Queen. The same thing can be done with a launcher, by first locking on to an enemy, then pressing back and Triangle/Y. He can follow the enemy into the air by holding down the button and continue with air attacks. You’ll also learn about Checkmate, the way V dispatches enemies, as his pets cannot do it on their own. Whenever you deplete an enemy’s health gauge, you will see a second gauge that slowly depletes on its own. This is the enemy’s dying state and to truly finish off an enemy, you have to run up to them and press Circle/B.
After dispatching the first few enemies, some more will spawn and you will learn about Griffon. The bird is controlled with the Square/X button and his default attack is to just shoot little balls of energy at enemies. Hold down the button to make Griffon light up, then release it to have him shoot out some lightning. The last basic move from Griffon has you holding down R1/RB, then pressing back on the left stick and pressing the attack button, causing Griffon to unleash a ball of energy around him.

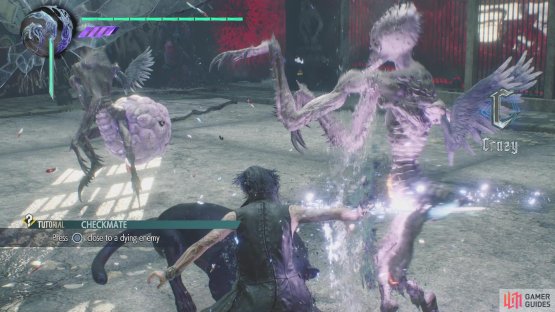
(1 of 2) V’s strong point is being able to attack with both pets at the same time

V’s strong point is being able to attack with both pets at the same time (left), Don’t forget that V has to kill the enemies with his cane (right)
Dodging and Stalemate
Another thing you will learn during this tutorial fight with V is dodging with him. You should already known how to dodge with Nero and that’s done the same way with V, only he uses Shadow to dodge sideways and Griffon to backpedal a bit when dodging backwards. This is very important for two reasons, with the obvious one being to get V out of harm’s way. The other reason is something not talked about yet, which is that your pets have health bars of their own, located in the upper left corner of the screen. Should their health bars empty, they will enter a state called Stalemate.
Luckily, they are not gone for good, but they will be out of the battle for a short while. They will naturally recover on their own, but if you happen to stand near their “bubble,” then they will recover quicker. Now, dodging’s second important reason is to help keep the health of your friends up, as they will recover when not getting beat on and when close to you. Just note that the dodge with Griffon is a bit floaty and can lead to you getting hit, as Shadow’s dodge is a lot quicker and ground based.
Back to the action, finish off the enemies and pass through the large opening, where the barrier dissipated. The path here is linear, with the Red Orbs in plain sight, so you won’t need to go out of the way to get them. When you enter the next open area, some Pyrobats will appear and you’ll receive a short tutorial about another mechanic for V, Gambit. By locking onto an enemy in its dying state, you can press Circle/B to dash straight to them and kill them. The best thing about this is it works on airborne targets as well. There are only three Pyrobats to fight, so you will get a gist of the Gambit maneuver.
Take the path that is shown on your screen and ignore the Red Orbs that require you to jump down. Instead, look straight ahead, over a short wall, to see what looks like more Red Orbs. This is actually a blood clot, so jump over the wall and smack it until it’s destroyed. Behind it, you’ll find one of those very large Red Orb Clusters, similar to the one found in the previous mission. Secure the large number of orbs, then jump down into the trainyard below to face some more enemies, although you’ll have a rather large friend drop in to say hello to them.
Nightmare is the last pet of yours, but he can only be summoned with Devil Trigger. Attacking enemies and receiving damage will increase the Devil Trigger gauge, so once it’s at level 3 or higher, you can press L1/LB to summon Nightmare. Unfortunately, at his base with no upgrades, Nightmare will attack enemies on his own until your Devil Trigger runs out. There is a slight bonus to having Nightmare out on the field, too, which the game doesn’t tell you. Summoning Nightmare will restore the health of Shadow and Griffon to full, plus they will be completely invulnerable to damage while he’s out to play. This is extremely useful on later difficulties, as well as during the next mission, for a trophy/achievement.
Checkmate
The enemies you fight will be mostly Empusas, as well as a Hell Caina at the end, so they should be rather easy. Once the coast is clear, jump on the containers on the one side of the trainyard to find some loose Red Orbs. You can also use these containers as platforms to reach a small ledge that is hiding a Gold Orb next to a tree.
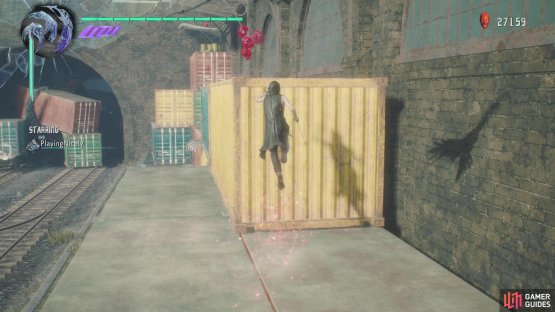
(1 of 2) You can use the containers in this corner to reach a ledge above


You can use the containers in this corner to reach a ledge above (left), where you’ll find a Gold Orb by a tree (right)
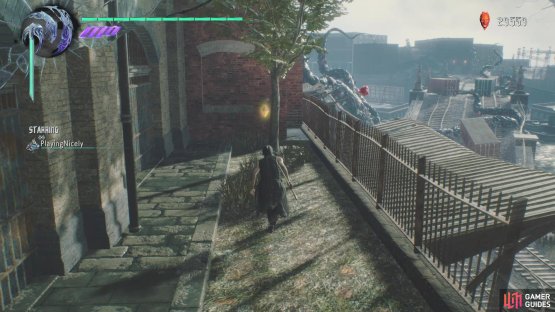
Drop back down and look around to find a White Orb, which will refill your Devil Trigger gauge once collected. Continue forward and the game will quickly teach you about Stalemate (covered above). The game will cut to the shot of the blood clot, so destroy it when you regain control and the bridge will collapse during a cutscene. Collect the Gold Orb after the scene is over, and if you look ahead on the main path, you might spot something purple in the distance. Run towards it, but keep your eye out for a Nidhogg Hatchling off to the left, which will be needed in order to get to the Secret Mission in a little bit.
Collect the Hatchling and some enemies will spawn, which will just be a few Pyrobats and some tentacles. Enter the building and collect the purple thing, which turns out to be a Purple Orb Fragment. These operate the same as the Blue Orb Fragments, but they will increase your Devil Trigger gauge. As you’re descending the stairs, you will see some Red Orbs on the ceiling, so use Griffon to shoot them. You’ll periodically see these hanging from the ceiling, some from higher platforms, so you’ll likely need to double jump and use Griffon to shoot them while in the air.
Continue down the stairs and look around the small room there for some Red Orbs, then exit the building. In the alleyway, it’ll be time for another fight and yet another tutorial. You can your Devil Trigger gauge to enhance the attacks of Shadow and Griffon by combining their inputs with the L2/LT button. This uses one stock of the gauge to increase their strength for a limited time, plus you can use the same input to use more of the gauge. Feel free to use it in the upcoming battle if you want, but you’ll be using the DT Gauge for something different.
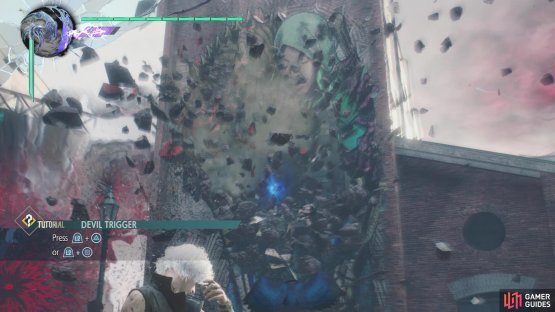

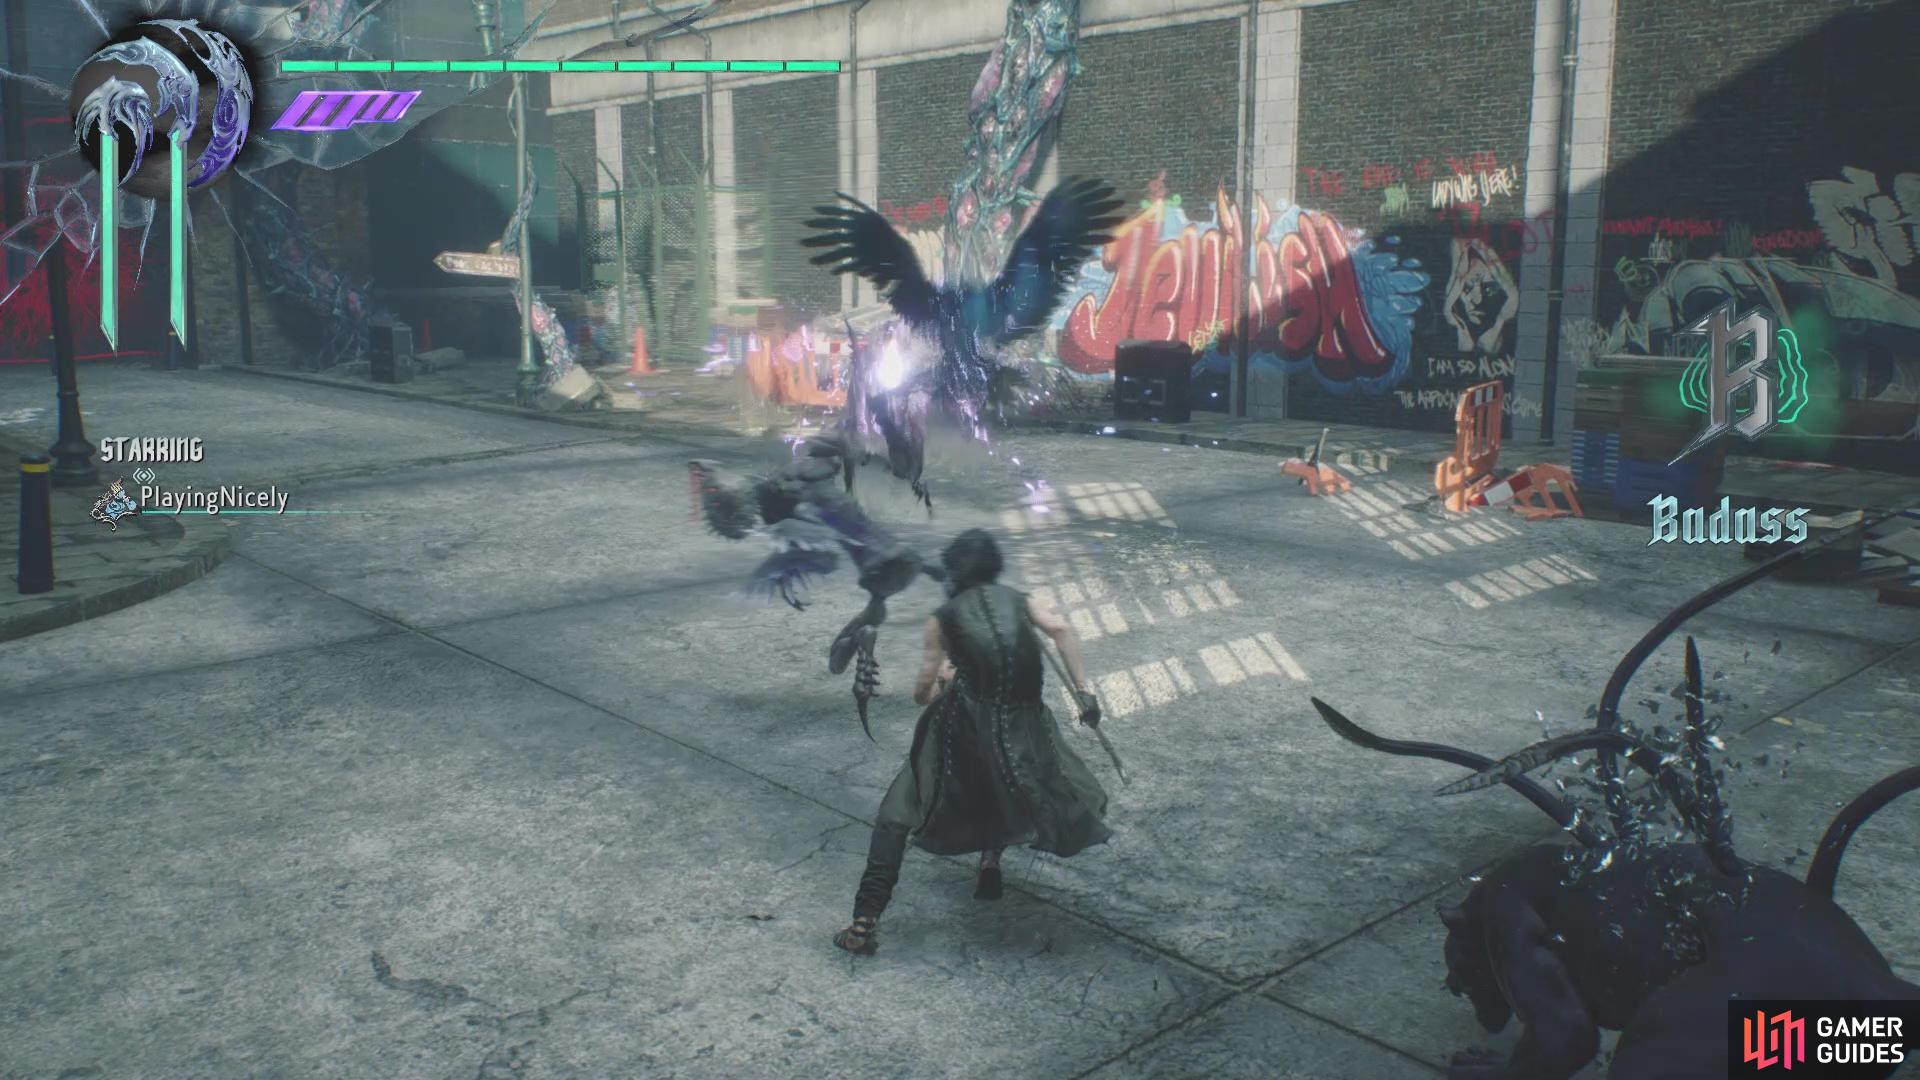
(1 of 2) Summoning Nightmare in this spot has him bust through the wall of the building

Summoning Nightmare in this spot has him bust through the wall of the building (left), which lets you grab a Blue Orb Fragment (right)
Press L1/LB to summon Nightmare here and you will notice he’ll bust through the one wall with the giant mural on it. You will earn the Backroad trophy/achievement for busting down this wall. This will be important in a little bit, so concentrate on the enemies for now. There are two waves of enemies here, with the first consisting of Empusas, both normal and green. They should go down easily, especially since you probably summoned Nightmare, but the second wave will prove a little bit more difficult. This will consist of some Hell Cainas and Hell Antenoras, so you’ll want to remember to dodge when necessary.


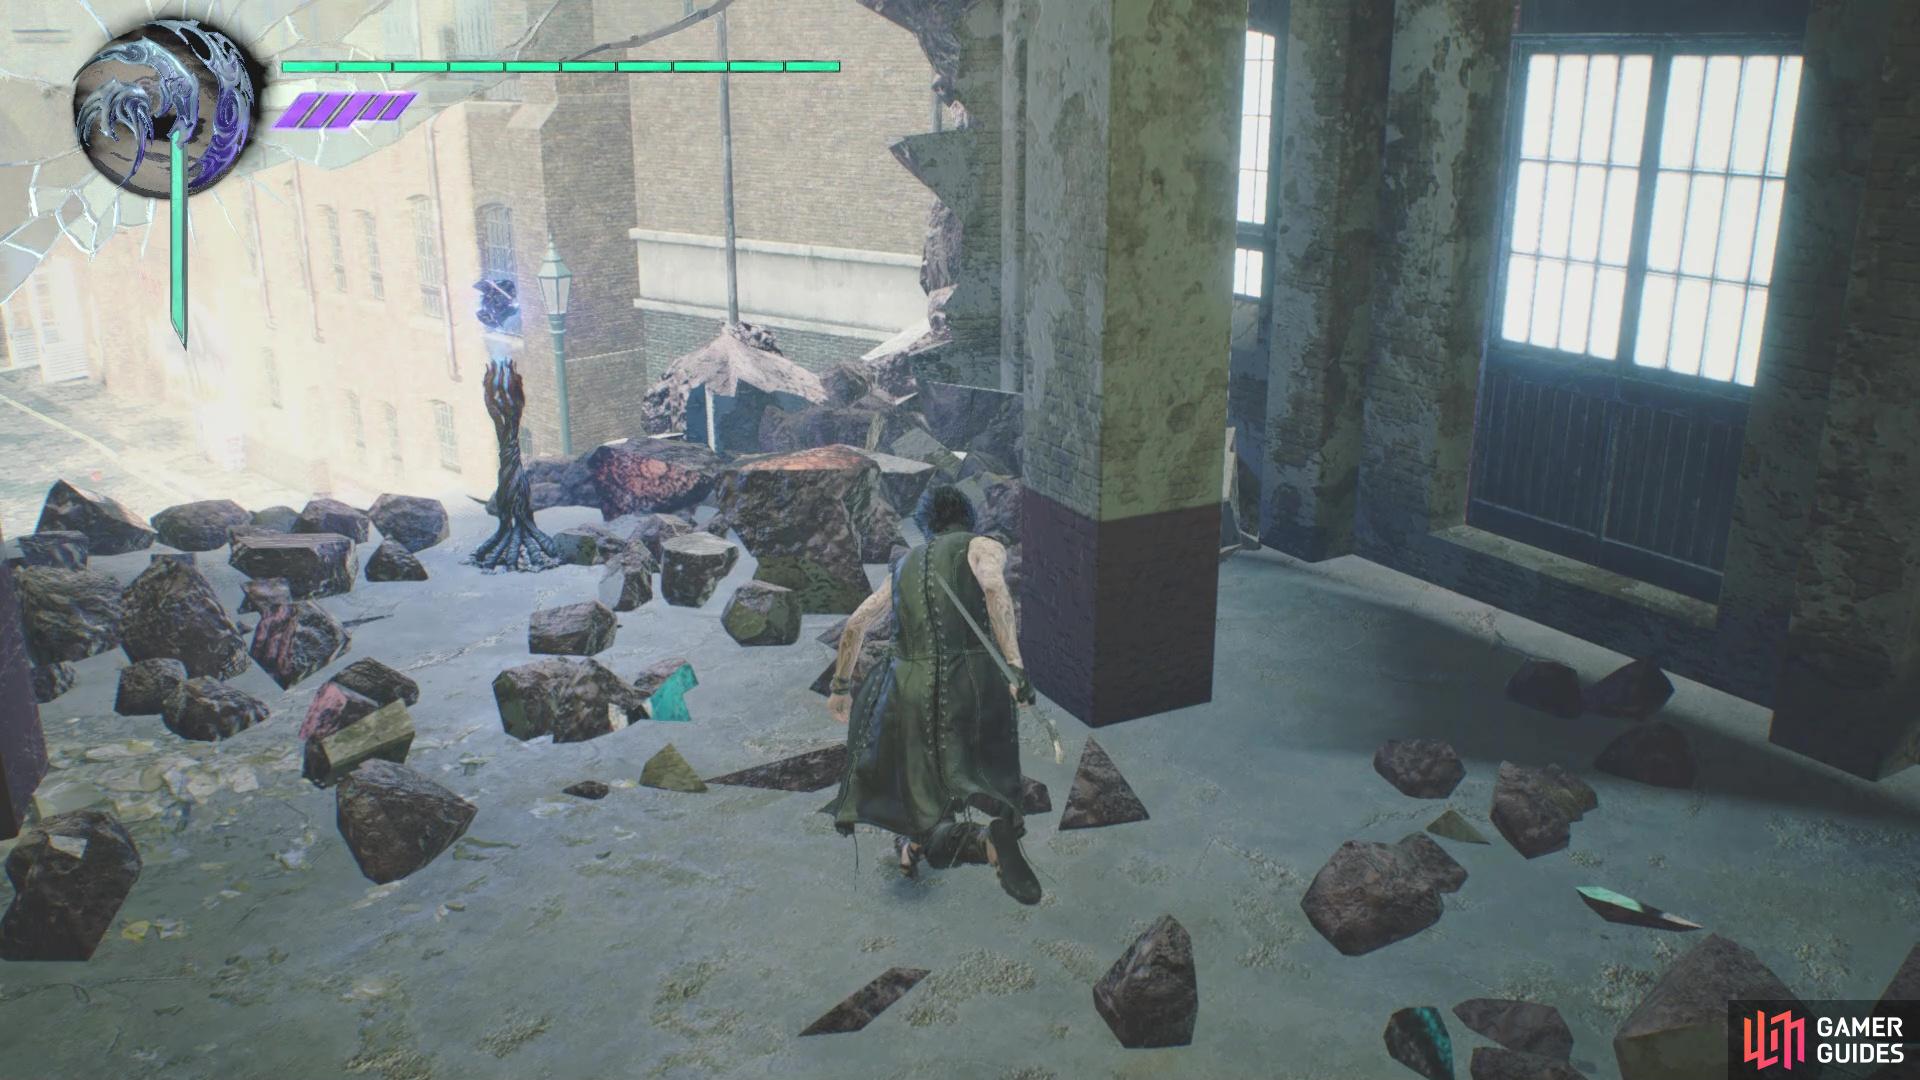
With all of the enemies dead, you can now enter the building where Nightmare created an opening. Go to the upper floor here to find a Blue Orb Fragment, then find the other exit on the bottom floor. At the end of this little alleyway will be a second Nidhogg Hatchling, which is needed to get to the Secret Mission, so make sure you grab it. Backtrack to the main path and keep going forward to another battle, this time against some Pyrobats and Hell Antenoras. They shouldn’t be too much trouble, considering the space you have. Continue forward after the battle until you see a white van and two potential paths to take.
The one will delve deeper into the mission, while the other path leads to a dead end with a weakened root that requires a Hatchling to clear. You should have two of these right now, so use one to clear the blockade and you’ll find another Blue Orb Fragment behind it, in addition to another weakened root. Get rid of this second barrier and climb the stairs to a seemingly empty room. However, you can jump to a higher spot in this room, with an opening in the wall. This is the spot you need to stand in to access the Secret Mission, so line it up and begin the mission.
Secret Mission 03
This is probably the easiest Secret Mission in practice, as you simply need to collect all of the Red Orbs to complete it. There’s a total of 20 Red Orbs to grab and you only have 35 seconds to do so. The Red Orbs could be divided into three sets, with the ones on the right being in the air. The second set is in the center of the room, all in between tables, while the final set will be on the left side upon entering, on the ground amongst some bookshelves. The seemingly easier way to do this mission is start with the ones in the air, then collect the middle orbs and finish with the ones on the left. It may take a few tries, but take the first or second try to locate all of the Red Orbs before making some serious attempts. As usual, your reward for completing this Secret Mission is a Blue Orb Fragment.


(1 of 2) Stand in this spot after using the second Hatchling to start the Secret Mission
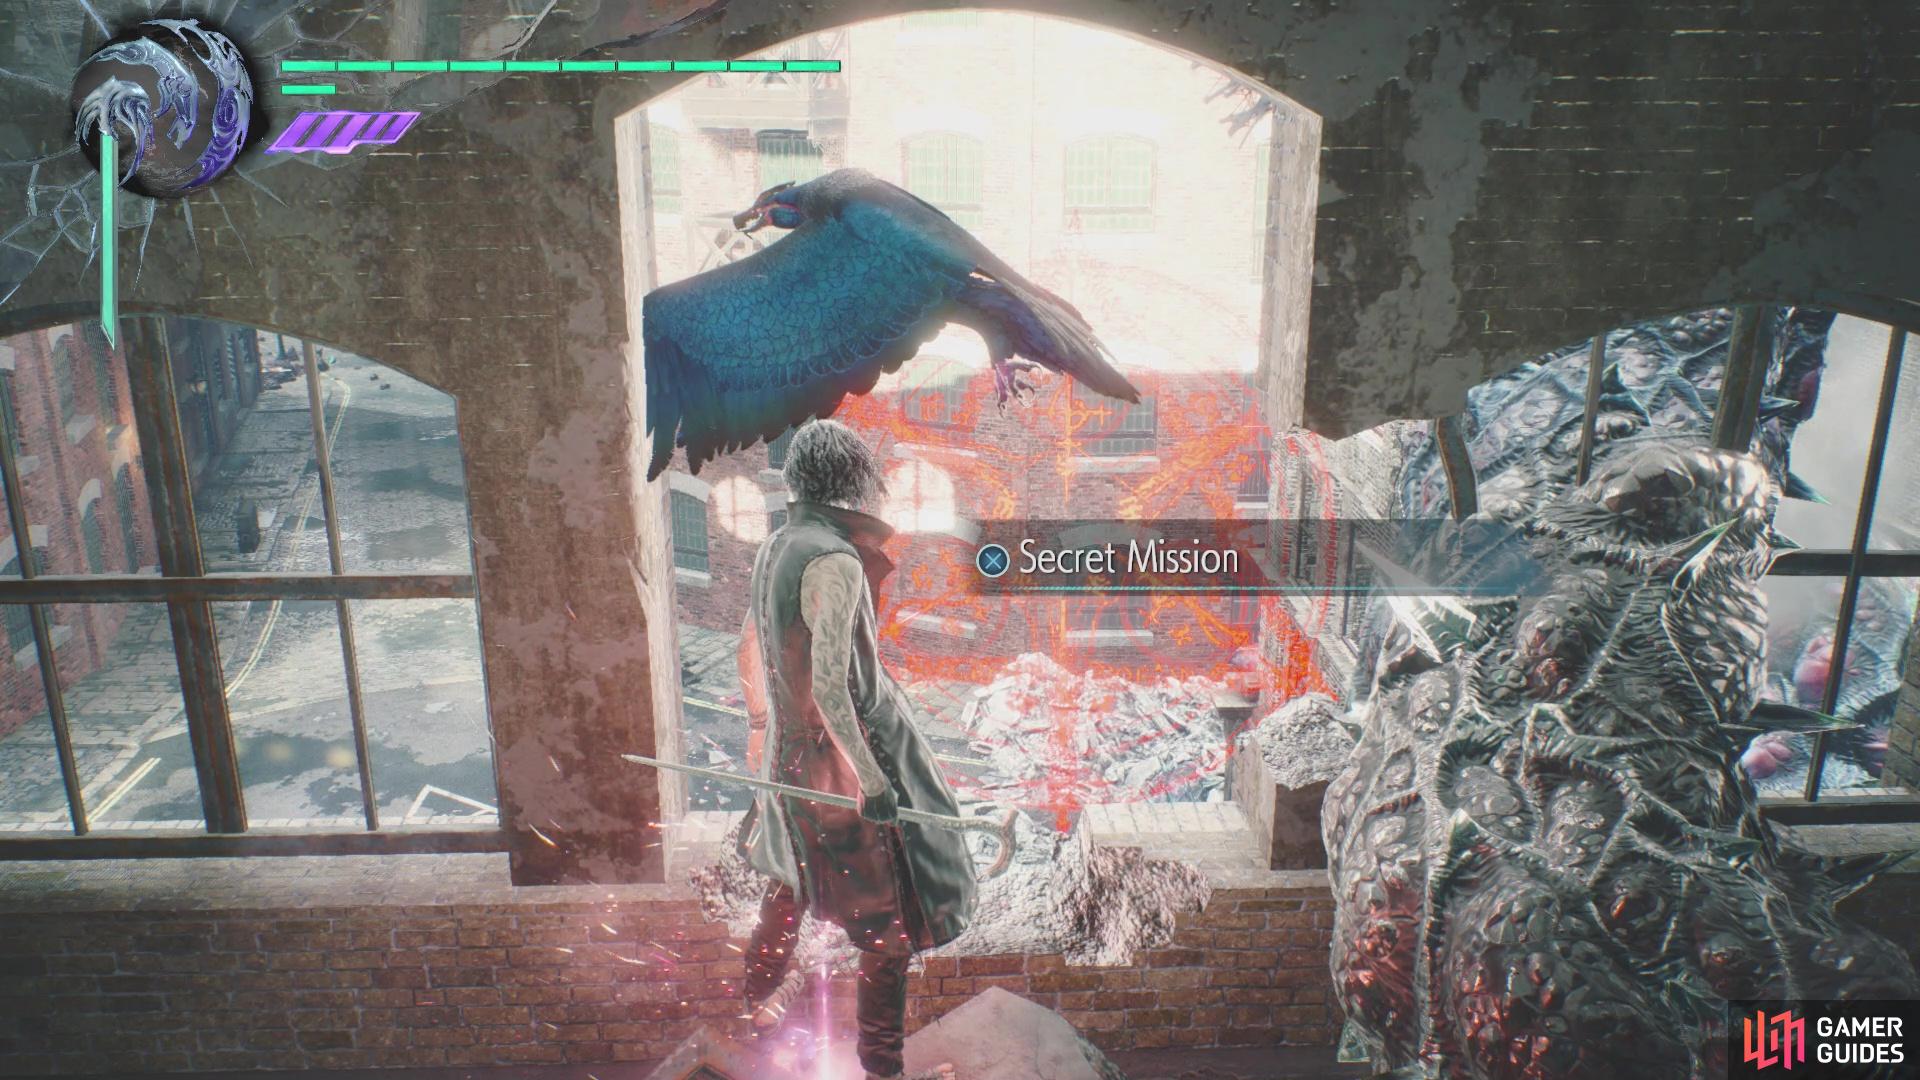
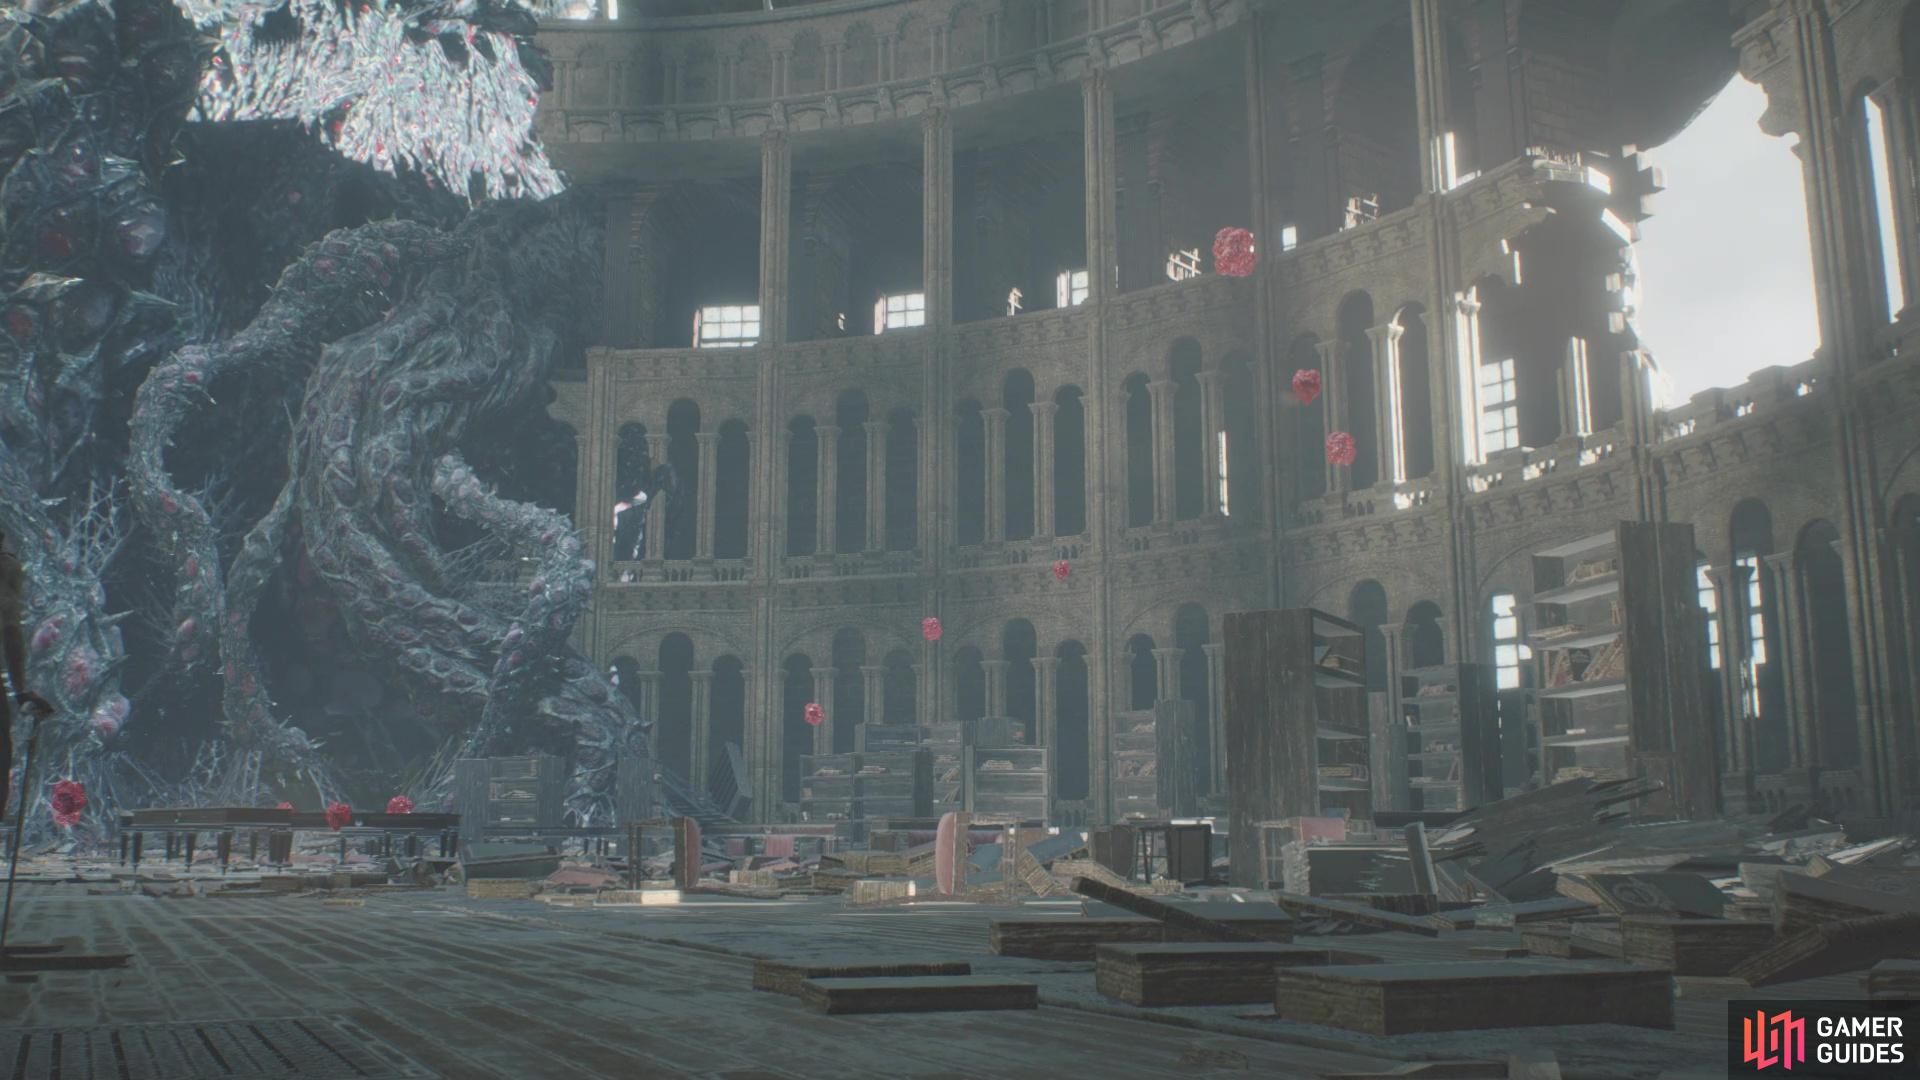
Stand in this spot after using the second Hatchling to start the Secret Mission (left), Start by going after the Red Orbs in the air first (right)
Return to that white van from earlier and take the other path to continue the mission. Some minor enemies will appear along the way, so get rid of them and keep following the path to find more enemies. Things will start out with some Hell Cainas, but Hell Antenoras will show up later, so feel free to summon Nightmare if things get too troublesome. This will be the final normal battle before the boss of this mission, but you will be able to call Nico in the following area to get some skills for V and his little friends.
Quickplay is nice for movement, but it doesn’t activate in battle, so forget it for now. If you have the orbs, Trigger Heart is nice to lessen the DT gauge drain whenever Nightmare is active. For Griffon, get the second iterations of Blockade and Round Robin to start. Flank Attack is another nice skill, as it allows Griffon to launch enemies into the air. Double Check is a new ability that has Griffon launch some electricity onto the arena. Moving over to Shadow, Shadow Combo C will give you more versatility in combat, while Breakthrough gives Shadow a nice dashing move. Hedgehog gives Shadow a charge move that covers a decent area when executed. Don’t worry about Nightmare, as his skills are either too expensive or requires another skill to be purchased first.
Walk into the open area past Nico to begin the boss fight.
BOSS - Nidhogg
Overall, Nidhogg could be considered an introductory boss for V, as he is pretty simple and doesn’t really have many attacks. To start off, you have the main body of Nidhogg, plus three tendrils, all of which are separate targets. The main body is the only one you can attack to deplete the boss’ health at the bottom of the screen, but he’s not always present, as he tends to stay off camera at times. That leaves you with the tendrils, which really just flail around a little bit or charge at you when they decide to attack. They also seem to be able to spit large globs of some substance at you, which is very easy to dodge. Once you deplete their health, perform Gambit to get rid of them temporarily, knowing Nidhogg will summon them again as the battle progresses.

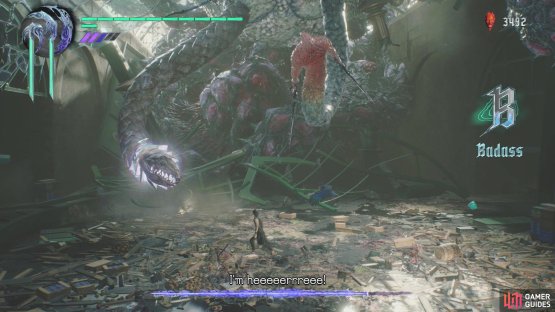
(1 of 2) Sometimes during the boss, Nidhogg will be off screen and can’t be attacked


Sometimes during the boss, Nidhogg will be off screen and can’t be attacked (left), Defeat the tendrils in order to get him to eventually show his ugly face (right)
Keep defeating the tendrils (most of the time, it’s two of the three), and the main body will come down and begin attacking you. He can charge at you, similar to the tendrils, do some slashes with his arms, or even try to pounce on you. If you can manage to have defeated all three tendrils at the same time with none of them on the screen, Nidhogg will be stunned for a few seconds. Use this moment in time to summon Nightmare and go crazy with both Shadow and Griffon. Since this boss doesn’t have much in the way of attacks, it should be relatively simple to bring him down to nothing. Remember that you’ll have to deliver the final blow with V once he’s in his dying state.
No Comments