Part 1: Unconvinced
Part 1
After a chat with Charles, hop on the horse nearby and follow him until you reach a campfire and a story sequence ensues. Once you can control Haytham again, follow the extremely obvious tracks in the snow ahead. When you reach the end, you’ll be treated to another short story sequence.
Afterwards our target will start running away in the trees ahead, follow here as best you can along the ground (the logs are good!). When you reach the next campsite you will be attacked by a group of three wolves. To take them down, you will have to wait for them to charge at you and press the two button prompts that appear on screen in order.
Note that if you do get hit, the wolf will maul you and you will probably fail the optional objective (lose less than 50% health) so don’t be afraid to reload the last checkpoint until you get the hang of it.
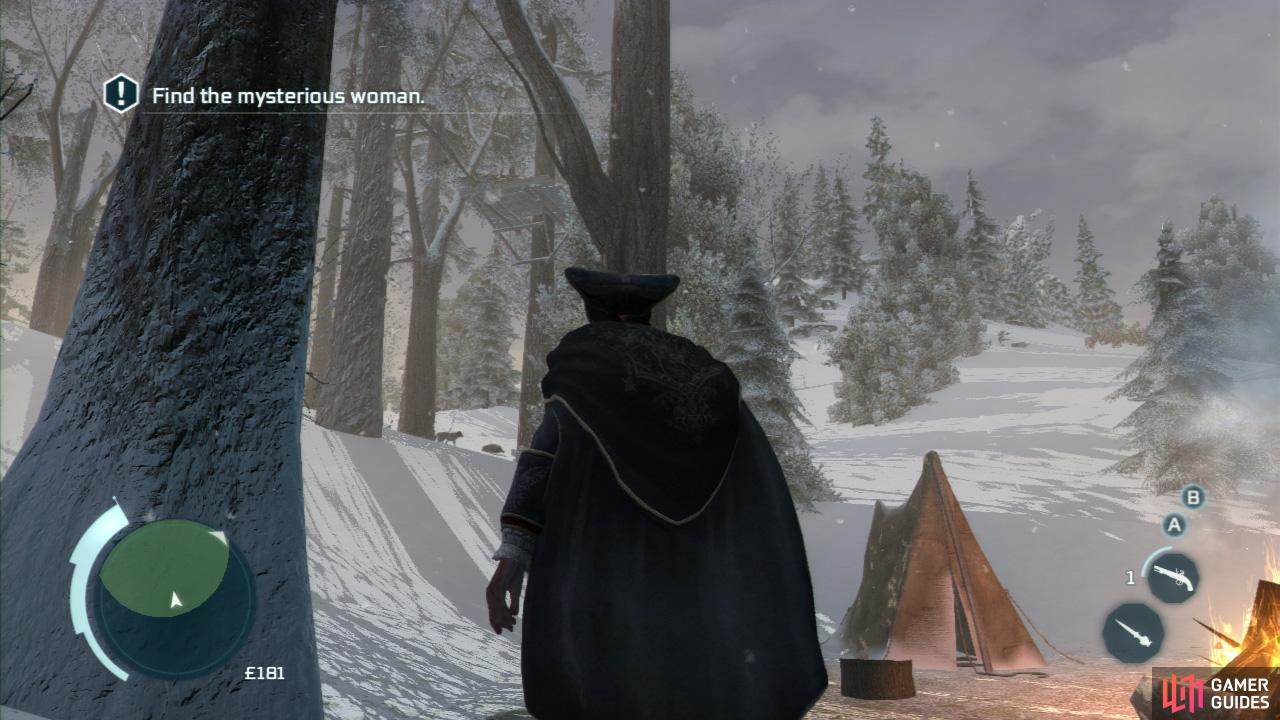
Now we need to find the woman. From the campfire, look to the Northwest, you will see a platform in the trees here. Make your way up the hill towards the platform. As you approach, she will take off again. So simply follow her until she stops for a scene. Afterwards, walk up and talk to her one more time for another scene.
Once that is over with, dive down to the hay below and run over to the town hall ahead. Enter the door. Inside you are going to want to listen to both of the conversations that the guards are having in the common area here. So eavesdrop whilst blending in. When you have the information, make for the exit.
After a quick cut-scene you will be in open conflict. Now we can try for the other optional objective – use 2 breakable objects during a fight. To do this we need to counter an attack whilst standing next to a table or some other breakable object. Again you should be mindful not to let your health drop below 50% (for the optional objective). Once the fight finishes, the chapter will be complete.
Part 2: Execution is Everything
Track down Ziio in the frontier and she’ll allow you to start the mission.
Part 1
We need to infiltrate the fort in the distance. Continue towards the objective marker. As you work your way up the road, you will see a horse drawn wagon heading for the fort too. Sneak up and jump into the back of this to ride it through the gate.
Part 2
Once you hop out of the wagon, climb into the bushes here. We need to eavesdrop on those guards in the distance. Continue past the well and into the bushes on the other side of the fence to enter the eavesdrop circle. Wait for the guards to patrol past to the left and when it is clear, run across to the opposite side of the road and climb up on top of the building here. The guards will cut a lap around this building so as long as we are on the roof; we’ll be able to hear their conversation (just stay out of sight!). When they are done, drop down next to the tents on the upper platform to the left of the roof. We need to steal a map now.
Directly opposite where we dropped down, you will see a bush we can climb into to hide. You will also notice a guard patrolling nearby. Stand out in the open so that the guard can see you, when he comes to investigate, quickly duck into the bushes and work your way over to the tent containing the map, duck inside and grab it quickly.

Exit the tent, turn left and duck into the bushes just next to the tent against the wall. From here, observe the guard on the platform up the stairs in front, the first cannon is below him to the right (we need to sabotage two of these for an optional objective). When he is not looking, run down and to the right to tamper with the cannon (1/2).
Quickly turn around and climb down the stairs to the left. If the guard spotted you and has come to investigate, jump into the hay here until he loses interest. When it’s clear, wait for the guard patrolling up and down the stairs leading to a lower area nearby to start down the stairs and then hop
out and follow him down the stairs. Enter the bush lining the wall to the left here and follow it to the end.
You will see the second cannon a little further in front. Wait for the guard to patrol away again, before running over to disable the cannon (2/2) and then jumping over the low wall into the water below (you can work your way back through the guards too, but the dive is less risky). Swim back to shore and return to Ziio to finish the mission.
Part 3: The Braddock Expedition
Part 1
Head over to the Wright Tavern in Concord. After the short story segment, you’ll receive a note from Ziio. It’s time to go! Mount up with your crew and make your way over to where she has made camp. When you arrive you’ll see a cut-scene.
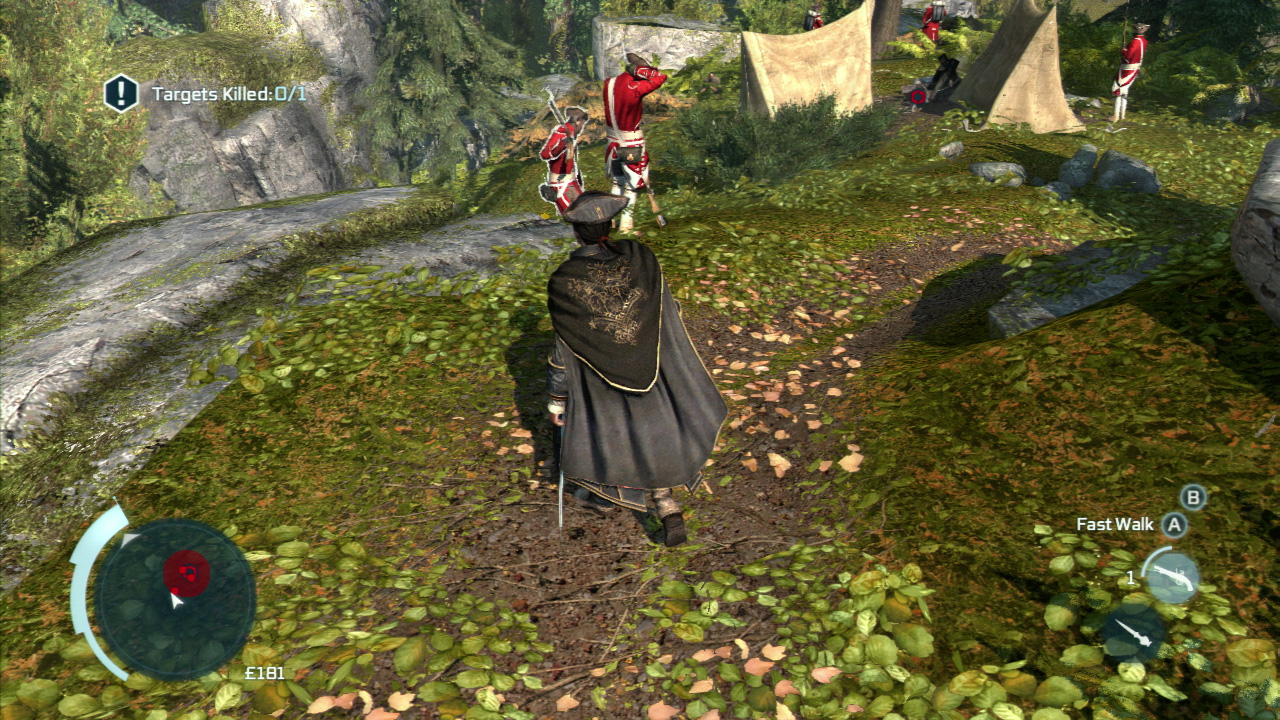
Afterwards you’ll be on foot and close to an enemy camp. We need to kill one of these guys to steal their uniform. However one of our optional objectives is to eliminate two enemies without triggering open conflict. To do this, wait at the southern end of the camp for one of the patrollers to stand between a pair of trees with his back to you.
Assassinate him (1/2) and then immediately get into some of the nearby bushes to hide. You will have been detected and as such our native friends will mosey in to attack. Wait for them to engage and then sneak up on one of the bad guys and assassinate him (2/2) whilst he’s occupied. Clear the rest of the camp of baddies for a scene.
You now have a redcoat costume on, so Jump on the nearby horse and ride through the enemy convoy all the way up to the objective marker.
Part 2
If you’re having trouble with the two kills before open conflict then there is a pair of guards idling to the left side of camp that make easy targets. Simply walk up to them while holding the weapon button down and Hatham should slot them both in quick succession, ticking off the objective.
After a short scene, you will be in a horseback chase. Follow Braddock through the conflict being sure to avoid obstacles and to keep an eye out for the three powder carts along the way (shooting all three is an optional objective). Once you reach the end, a scene will play out.
You’ll now be chasing your target on foot. Simply catch up to him and hit him with your hidden blade for another story scene.Following the scene, you will be back in Boston. Make your way to the Green Dragon Tavern and head upstairs to chat with your posse to complete sequence 3.


No Comments